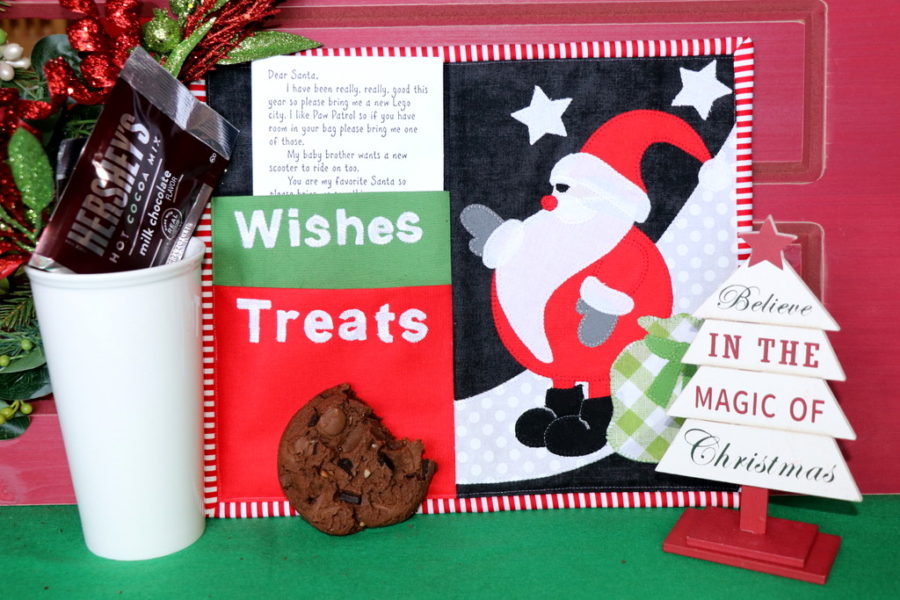
Everyone knows that in order to get on Santa’s good side, it’s important to set out cookies for him on Christmas Eve. I hear that chocolate chip is his favorite cookie and he usually likes a glass of milk or warm cocoa to wash it down. Having this Santa Wishes and Treats Cookie Rug sitting by the tree with a cookie and a note full of wishes will definitely get Santa’s attention!
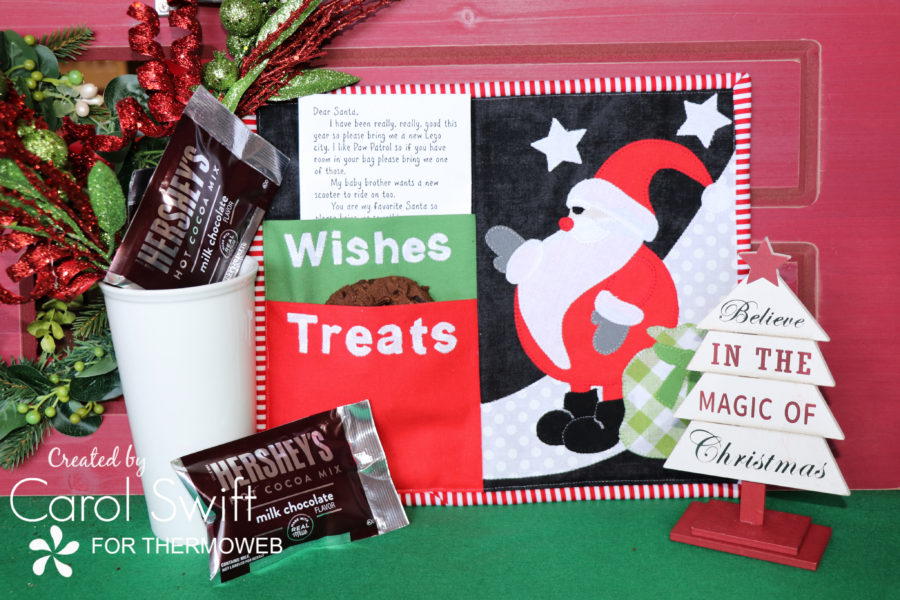
Santa Cookie Rug
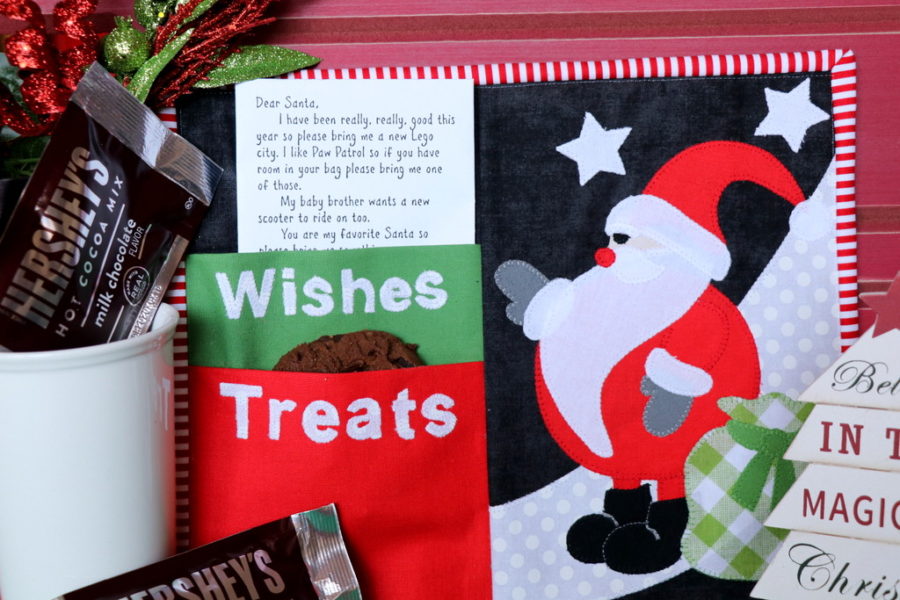
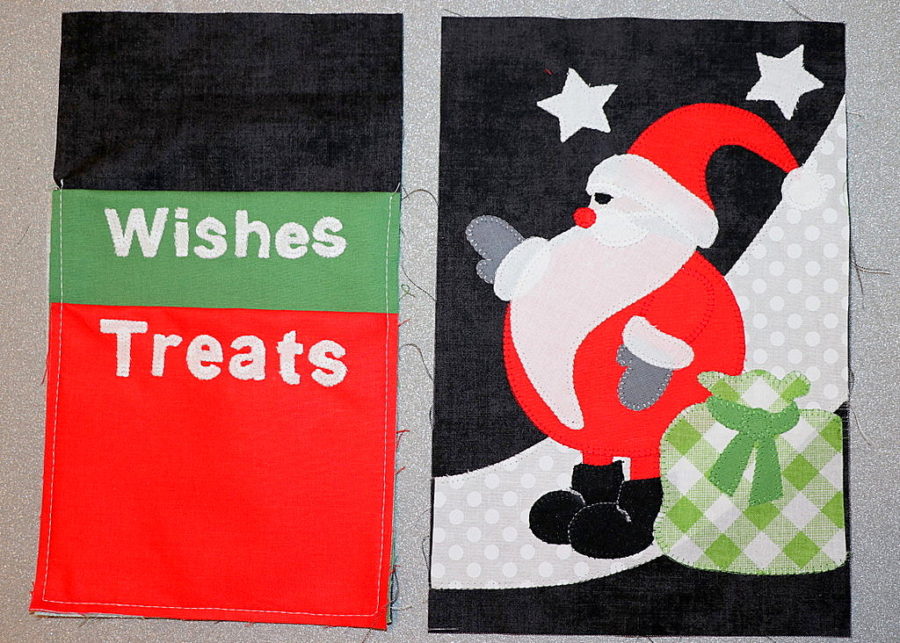
Santa Wishes and Treats Cookie Rug is 10″ x 12″ and has pockets to hold that special note and yummy cookie.
Assembling the cookie rug is so easy when using Therm O Web’s amazing products like Heat n Bond EZ Print Lite Sheets, Stitch n Sew Fleece Sew-in High Loft, Heat n Bond Fusible Interfacing, and Spray n Bond Basting Adhesive.
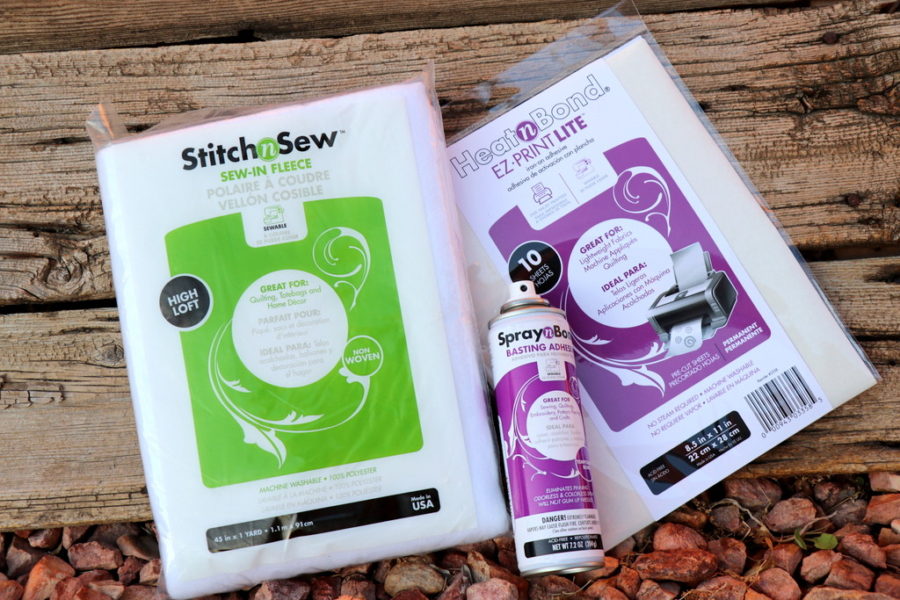
Supplies you’ll need:
Heat n Bond EZ Print Lite Sheets,
Stitch n Sew Fleece Sew-in High Loft
Heat n Bond Fusible Interfacing
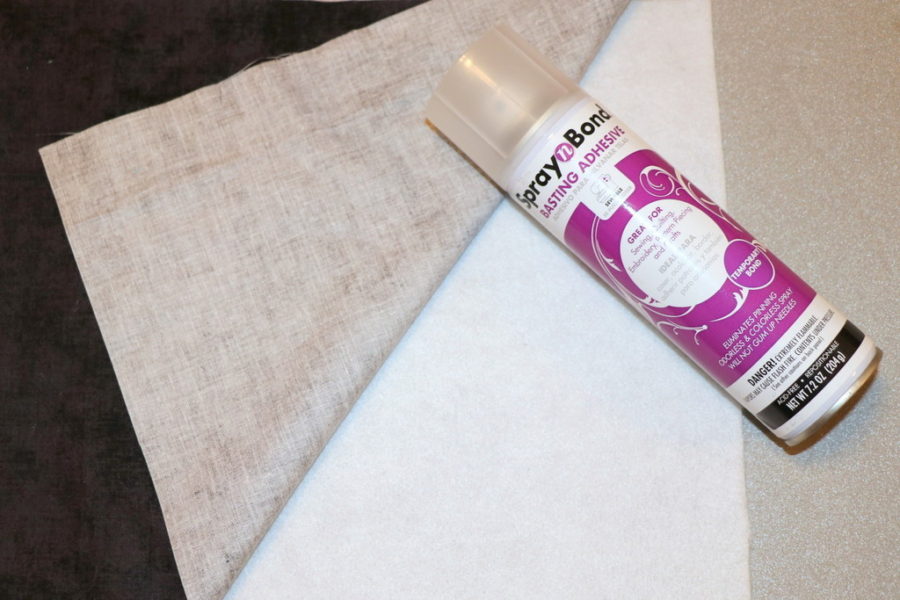
Spray n Bond Basting Adhesive
Oliso Mini Project Iron
Fabric needed:
8-9 fat quarters in red, black, white, green, gray, green checks, red stripes, light pink
Cutting instructions:
Cut 1 – 7” x 10½” (A), black
Cut 1 – 6” x 10½” (B), black
Cut 1 – 6” x 14½” (C – pocket 1) – green
Cut 1 – 6” x 10½” (D – pocket 2) – red
Cut 1 – 6” x 7¼” iron-on interfacing (C – pocket 1)
Cut 1 – 6” x 5¼” iron-on interfacing (D – pocket 2)
Cut 2 – 2½” x 42” (Binding) – stripes
Cut 1 – 11” x 13” backing (trim later)
Cut 1 – 11” x 13” batting (trim later)
Santa Cookie Rug Instructions
Sewing/Applique Instructions: Seams are sewn 1/4” wide
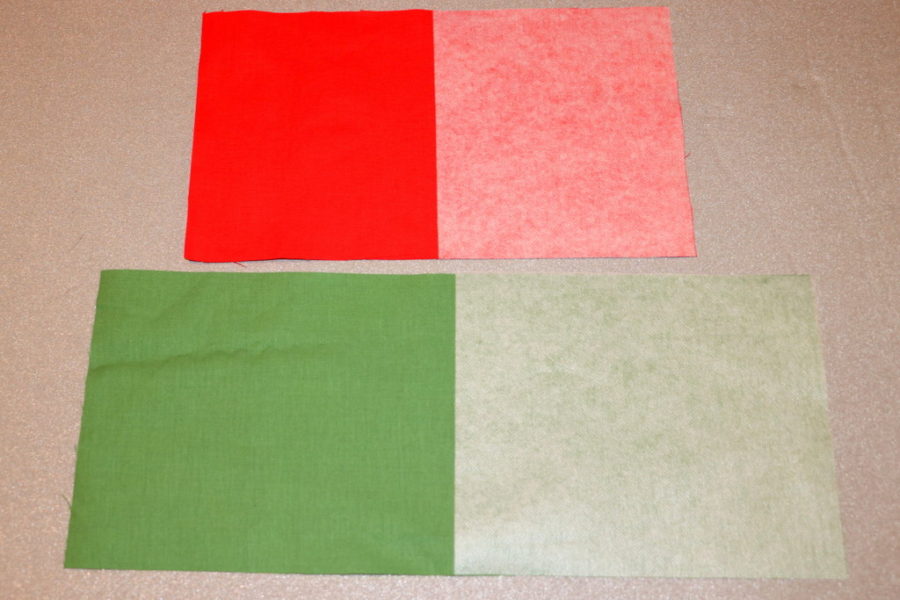
Step 1: Pocket (C) – Apply 6” x 7¼” iron-on interfacing to the wrong side of the bottom half of 6” x 14½” fabric following manufacturer’s directions. Fold in half, wrong sides together, and press crease.
Step 2: Pocket (D) – Apply 6” x 7¼” iron-on interfacing to the wrong side of the bottom half of 6” x 14½” fabric following manufacturer’s directions. Fold in half, wrong sides together, and press crease. *The interfacing adds stability to the pocket as well as making it easier to sew small applique pieces.
Step 3: Applique Instructions – Prepare the applique patterns using iron-on adhesive; follow package directions. Iron adhesive pieces to the wrong side of fabrics following package directions. Cut out applique pieces. Peel off paper liner from the backs of applique pieces.
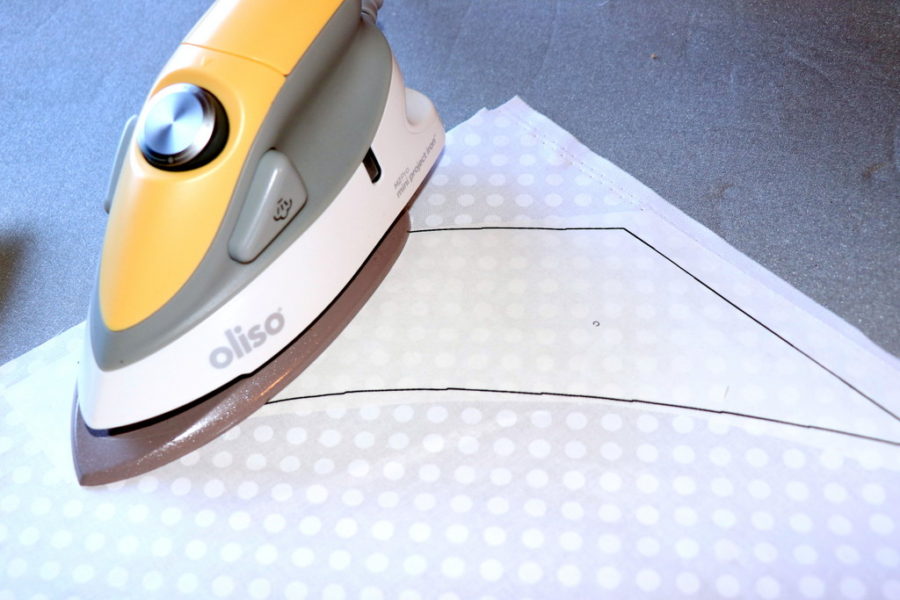
Step 4: Place applique designs, adhesive side down, on the right side of the fabric section. Press according to package directions until the entire piece is bonded. Let cool. Sew around edges of applique using a straight, zig-zag, or blanket stitch.
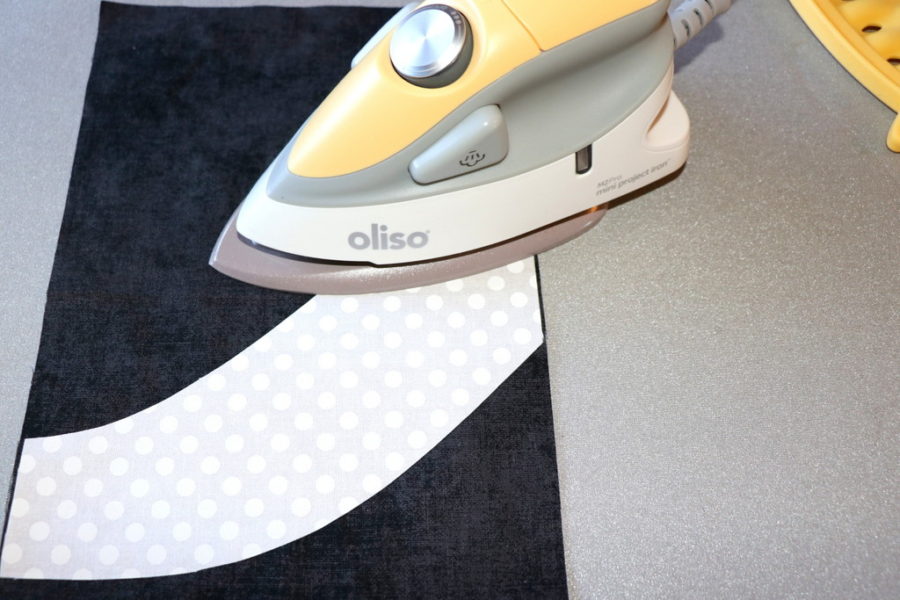
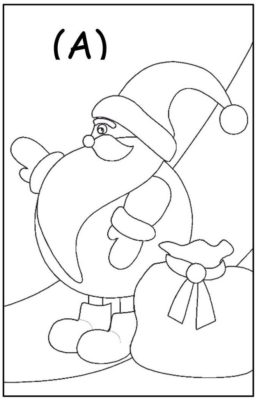
(A) – Applique pieces “C” and “Y” (behind Santa and bag) should have edges placed along background fabric’s raw edges so they will be sewn into seams.
(C) – Fold fabric right sides together and press the fold. Open and apply “Wishes” on the lower half following applique instructions.

(D) – Fold fabric right sides together and press the fold. Open and apply “Treats” on the lower half following applique instructions.

Step 5: (Pockets C and D) Place folded pocket (C) at bottom of “B” with raw edges together. Place folded pocket (D) at bottom of pocket C, raw edges together. Baste around raw edges of pockets. With right sides together, sew (B/C/D) to (A). Press seams open.
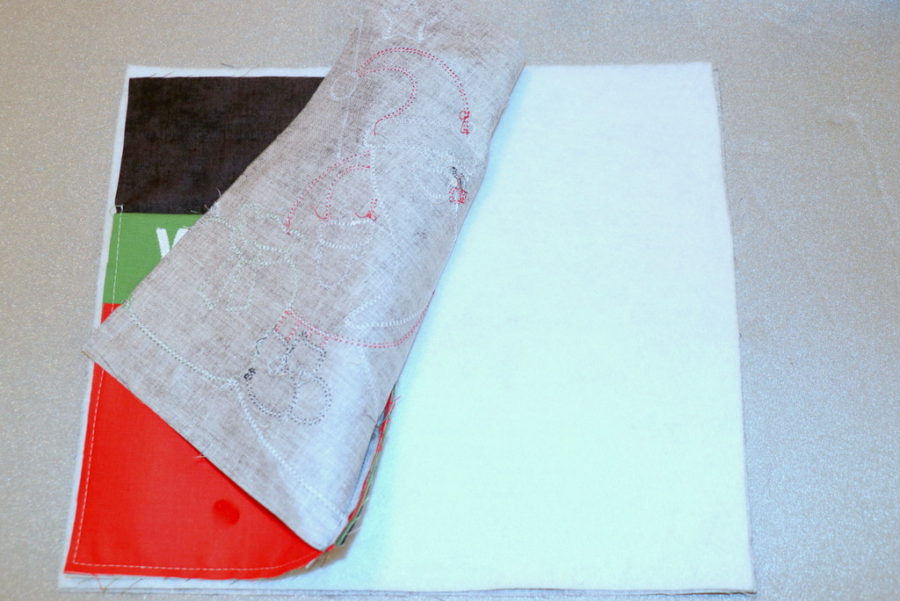
Step 6: Finish “Santa Wishes and Treats”: *Assembly with batting and basting spray – Protect the area where you will be working by placing an old sheet of paper under and around the area you’ll be spraying. Place the batting on the work area, smoothing to remove wrinkles. Spray the batting with basting spray. Place the wrong side of backing on sprayed batting. Smooth to remove wrinkles.
Turn over and spray the other side of the batting. Place “Santa Wishes and Treats” front, the wrong side down, on top of the batting. Smooth to remove wrinkles. Let dry. Having the batting a bit larger than the backing is suggested.
Trim edges and square-up quilt to 10” x 12”. Quilt if desired and add the binding.
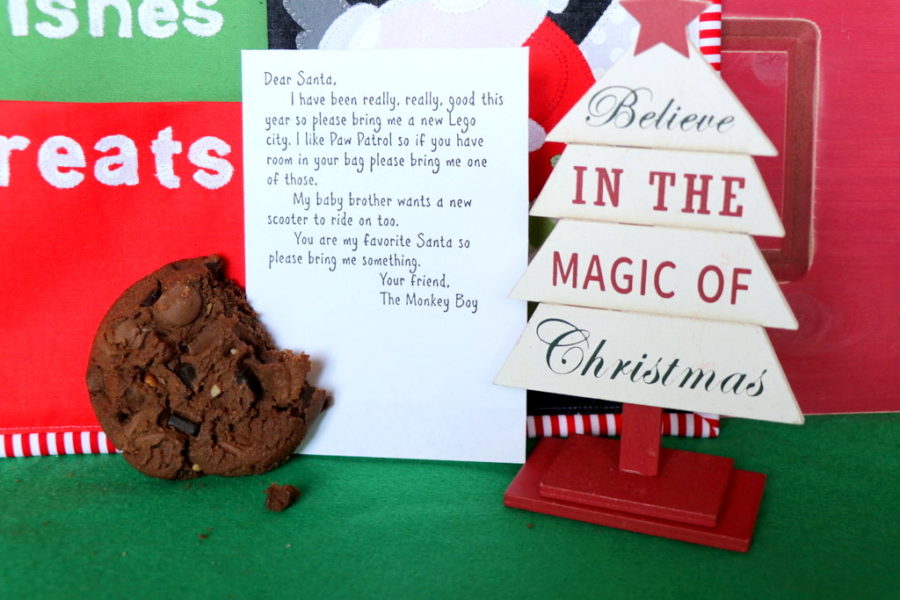
On Christmas Eve, add a letter, cookie, or treat to pocket along with a mug of hot chocolate. Santa will love you!
You can find the PDF instructions and applique designs for “Santa Wishes and Treats” HERE.
Jacqueline Hale
November 26, 2019 at 4:21 pm (6 years ago)Thank you for the cute mug rug!