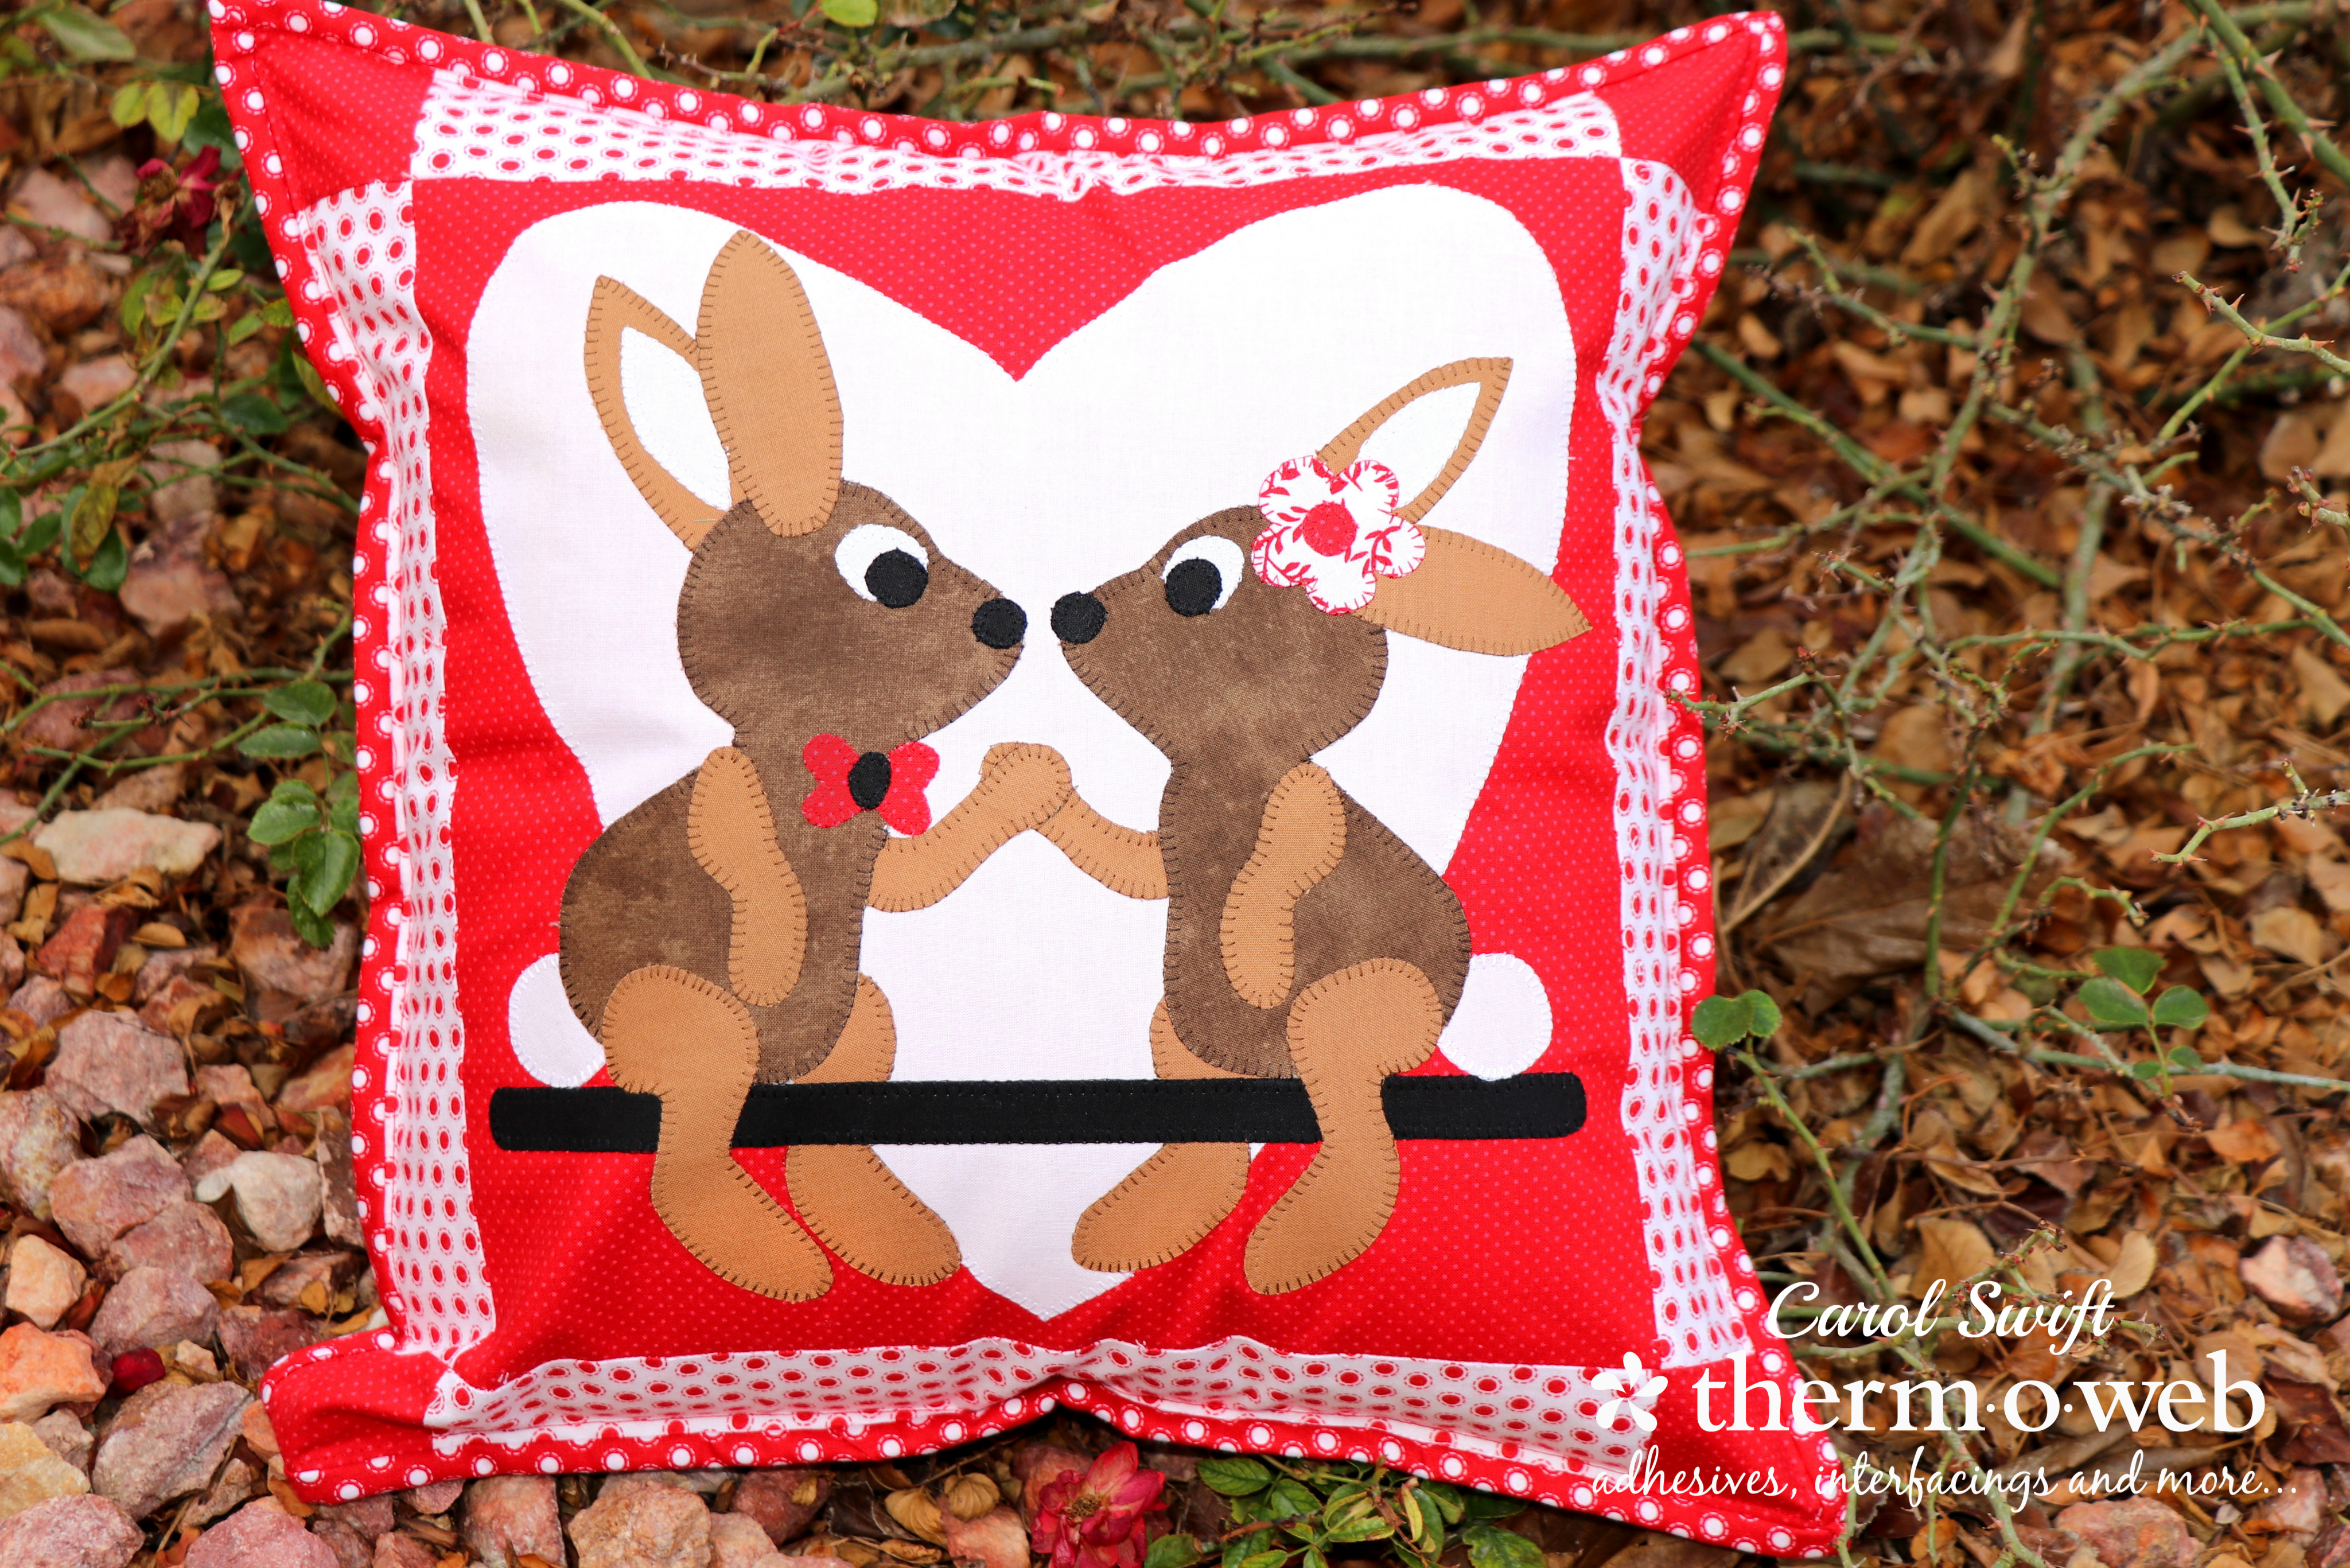
Valentine’s Day usually means love, hugs, kisses, and lots of crafty things to make. I think it’s the sweetest holiday ever, especially with all those yummy chocolate bunnies. Do you eat their ears first? I admit that I do…I just can’t help myself! “Valentine Love Bunnies” pillow has two bunnies you can’t eat, but it is still a fun little pillow to snuggle with. Its finished size is 16” x 16” and involves piecing and raw edge applique. This pillow is easy to put together, especially when you use HeatnBond Lite, Iron-on Adhesive for the applique.
“Valentine Love Bunnies” Pillow by Carol Swift, Just Let Me Quilt
Recommended supplies:
Heat n Bond Fusible Interfacing
Heat n Bond Lite, Iron-on Adhesive or EZ Print Lite Sheets
Spray n Bond Basting Adhesive
Fabric Fuse Adhesive
Purple Tape
Aurifil Thread 50wt
Oliso Purple Iron
Ironing board
Scissors/rotary cutter
Fabric
16” zipper
16” pillow form
“Valentine Love Bunnies” pattern
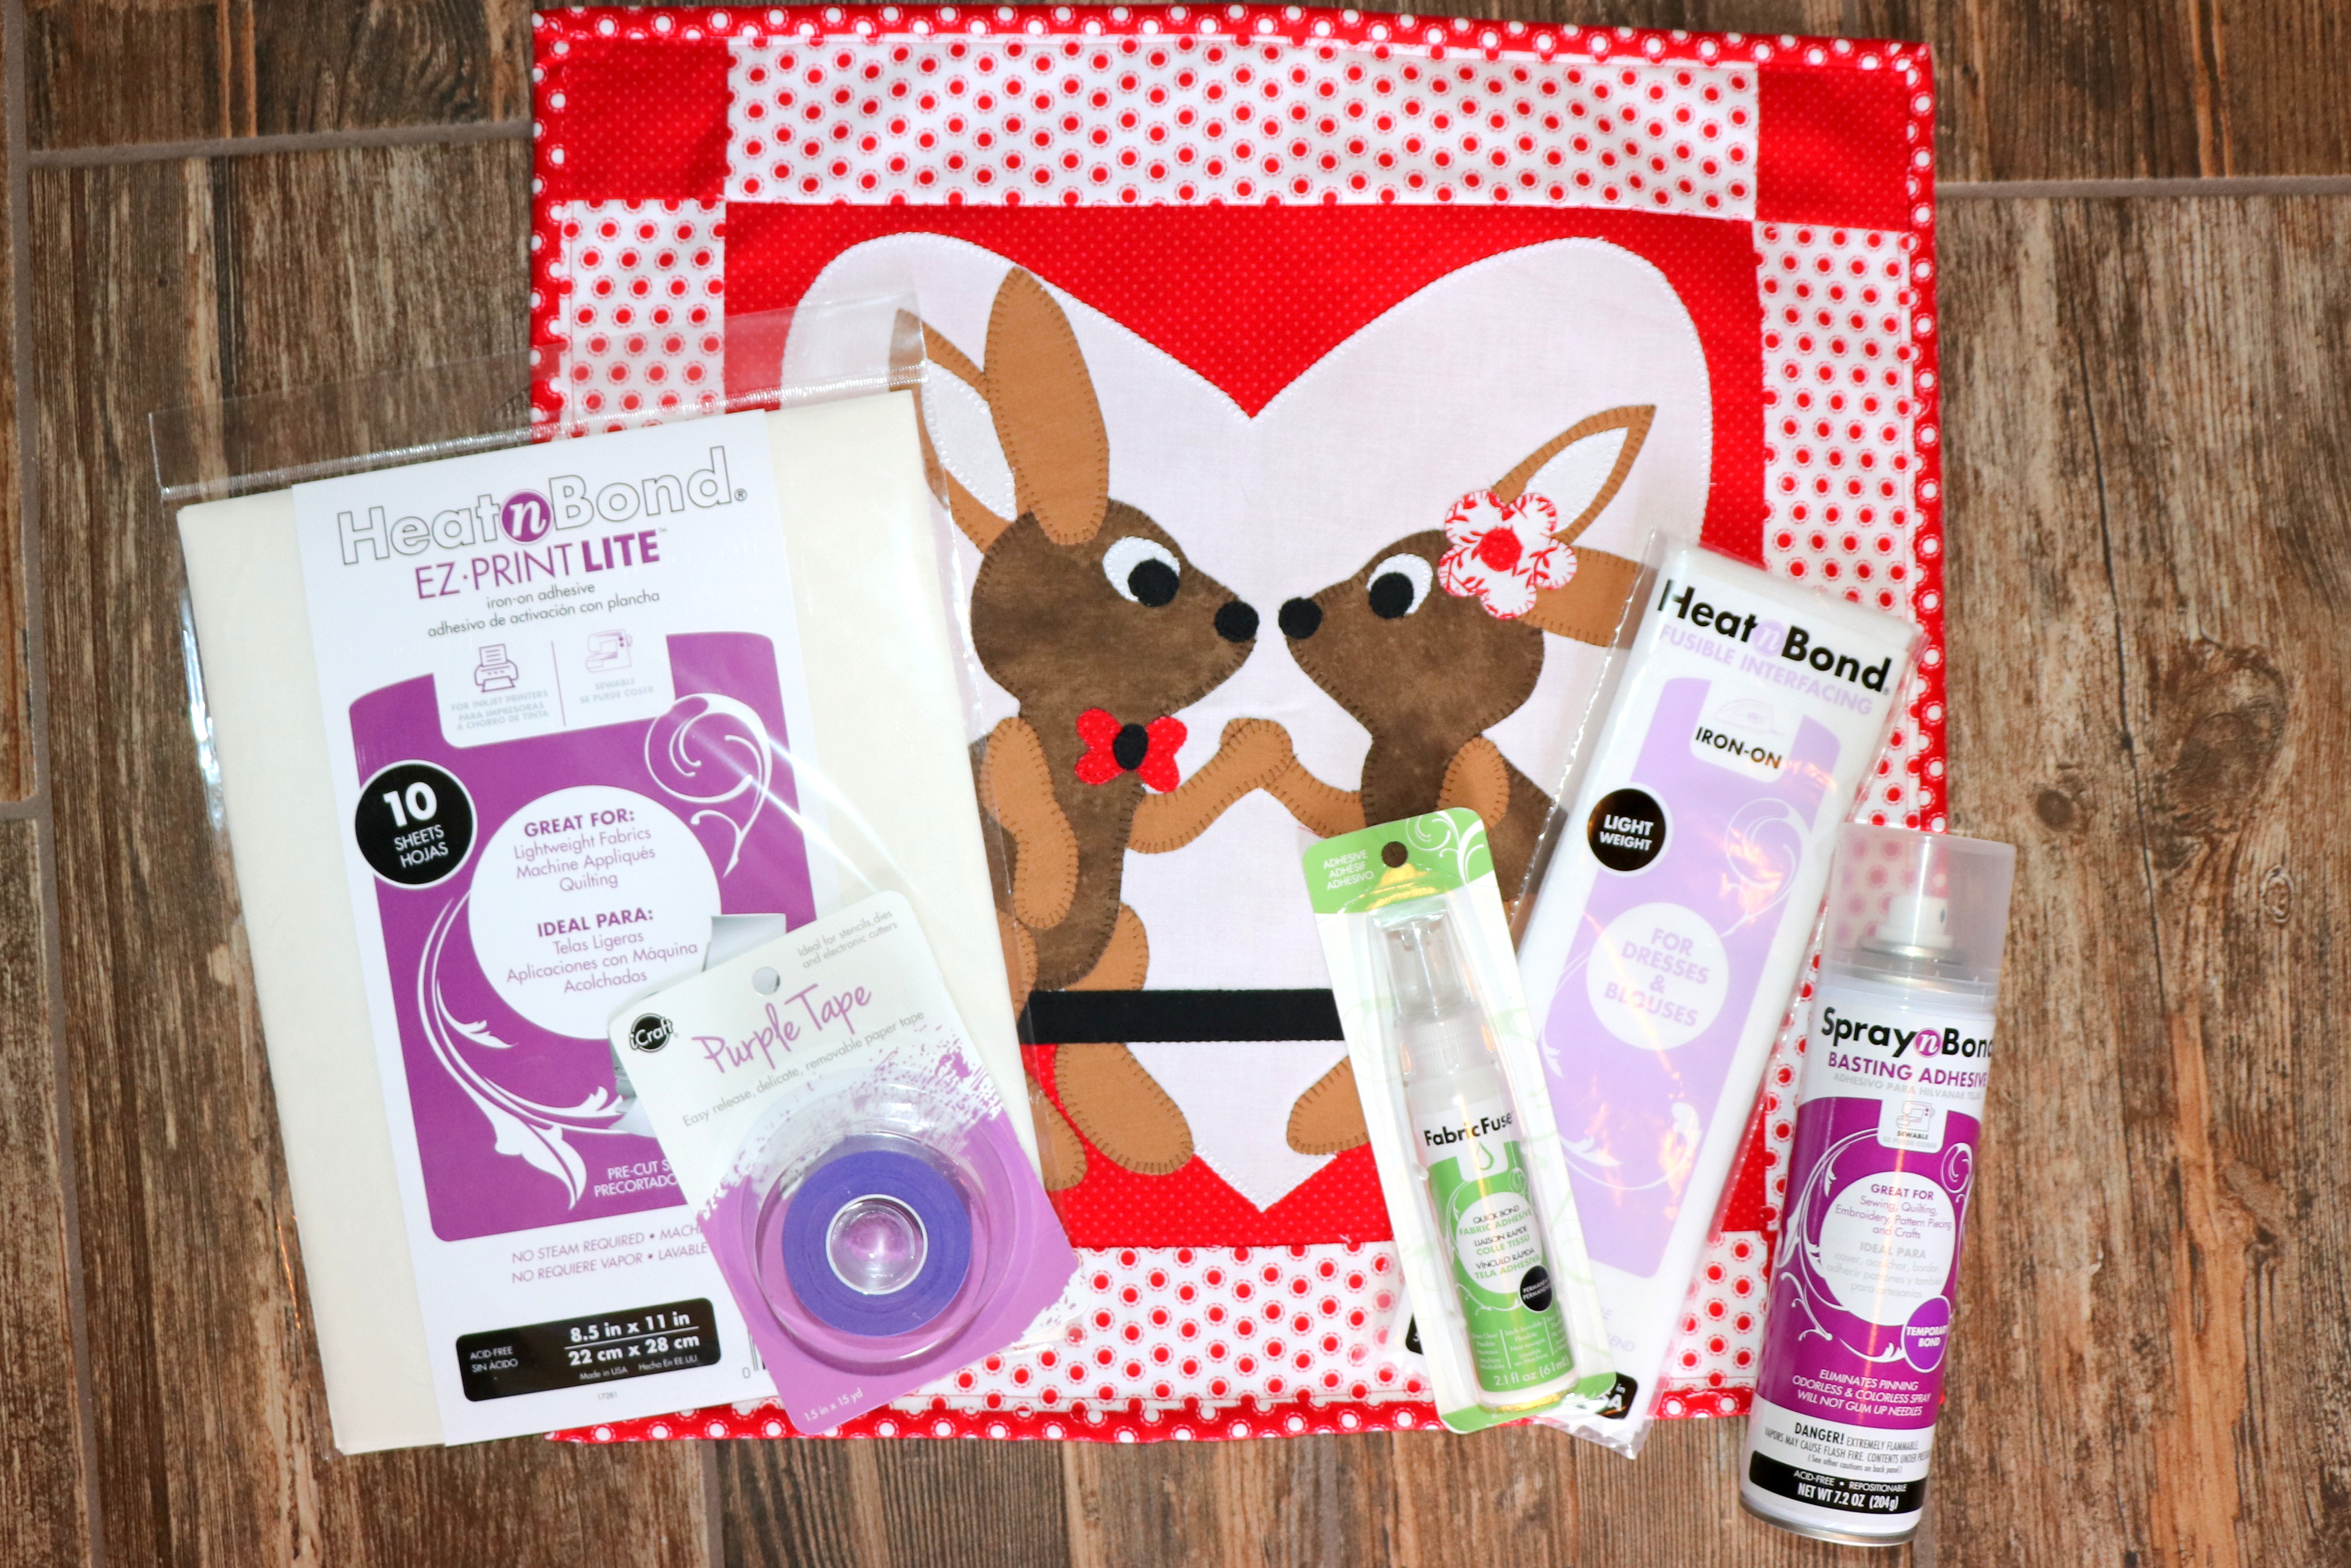
Valentine Love Bunnies Pillow
Pillow assembly:
Follow the pattern directions for cutting fabric and adding borders to the center background block. Ironing Heat n Bond Fusible Interfacing to the wrong side of applique fabric backgrounds is optional, but it adds stability when sewing around small pieces. It also helps give the pillow front a firmer look. Be sure to follow the package directions and use a pressing cloth when applying.
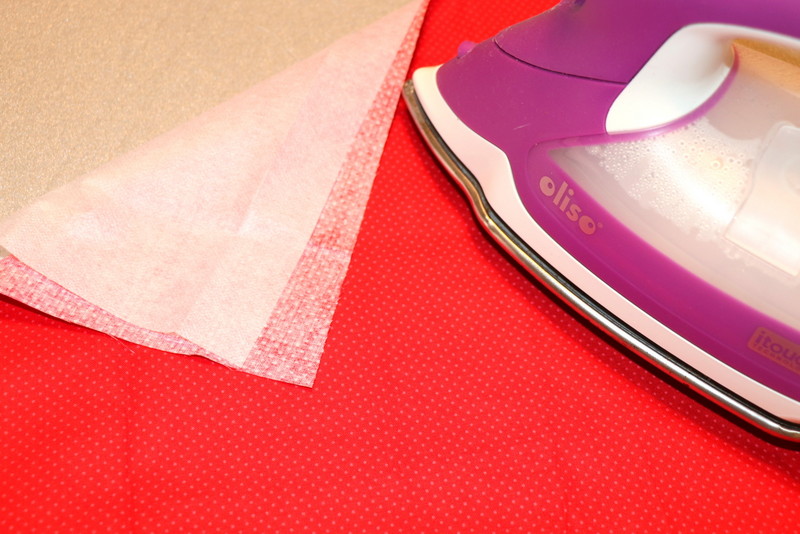 When using Heat n Bond Lite, Iron-on Adhesive, trace the designs on the smooth side of the paper. Another easy way to get your designs on the adhesive with no tracing is to use EZ Print Lite Sheets. The sheets can be run through an inkjet printer making them ready for ironing. Be sure to reverse the designs if needed. Once your applique designs are ready, iron them to wrong sides of fabrics, rough side down, following package directions. Let cool. Cut out applique pieces.
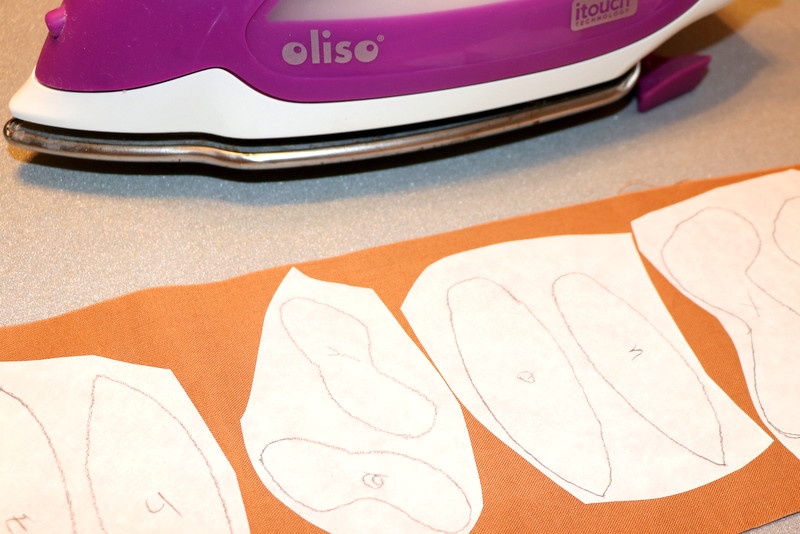
Peel off paper liner from the backs of applique pieces. You’ll love how easy it is to remove the protective paper without the need to score the paper.
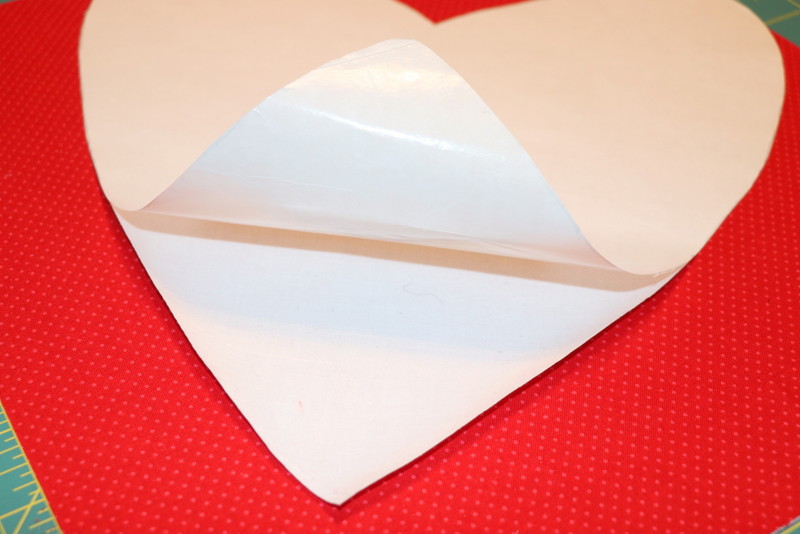
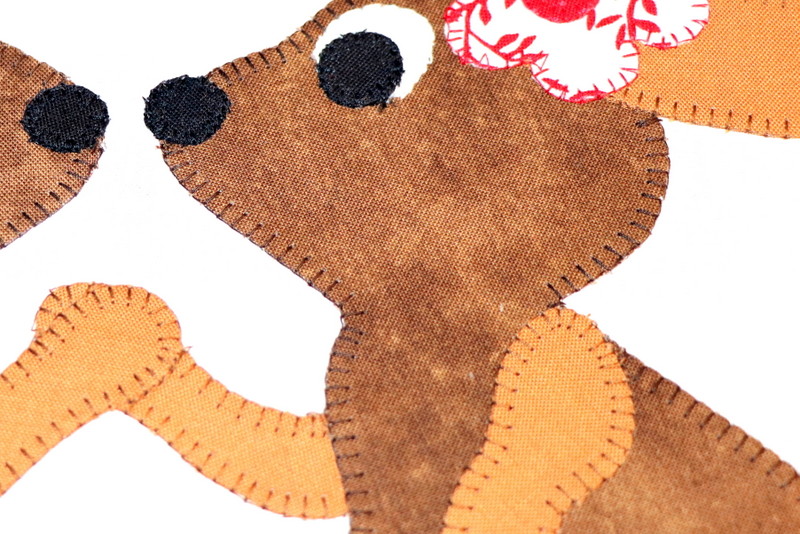
Place applique, adhesive side down, on the right side of the fabric. Press according to package directions until the entire piece is bonded. Let cool. *Tip: Use a heat resistant applique sheet to arrange your applique before applying it to your fabric. This helps avoid mistakes in placement. Just lightly press the pieces in place on the applique sheet and let cool before removing. Peel off and set in place. Iron on the right side of fabric following manufacturer’s directions. Sew around edges of applique using a straight, zig-zag, or blanket stitch.
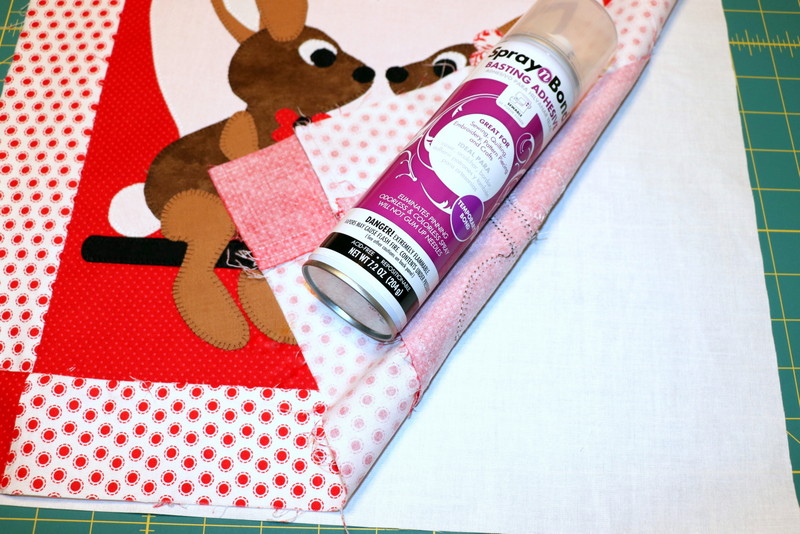
Place pillow front and pillow lining with wrong sides together. Baste around outside edges or use Spray n Bond Basting Adhesive to secure in place. Protect the area you’ll be spraying by placing paper or other cloth underneath. Spray the wrong side of lining and place it on the wrong side of pillow front. Smooth in place and let dry.
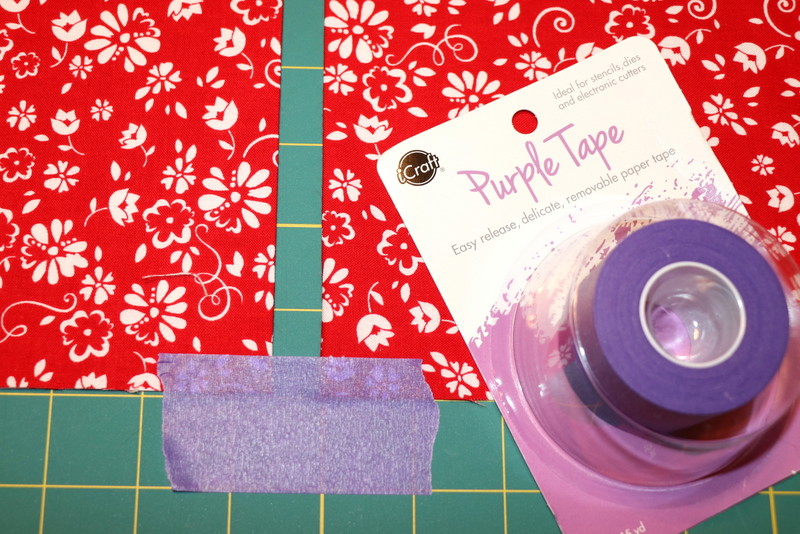
Adding a zipper to the back of the pillow is not complicated if you use Fabric Fuse Adhesive and Purple Tape. Fold pillow back squares in half, wrong sides together. Press folds. Lay folded edges side-by-side with about a 1/2” gap between them. Use Purple Tape to hold both ends of fabric in place. It’s okay, it won’t leave any residue and that purple color makes it fun to use.
Squeeze a narrow line of Fabric Fuse Adhesive near the fold.
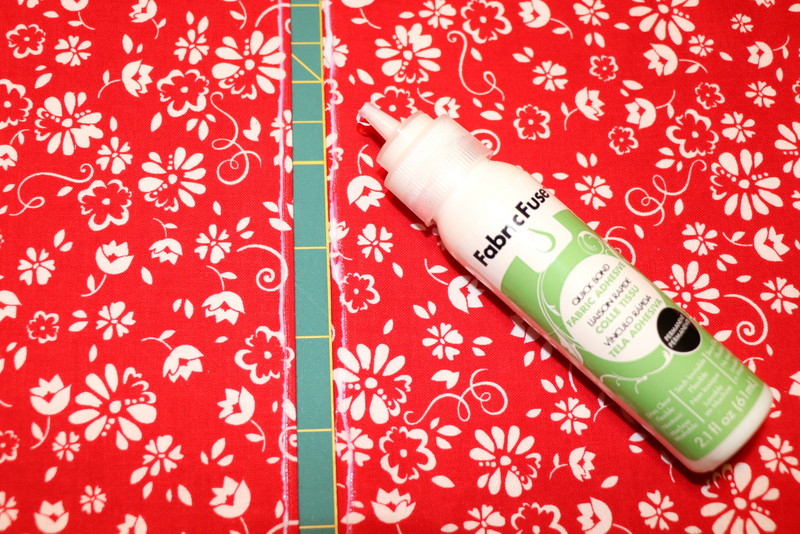
Lay zipper face down over the gap and with edges overlapping fabric on the liquid adhesive. Finger press in place and let dry. With right side up, sew a straight or zig-zag stitch on one side of zipper close to fabric fold. Repeat on the other side of the zipper.
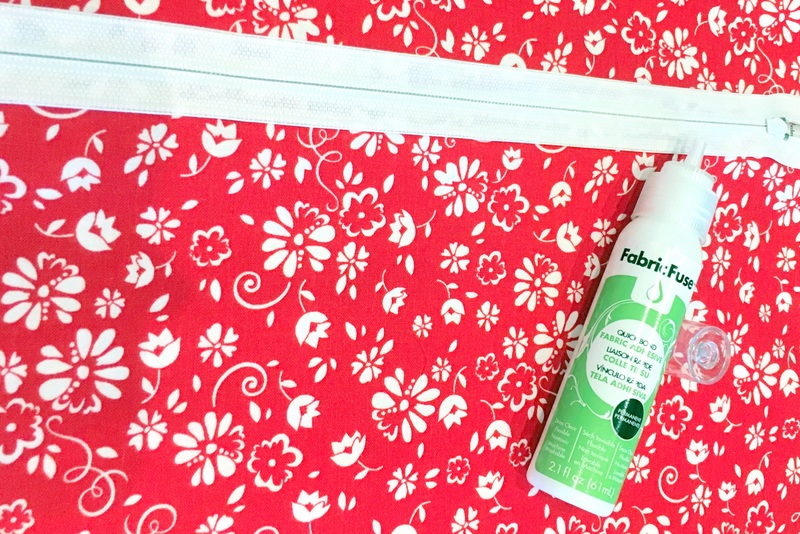
Another option is to lay the zipper face up over the liquid adhesive and gap, which looks good with fancy zippers. Sew along outer edges, being sure to catch fabric underneath.
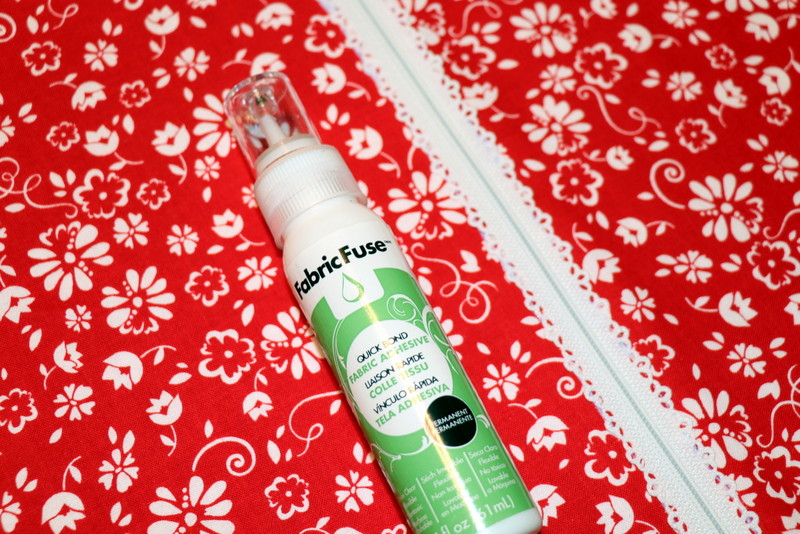
Place pillow top and zipper backing with wrong sides together. Trim edges to make them the same size. Baste around the edges. Add binding using your favorite method. Place pillow form inside pillow and zip closed.
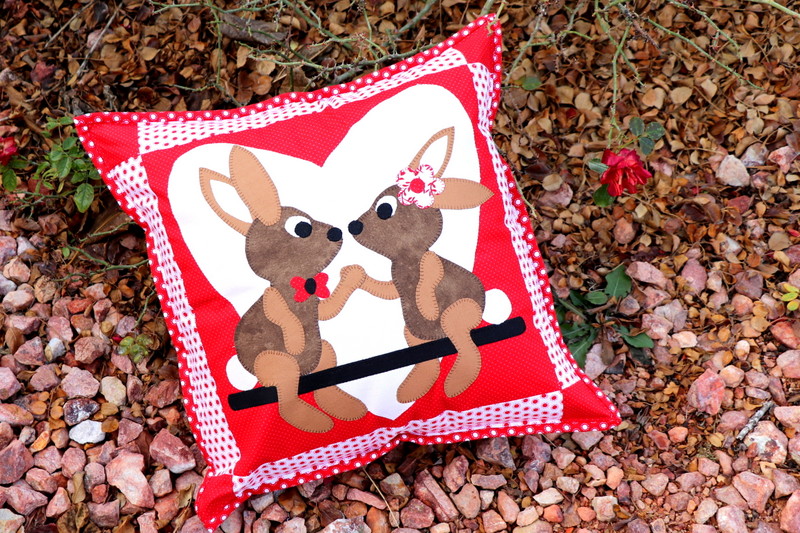
You can find the “Valentine Love Bunnies” pillow pattern in Just Let Me Quilt’s Etsy store HERE.
We’re just days away from the 2019 Winter Creativation Event.
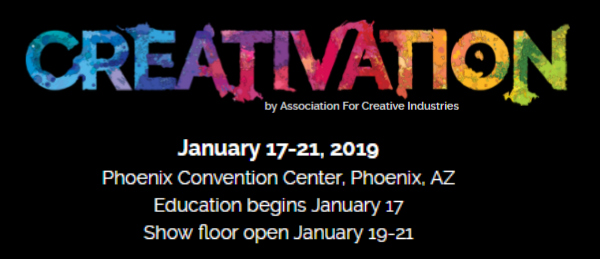
If you’re not familiar with Creativation? Creativation it is a trade-show dedicated solely to the craft and hobby industry. It’s where we along with many of our industry friends gather to showcase our newest products to our retailers. Months and months of work go into developing new products, testing those out and then bring those to fruition to bring those to the show and eventually to our consumers.
Today we’re happy to announce sneak peeks to get you excited about our 50+ (yes you read right!) 50 + new products!
You’ll want to stay tuned and visit us daily along with our social media channels to see the peeks and then be here for the release!
Today’s project uses an item we released last year at Creativation…our Purple Tape! And has it ever been a life-changing took to have on your craft table. From holding stencils in place to creating a mask to keeping dies in the right spot when die cutting..it’s a must-have. Well, we heard your plea and are pleased to present a new size in our Purple Tape!
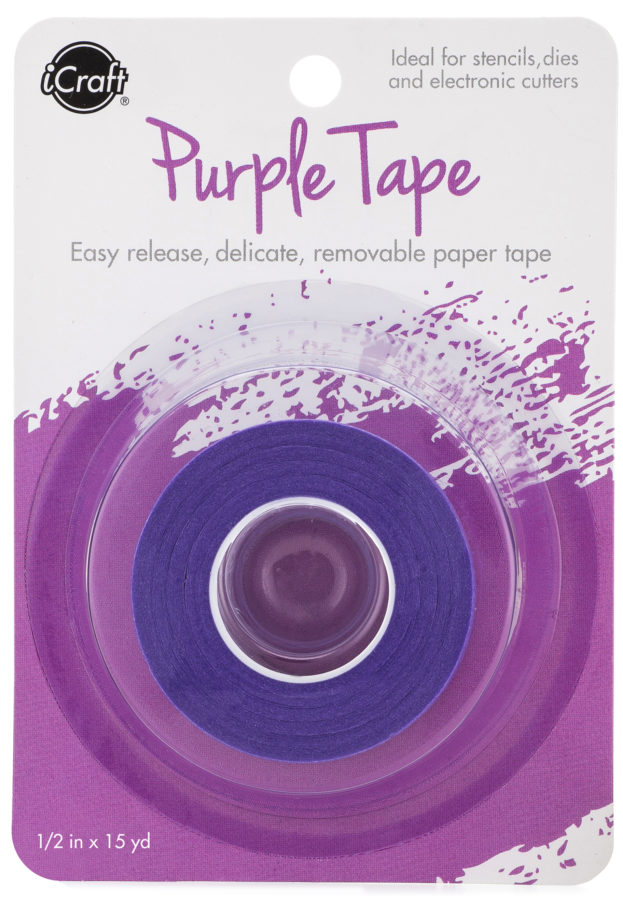
Introducing our NEW 1/2 INCH Purple Tape! Soon you’ll have a choice between our 3/4 inch and now our 1/2 inch. Both we feel should be on your craft table!
Tune in tomorrow as we talk about something colorful, that you can transfer but has texture. It’s incredible!!! (trust us!)

[…] – Valentine Love Bunnies pillow by Carol Swift of Just Let Me Quilt at […]