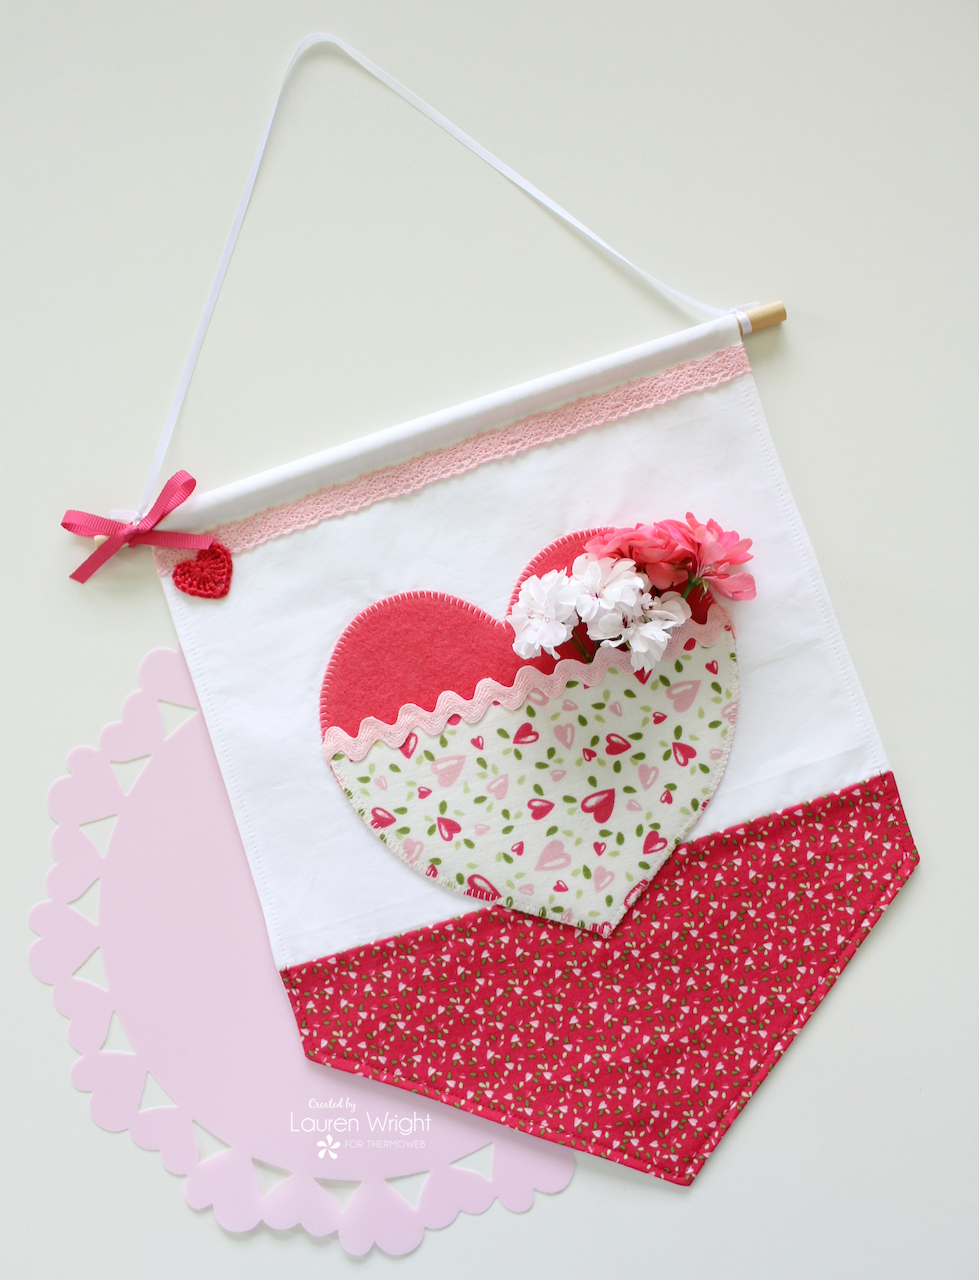
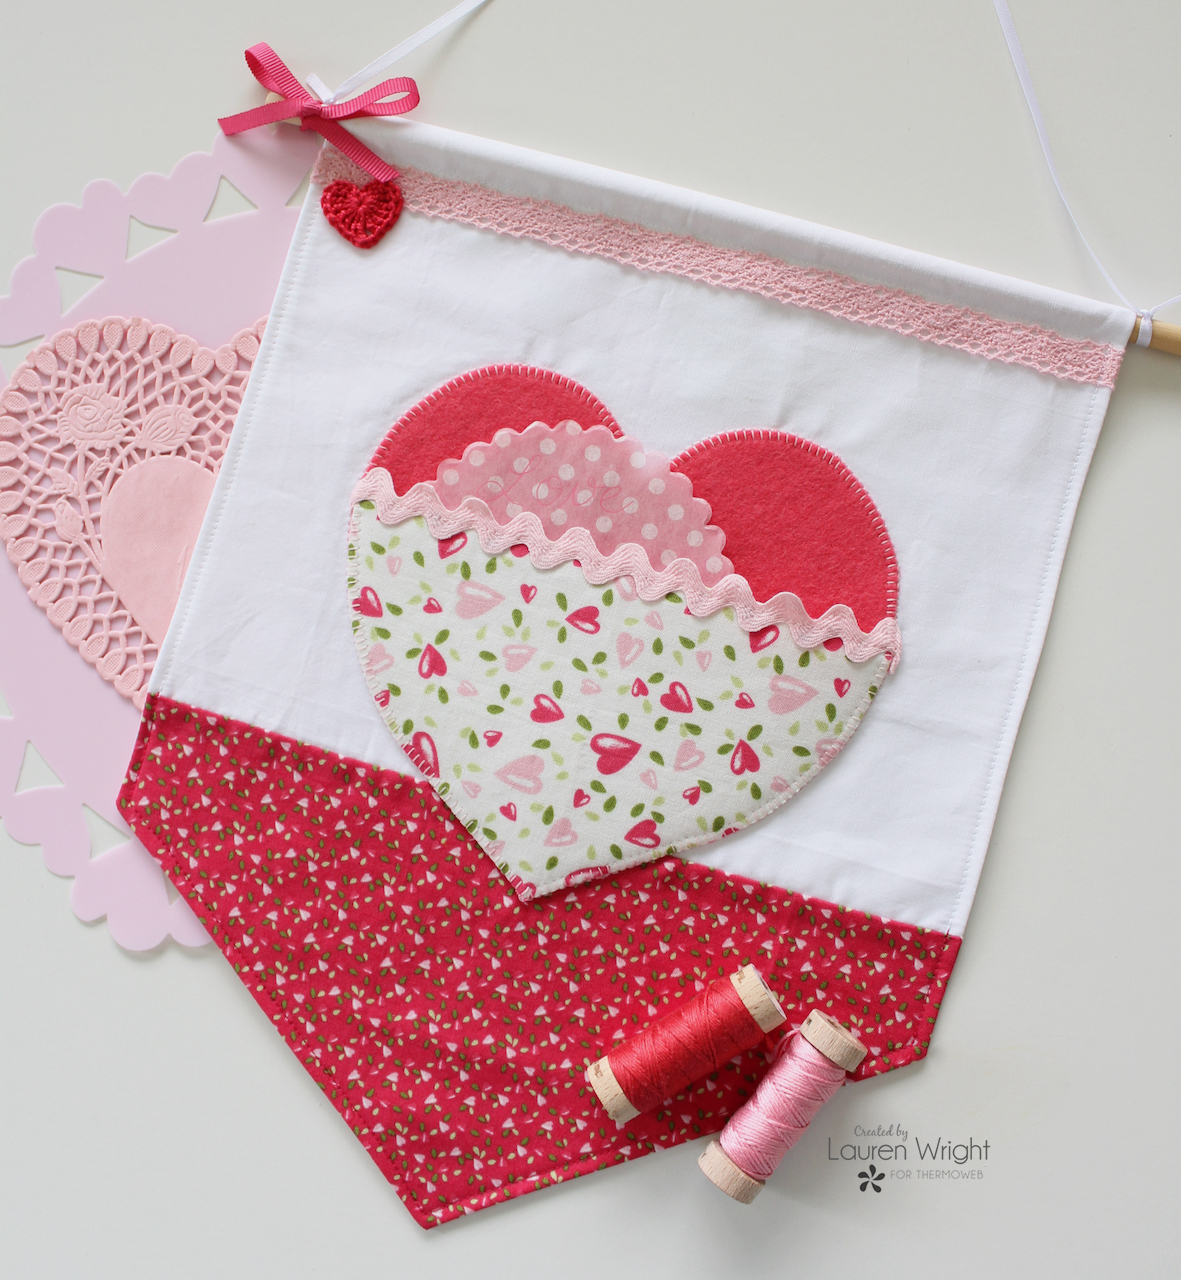
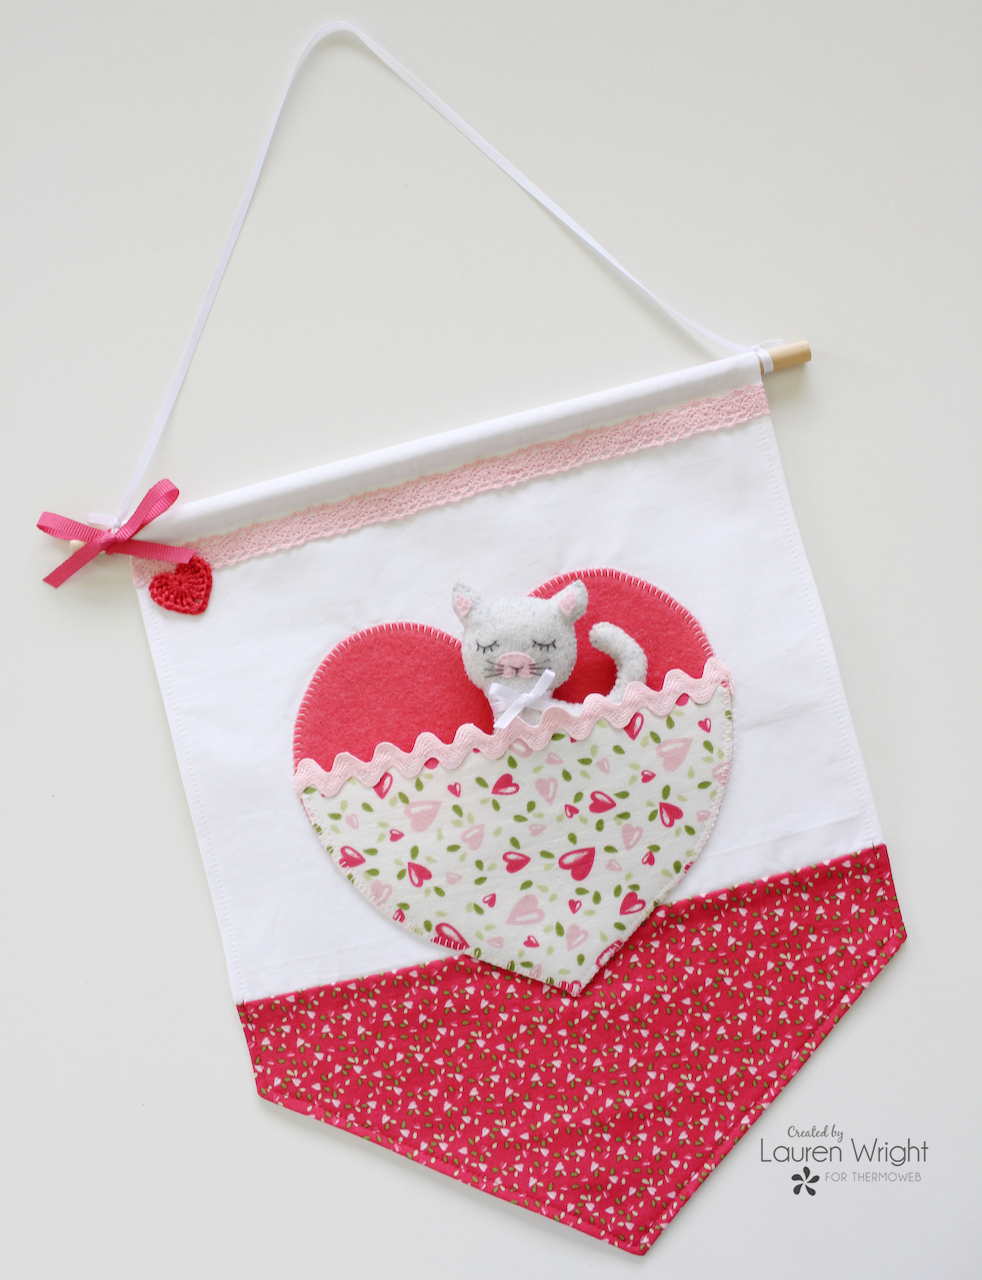
Nothing say’s Valentine’s Day like some pretty heart decor to decorate the home. This lovely wall banner has a special felt heart pocket on the front. It’s the perfect place to find a love note, a special message or even a small Valentine’s gift.
This quick and easy project can be whipped up in no time!
FINISHED SIZE: 13.5″ tall and 10.5″ wide
Materials Required
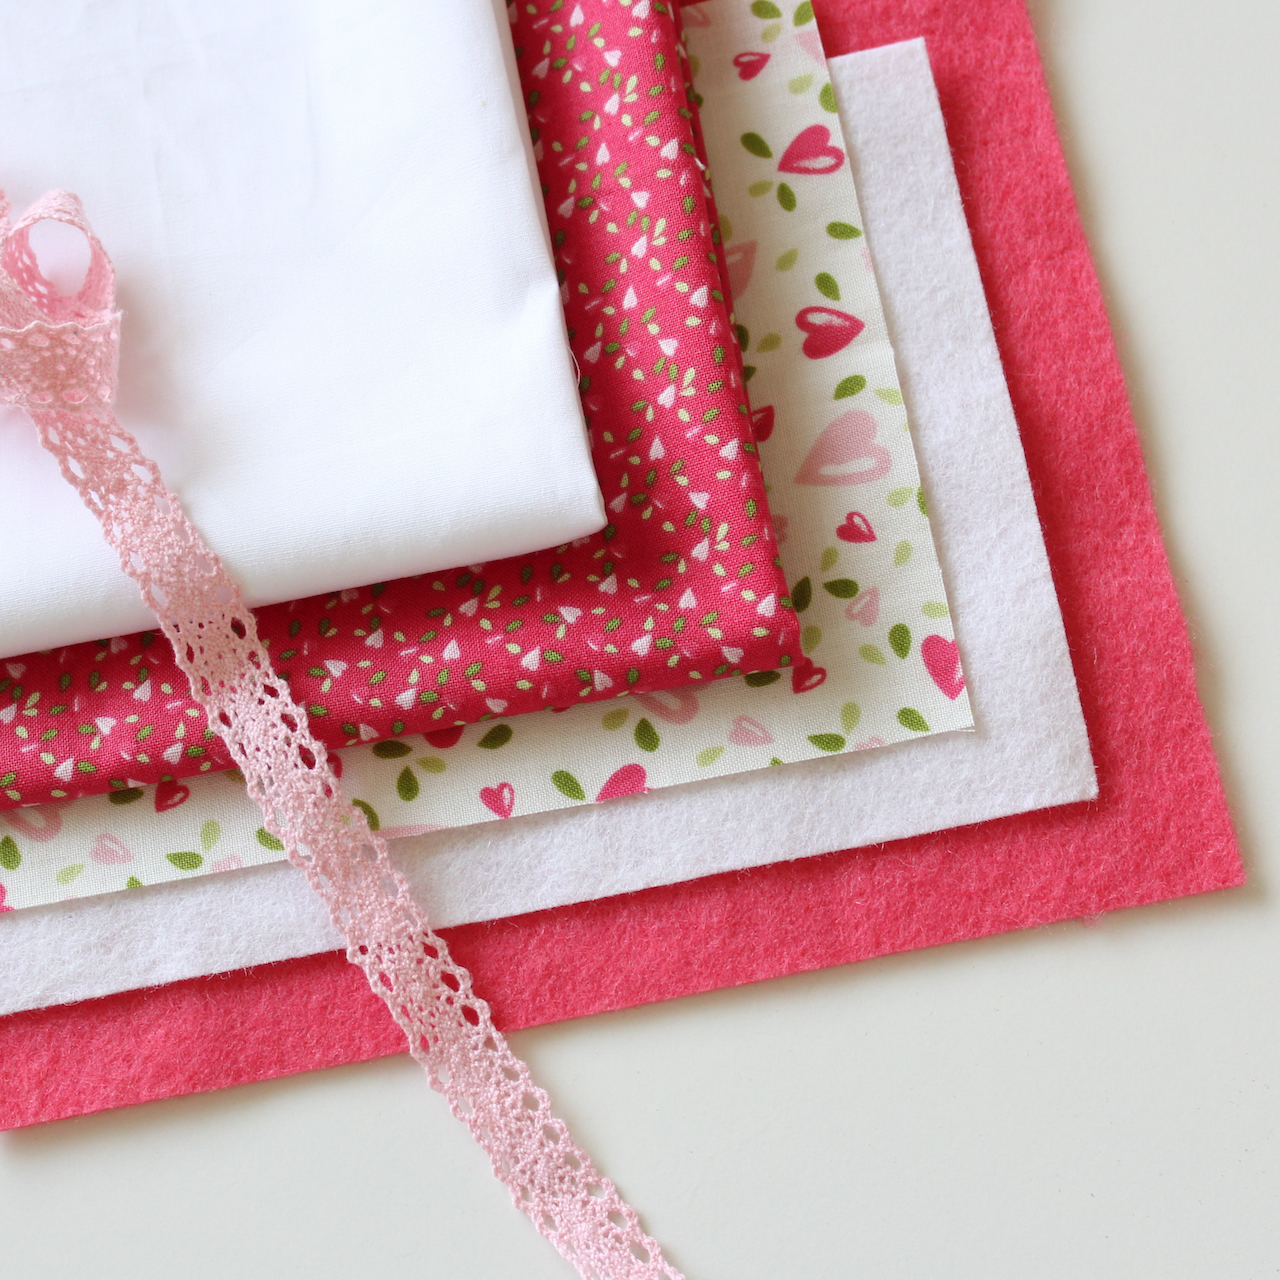
- 5″ x 8″ white wool felt
- 7″ x 8″ red wool felt
- 22″ x 11″ white cotton
- 6″ x 11″ red floral
- 5″ x 8″ white floral
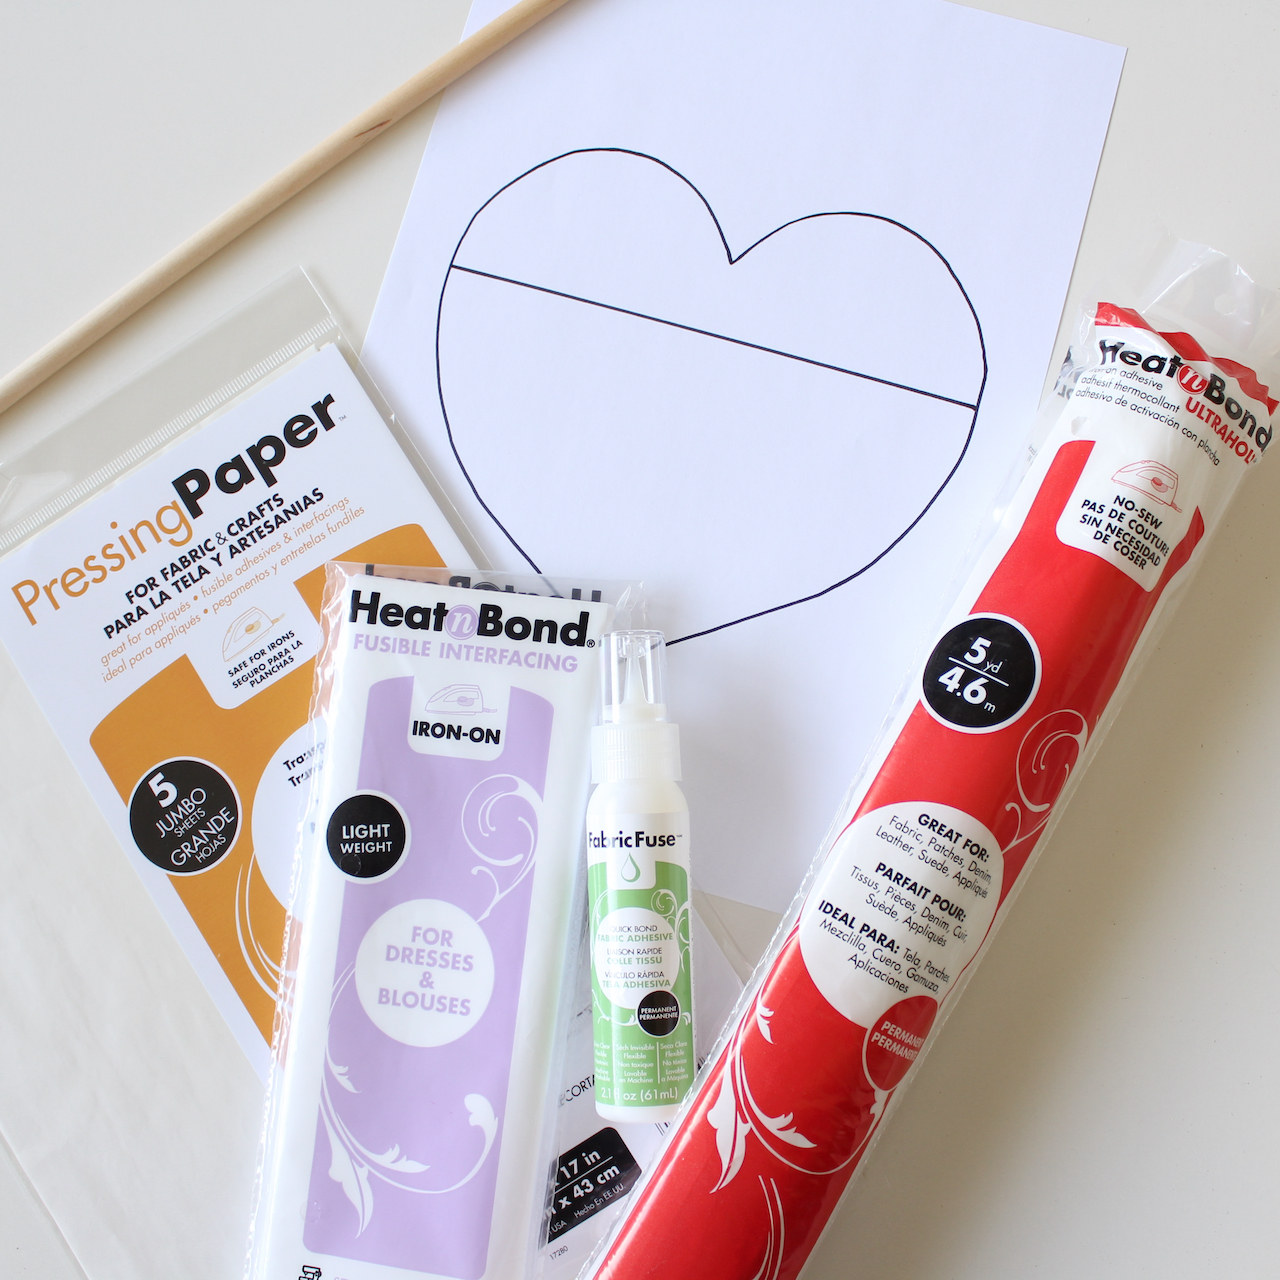
- 8″ x 11.5″ Heat’n’Bond No-Sew Ultrahold Fusible Adhesive
- 27.5″ x 11″ Heat’n’Bond Light Weight Fusible Interfacing
- 11.5″ of pale pink lace trim (3/8″ wide)
- 8″ of pale pink ric rac trim (5/8″ wide)
- 12″ dowel rod (3/8″ diameter)
- 24″ white satin ribbon (1/8″ wide)
- Pressing Paper
- Fabric Fuse Liquid Adhesive
- Print out of the Heart Template
- Erasable marking pen
- General supplies like fabric and paper scissors, ruler, pen
Let’s Get Sewing
NOTE: A 1/4″ seam allowance is used, unless stated otherwise.
Prepare the Banner Fabric
Place the red floral rectangle and the white cotton rectangle together with right sides facing along the 11″ side. Sew together so that the floral fabric will be at the base. Press the seam towards the floral print.
Following the manufacturer’s instructions, secure the 27.5″ x 11″ rectangle of interfacing to the wrong side of the fabric rectangle using an iron.
Fold the fabric in half with right sides facing and press, marking the centre fold line. Now it’s time to mark out the point at the base of the banner.
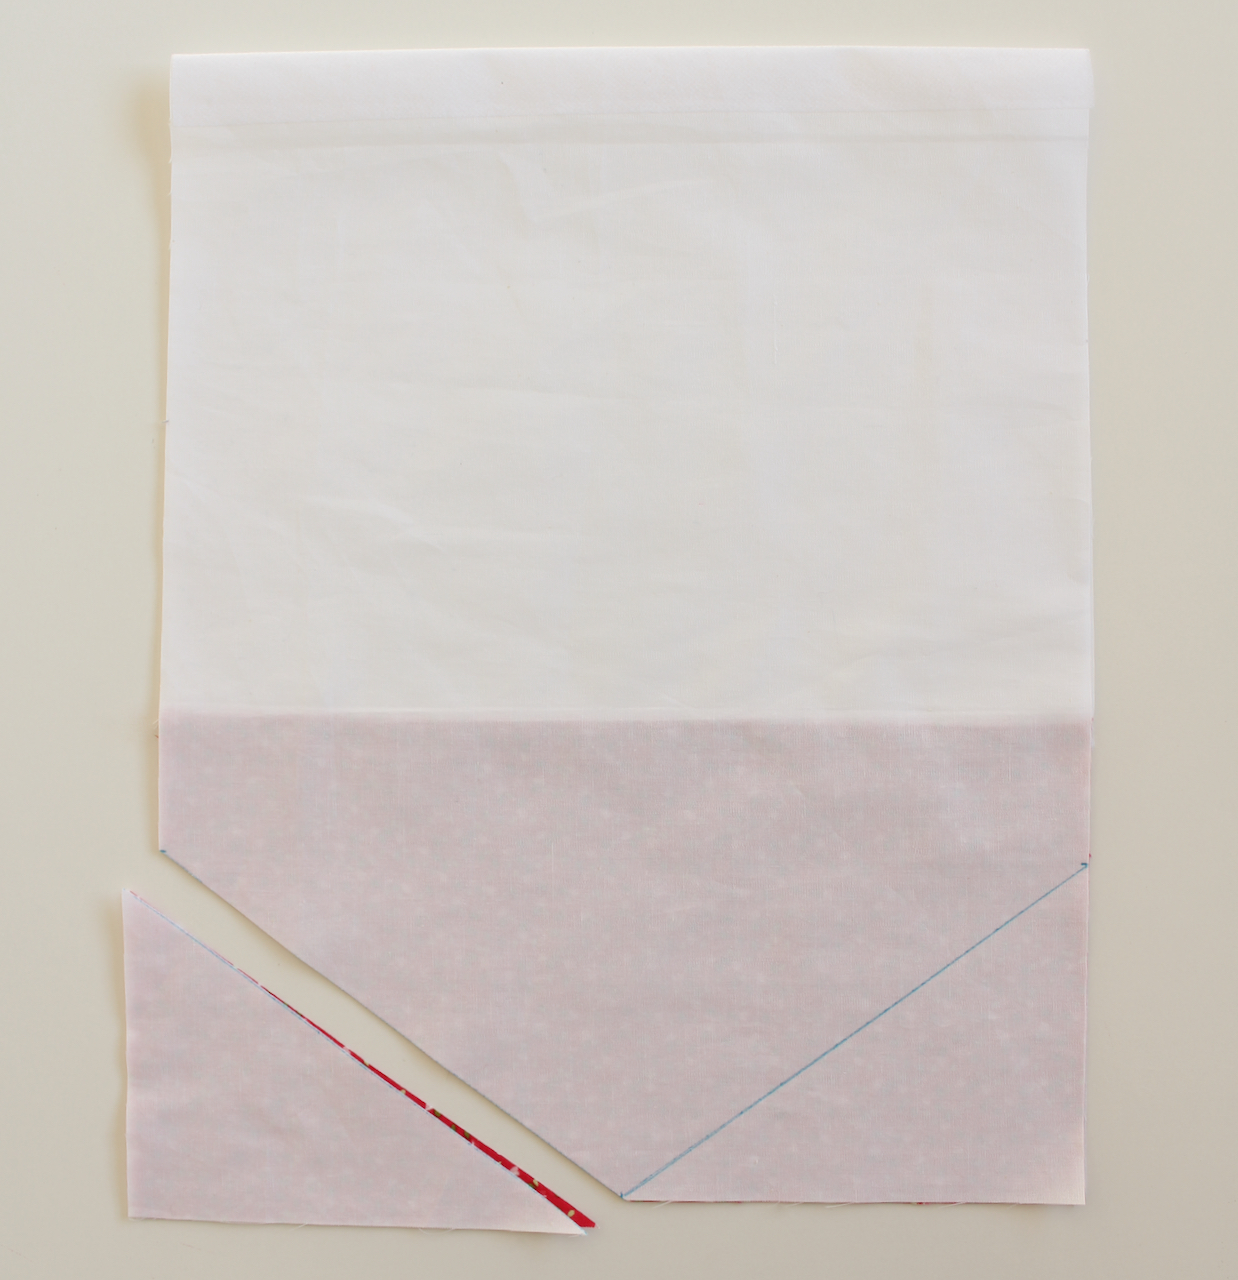
Using an erasable marker and a ruler, draw a dot to mark the centre of the 11″ fabric edge at 5.5″ (opposite the fold).
Starting at the corners of the same fabric edge, measure 4″ up on each side and also draw a dot. Join the dots from the fabric sides to the centre to make the banner point shape and then cut along the lines.
Prepare the Felt Heart
From the Ultra Bond, cut a rectangle the same size as the white floral fabric (5″ x 8″) and secure it to the wrong side of the fabric using an iron. Peel off the backing paper and position the fabric onto the 5″ x 8″ piece of white felt. Iron in place and set aside.
Save, then print out a copy of the Heart Template and cut out the entire heart shape. Centre the heart shape over the remaining ultra bond and trace around the outside. Roughly cut out the ultra bond heart about a 1/4″ from the drawn line.
Position the ultra bond heart over the red felt rectangle. Iron in place.
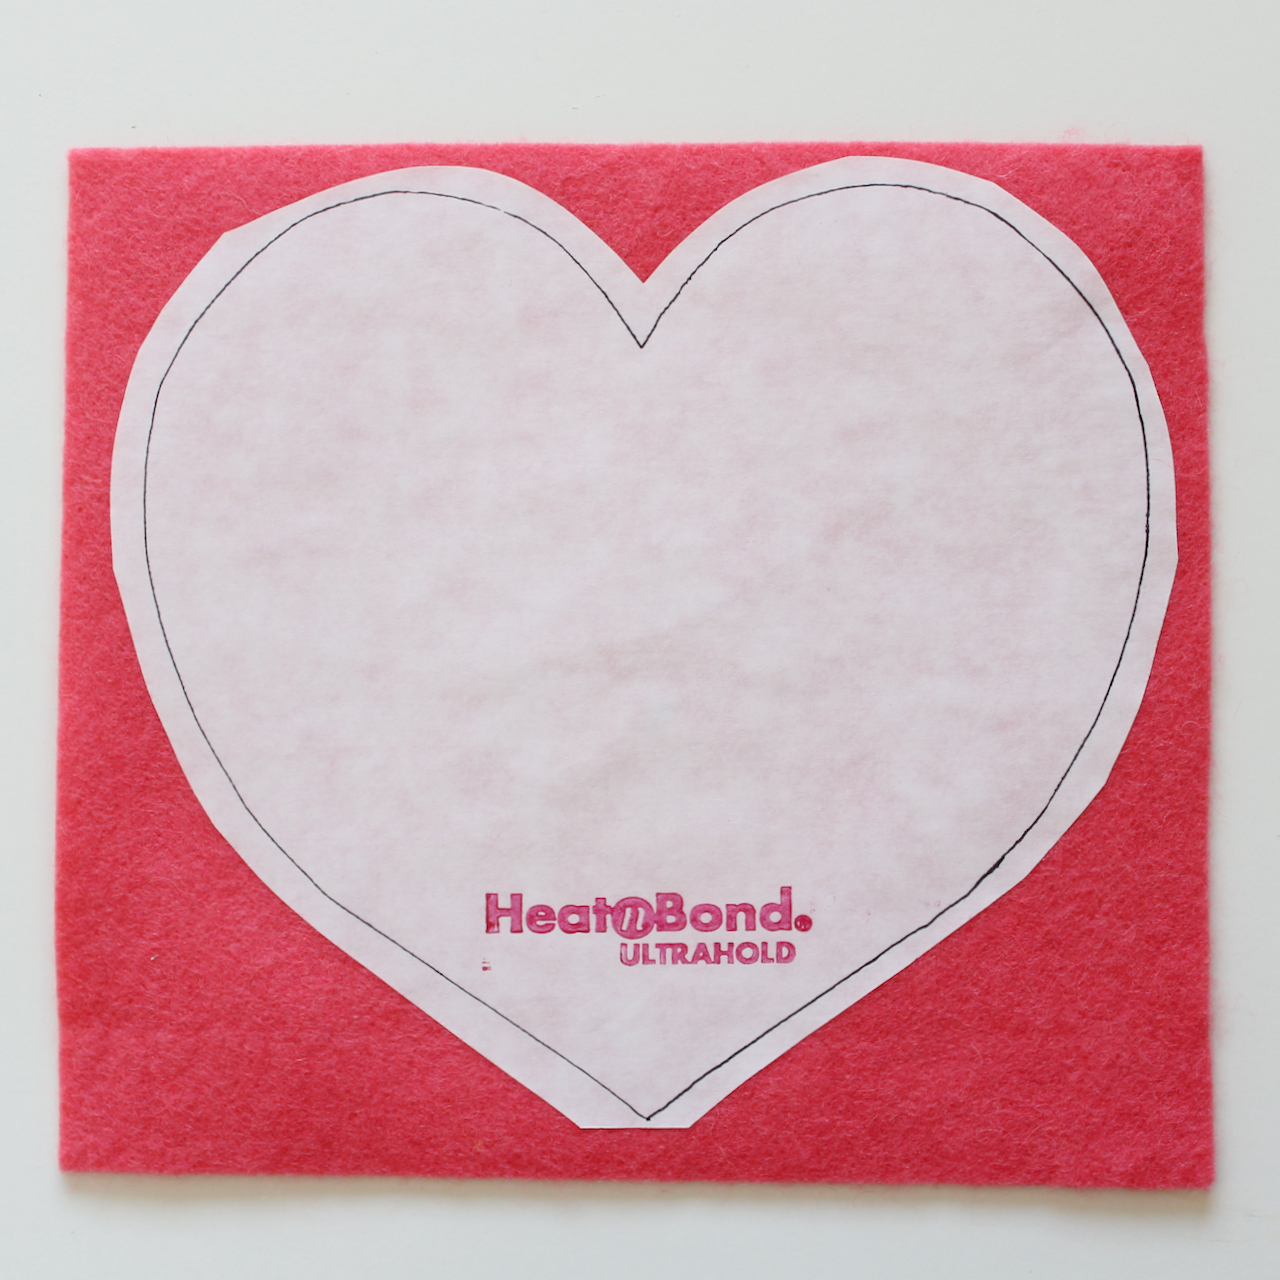
Cut out the heart shape on the line.
Cut the paper template along the solid straight line to form the bottom half of the heart. Position this template onto the fabric side of the white fabric / felt rectangle and trace the shape.
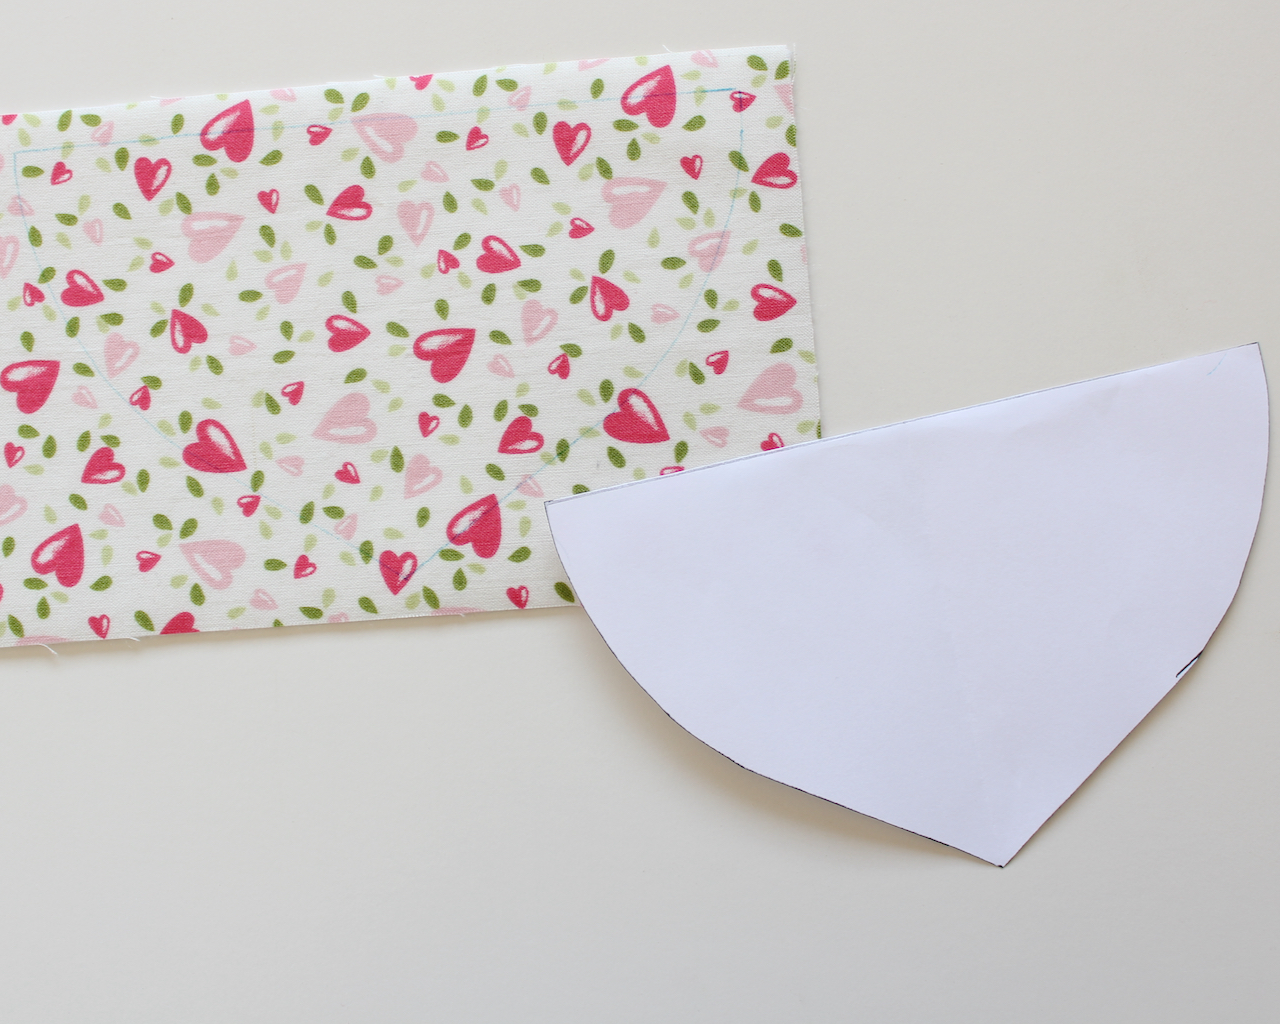
Cut out the half heart shape and peel off the backing paper on the red felt heart.
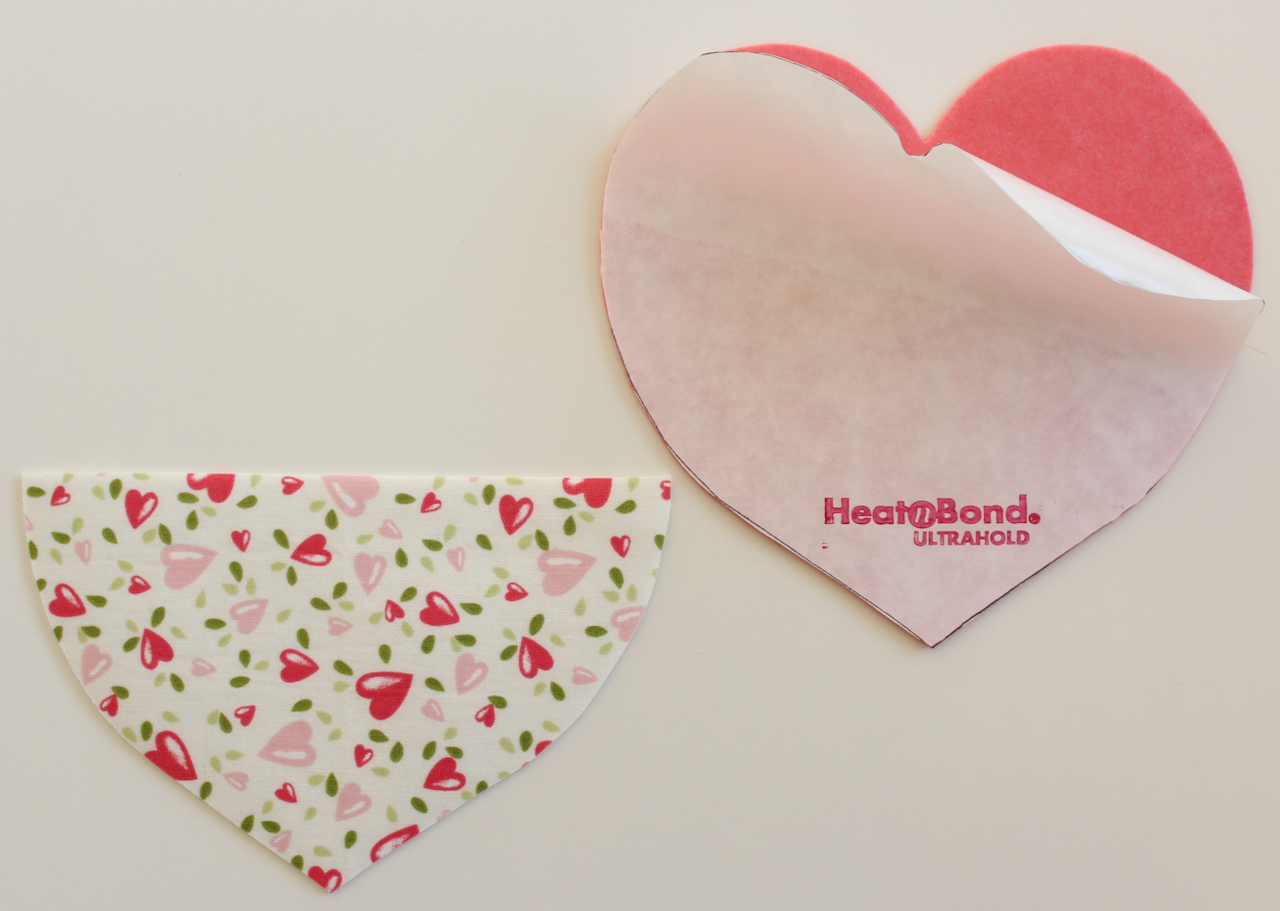
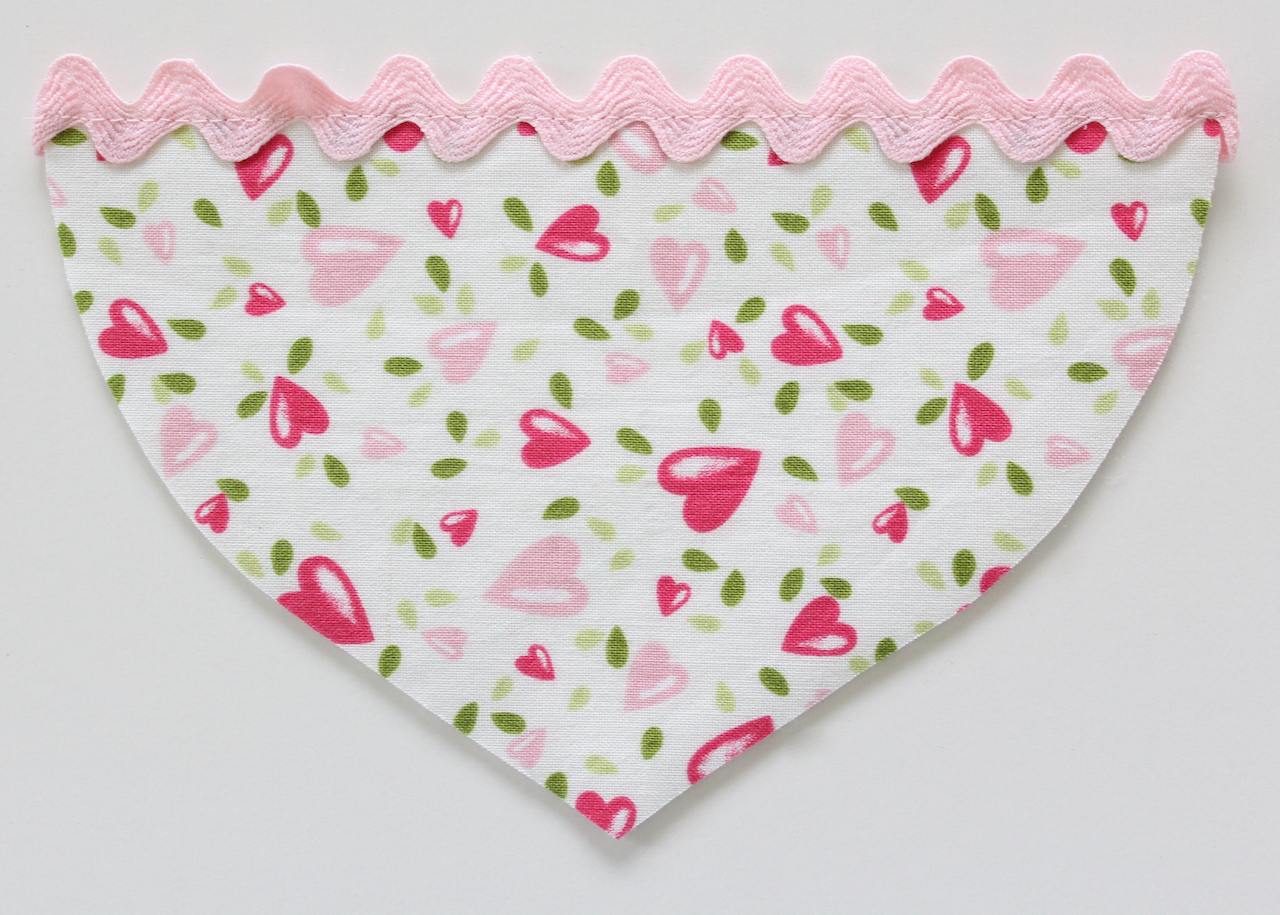
Use small amounts of the fabric fuse glue on the bottom edge of the ric rac and position it on the top straight edge of the white floral heart, then press to secure in place.
Use a straight stitch on the machine to ensure the ric rac stays in place. Be sure to tuck the ric rac ends towards the back of the shape. Set shape aside.
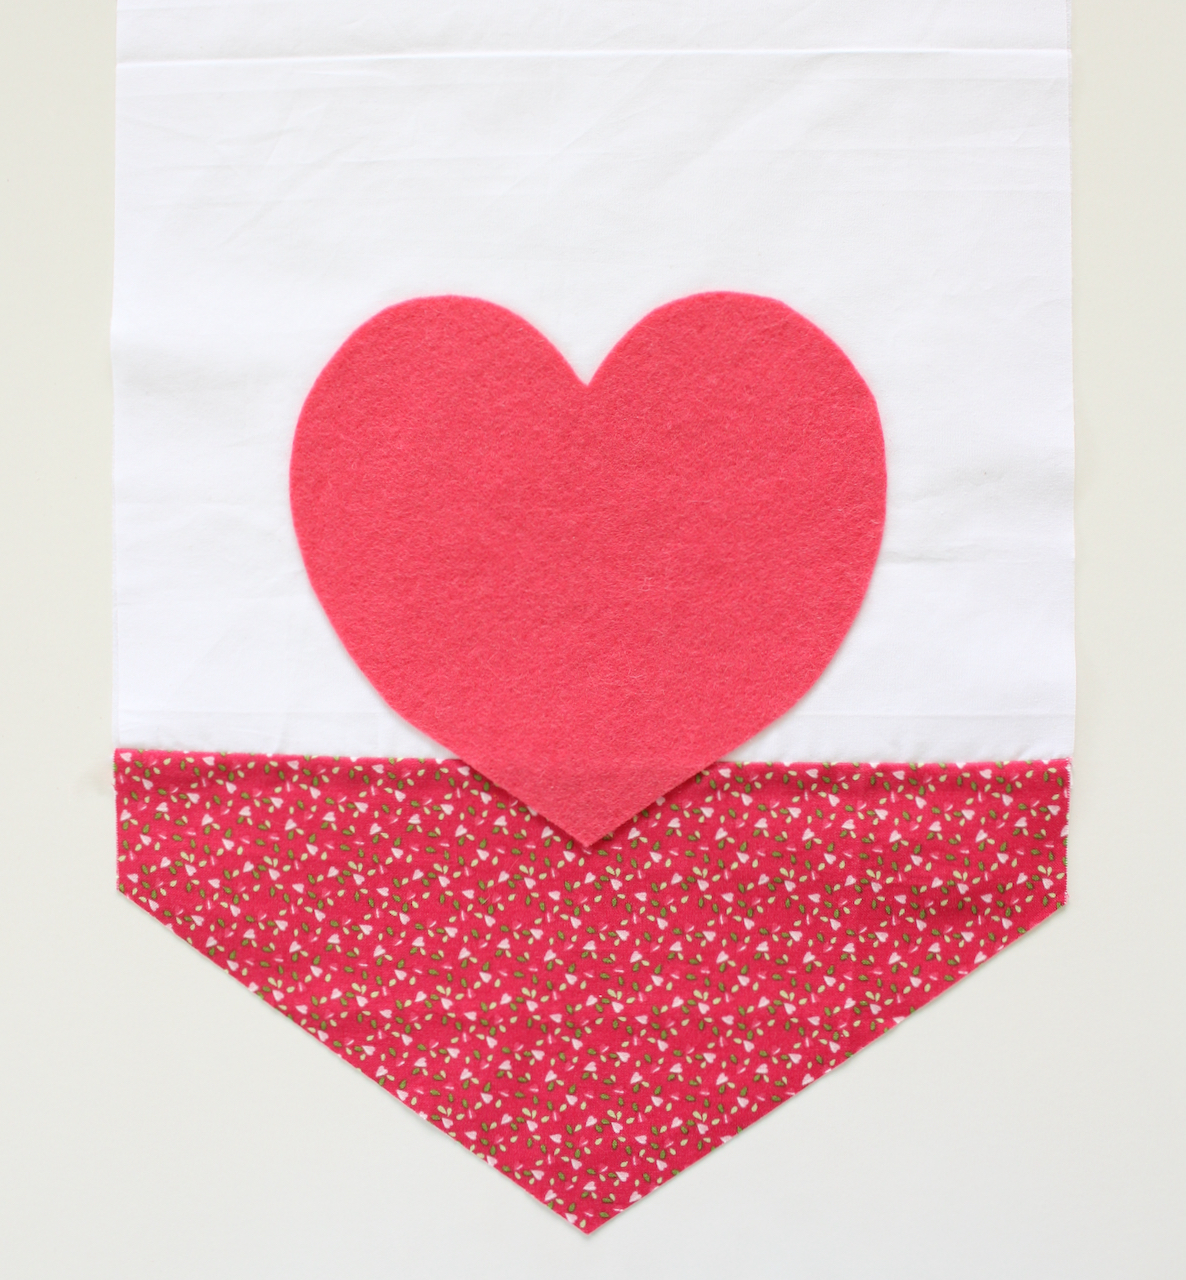
Position the banner fabric on a flat surface with the red floral fabric at the base. Centre the red felt heart on the fabric banner (with the ultra hold side facing the fabric) so that the base of the heart overlaps onto the red floral fabric by 1″.
Cover the felt with the pressing paper and then press with the iron to secure in place.
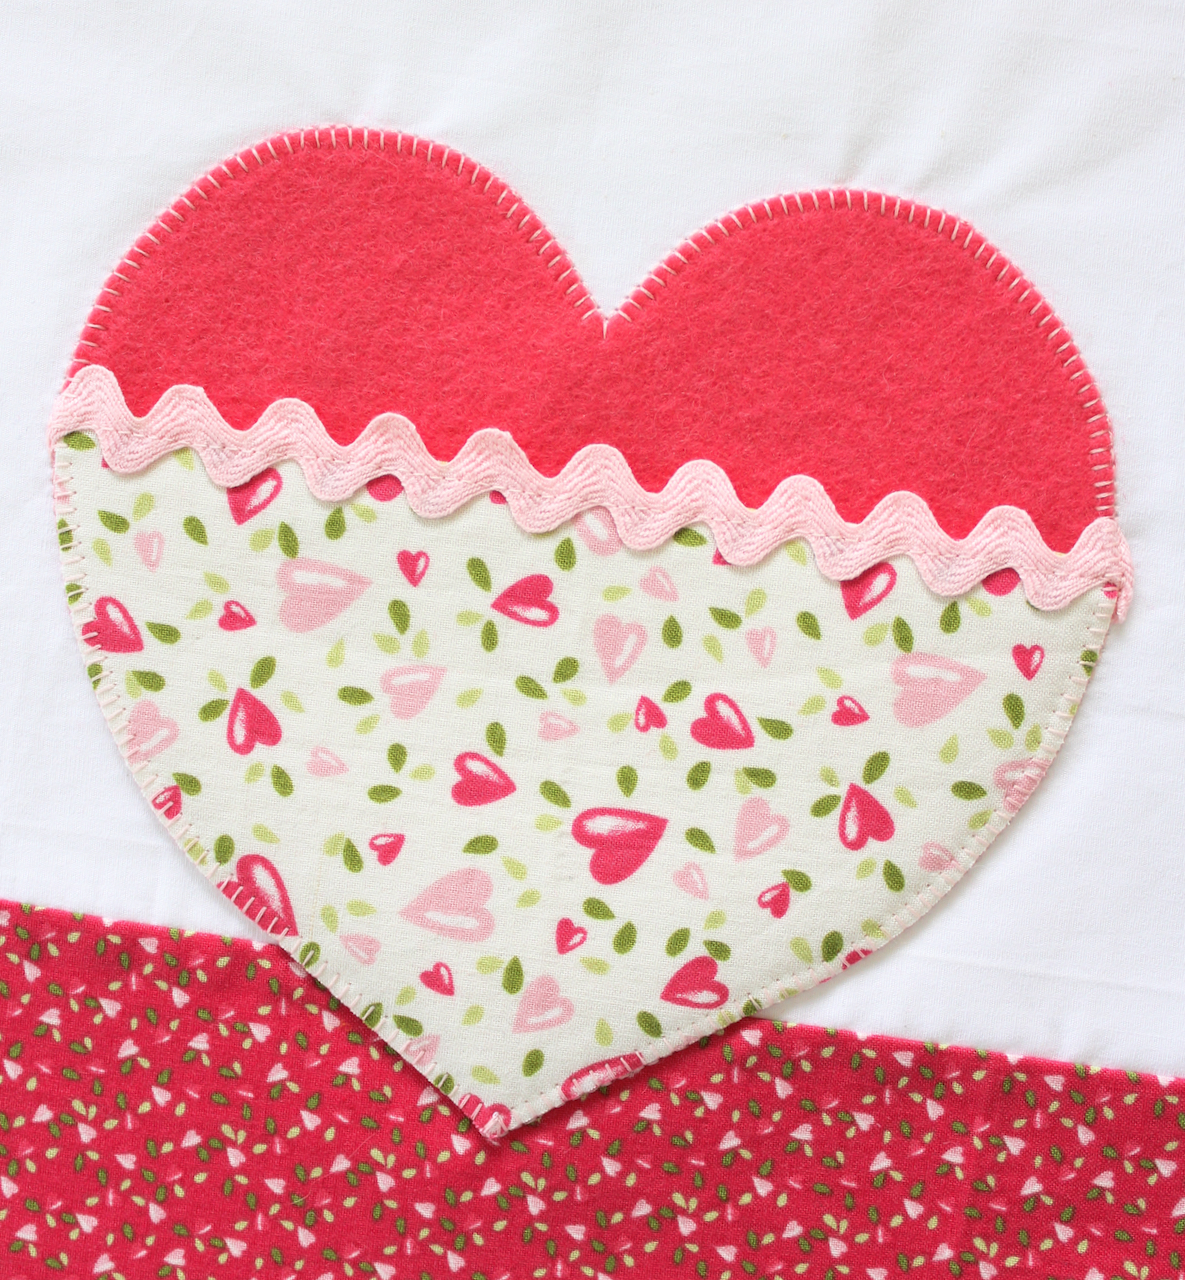
Pin the white floral heart base over the red heart so that the edges all align. Using your favourite machine or hand stitch, sew around the outside edge of the heart to secure the two shapes together. I used a simple blanket or buttonhole stitch on my machine. This now forms a pocket on the heart.
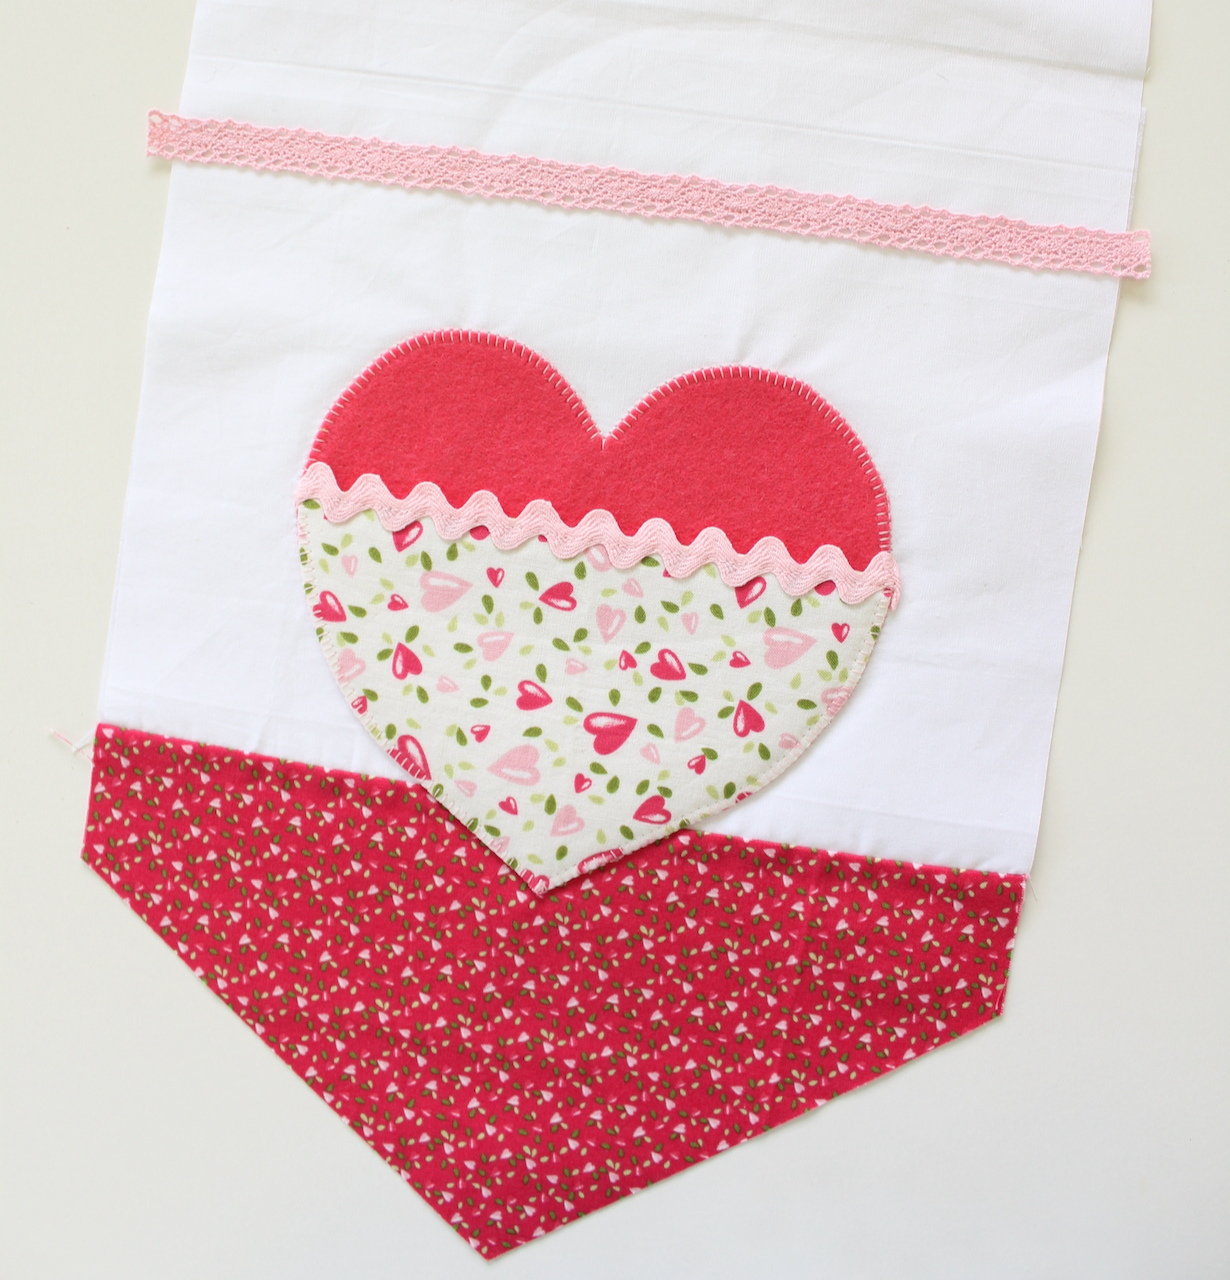
Use an erasable marker to measure and mark a straight line, 3/4″ down from the centre fold line. Use fabric fuse glue to secure the 3/8″ wide lace trim below the line. Then stitch in place along the top edge. Remove the erasable line if necessary.
Assemble the Banner
Fold the banner fabric in half with right sides facing. Using the erasable marker, mark a seam line 1/4” in from the fabric edge. This line will start at the lace seam line, go down the one side and around the base. On the opposite side, rule a line 2” (5cm) down from the lace seam line. Leave a 3 ½” (9cm) space, and then continue to rule the line. The left over space will become the turning gap.
Sew the marked seam lines, being careful to leave open both the space above the lace seam and the turning gap).
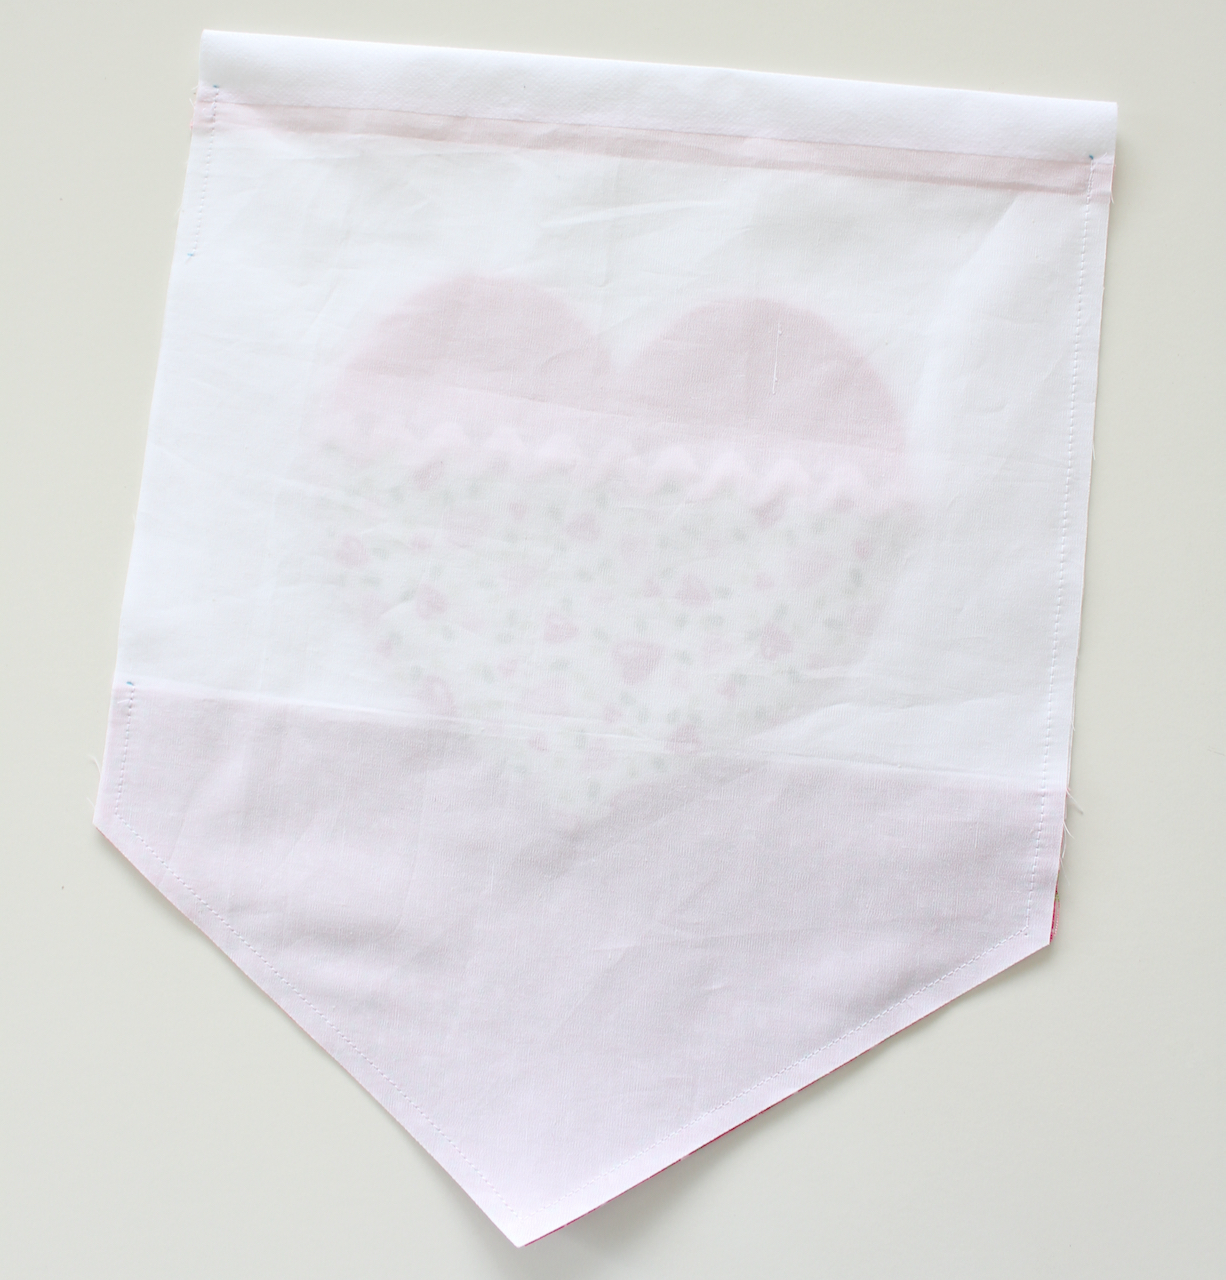
Clip the seam allowance at the point and the sides. Trim the excess lace from the side seams.
Turn the banner right side out through the turning gap. Press flat being careful to tuck in the seam allowance in the turning gap.
Top stitch the banner using a 1/8″ seam allowance. Start at the base of one side, stitch up to the top of the lace (not to the top of the banner). Sew along the top of the lace and then back down the other side and around the point (I changed thread colours during this step). The top stitching will sew the turning gap closed, but will leave an opening at the top of the banner to insert a dowel rod.
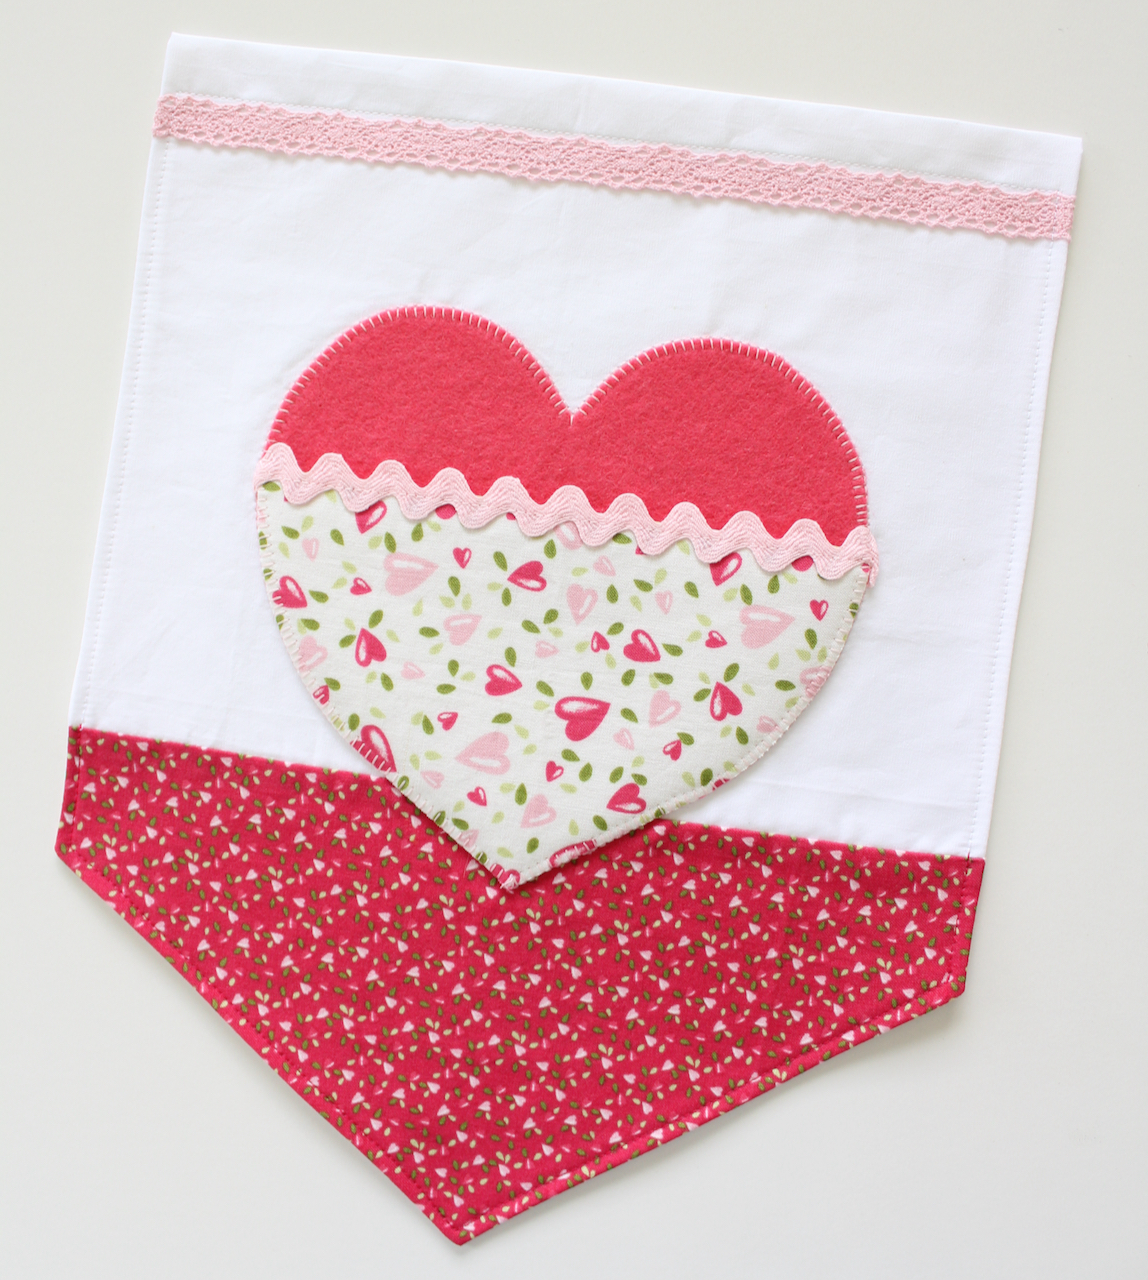
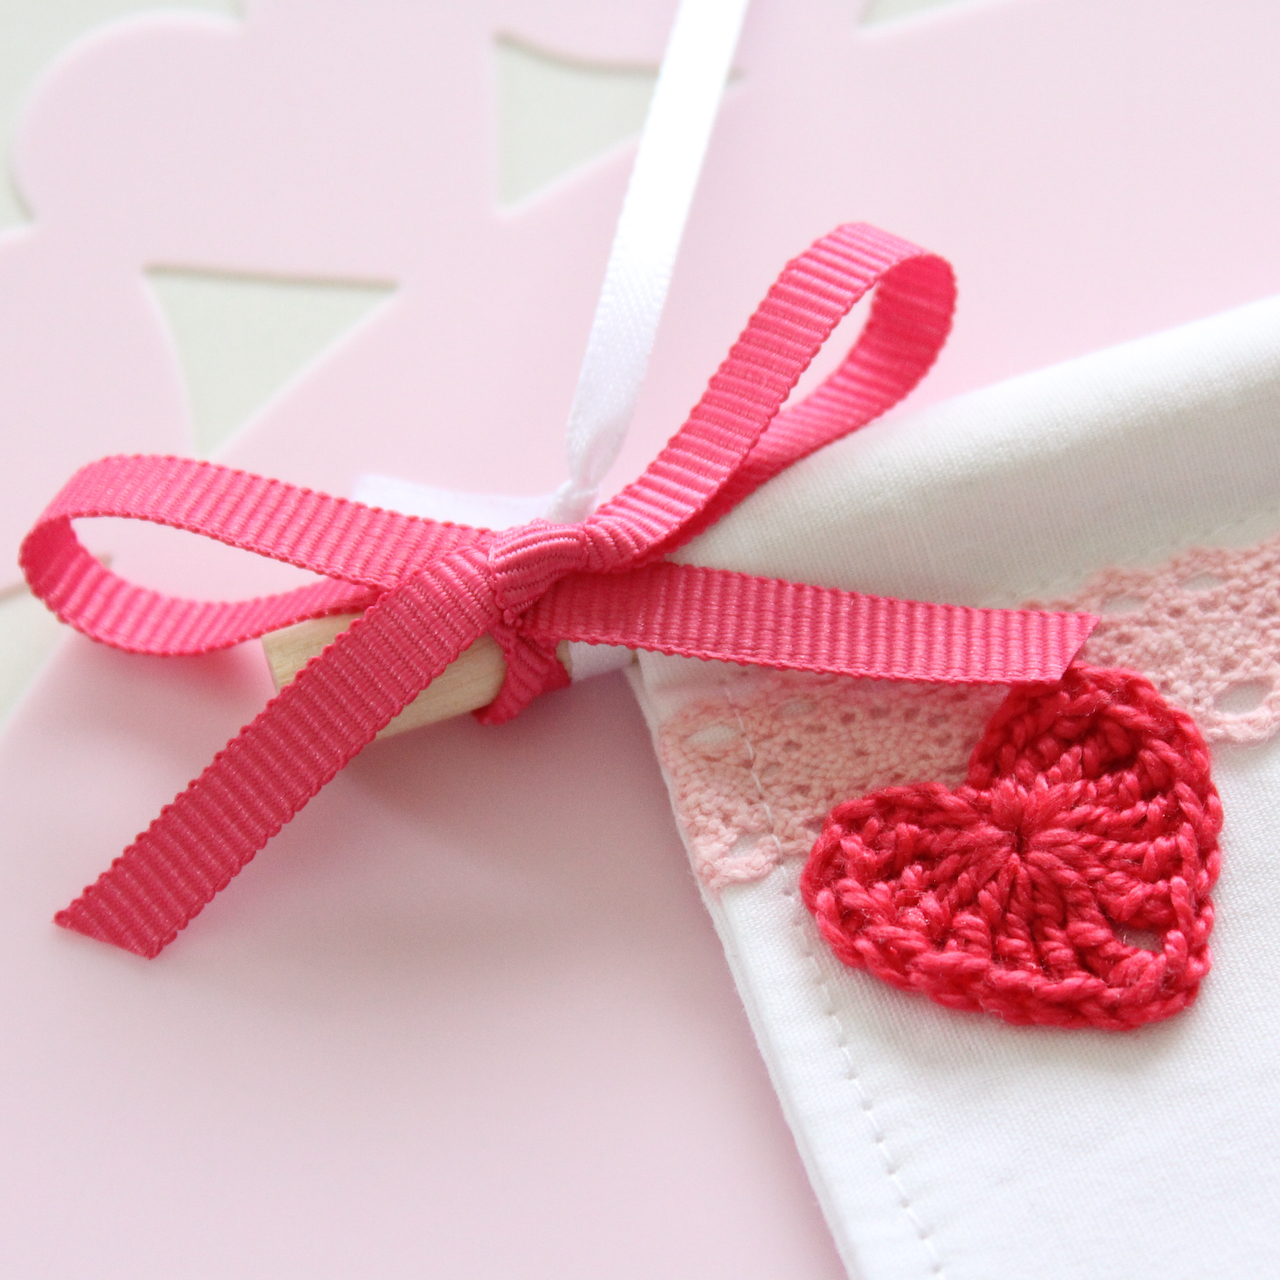
Carefully insert the dowel rod into the space above the pink lace. Tie the white satin ribbon to each end of the dowel, ready for hanging.
TIP: Embellish the banner by adding a sweet little bow, or crochet heart too.
Your banner is all ready for Valentine’s Day. You could even make this sweet felt kitty as a little treat for the pocket! See the free tutorial on the Molly and Mama blog HERE.
Happy Stitching!
I hope you’ve enjoyed this lovely Valentine’s Day project. I love to design projects for beginners that teach you a range of skills that can then be transferred to new and different projects too. You might enjoy some of my other tutorials too!
If you make the Heart Pocket Banner be sure to share it with me. I get such a buzz out of seeing my designs in the wild! Visit me on Facebook or share it on Instagram and tag @mollyandmama. Use the hashtags #thermoweb #heatnbond and #mollyandmama.
Happy stitching, Lauren x
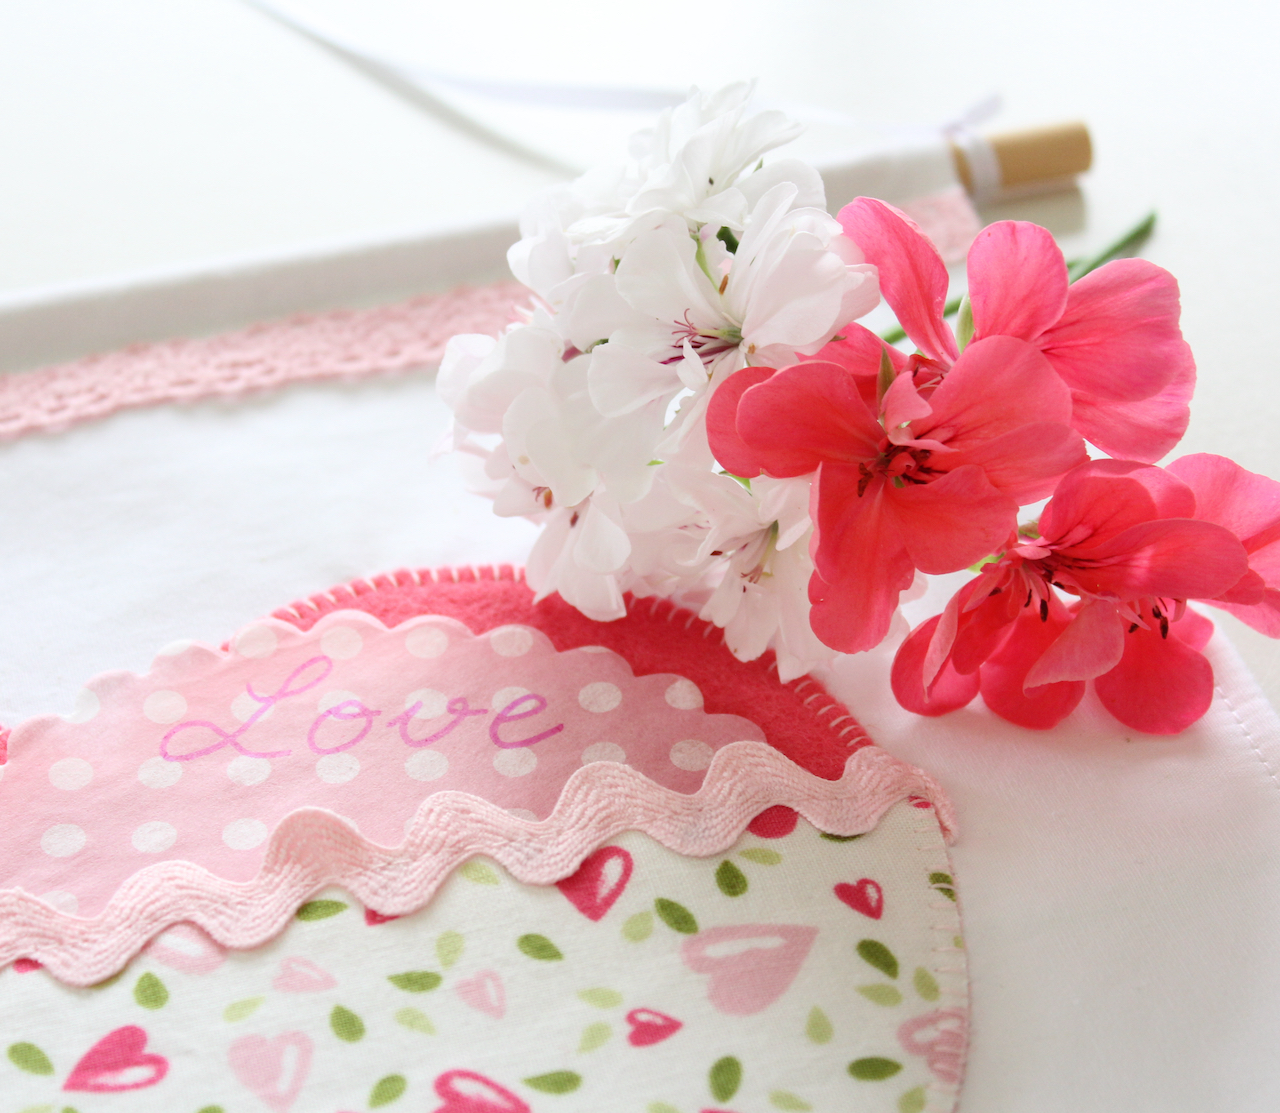

[…] designing projects for the Thermoweb blog as part of their Education Designer Team. And this Heart Pocket Banner was lots of fun to create. I’ve always loved decorating for Valentine’s Day and this […]