Hello Crafty Friends!!
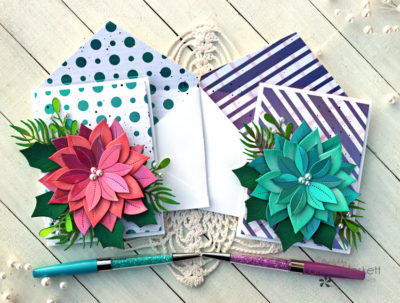
Larissa here today to share some Valentine Bouquet Cards using the NEW Deco Foil Toner Card Fronts, Deco Foil, and Deco Foil Flock Sheets!! SWOON!! I’m in LOVE with ALL of the NEW Designs and Sizes of the NEW Deco Foil Toner Card Fronts & Sheets and I hope I can INSPIRE you with some ways to use them!!
Valentine Bouquet Cards with Deco Foil Toner Sheets
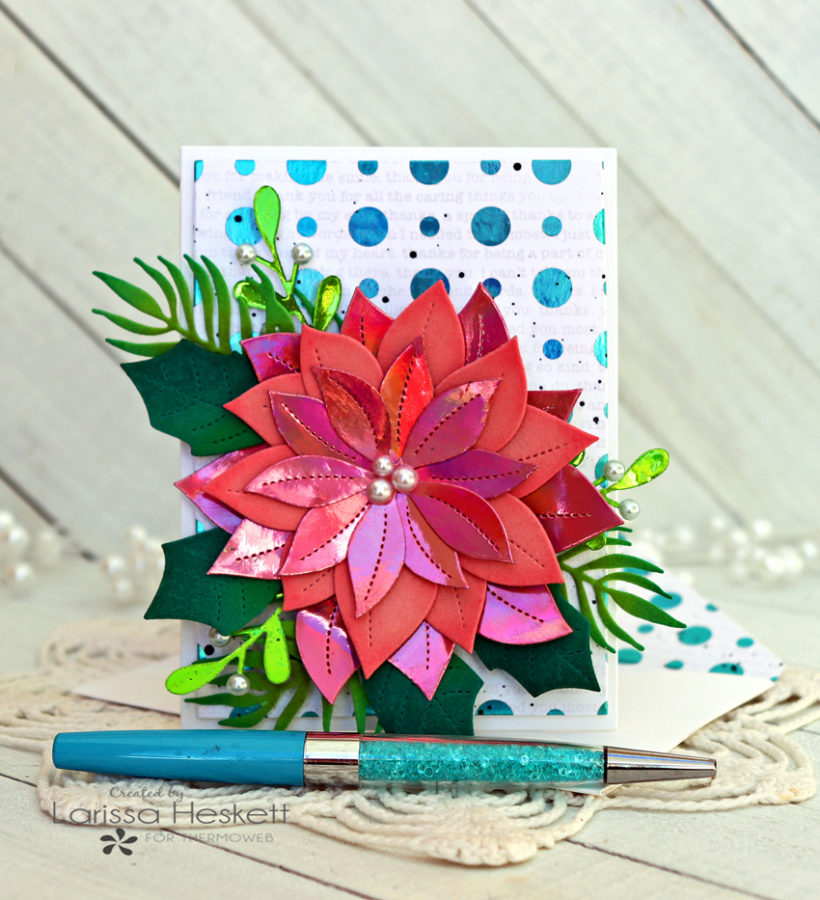
For my First Card, I Started by Stamping the background of the NEW Deco Foil Toner Card Fronts in Lots of Dots with the Simon Says Stamp Love You More Background Stamp using my MISIT Stamping Tool and TE Sea Salt Ink!!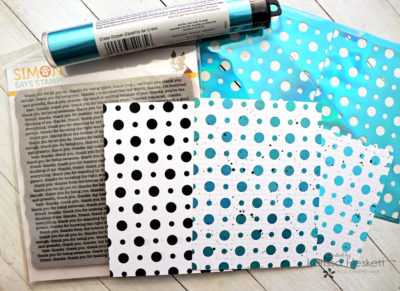
Once the Ink was Dry I Cut a piece of the NEW Glass Slipper Deco Foil large enough to cover the Deco Foil Toner Card Front and placed it in the Deco Foil Parchment Paper Carrier Sheet that I Folded in half!!
TIP: I like to place a 100 lb. Cardstock Shim on the inside of my Parchment Paper Carriers Sheet to place the Deco Foil Toner Card Fronts on for some extra stability!! I find I get better coverage and I like the added stability it gives to my Toner Card Fronts
Then I ran it through my Minc Laminating Machine and ran it through the Laminating Machine on the #4 Setting!! Once laminated I removed the negative Foil and I LOVE the results!! I Die Cut the Deco Foil Toner Card Front using a 4 Bar Rectangle Die and then added some Black Soot Distress Paint Splatters and set it aside to Dry!!

Deco Foil Toner Sheets
Next, I added the NEW Enchanted Rose Deco Foil to some of the Deco Foil Toner Sheets and ran it through my Laminating Machine!! Then I removed the protective Film and Die Cut the Largest and Smallest Stitched Poinsettia Dies!! I was careful when I was Die Cutting so I was able to get 2 of each from one sheet!!
 Die Cut the Deco Foil Flock
Then I added some of the Pink Carnation Deco Foil Flock Sheets to some Pink Cardstock with some of the iCraft Easy Cut Adhesive Sheets!!
TIP: I LOVE adding the Deco Foil Flock sheets to a coordinating colored Cardstock not only for the added weight it adds to the Flocking Sheets, but it also helps when Die Cutting so that the edges of the Die Cut to match the color of the Flocking Sheets!! Especially when creating layered Blooms!! I also like to Ink the edges of the Deco Foil Flock Sheets to help make the Texture of the Flock POP!! I used Worn Lipstick Distress Oxide Ink!!
 Die Cut the Poinsettia Leaves from some of the Emerald Green Deco Foil Flock Sheets after adding it to some coordinating Cardstock with some iCraft Easy Cut adhesive!!
 Ink the Leaves
Then I inked with some Peacock Feathers and Vintage Photo Distress Oxide Inks and my iCrafter Ink Daubers!!
 Then Die Cut the Palm Foliage from some of the Green Envy Deco Foil Flocks Sheets that I adhered to some Green Cardstock using some of the iCraft Easy-Cut Adhesive!! Then I inked them using some Lucky Clover and Vintage Photo Distress Oxide Inks with Ink Daubers!!
 Die Cut the Simon Says Stamp Christmas Foliage Die from some of the NEW Lily Pad Deco Foil after adding it to some of the Deco Foil Toner Sheets and running it through my Laminating Machine!! Then I added a Few Sunny Studio Pearls for the Berries using some of the Ultra Bond Adhesive!!
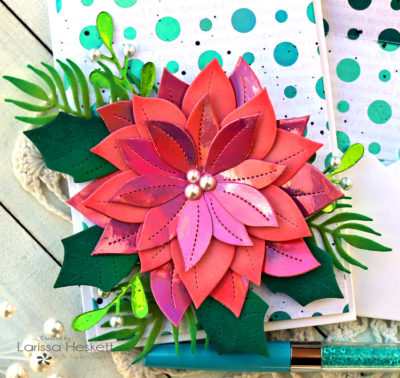
I adhered the Flower Bouquet to the Deco Foil Toner Card Front using some iCraft 3D Foam Squares!! Then I added a few more Sunny Studio Pearls to finish off the Design!!
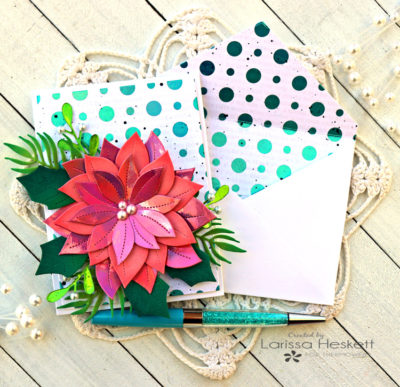
To make this Design even more SPECIAL I wanted to create a coordinating envelope to go with the Card!! So I Die Cut an SSS 4 Bar V Flap Envelope Die from some White Cardstock and then Die Cut a Liner from another Deco Foiled Toner Card Front in Lots of Dots that I Stamped with the Simon Says Stamp Love You More Background Stamp using my MISIT Stamping Tool and TE Sea Salt Ink and Foiled with the NEW Glass Slipper Deco Foil!!
TIP: Think outside of the BOX when using these NEW Deco Foil Toner Card Fronts, they don’t just have to be used for Card Fronts!! You can Die Cut them and use them just as you would Pattern Paper too!!
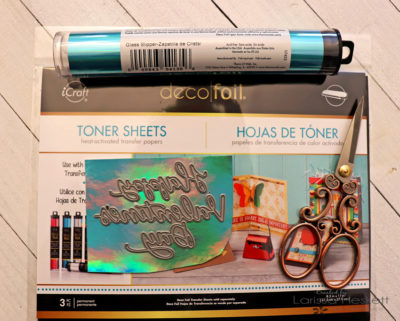
To finish off the inside of the Card I Foiled some of the NEW Glass Slipper Deco Foil onto a Piece of Deco Foil Toner Sheets!! Then I Die Cut the Pretty Pink Posh Happy Valentine’s Day Die from the Foiled Toner Sheet and adhered it to the inside of my card using some iCraft Ultra Bond Adhesive!!

SWOON!! I LOVE how this Card and Envelope Set turned out and I can’t wait to give it someone SPECIAL this Valentine’s Day!!
Products Used:
Therm O Web:
Deco Foil Transfer Sheets in Enchanted Rose, Glass Slipper, and Lily Pad
Deco Foil Flock Sheets in Emerald Green, Green Envy and Pink Carnation
Deco Foil Toner Sheets
3D Foam Squares
Zots Bling Adhesive Dots
Ultra Bond Adhesive
Other:
Pretty Pink Posh Stitched Poinsettia Die
Pretty Pink Posh Happy Valentine’s Day Die
Simon Says Stamp 4 Bar V Flap Envelope Die
Simon Says Stamp Christmas Foliage Dies
Simon Says Stamp Love You More Background Stamp
The Greeter BotaniCuts Palm Die
Distress Oxide Inks
WoW Embossing Powder Clear Gloss
Sunny Studio Stamps Pearls
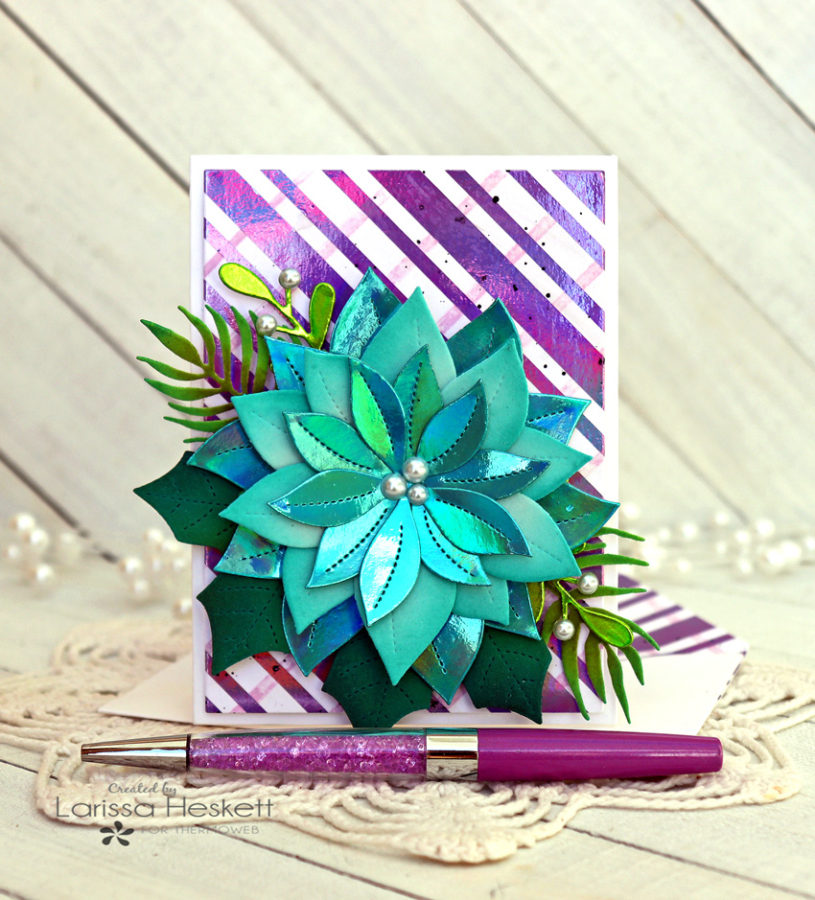
My Second Card I Started out by Stamping the background of the NEW Deco Foil Toner Card Fronts in Candy Stripes with The Greetery Painterly Stripes Background Stamp using my MISIT Stamping Tool and Milled Lavender Distress Oxide Ink!!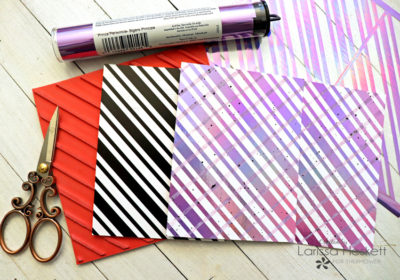
Once the Ink was Dry I Cut a piece of the NEW Prince Periwinkle Deco Foil large enough to cover the Deco Foil Toner Card Front and placed it in the Deco Foil Parchment Paper Carrier Sheet that I Folded in half and ran it through my Laminating Machine!! Once laminated I removed the negative Foil and I LOVE the results!! I Die Cut the Deco Foil Toner Card Front using a Stitched Rectangle Die and then added some Black Soot Distress Paint Splatters and set it aside to Dry!!
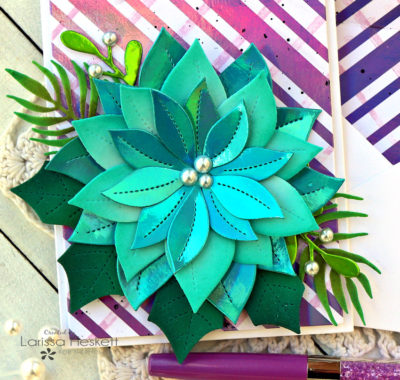
The Poinsettia Flower Bouquet was made the exact way as above only I switched out the Colors for the Poinsettia!! I’ve used the Glass Slipper Deco Foil and the Blue Sky Deco Foil Flock Sheets!! Everything else was created the exact same way!!
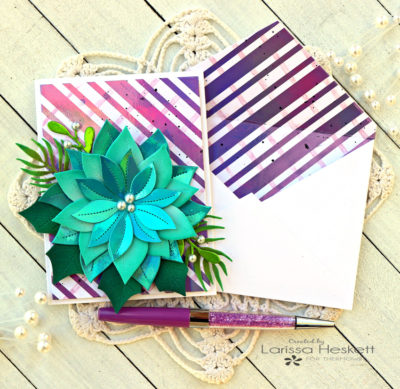
Again I wanted to create a coordinating Envelope to match and I did so the exact same way as the Envelope above!! SWOON!! I just LOVE the possibilities with these NEW Deco Foil Toner Card Fronts in all of the different sizes!! 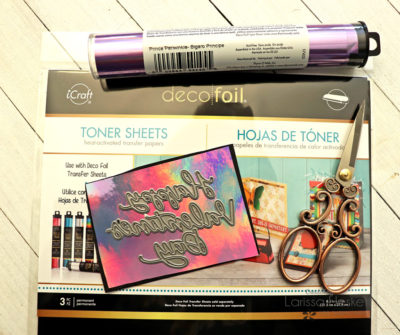
To finish off the inside of the Card I Foiled some of the NEW Prince Periwinkle Deco Foil onto a Piece of Deco Foil Toner Sheets!! Then I Die Cut the Pretty Pink Posh Happy Valentine’s Day Die from the Foiled Toner Sheet and adhered it to the inside of my card using some iCraft Ultra Bond Adhesive!!
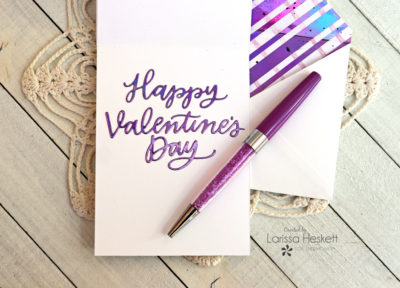
SWOON!! I LOVE how this Card and Envelope Set turned out and I can’t wait to give it someone SPECIAL this Valentine’s Day!!
Products Used:
Therm O Web:
Deco Foil Transfer Sheets in Glass Slipper, Prince Periwinkle, and Lily Pad
Deco Foil Flock Sheets in Emerald Green, Green Envy and Blue Sky
Deco Foil Toner Sheets
3D Foam Squares
Zots Bling Adhesive Dots
Ultra Bond Adhesive
Other:
Pretty Pink Posh Stitched Poinsettia Die
Pretty Pink Posh Happy Valentine’s Day Die
Simon Says Stamp 4 Bar V Flap Envelope Die
Simon Says Stamp Christmas Foliage Dies
The Greetery Painterly Stripes Background Stamp
The Greeter BotaniCuts Palm Die
Distress Oxide Inks
WoW Embossing Powder Clear Gloss
Sunny Studio Stamps Pearls
THANKS SO MUCH for stopping by today and I hope I’ve given you some ideas on ways to use the NEW Deco Foil Toner Card Fronts to create some STUNNING Flower Bouquet Valentine’s Day Projects!!
If you create something I hope you’ll share them with us on Social Media using the #hashtags #decofoil #thermoweb #decofoilflock #decofoiltonercardfronts as we LOVE to see what you create!!
Have a FABULOUS WEEK!!
Larissa Heskett
