


Tree Day Scrapbook Layout
by Jessica Michaels
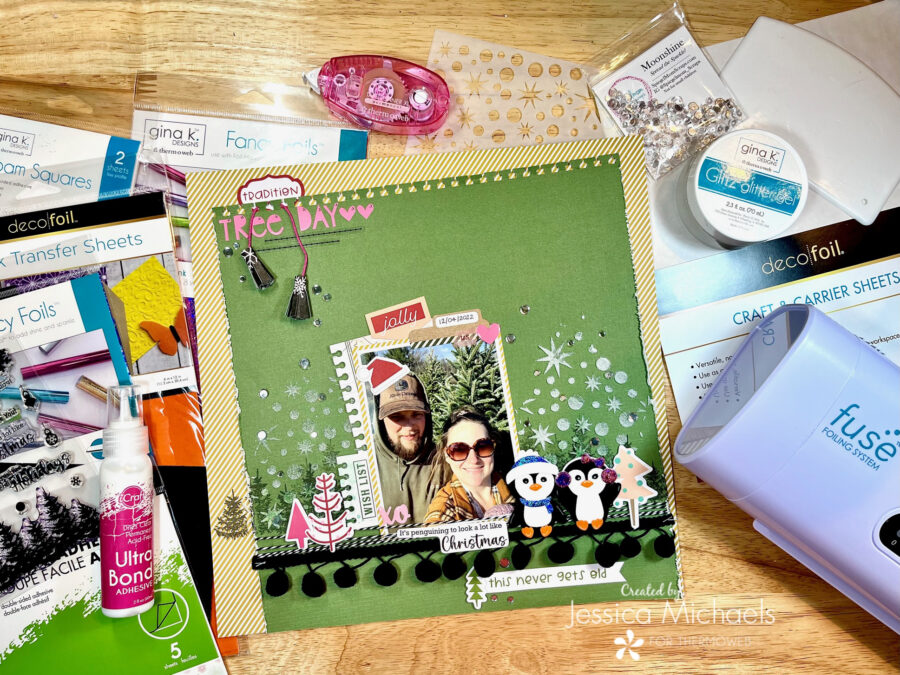
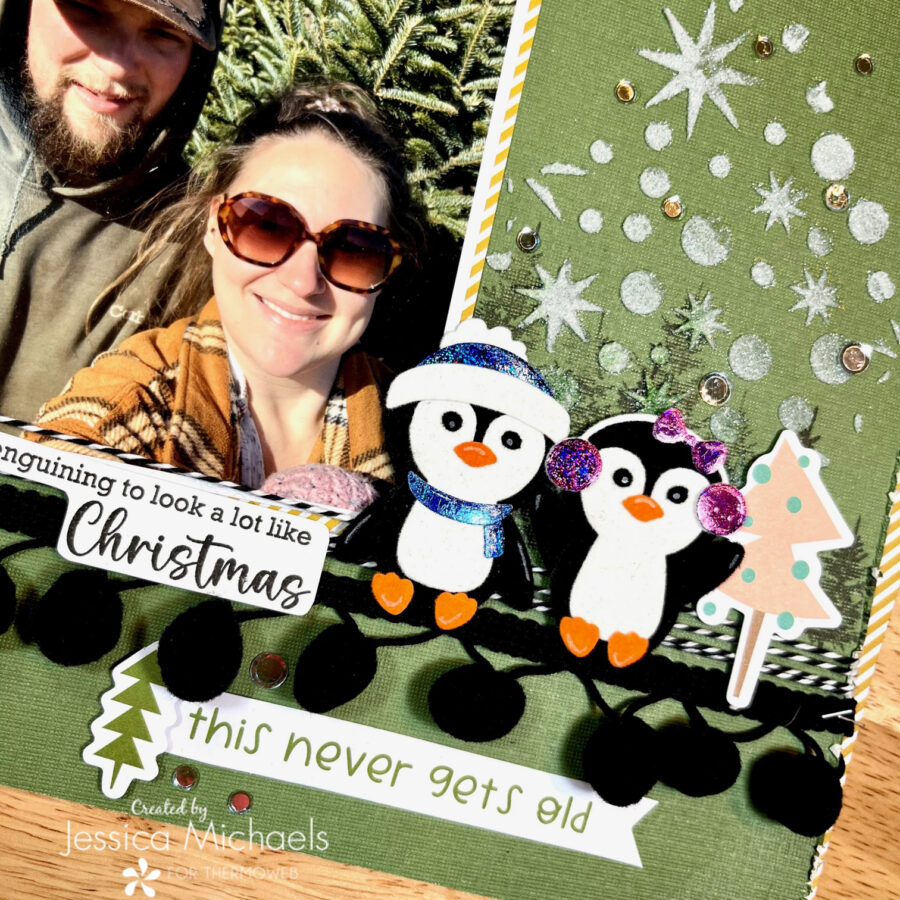
Hello everyone! Jessica here and I’m so happy to introduce the ALL NEW Fuse Foiling System & Penguin Pals Kit! I’m so excited to have a laminator to suit my foiling and flocking needs and these sweet little penguins are the cutest! I’m using them to document some a photo of my husband and I picking out our Christmas tree last year!
Therm O Web Supplies Used
Memory Runner XL
Memory Runner XL Refill
UltraBond Liquid Adhesive, 2fl oz
Easy Tear Tape ½”
Gina K Fancy Foils, Brilliant Blue
Gina K Fancy Foils, Twinkling Pink
DecoFoil Flock Transfer Sheets, Orange Glow
DecoFoil Flock Transfer Sheets, White Latte
DecoFoil Flock Transfer Sheets, Black Velvet
Easy Cut Adhesive Sheets
Craft & Carrier Sheets
Gina K Foam Squares 1/2″, White
Gina K Foam Squares ¼”, White
Fuse Foiling System by Gina K Designs
Penguin Pals Kit
Gina K Glitz Glitter Gel, White
Other Supplies Used
Close to My Heart Black ink
Moon Shine Sequins from Spiegelmom Scraps(save 15% with my code Jessica15)
Paige Evans Roller Date Stamp
Bella Blvd and Vicki Boutin supplies from my stash
Bella Florence Alphas
Bakers Twine
EK Success Binding Edge Punch
Manual Die Cutting Machine

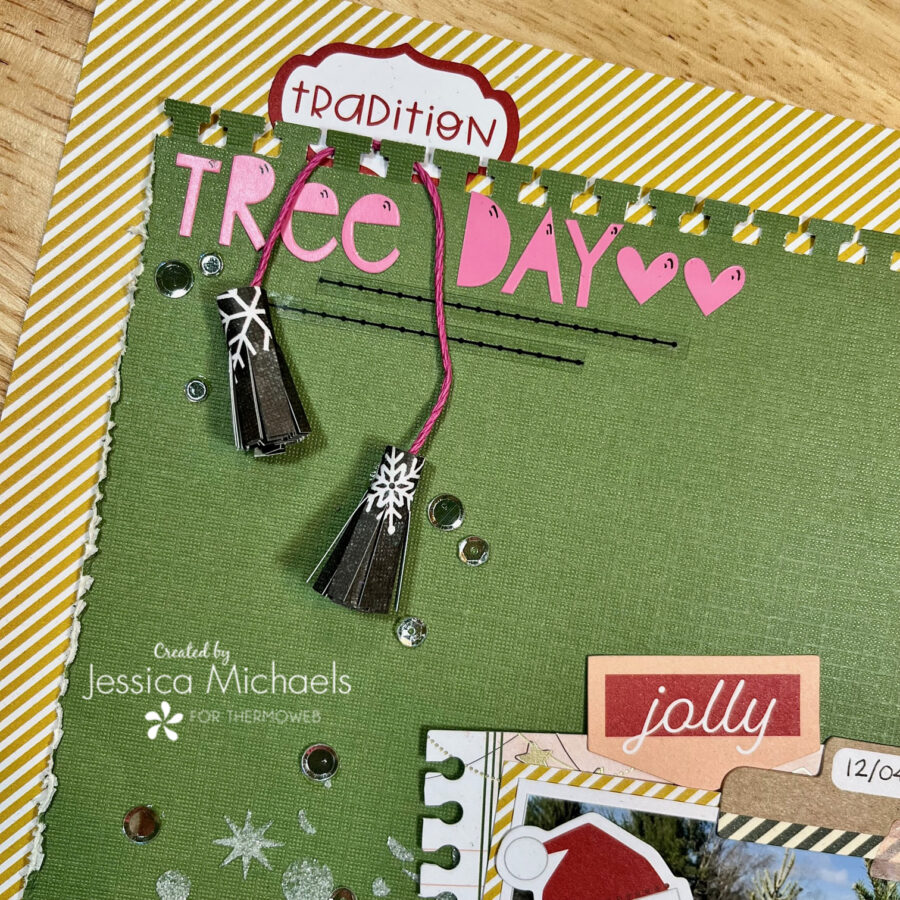
I started this layout by pulling out a sheet of patterned paper and textured solid green paper from my stash. I then trimmed the green piece down a bit and used a border punch to make the top it look like I ripped it out of a tablet. I then distressed the other edges and adhered to the striped patterned paper with some ½” Easy Tear Tape. I did cut the section out of the patterned paper that would be behind my green so I could use it to matte my photo! I don’t like to waste anything, if I can help it! Next, I matted my photo with some smooth white cardstock and then the patterned paper using more Easy Tear Tape. I then went to work on my stamping from the Penguin Pals Kit.
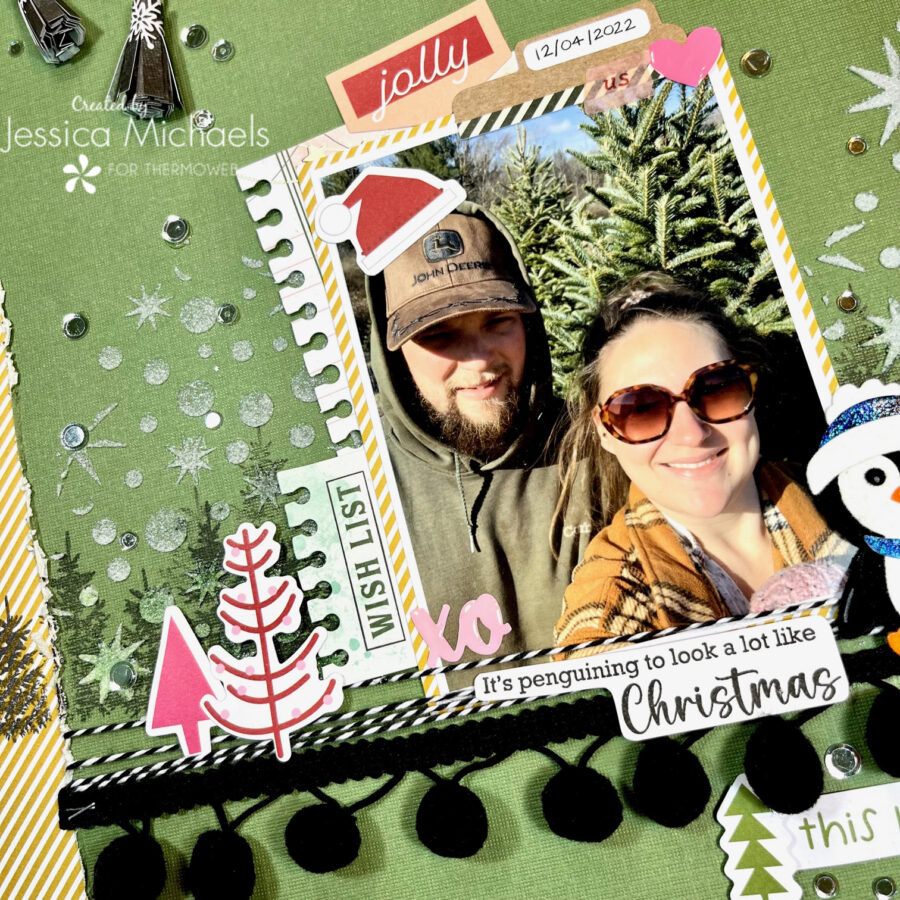
I pulled out some Close to My Heart Black ink and stamped a bunch of the trees from the Penguin Pals stamp set across my papers. I thought this would be perfect since we were picking out our Christmas tree! I also stamped the penguin phrase on some white cardstock and fussy cut around it to use below my photo.
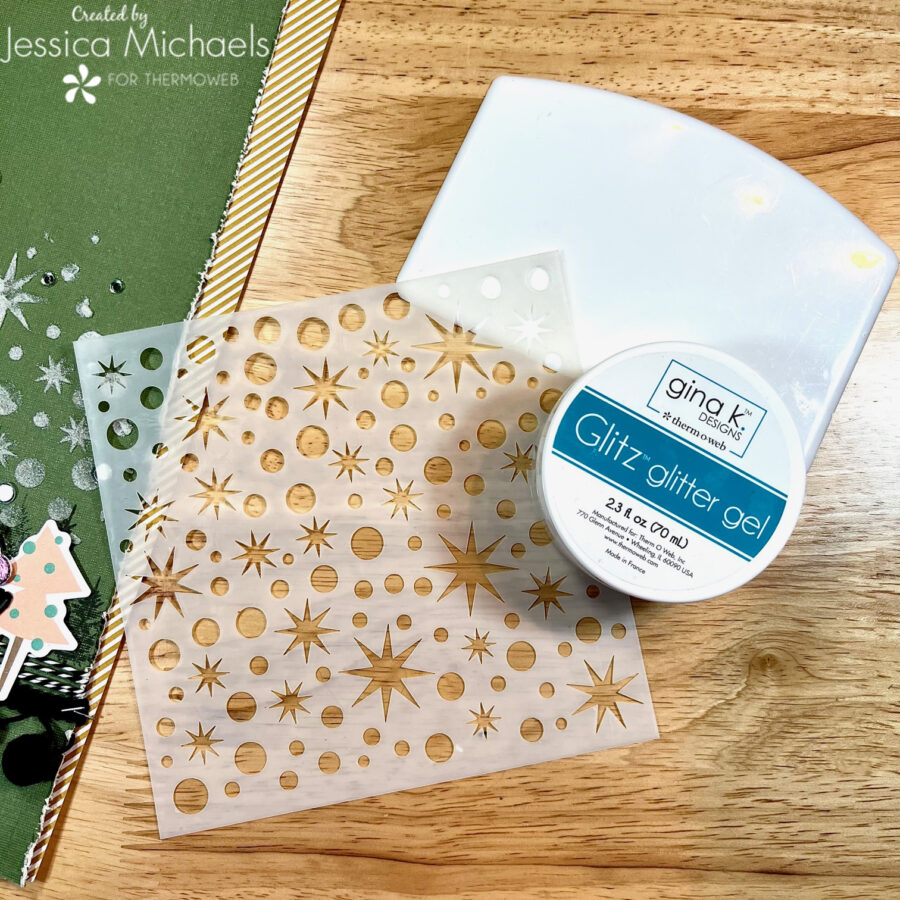
I then reached for my Glitz Glitter Gel by Gina K in white and the stencil from the kit to add some light stenciling around where my photo would sit. A little tip for you: if your Glitz gel is dried out or hard, you can add small amounts of warm water to it and stir to bring it back to life! I was so happy I didn’t have to throw mine out because it got too hard. I guess I need to start using my supplies faster! So once I brought that back to life, I grabbed my stencil pal and some Pixie Tape and taped down my stencil to the page so it didn’t move around because, I’m clumsy if I don’t! I then used a small spatula to scoop some glitz gel out of the pot and onto my stencil pal and blended across my stencil for a smooth application. I really love how big of a coverage area you can get with the stencil pal and how ridiculously smooth it goes on. Bonus- it comes in a two pack!
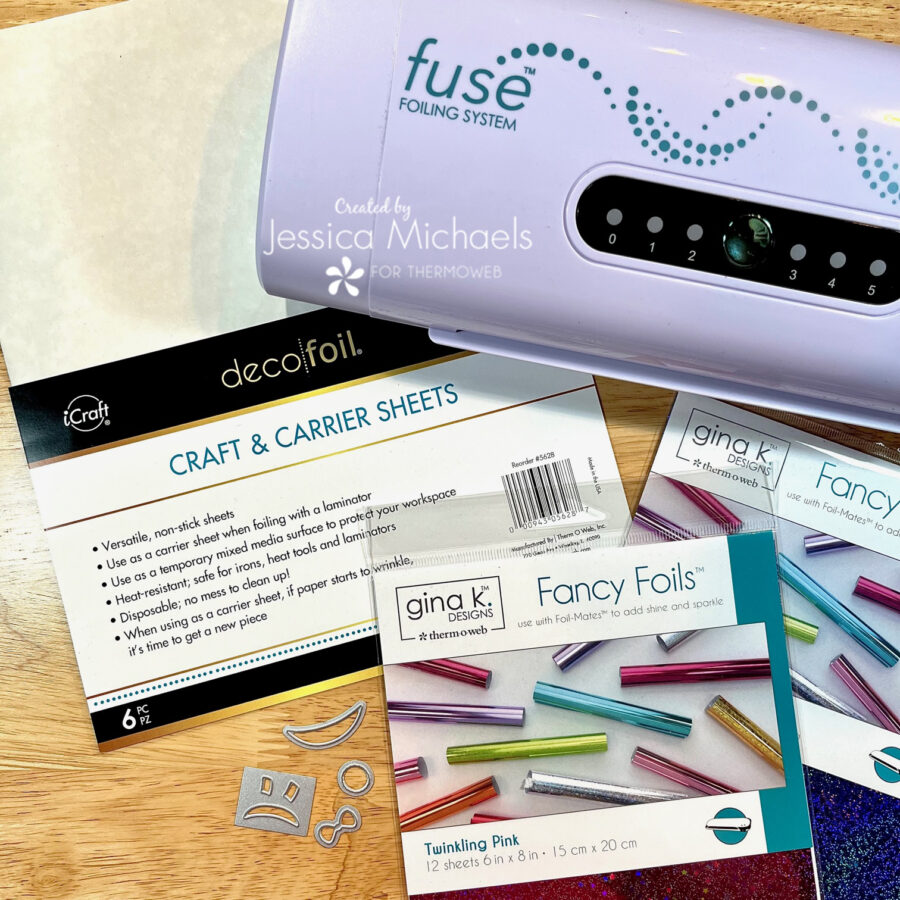
Next, I went to work on my sweet little penguins. Since the photo is of my husband and myself, I thought it was only appropriate to make a male and female penguin to go on my layout. I already had a sheet of Easy Cut Adhesive bonded to some white cardstock, so I pulled that out and began die cutting my penguin pieces. Once I had all the pieces cut with my manual die cutting machine, I adhered the appropriate pieces to their coordinating colors of flock in orange, white, and black. I also adhered the scarf, hat, earmuffs and bow to their coordinating colors of Fancy Foils. I then ran all the pieces through my hot laminator- the new one(insert squeal here!!!!)! If you watch my YouTube process video below I have a complete unboxing of the new Fuse Foiling System where I show you just how fast it heats up and runs through. I was also amazed that the system doesn’t get super hot even after running a bunch through it. Setting number 3 was just right to run all my pieces through between a craft and carrier sheet. I then just glued all my layers together using some of the UltraBond Liquid Adhesive and now I have these ADORABLE penguins!
I added my title using some Bella Florence Alphas and then finished embellishing my page using my Memory XL Tape runner to adhere most of the elements from my stash. I even made a couple tassels to attach to the top using my fringe scissors and a bit of UltraBond Liquid Adhesive! I also used the adhesive to attach a bunch of bling sequins to finish it off!
I truly hope I’ve inspired you to create something beautiful today!
Watch the Tree Day Process Video:
Jessica
This post contains affiliate links. For more information, see our disclosure HERE.