 Hello and welcome!
It’s Julia from Inflorescence Designs! I’m so joyful you are visiting today. This week’s theme is Sweet Shoppe! And what could be sweeter than a candy heart tic tac toe and checkers roll up game mat!
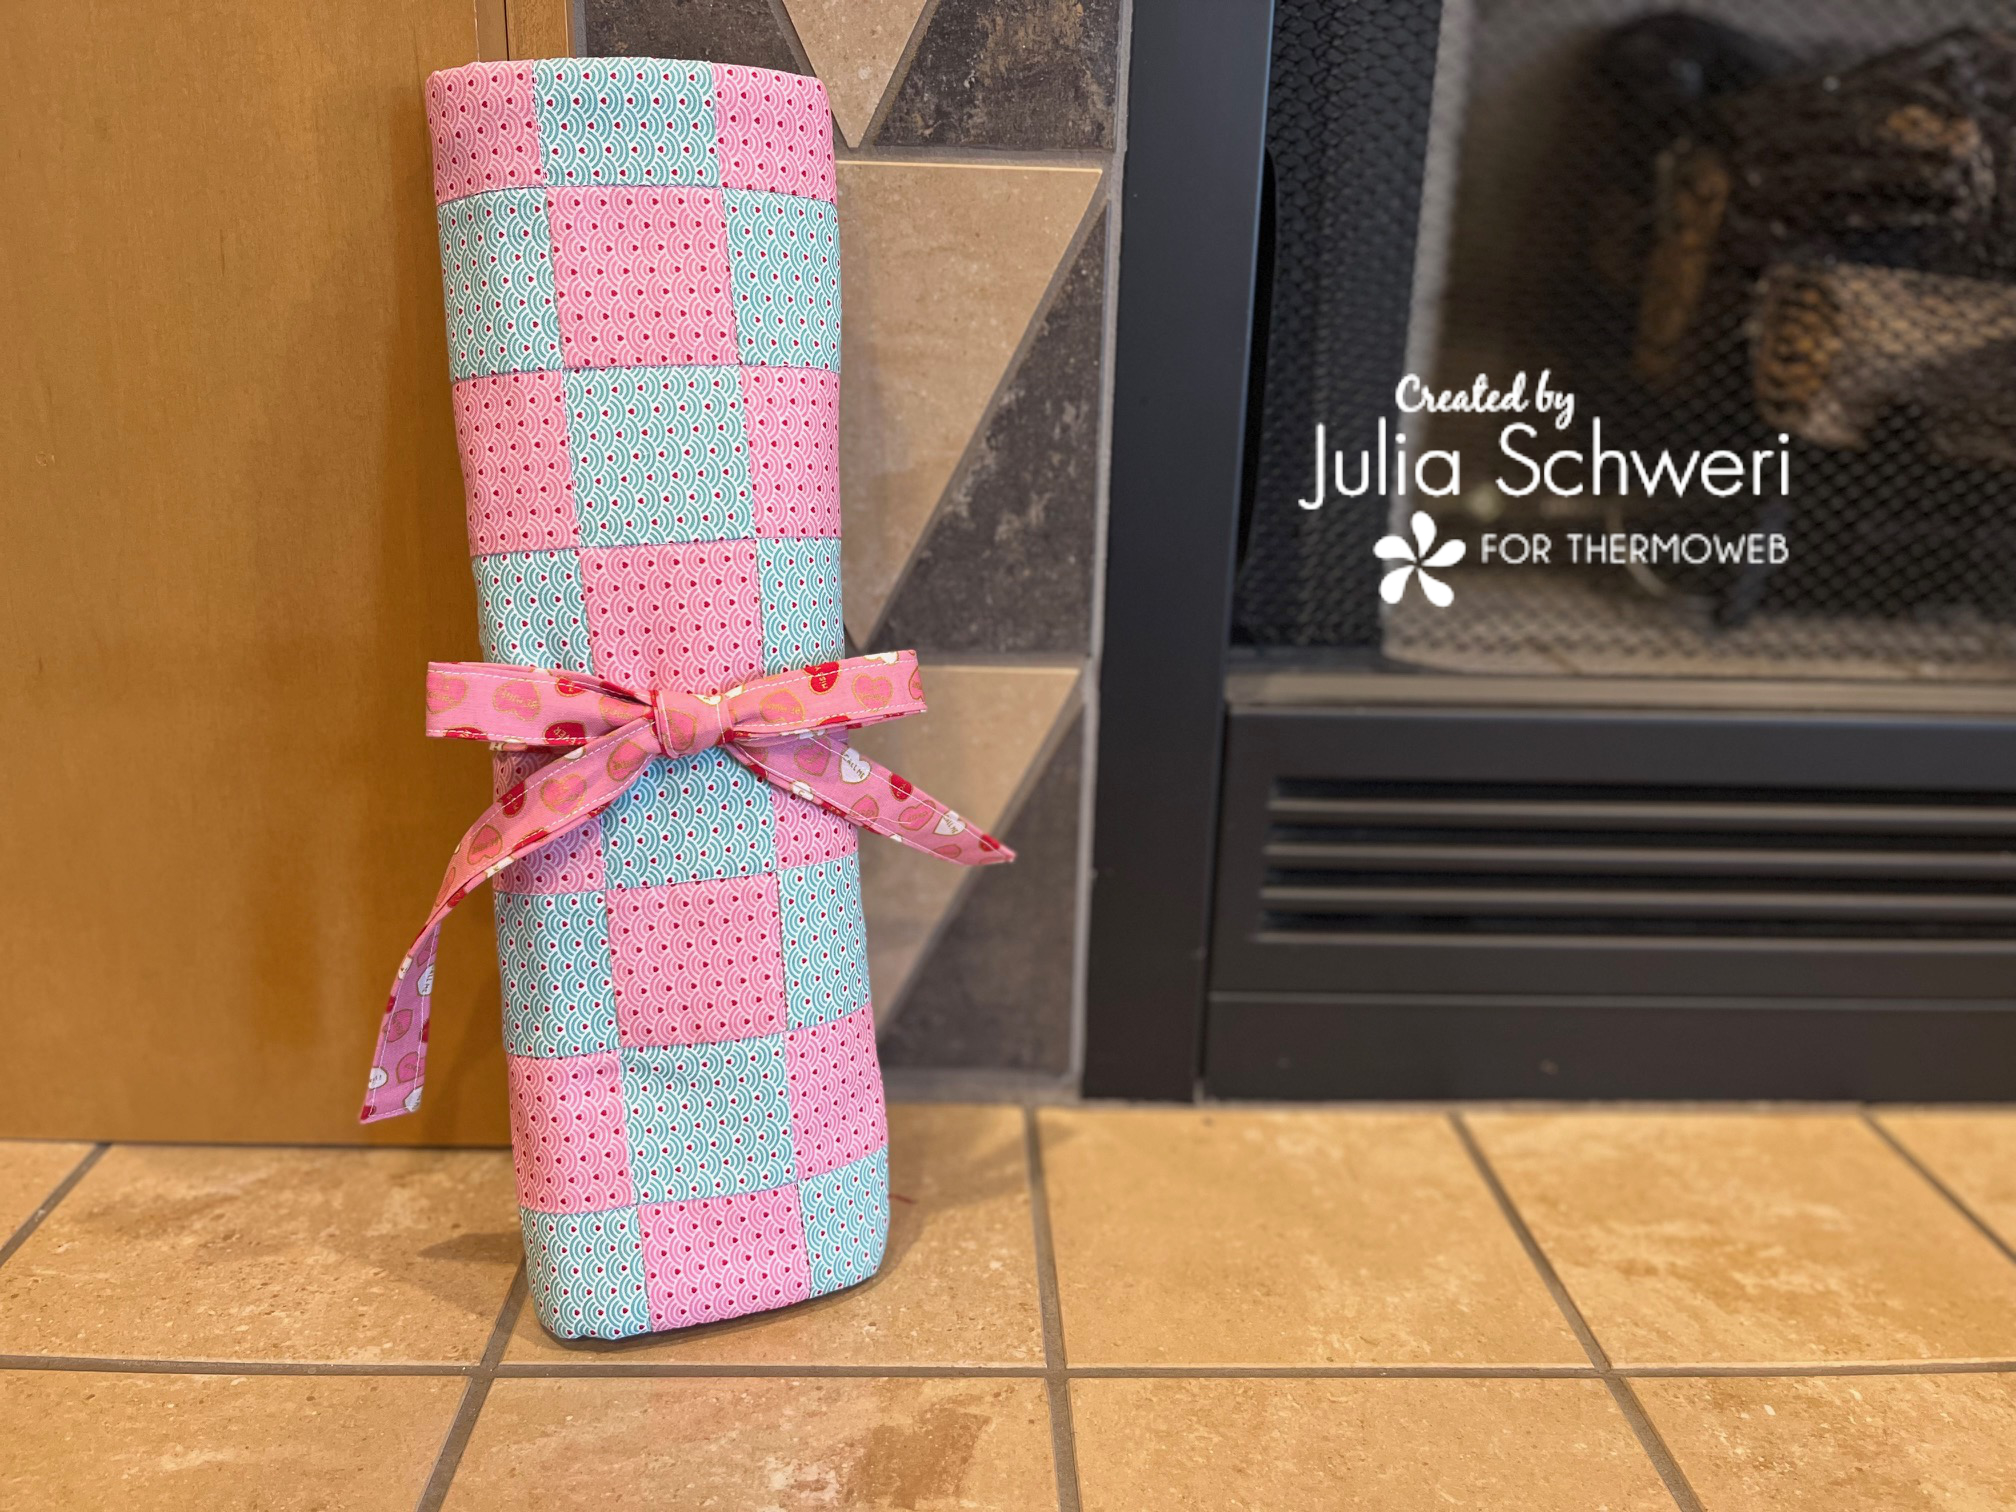
This project is the perfect gift for a sweet little one in your life. The game of tic tac toe is loved by so many and is so easy to play. The opposite side of the board features a checkers game for the more experienced player. And the board even has a zipper pouch made right into it to keep all the pieces in one place and rolls up for on-the-go travel or easy storage!
Tic Tac Toe & Checkers Roll-up Zipper Mat Game
Supplies:
- Tic Tac Toe & Checkers Printable PDF Pattern
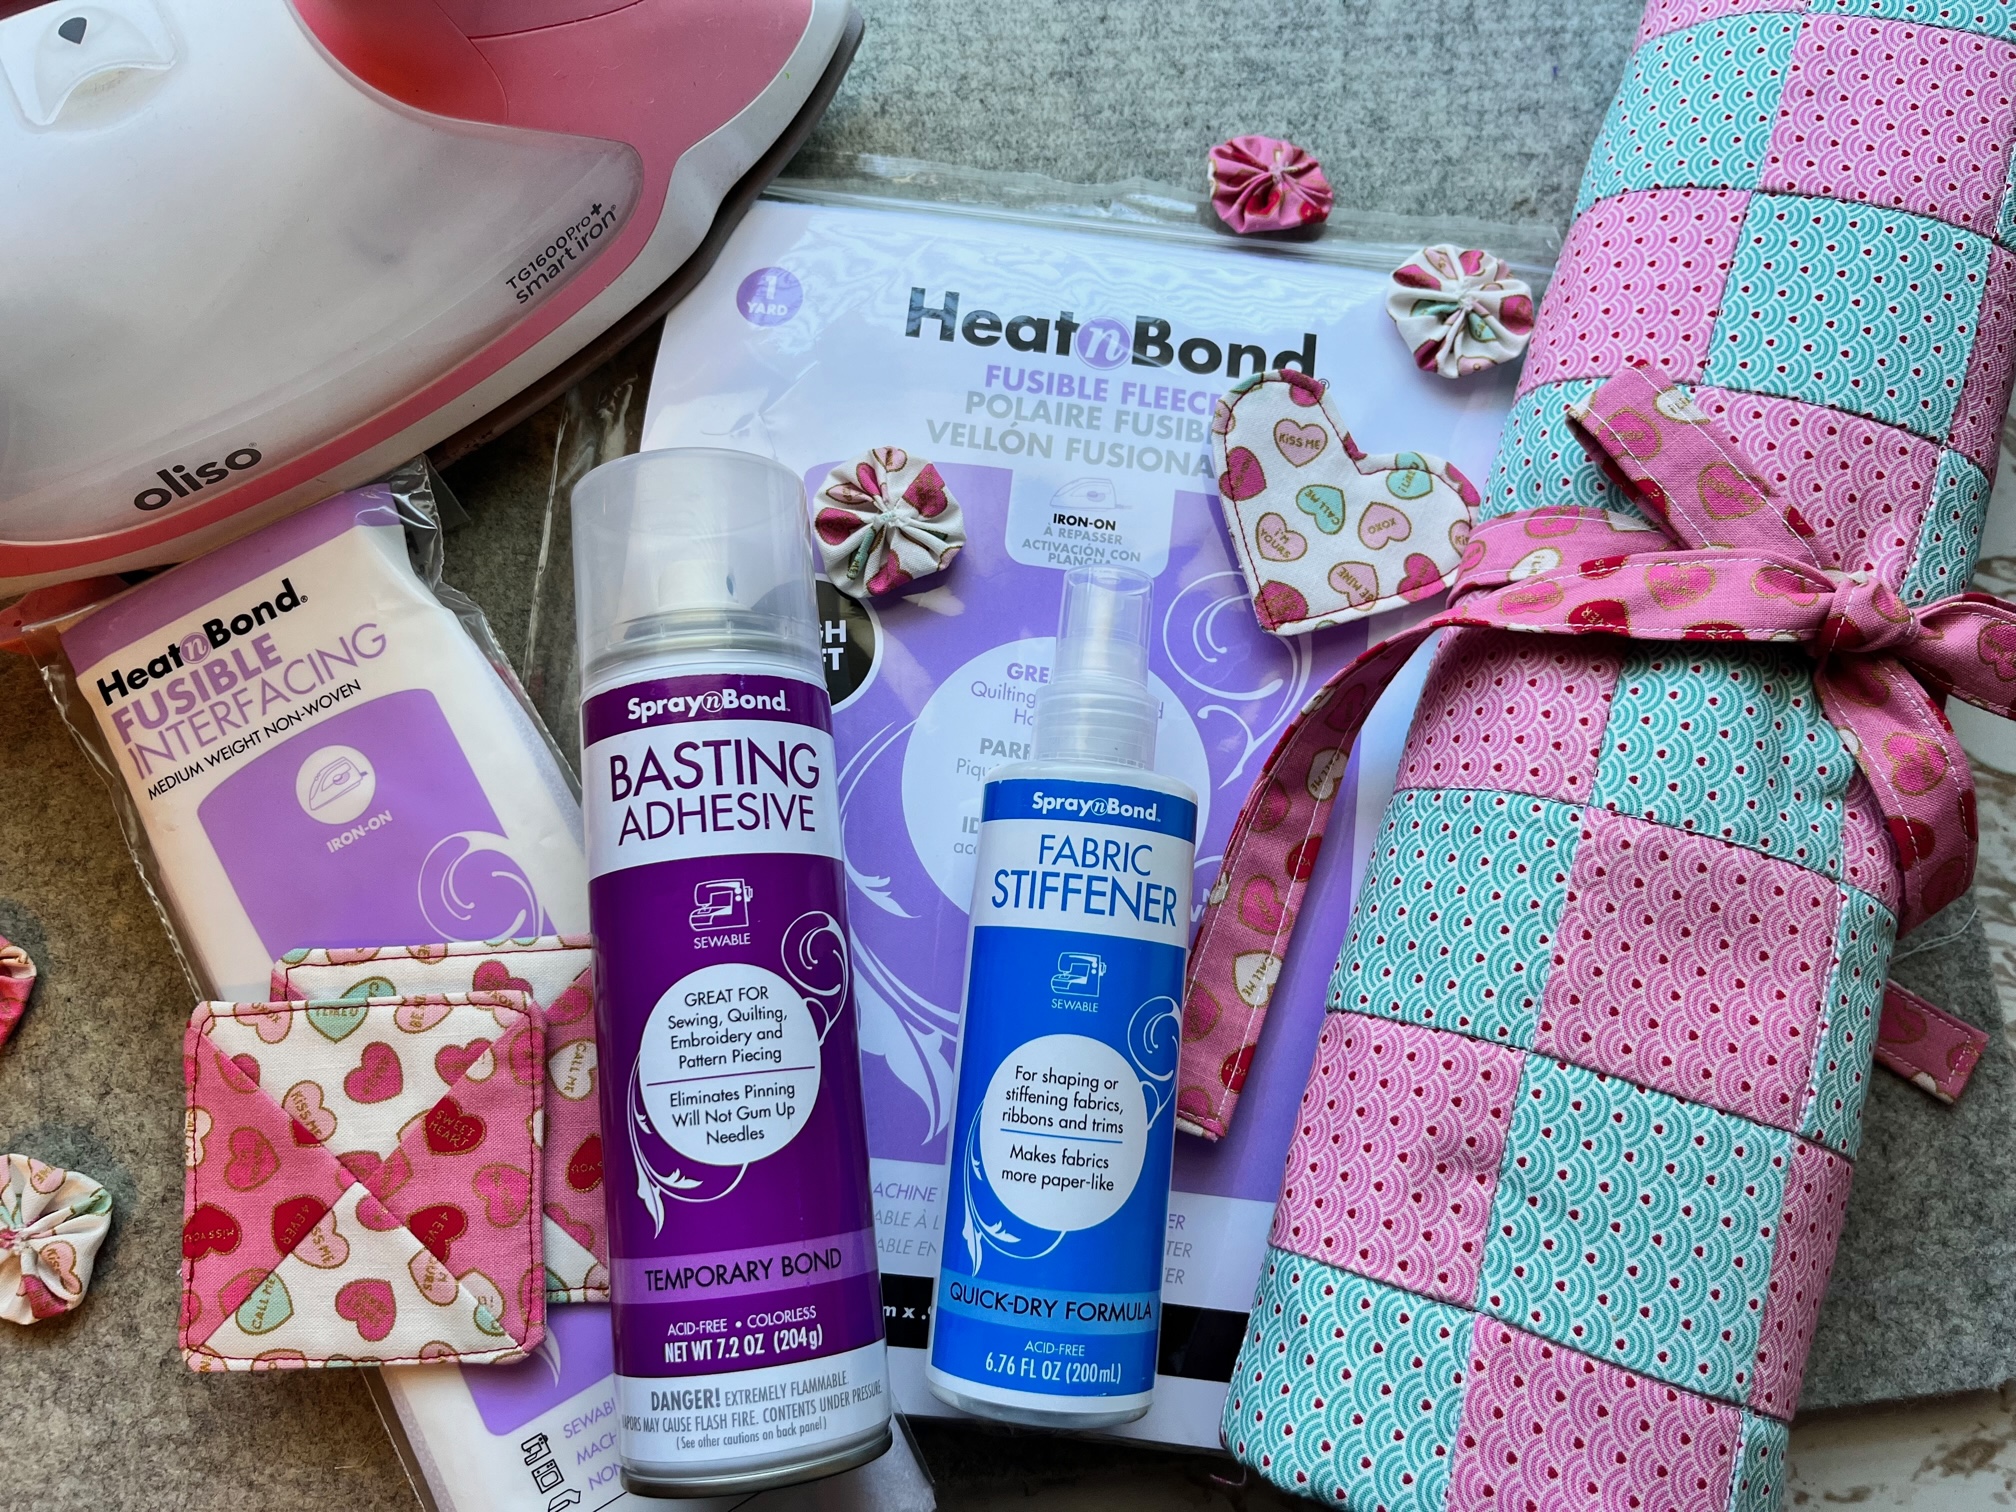
- HeatnBond Fusible Fleece
- HeatnBond Medium Weight Interfacing
- StitchnSew Fleece
- SpraynBond Fabric Stiffener
- SpraynBond Basting Spray
- Fabric: See Printable Pattern for list of fabric cuts.
- Fabric used for this project is “Mint for You” by Riley Blake Designs. Fabrics include–Scallops Pink, Scallops Cranberry, Scallops Sea Glass, Heartstrings Blush Sparkle, Sprinkle Hearts White Sparkle, Conversation Hearts White Sparkle and Conversation Hearts Pink Sparkle
- 14″ Zipper tape and pull (if using a pre-packaged zipper get an 18″ zipper and trim to 14″)
- Basic Sewing Notions
- Oliso Iron
- Needle and Thread (I prefer to use upholstery thread for strength)
Instructions:
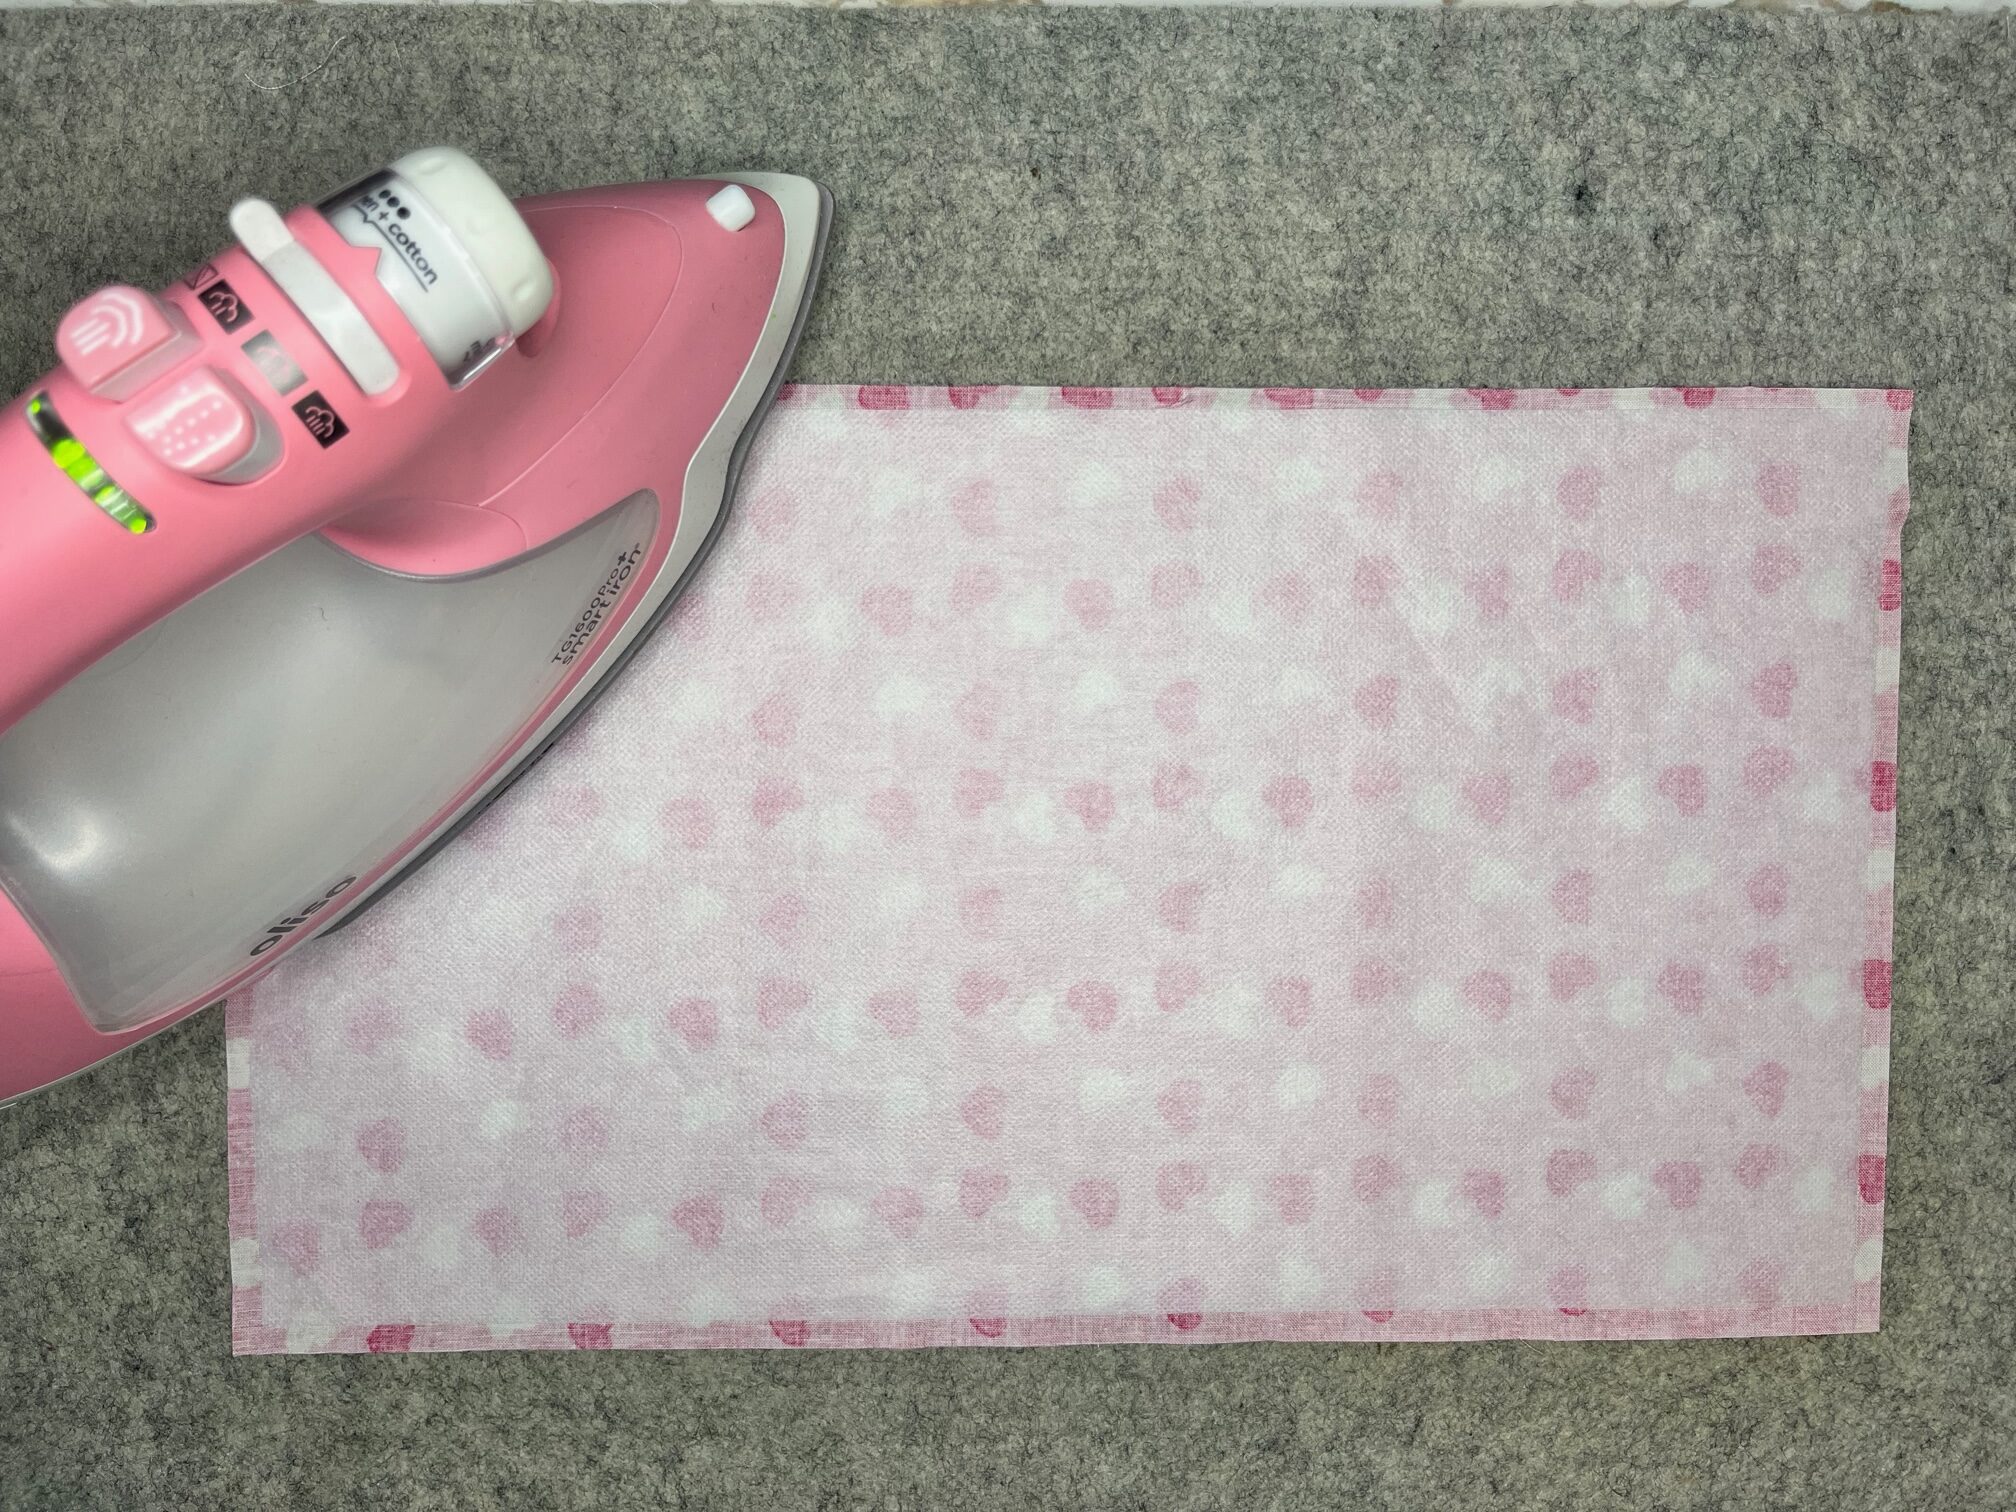
Begin by adhering the medium-weight interfacing to the wrong side of the lining fabric. Set aside.
Next…
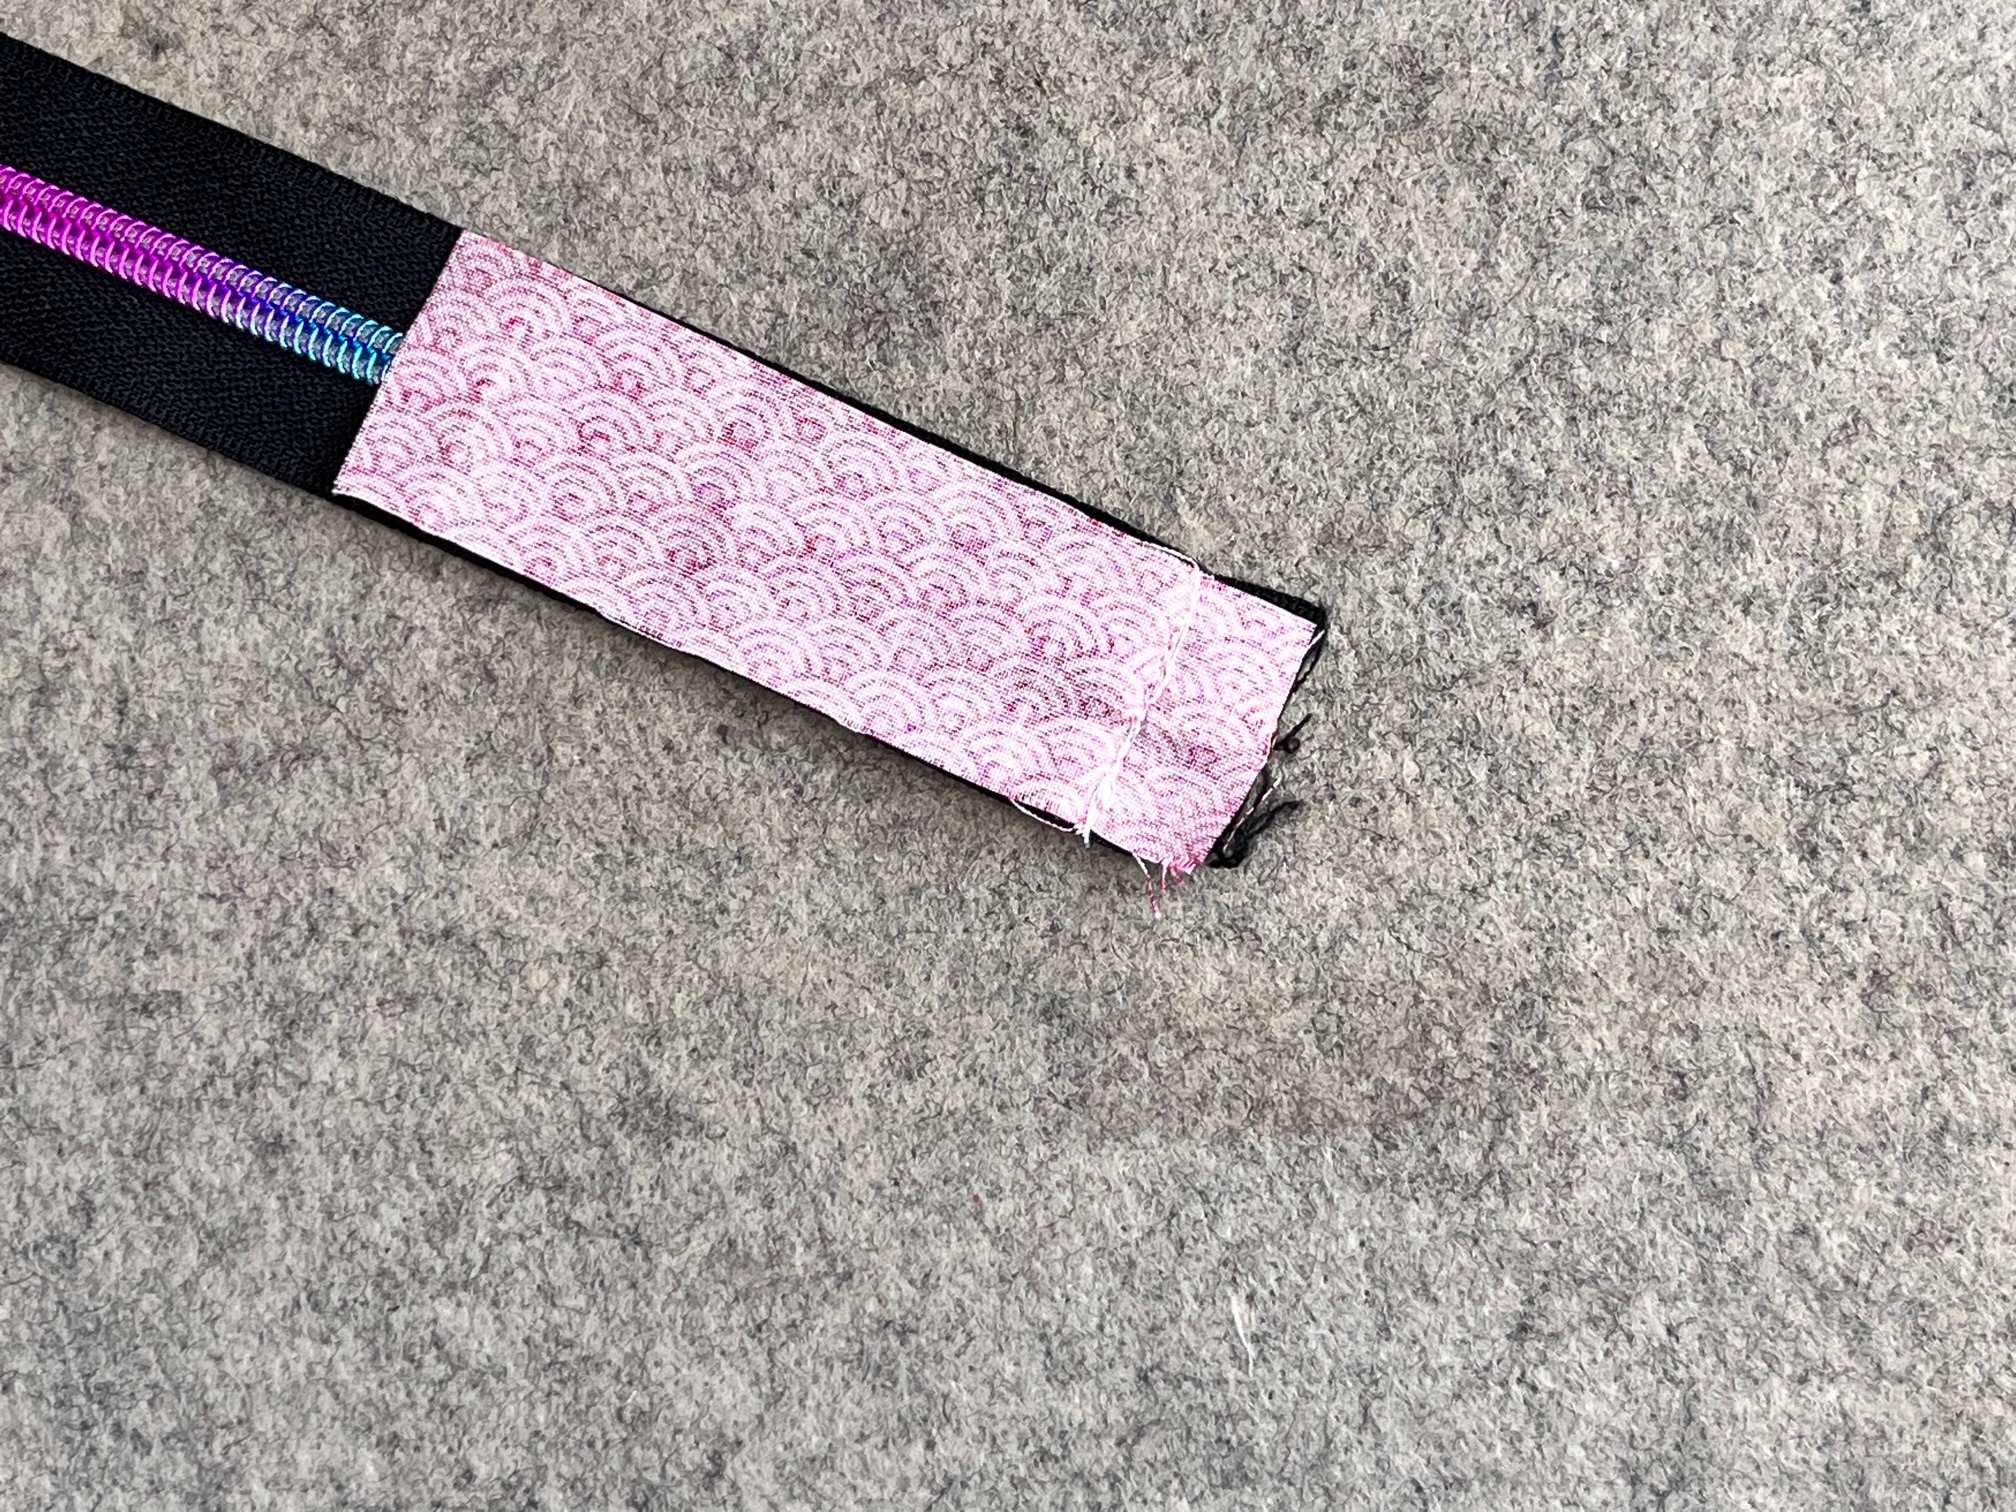
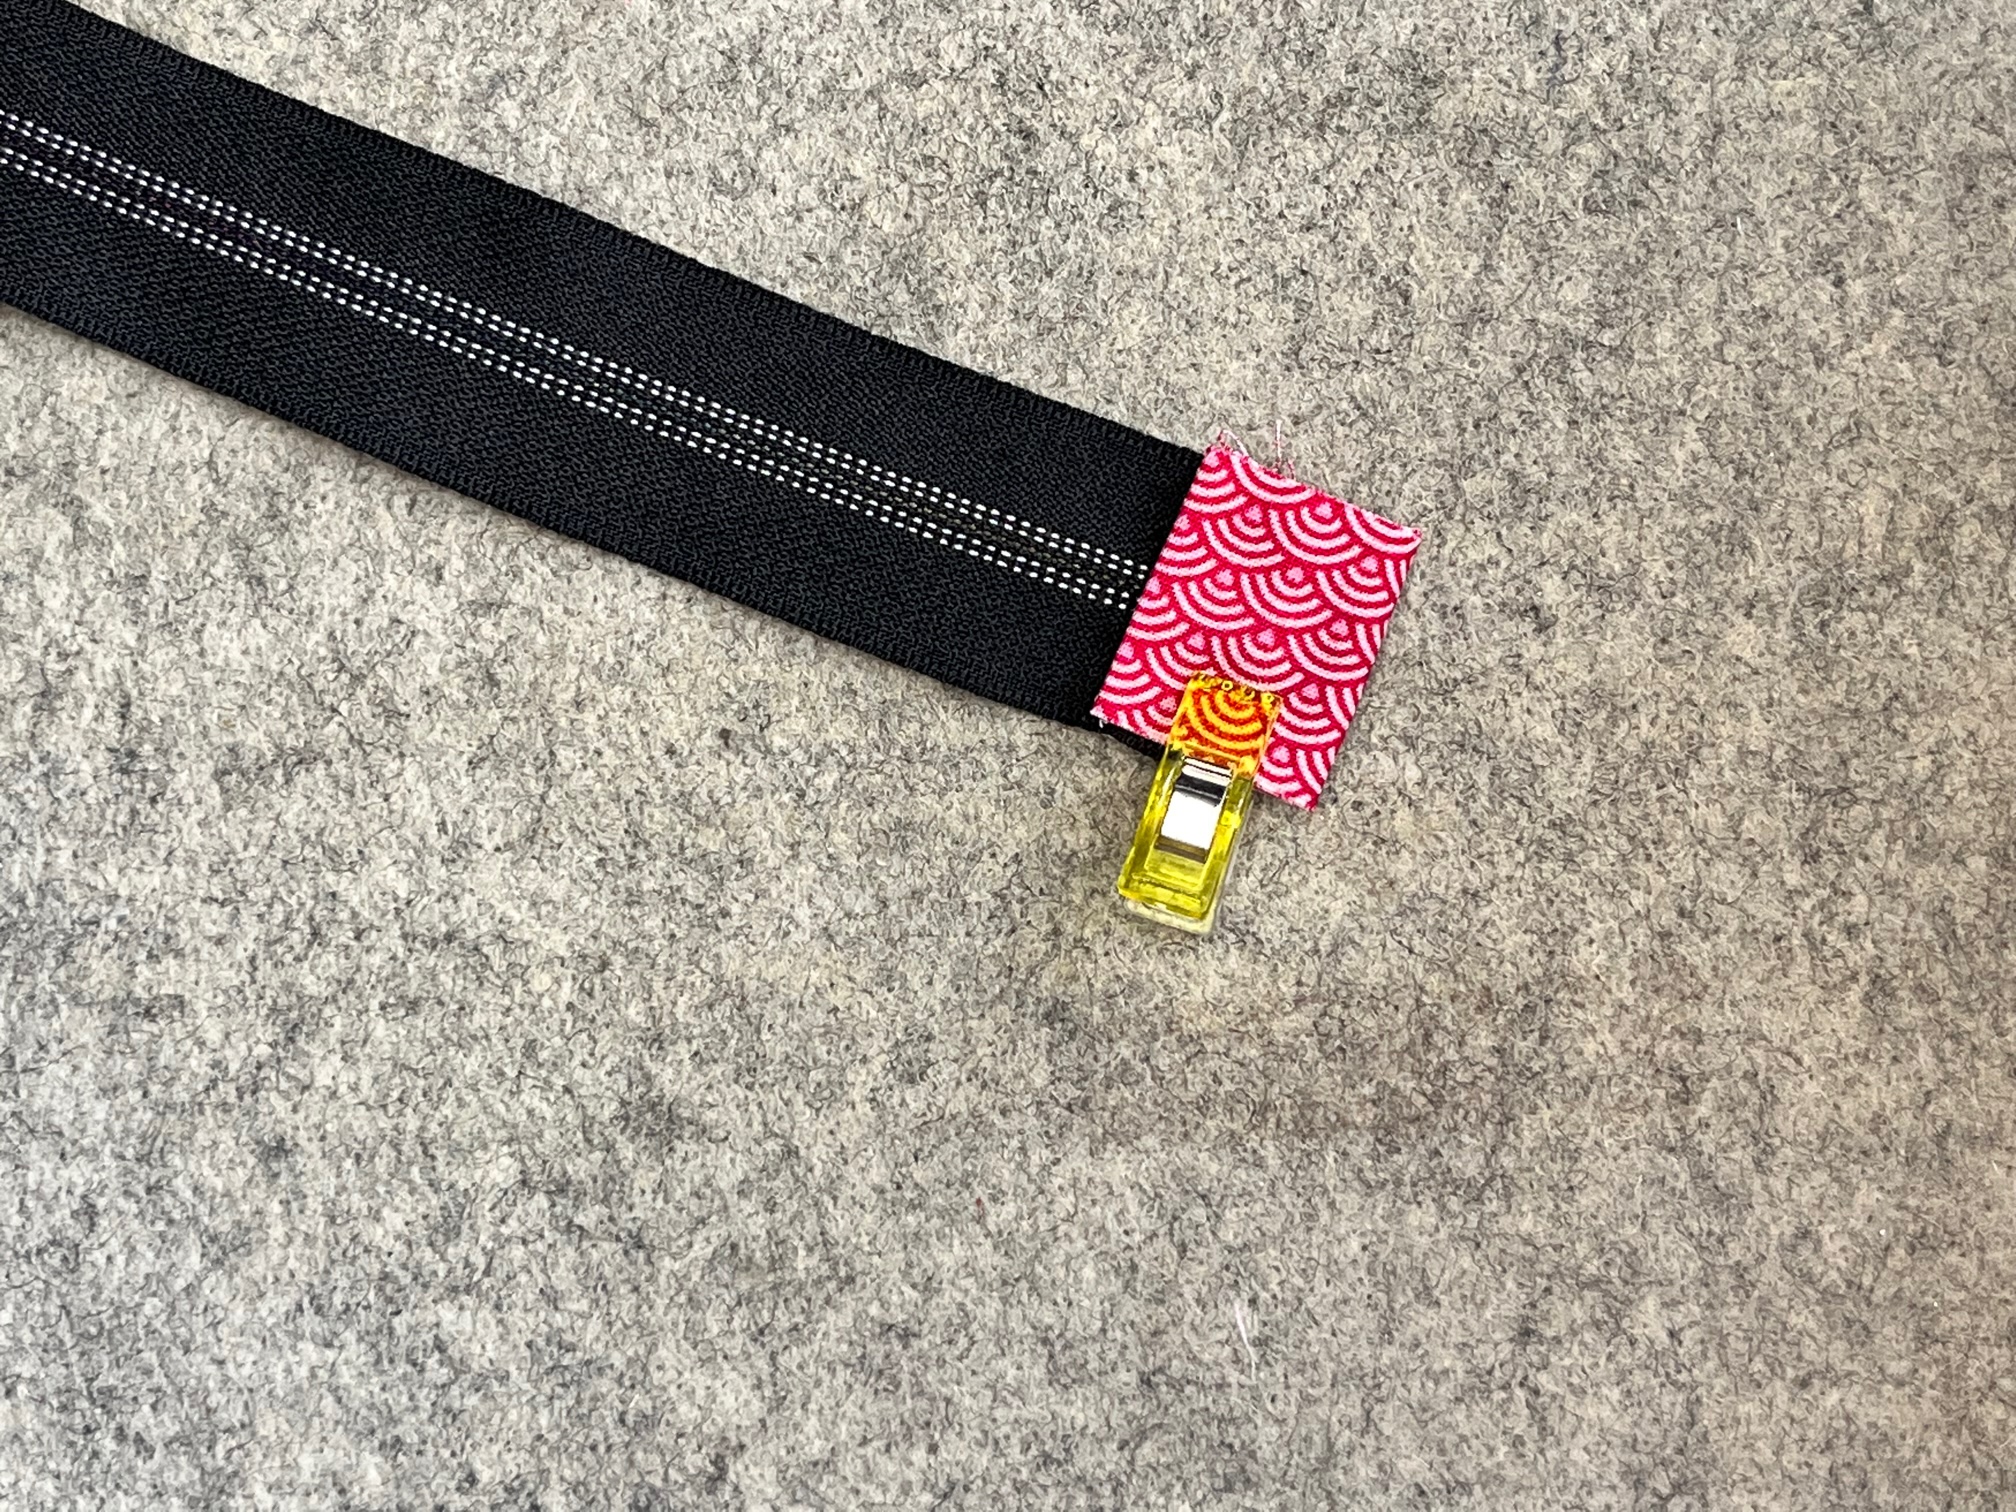
Prepare the zipper. To avoid the zipper corners from having dented sides we are going to add some tabs to the end of the zipper. To do this, begin by lining up the end of the zipper tab material with the end of the zipper. With the right sides together, sew across the zipper with a 1/2″ seam. Press the material over the end of the zipper. Next, fold the raw edge of the zipper tab to where it meets the raw edge of the zipper. Press. Fold the tab over one more time so it meets the seam you just sewed. Do this for the other side of the zipper as well. (For additional photos of the process, see the printable pattern.) Set the zipper aside.
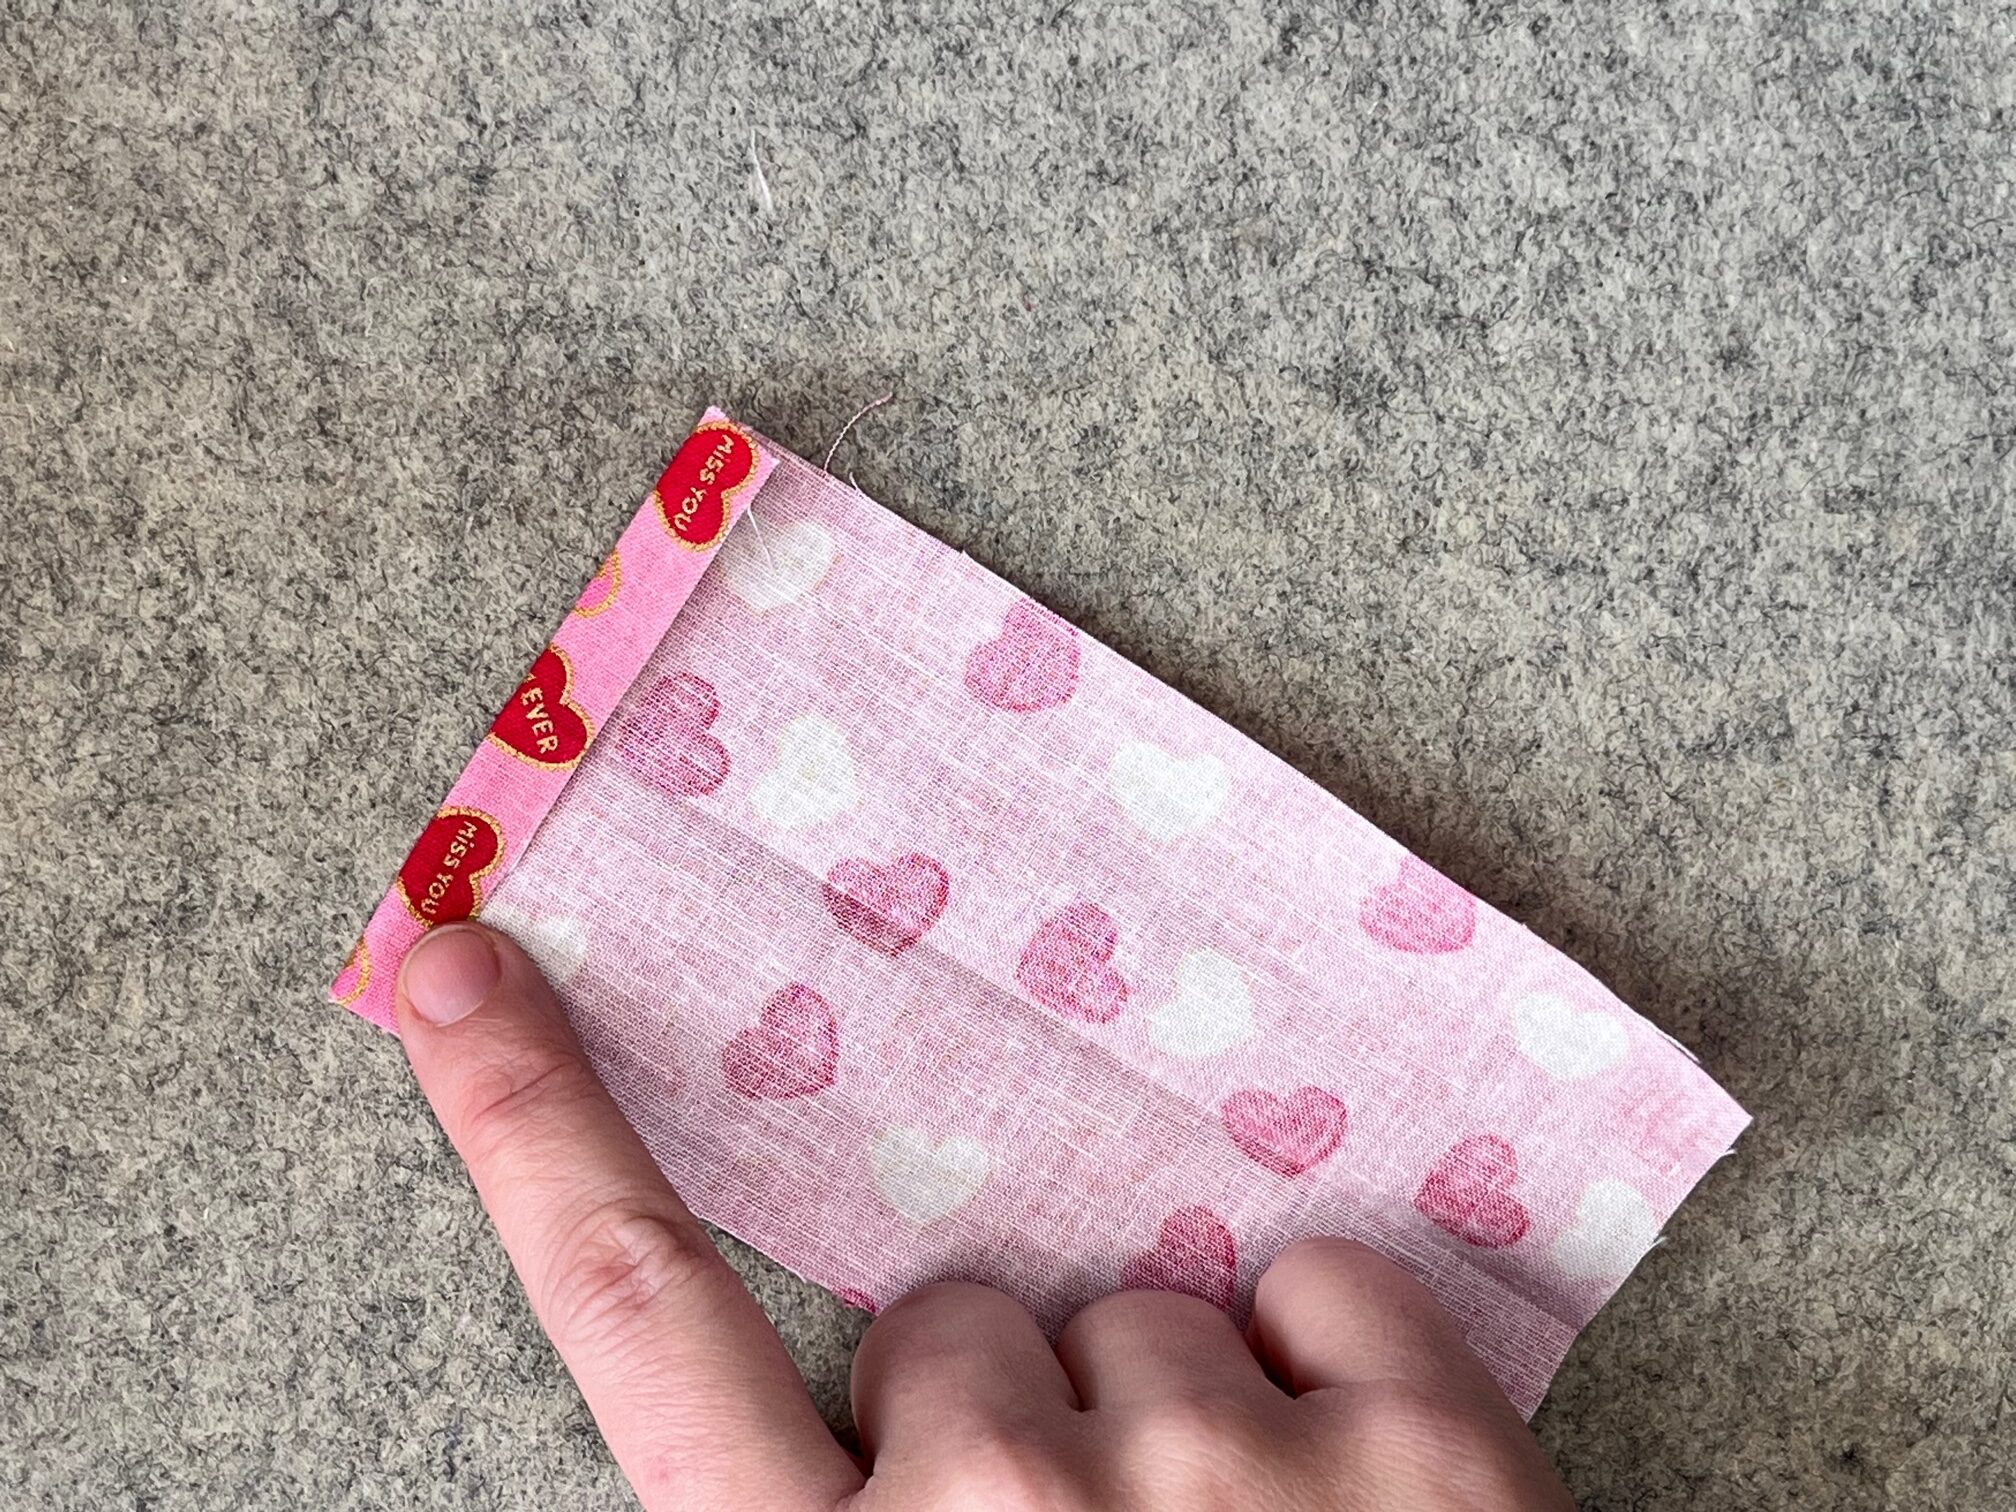
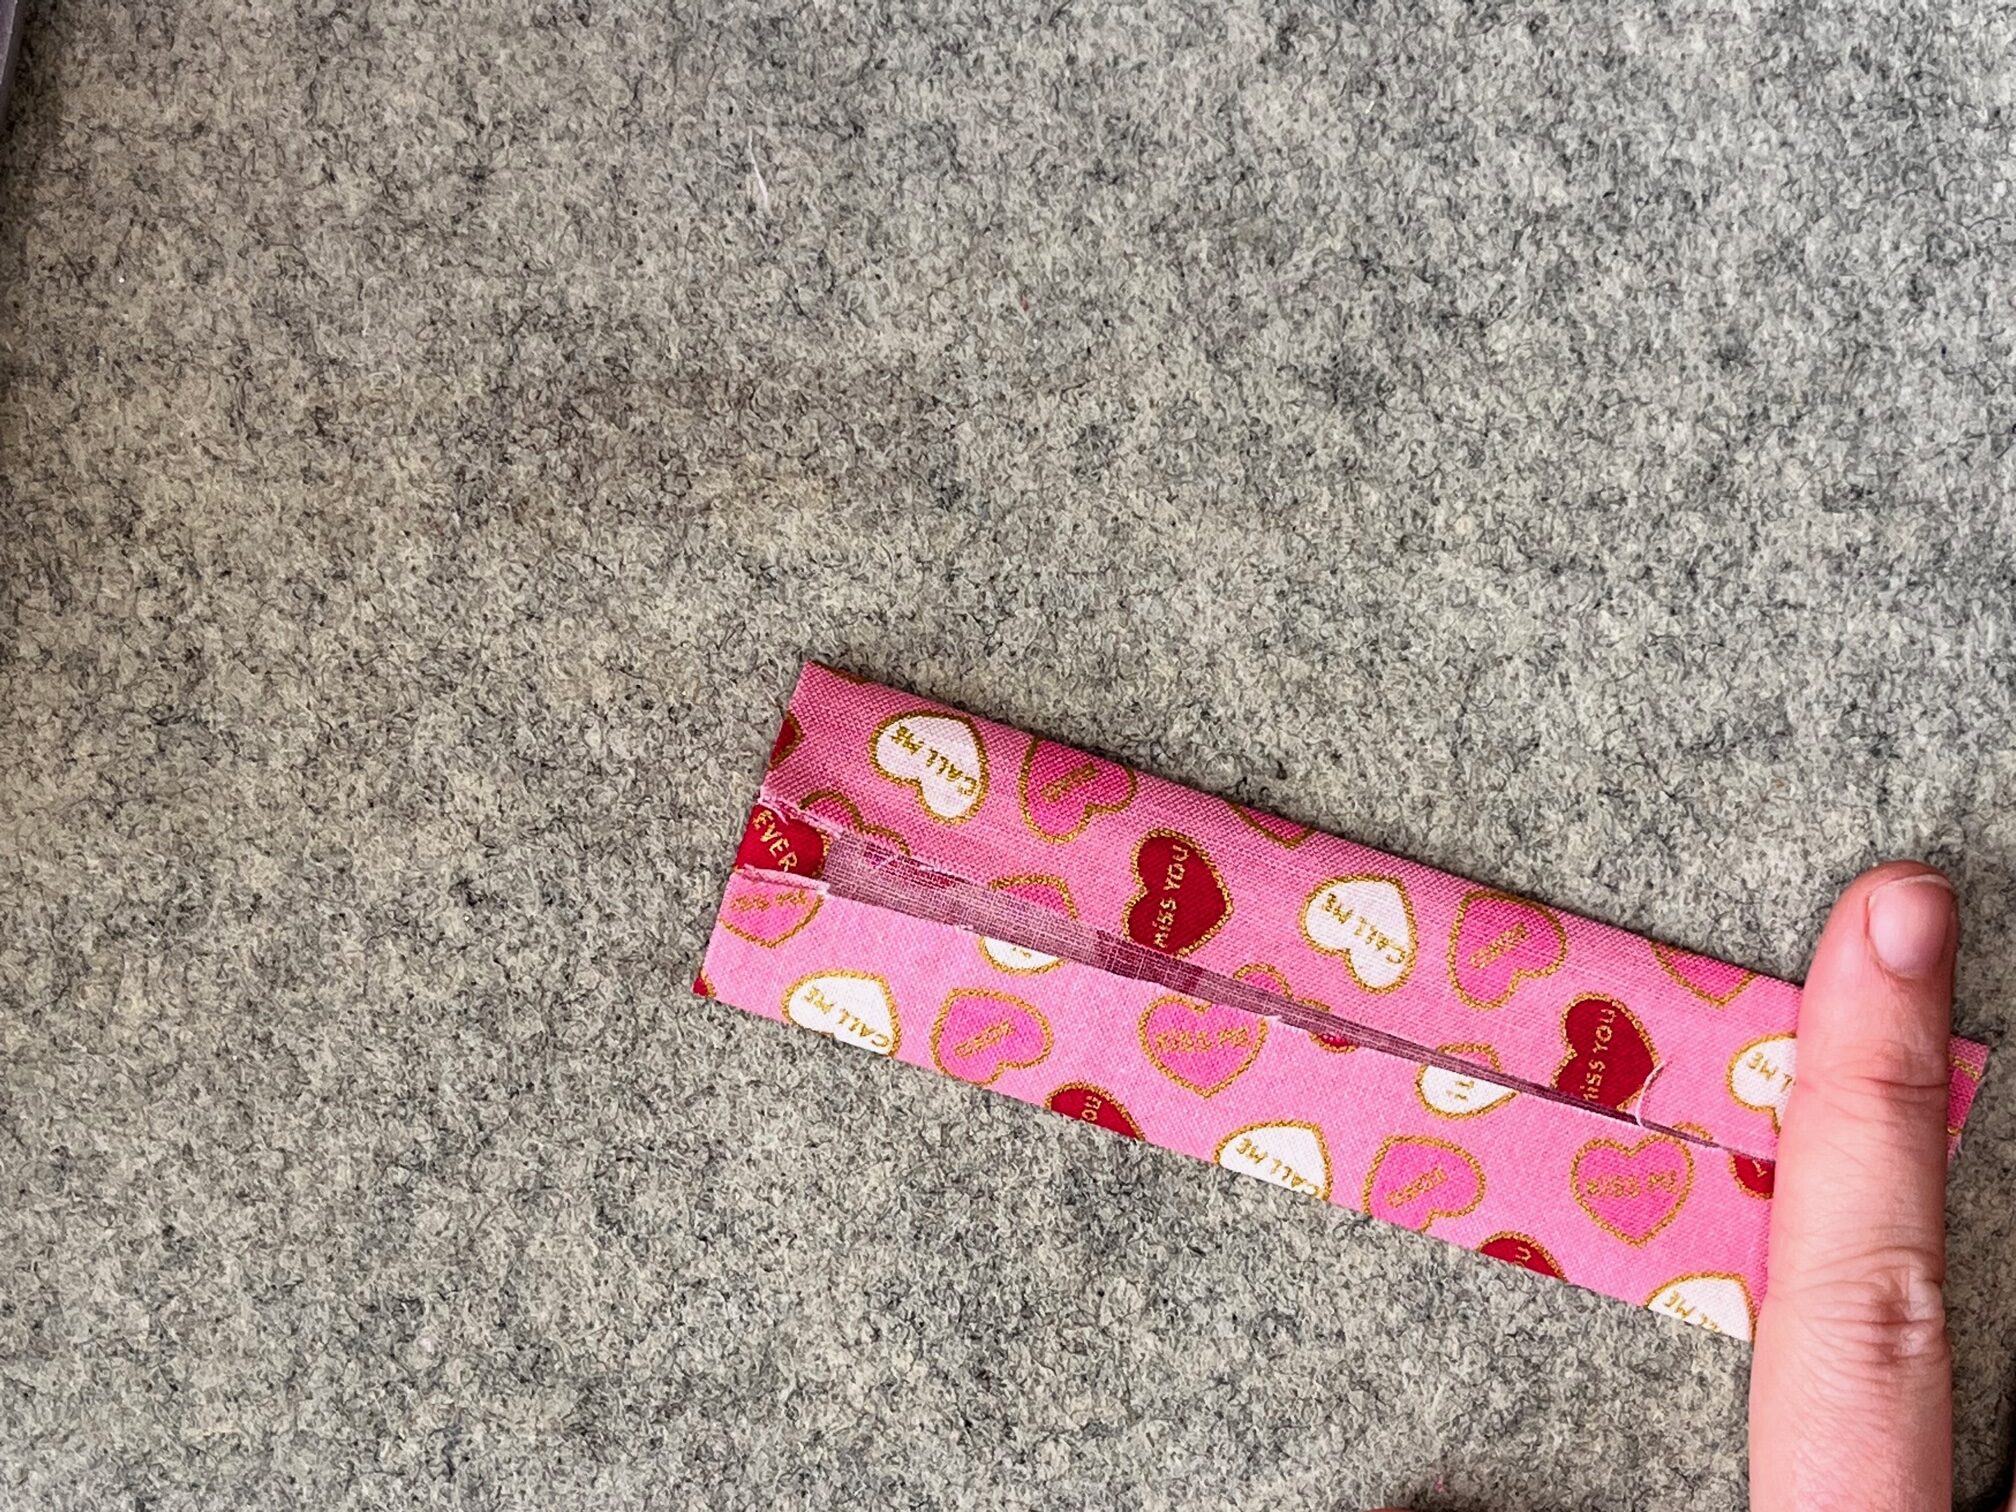
Prepare the Ties: Create a crease down the center of the tie material by folding the fabric in half and pressing. Next, fold over one end 1/4″ and press. Then, fold the two long ends to the center crease and press. Finally, fold over one side of the tie and press again. Topstitch beginning and ending at the raw edge. (For additional photos of the process, see the printable pattern.) Set the ties aside.
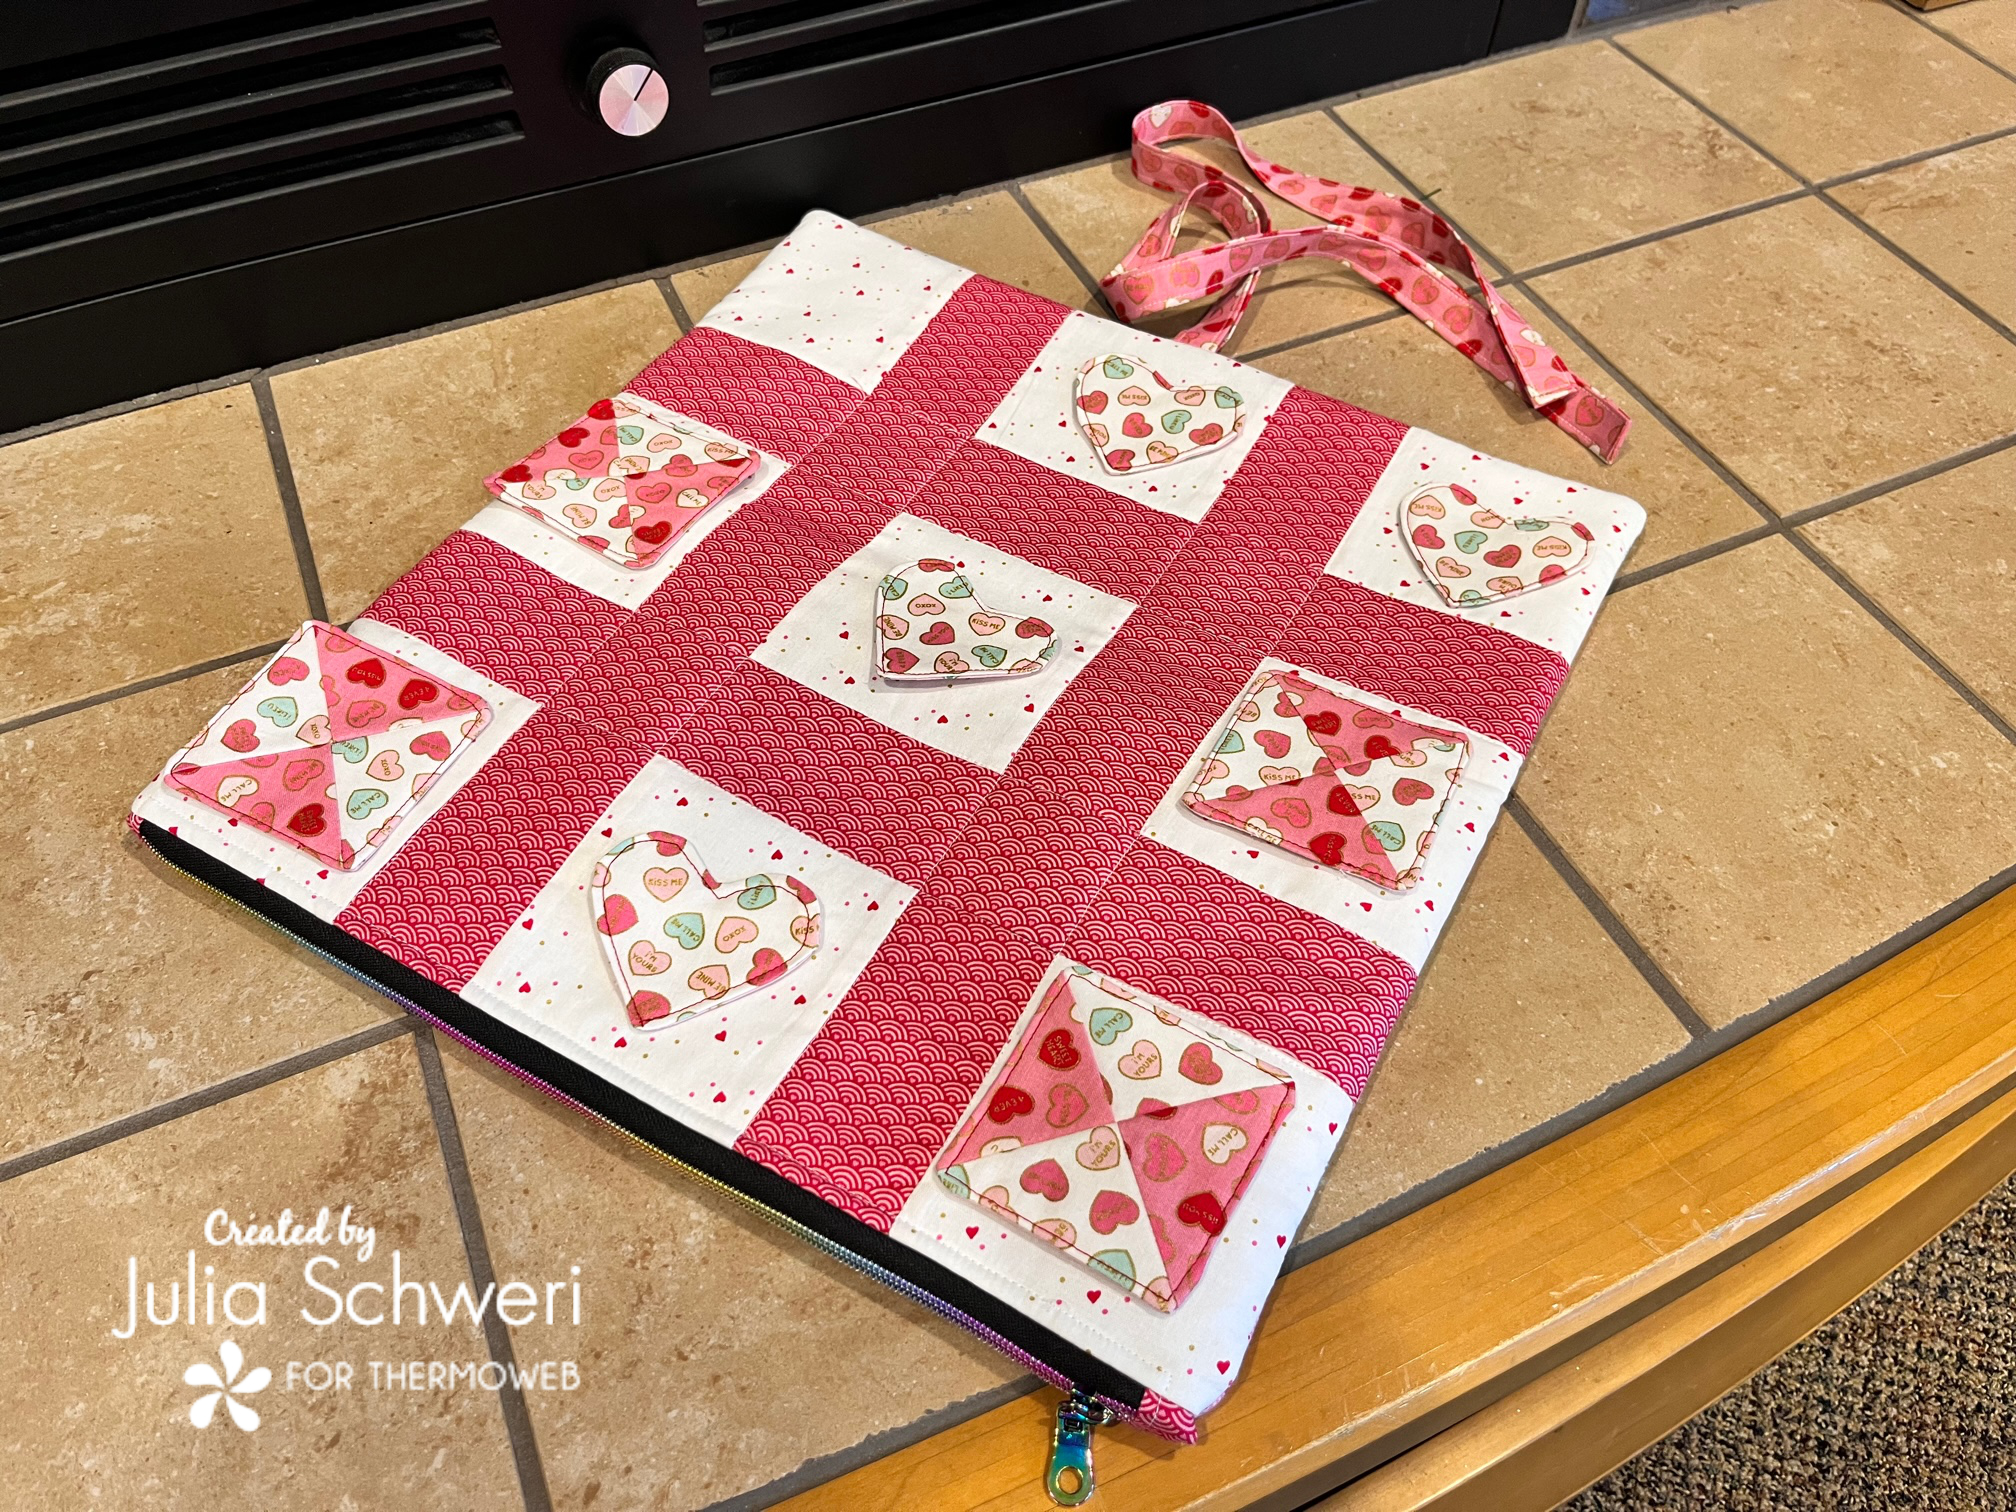
Tic Tac Toe Front:
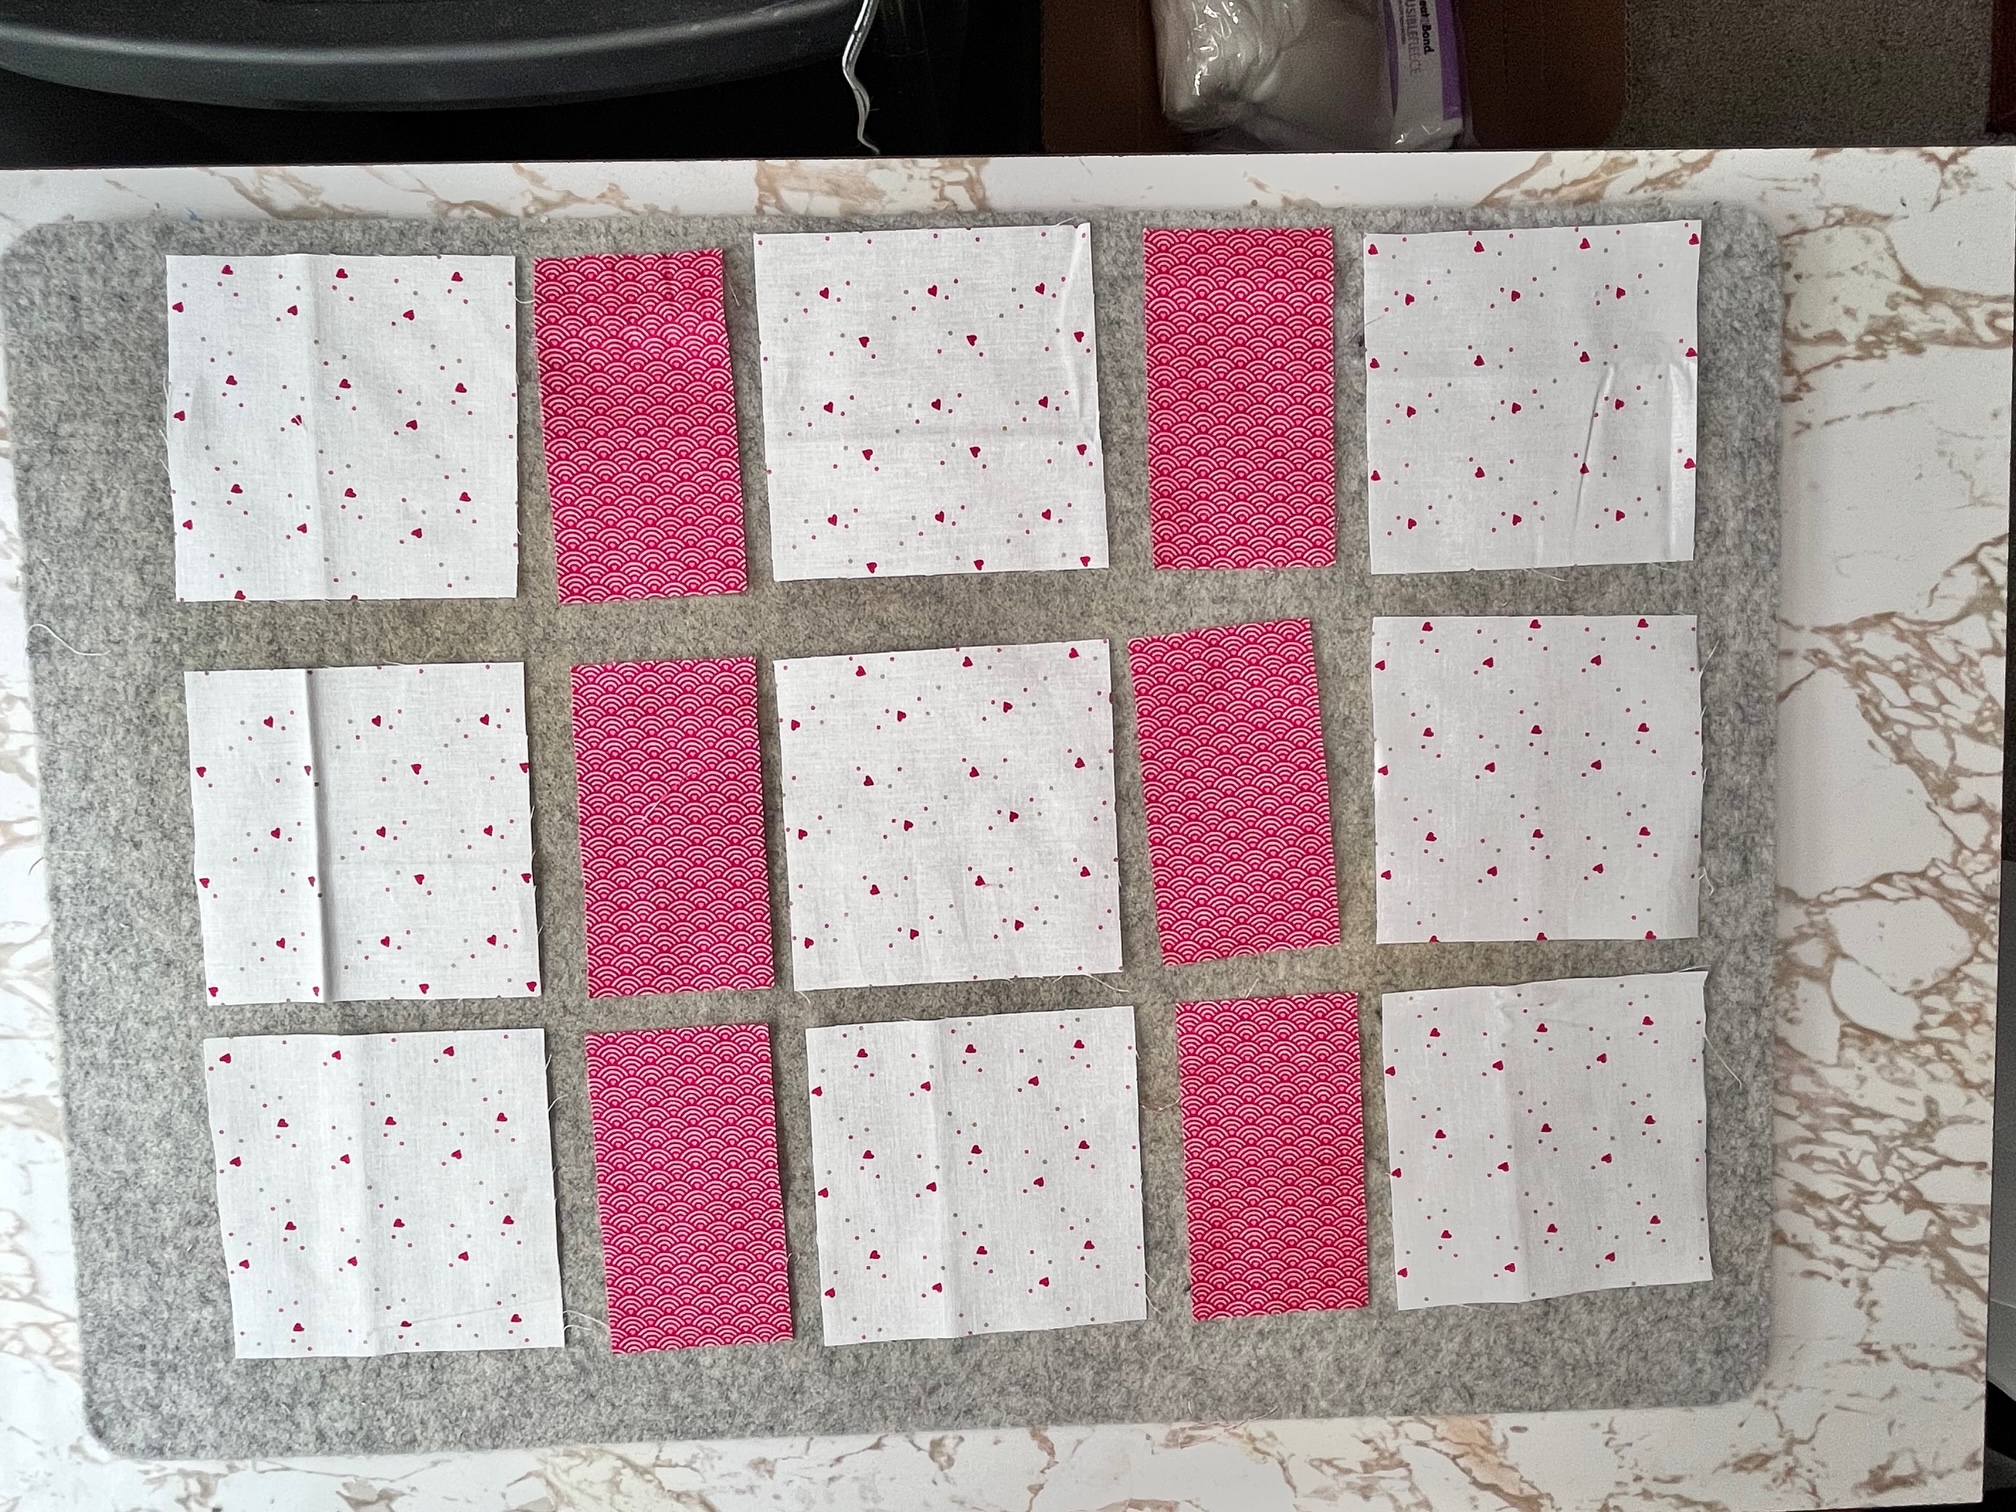
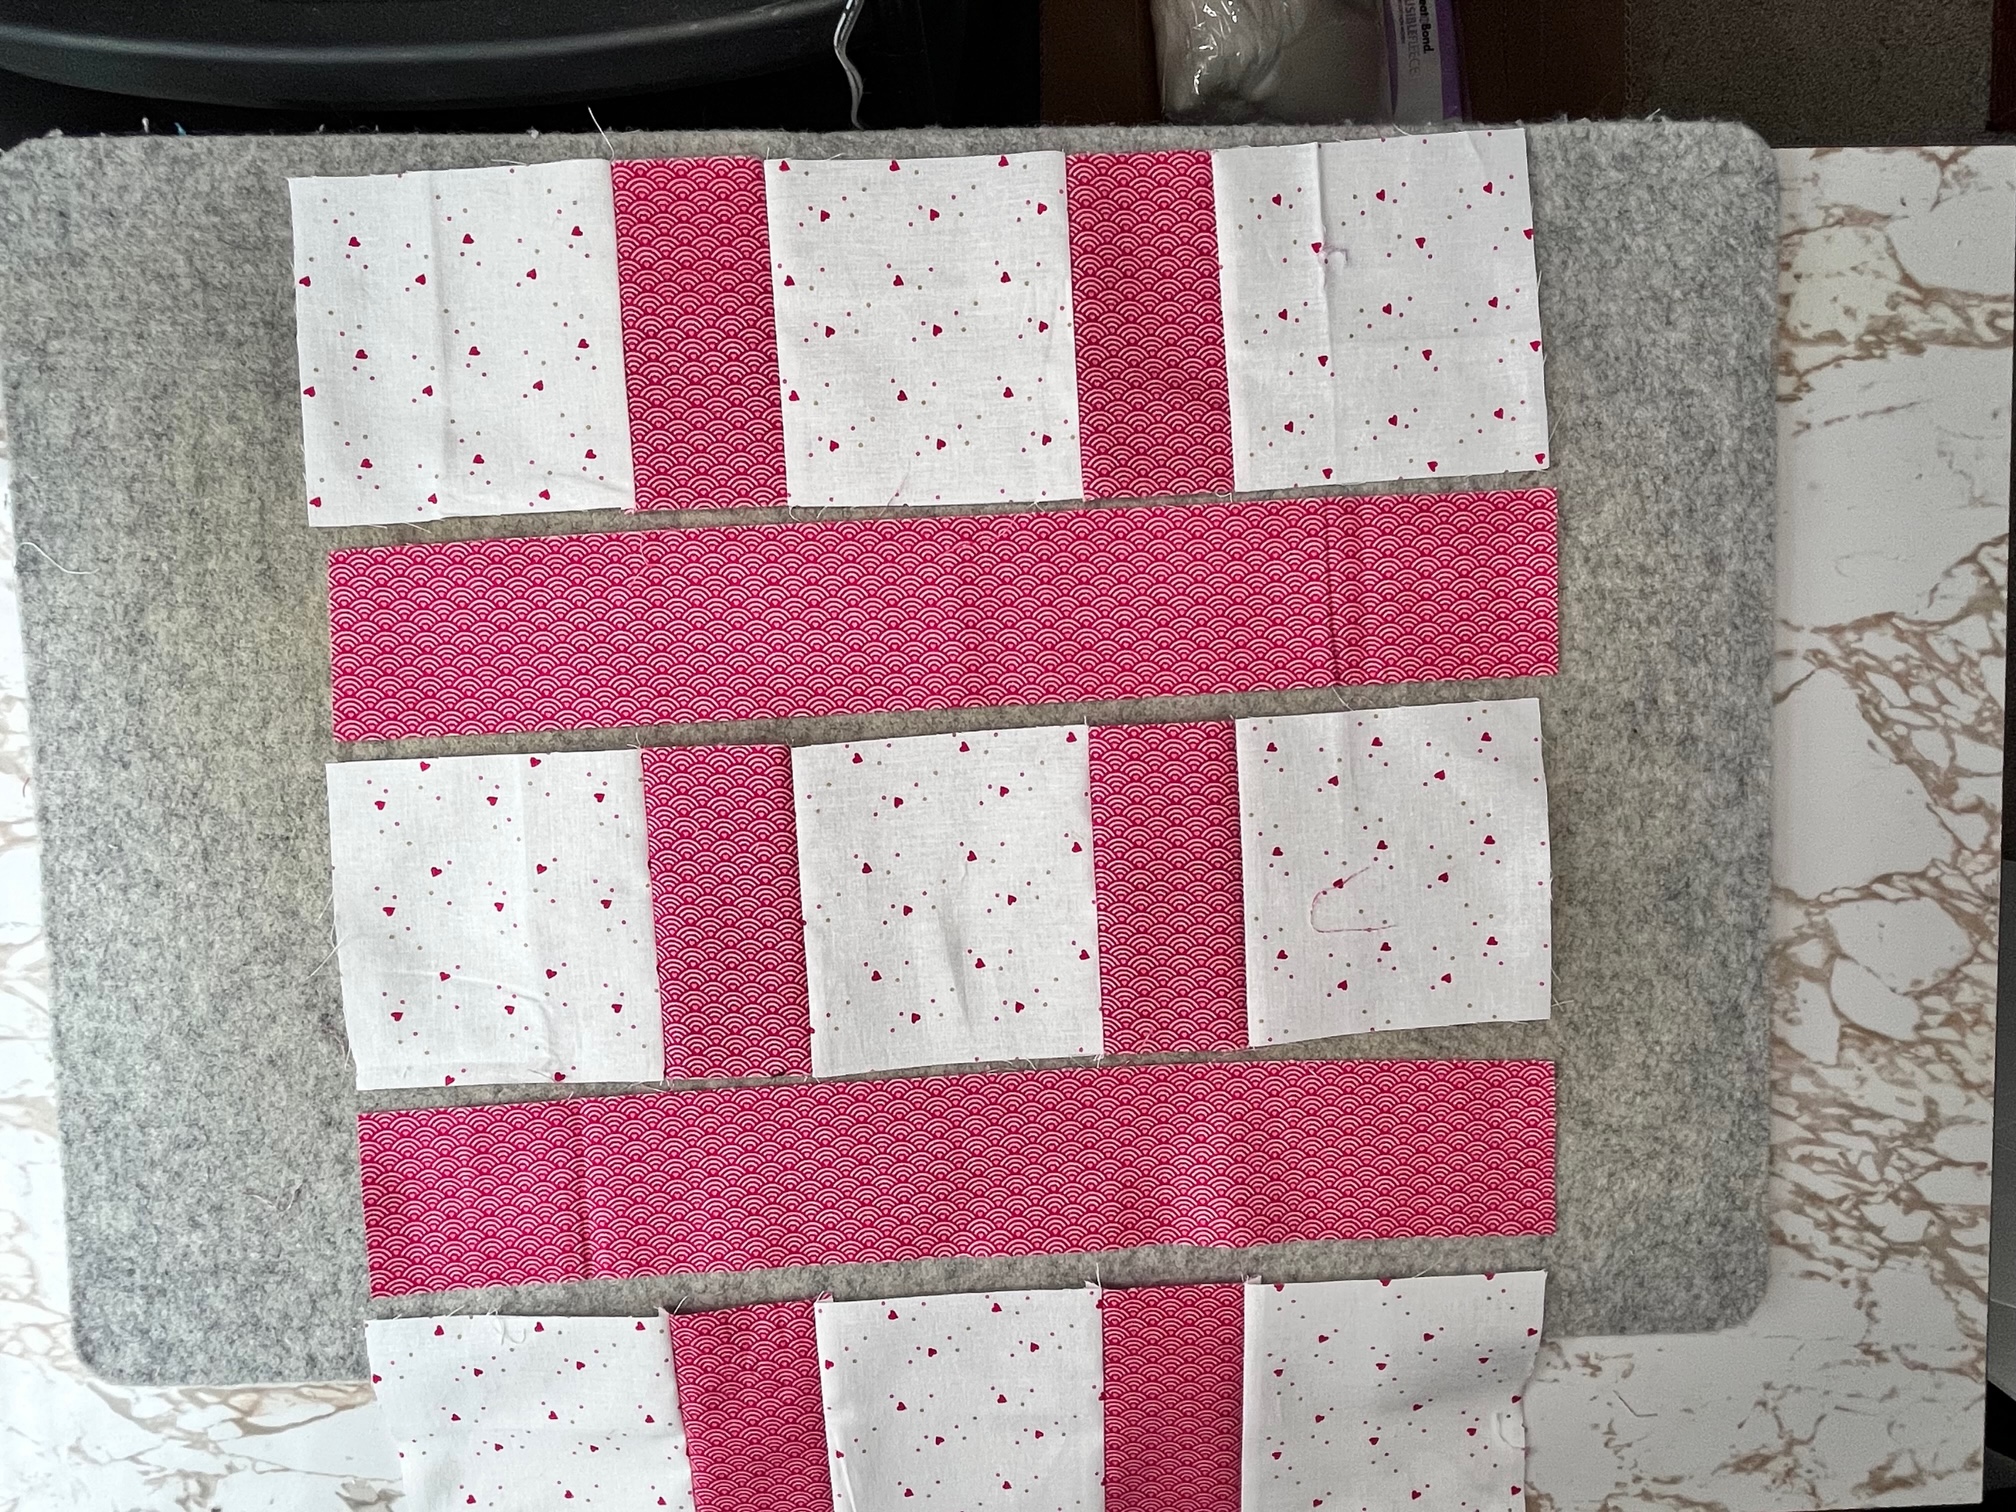
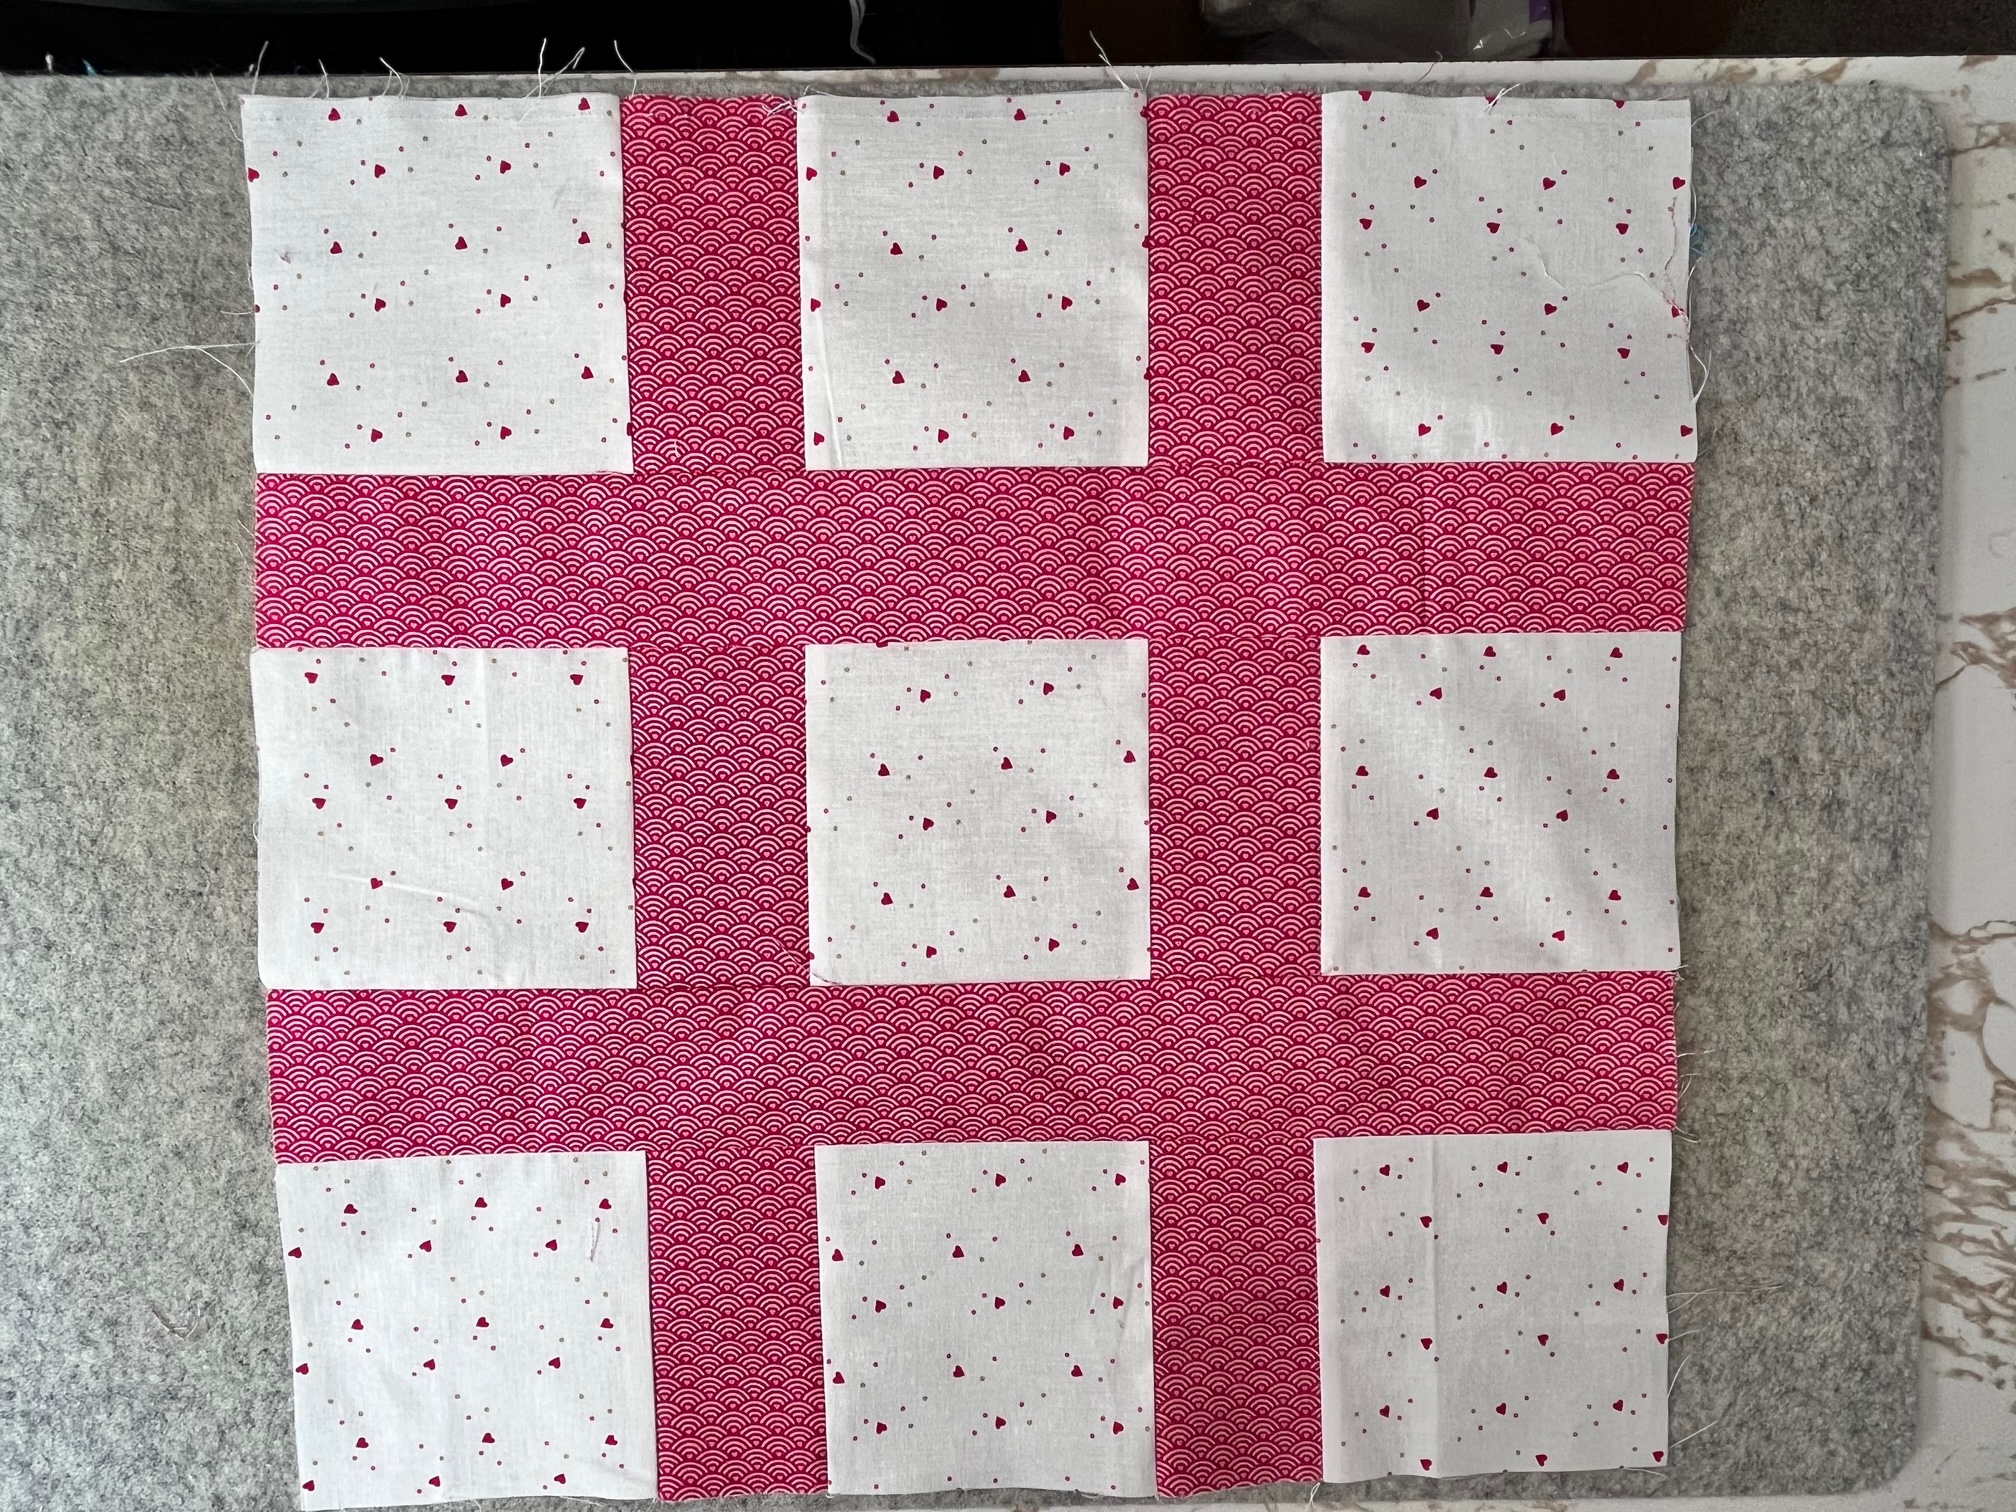
Begin by arranging the tic tac toe squares and sashing as shown below. Sew each piece in the row together with a 1/4″ seam. Next, sew the long rows together with the long tic tac toe sashing using a 1/4″ seam. Your final piece should look like photo number three. Press well and set aside.
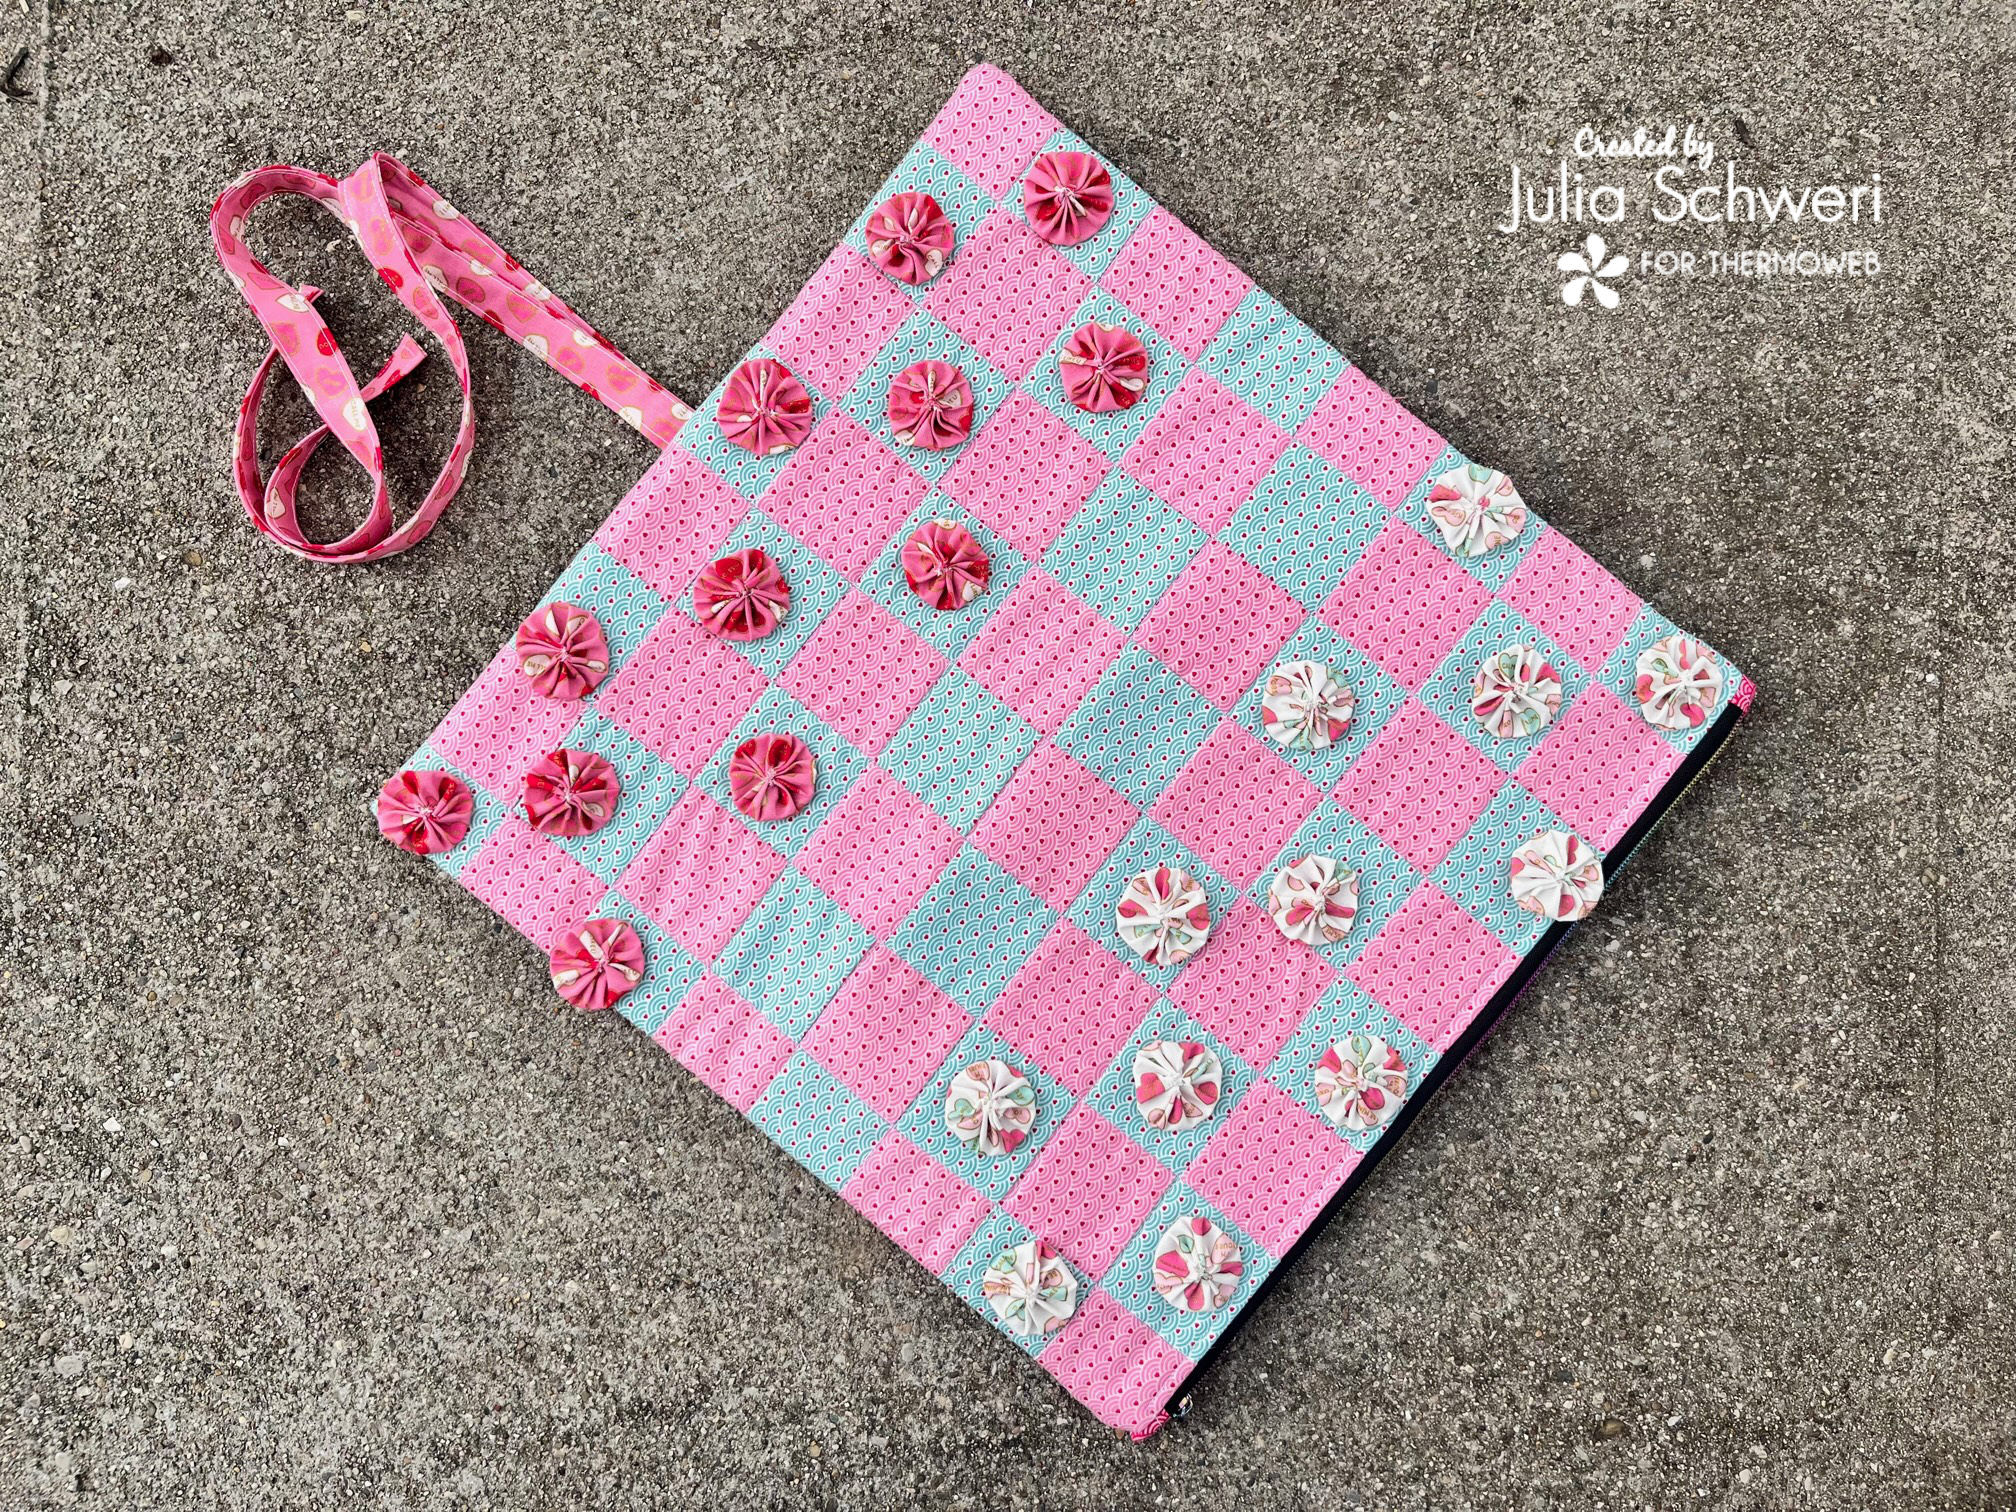
Checkers Front:
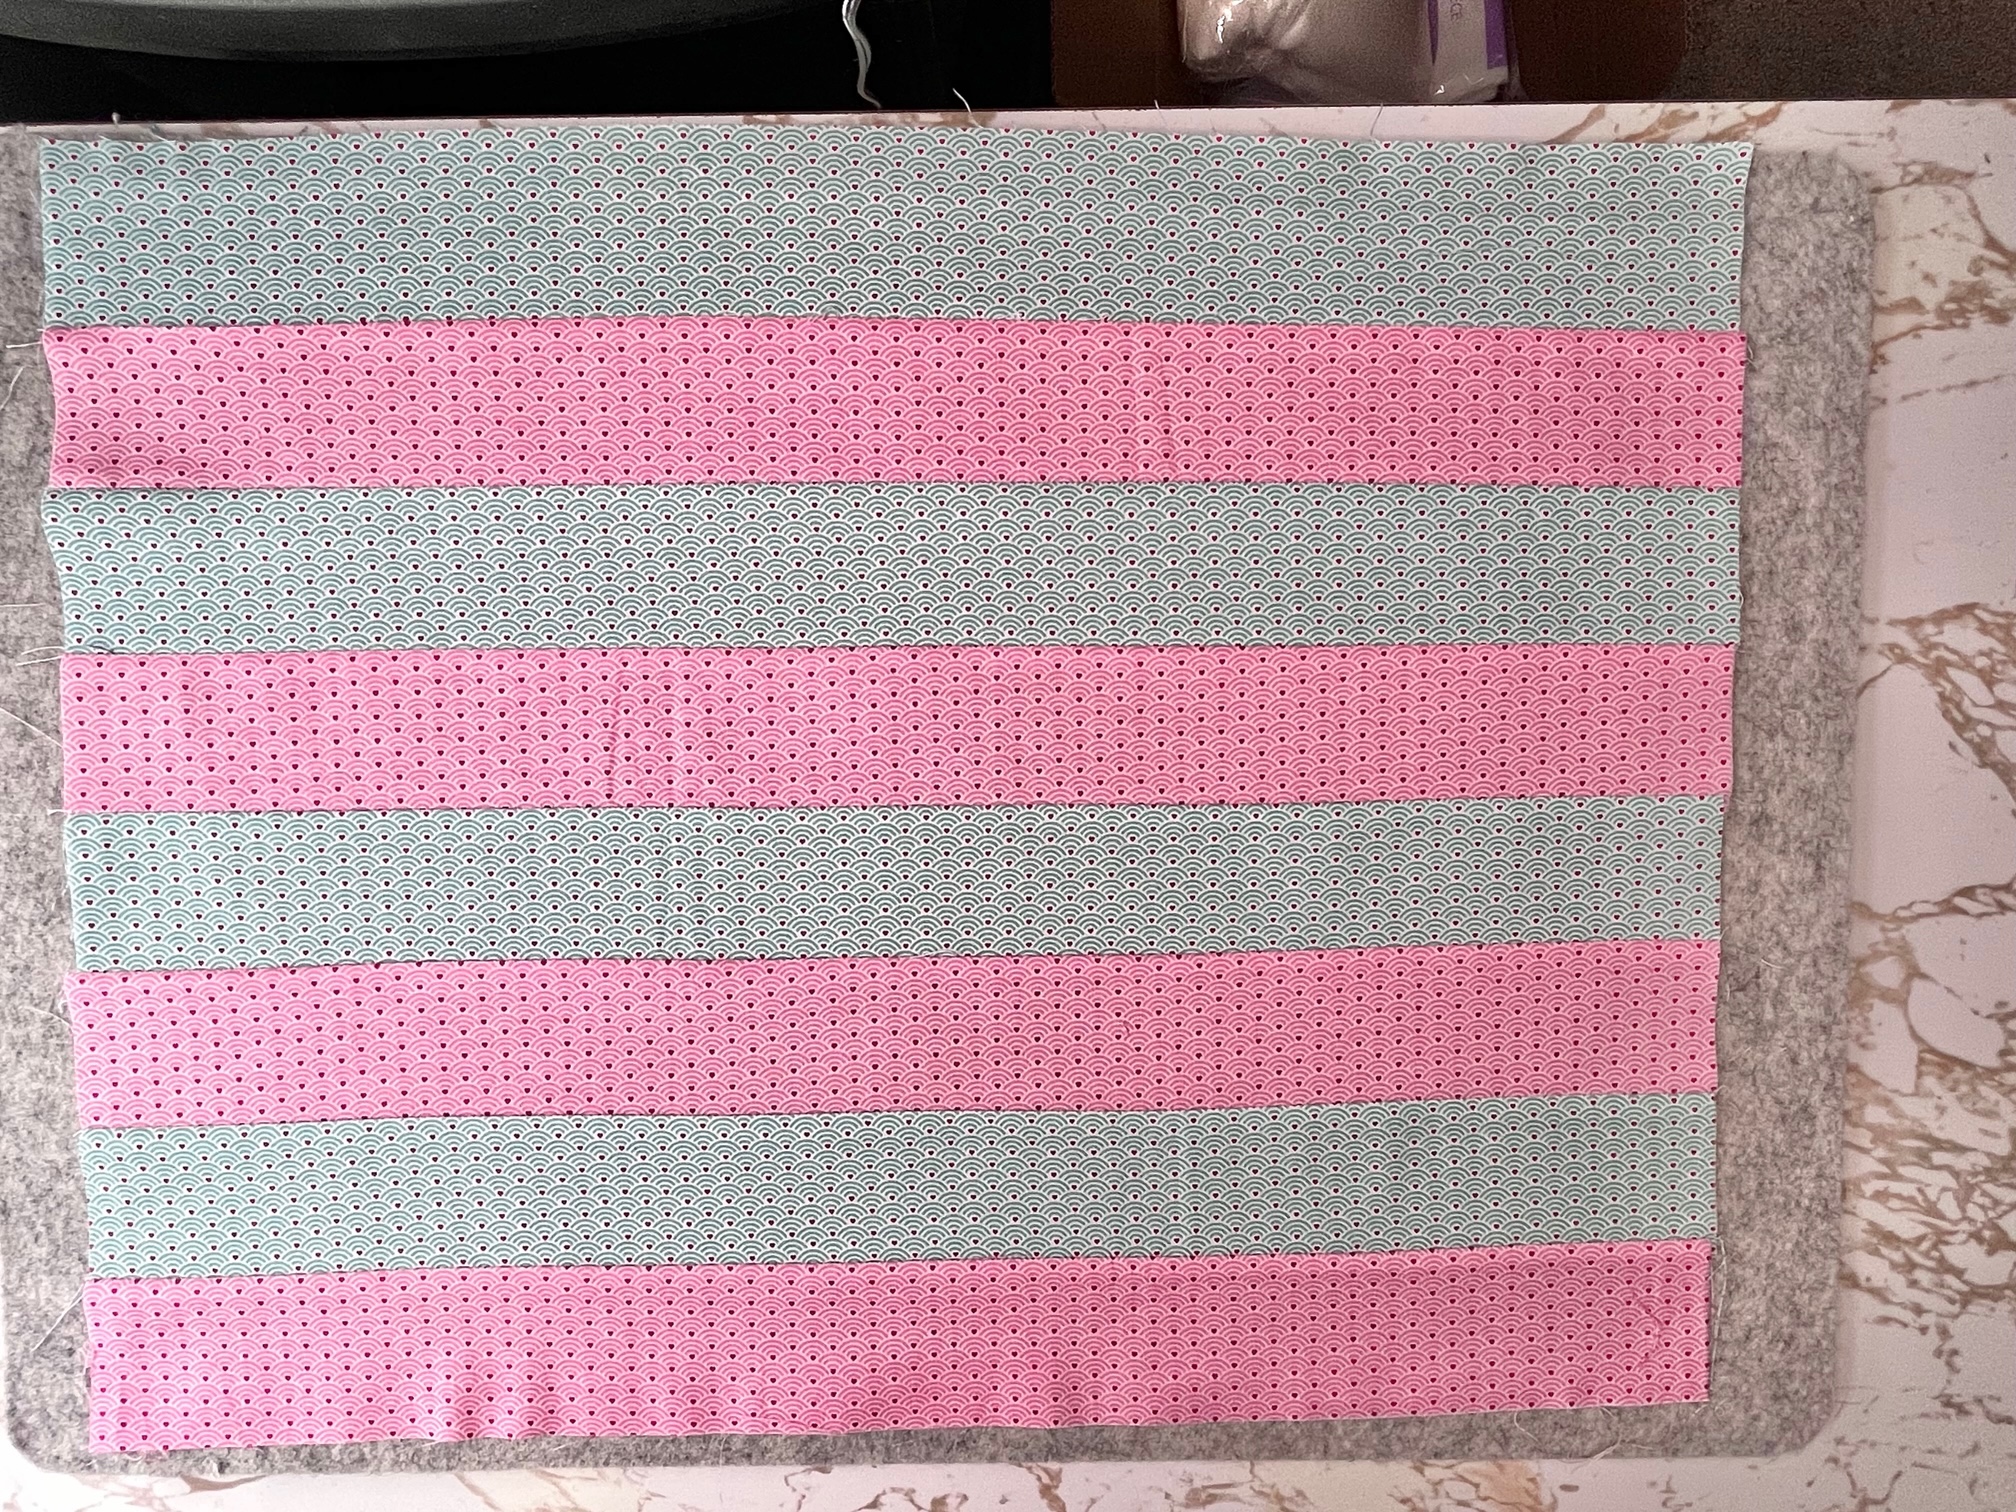
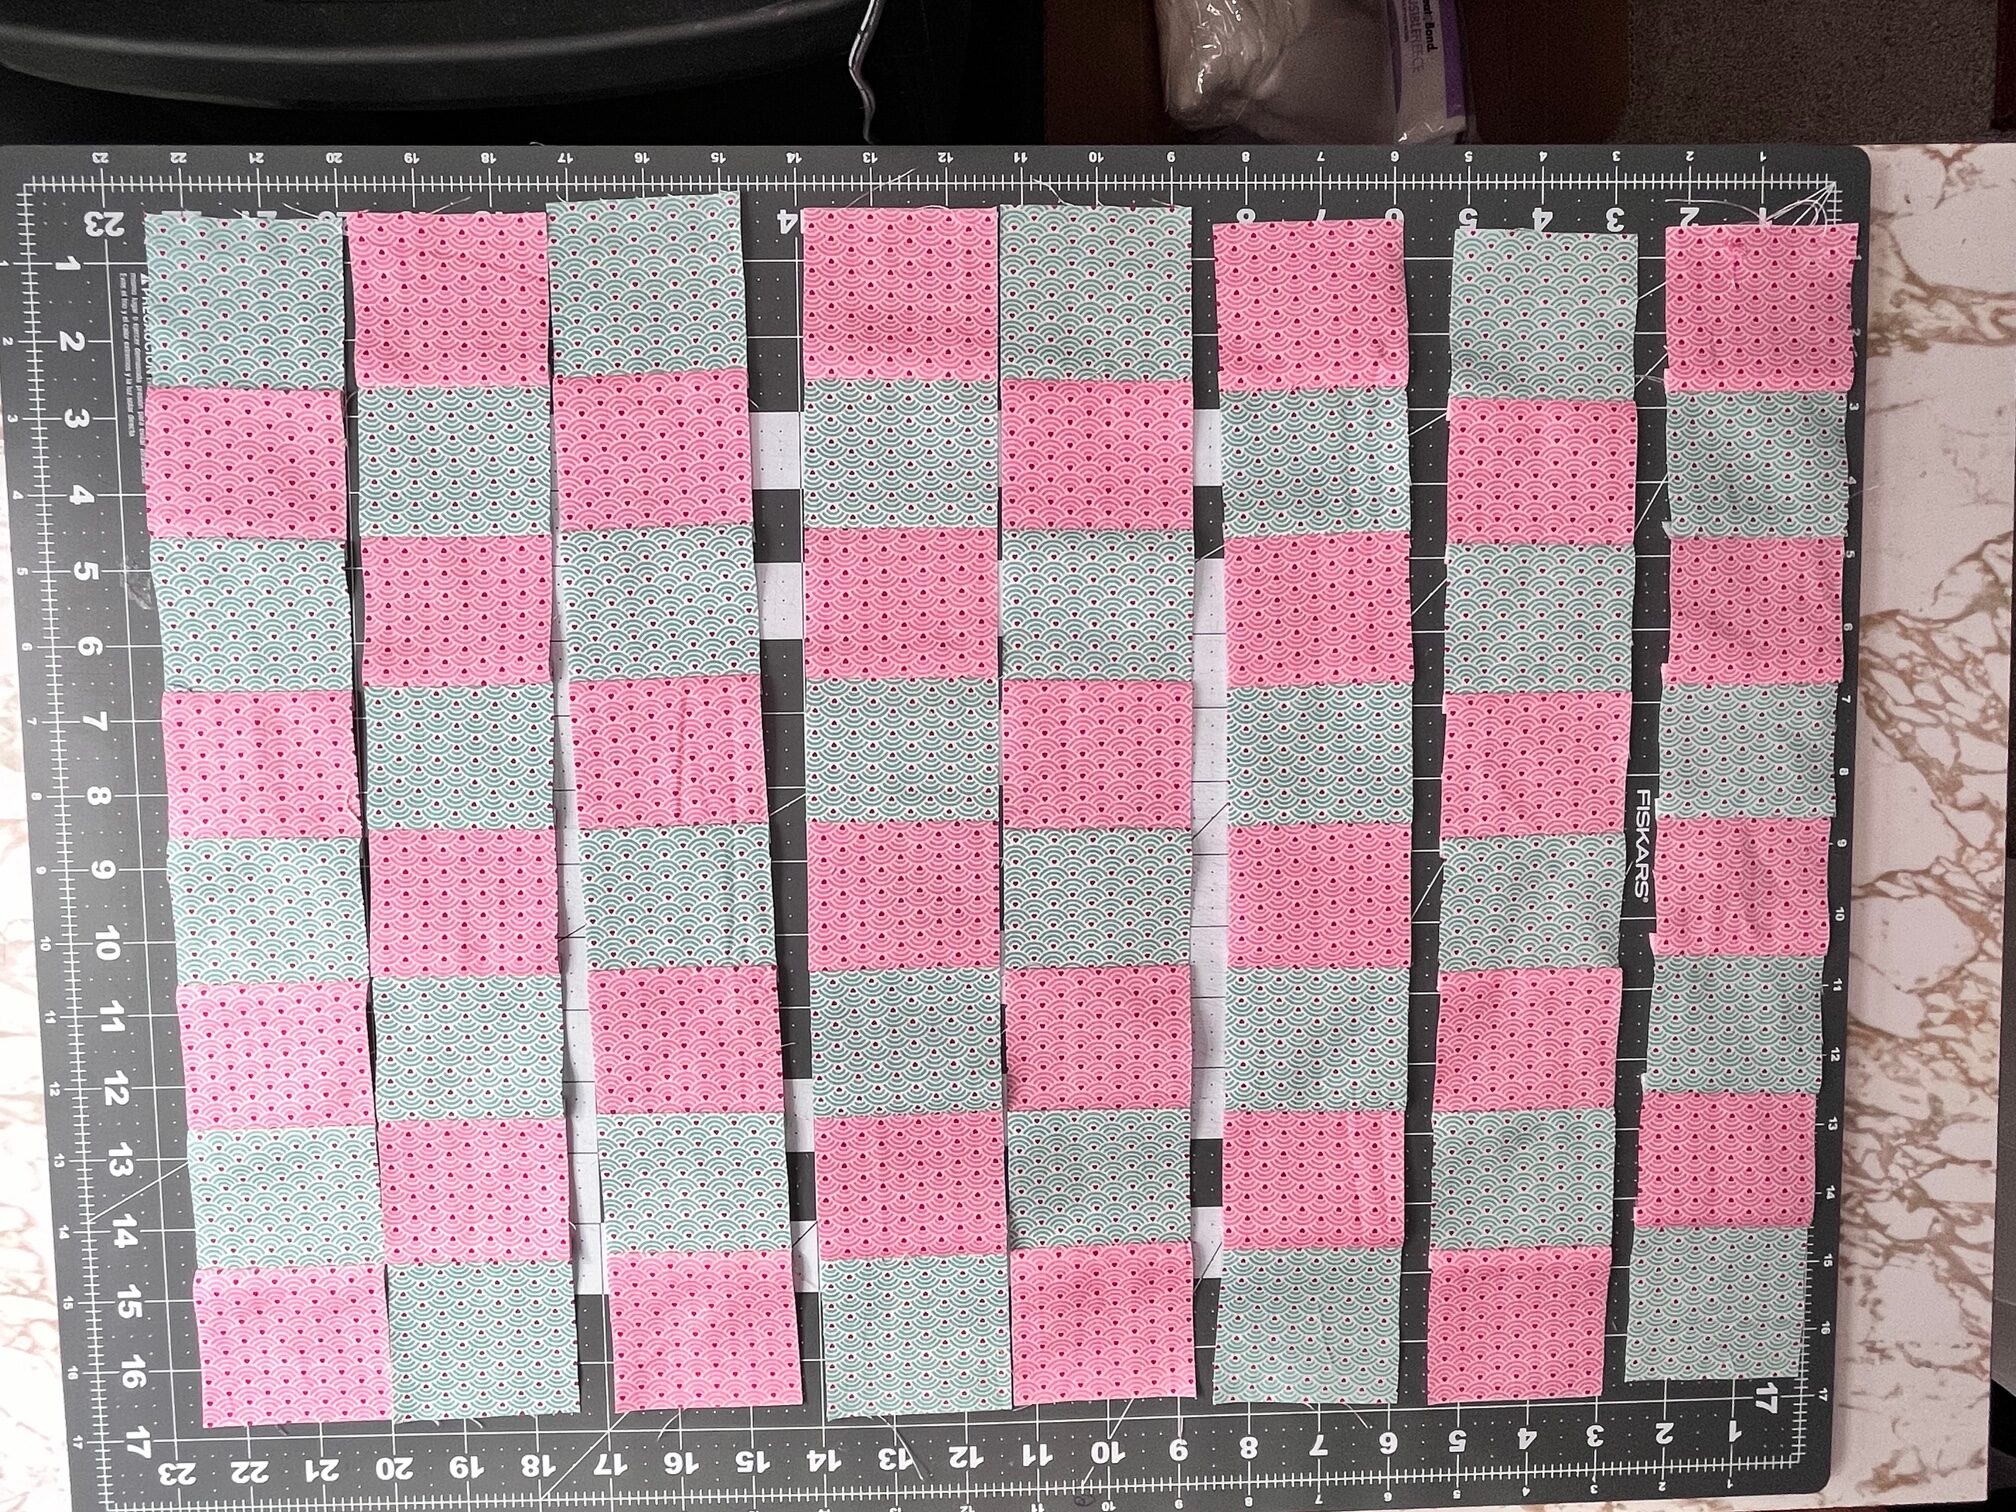
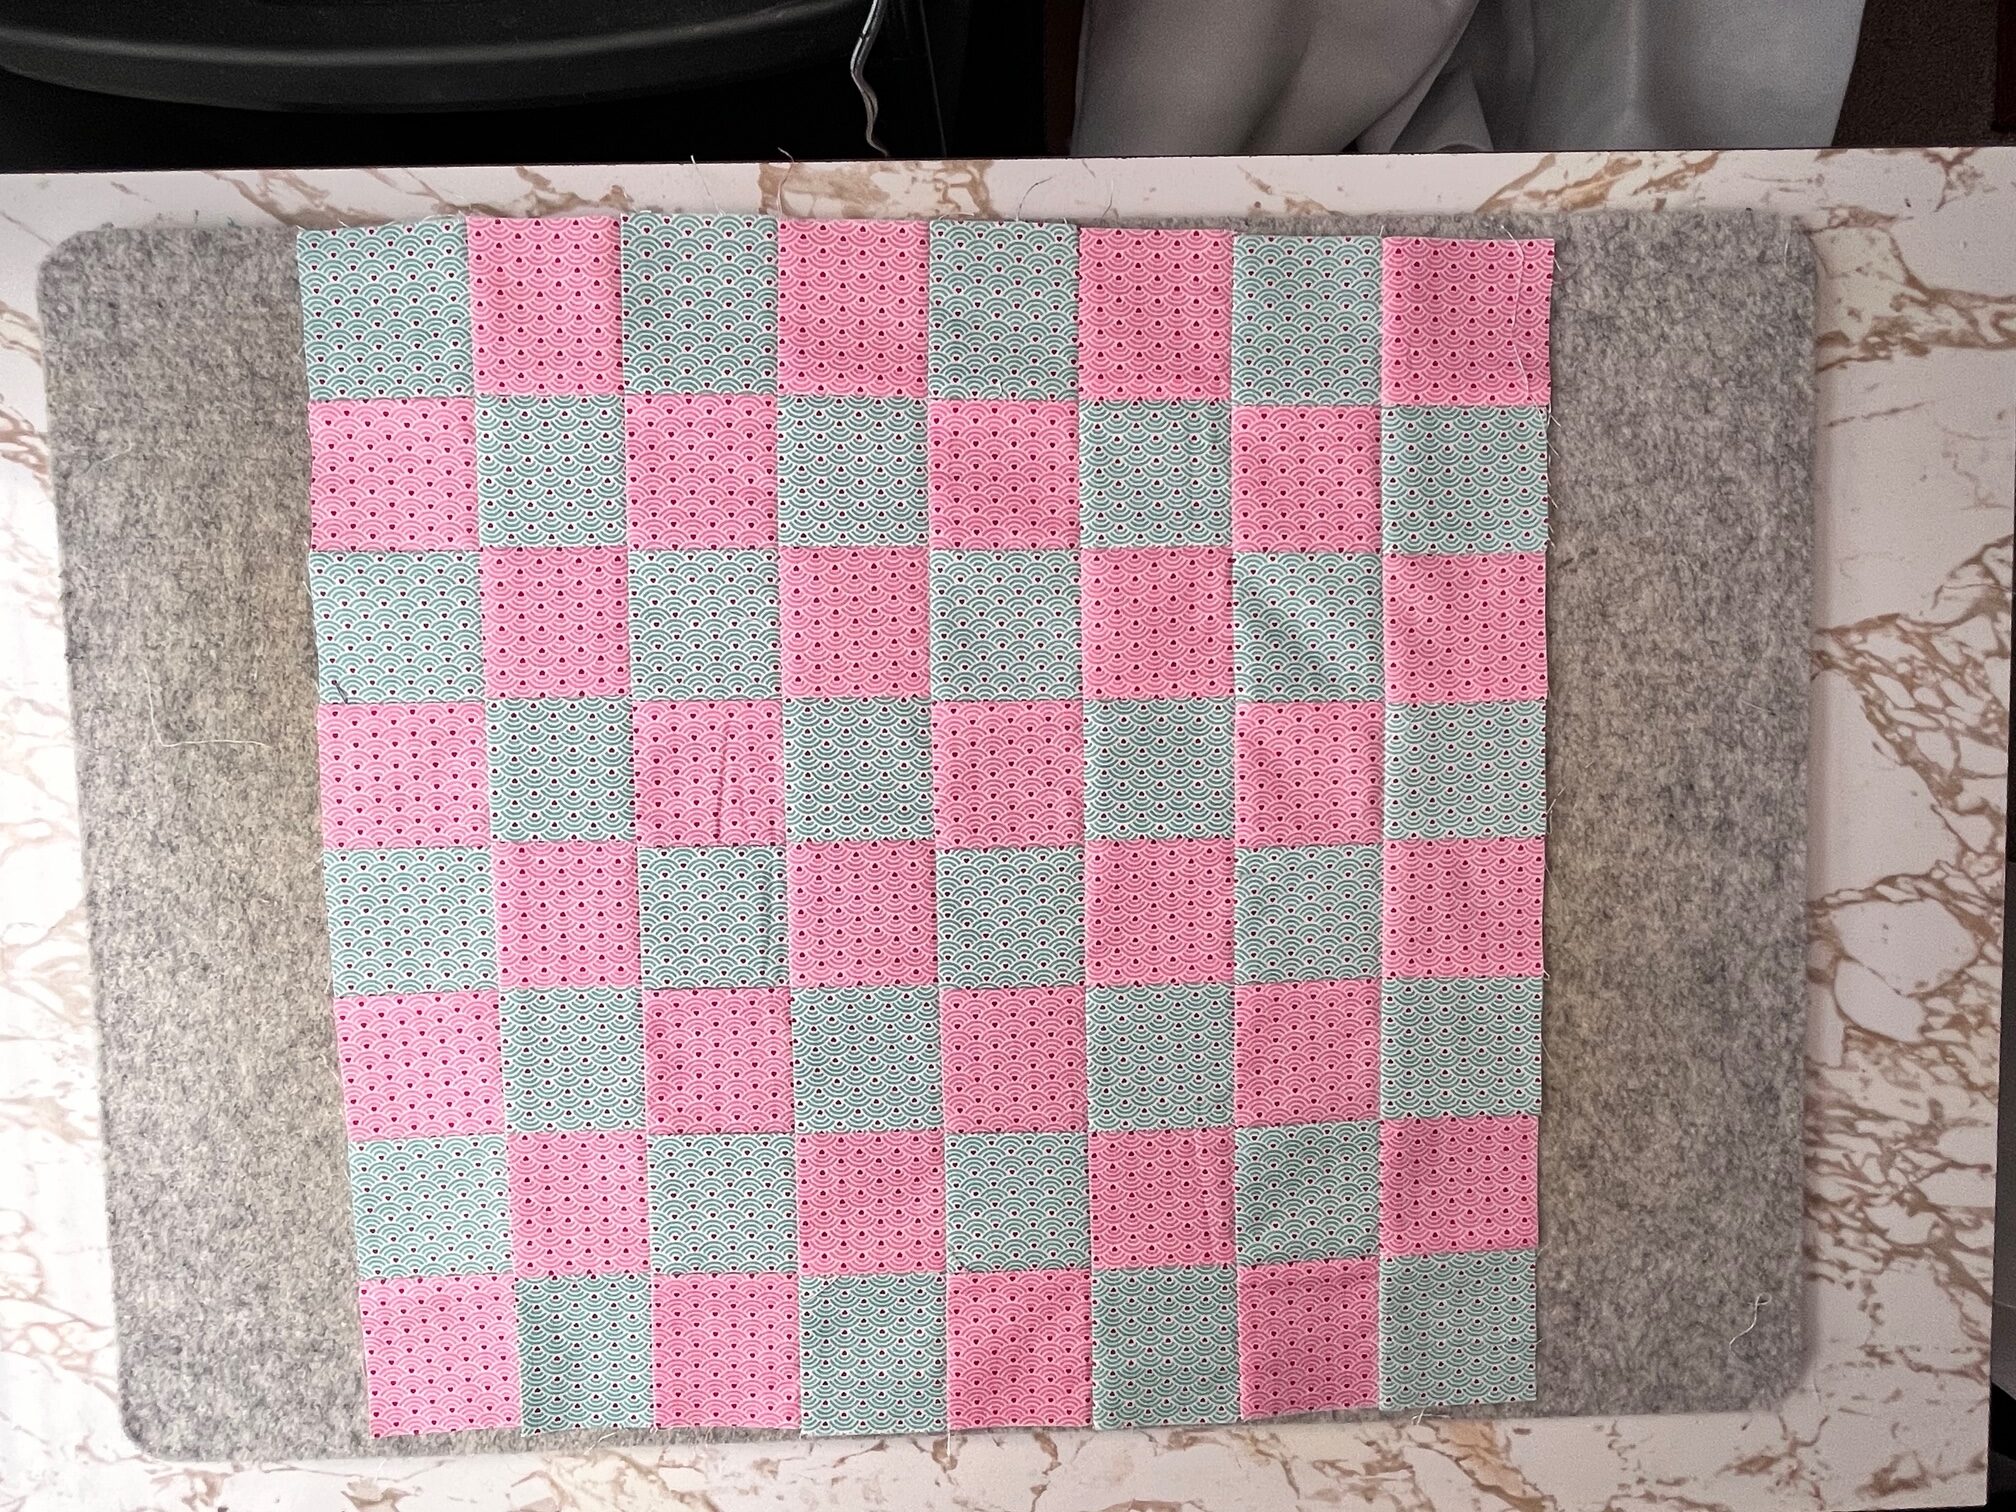
Begin by arranging the checkered front long pieces together, alternating the light and dark colors. Sew all 8 together using a 1/4″ seam. Next, cut 8 strips from the piece you just sewed. Take those strips and alternate them to create the checkered look. Sew them together using a 1/4″ seam. Press.
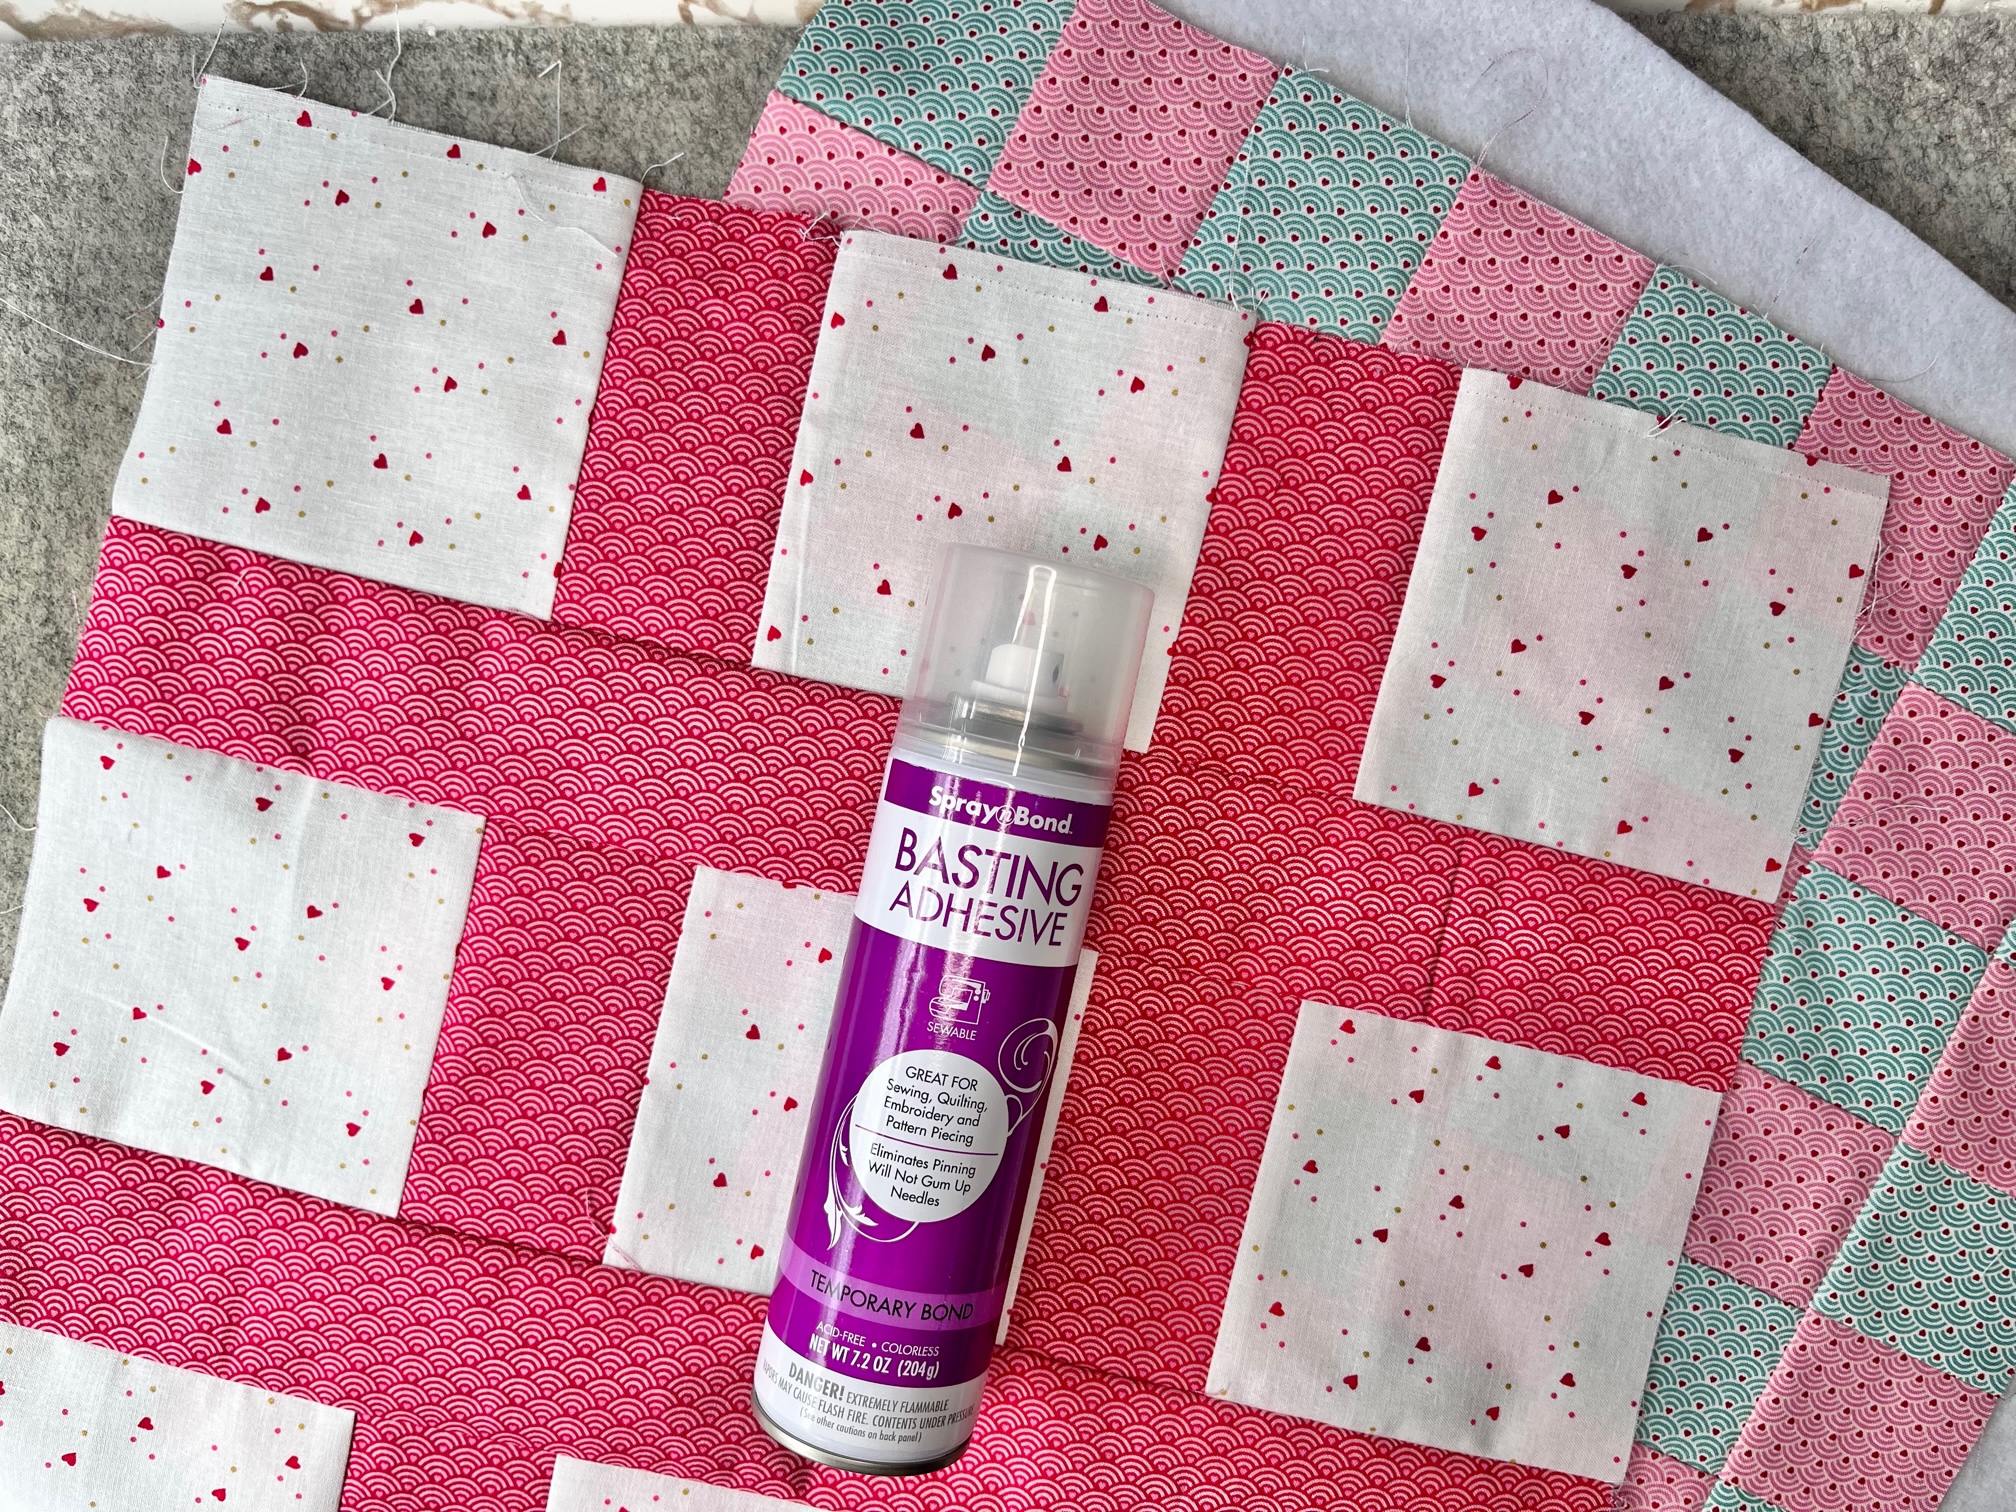
Once the Checkers and Tic Tac Toe boards have been assembled, baste each of them to the StitchnSew Fleece with SpraynBond Basting Spray. Once basted, quilt each piece as desired. Finally, trim the excess fleece off the sides.
Pouch Assembly:
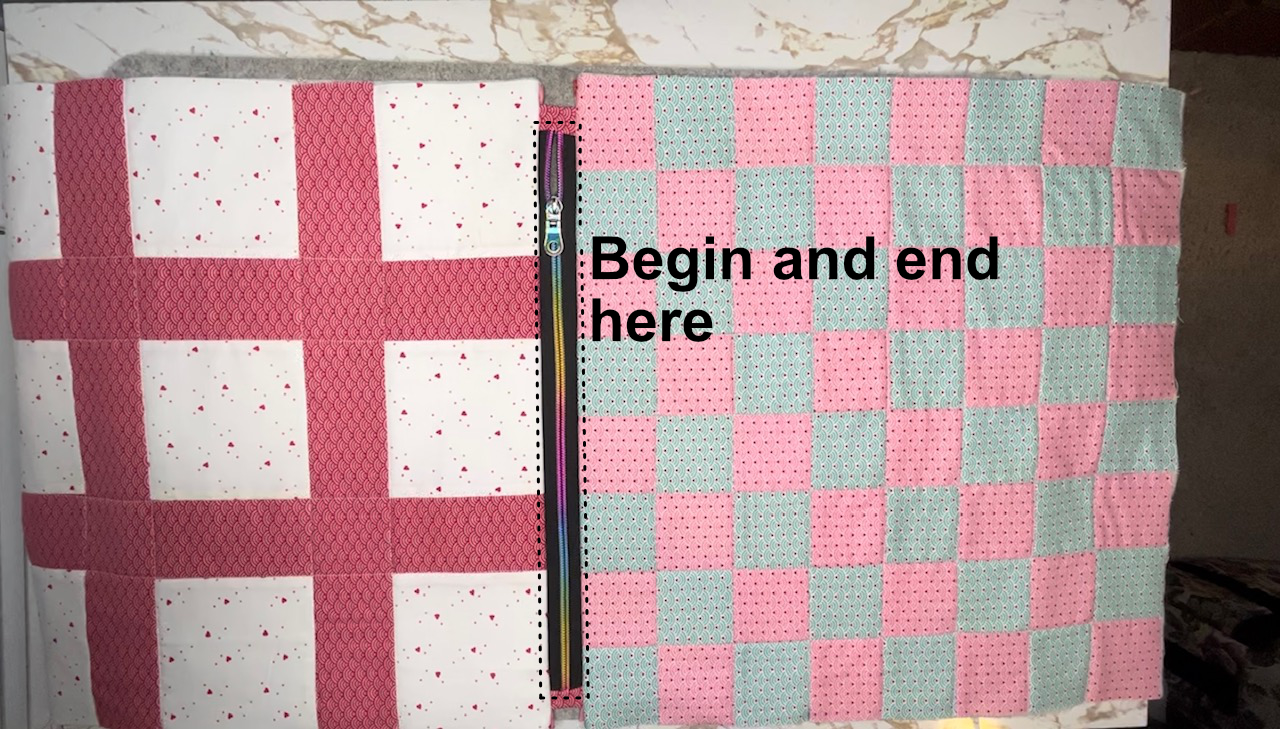
Begin pouch assembly by marking 1/2″ on each side of both the checker and tic tac toe pieces. Align the end of your zipper with each of the marks face down on the right side of the quilt. The zipper will be 1/2″ away from both sides. Pin/clip in place. Place the lining fabric on top face down and pin in place. Sew across the top starting and stopping where the zipper begins and ends. Make sure to leave the 1/2″ area of no zipper unsewn.
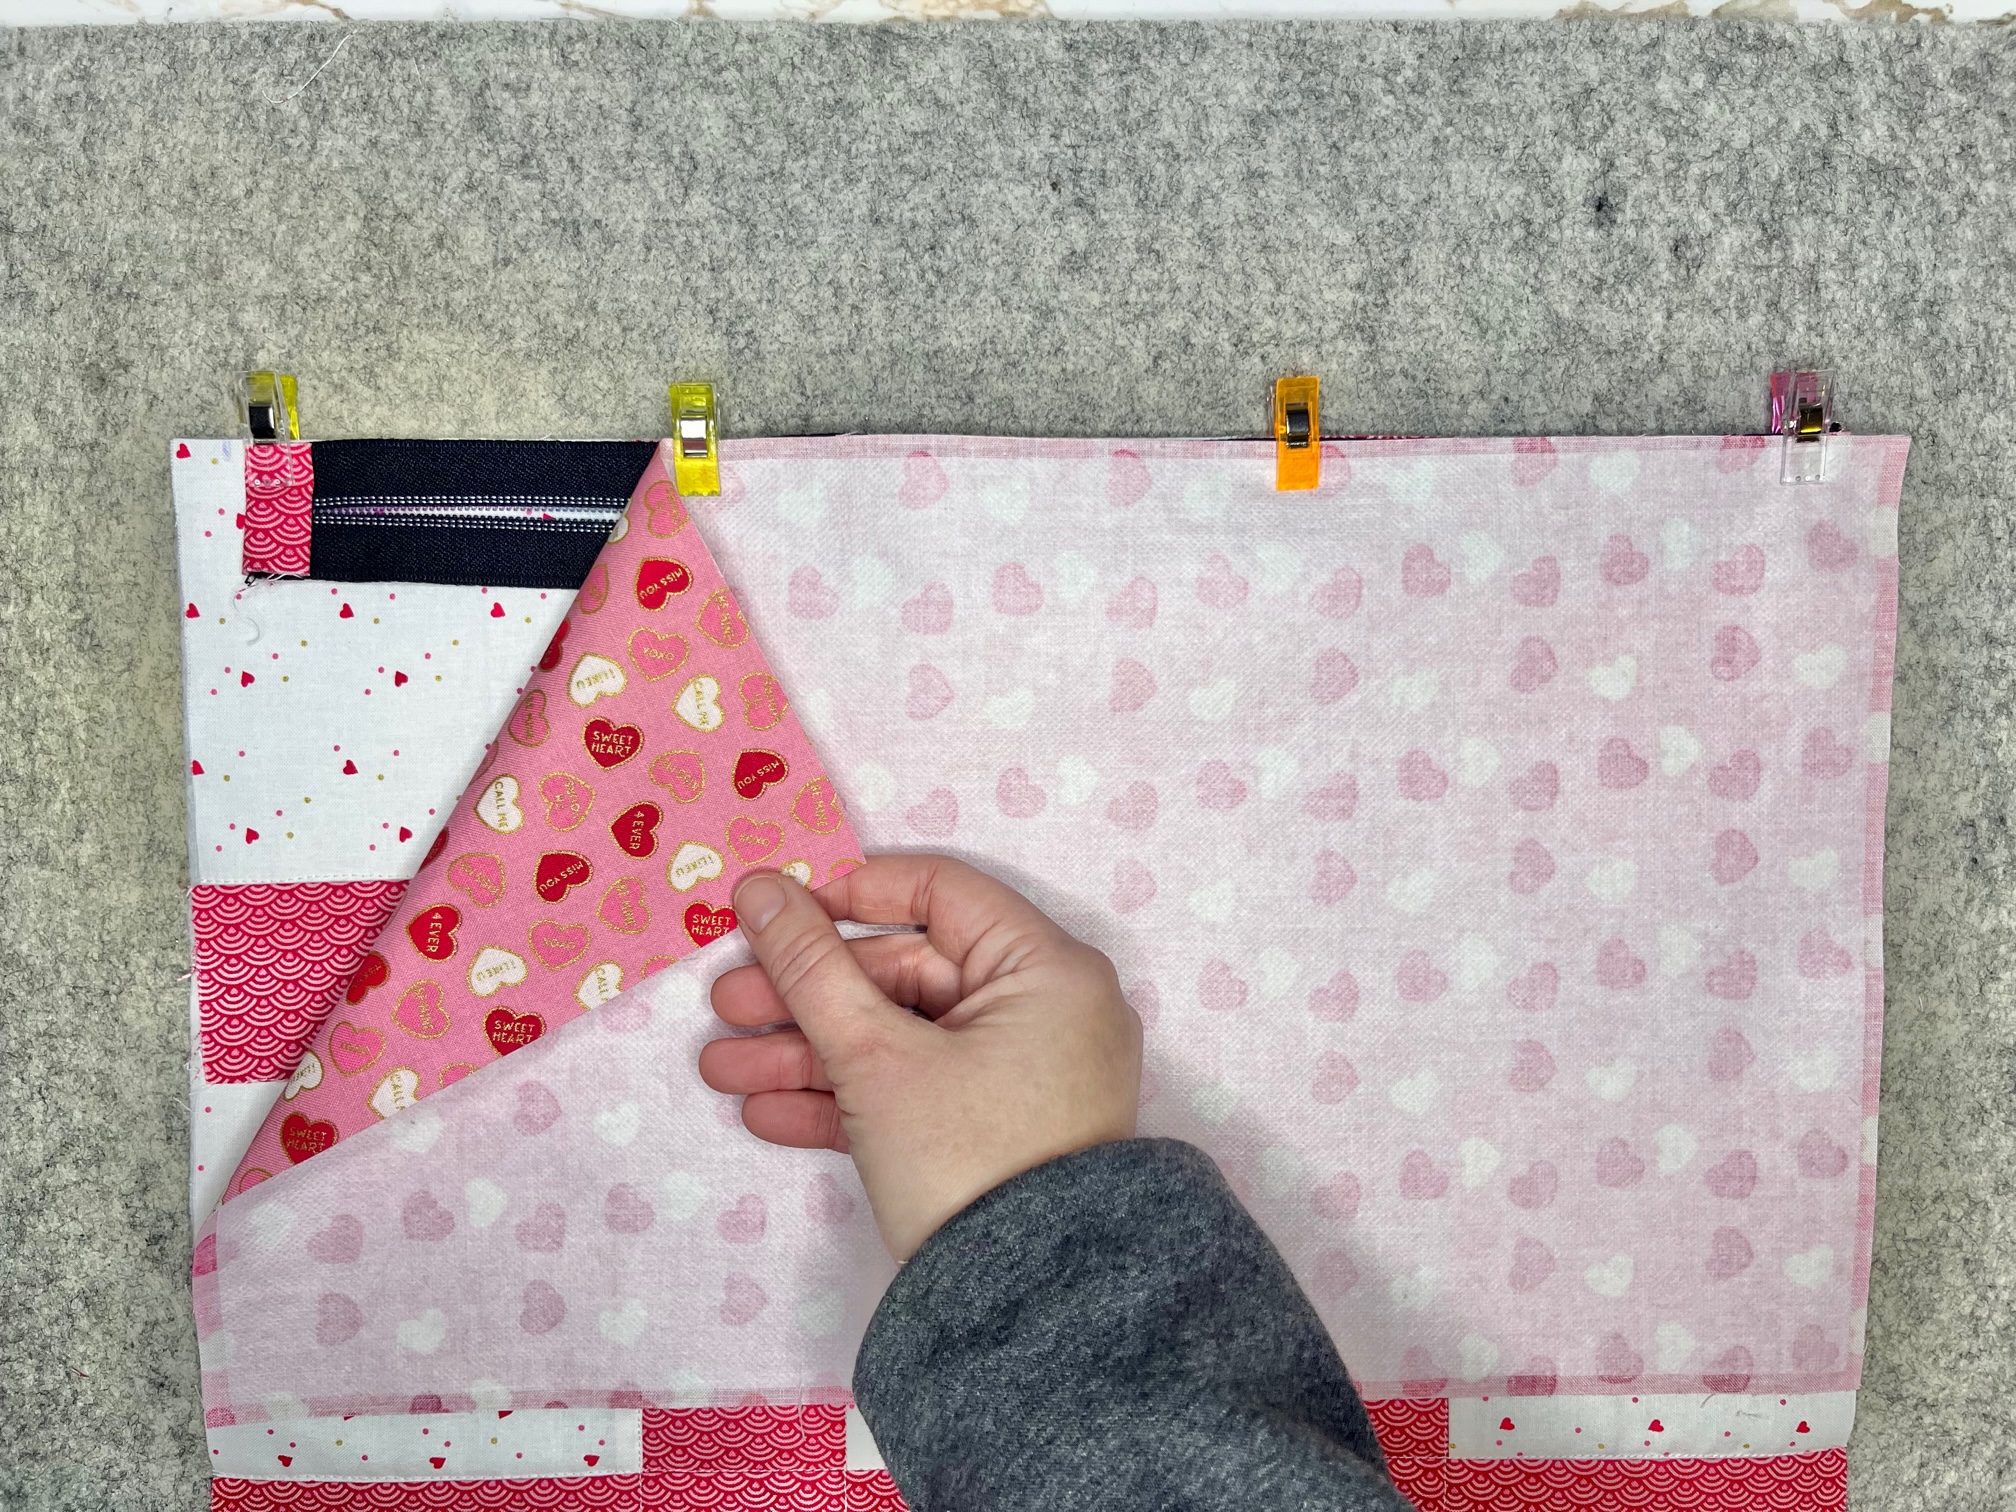
Next…
Repeat the same steps above for the other side of the zipper pouch.
To topstitch, begin halfway down the bag about 1/8″ to 1/4″ away from the zipper. Sew down one side but pivot and sew across the fabric tab you added earlier. Pivot again and sew back down the pouch. You will pivot again once you reach the other fabric tab side and then again to get back to where you started. For more details, there is a helpful YouTube Video at the bottom of the post showing you step-by-step instructions.
Continue by…
Once you have topstitched, separate the lining and outer bag pieces. Place right sides together. Pin the ties to the center of the main fabric side with the raw edges lined up with the edge of the bag on the inside.
This next part is a bit tricky. The YouTube Video is a great help.
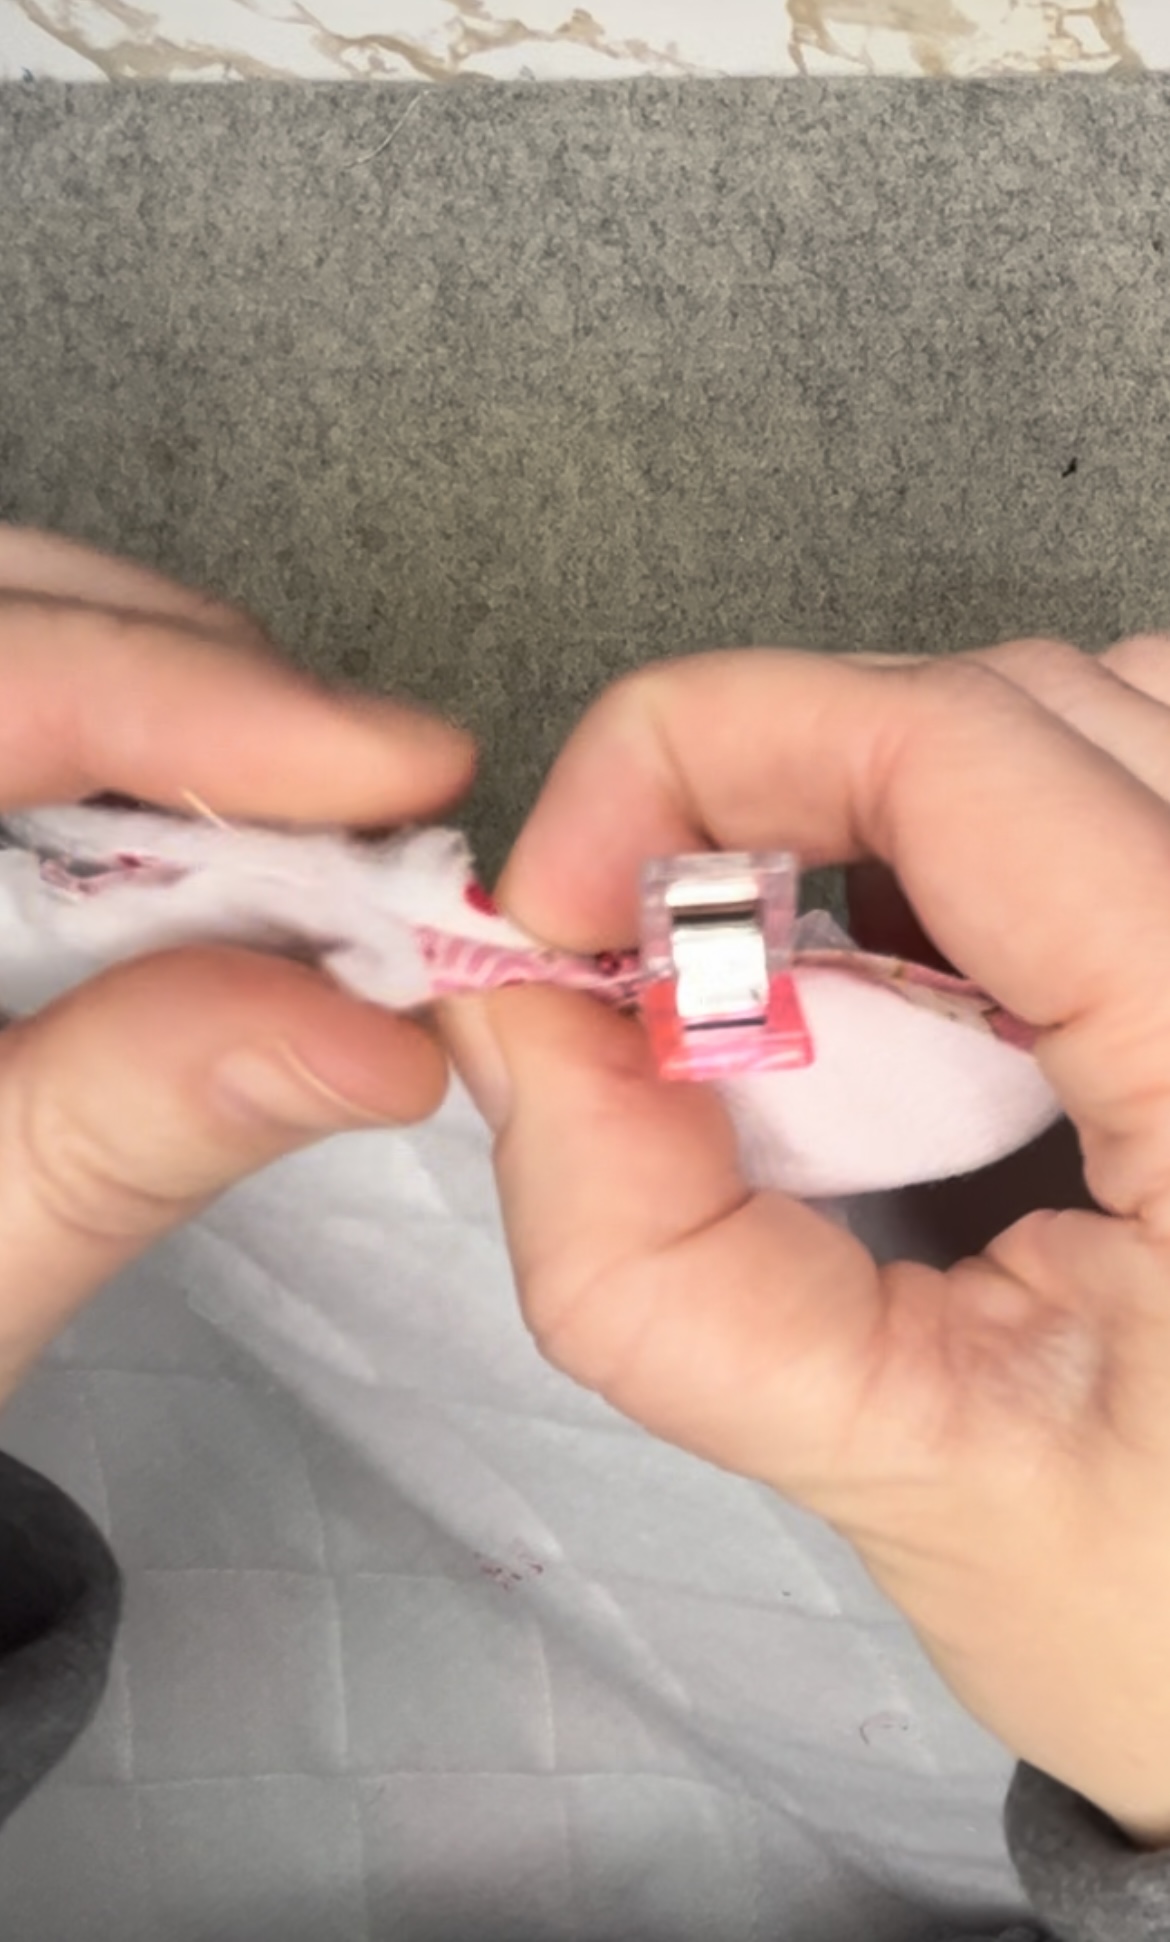
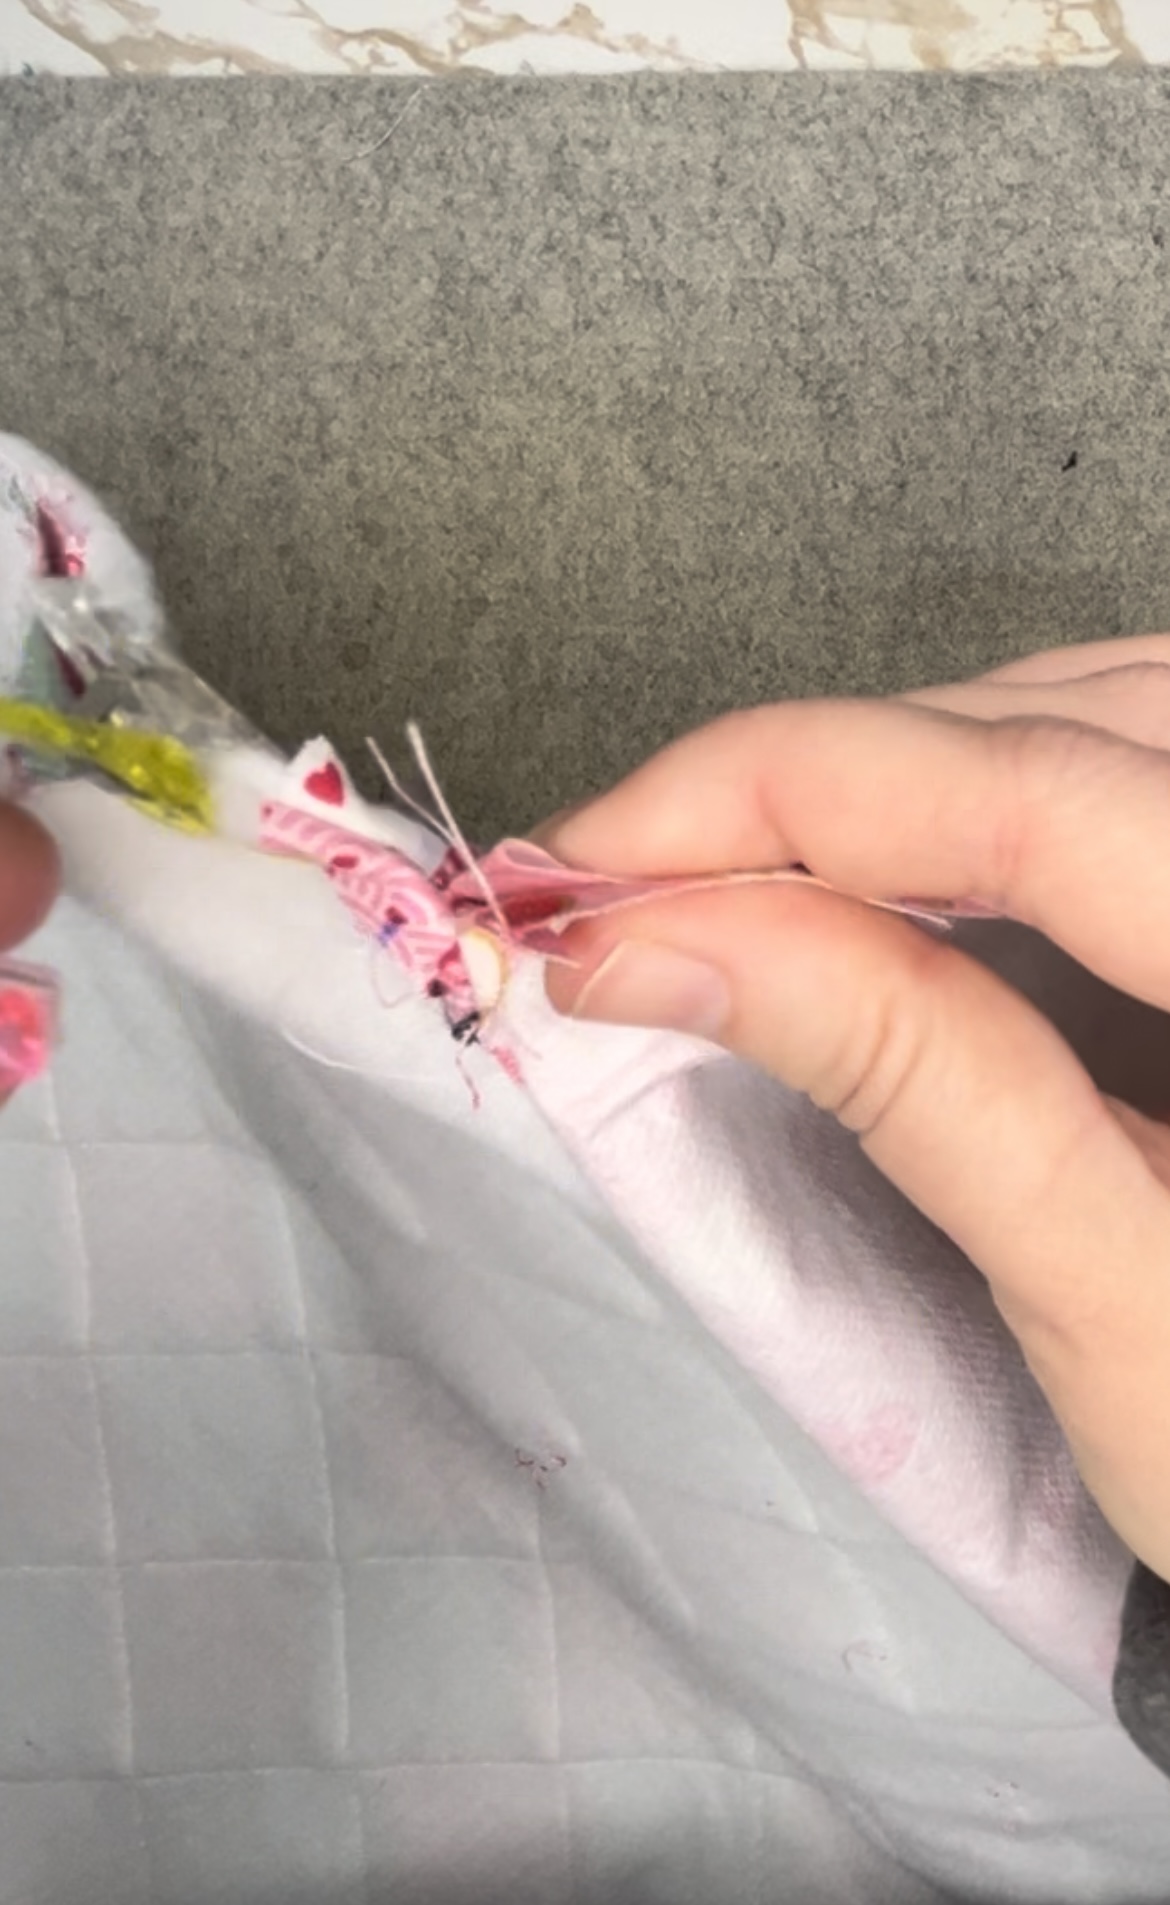
Next, pin the outer bag pieces’ right sides together. Near the zipper there will be a fold in the fabric where you added the zipper. Keep those folds in place with a pin or clip. Do the same with the lining pieces. See the photos below. Starting on the bottom of the lining, about 2″ from the center, begin sewing a 1/2″ seam. Pivot and go up the side of the lining. Continue sewing over the folded seams of the lining near the zipper over onto the folded seams of the main bag. Since you left 1/2″ unsewn when sewing the zipper, you should not have to sew through the zipper, or the tab. Continue sewing around the main bag and back to the other side of the lining, repeating the process of making sure the folded edges near the zipper remain folded. Stop sewing about 2″ from the center. The area unsewn in the middle of the lining is for turning.
Then…
Once you have sewn around the bag, clip the corners. Turn the bag right side out through the opening in the lining. Push out the corners. Finish the bag by sewing the lining closed and stuffing it back into the bag. The Tic Tac Toe & Checkers Board and bag are finished!
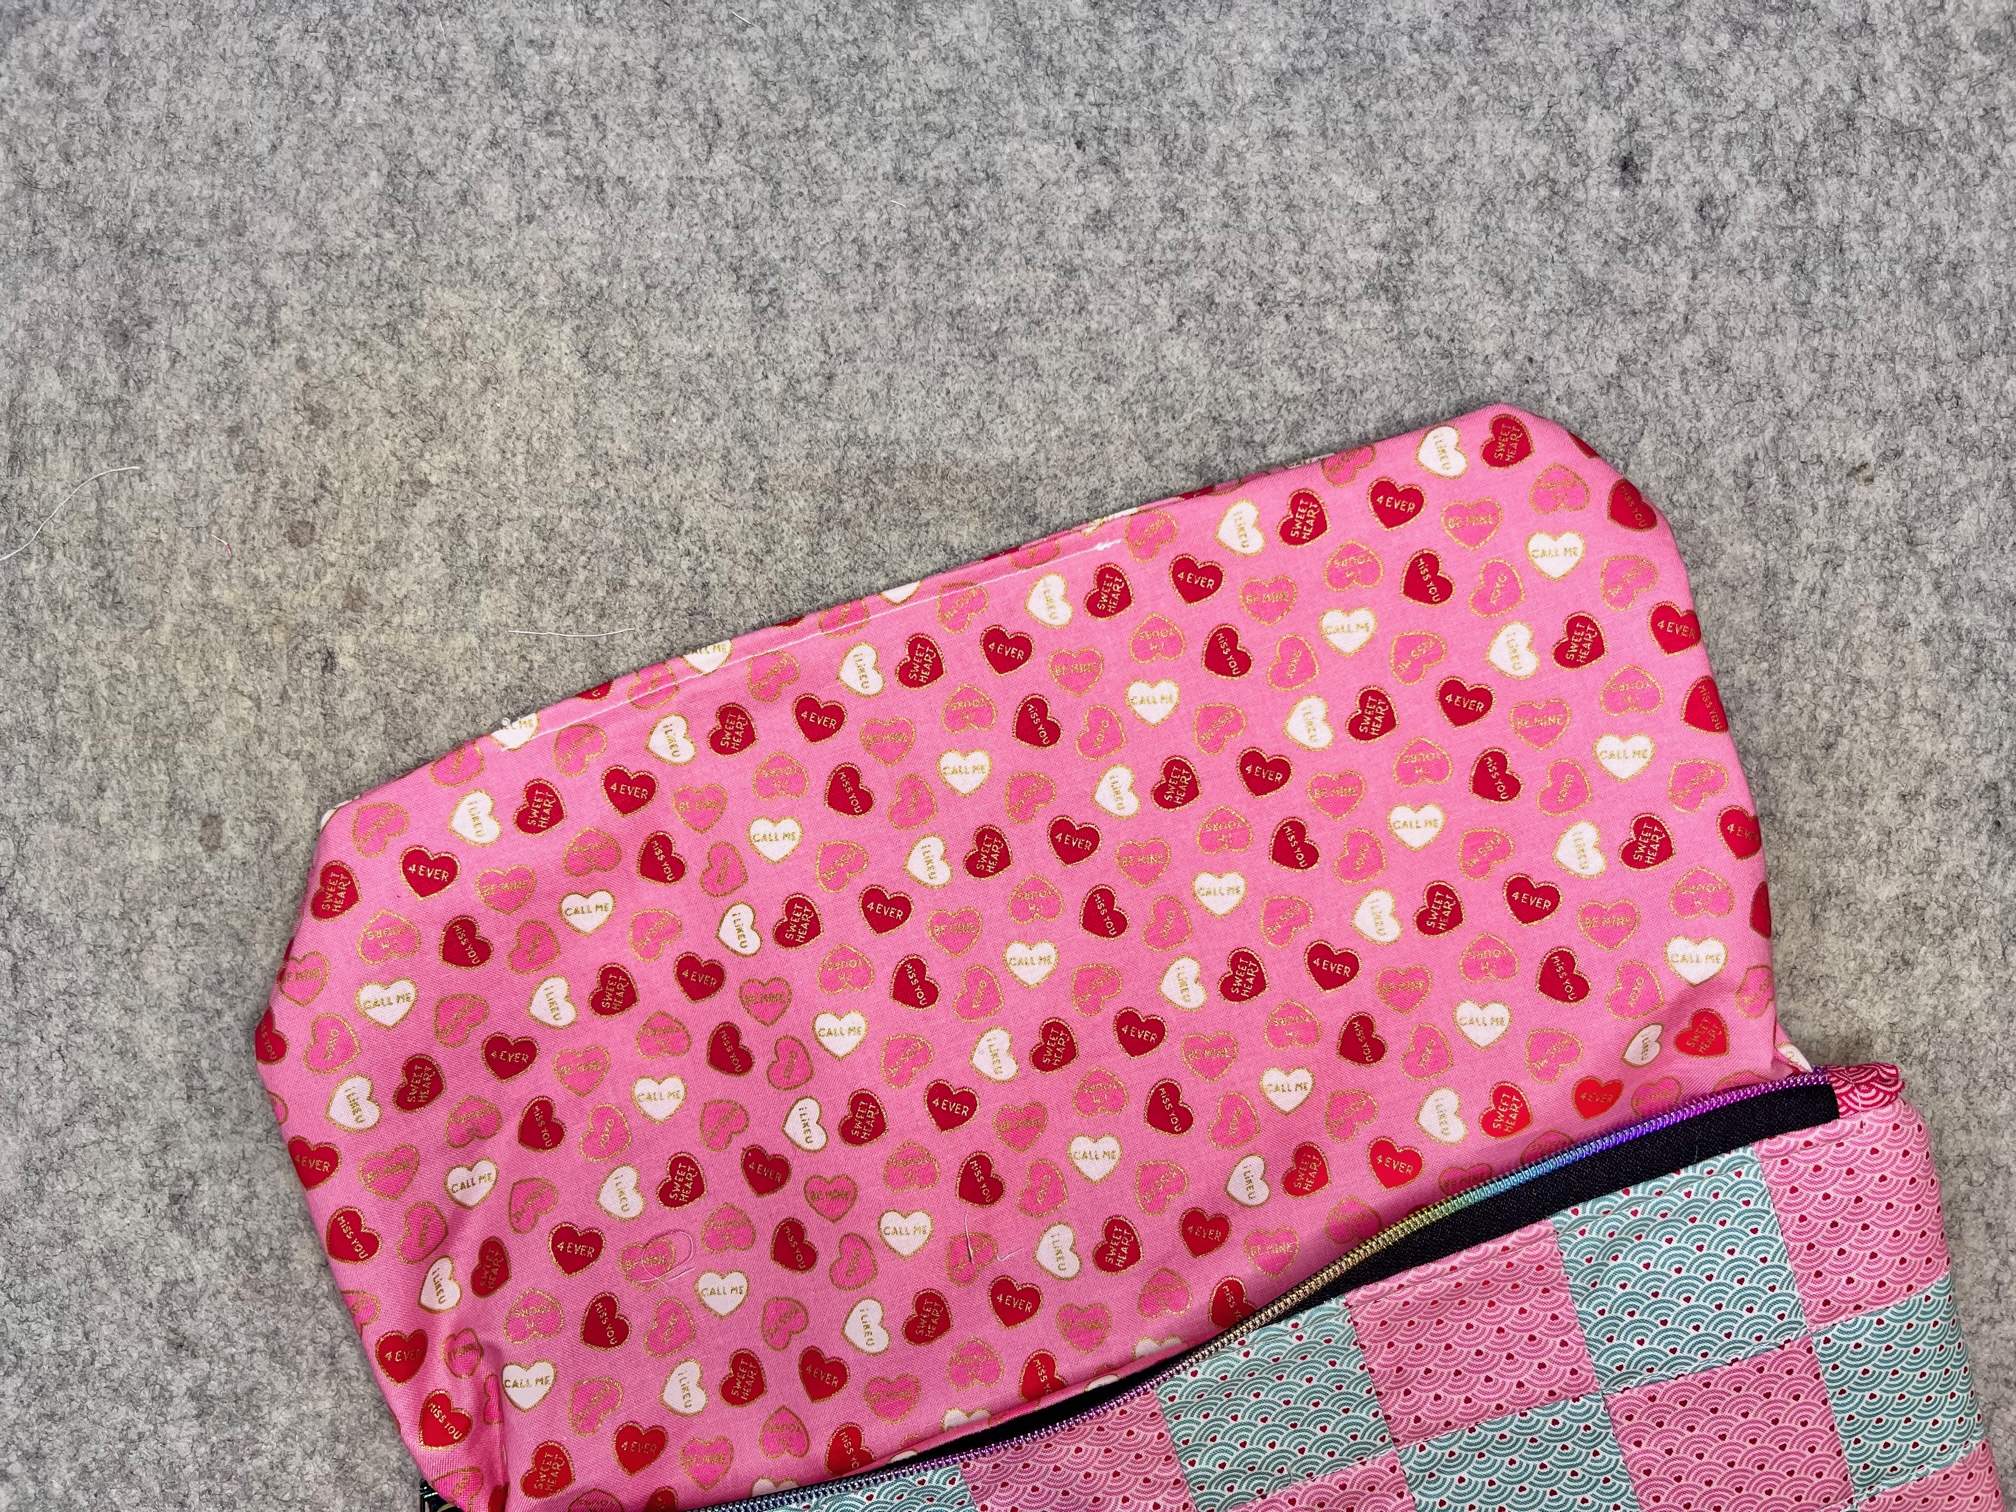
Game Piece Instructions:
Tic Tac Toe:
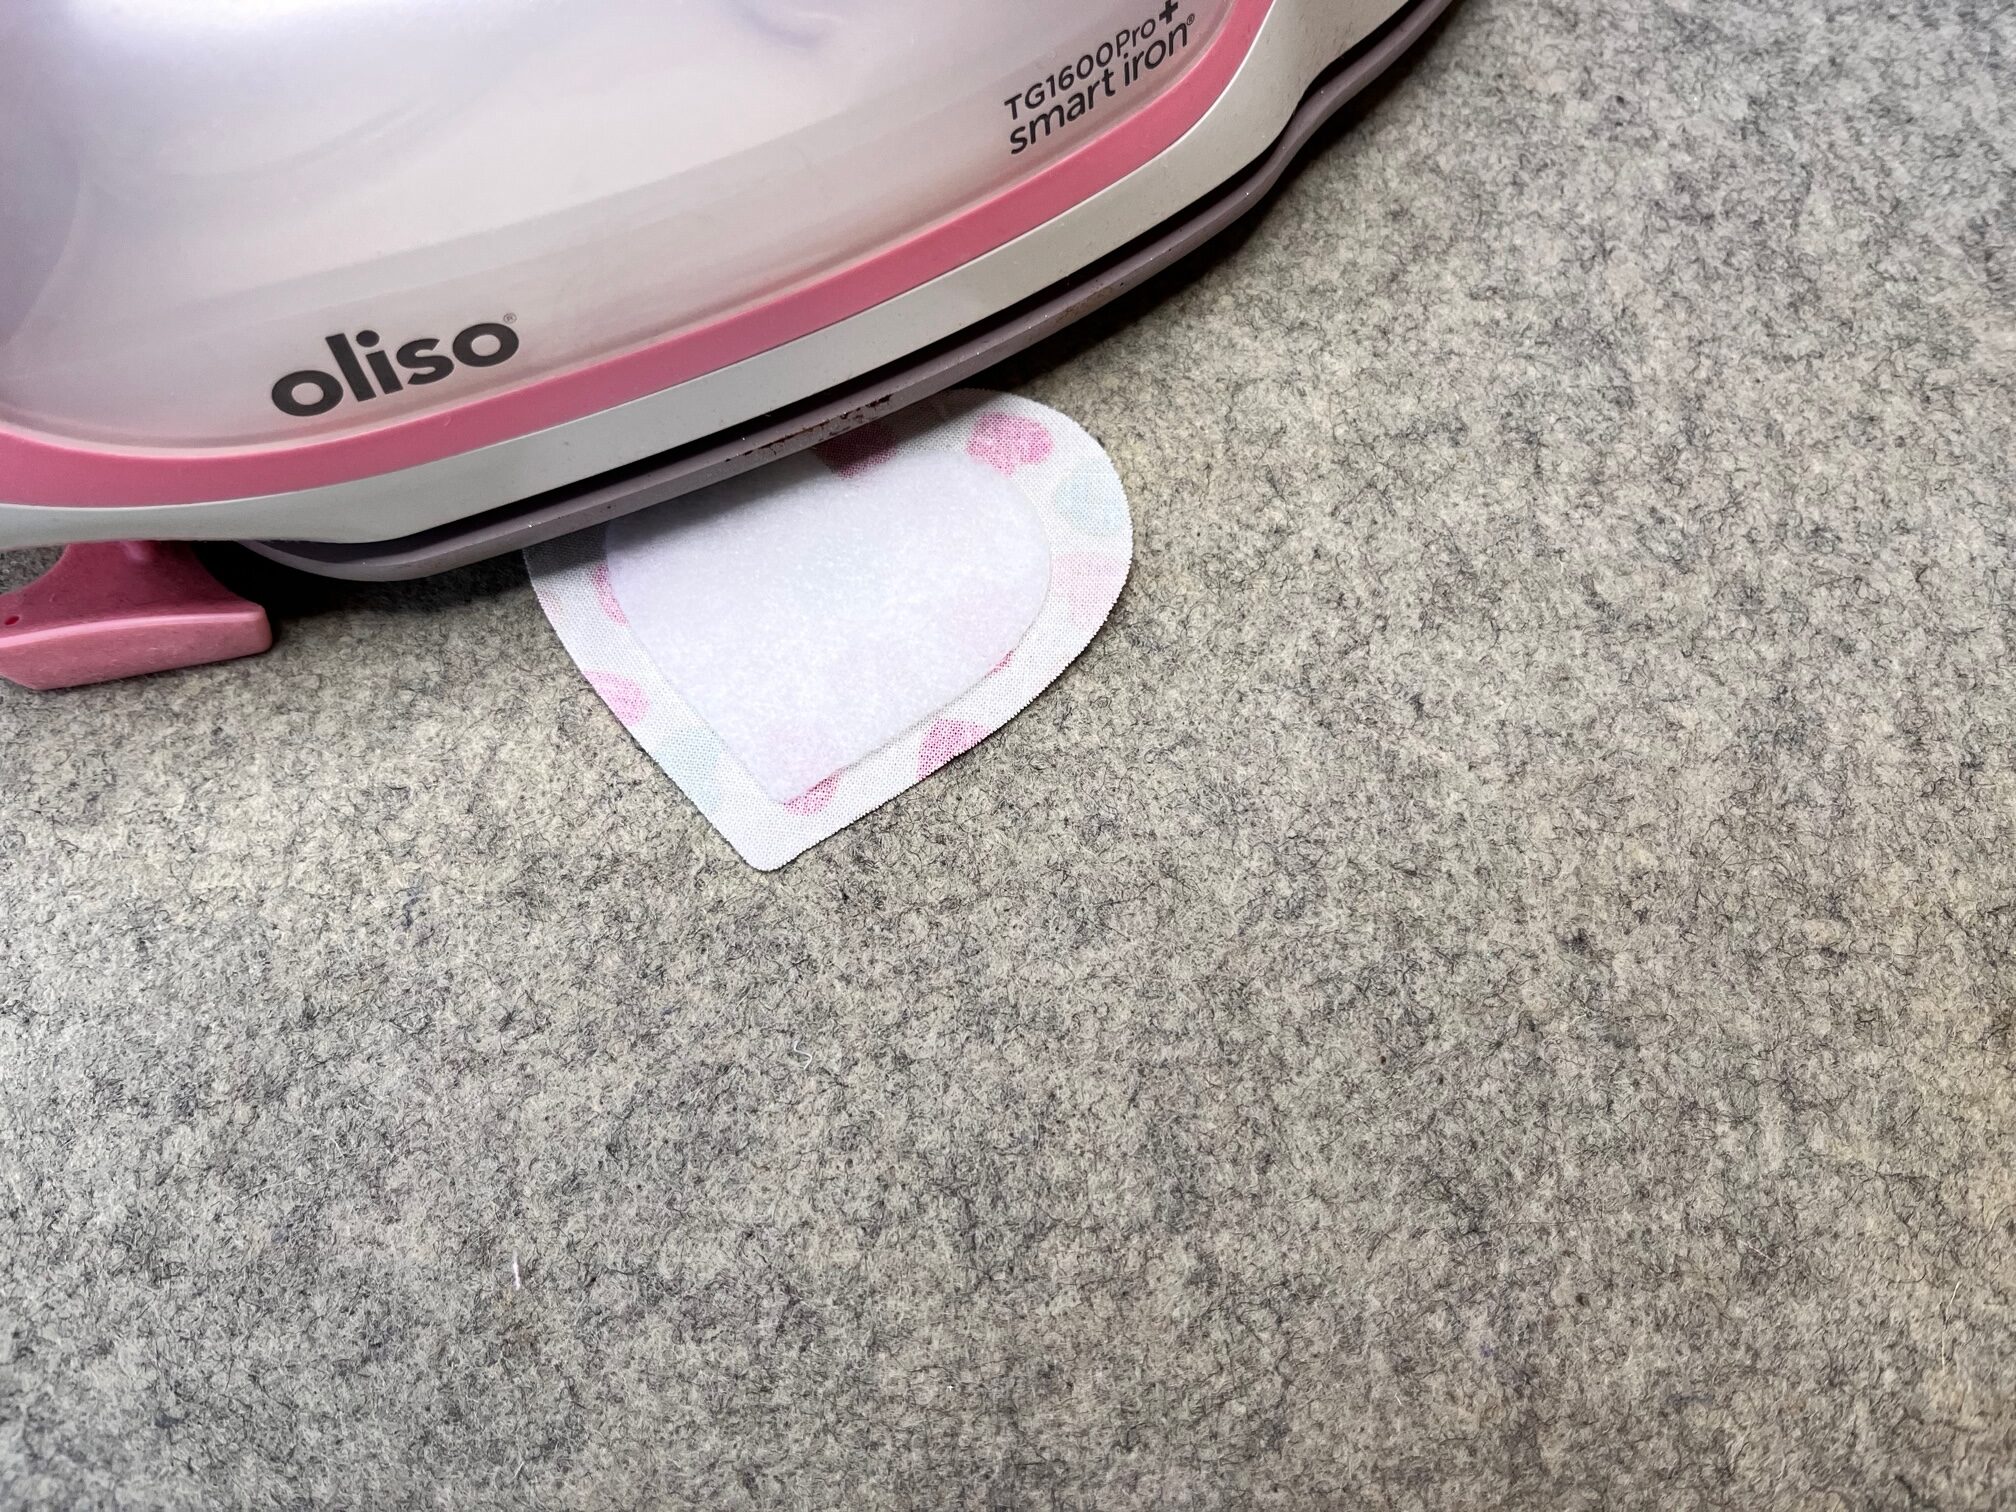
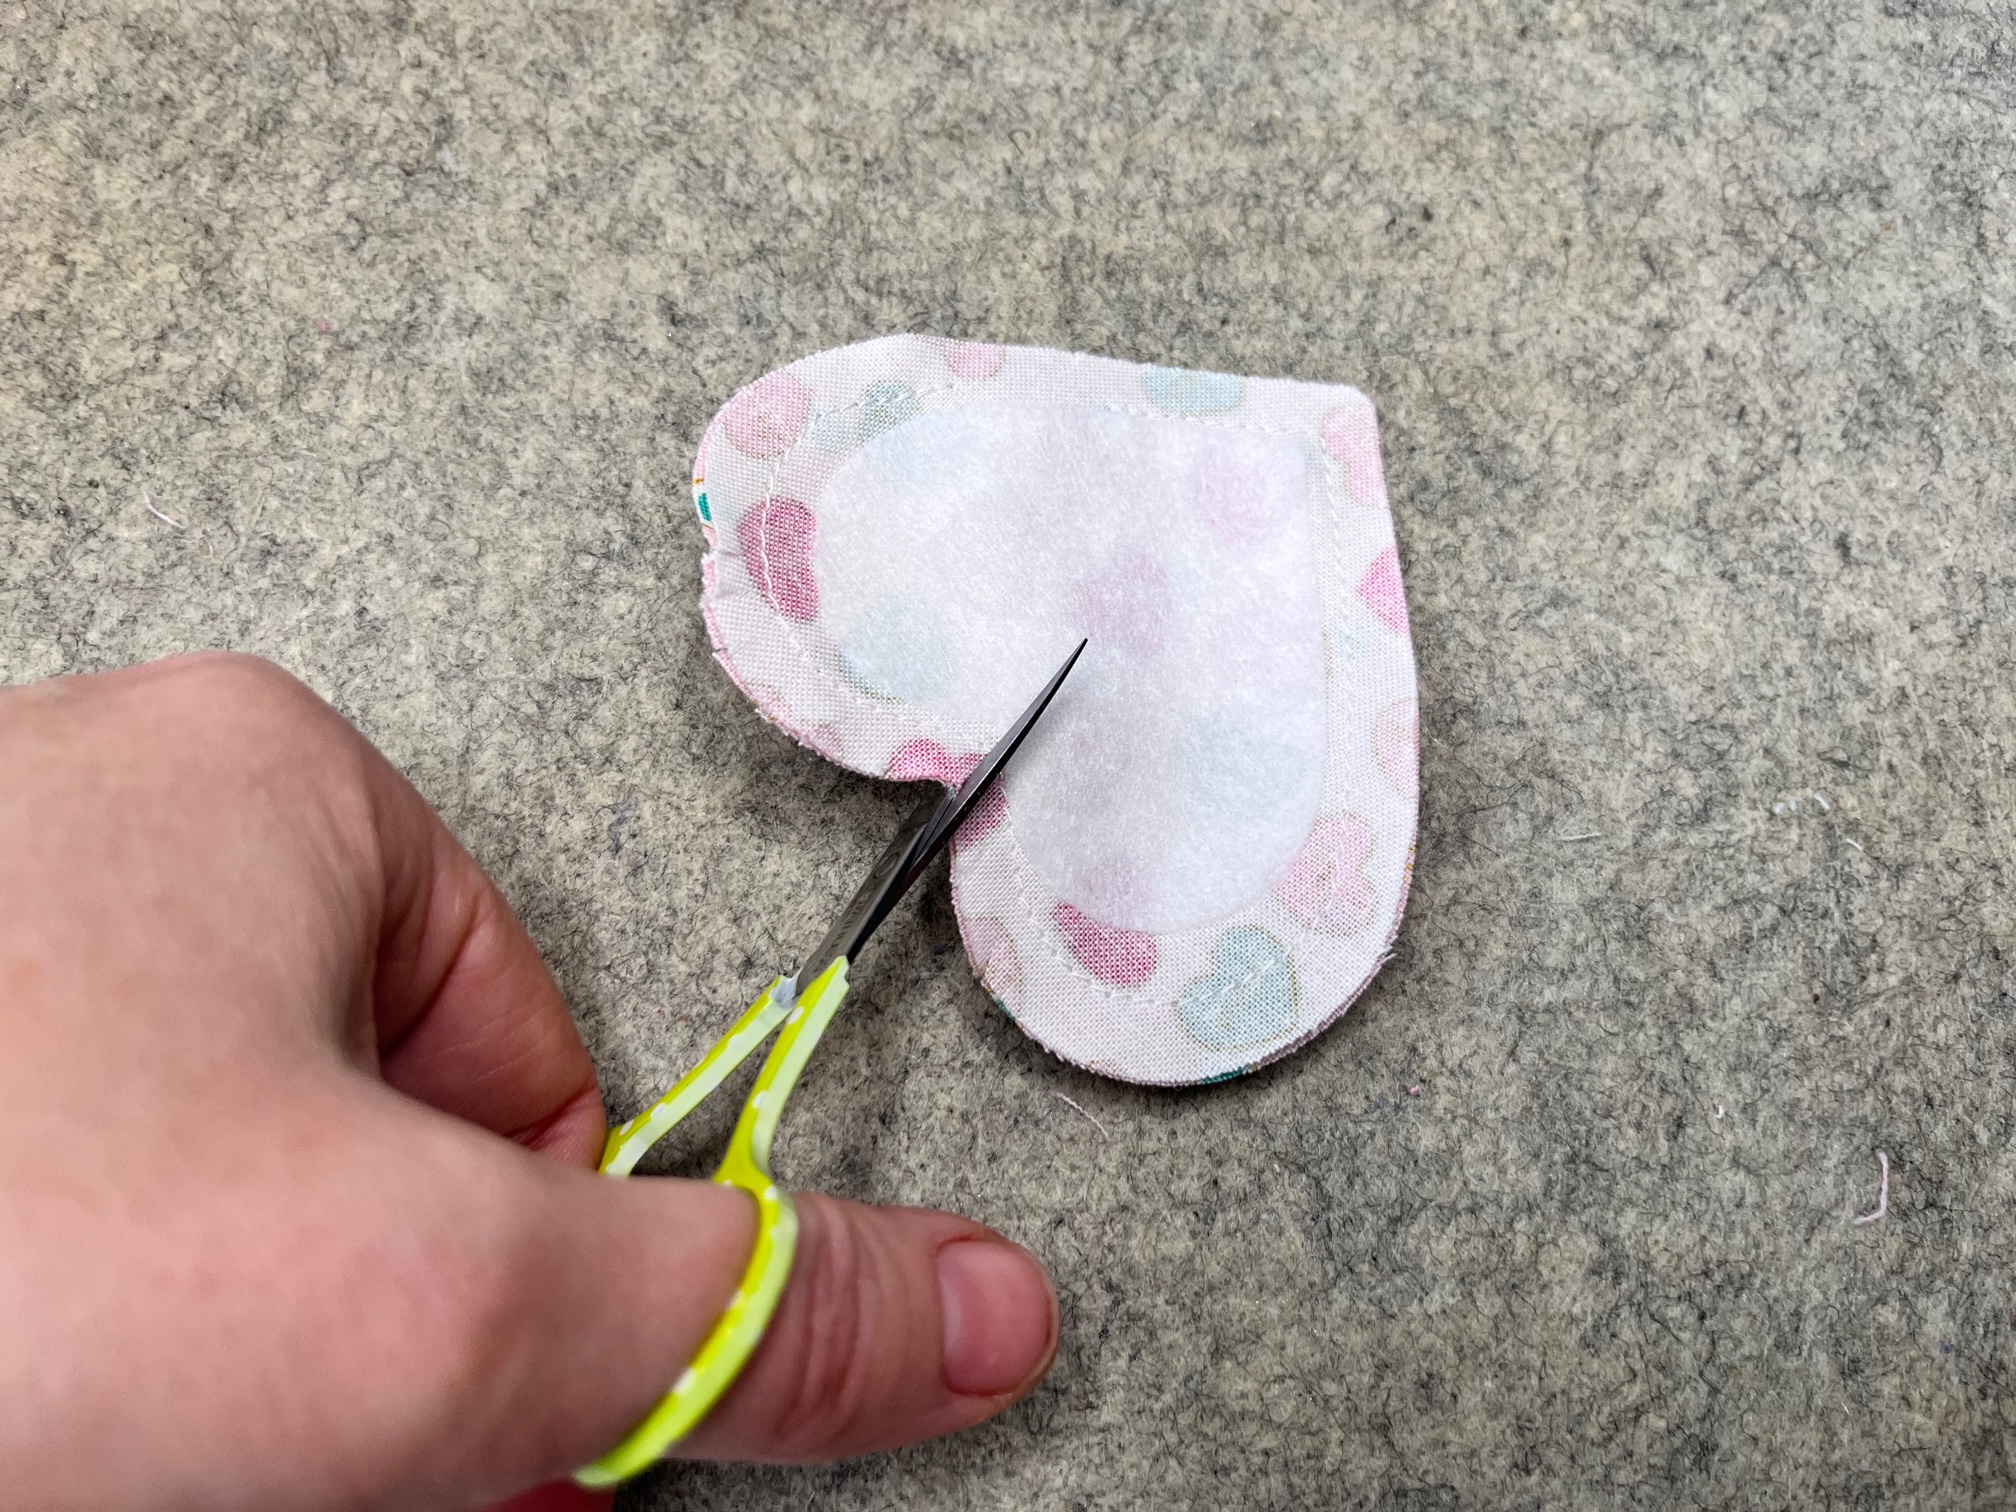
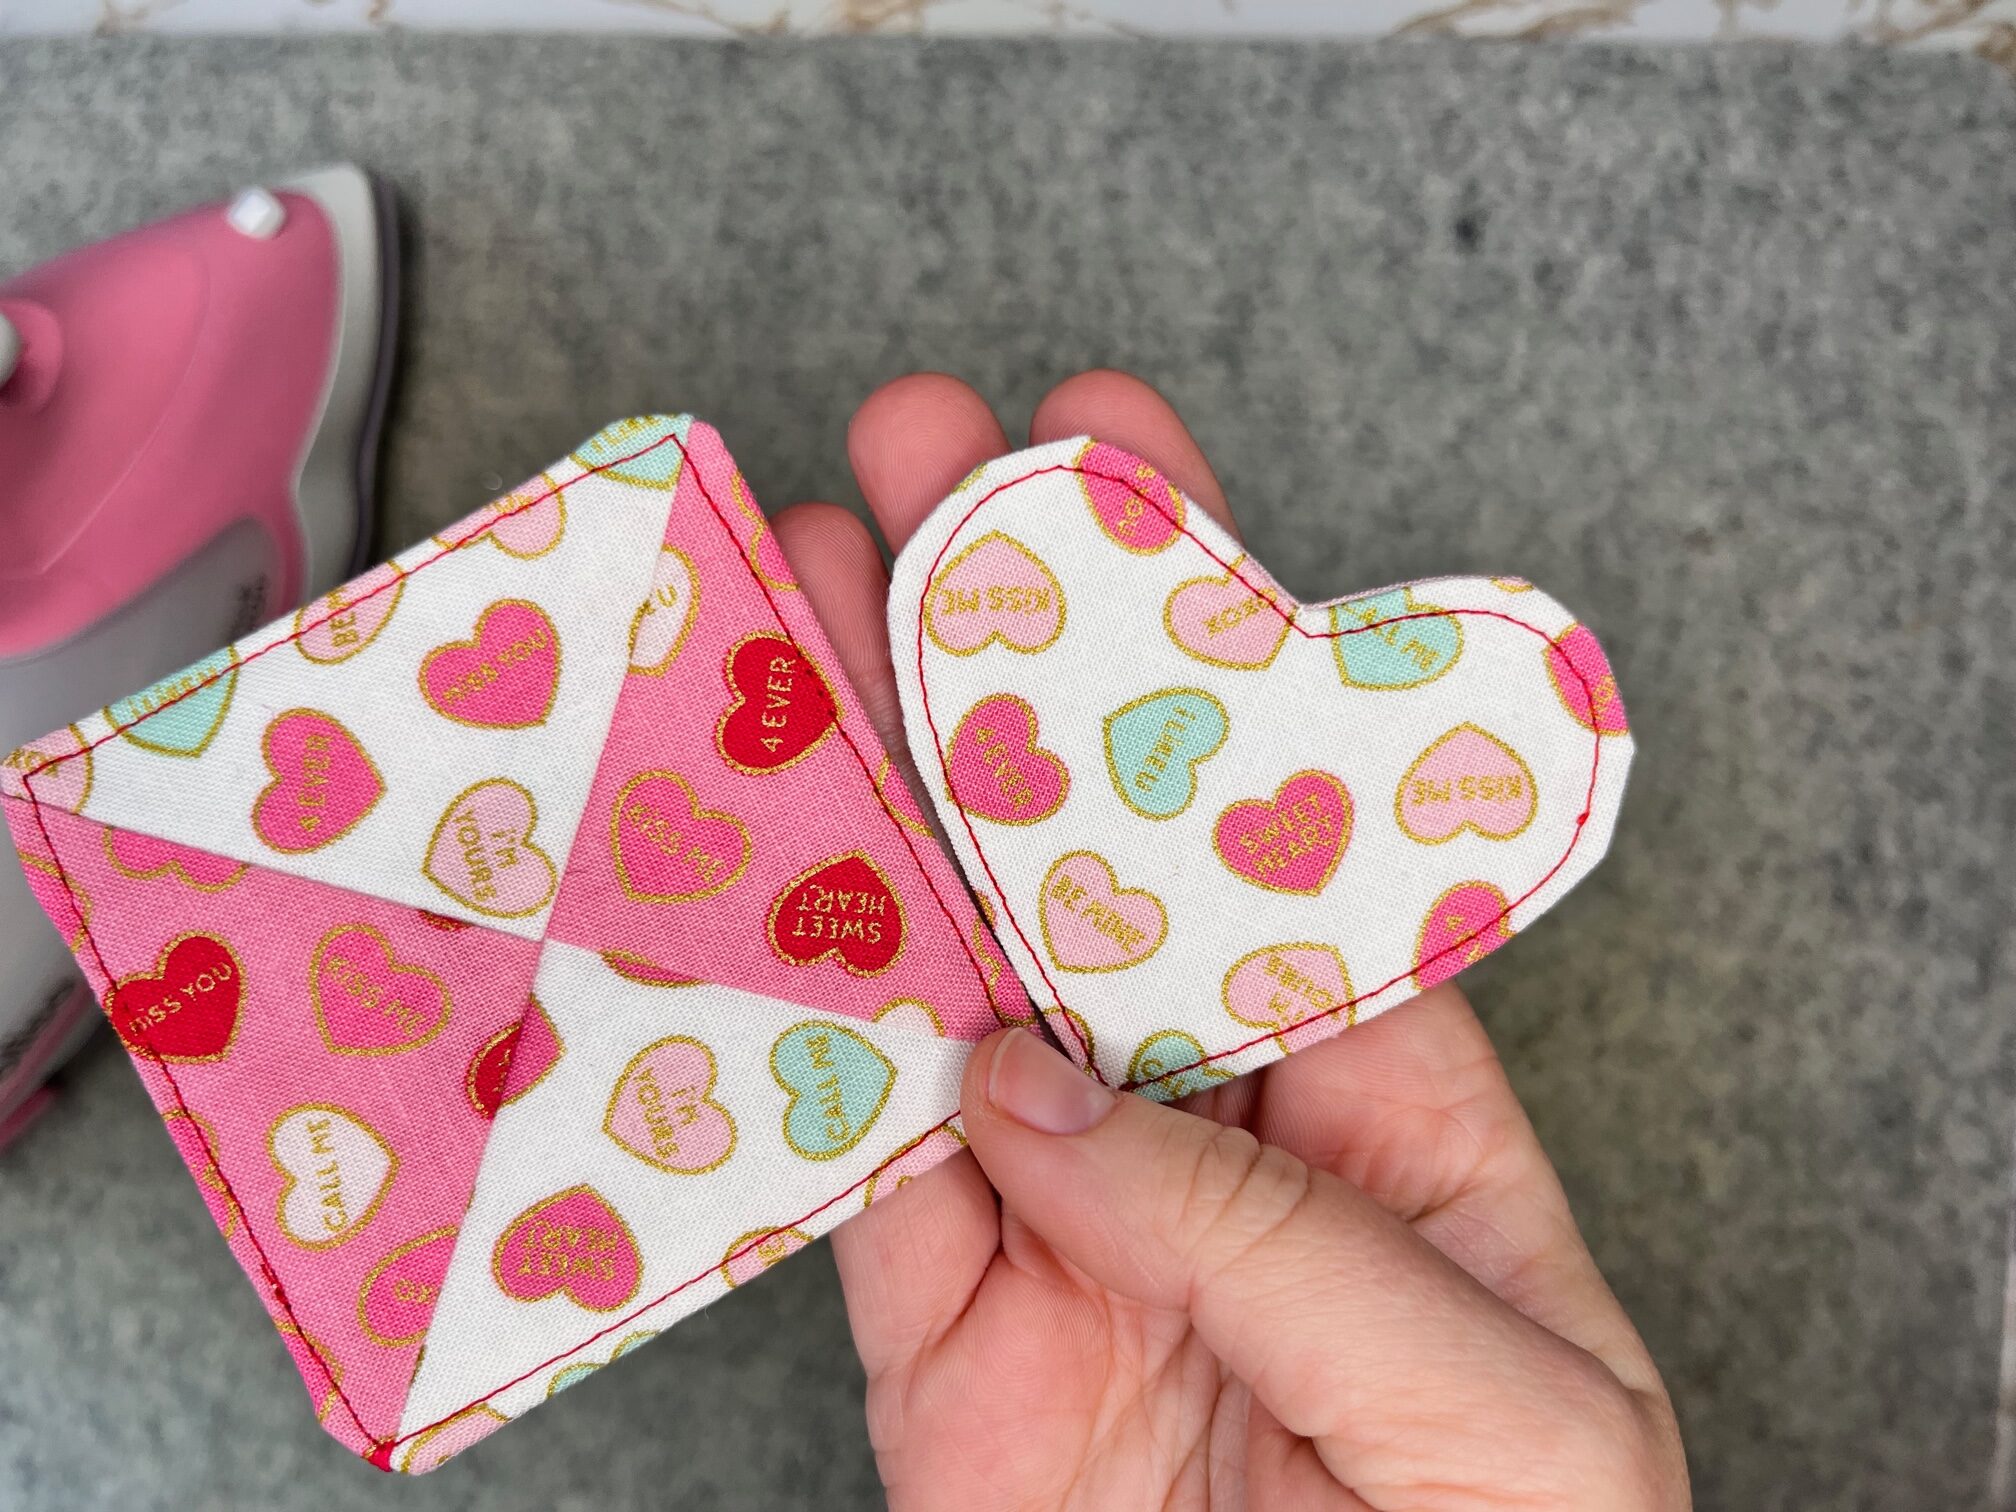
Cut out the pieces required to make the Tic Tac Toe game. For the hearts, begin by fusing the fleece to the wrong side. Next, layer the front and back fabric right sides together and sew around the heart with a 1/4″ seam. Leave an opening on the long side of the heart for turning. Once sewn, clip the curves of the heart and the bottom corner and turn right side out. Fold under the raw edges of the opening and press. Topstitch to close. Make 5 of these.
Then…
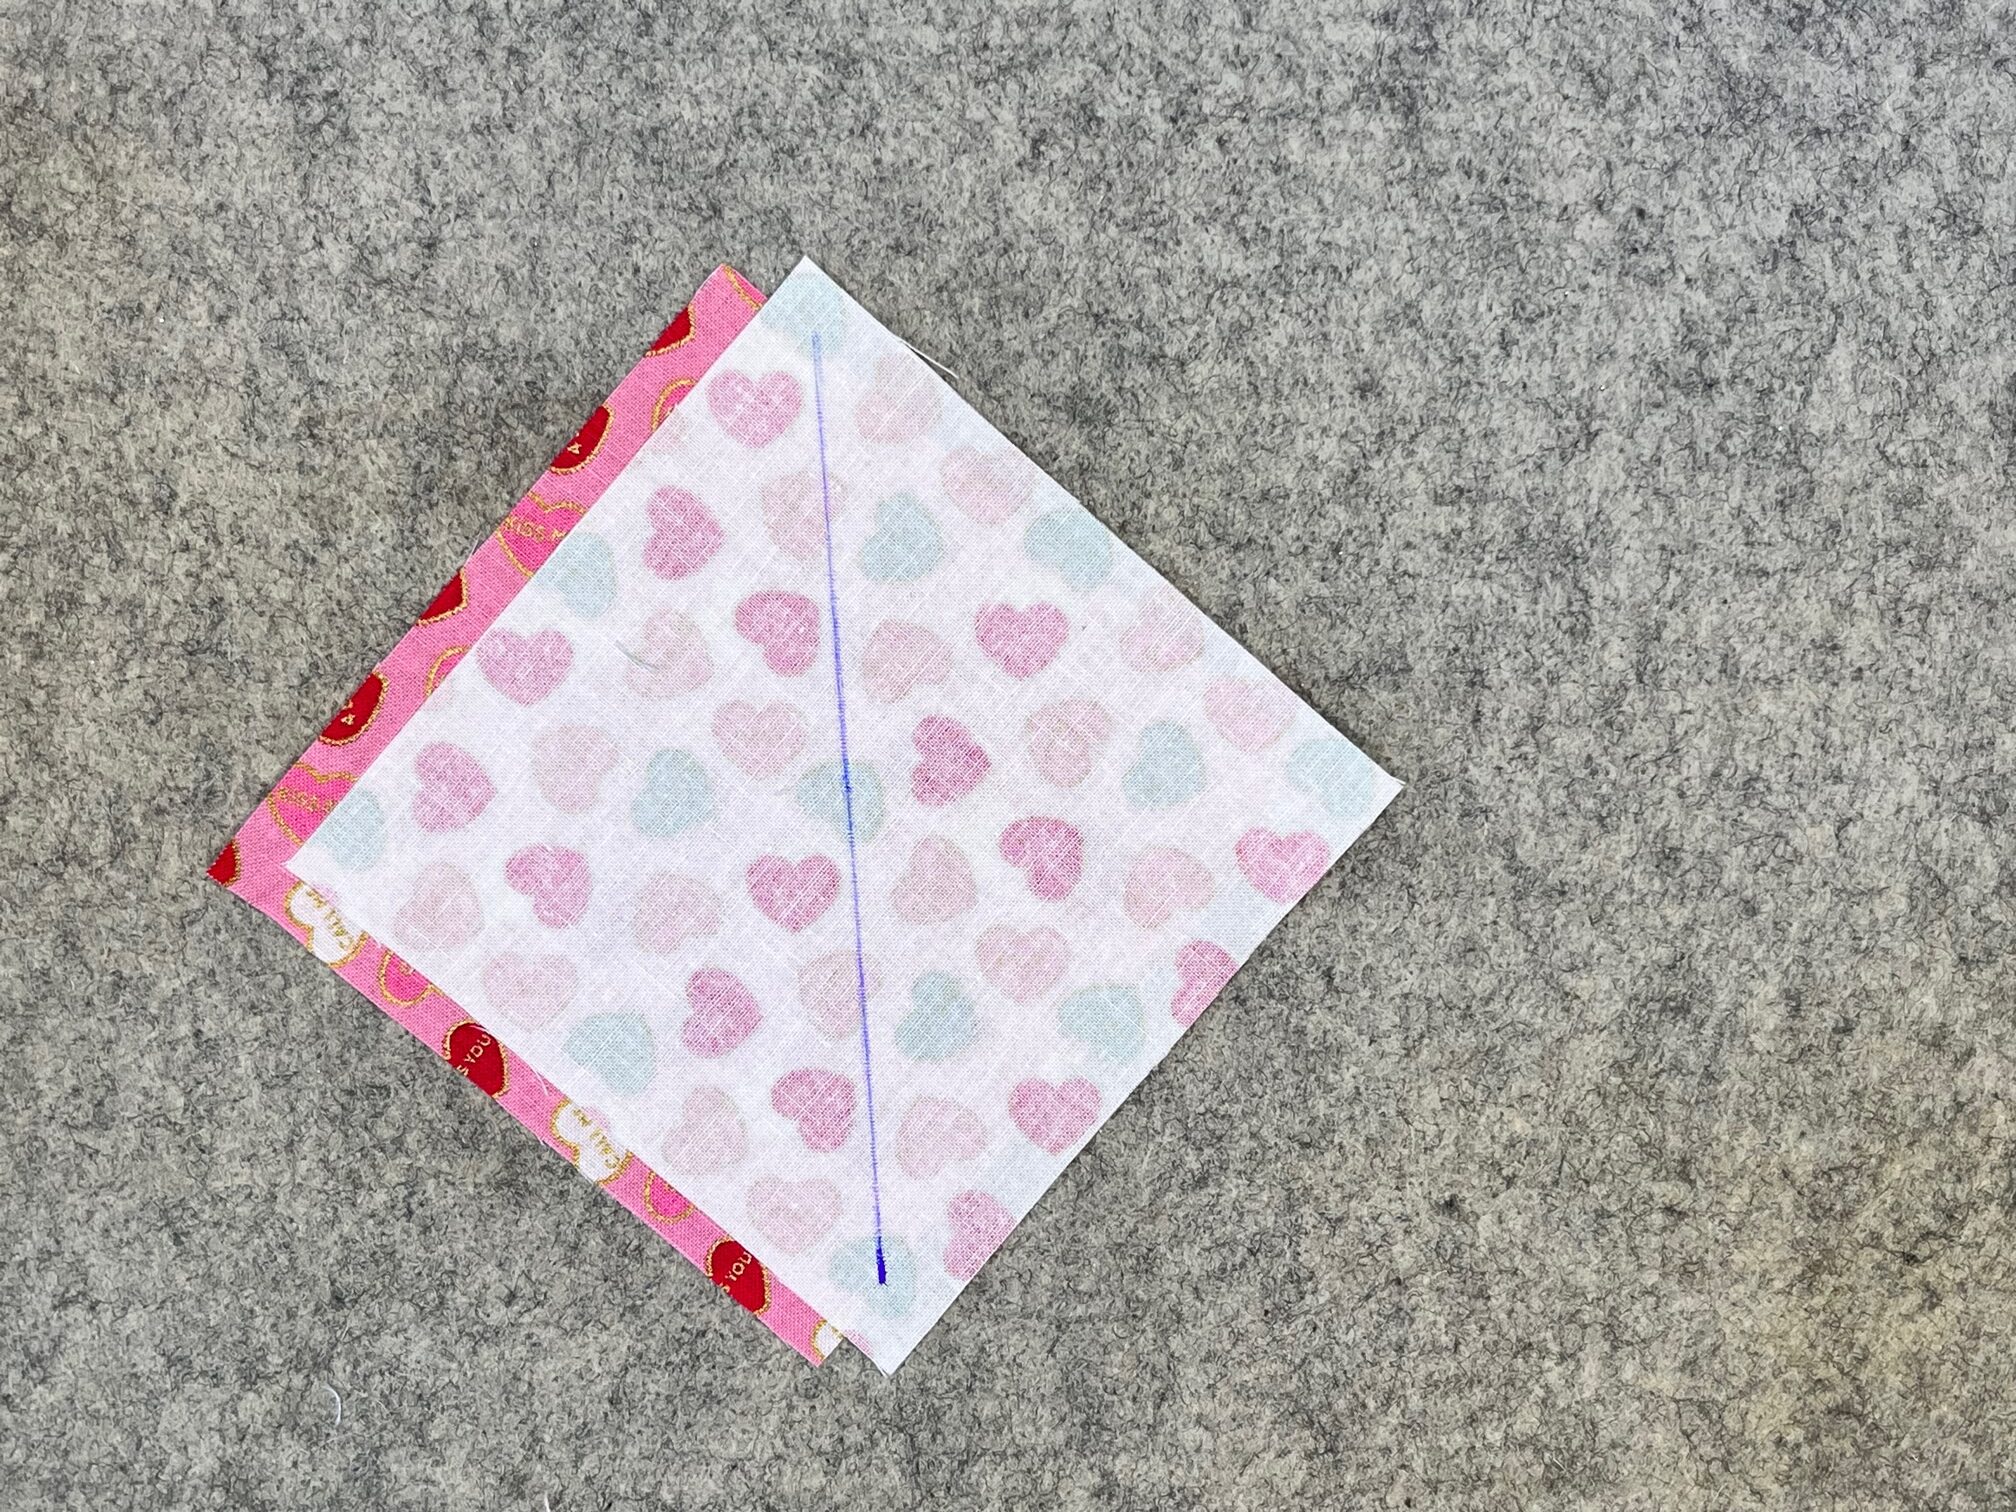
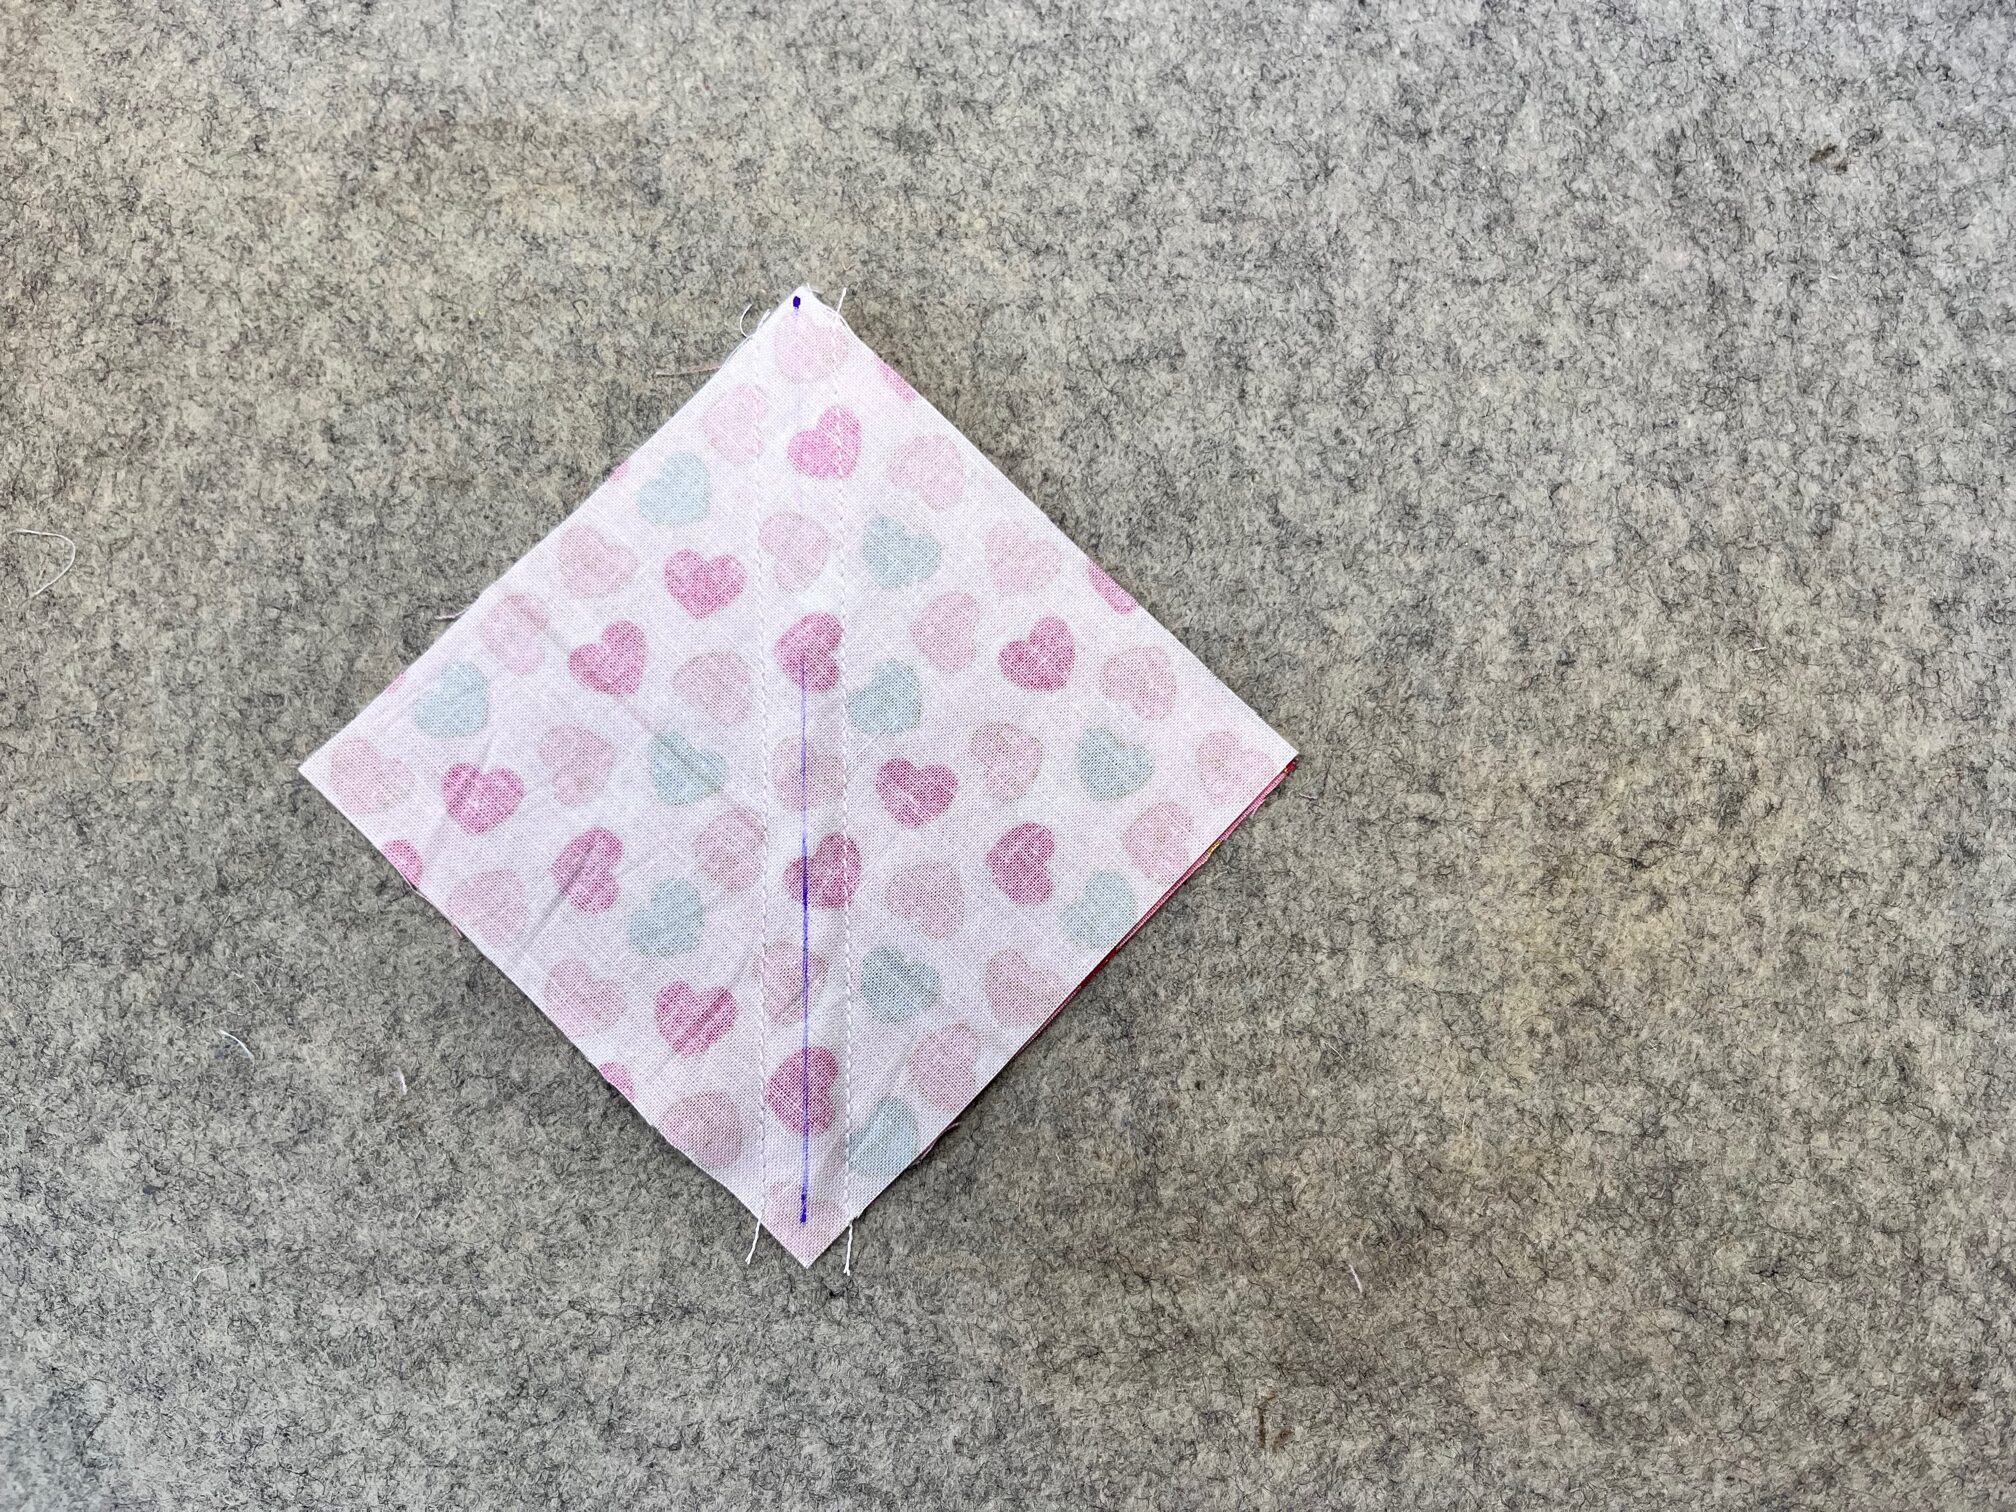
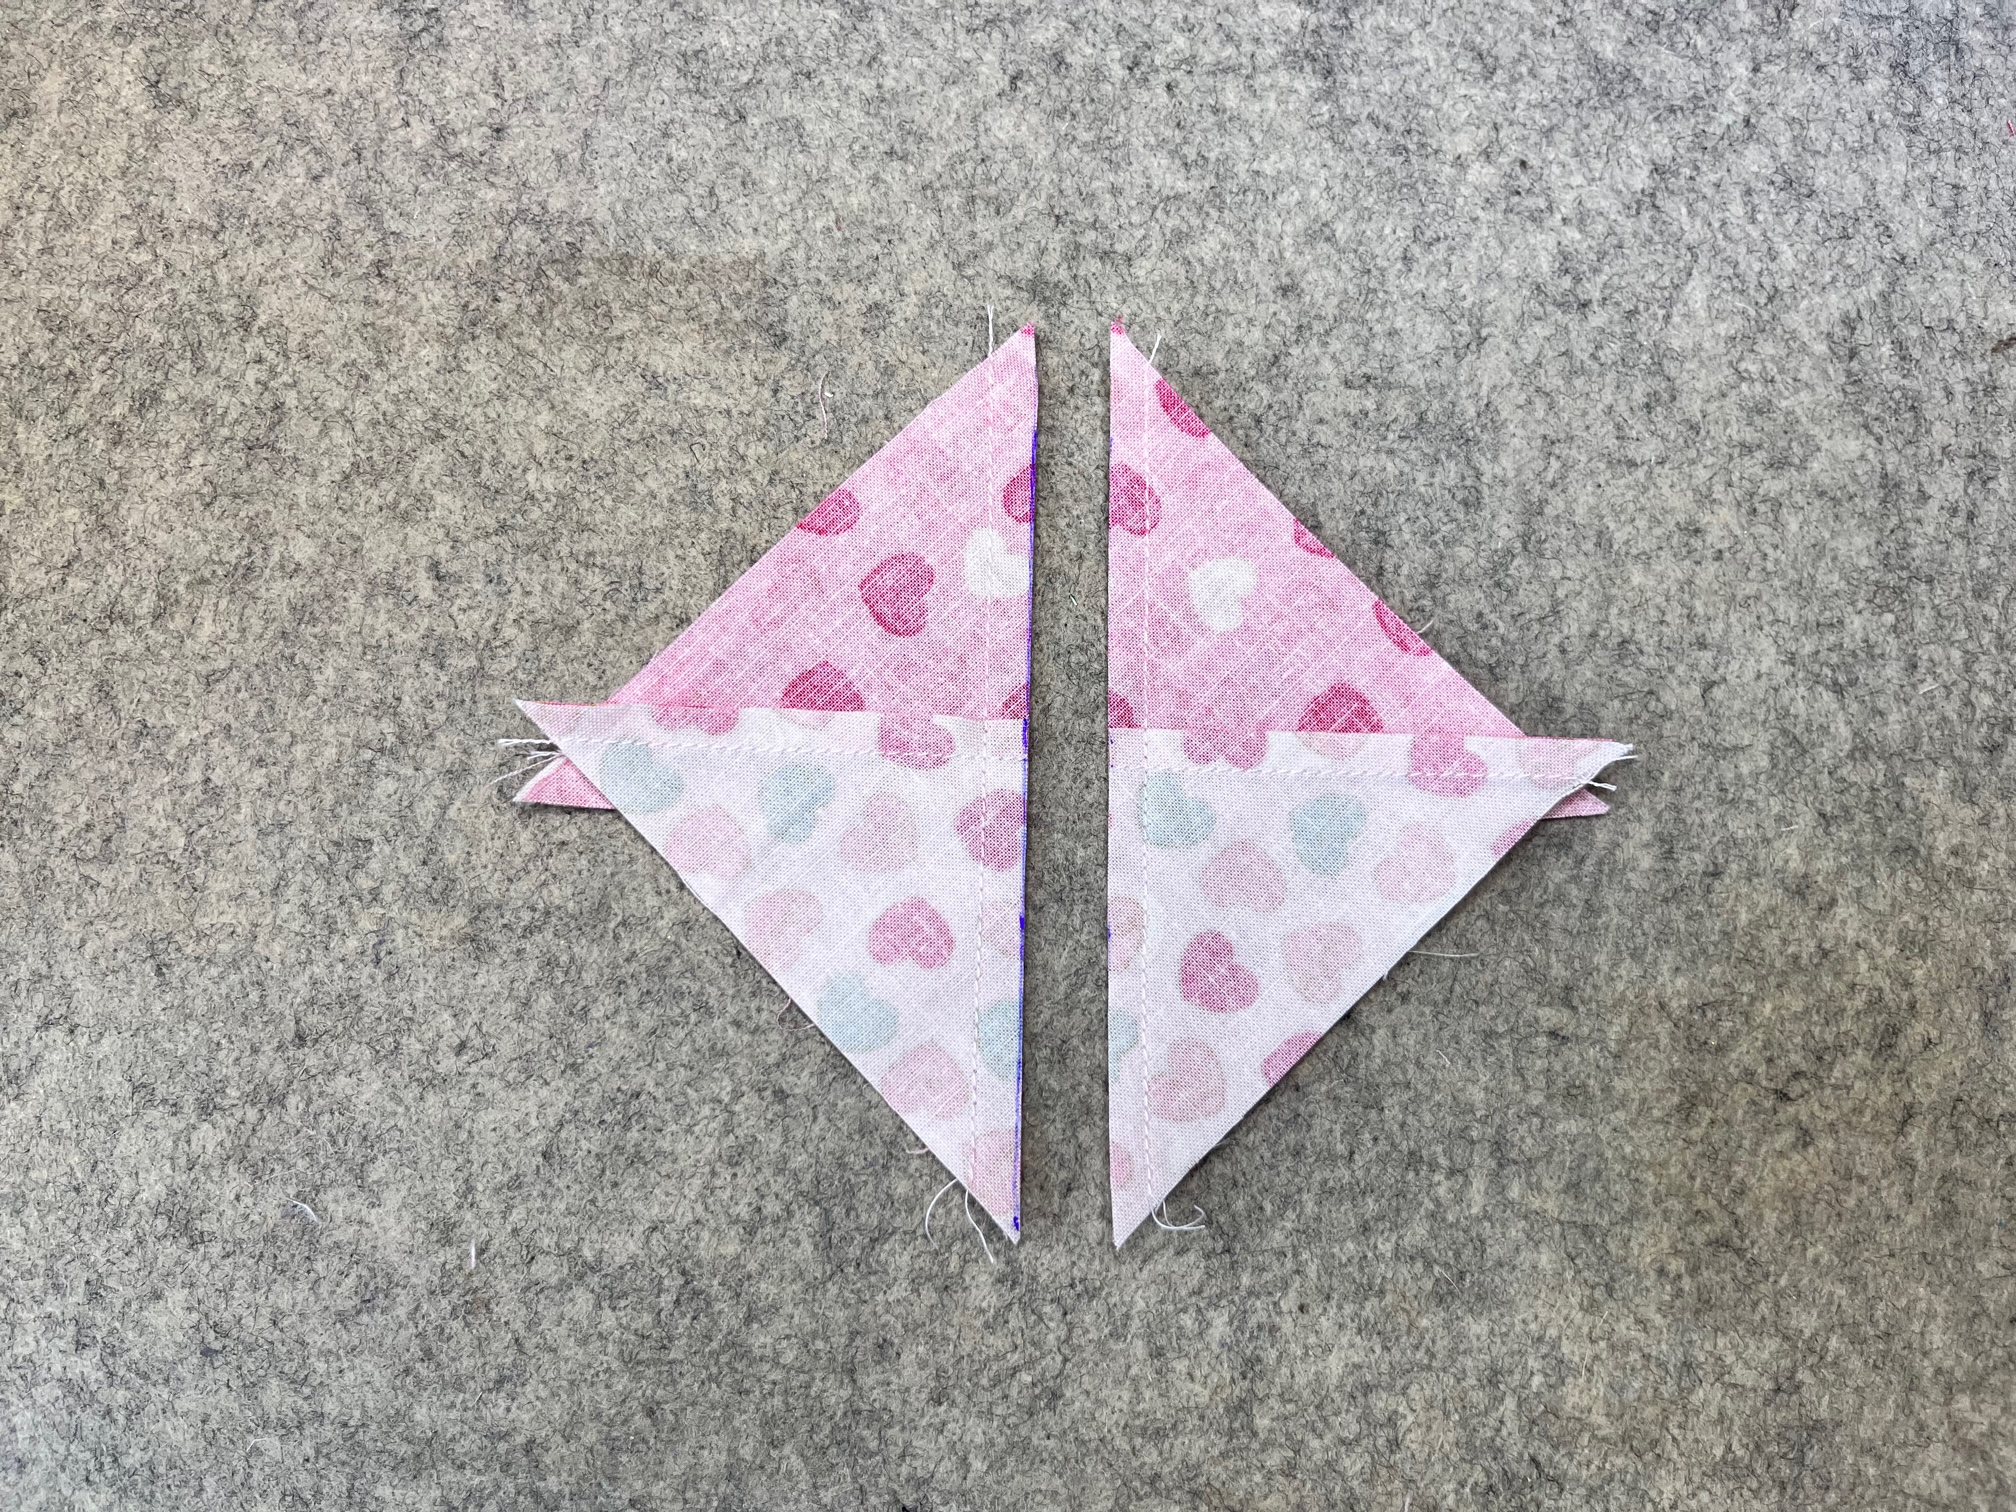
To make the X’s we are going to make hourglass blocks (2 at a time method). Begin by drawing a diagonal line on the wrong side of one of the fabric pieces. Layer the two-color fabric squares together edges aligned. Sew 1/4″ away from the drawn line on both sides.
Next…
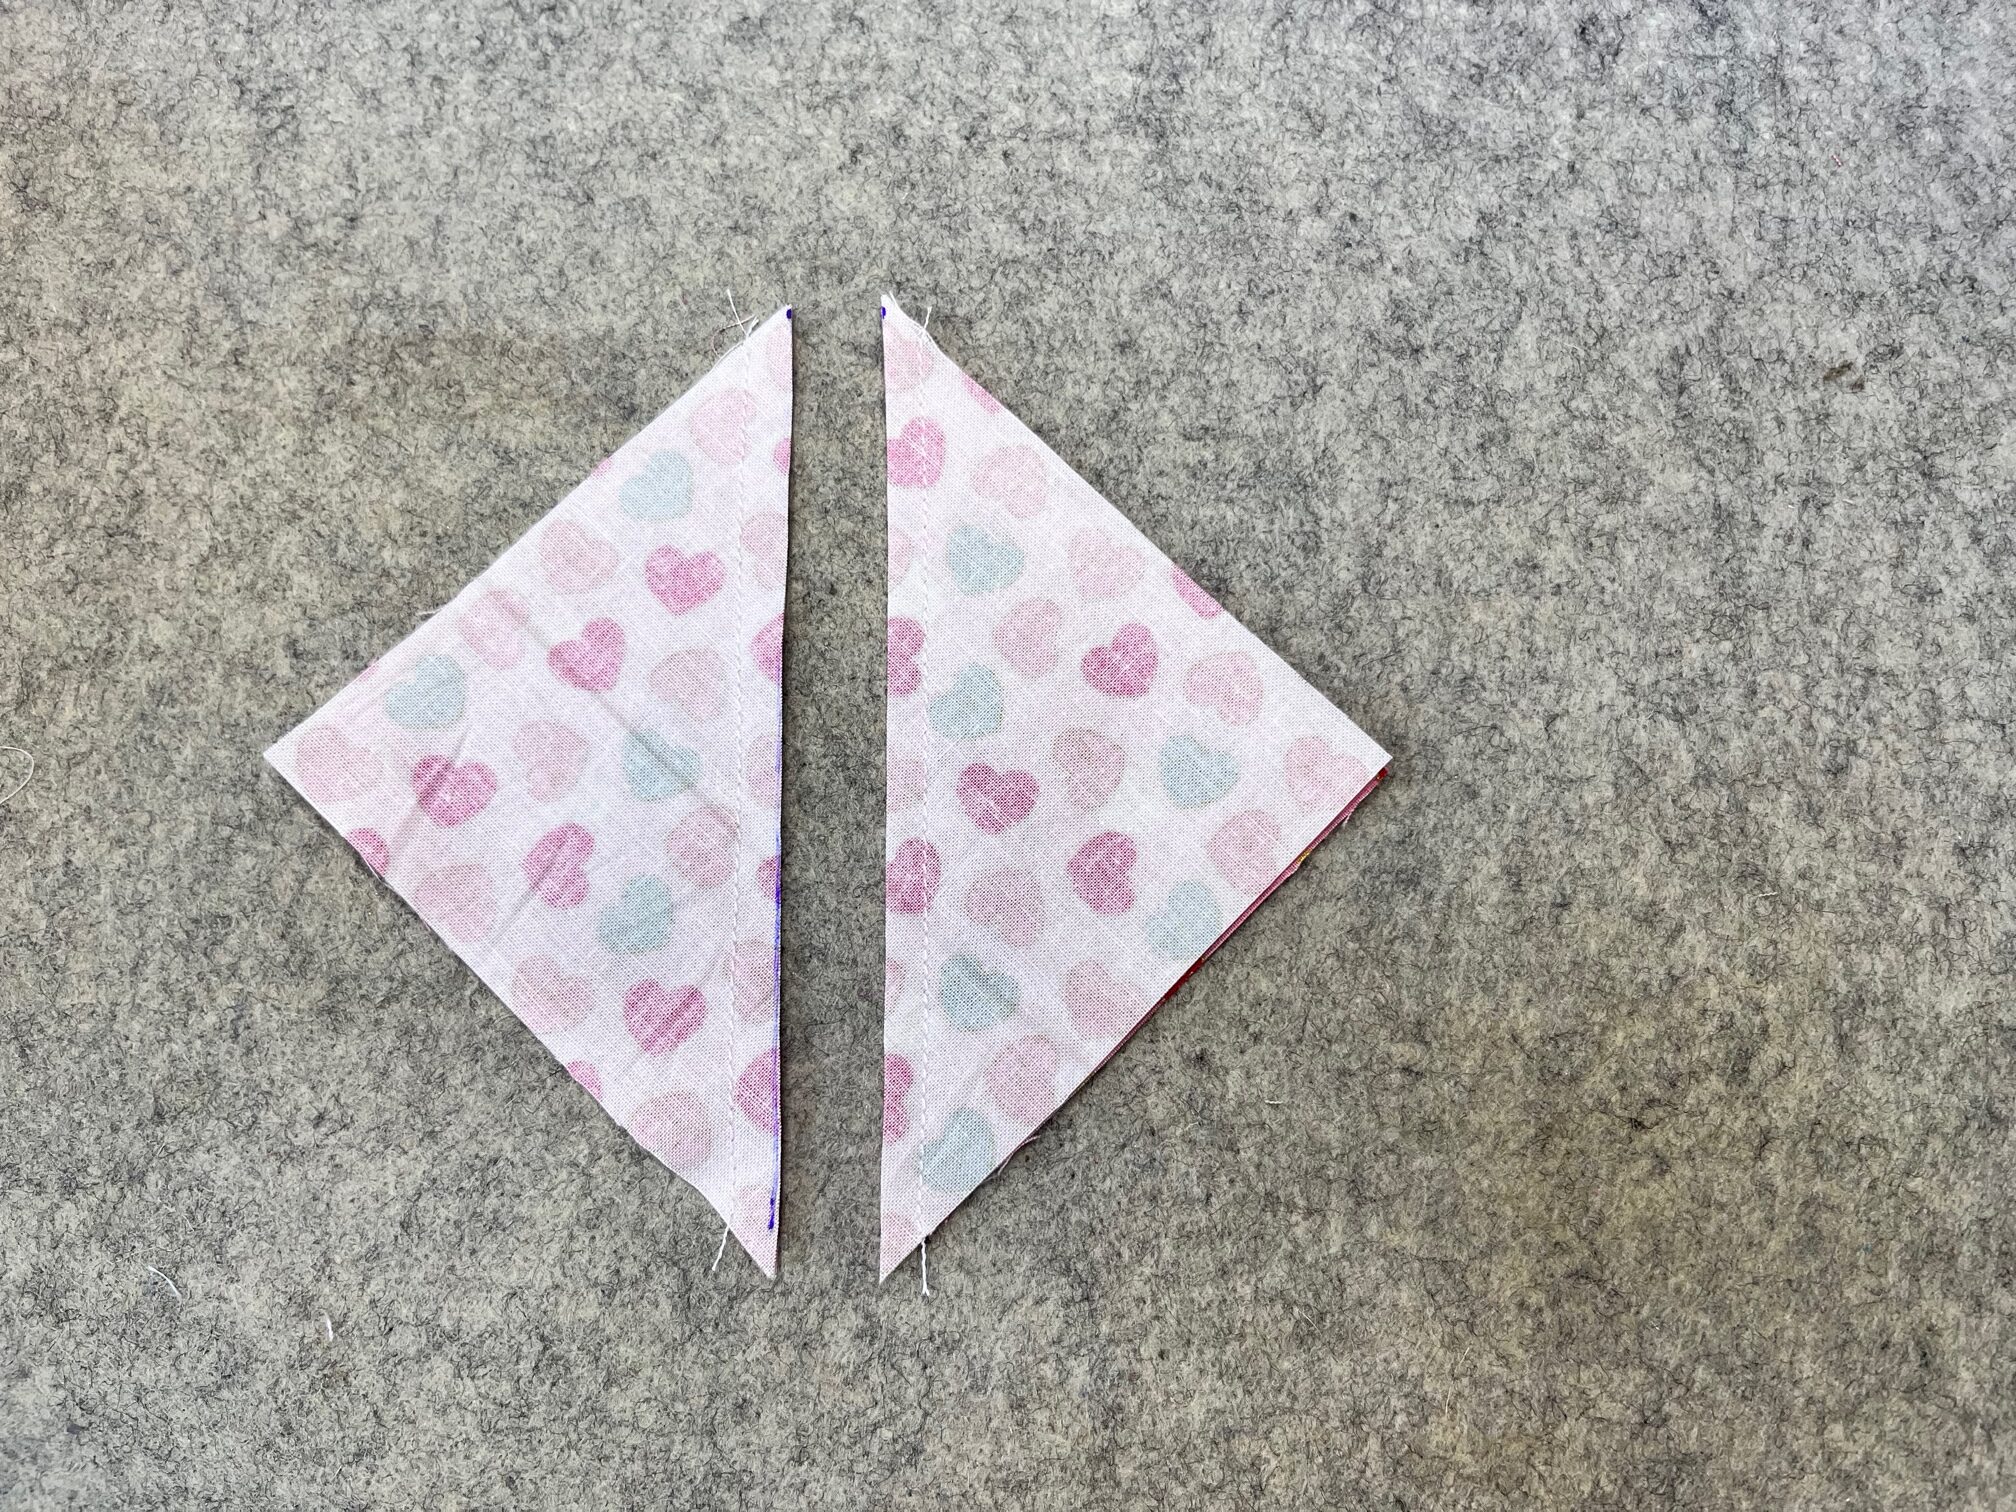
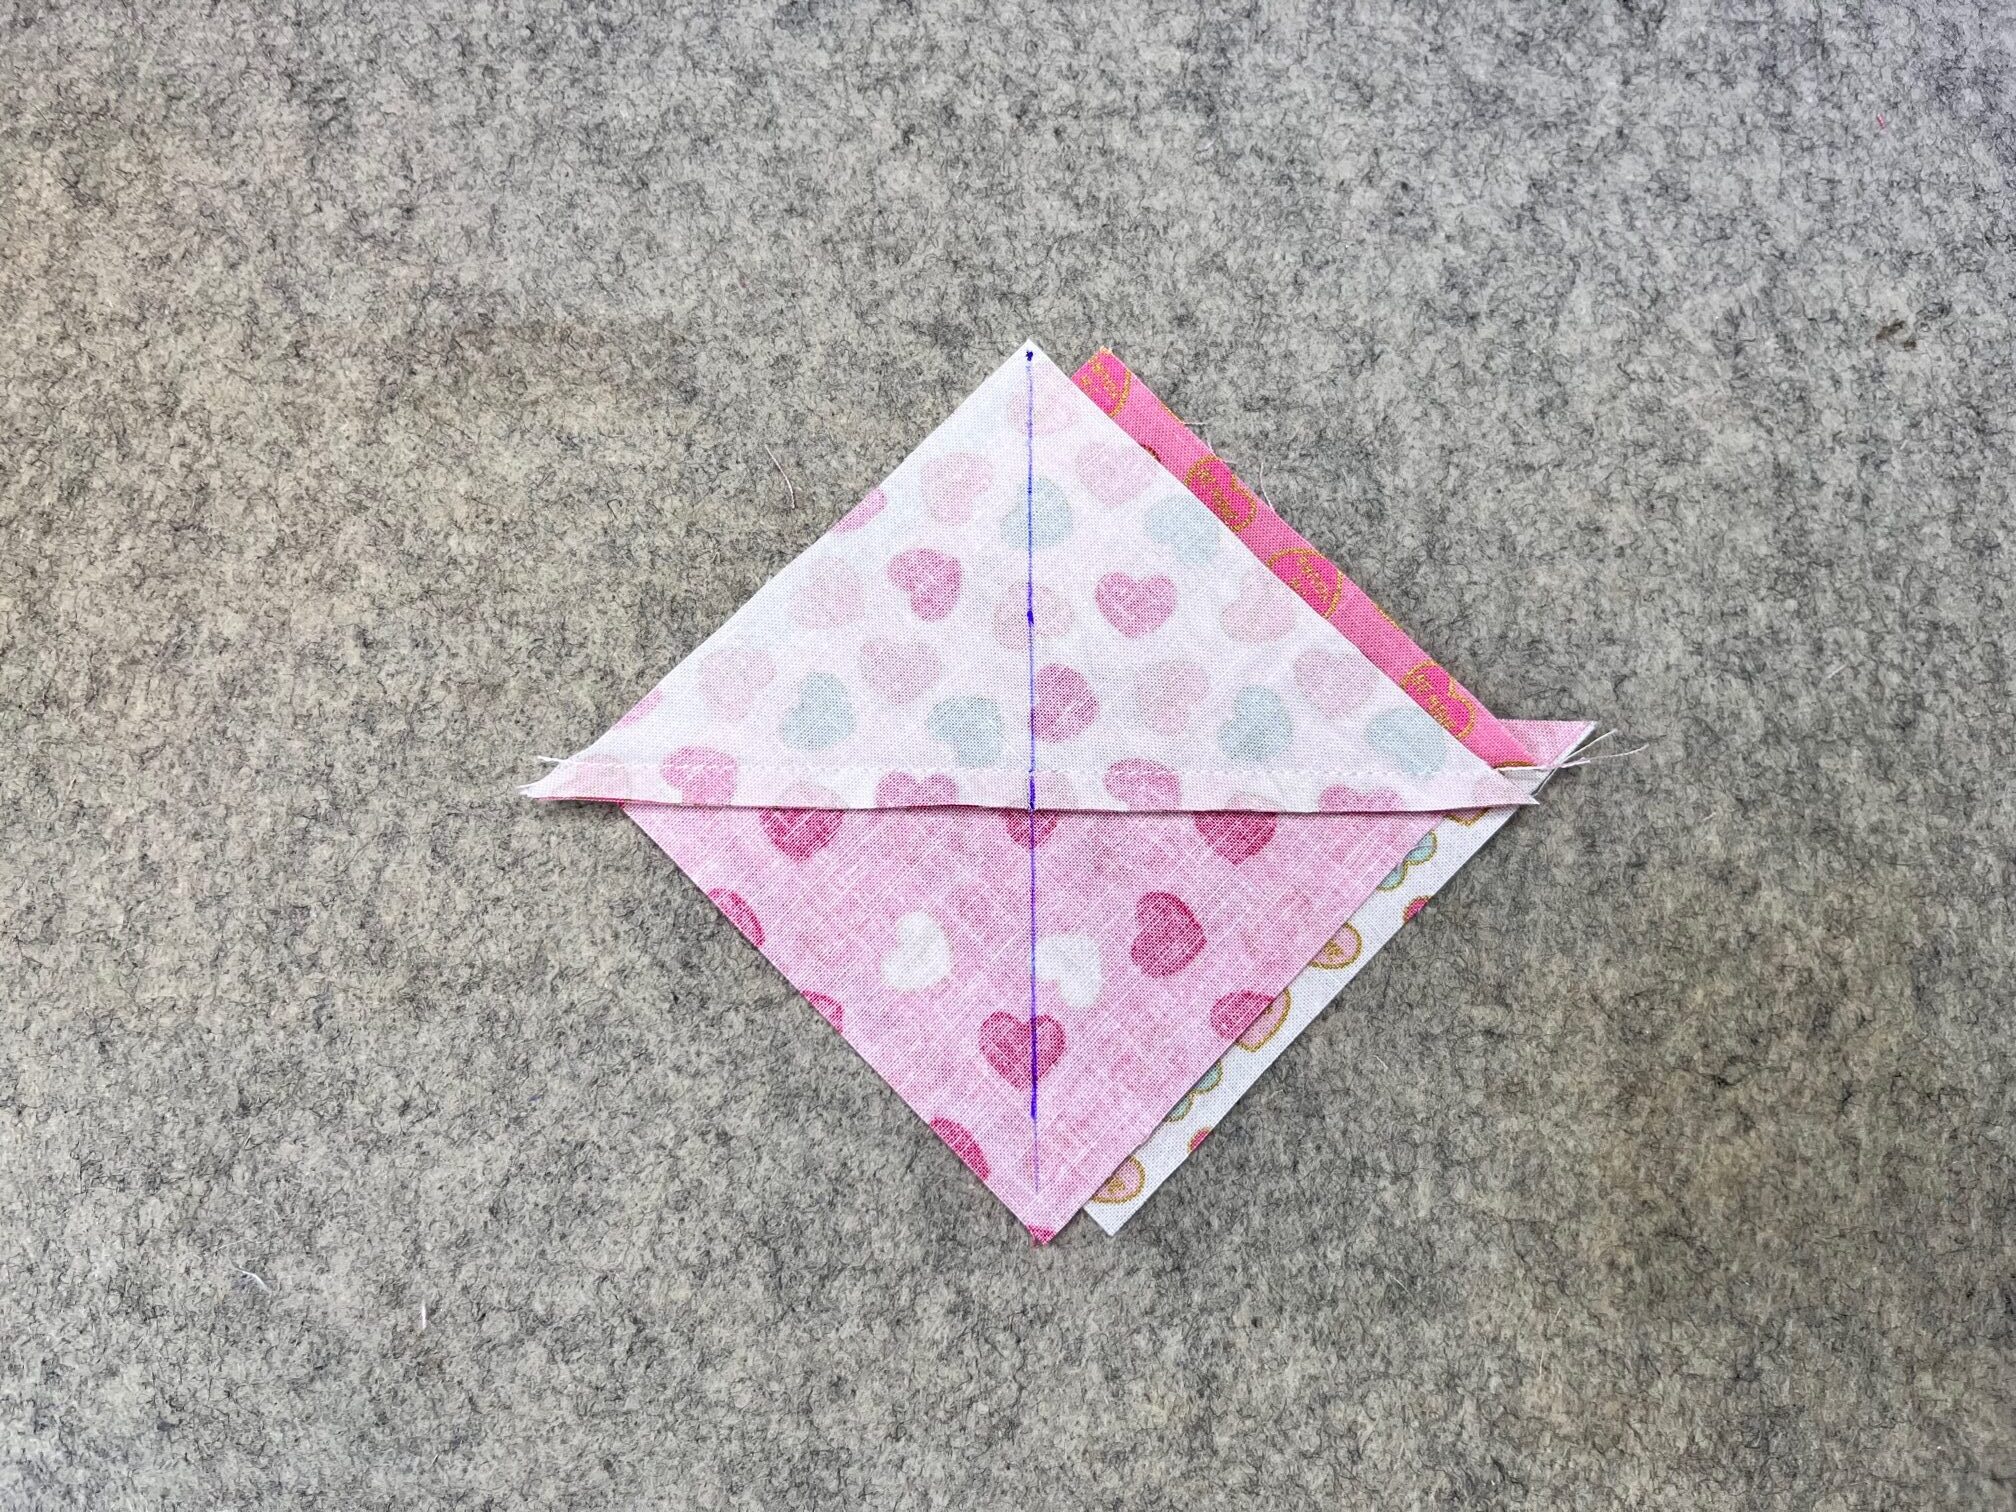
Cut on the drawn line. Press each newly made half-square triangle to the dark side. Draw a diagonal line down the center on the wrong side of one of the half-square triangles. Then, layer the two half-square triangles right sides together, nesting the seams. Sew 1/4″ away from the drawn line on both sides.
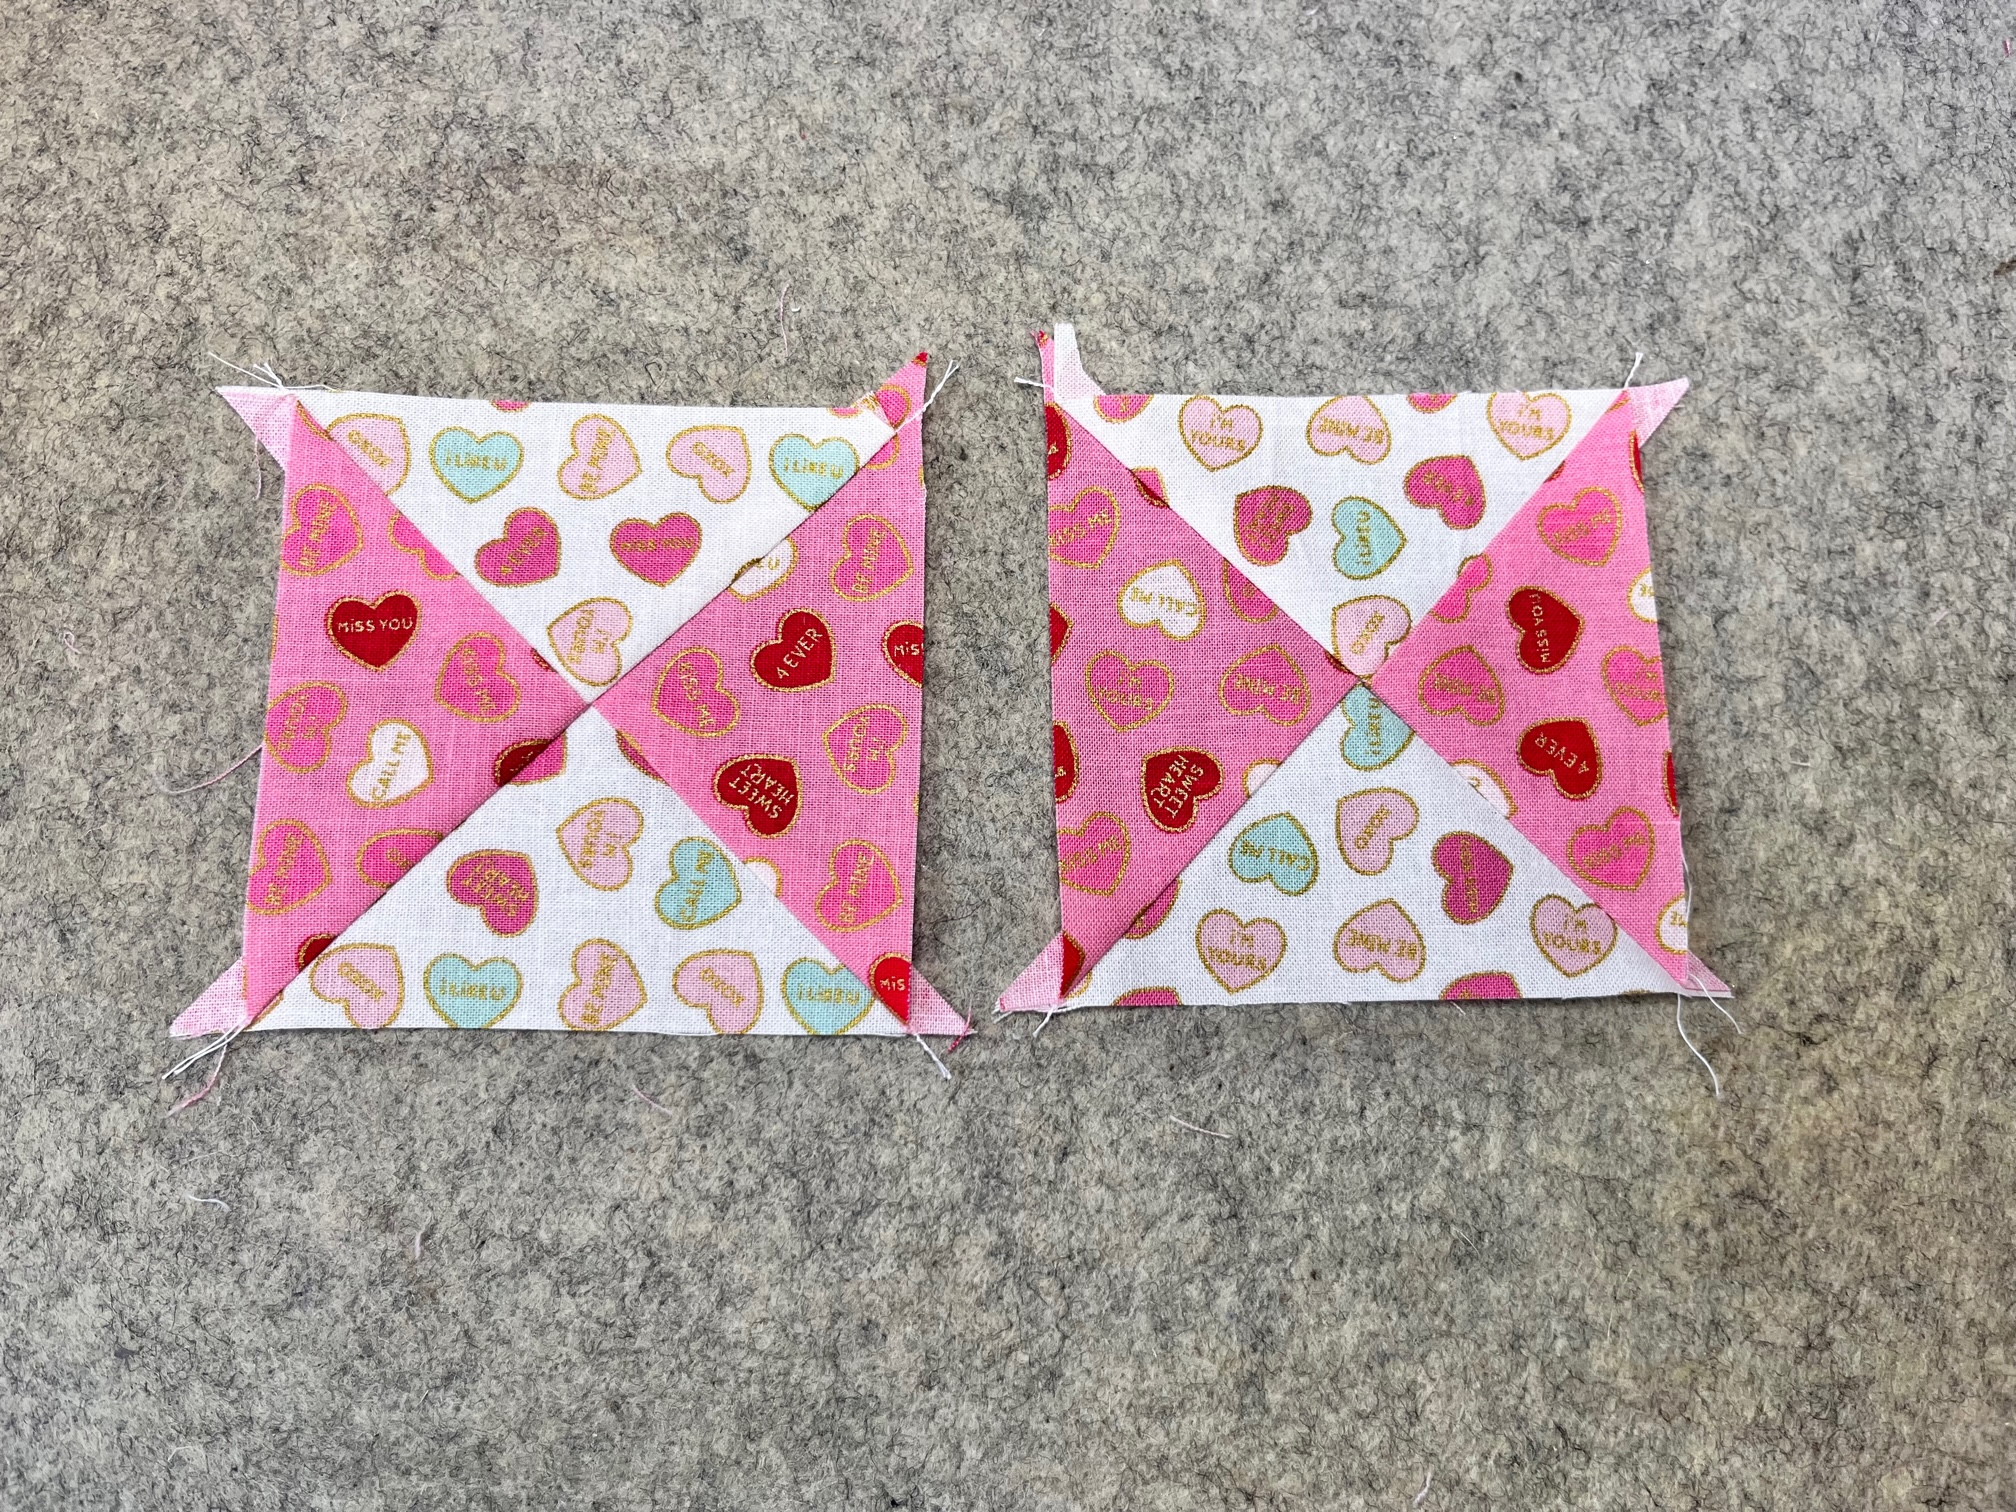
Next…
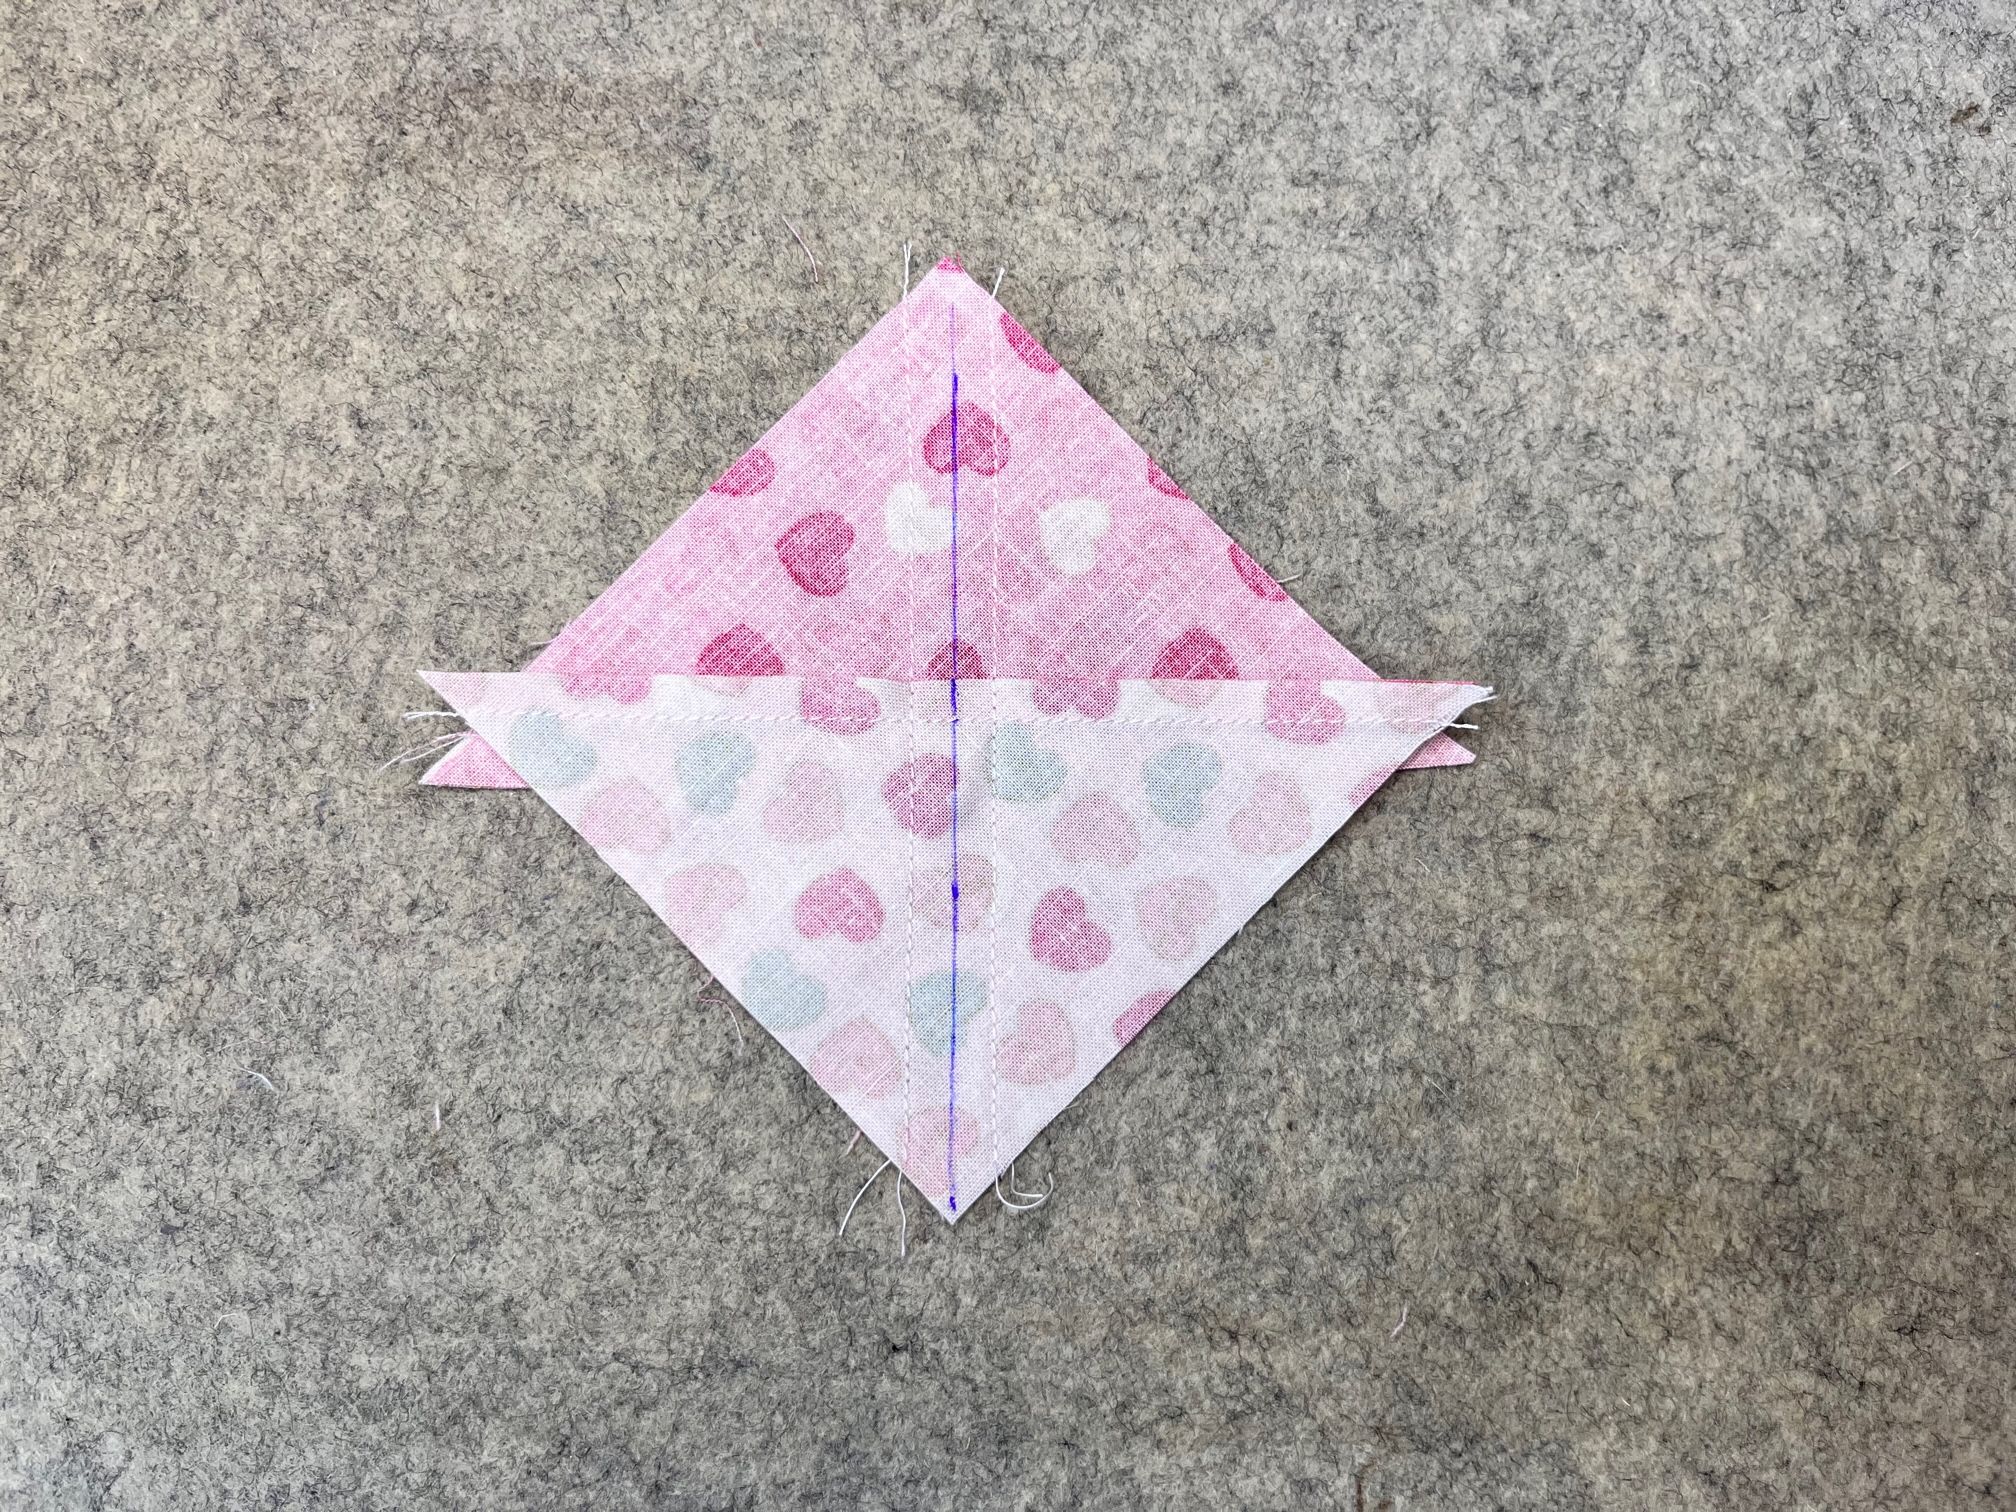
Cut again on the drawn line. Press each new hourglass block and trim to 3 1/2″ square.
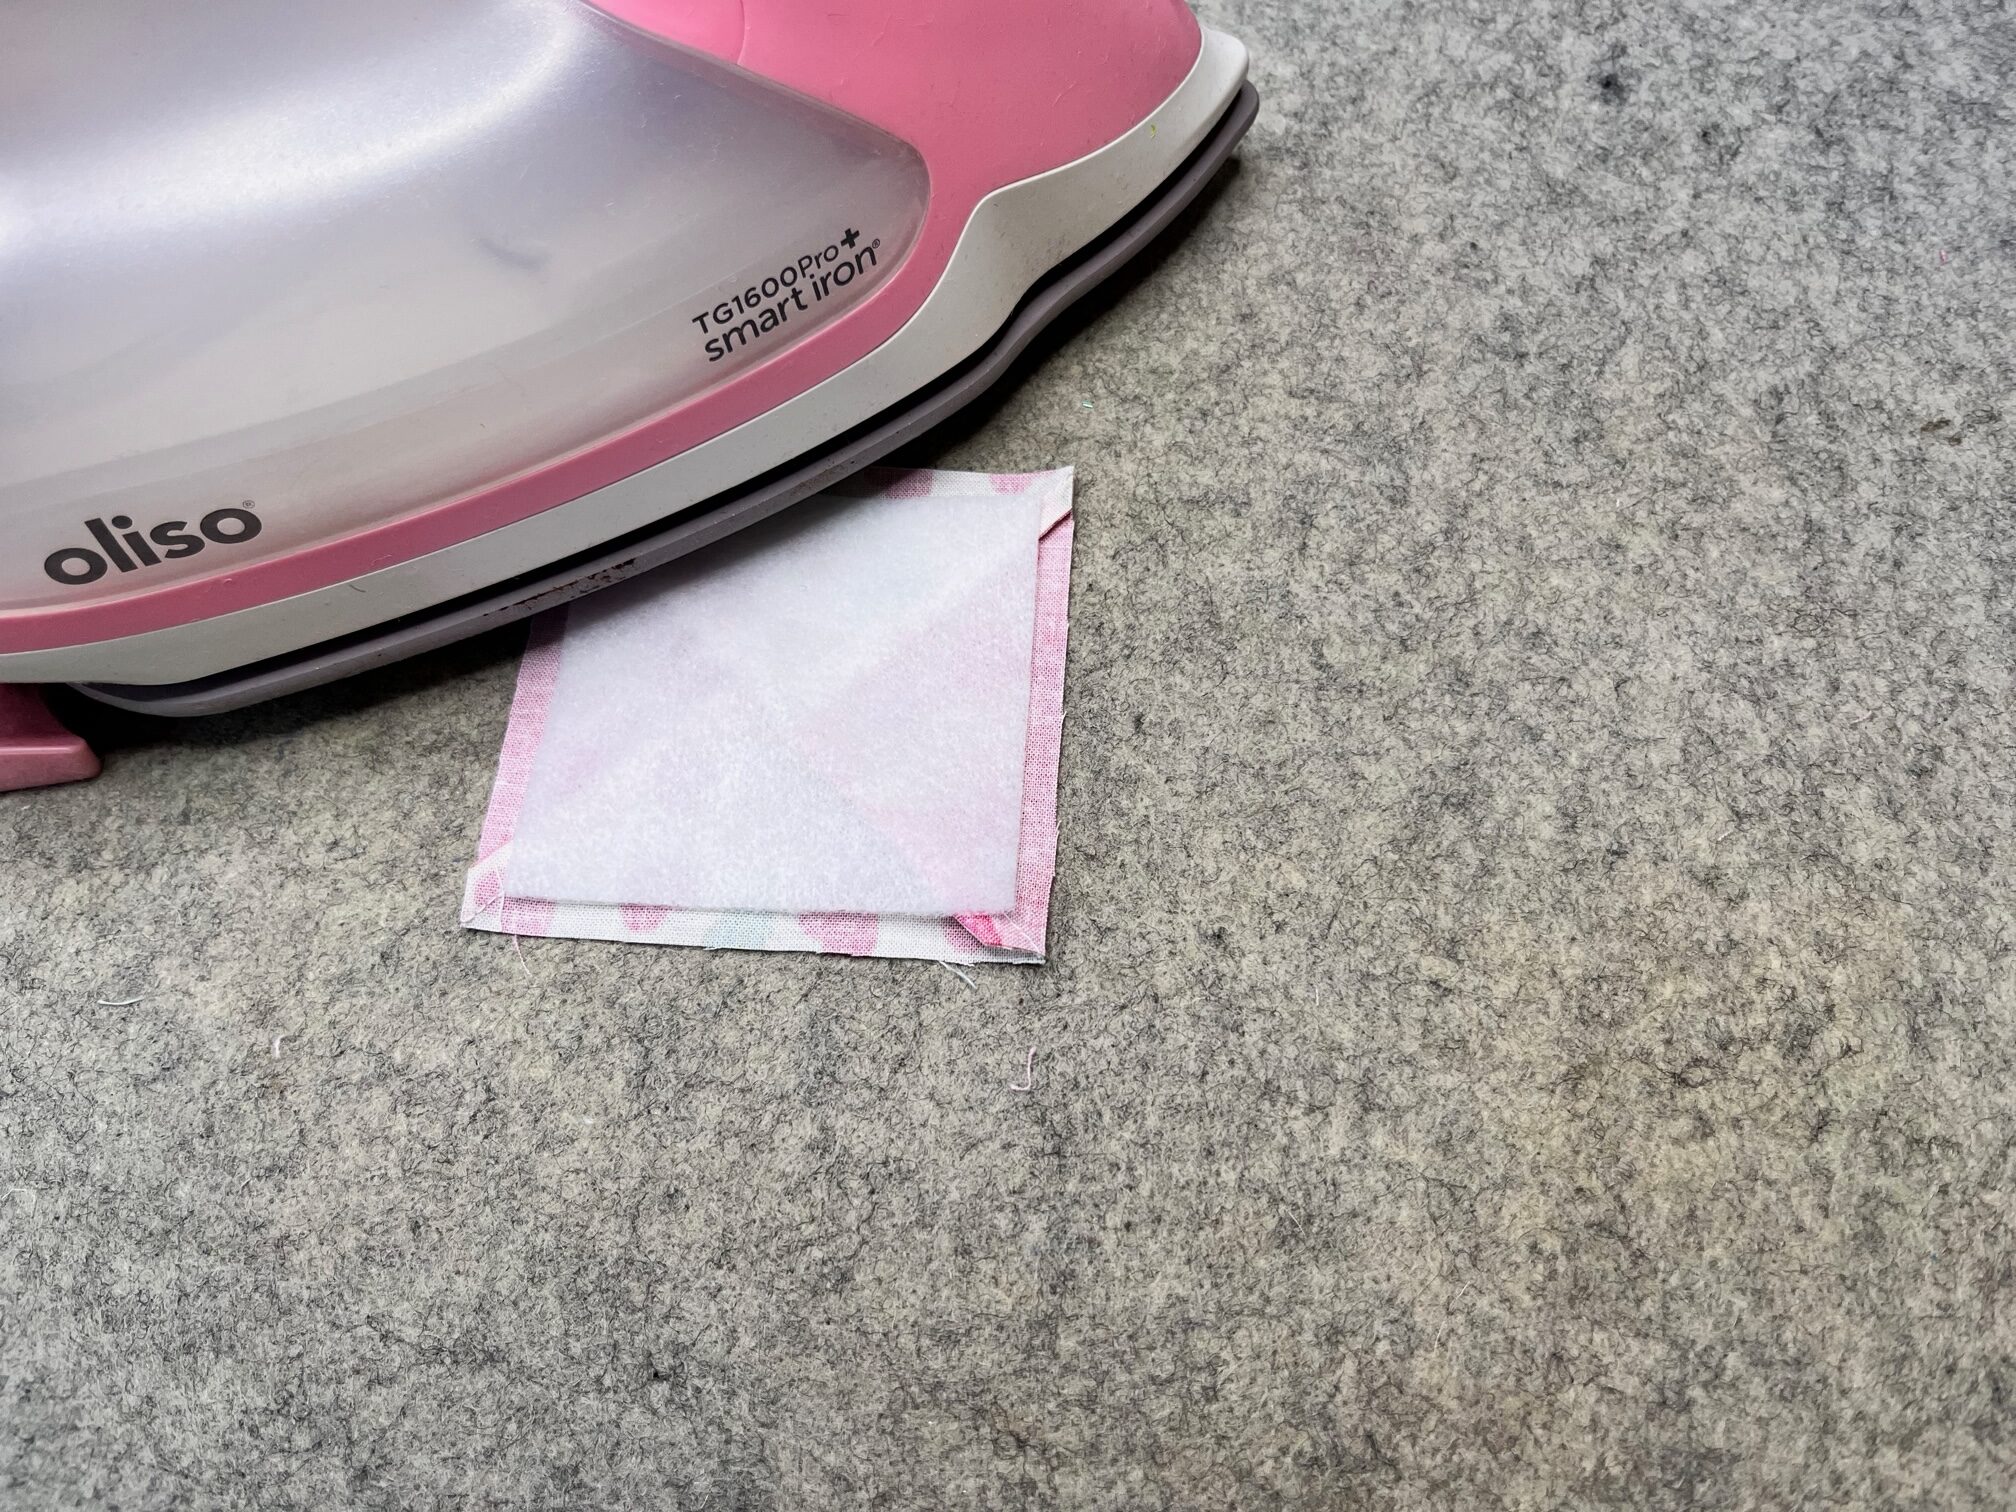
Using your new hourglass blocks, adhere the fusible fleece to the wrong side. Layer the game piece fabric front and back right sides together. Sew around the square leaving a small opening for turning. Clip the corners and turn right side out. Press and topstitch. You will have a total of 4. When playing the game, the hearts always go first!
Checkers:
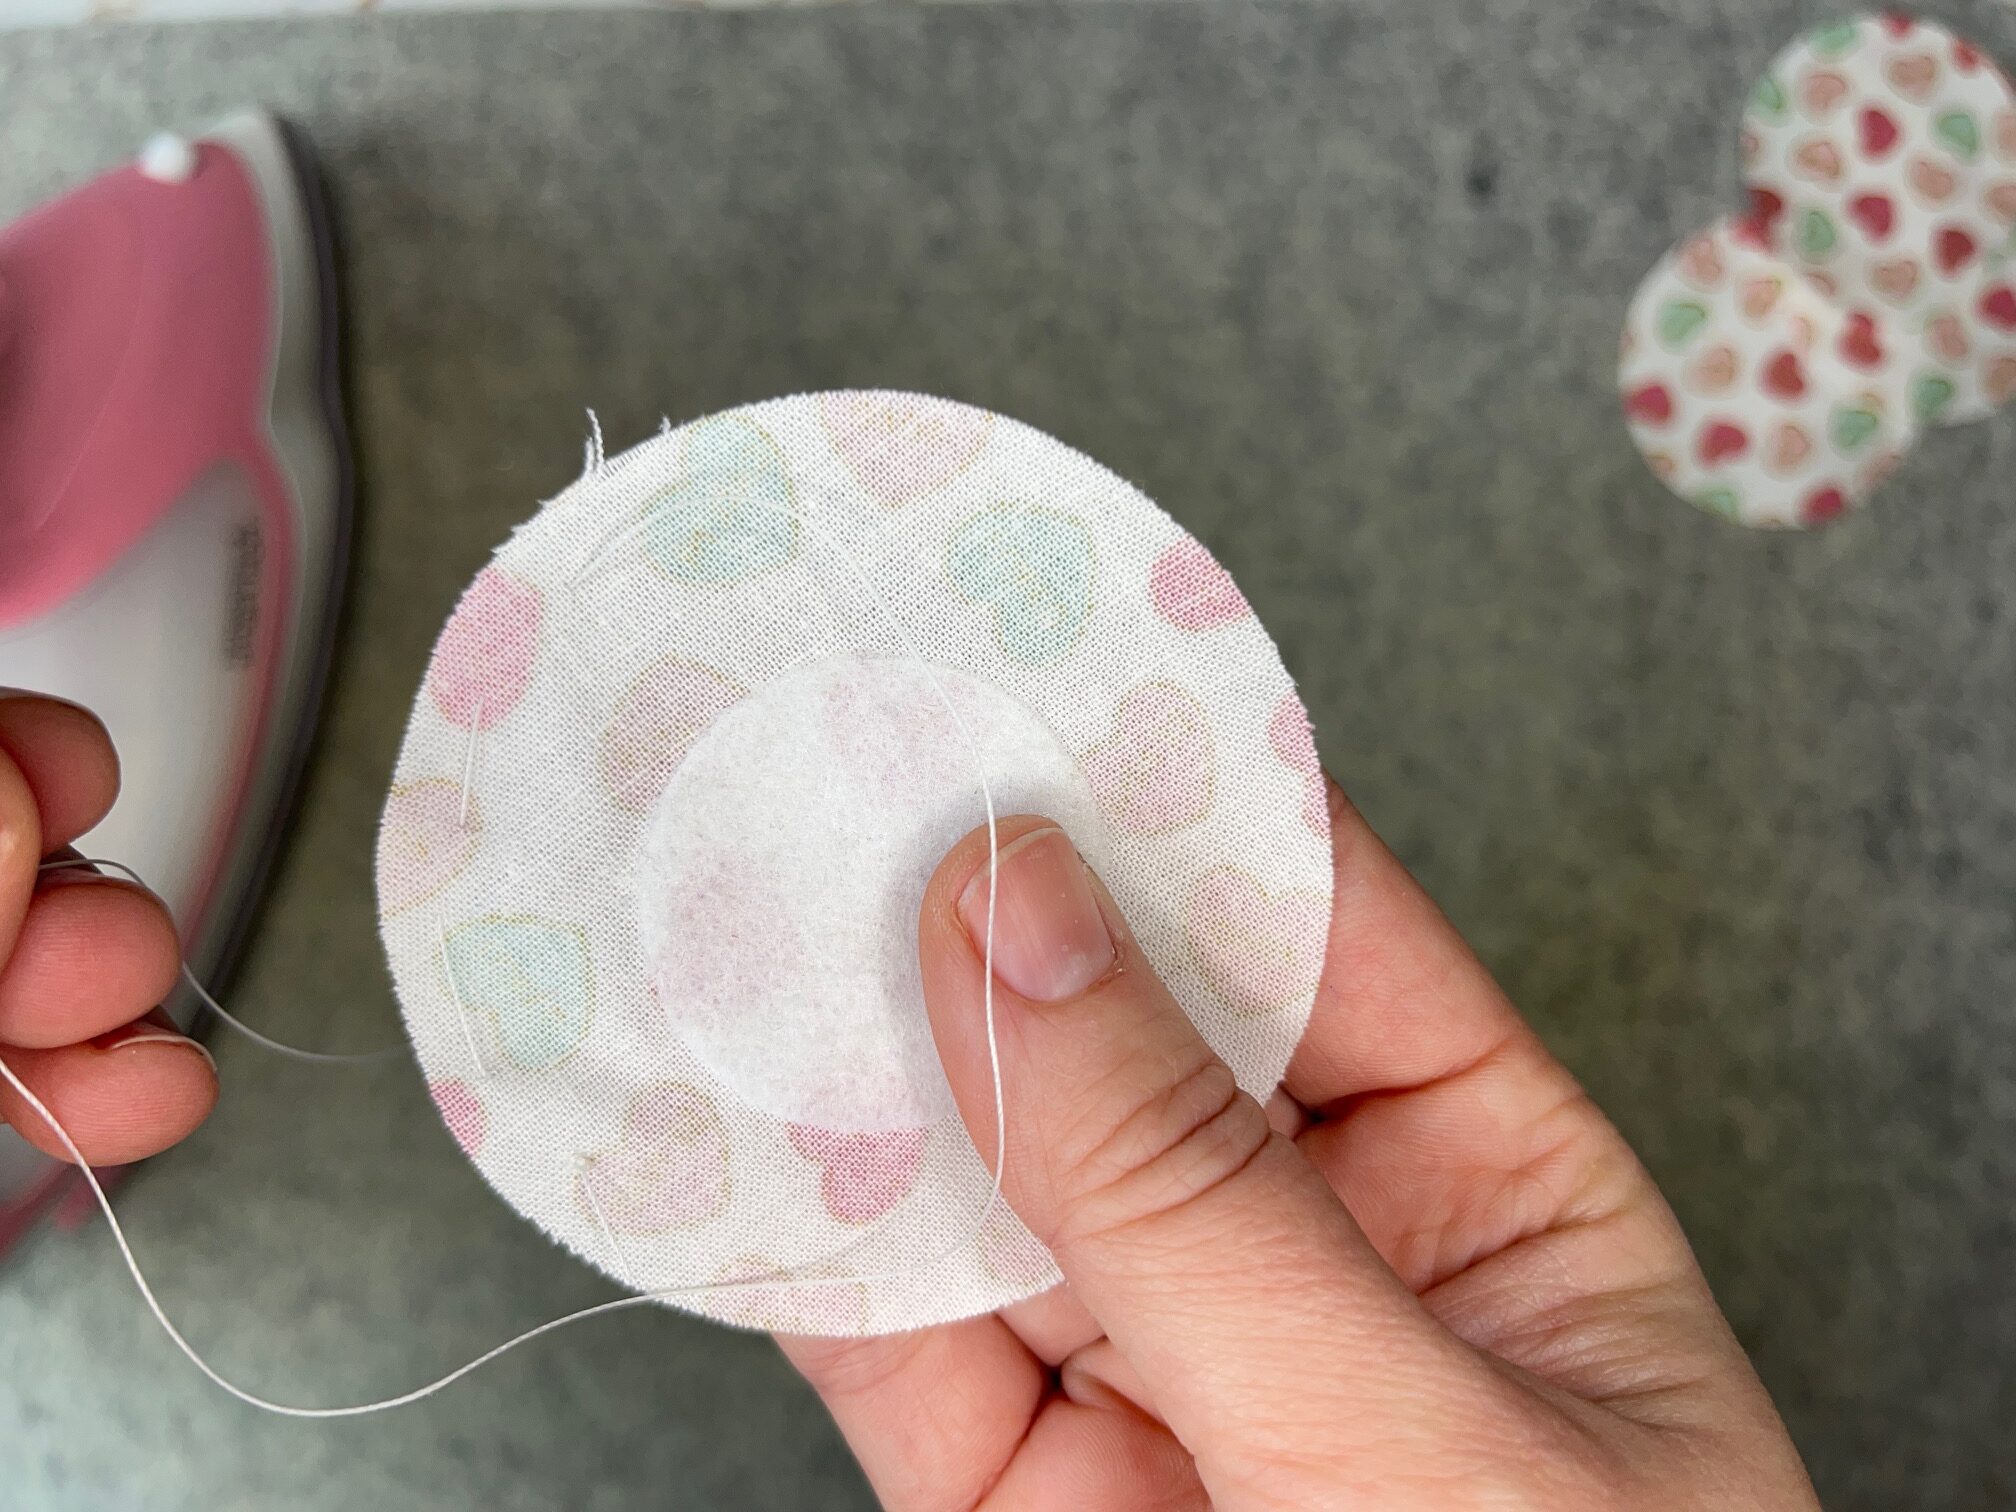
The Checker pieces are simply fabric yo-yos. To make the checker pieces, first spray the fabric circles with SpraynBond Fabric Stiffener and press.
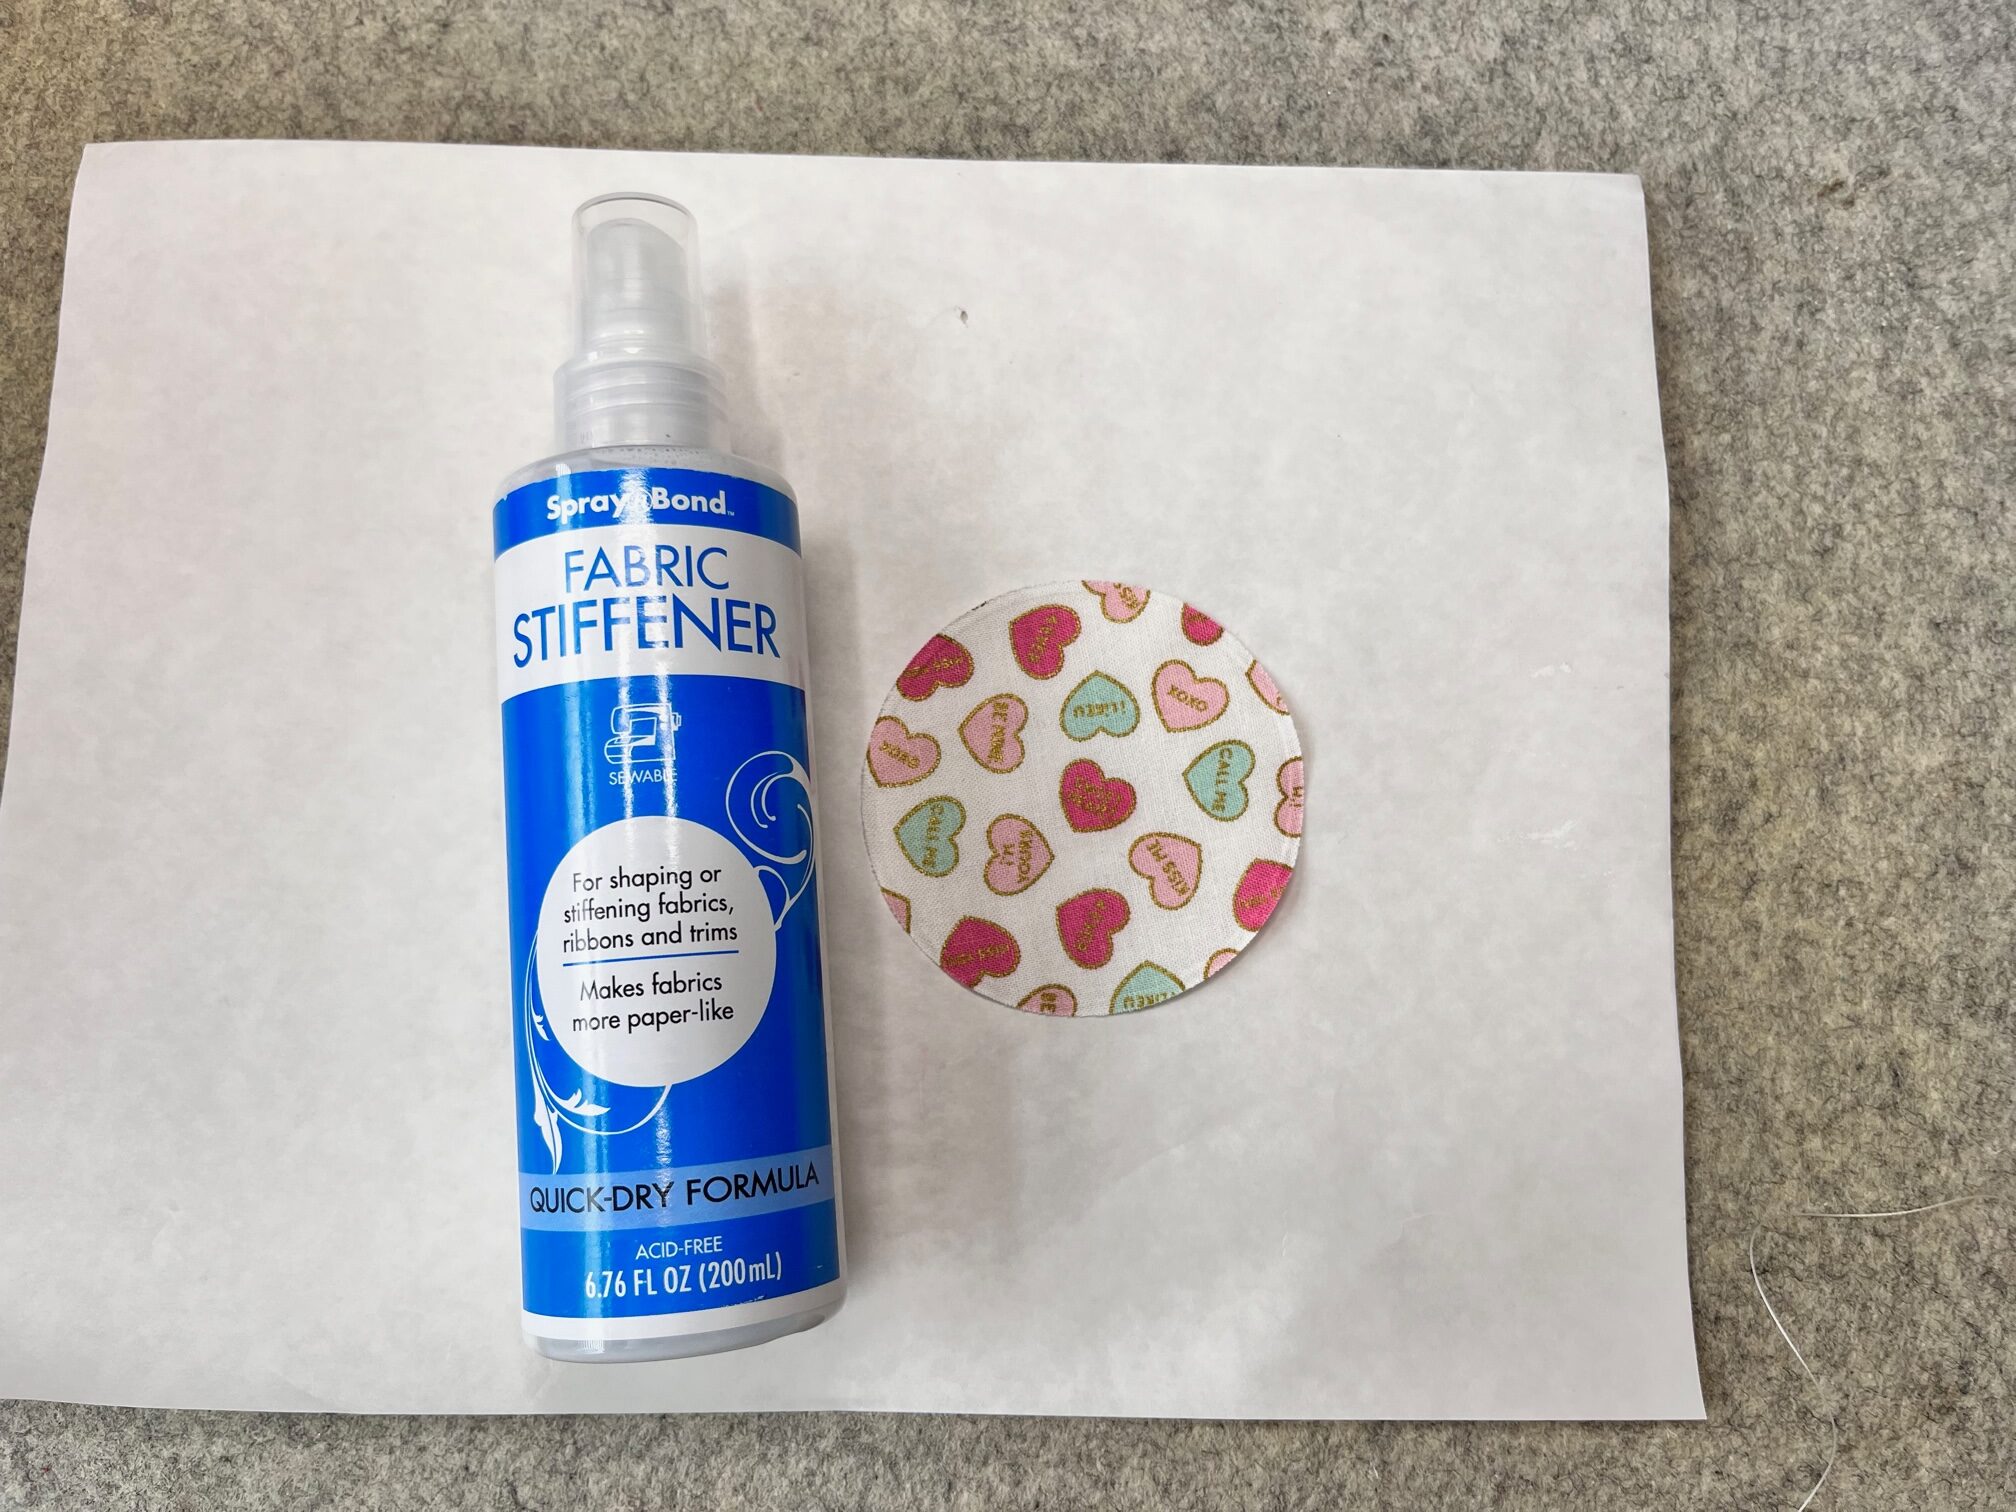
Next…
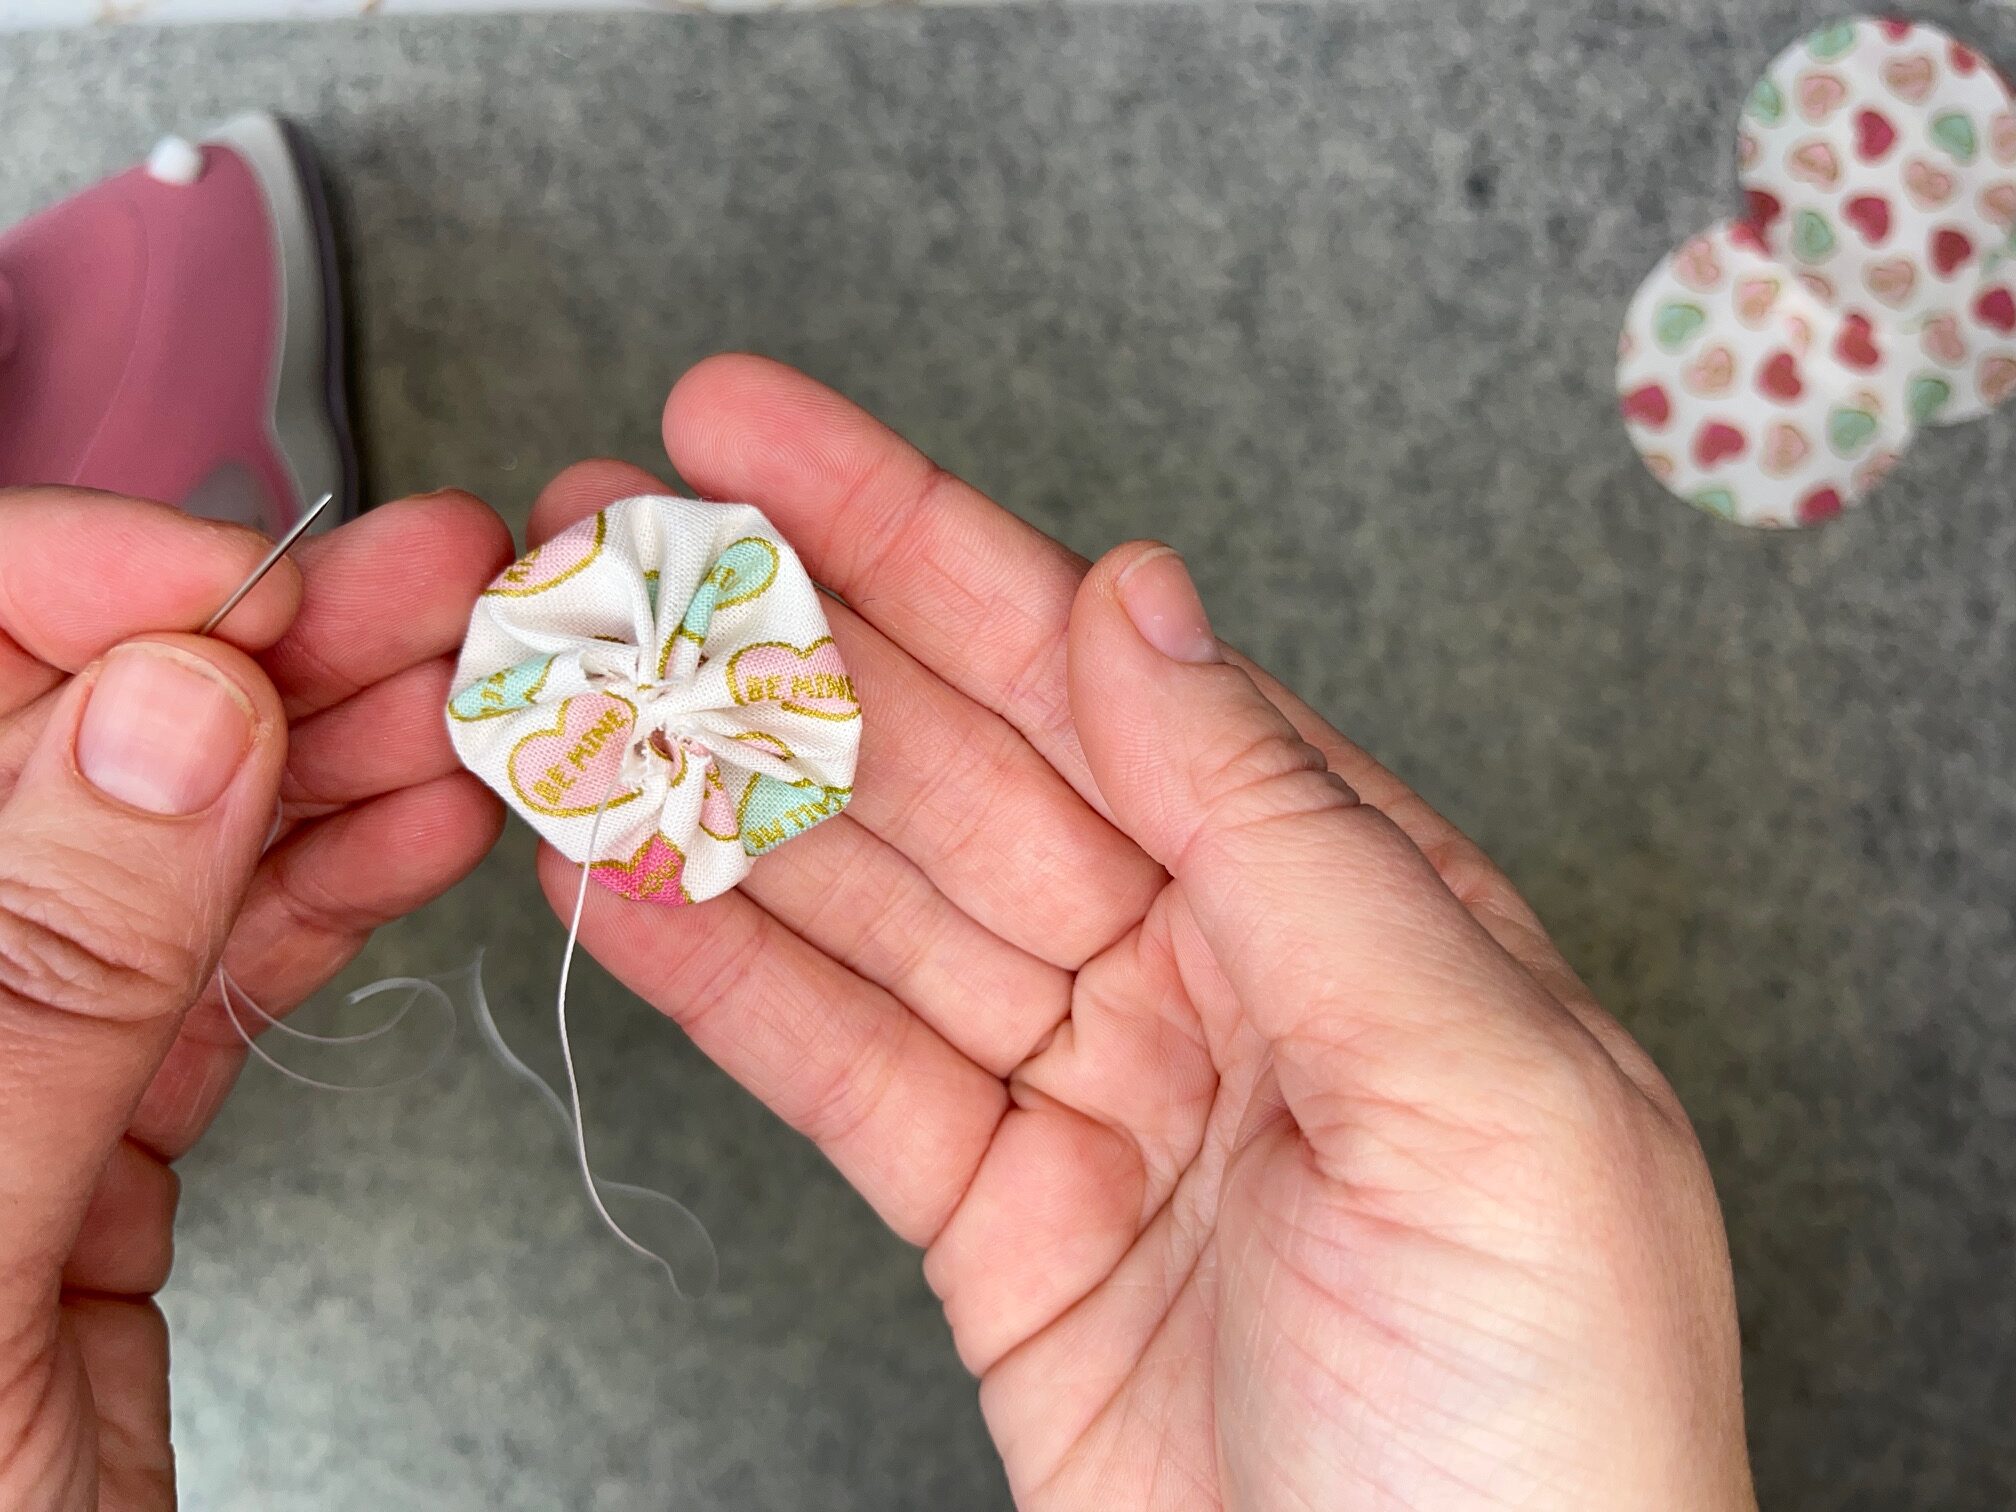
Adhere the small fusible fleece circles to the center of the fabric circles on the wrong side. Using your needle and thread, make a running stich around the entire fabric circle. Finally, pull together and tie off the thread. Make 12 of each color.

Finished!
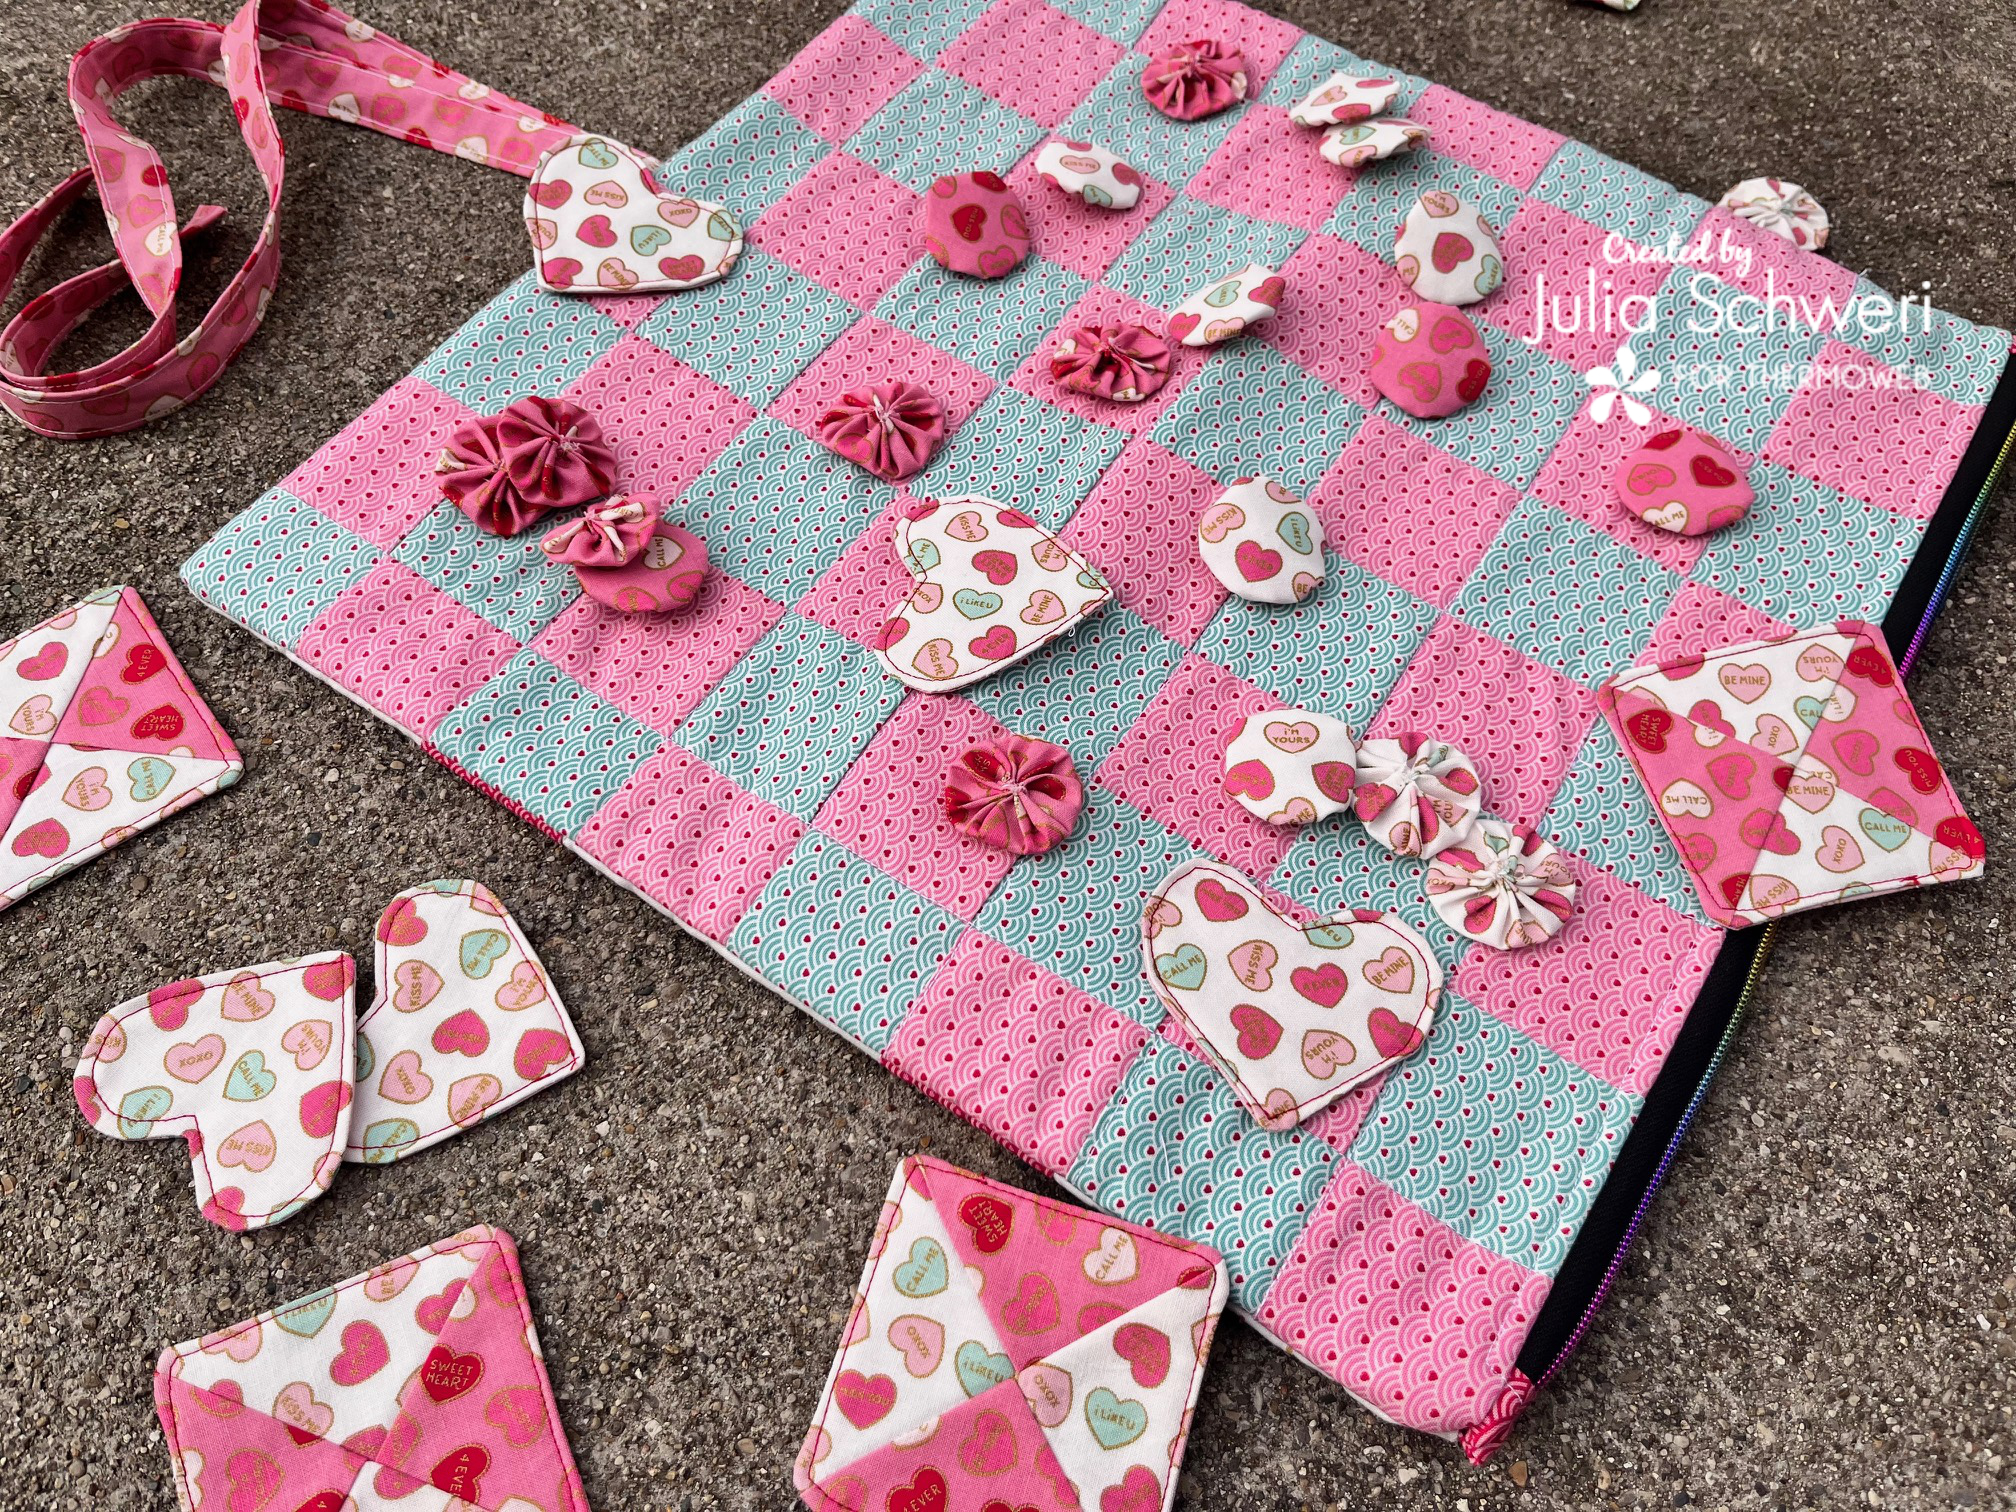
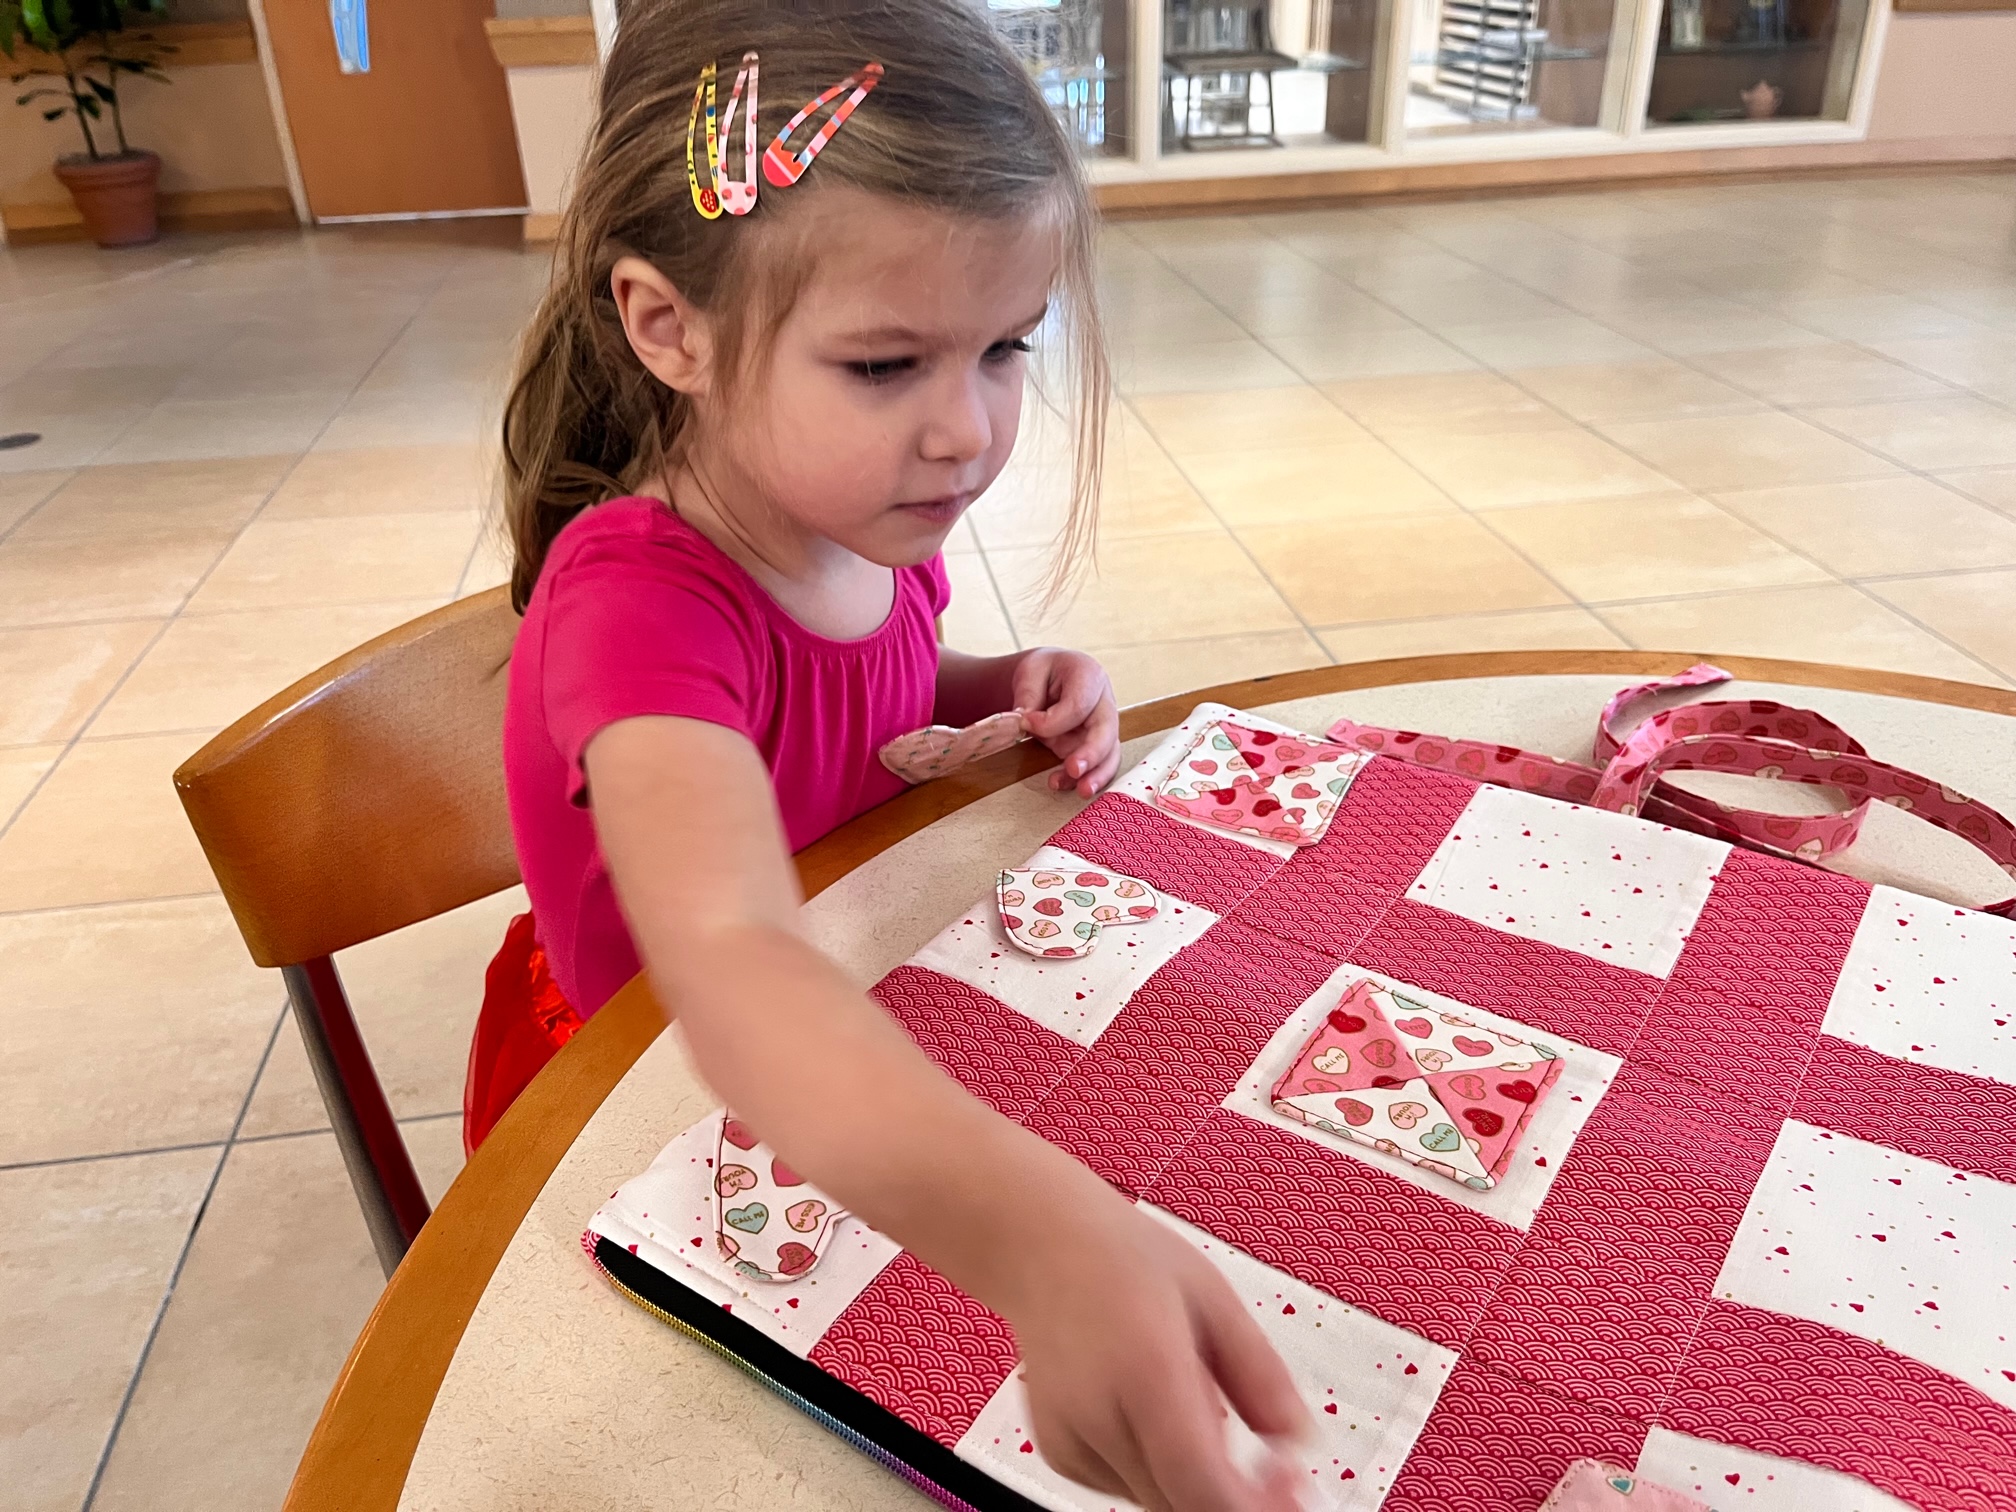
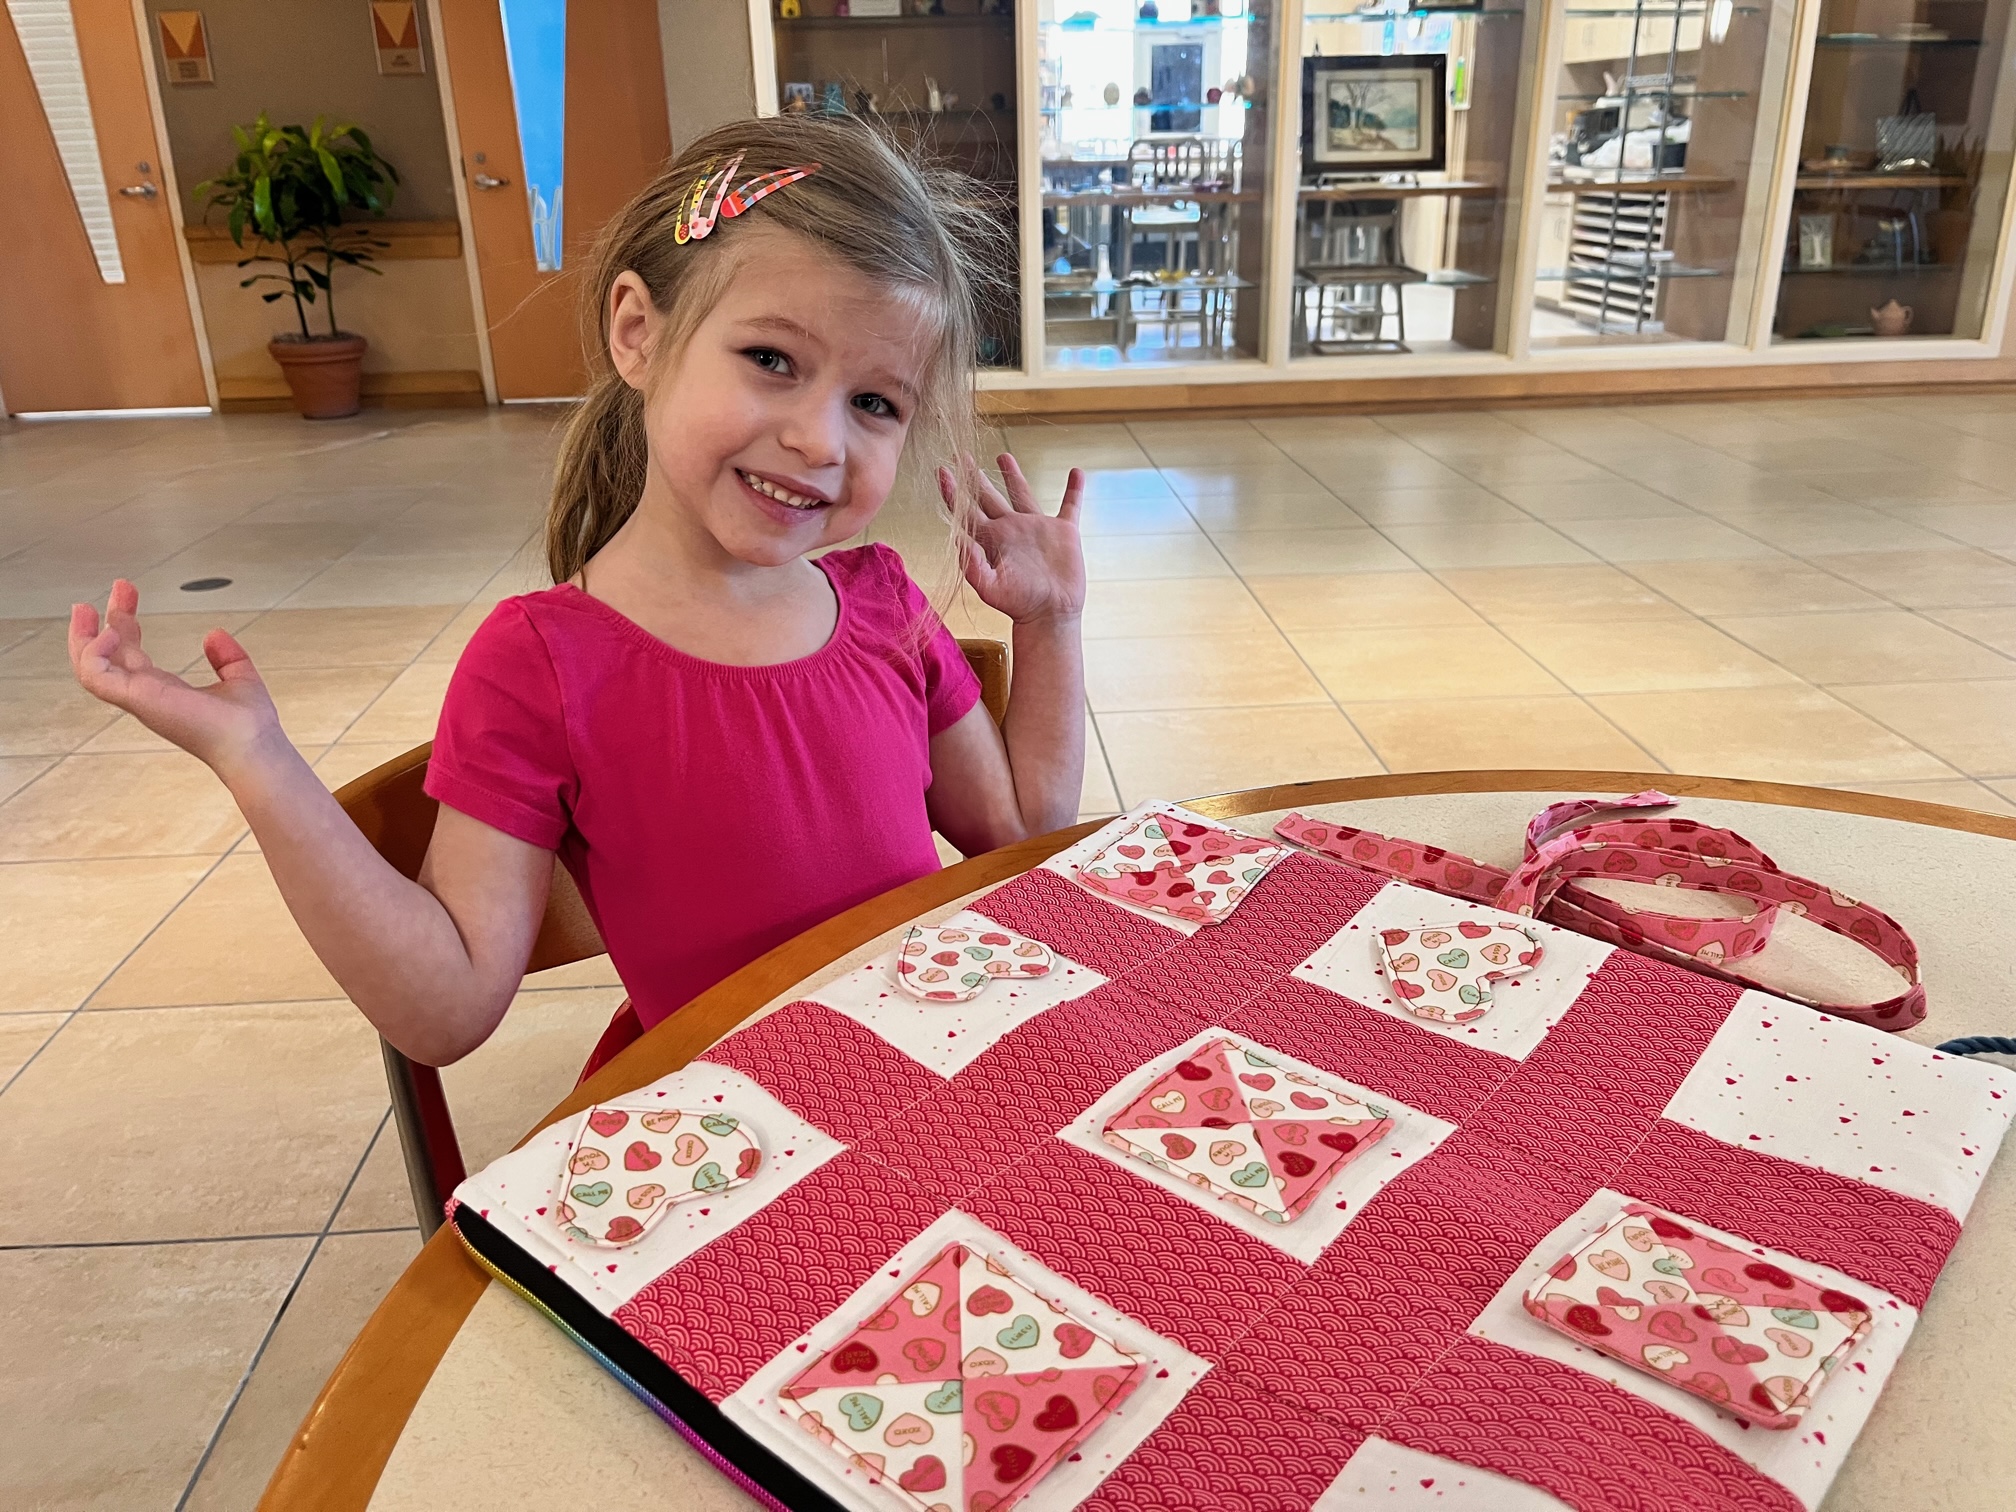
Tic Tac Toe and Checkers Roll-Up Game Mat
Thank you for visiting today! Come back soon to see what else will be starting to bloom with Inflorescence Designs!
Starting to bloom by choosing JOY ~ Julia
[…] travel, Valentine themed Tic-Tack-Toe game is a fun gift to give this […]