
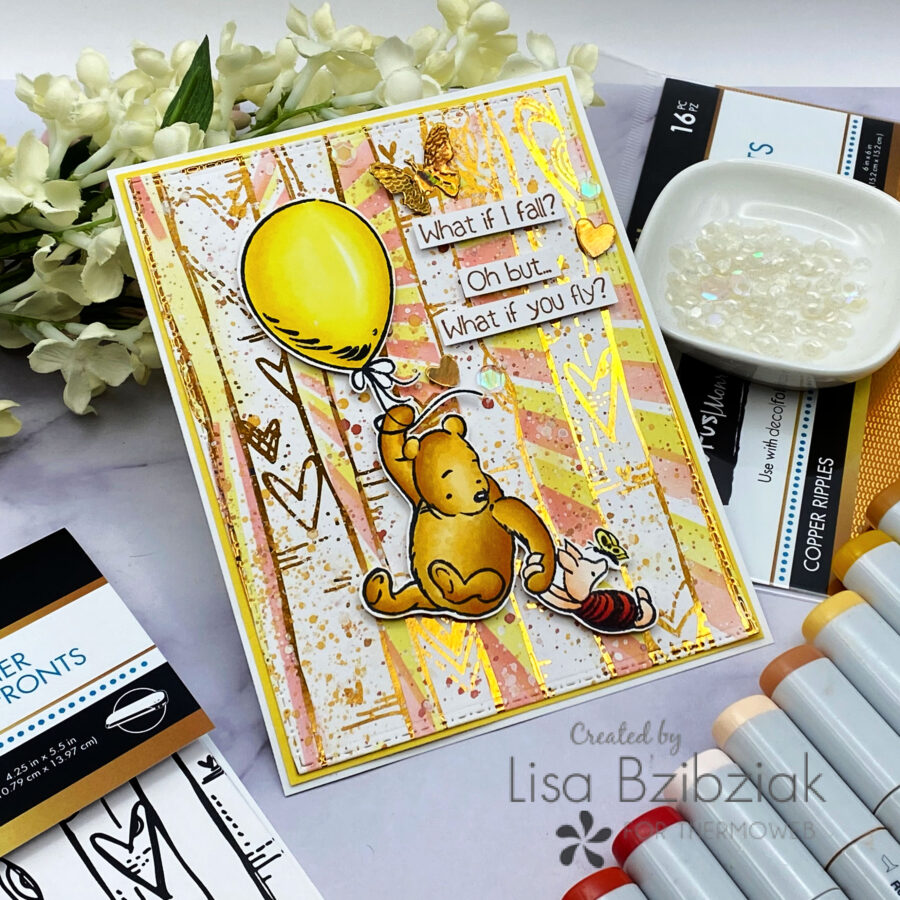
So excited because it’s Unity Week here on the Therm O Web Blog and so I pulled out some stamps I picked up in the Unity shop that I hadn’t had a chance to use yet! Winnie The Pooh has long been one of my favorite pop culture character sets (as seen in my mini album project here!)
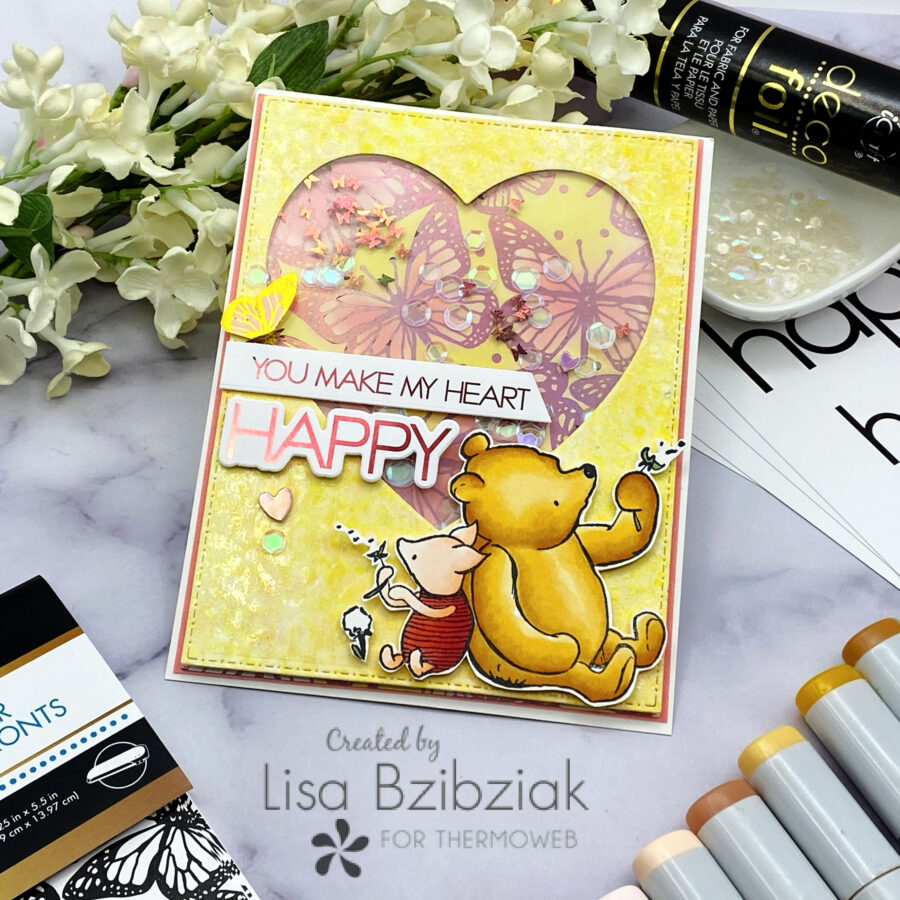
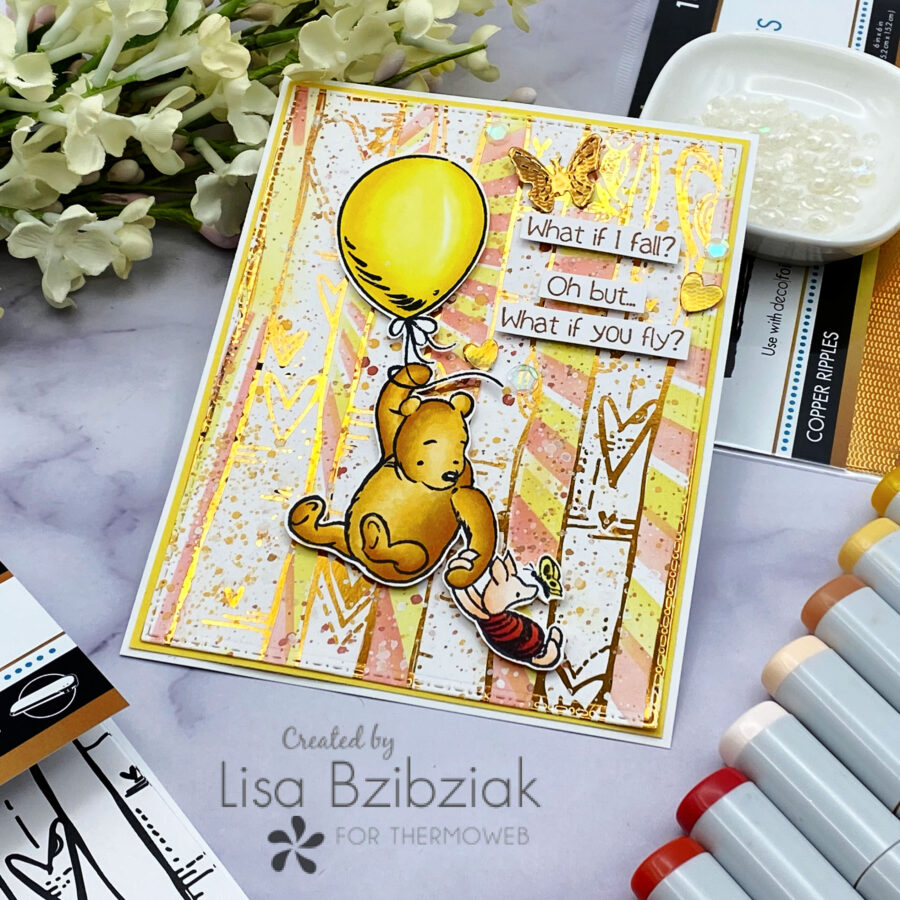
I used a couple of the Winnie The Pooh stamp sets from the Unity shop along with some fabulous and beautiful Unity Toner Card Fronts from the Therm O Web shop along with some beautiful foils and more!
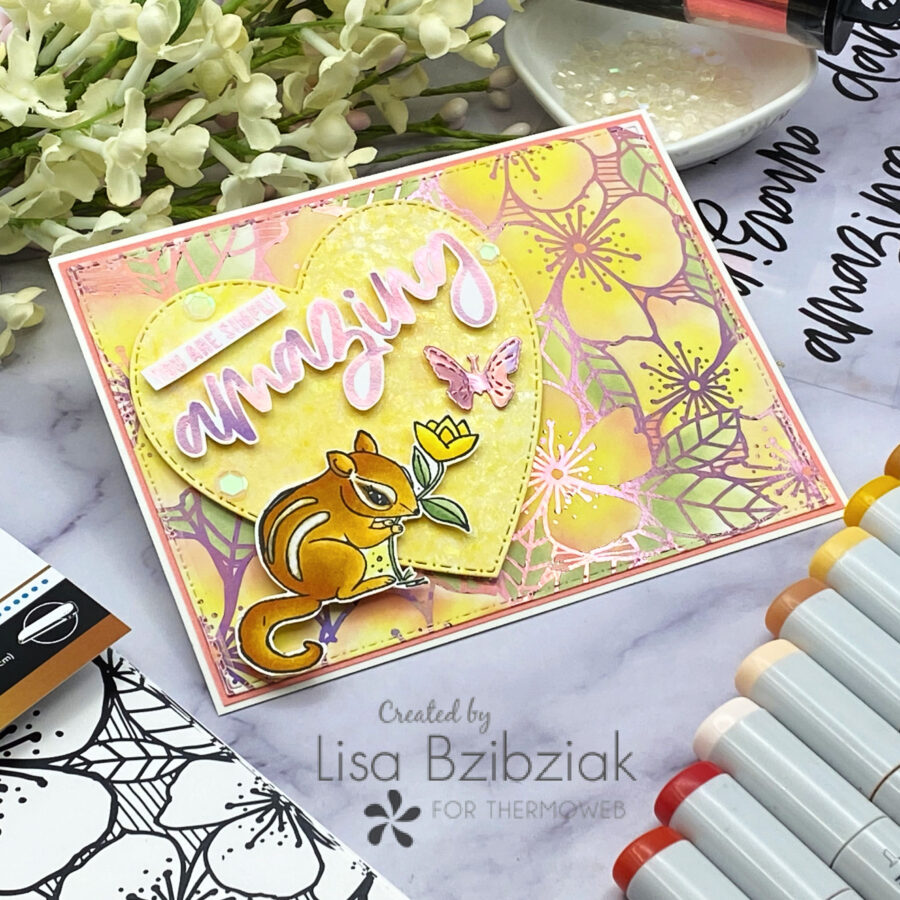
And I also used this cute chipmunk from Unity! Here’s how I made them:
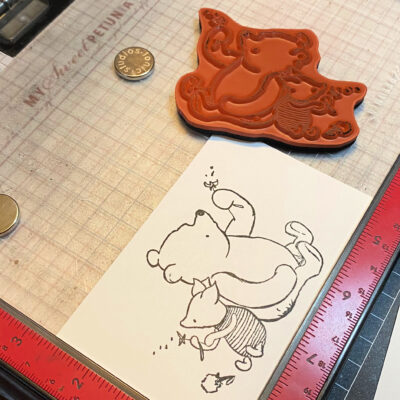
I stamped, cut and colored my images. Did you know you can use your Misti with your foam mounted red rubber stamps by taking out the black foam piece? Easy peasy!
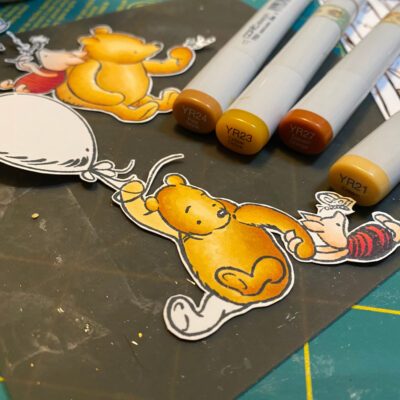
I chose YR21, YR23, YR24 AND YR27 for Winnie The Pooh and R00, R01 and R02 for piglet.
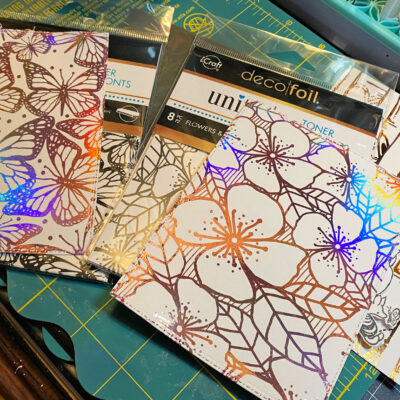
I foiled those beautiful flowers and butterflies in some Enchanted Rose Deco Foil and the birch trees with Copper.
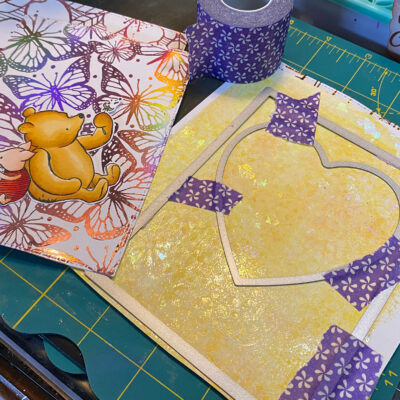
I pulled out a gel print in yellow and a touch of pink and ran it through my laminator with some Magical Shattered Glass. If you’ve visited with me before, you know I love to add foil to my gel prints. It’s the perfect thing for used toner sheets with just a touch of toner left on them. since I loved this gel print with it’s faint daisy print and didn’t want it covered up and the amount of foil that will take on an acrylic paint gel print I used a leftover sheet of the Magical Shattered Glass so it would be pretty no matter how much foil transferred! then I lined up a rectangle and heart die and taped them in place and ran them through the die cutting machine together.
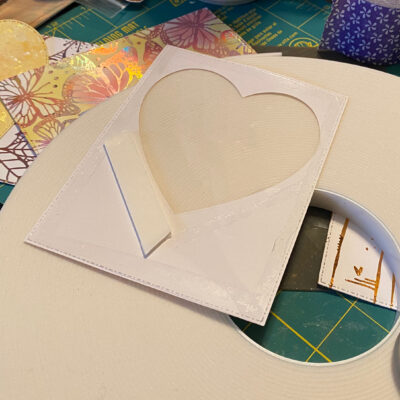
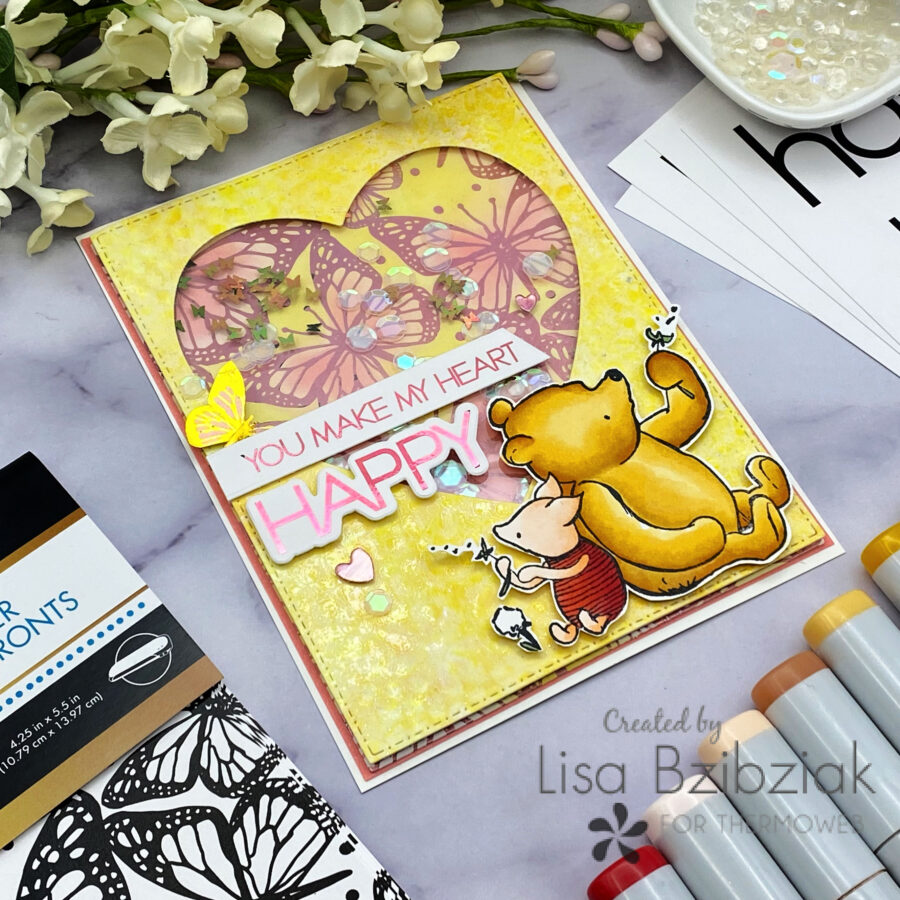
This created a window panel for me. I added a sheet of acetate to the back and then foam…first around the heart window and then to the rest of the panel for structure. I LOVE my foam tape rolls! They are huge and I don’t have to worry about running out mid shaker construction!
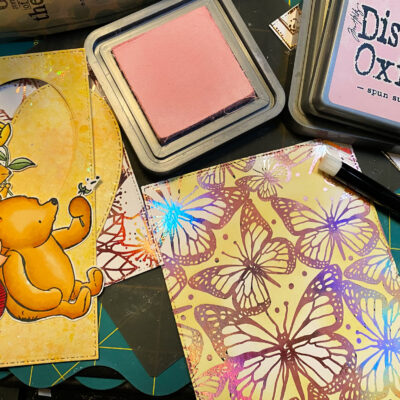
I decided to add some color to my foiled panels. I used tiny detail brushes to color the butterflies with Distress Oxides. I started with yellow for the background but let it overlap onto the butterflies a bit and then added the pink for some pretty blended color variations.
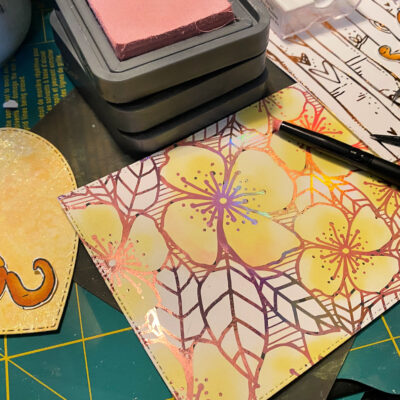
And the same for the flowers… except this time I colored the flowers yellow and added a touch of pink to the flowers and background and then some green for the leaves.
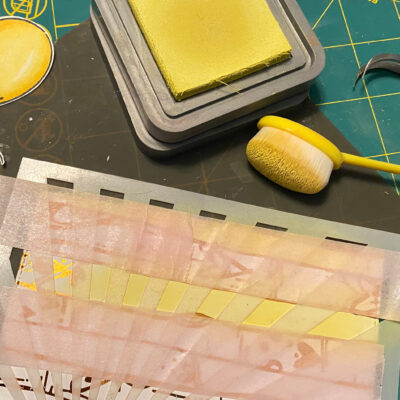
I added sunrays between the trees for the feel of sun shining through them by placing the Sun Burst stencil over the top and then masking off the trees. First with yellow and then I tilted the stencil and added some pink. Then I splattered some Chroma Sprays from Brutus Monroe over the top in some browns and also some white paint. The splatters gave me the feel of the sunlight catching particles in the air.
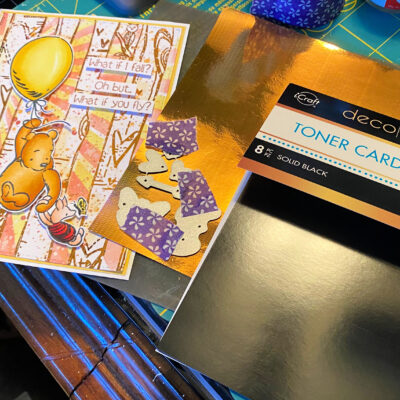
I popped my image up onto the background, stamped and cut out a sentiment from the set into strips and added those. Then I foiled a Toner sheet in Copper foil and die cut some hearts and a butterfly and added some of those.
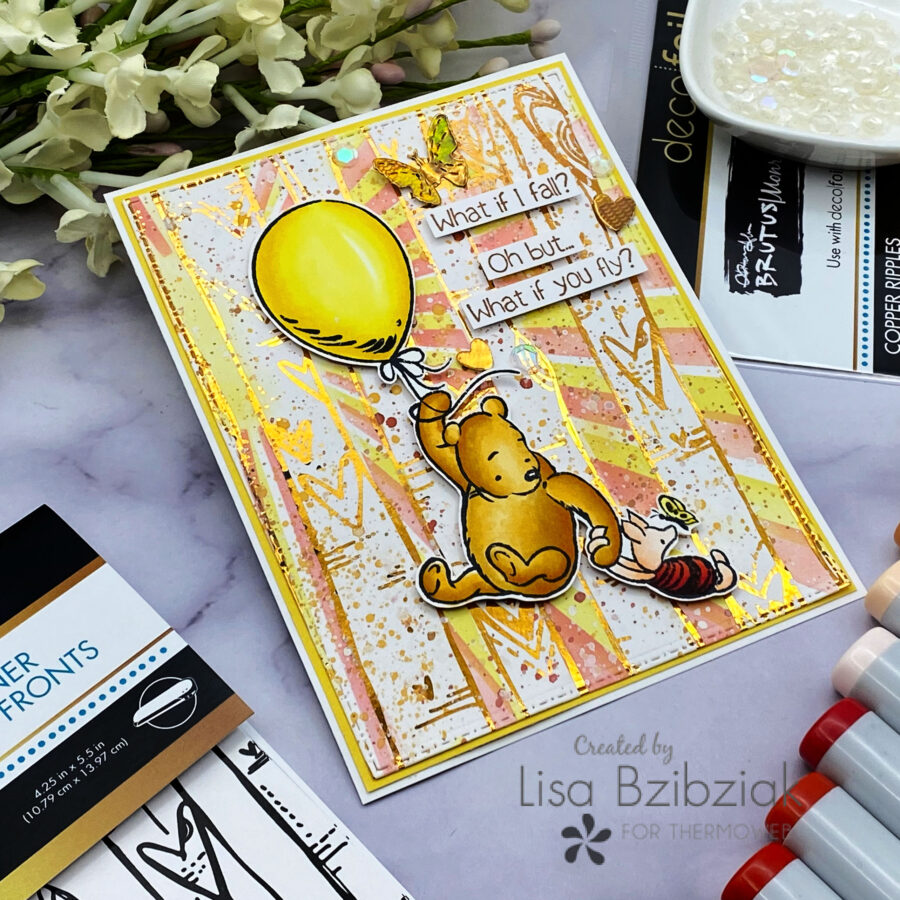
Finally just a few of my favorite sprinkles and I was done. I just love this super sweet image and sentiment! Perfect encouragement for a friend.
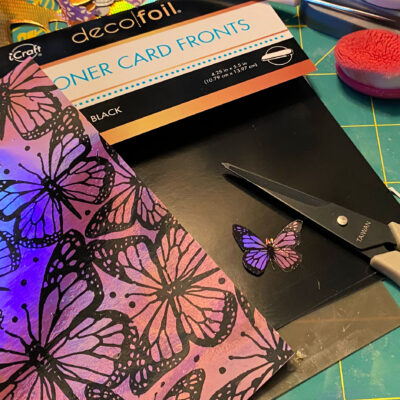
Then for my shaker, I used the leftover foil from my background on another sheet of toner paper and fussy cut the smallest butterfly and then foiled it again in Dandelion to get a little butterfly that matched the colors in the card.
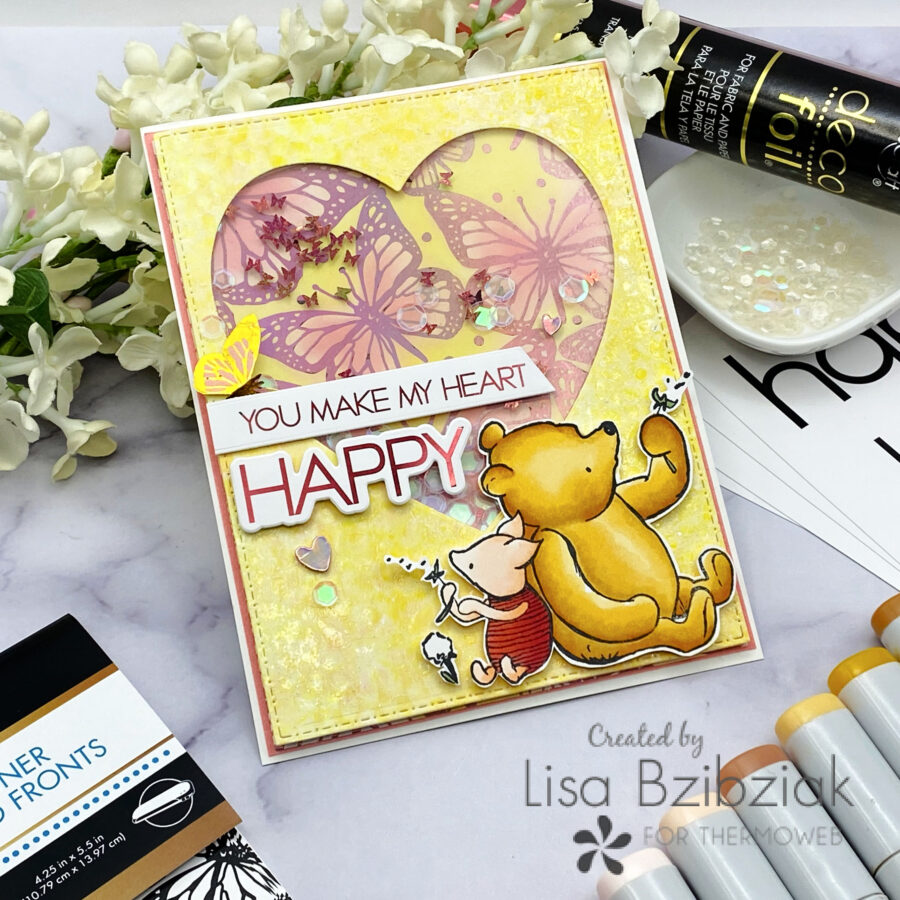
I put together my shaker and filled it with my favorite Soapy Bubbles sequins from Trinity and some butterfly confetti from Miss Ink Stamps. I created a sentiment using the Happy Everything Toner Card Fronts and dies, tucked the butterfly underneath it and added some hearts and sequins.
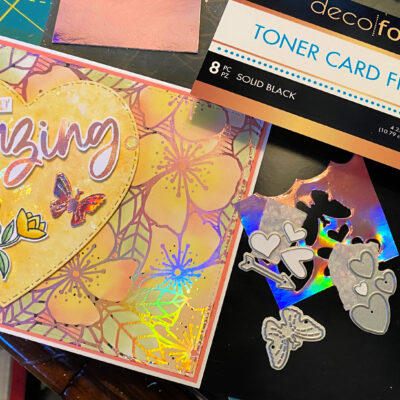
And for the flowers, I foiled a toner sheet with the Enchanted rose and cut some more butterflies and hearts and added those to my project (also used some of the hearts on that shaker).
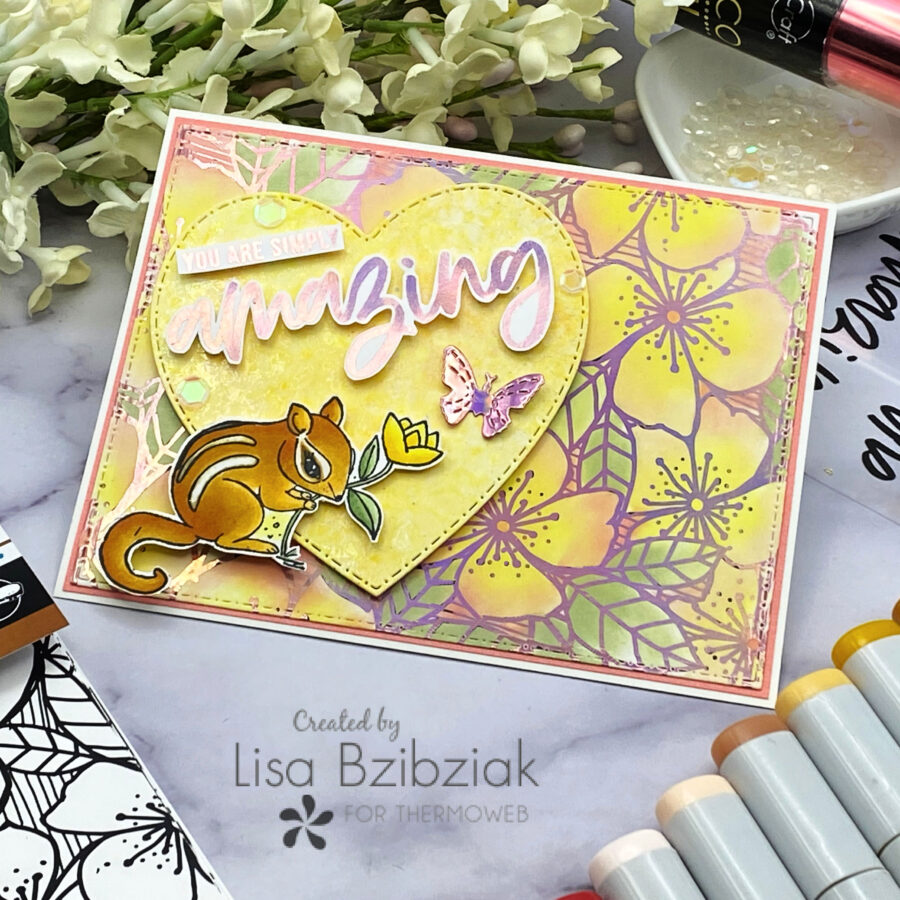
My sentiment is from a Unity adhesive transfer set… also foiled in the enchanted rose. And added my sweet chippy all popped up over the background and the leftover heart that was left when I cut my window for my shaker.
And that’s me for today! Thank you so much for joining me and you will find more Unity Stamp Co inspiration here on the blog all week!
Be sure to come back often! I’ve included links to the products I used for today’s cards below! See you again soon!

https://linkdeli.com/widget.js?id=f5e8378456858c916708

[…] I created a fun background using leftovers from my last bunch of cards here on the blog! The negative sheet from foiling the background for my chipmunk card made a great […]
[…] step-by-step process that Lisa used to design her card be sure to visit the Therm O Web blog – CLICK HERE Are you wondering how to us Toner Card Fronts? Check out this fabulous HOW TO […]
[…] course of that Lisa used to design her card make sure you go to the Therm O Internet weblog – CLICK HEREAre you questioning the way to us Toner Card Fronts? Try this fabulous HOW TO […]
[…] of that Lisa used to design her card you should definitely go to the Therm O Internet weblog – CLICK HEREAre you questioning how one can us Toner Card Fronts? Try this fabulous HOW TO […]