I love ice cream, preferably chocolate ice cream with lots of fudge on top, and there’s no better time to have some than during the warm temperatures of summer. The tricky part is reaching the bottom of the cone before the ice cream drips all over the front of my shirt, especially when the temperatures where I live reach well over 110 degrees. My sweet pups like that hot weather and never complain if they get a drop or two of the melted sweetness.
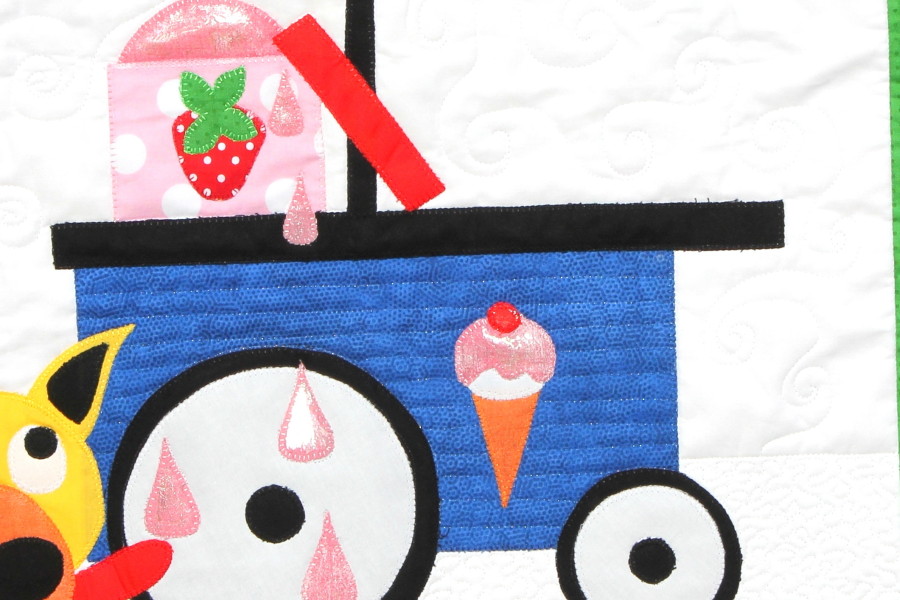
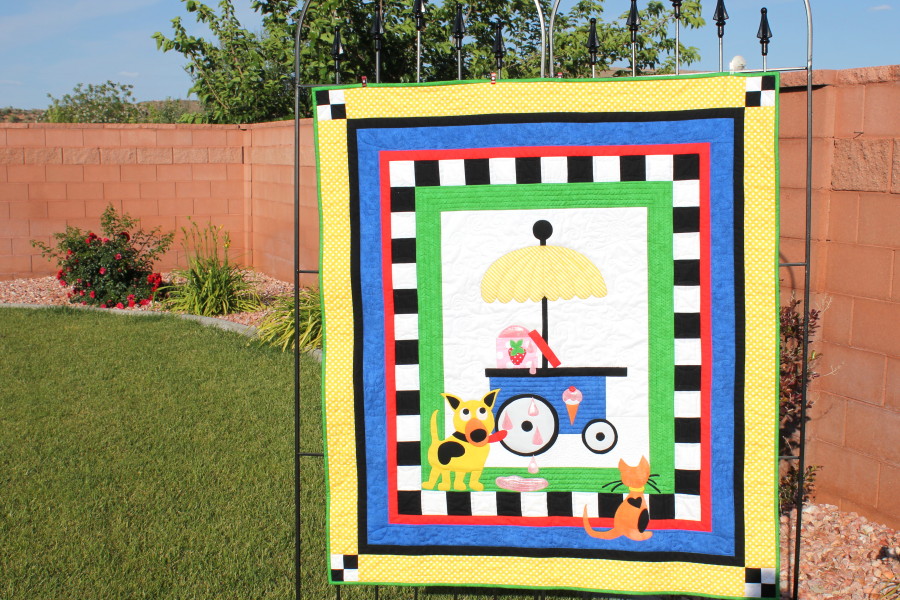
My Summer Treats quilt was a joy to create with melting ice cream and two of my favorite kinds of critters, a dog and a cat. Painting on iCraft Deco Foil Liquid Adhesive and ironing Opal iCraft Deco Foil over the “strawberry ice cream” gave it the shimmery look of melting ice cream. I love that and hope you will, too!
Summer Quilt
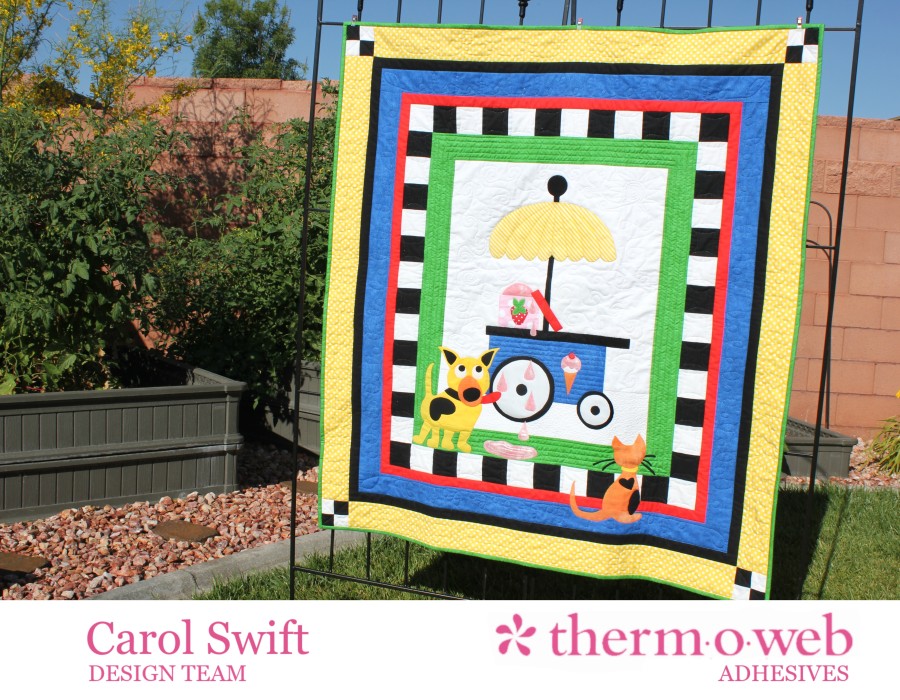
SUMMER TREATS by Carol Swift, Just Let Me Quilt, finished size: 45” x 50”
What you’ll need:
Therm O Web Heat N Bond® EZ Print Lite sheets, 8½” x 11”
Heat N Bond® Fusible Interfacing – Light Weight
iCraft® Deco Foil™ Liquid Adhesive
Summer Treats PDF pattern from Just Carol’s Etsy store found HERE
Iron, Fabric, Batting
Fabric Requirements, patterns, and cutting Instructions: Refer to Summer Treats downloadable PDF pattern
Sewing Instructions: Directions are given showing fabrics from quilt shown above. Replace pattern designs and colors with your choice of fabrics. All seams are sewn at 1/4” wide.
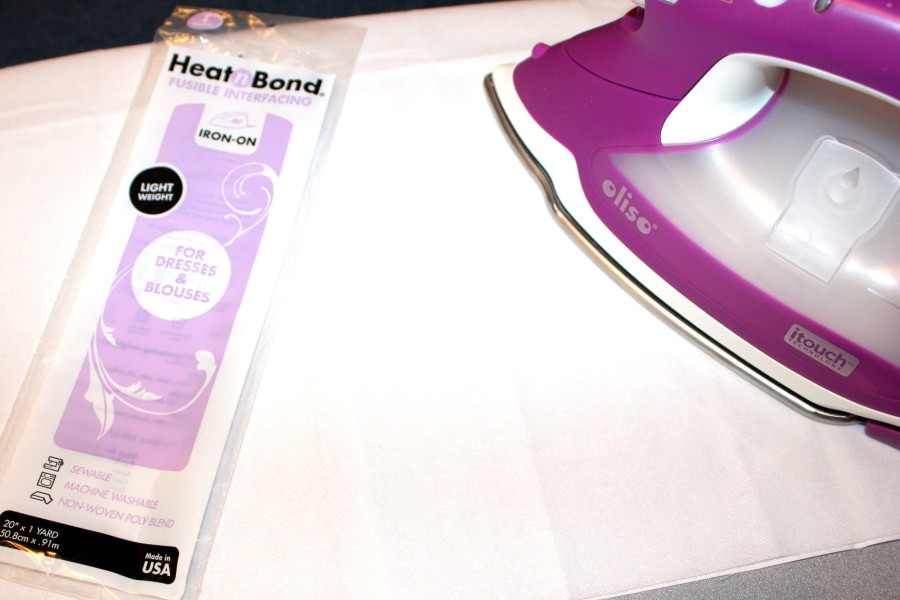
Step 1: Iron Heat N Bond® Fusible Interfacing-Light Weight to back of 20½” x 25½” fabric rectangle following manufacturer’s directions. This stabilizes the fabric when sewing on applique pieces, keeps threads from showing through, and helps maintain fabric size.
Fabric Applique Instructions: Using your inkjet printer, print out applique pattern pieces with Heat N Bond® EZ Print Lite sheets, or trace designs on iron-on adhesive of your choice. Tape pattern pieces together if needed. Follow the manufacturer’s directions to iron adhesive pieces to wrong sides of desired fabrics. Let cool. Cut out applique pieces. Iron pieces to right side of fabric following manufacturer’s directions. Blanket stitch or zigzag around all pieces.
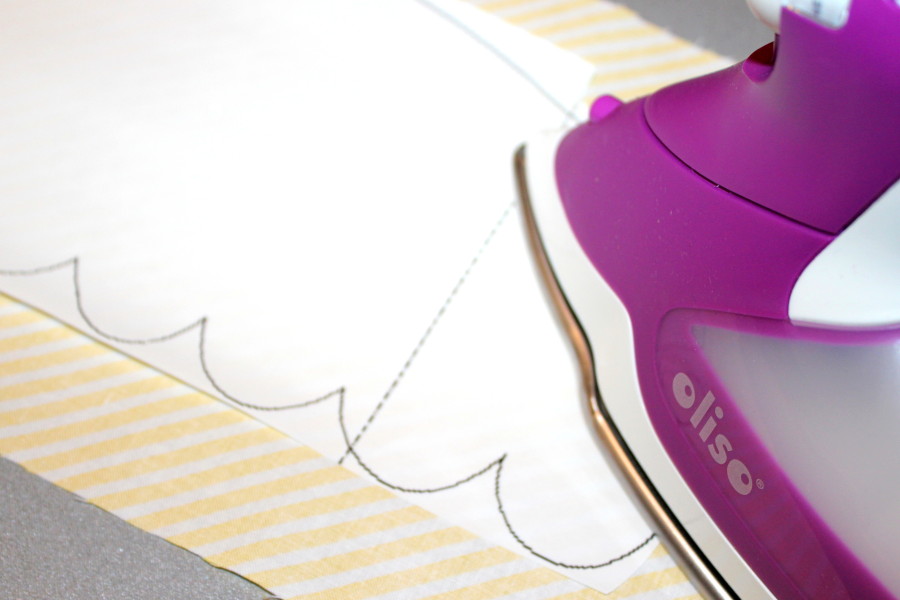
Applique the Summer Treats cart and ice cream to center 20½” x 25½” fabric rectangle.
®
Step 2: With right sides together, sew 2 – 3” x 25 ½” borders to left and right sides of center rectangle. Press seams towards border. Next, with right sides together, sew 3” x 25 ½” borders to top and bottom of the center rectangle. Press seams towards border.
Step 3: With right sides together, sew 3” squares in rows as shown on pattern. Press seams towards the black fabric.
Step 4: With right sides together, sew a black and white squares row to the left and right of green borders as shown below. Press seams towards block border. Next, with right sides together sew a black-white squares row to top and bottom. Match corner seams. Press seams towards block border.
Step 5: With right sides together, sew 1½” x 35½” red border strips to left and right of black and white blocks. Press seams towards the red border. Next, with right sides together sew 1½” x 32½” border strips to top and bottom. Match corner seams. Press seams towards the red border.
Step 6: With right sides together, sew 2¾” x 37½” blue border strips to left and right of red borders. Press seams towards blue borders. Next, with right sides together sew 2¾” x 37” blue border strips to top and bottom. Match corner seams. Press seams towards blue borders.
Step 7: With right sides together, sew 1½” x 42” black border strips to left and right of blue borders. Press seams towards black borders. Next, with right sides together sew 1½” x 39” black border strips to top and bottom. Match corner seams. Press seams towards black borders.
Step 8: With right sides together, sew 8 sets of 2” square blocks together as shown on pattern. Press seams towards black squares.
Step 9: With right sides together, sew 2” block sets together as shown on pattern nesting seams to create a four-square block. Make 4 sets.
Step 10: With right sides together, sew 3½” x 44” yellow border strips to left and right of black borders. Press towards yellow borders.
Step 11: Sew one block set to each end of 3½” x 39” border strips as shown on pattern.
Step 12: With right sides together sew yellow border strips to top and bottom. Match corner seams. Press towards yellow borders.
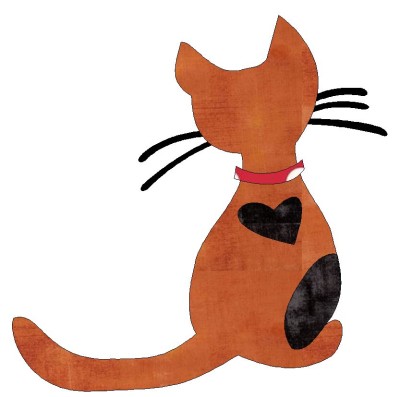
Step 13: Applique dog and cat to quilt top following applique instructions above.
Step 14: Add your choice of batting and attach binding using your favorite method. Quilt as desired.
Time to add Deco Foil! You’ll need a paper plate and brushes, too.
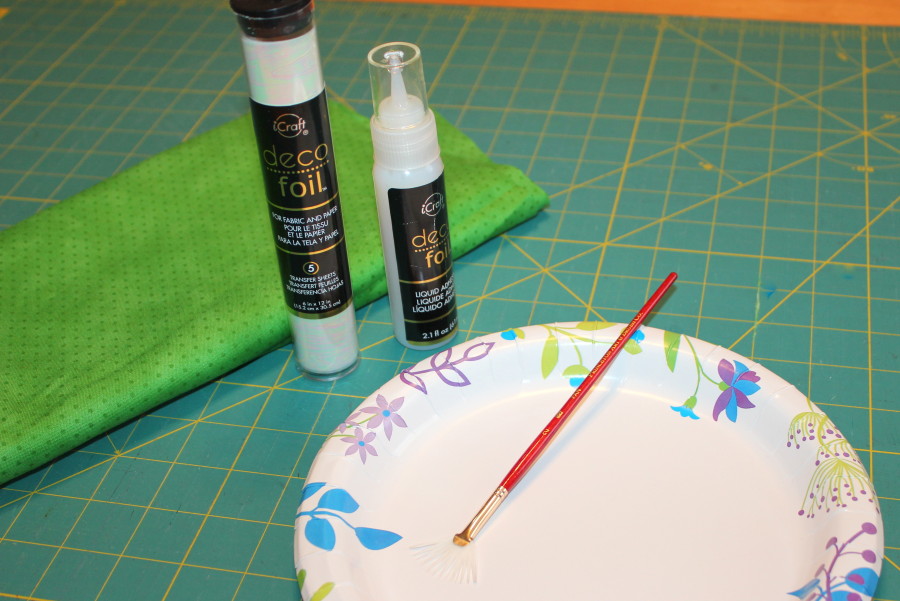
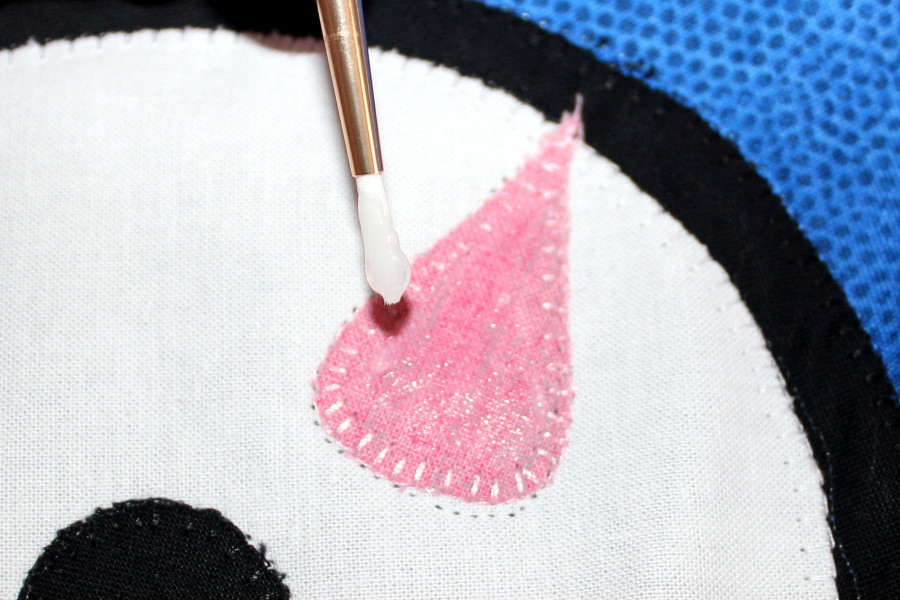
Step 14: Thinly paint iCraft Deco Foil Liquid Adhesive onto pink ice cream areas…drops, cones, etc. Let dry 30 minutes.
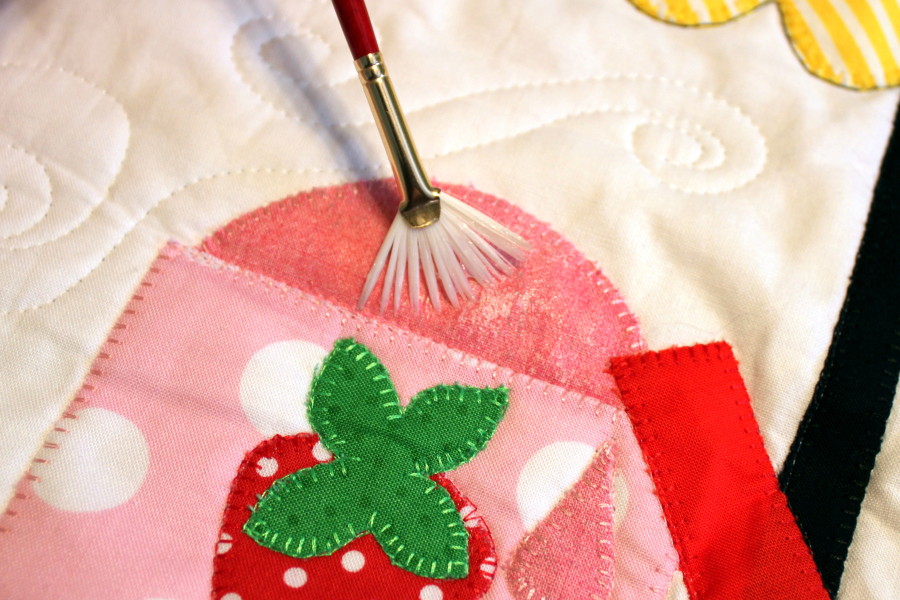
Place the desired color of Deco Foil over each adhesive area. Cover with parchment paper and press for 30 seconds on each piece. Remove parchment paper but DO NOT remove Deco Foil film yet!
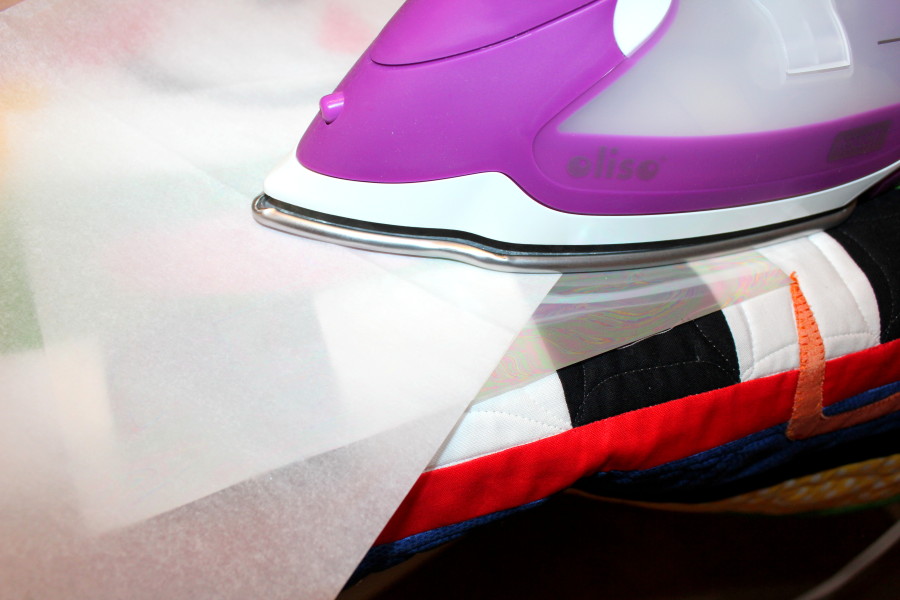
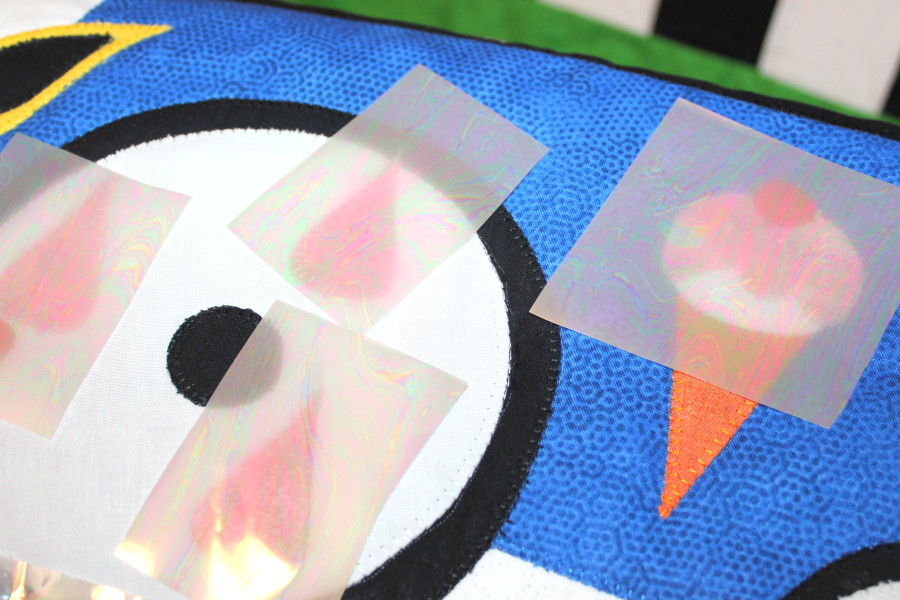
Wait an hour or until completely cool and then rub the area with a soft cloth and remove the film from fabric.
I hope you have a wonderful summer and get to eat lots of ice cream!
