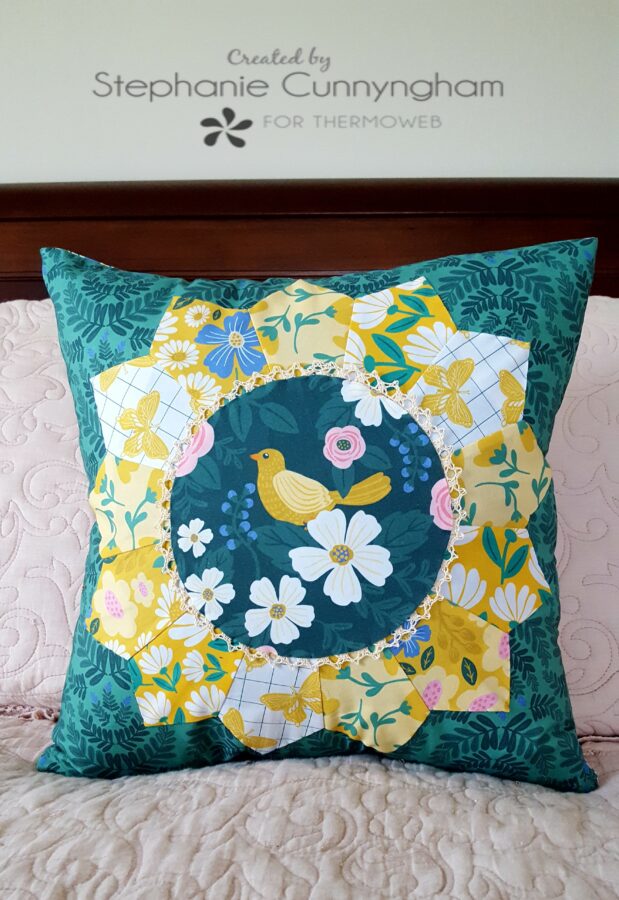
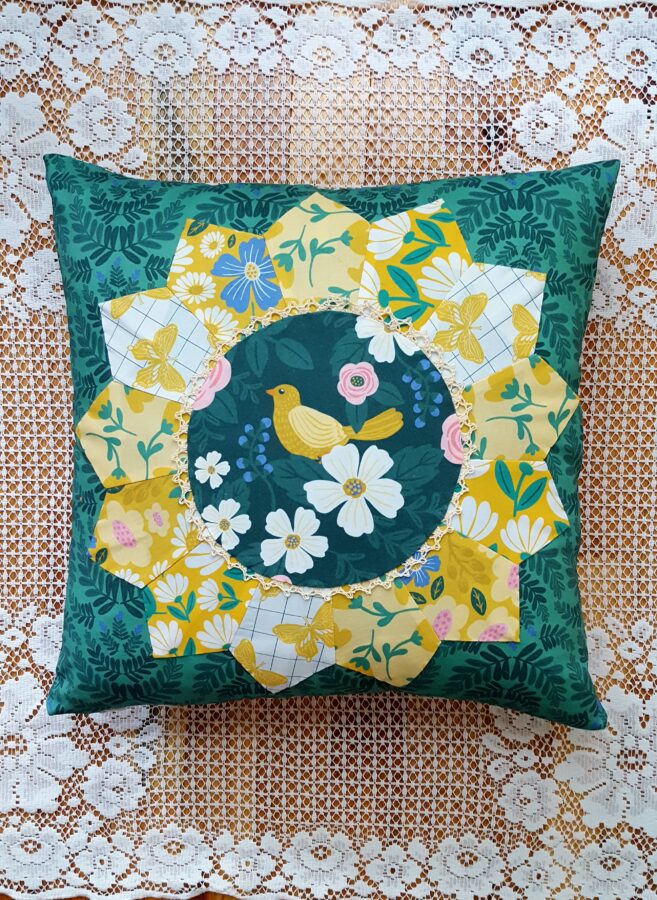
Some of my favorite things about summer include bright flowers, picnics in the backyard, and cool, crisp vintage sheets. When I first saw this fabric, Picnic, by Mabel Tan for Paintbrush Studios, I instantly fell in love because it reminded me of all of those things! The pretty florals, bright colors, summery plaids, and cute birds make me want to go for a walk in the gardens, pick flowers, and take a nap in the shade. I knew I wanted to make a “flower” pillow, and I chose my two favorite colors, yellow and green, to make it. If you want to know how I made this lovely Dresden, keep reading and I’ll tell you how!
Summer Picnic Pillow
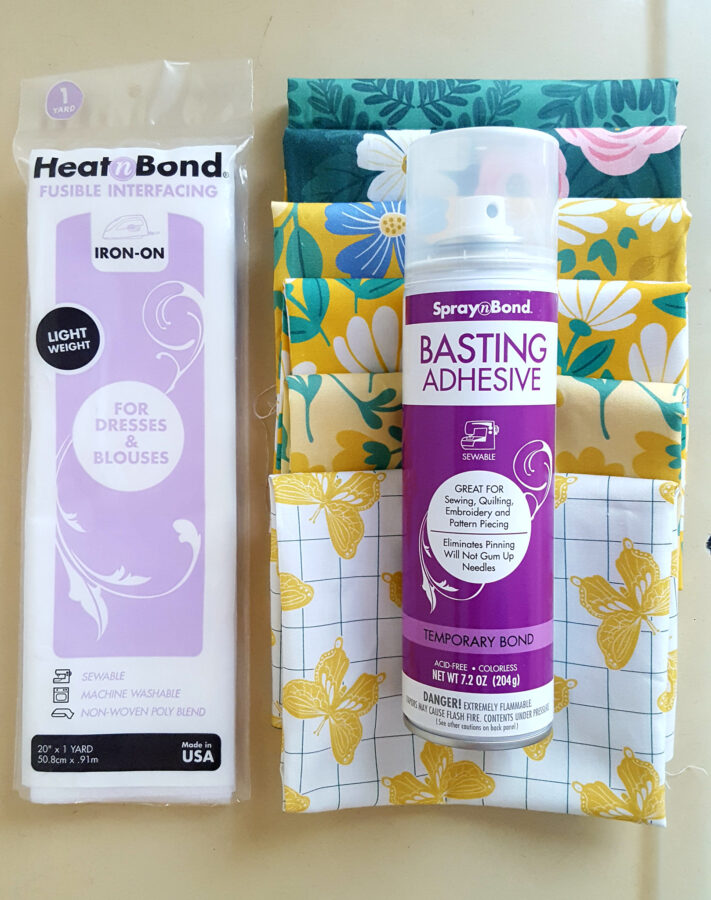
Supplies for Picnic Pillow
- A fat quarter bundle of your favorite fabric. You will use one fat quarter for the main pillow front, one for the back, and the rest for the scrappy petals and Dresden center.
- 1 package of Heat n Bond Lite Fusible Interfacing
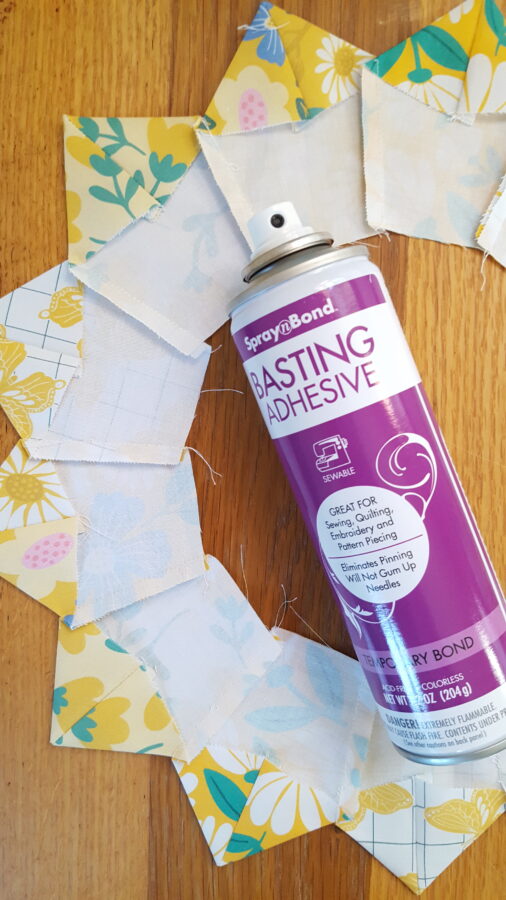
- Spray n Bond Basting Spray
- Optional ribbon for detail around Dresden center
- 20″ zipper if desired to finish the pillow back
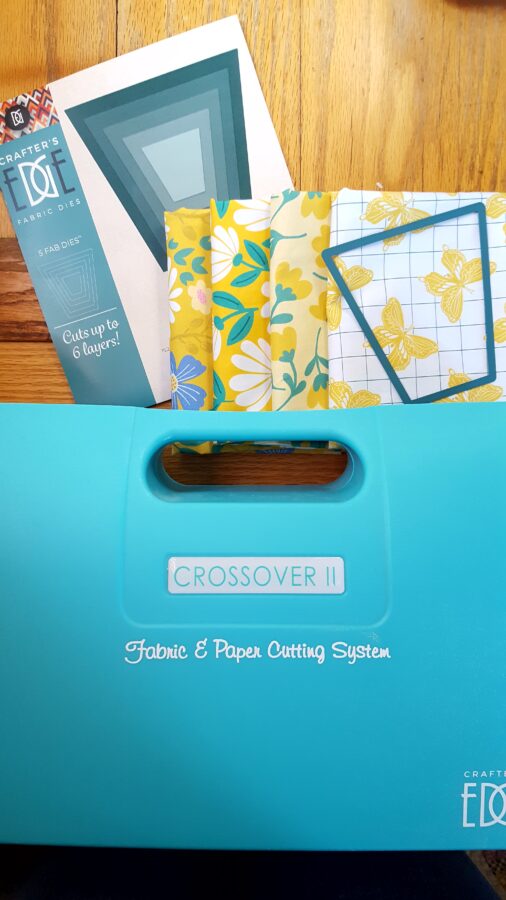
- Tumbler block template or cutting die
- I used the 4″ tumbler block fabric cutting die from Crafter’s Edge
Sewing Instructions
- For the main pillow front, cut one fat quarter into a 16.5″ square
- Make your tumbler block template (if you don’t have one):
- Cut a 4″ square piece of cardboard or heavy paper
- Measure 1″ from the sides and make a mark on the bottom edge
- Draw a line from the corners to the lines to make a tumbler block shape
- Cut along lines

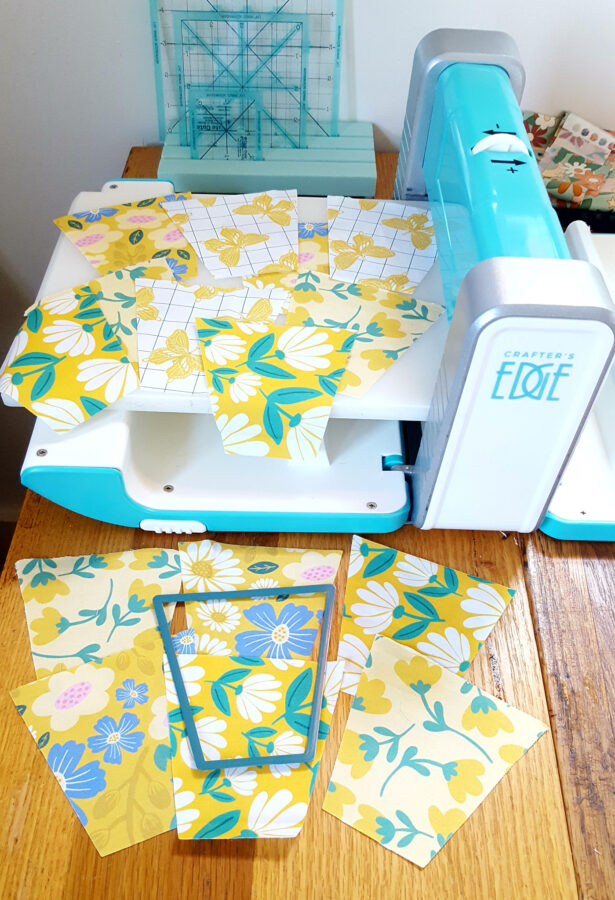
- Cut out 13 tumbler shapes from an assortment of fabrics. I used my Crafter’s Edge fabric cutting system to make this step go faster!
- Fold your tumblers in half and sew along the top (4″) edge
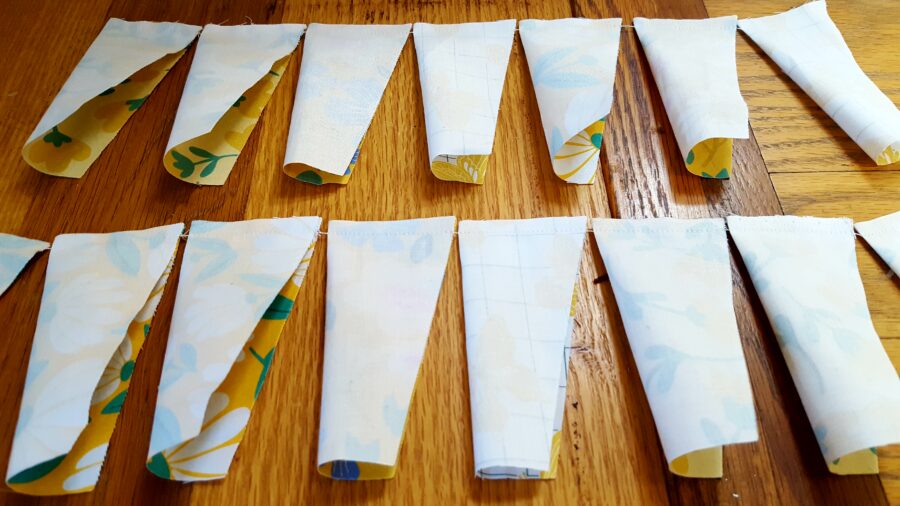
- Turn your blades right side out and press.
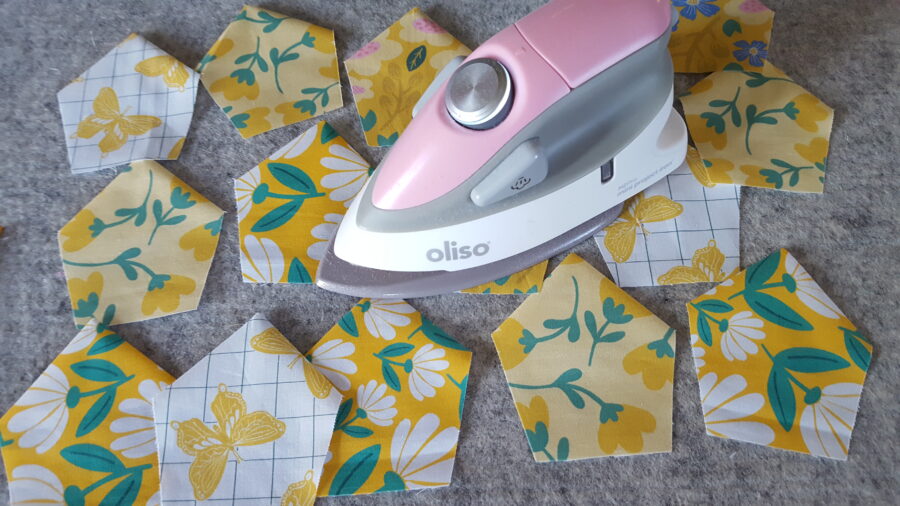
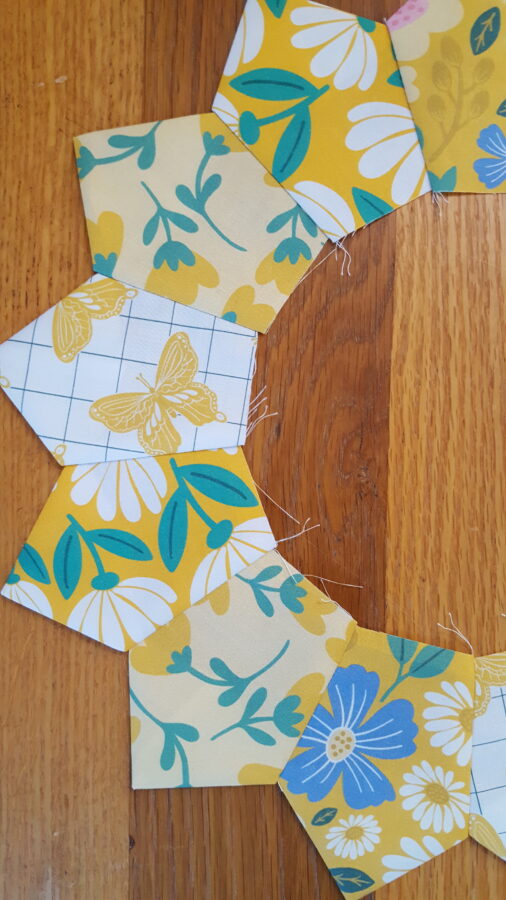
- Sew your 13 blades together to form a circle. Press seams in one direction.
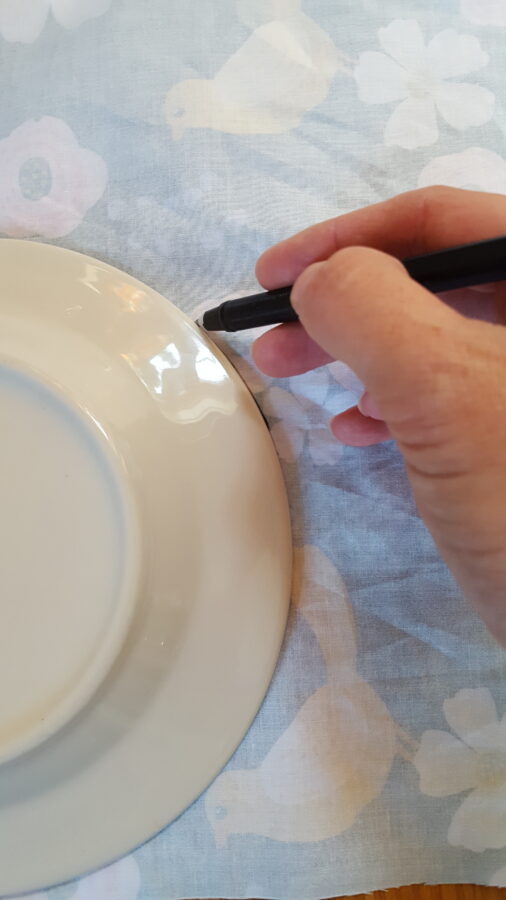
- Measure the width of your circle and add half an inch. Cut a circle shape this size for the center of your flower. (I found a plate the size I needed, so I traced that to give me a perfect circle shape!)
- Cut a piece of interfacing the same size.
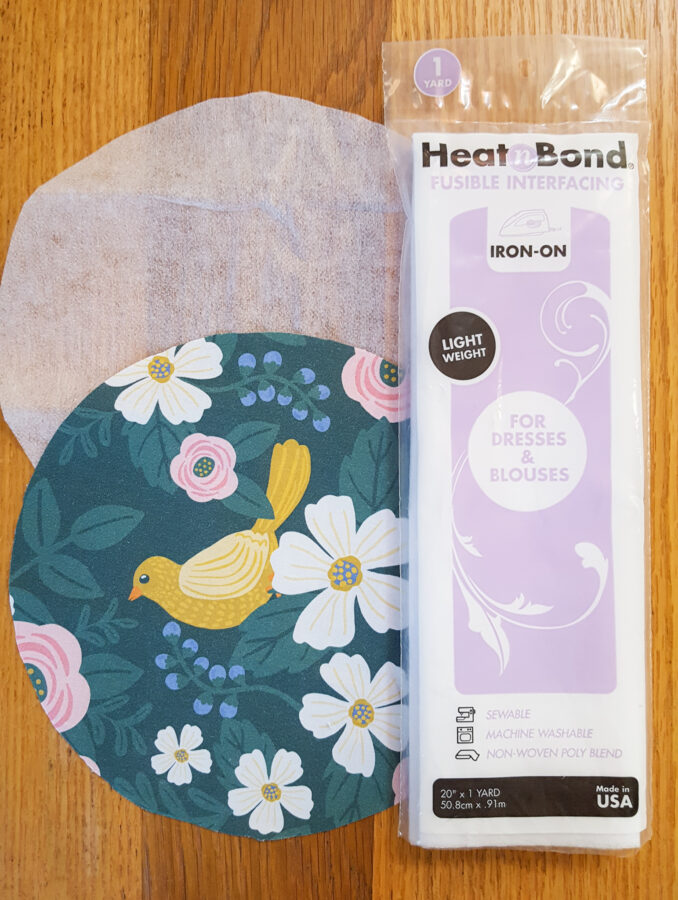
- Sew the two circles together (right side of the fabric to the bumpy side of interfacing). Sew all the way around the circle with a 1/4″ seam allowance.
- Cut a slit in the center of the interfacing…
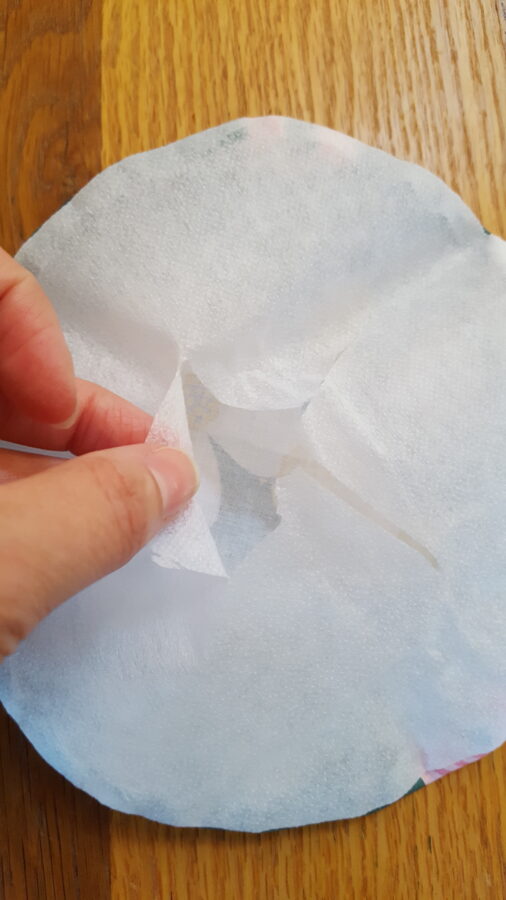
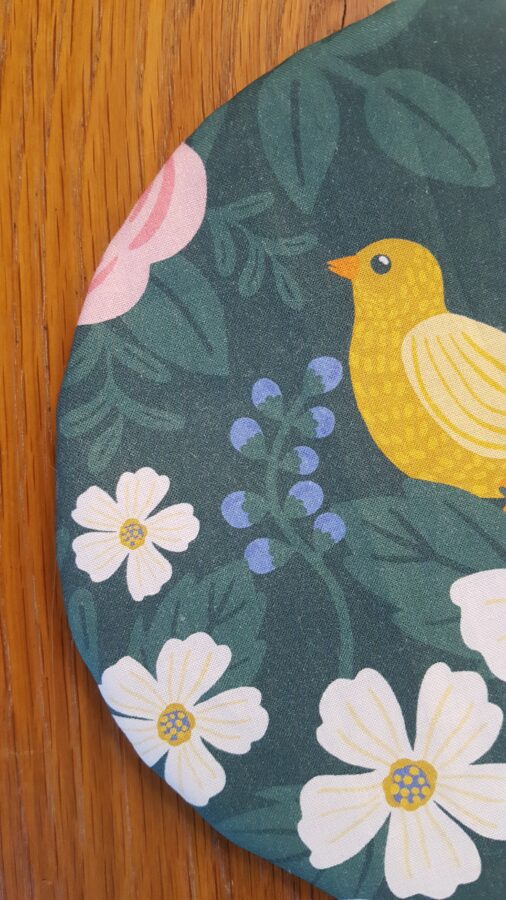
- …and turn the circle right side out through the opening.
- Spray the wrong side of the Dresden flower with the Spray n Bond basting spray and center it on the 16.5″ background square.
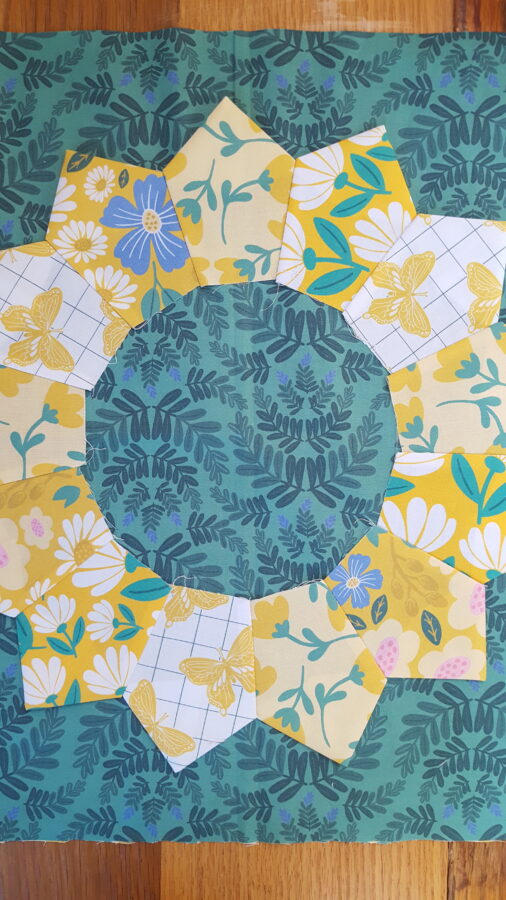
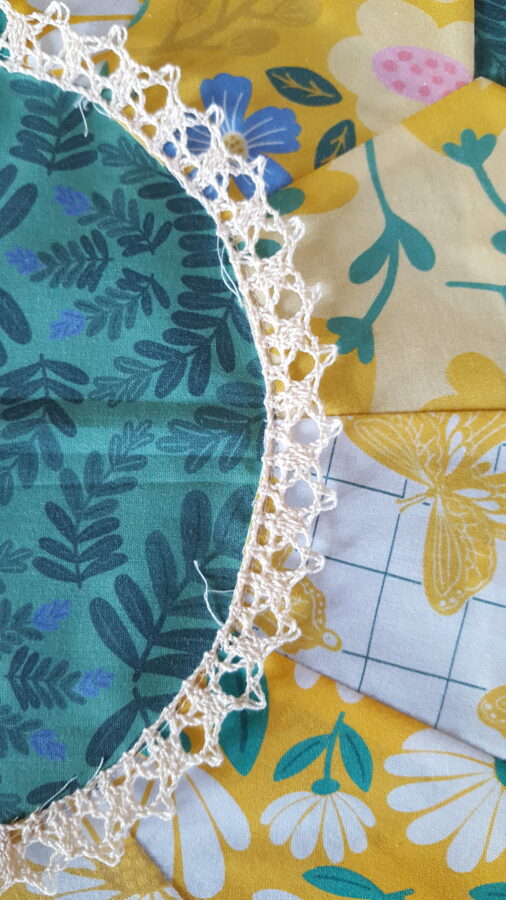
- If desired, sew lace edging around the inner edge of the Dresden circle.
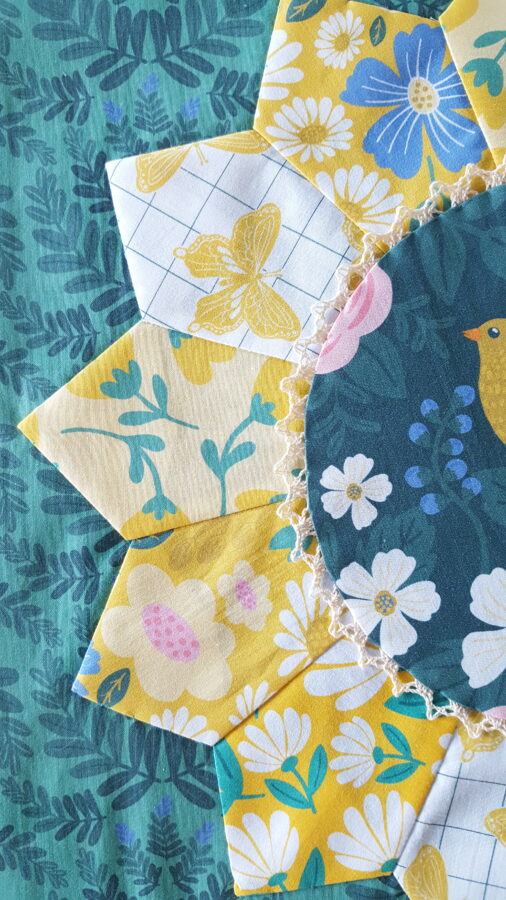
- Place the Dresden center circle in the middle of the Dresden flower and fuse in place. Hand sews around edges to secure. Hand sews around the Dresden flower to secure that as well.
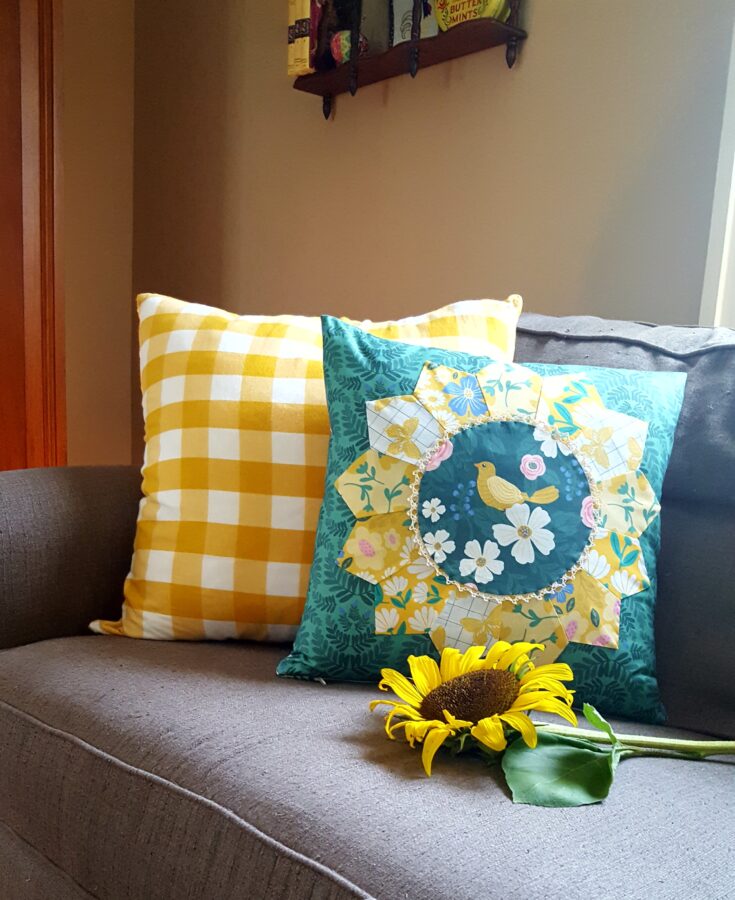
- Turn your flower into a mini quilt or a pillow. If making a pillow, complete your pillow using your favorite method (envelope back, zipper closure, etc.)
- NOTE: Since the back of my pillow front is a solid piece of fabric, I did not line it or quilt it. However, if you want to quilt it, you will need a 17.5″ piece of batting and an 18.5″ piece of lining fabric.
I just love how it turned out! It looks perfect on my couch with my other yellow pillow. It’s the perfect project for summer!
Thanks for sewing along with me!
-Stephanie-
