


Hey fellow crafty friends!
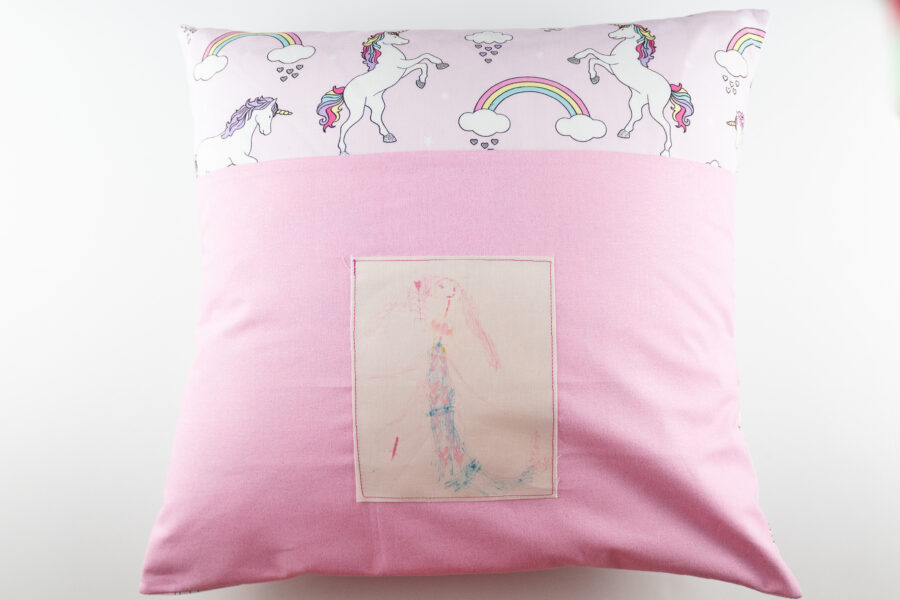
Gail here from Sunflower Seams Pattern Co. Today I am sharing with you an extra special project. Why is it extra special? Because I was able to memorialize my children’s artwork onto this project! How fun is that?
Artwork Pillow with HeatnBond
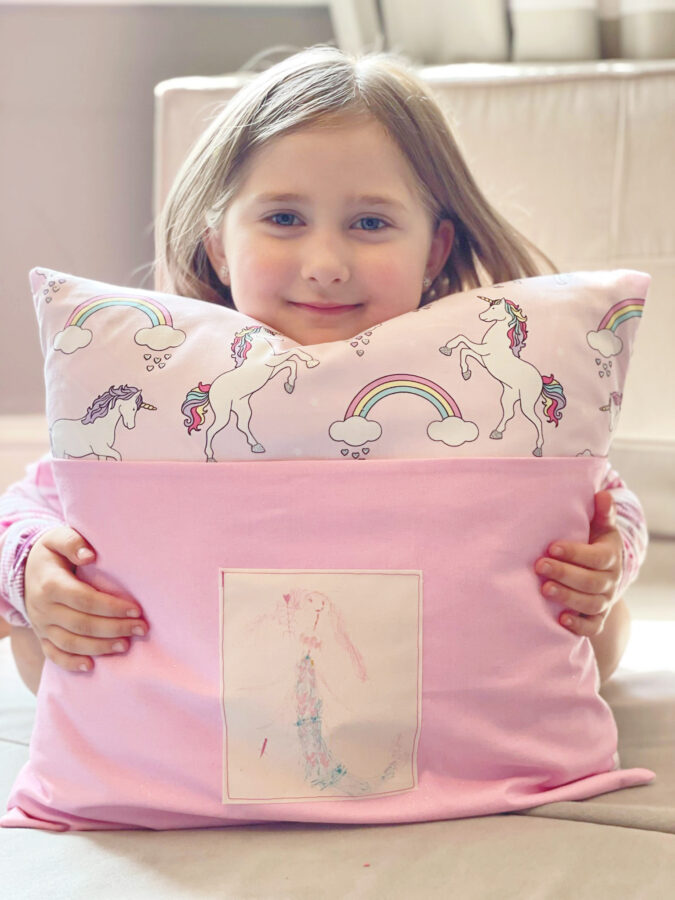
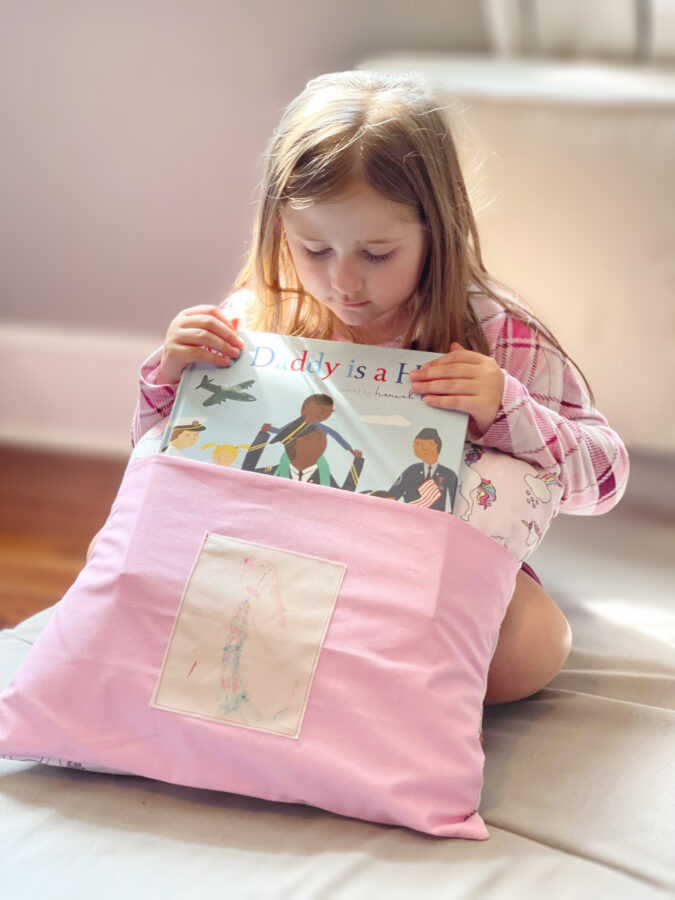
I am a homeschool mama to 3 and my middle child is just starting to read. In order to do something special for her, I decided we would make a special reading pillow that can hold her books. Books that she can read all on her own!

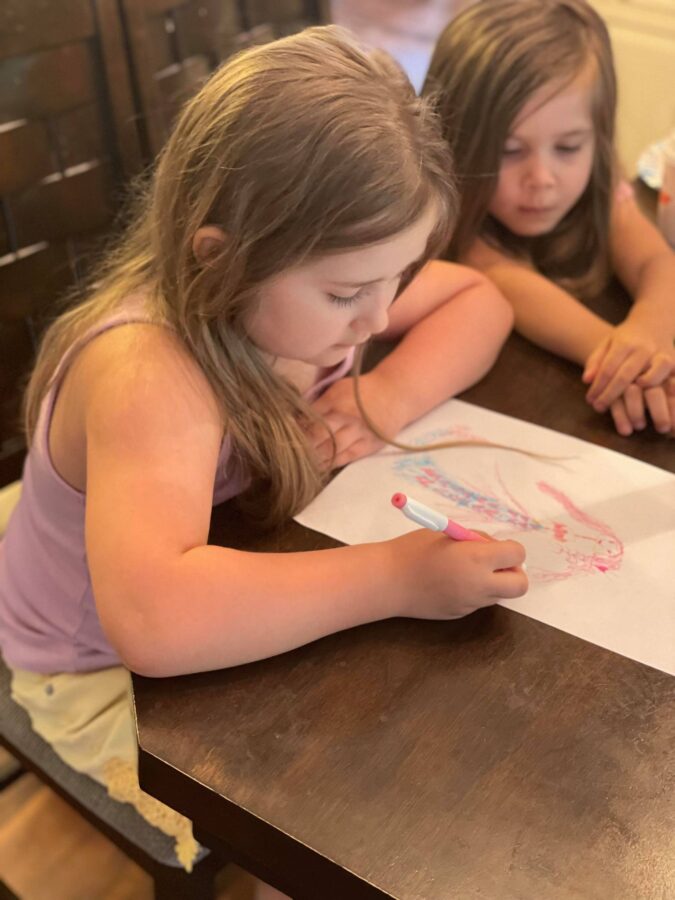
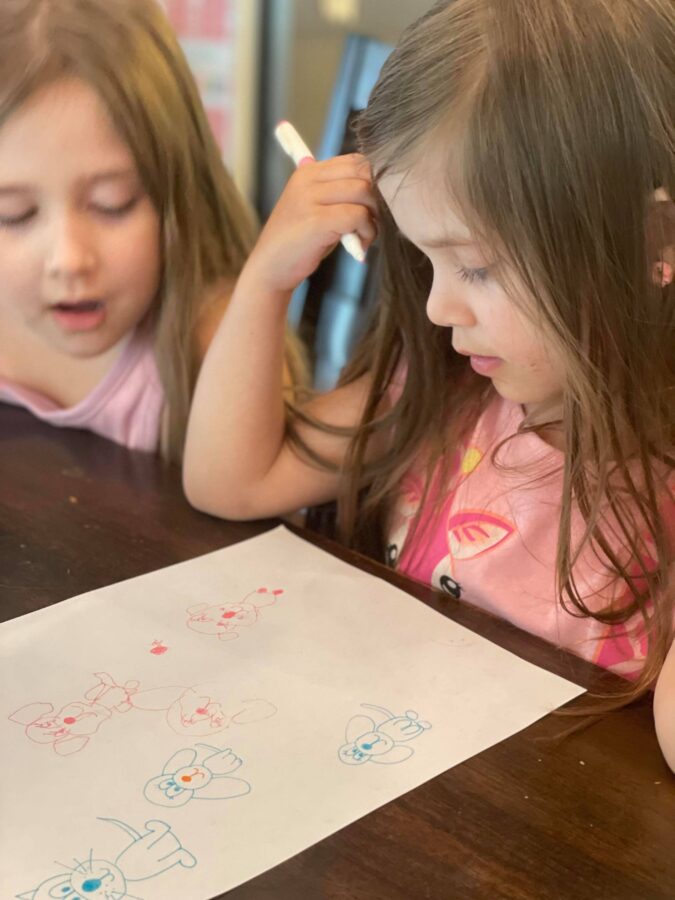
Because I am a homeschool mama I thought, what better way to include some home learning than to have my kiddos partake in the making! Home Ec is literally HOME ec in this house. (I spend A LOT of time around kids… don’t mind my mom jokes).
Pillow Materials Needed
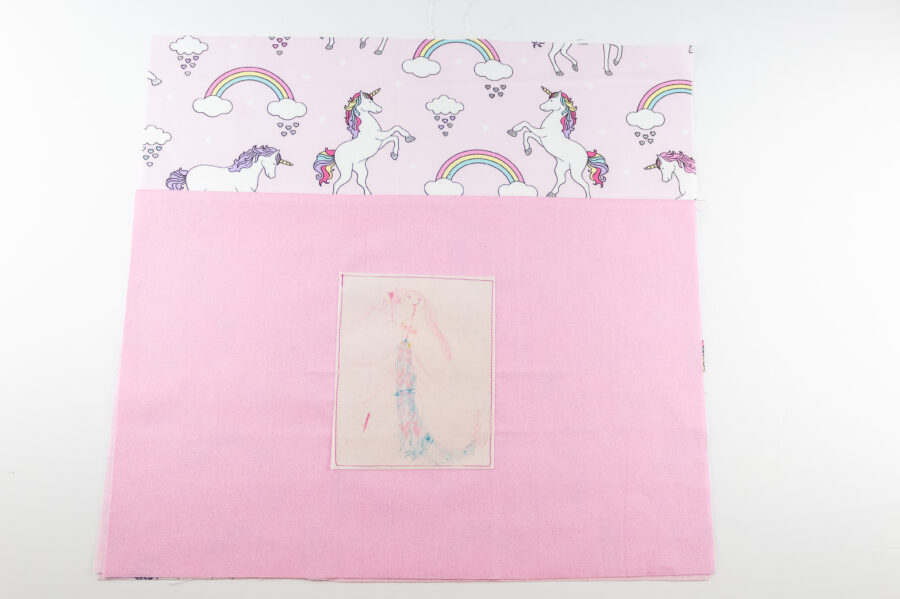
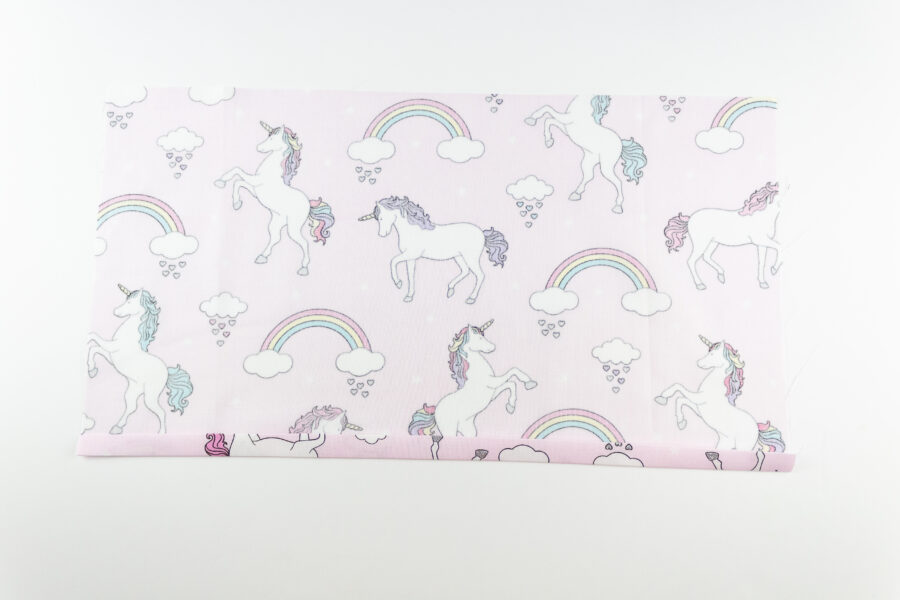
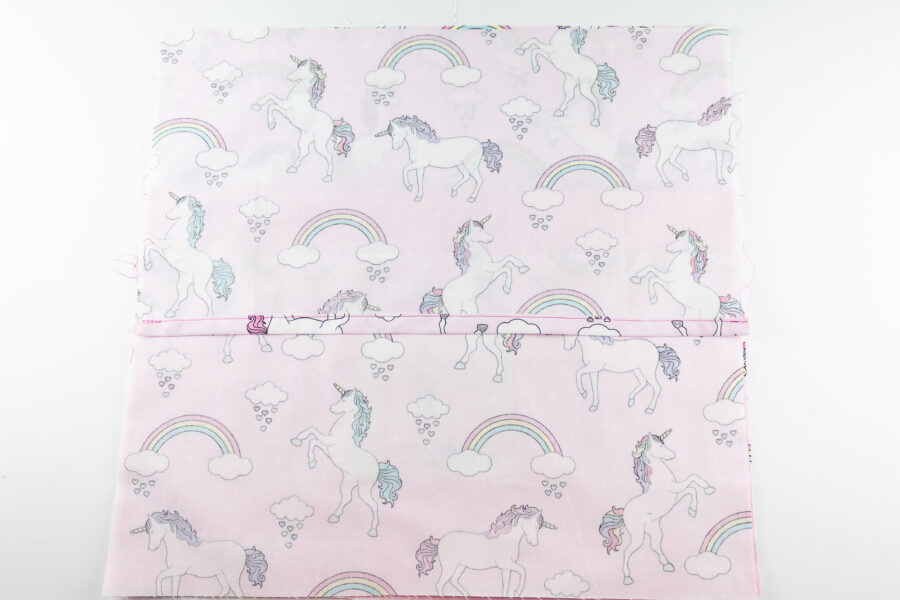
- 3 Fat Quarters – 2 for the main fabric and 1 for the accent.
- HeatnBond Lightweight Fusible Interfacing
- HeatnBond Inkjet Transfer Sheets
- An 18″ pillow insert.
- Iron and Ironing Board/Mat
- Sewing Machine
- Ruler (I like to use an acrylic quilters ruler)
- And Pins or Clips
Pillow Instructions
Cut out your fabric to these measurements:
- Front Pillow Piece – Cut 1 Main Fabric and Cut 1 Interfacing 18″ x 18″
- Back Pillow Piece – Cut 2 Main Fabric and 2 Interfacing 12″ x 18″
- Pillow Pocket Piece – Cut 1 Main Fabric, 1 Lining Fabric, and 1 Interfacing 12″ x 18″
Preparation:
- Apply the fusible interfacing to the wrong side of each piece of fabric using an iron.
- Have your kiddos draw something on a white piece of paper.
- Scan a photo of your child’s artwork so that you can access it from the computer. Alternatively, you can take a photo of the artwork but make sure to do so in bright lighting so you don’t get a dull/yellow hue to the image.
- Following the manufacturer’s directions, print the artwork onto a sheet of HeatnBond Inkjet Transfer Sheets
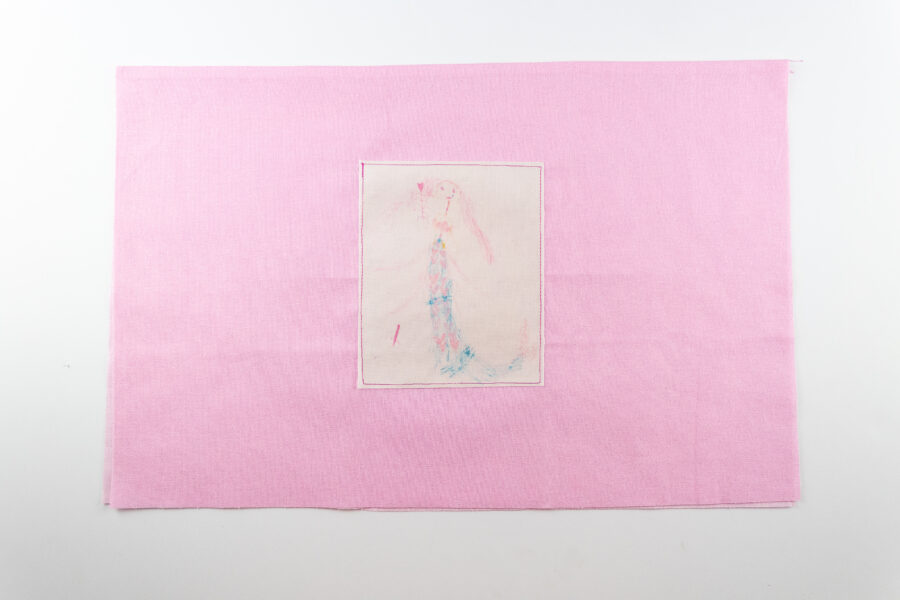
- Following the manufacturer’s directions, fuse the image onto the fabric you wish to use for the pocket. I decided to add mine on like a patch and use hot pink thread. I love the feel it gives.
Sewing Instructions:
To create the pillow front:
- Place the pocket main and pocket lining pieces right sides together and pin or clip along the top raw edge. Sew to attach.
- Turn the pocket right side out and press
- With your pillow front right side up, place the pocket on top so that the bottom and side edges are aligned. The pocket lining will be touching the right side of the pillow front. Baste the pocket to the pillow front by sewing along both sides and the bottom edge.
To create the pillow back:
- Press one long edge 1/2″ to the wrong side of the back pillow. Fold the edge over 1/2″ once more and press. Topstitch along the inner folded edge to secure the hem. Repeat this step with the other back pillow piece. **Important note: If you are using a directional fabric, meaning the print would be upside down if you flipped it over, then you will need to do this on opposite sides of your back pieces.
Sewing the Pillow:
- With the pillow front laying right side up, align one of the back pieces on top, right sides together so that the bottom edges are aligned. Pin or clip in place.
- Align the remaining back piece on top, right sides together, so that the top edges are aligned. Pin or clip in place.
- Sew around the entire outer edges of the pillow using a 1/4″ seam allowance.
- Clip the corners to help them turn nicely. Turn the pillowcase right side out and press well.
- Add your pillow insert and you are done!
Now, add your favorite books and go enjoy your new pillow!