Therm O Web’s new Mixed Media sheets bring all sorts of creative possibilities to the world of papercrafting. The sheets can be inked, stamped, dyed, or painted, die cut, trimmed, torn, or punched for a huge variety of mixed media looks on any project. Today I’m sharing a fun and girly friendship card that uses the Mixed Media sheets in several ways. Let’s take a closer look.
For My Sweet Friend Card
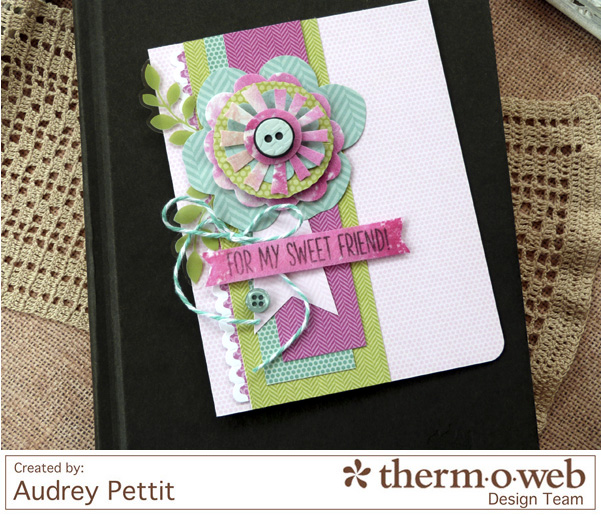
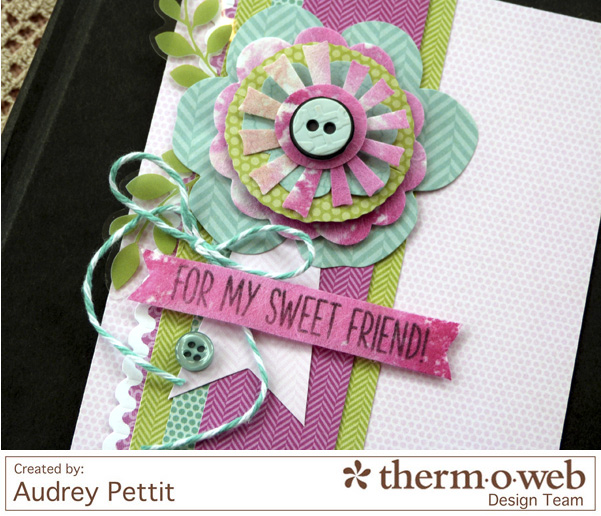
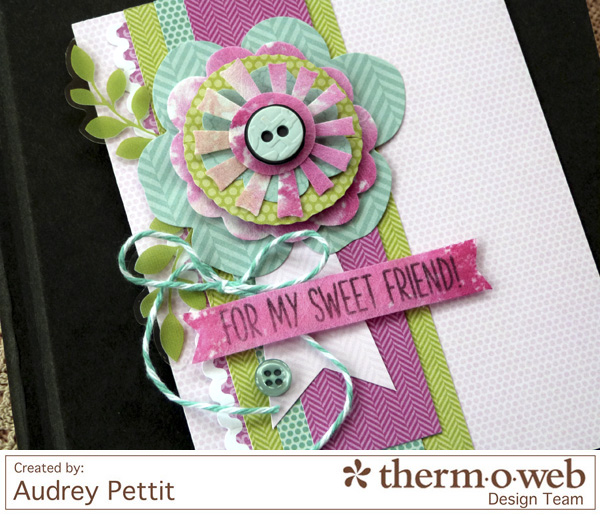
For My Sweet Friend card by Designer Audrey Pettit
Project Supplies:
Therm O Web iCraft® Mixed Media Sheets Heavy Weight
Therm O Web XL Memory Tape Runner
Therm O Web Zots™ Clear Adhesive Dots- Medium and 3D
Therm O Web 3D Adhesive Squares
Patterned Paper, Die Cuts, Transparencies: Little Yellow Bicycle
Stamps: My Creative Time
Dies: Sizzix
Ink: Ranger
Buttons, Twine
 Project Instructions:
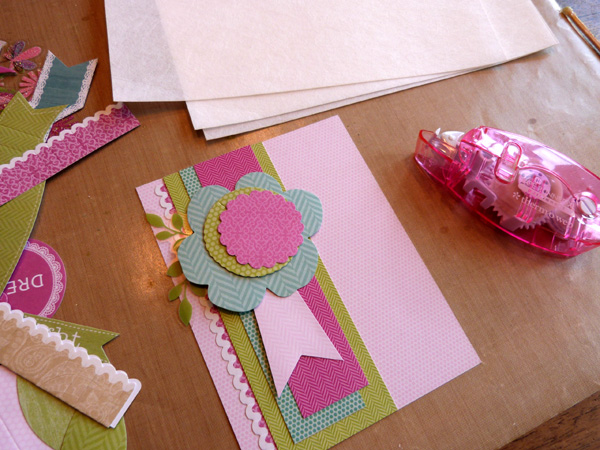
Begin by trimming layers of patterned papers for your card background, and adhere the main papers and element to the card base using Therm O Web XL Memory Tape Runner. After laying down the base papers, I began playing with an arrangement of die cuts and acetate accents to use as the focal point in my design.
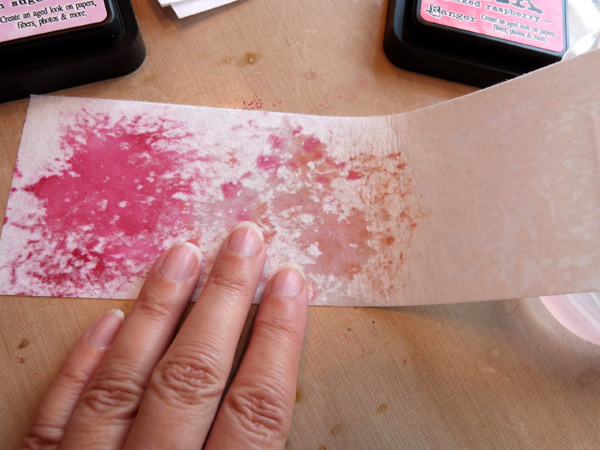
To create interest in my design, I decided to stack my focal flower with a mix of both pre-made die cuts, and die cut shapes made with the Mixed Media sheets. Love the texture of these sheets and the look of handmade paper they bring to the design. To add color to the MM sheets, I used a variety of Distress Inks. Simply press your inks onto a non-stick surface, and spritz the inks liberally with water, before pressing the Mixed Media sheets into the mixture.
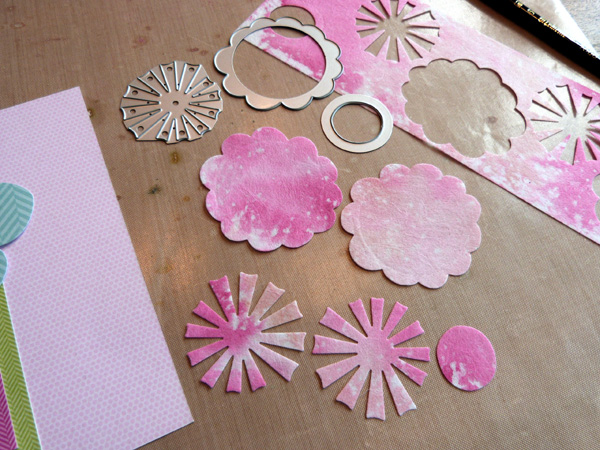
Allow the ink to dry completely, and then die cut the Mixed Media Sheet with a variety of flower shaped dies. Use the same die cutting sandwich that you use for all your wafer thin dies. You can see how beautifully these sheets die cut.
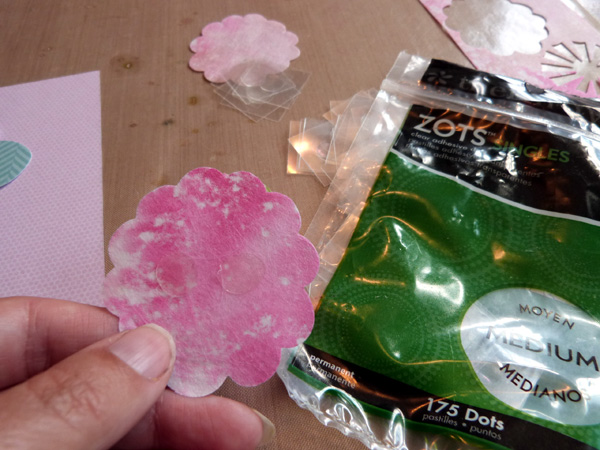
Then adhere your layers together using Therm O Web Zots™ Clear Adhesive Dots. I used both Medium and 3D Zots for my flower.
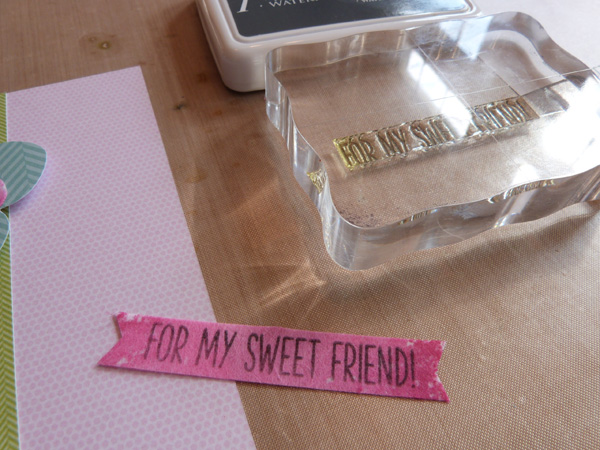
Cut a thin strip of remaining inked Mixed Media sheet with your paper trimmer, and stamp sentiment onto the strip.
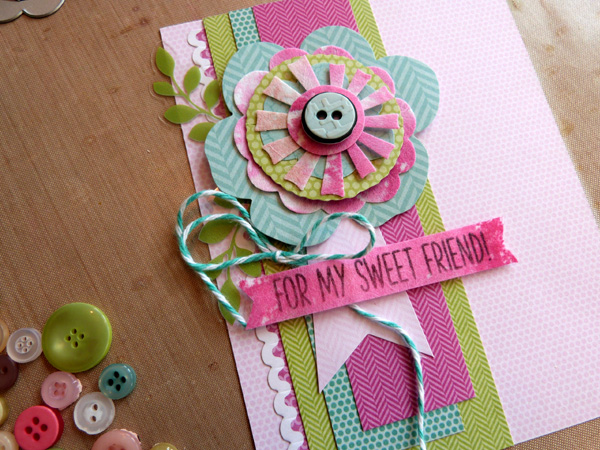
And finally, adhere the flower and sentiment strip to the card base. I used 3D Adhesive squares on the sentiment banner for a bit of extra dimension. Finish off with buttons and a simple twine bow.
Enjoy!

Kathy E.
August 9, 2016 at 9:35 pm (9 years ago)I just love this! All of my favorite colors in one card! Thanks for showing how easy it is to make a card so special.
admin
August 10, 2016 at 10:04 am (9 years ago)Thanks for your praise Kathy! We’re so glad you stopped by!