


Here is a simple, quick project you can do in under an hour.
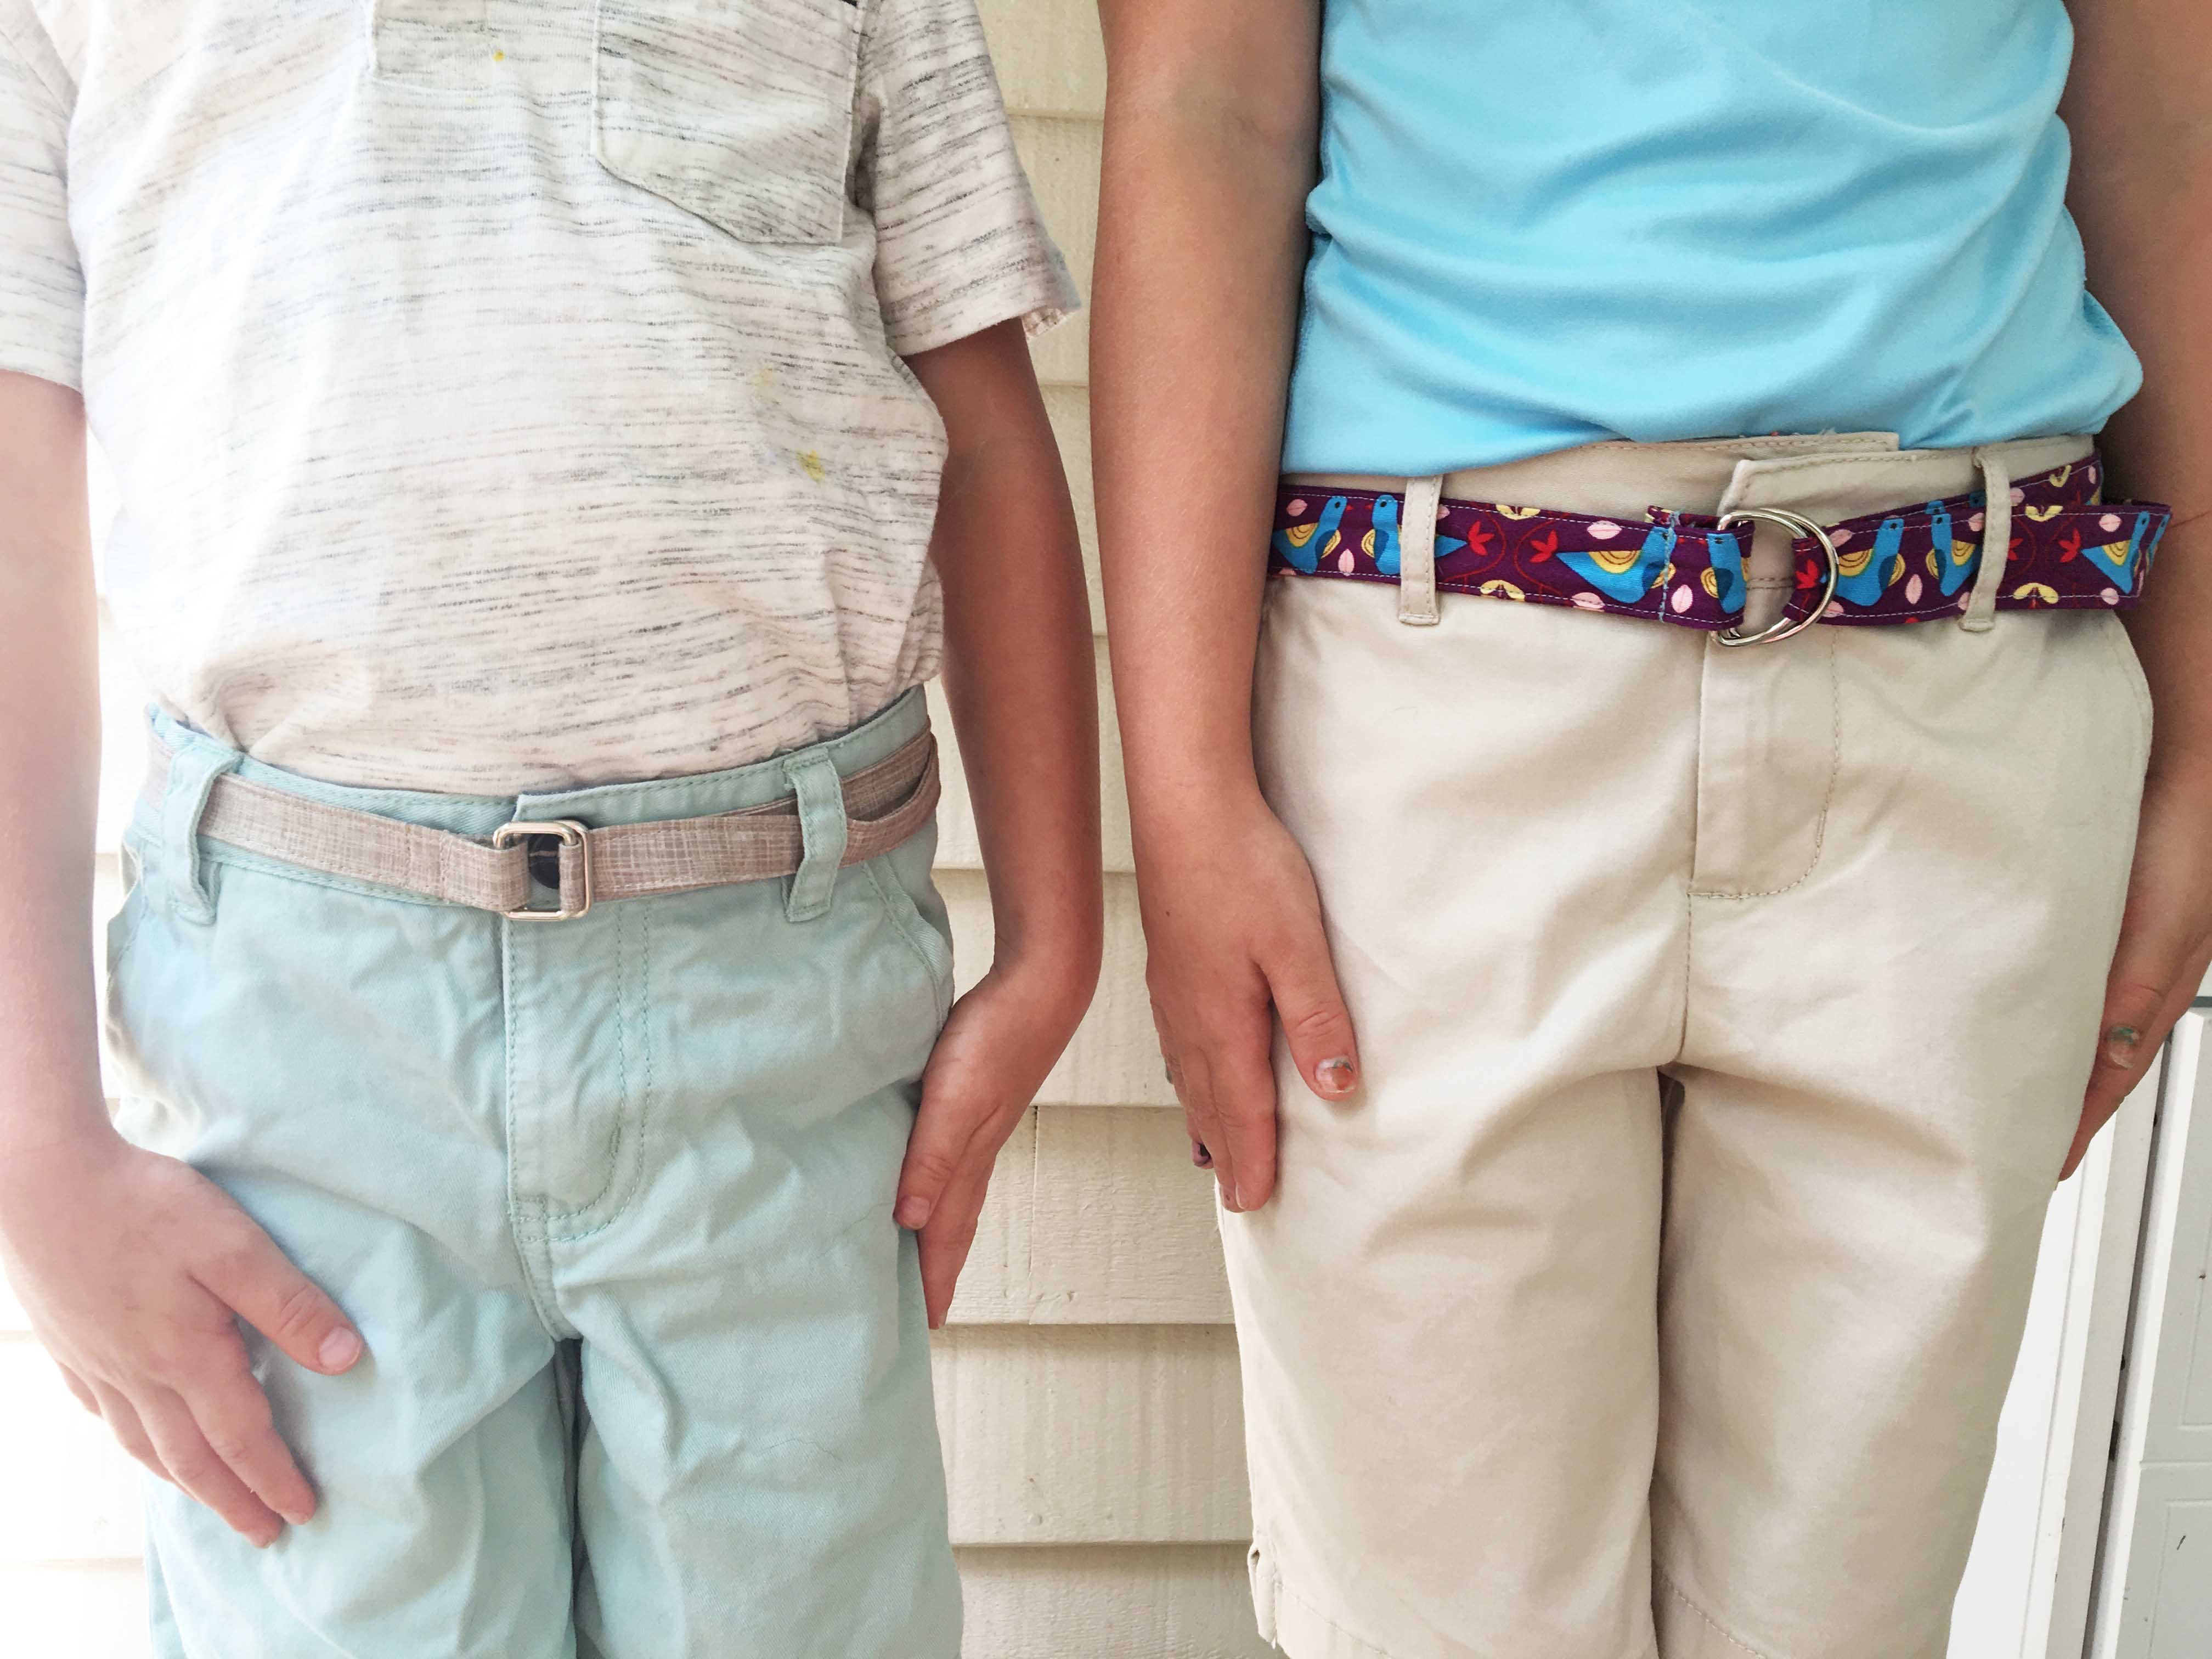
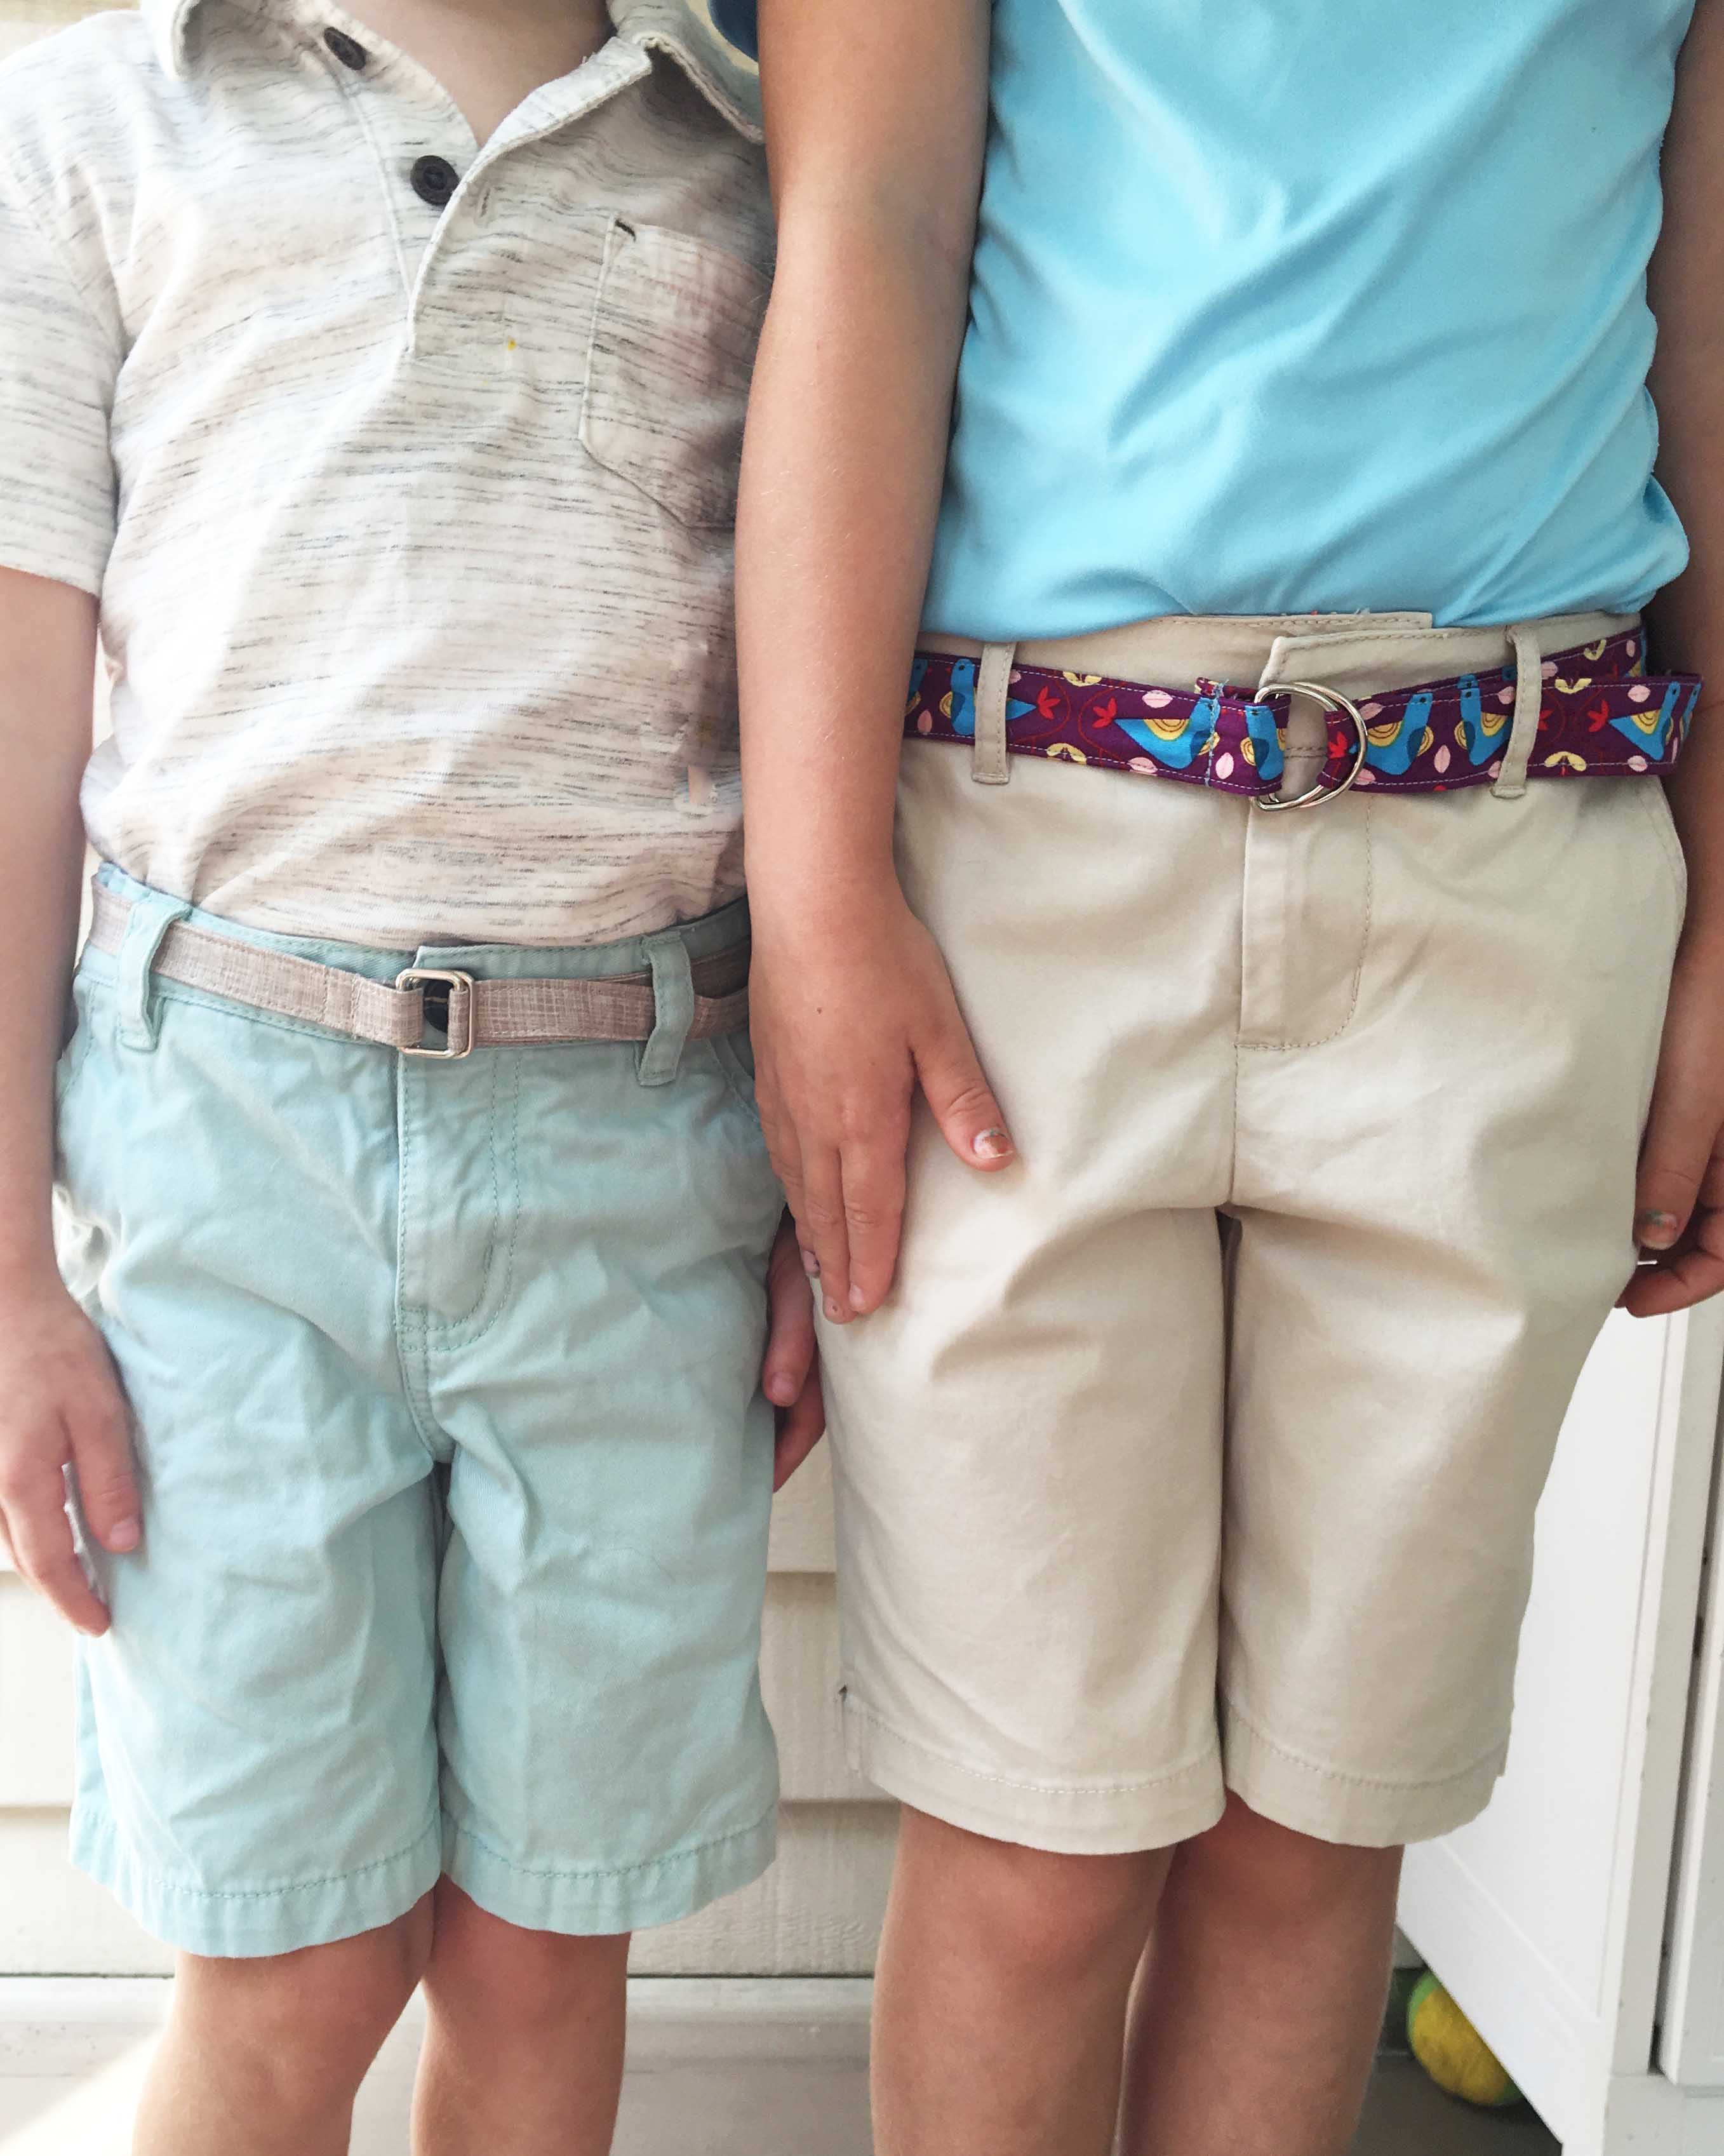
 I have such a hard time finding pants for my kids that are the right length, but also the right fit in the belly. My 5 year old has a 3T waist, but is a 5T in length. Many belts that I have found in the stores aren’t even small enough, and many times I have to add extra holes.
So an adjustable belt is just what he needs!!
Project Supplies:
2 long strips of fabric to fit around your childs waist
1 piece of Heat N Bond® Lite interfacing the same size
2 D-rings (or similar rings)
Project Instructions:
- Measure around your childs waist and then add anywhere from 10-15 inches or length. The width depends on the size of the rings you use. I added 1/2″ to the ring size (so for a 3/4″ ring, I cut my fabric 1 1/4″).
- Iron on a piece of Heat N Bond® lite to ONE of your strips. Place the fabric strips right sides together and sew down each long side.

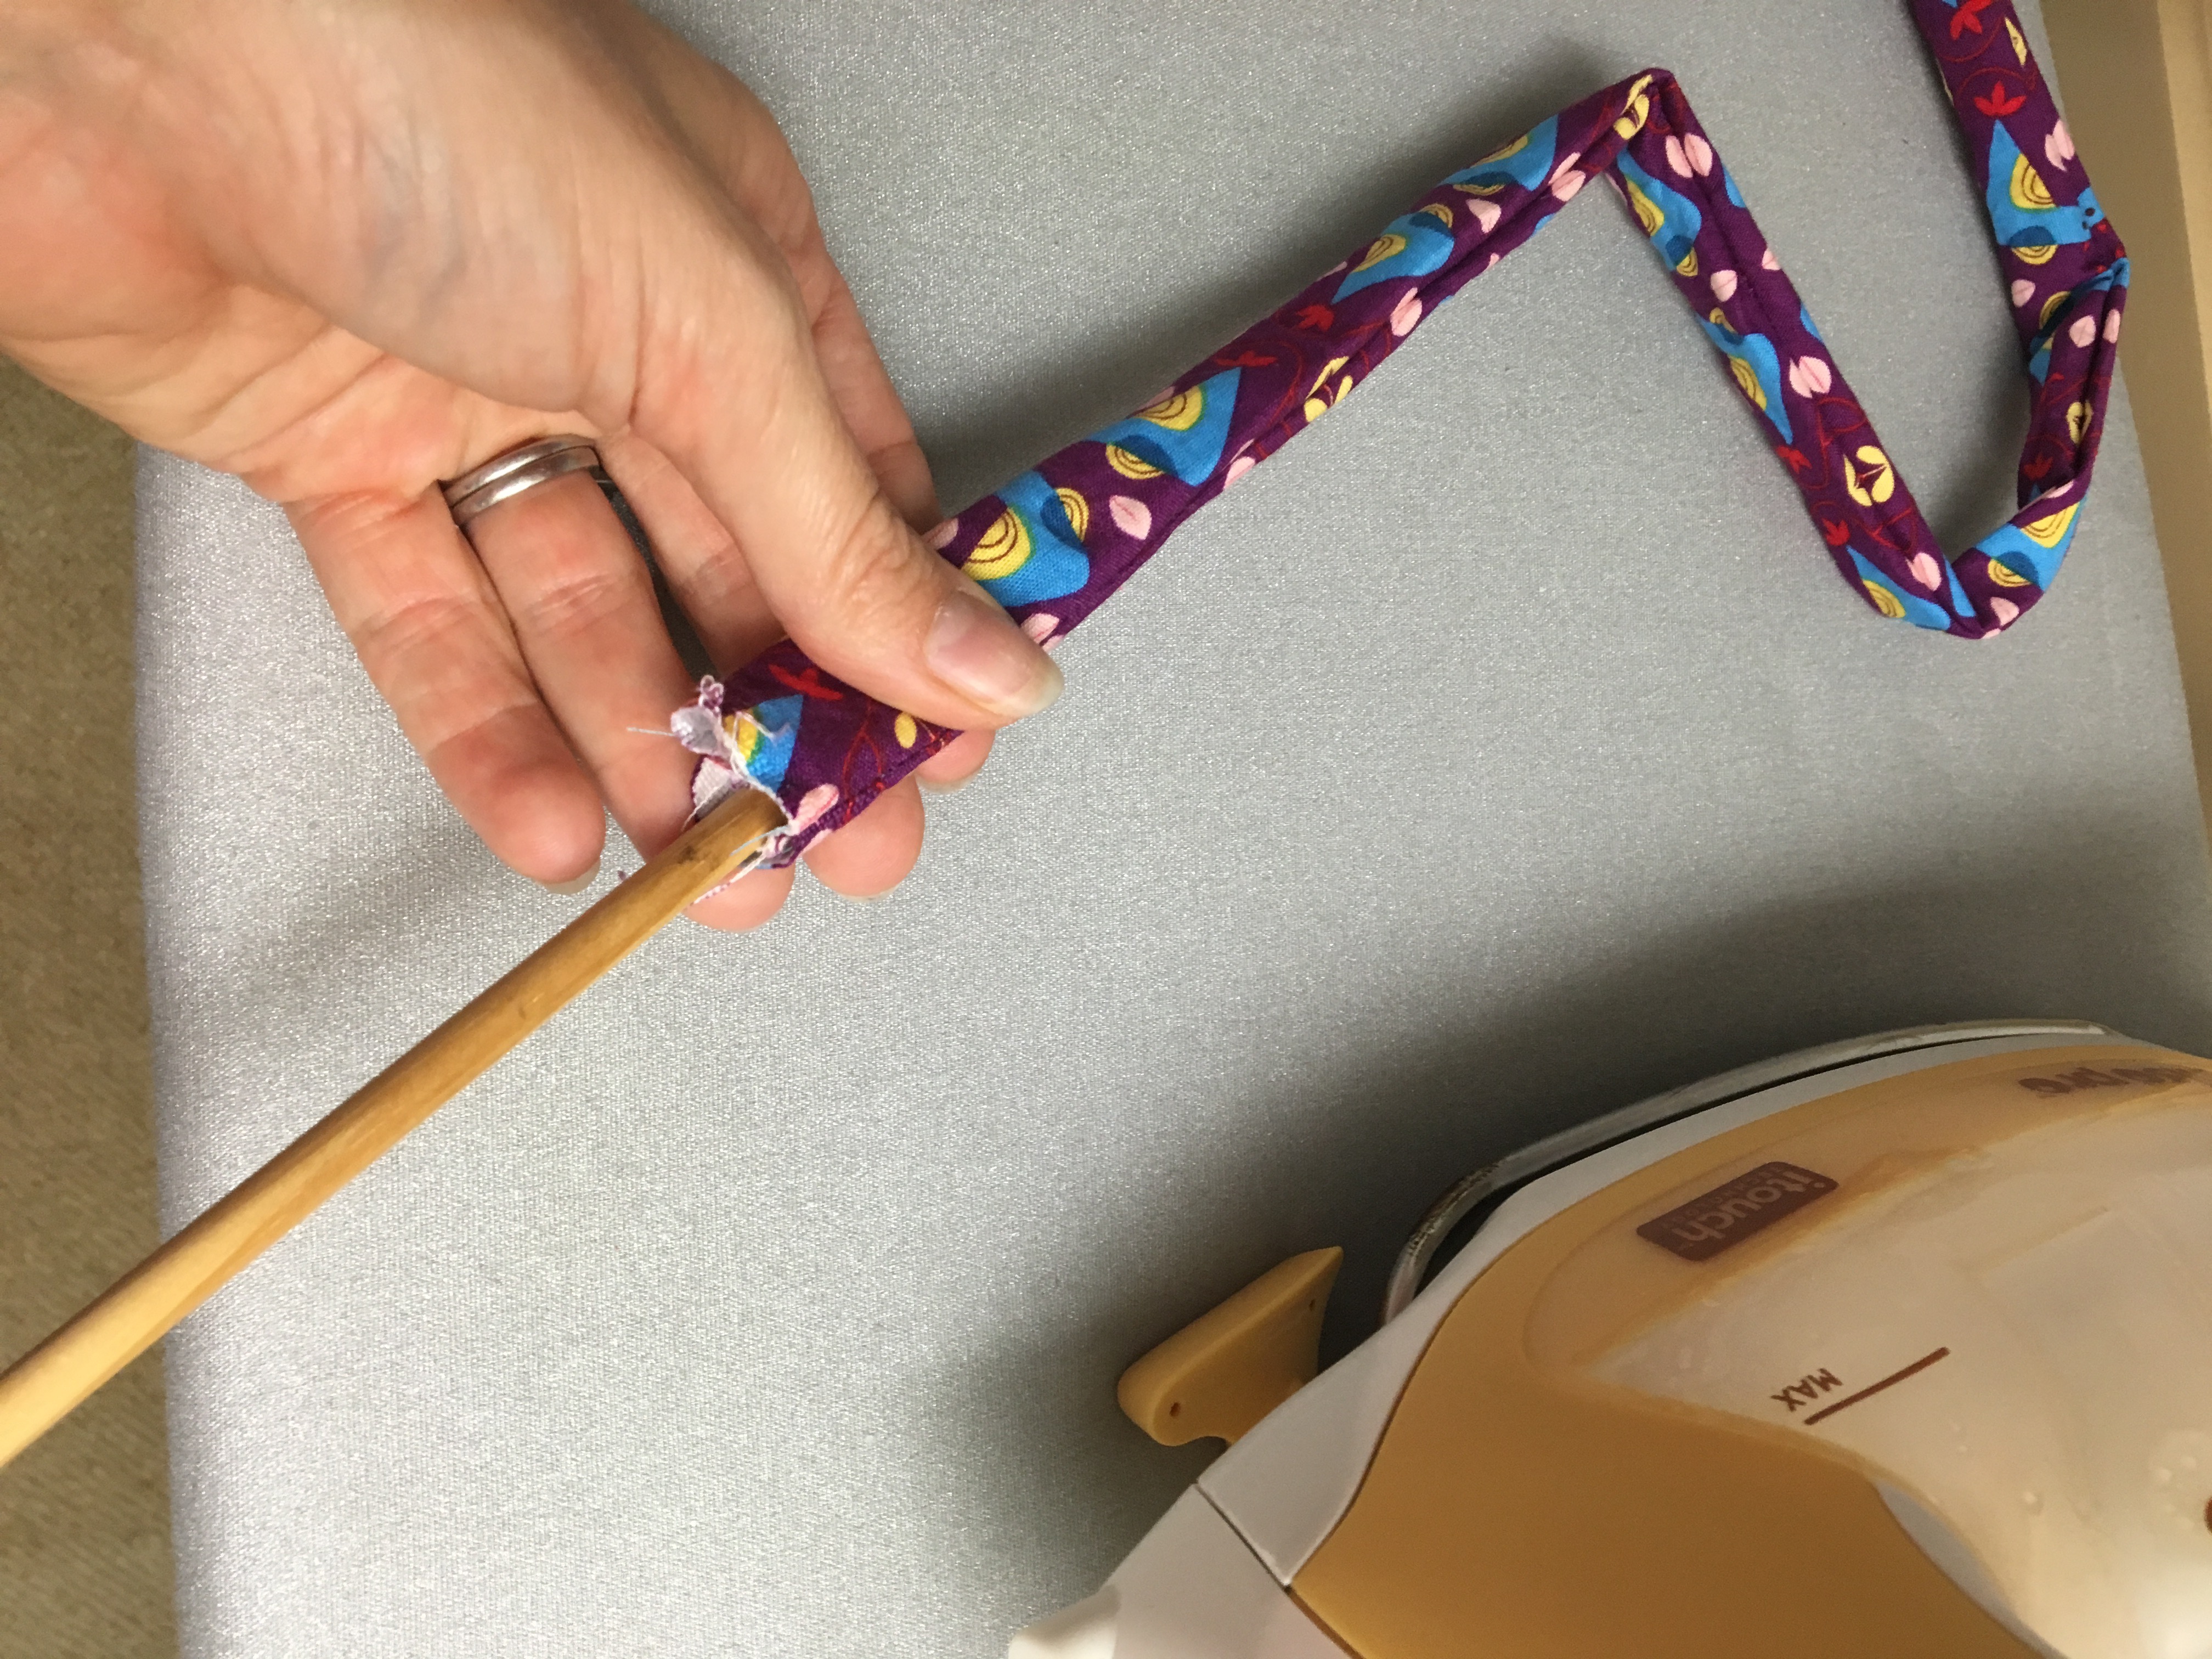
- Turn the “tube” rights sides out. This is actually the most difficult part of this whole process! You may want to use the safety pin and string method.
- I used a long, skinny dowel to help push out my seams a bit from the inside. Iron flat. Top stitch down each long side close to the edge.
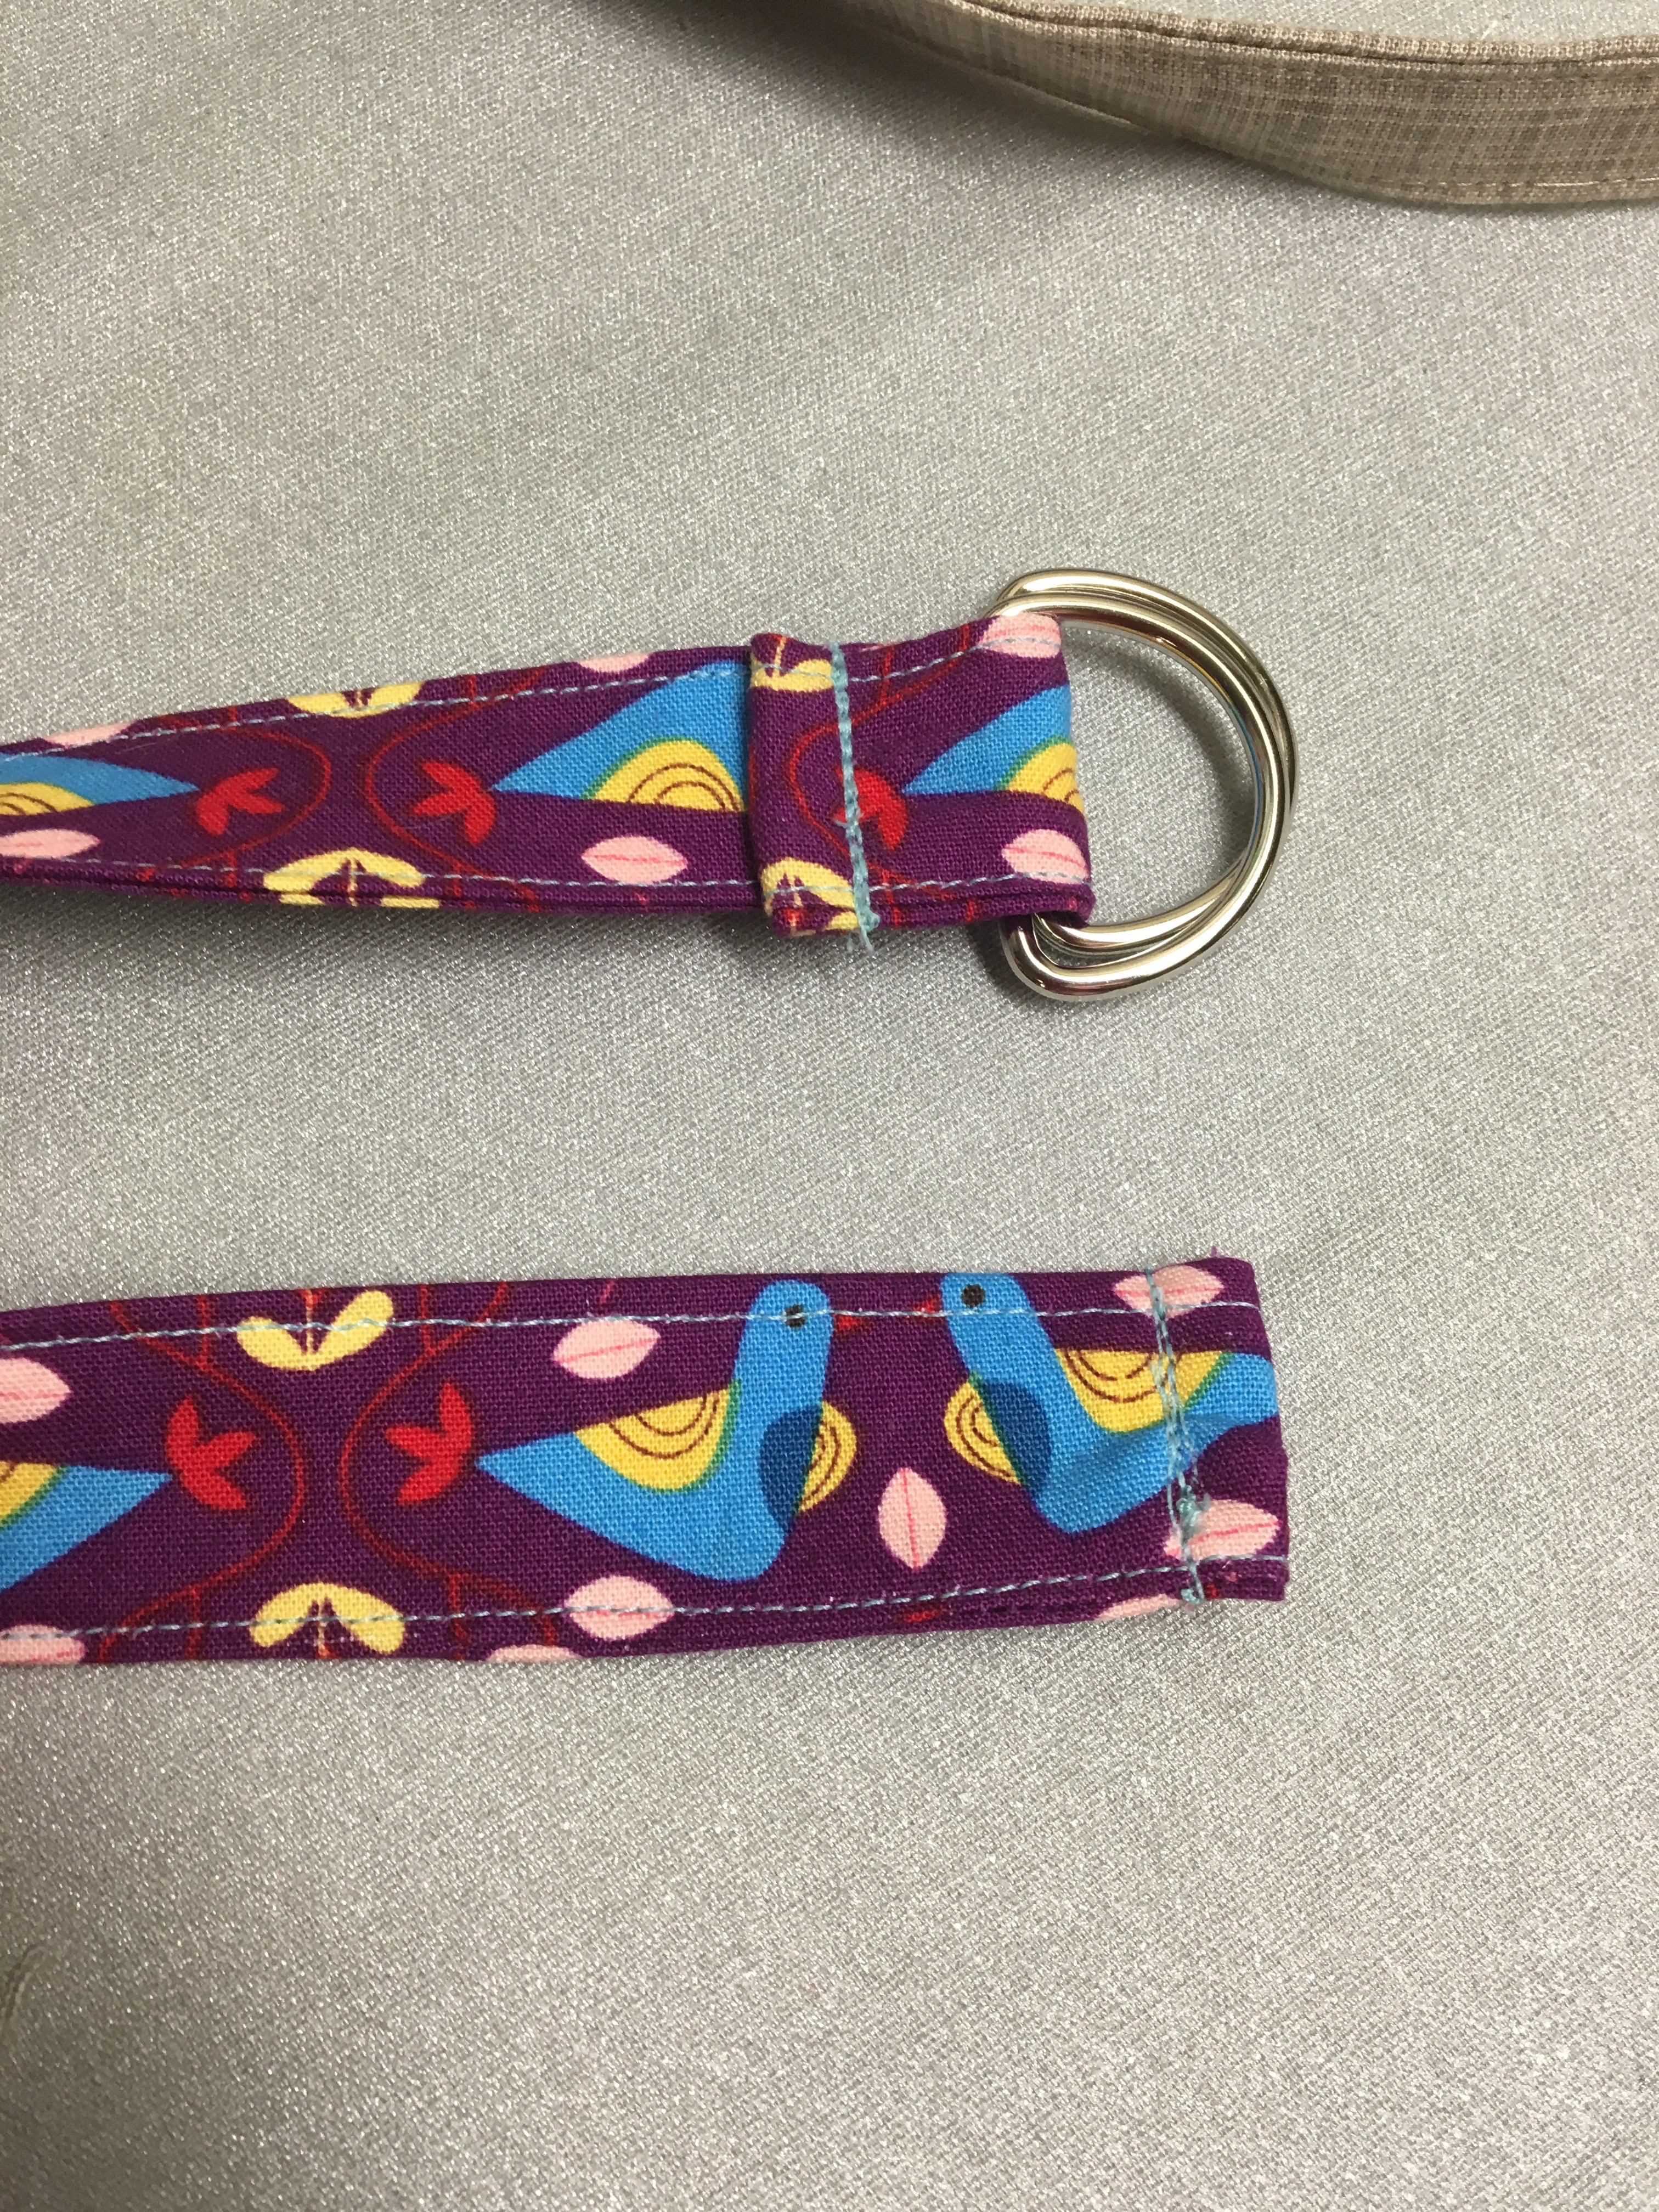
- Fold one raw, short edge over 1/4″, and then again and stitch in place.
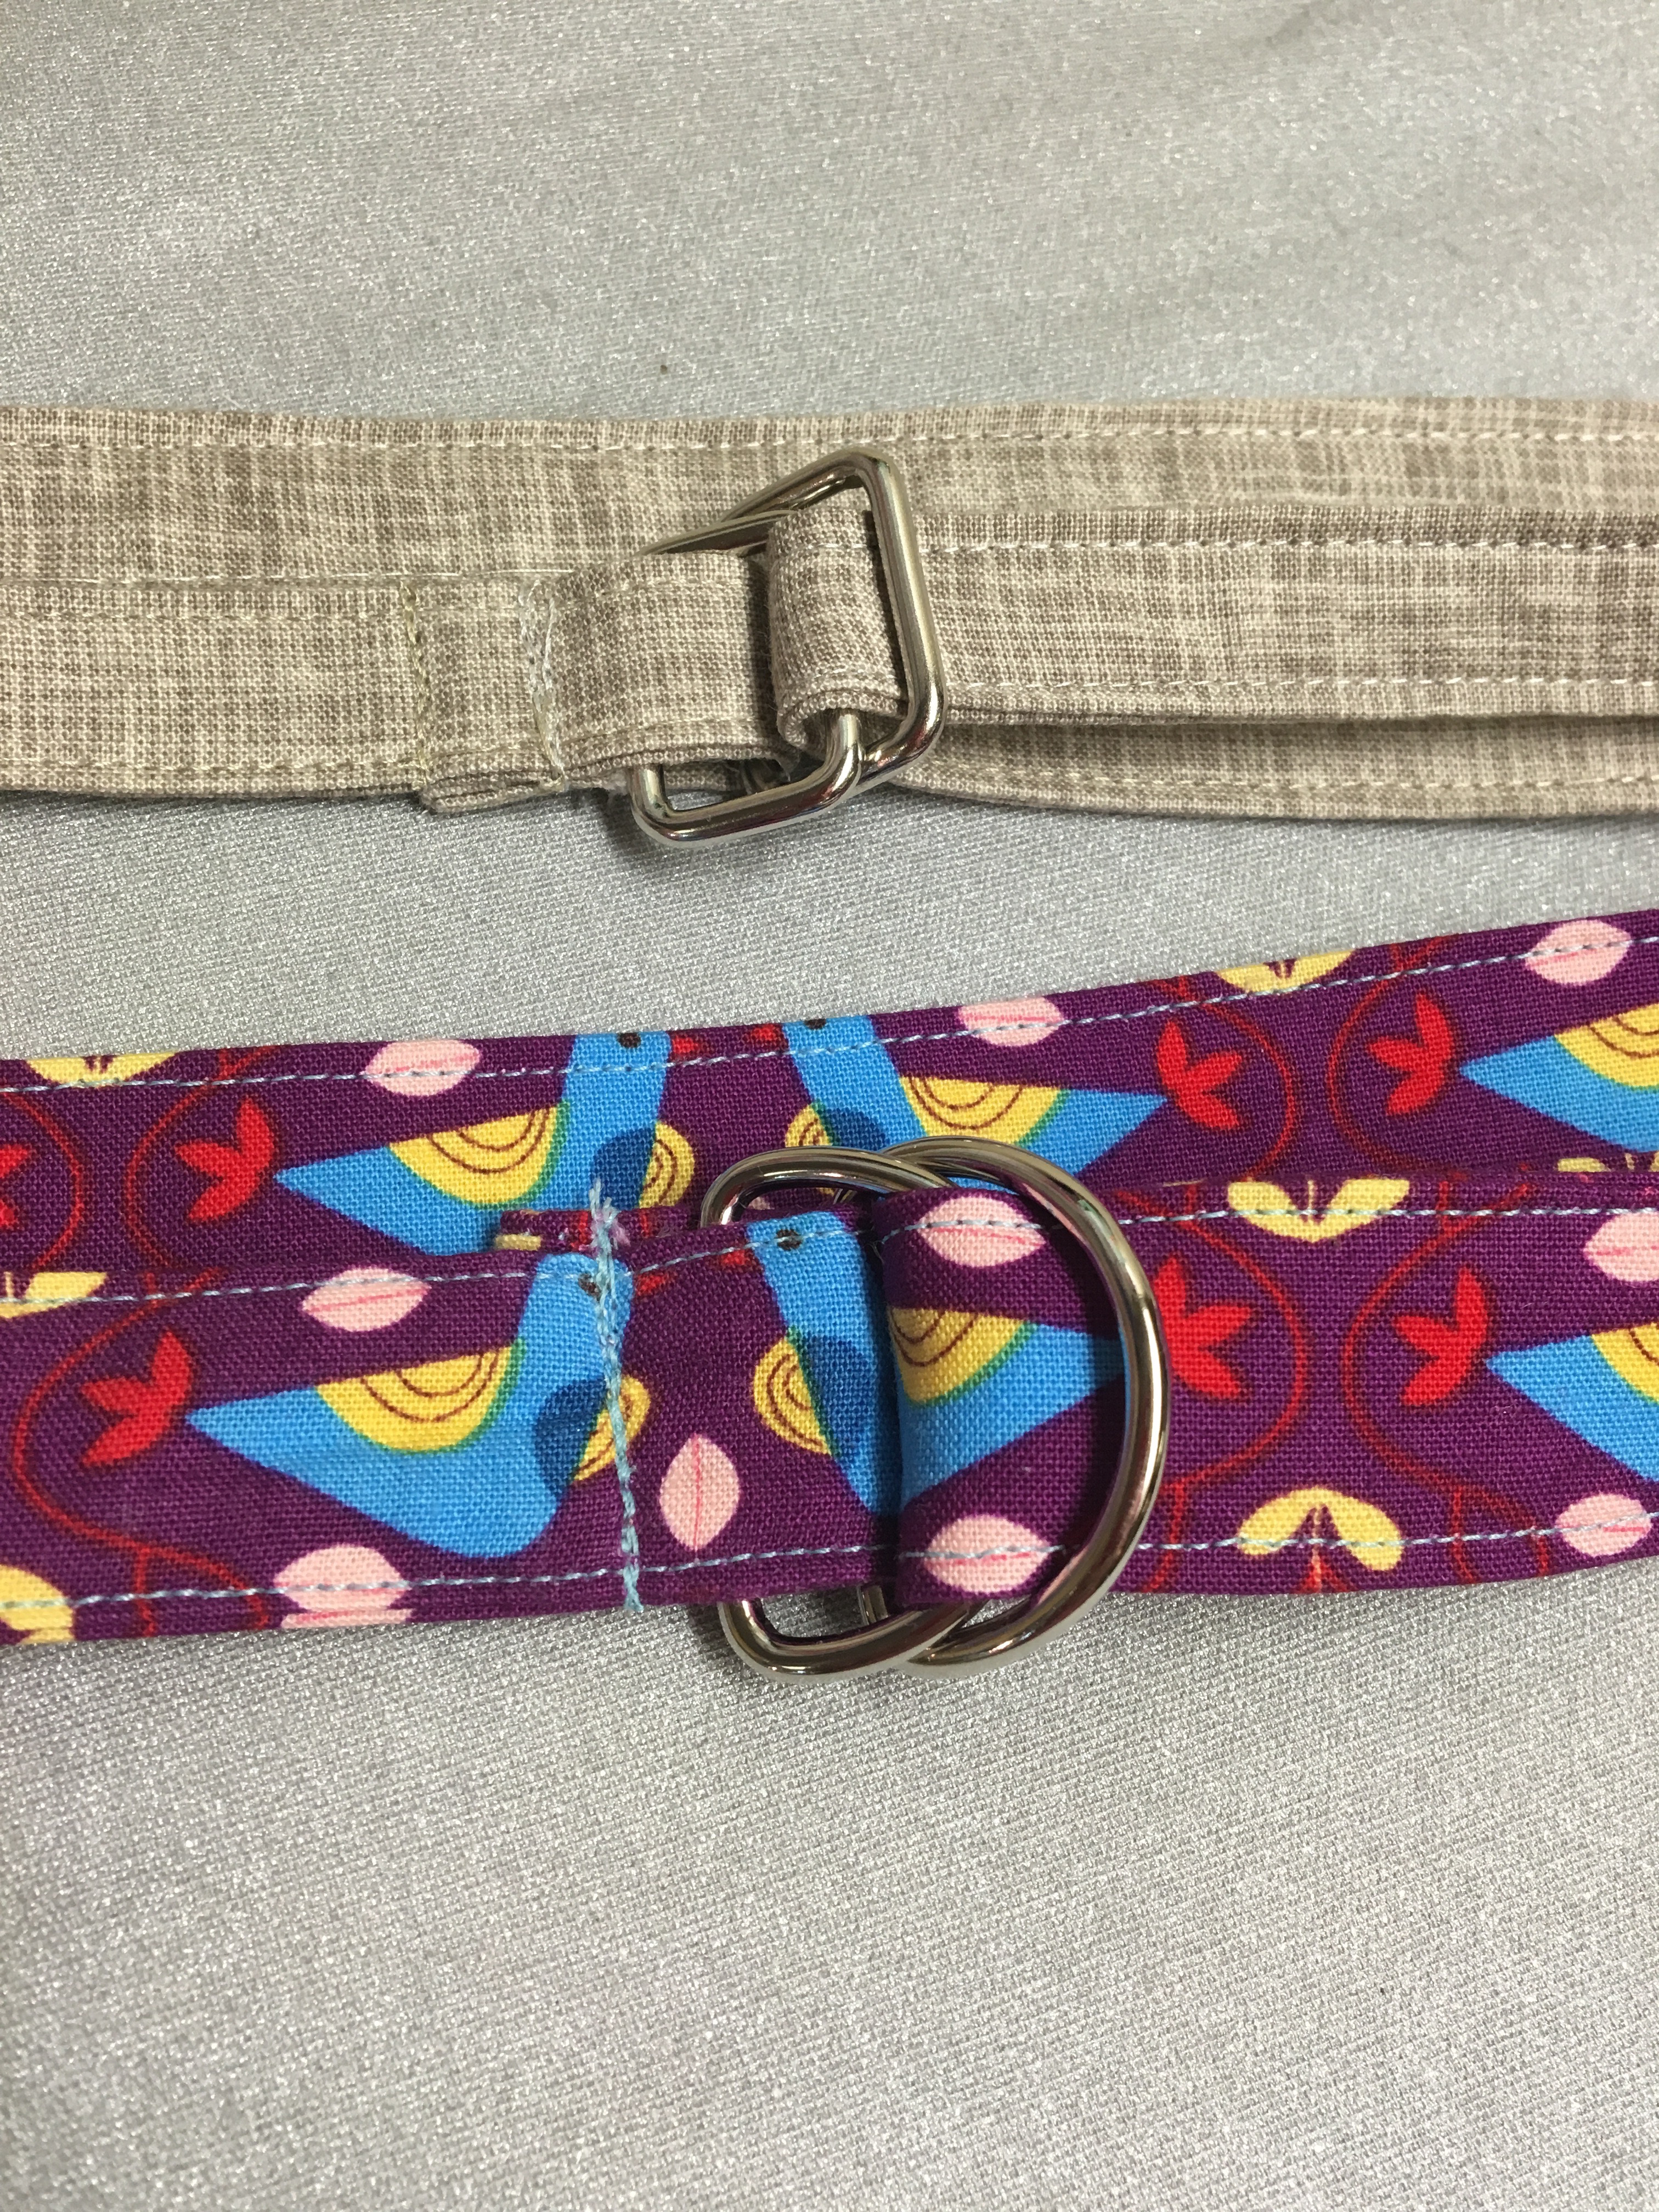
- Add the rings to the other end, fold the raw edge under, and stitch in place. Leave a little wiggle room for the rings.
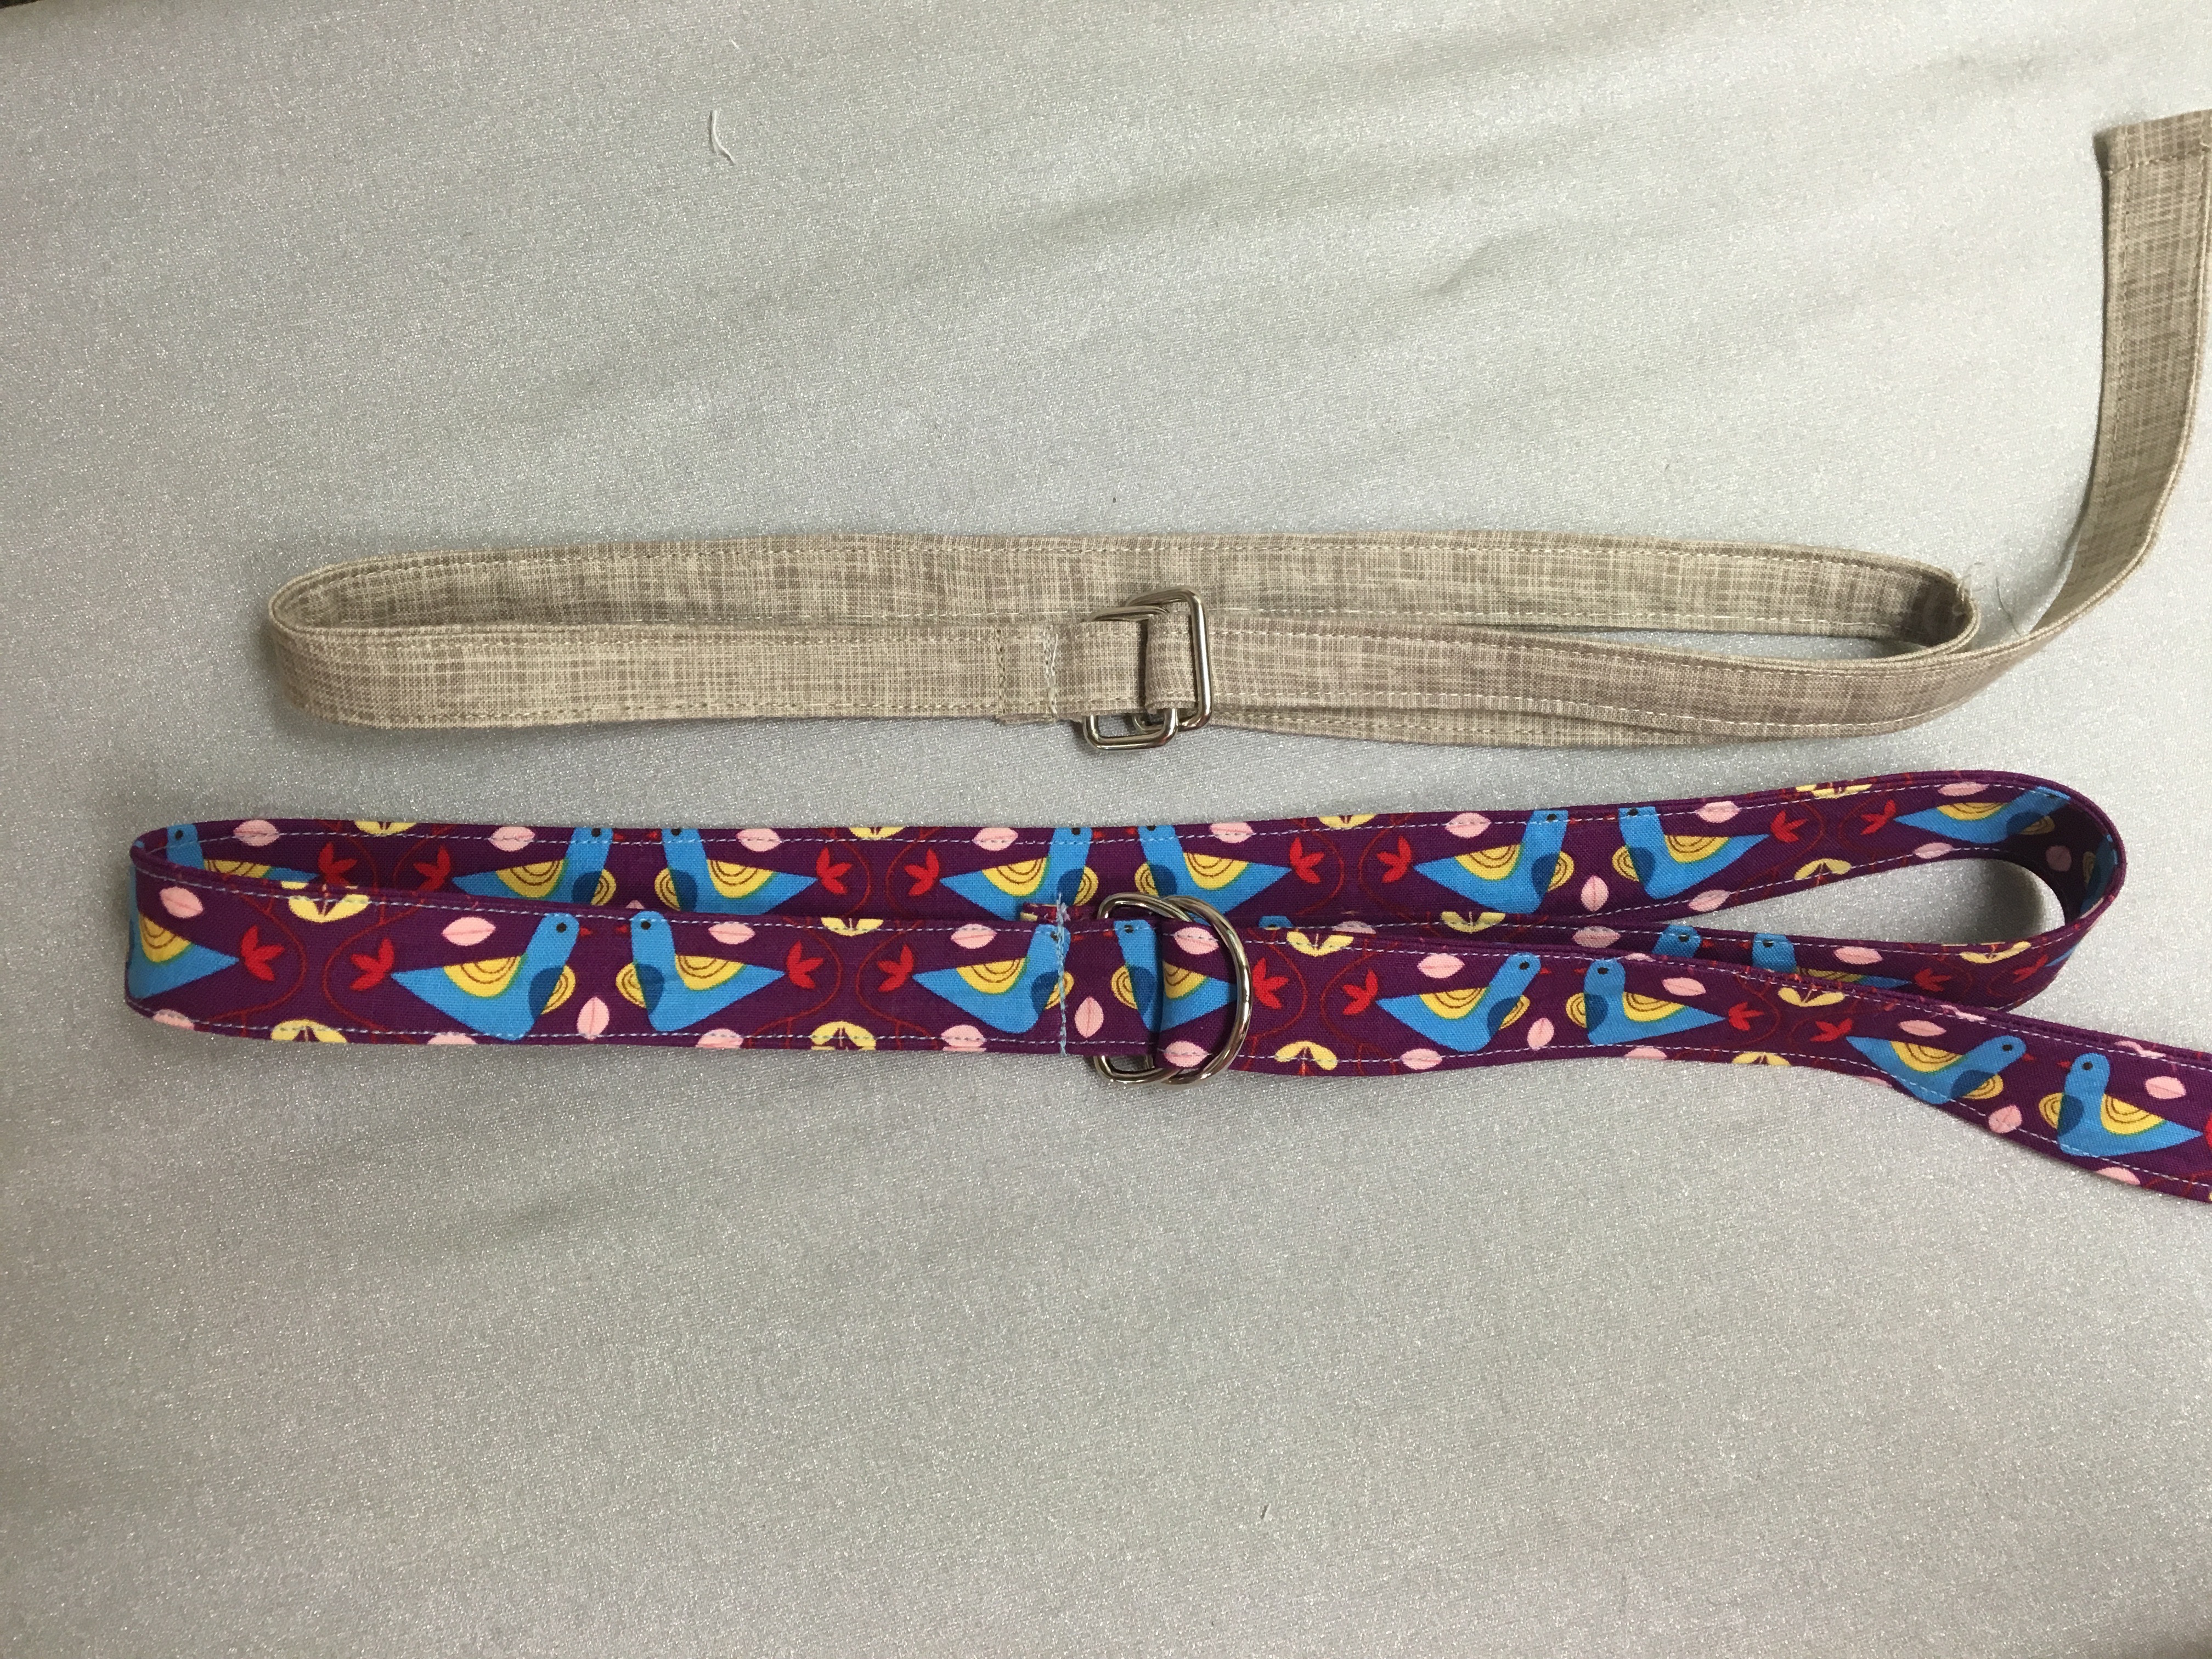
And you are done! I made mine extra long so that the kids can wear them for a long time!
Hope you enjoyed!
[…] Create Easy Kid Belts with Heat N Bond Lite, by Audrey’s Reflection […]