Every scrapbook project needs a bit of bling or some shimmer to make those memories sparkle, wouldn’t you agree? ThermOWeb has some amazing NEW products that aid you in accomplishing that goal. Today, I (Suzanna) am going to share with you how to use Pixie Spray and Glitz Glitter Gel, recently released at Creativation, and show you how to make a spring layout shine!
Spring Layout with Glitz Glitter Gel
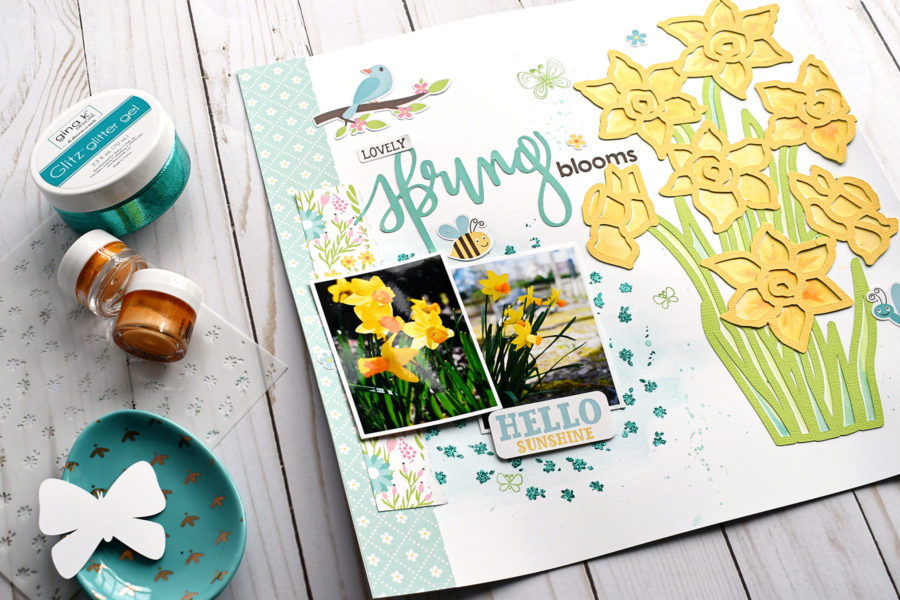
ThermOWeb Supplies
Gina K. Designs Glitz Glitter Gel
Gina K. Designs Permanent Adhesive Dot Runner
iCraft Ultra Bond Adhesive 2 fl oz
Other Supplies; Echo Park Spring Fling collection, Digital Cut File; Daffodils by Paige Evans, Design ID 258542, Shimmerz paints, Echo Park stencil, Basic Grey letter stickers, Bazzill cardstock
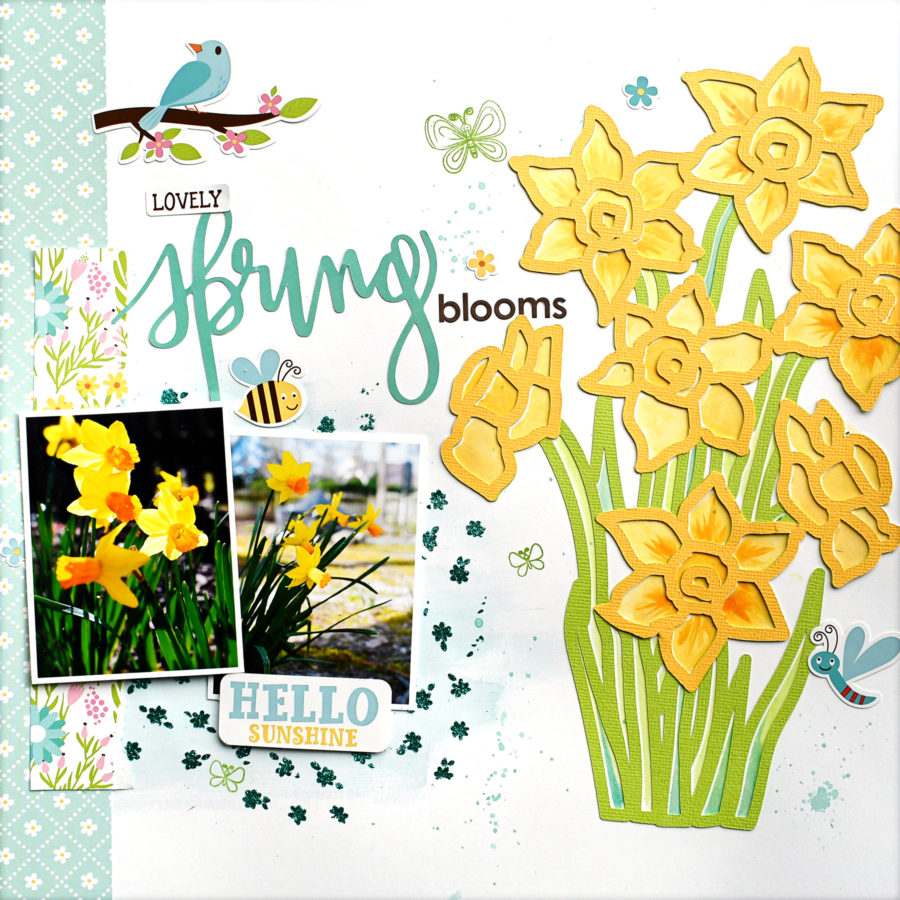
Spring Layout with Glitz Glitter Gel Instructions
First things first, you want to lightly spray your stencil with some Pixie Spray. This is a light tack that allows you to secure your stencil to your work surface and pull it up without smudging or pulling up paper. It’s just the right amount of adhesive that results in perfect stenciled designs! This is definitely a must have for all you mixed media scrappers out there!
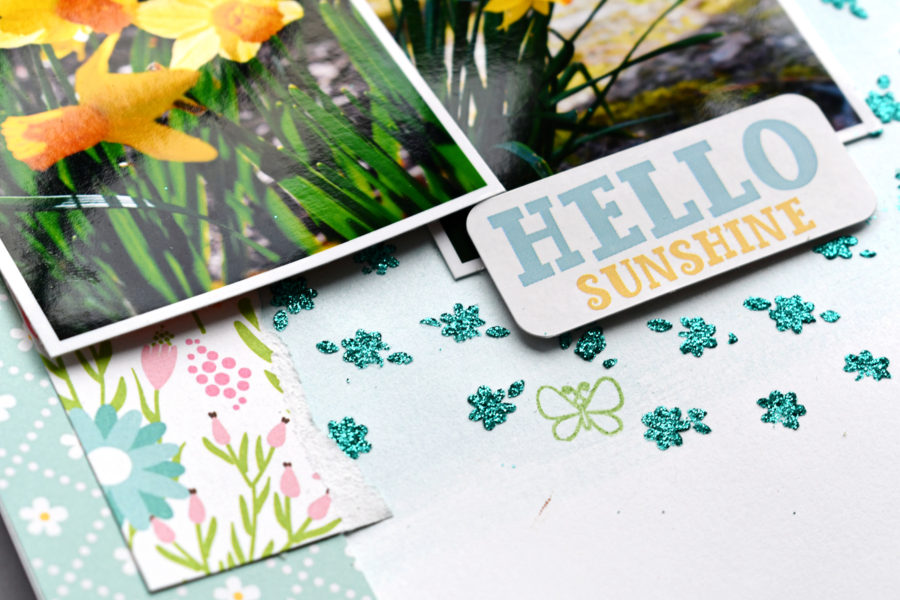
Now set this aside to dry for a minute or two. You could do something productive like work on another part of your project as I did and paint a lighter shade of turquoise on top of which you will put the Glitter Gel.
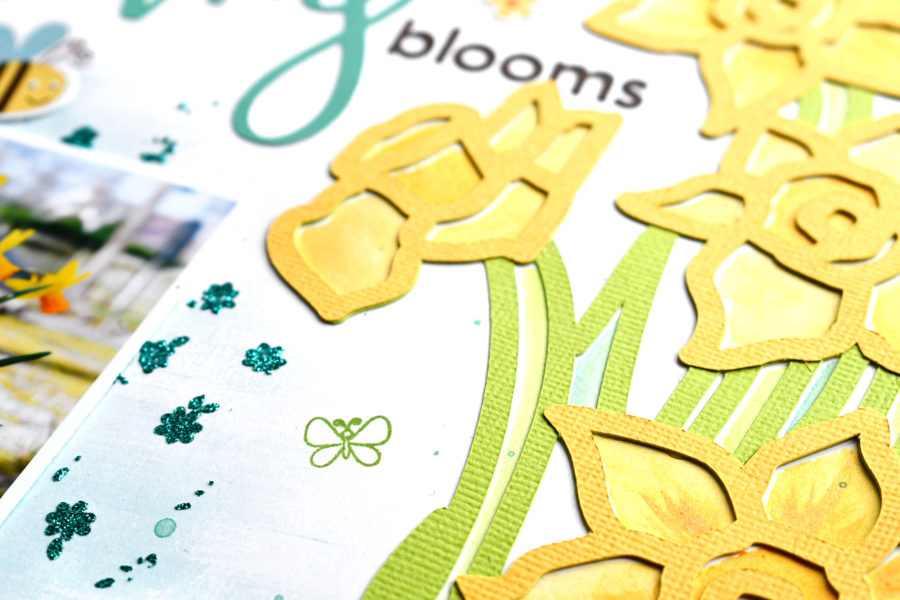
Position your stencil, with tacky side down, on to your work surface and be prepared to be wowed by the Glitz Glitter Gel! I used an old store card to dip into the glitter and spread a fine layer over the stencil. As I spread the gel around, just the gel moved, not my stencil! Thank you ThermOWeb and Pixie Spray!
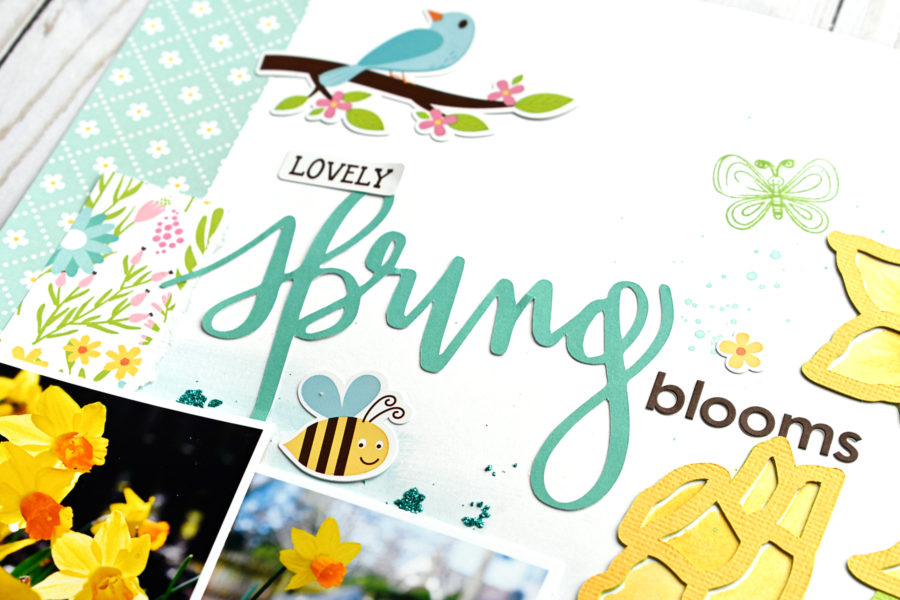
Set this aside to dry for a couple of minutes or work on the other side of the project! Simple as that really!
Should you be interested in seeing how I actually applied the Glitz glitter gel and how the rest of the layout came together, be sure to head over to the ThermOWeb YouTube channel!
Thanks for stopping in today!
Suzanna
