Welcome to ThermOWeb’s blog! I’m Carol from Just Let Me Quilt and I’ve got a sweet spring table topper pattern for you to sew with the help of ThermOWeb’s amazing products.
Looking at different frogs for this project, the tree frogs were a final choice because of their bright colors and incredible orange eyes. It was easy to fall in love with their adorable faces!
The “Springtime Tree Frogs” table topper measures 40″ x 40″ when completed.
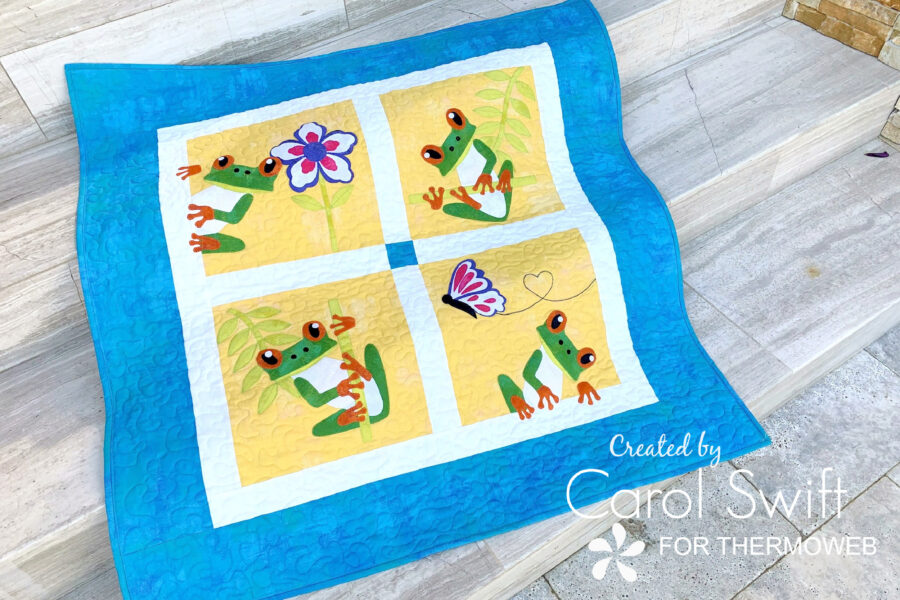
To sew the “Springtime Tree Frogs” table topper you’ll need:
Spray n Bond Basting Adhesive
Heat n Bond Lite EZ Print Sheets or Heat n Bond Lite Iron-on Adhesive
Stitch n Sew High Loft Fleece
Heat n Bond Light Weight Non-Woven Interfacing
“Springtime Tree Frog” pattern
Oliso iron
Thread, Embroidery Thread
Optional: Moda Grunge fabric
Before applying your applique designs, ironing Heat n Bond Light Weight Non-Woven Interfacing to the wrong side of the fabric can add stability when sewing the pieces in place. It is especially helpful when sewing smaller pieces.
Oliso has a cute and easy-to-use mini iron in a variety of colors…perfect for ironing on the applique adhesive.
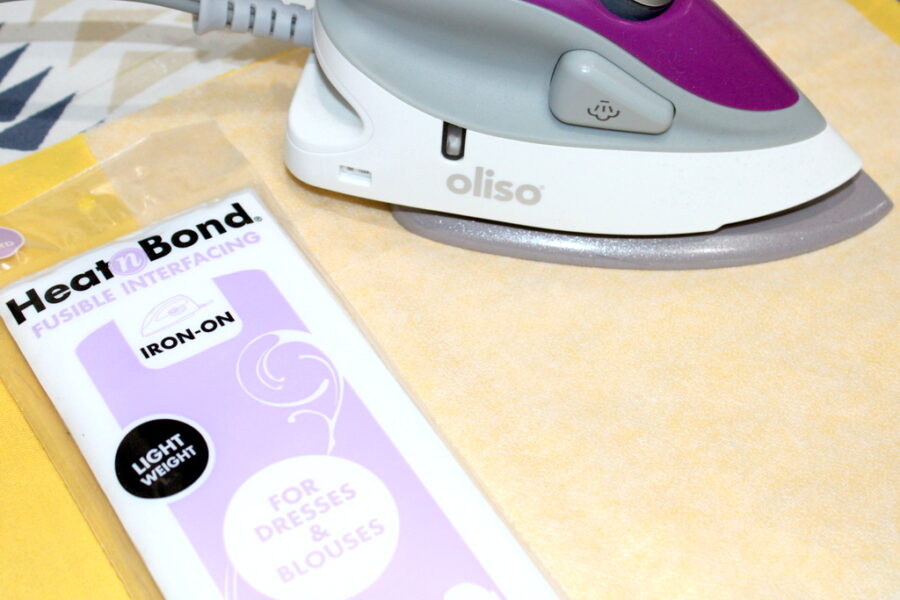
Appliqueing is so easy when using Heat n Bond Lite EZ Print Sheets. There is no tracing involved, just copy your designs to the EZ Print Sheets using an inkjet printer. Once the ink is dry, iron your designs (rough side of sheets down) to the wrong side of your fabric.
Heat n Bond Lite Iron-on Adhesive works just the same, but you have to trace the designs on the smooth side of the paper with a pencil. It’s easy to peel the backing paper off either of them…no pin needed for scoring the paper!
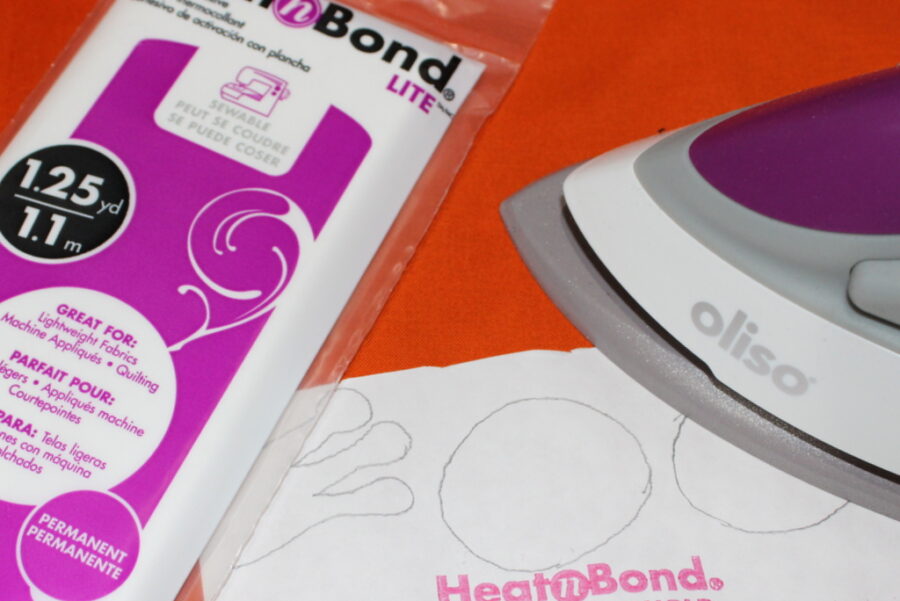
Applique Tip: When putting together your applique pieces, lay them out first before ironing them to your fabric. Make sure they slightly overlap if indicated in the design keys. A heatproof sheet is a great tool for assembling the pieces. Lay them out on the sheet and lightly press them in place (do not do it for too long.) Let cool. Carefully peel off the applique from the sheet and lay it on the right side of your fabric. Press in place.
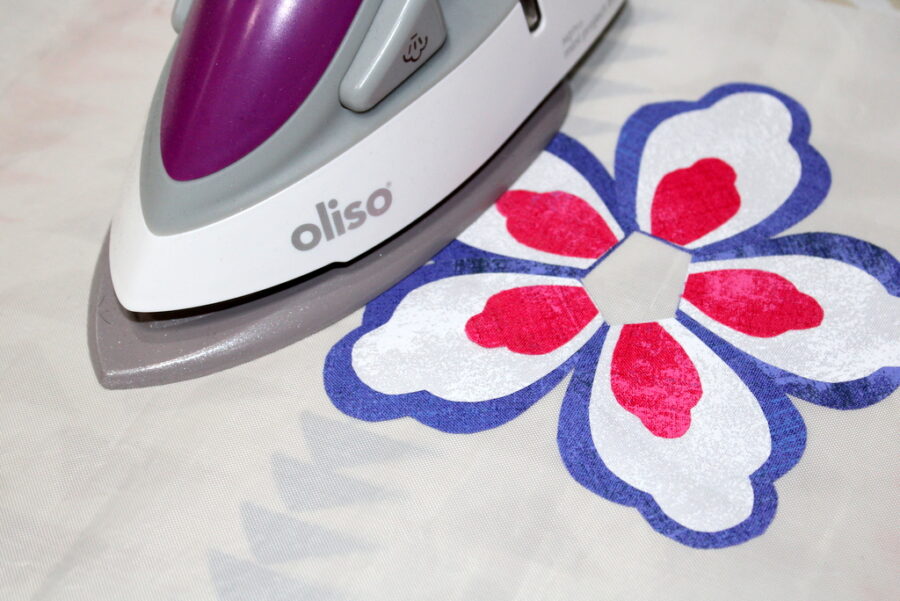
Pressing your applique designs to the right side of your fabric takes about 6 seconds in each area of the design.
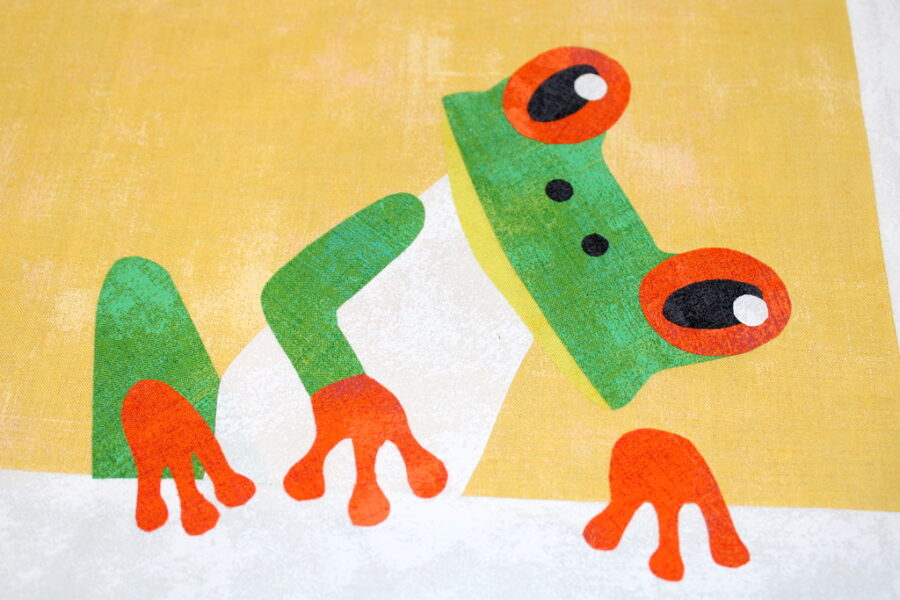
Applique designs using Heat n Bond Lite EZ Print Sheets need to be sewn in place using a blanket stitch (as shown below), zig-zag stitch, or straight stitch.
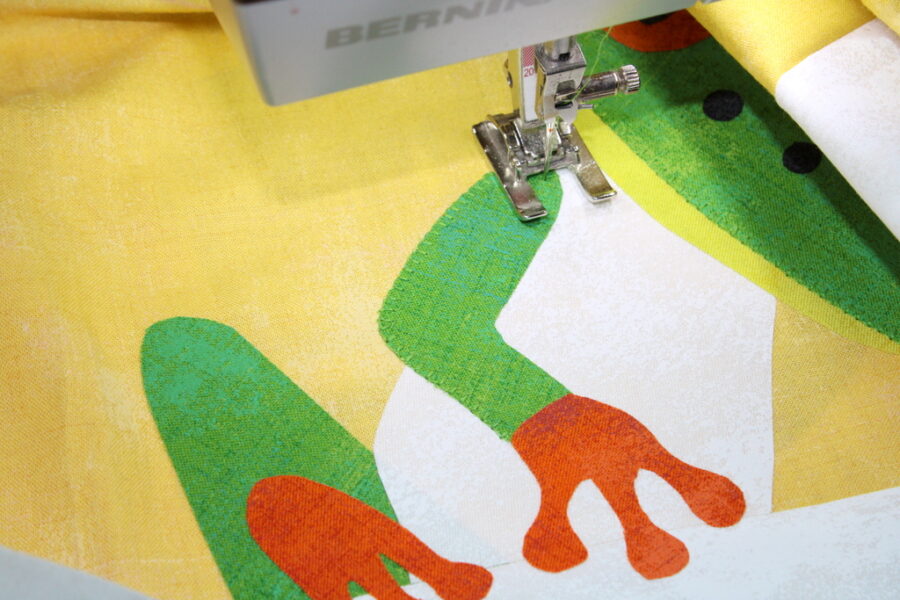
Once the quilt top is sewn together, it’s time to put the layers together. You’ll need batting or Stitch n Sew High Loft Fleece and Spray n Bond Basting Adhesive. The fleece comes in 60″ wide x 15 yards which makes it wonderful for small quilts or table toppers like this one.
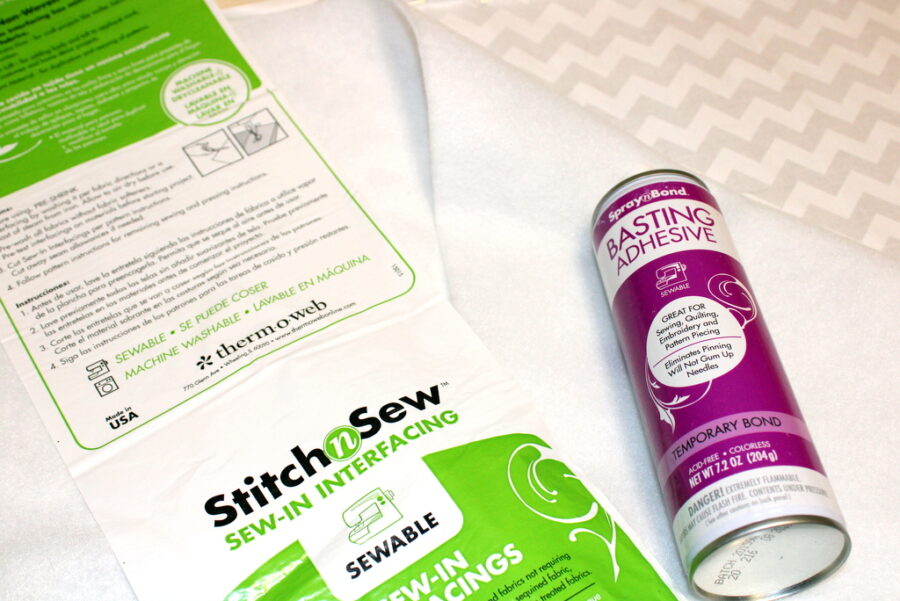
Protect the area where you will be working by placing an old sheet of paper under and around the area you’ll be spraying. Place the Stitch n Sew High Loft Fleece on the work area, smoothing to remove wrinkles. Place the quilt backing, wrong side down, on top of the fleece. Smooth to remove wrinkles. Having the fleece a bit larger than the backing is suggested.
Rollback about six inches of the quilt back to expose some of the fleece. Using the Spray n Bond Basting Adhesive, spray batting from one edge to the other. Carefully lay the wrong side of the quilt backing over the sprayed surface of the fleece. Smooth fabric to ensure it adheres to the sprayed fabric and removes any wrinkles. Rollback the rest of the quilt back to continue spraying and smoothing about six inches at a time until you reach the bottom of the quilt back. Check for creases or folds you might have missed.
Turn backing and fleece over with the fleece facing up. Lay quilt front, wrong side down, on fleece. Make sure the quilt front is lined up correctly; smooth out wrinkles. Use the same spray and smooth method as the backing. Trim edges and square-up quilt. Quilt as desired and add the binding.
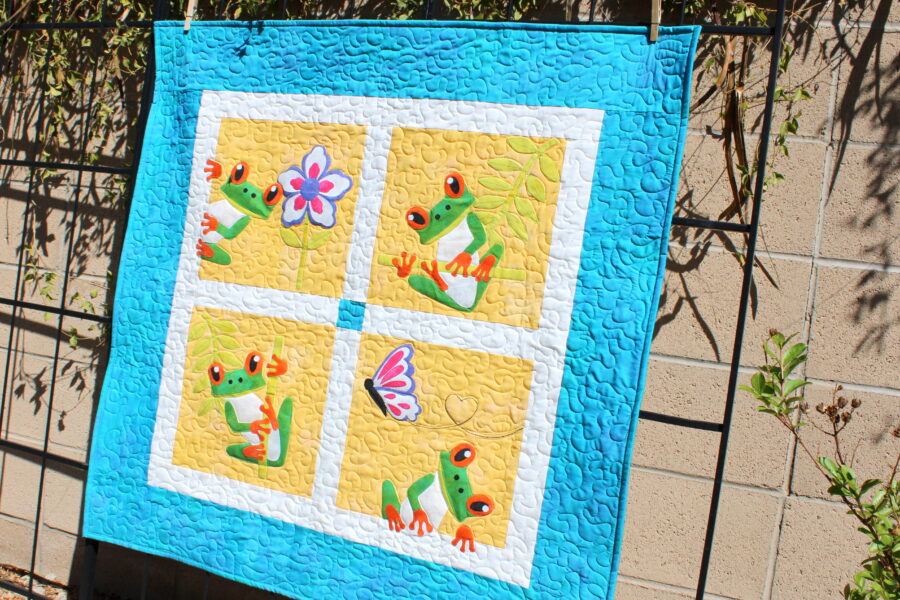
All butterflies leave a heart trail in this tree frog’s world.
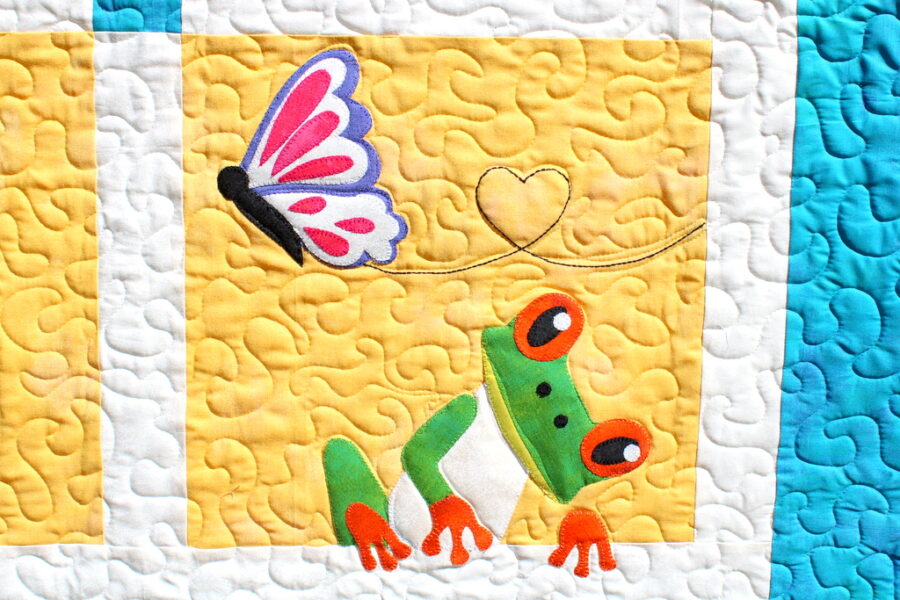
This guy can climb anywhere he wants to!
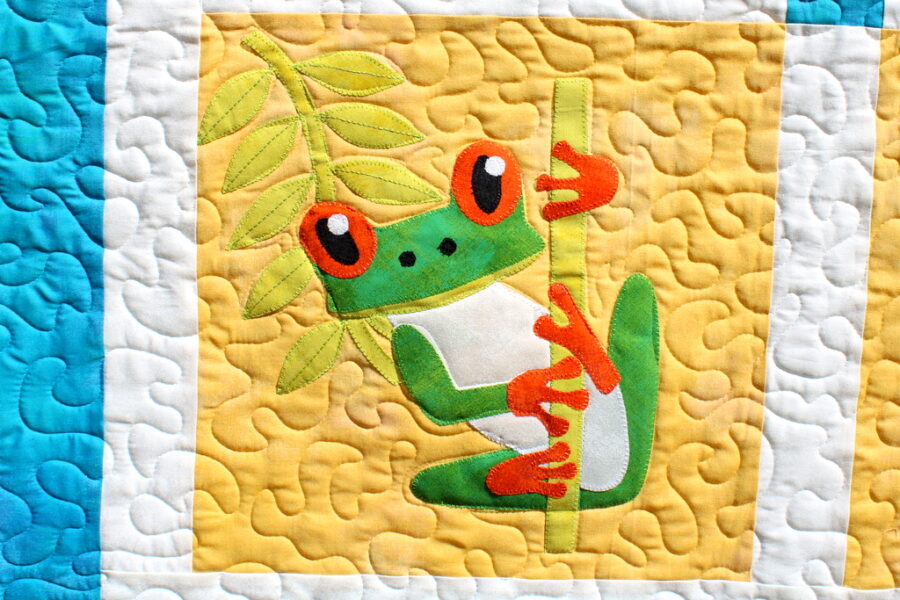
If it is springtime, there must be flowers for the tree frogs to play in.
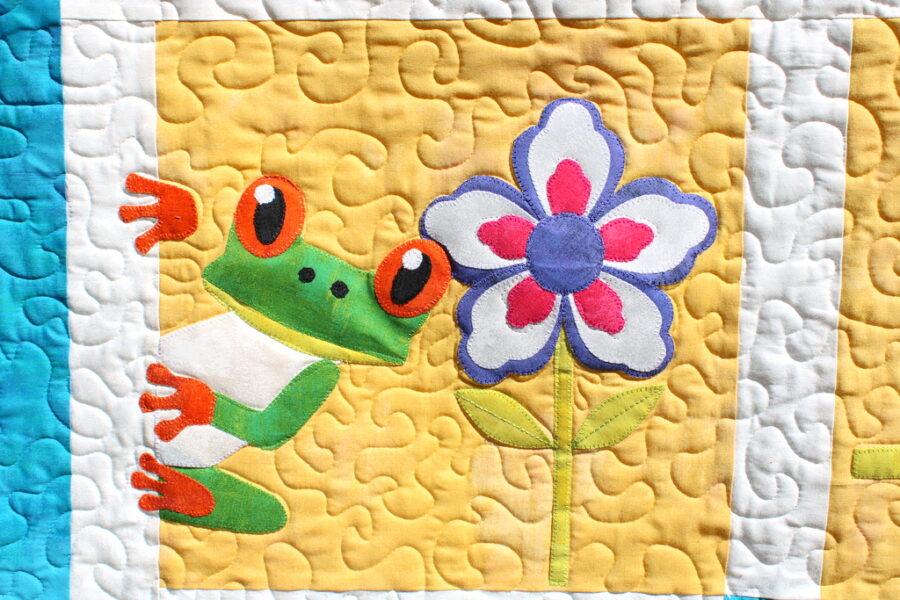
Tree frogs are just so fun and cute!
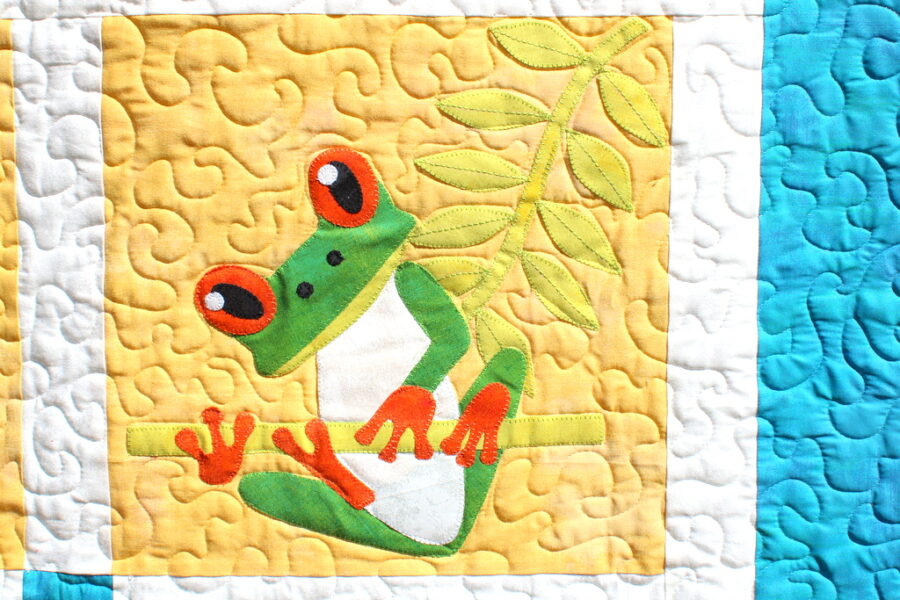
You can find the PDF downloadable “Springtime Tree Frog” table topper in Just Let Me Quilt’s Etsy store HERE.
Be sure to look around ThermOWeb’s blog for more inspiration and creativity!
This post contains affiliate links. For more information, see our disclosure HERE.
