


Spring has sprung and the flowers are blooming. We can bring them inside and enjoy them, year-round with this fun spring flower applique trivet.
Spring Flowers Applique Trivet
By Joan Kawano @ MooseStashQuilting
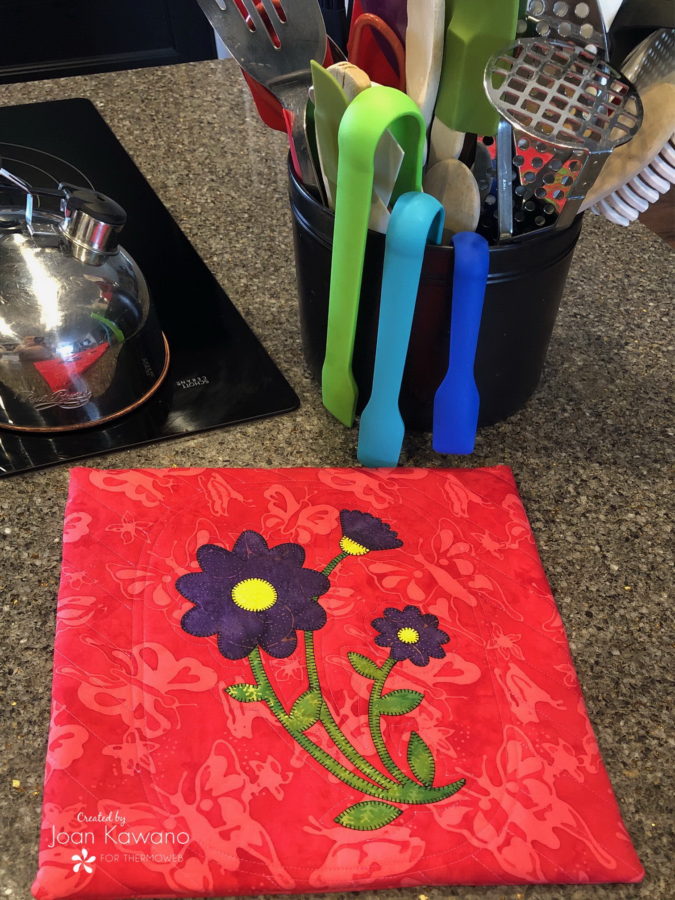
Bring on those hot pans…This trivet hides a simple inexpensive 12″ ceramic tile. The “Velcro” cover makes it easily removable for washing or just changing up things in our kitchens!
Start with downloading the Spring Flowers Applique Pattern
Supplies
Fabric
1/2-yard main fabric
1/2-yard lining fabric
6” x 9” scrap green for stems and leaves
4” x 9” scrap flower (any color)
Scrap of yellow for flower centers
Additional supplies
11” of hook and loop tape (Velcro)
Thread to match
Applique pressing sheet
1 – 12” square ceramic tile
Please read through the complete pattern before beginning.
Cutting
Cut 2 – 13 ¼” x 13 ¼” pieces main fabric
Cut 1 – 11 ¾” x 3 ½” piece main fabric for the flap
Cut 2 – 13 ¼” x 13 ¼” pieces lining fabric
Cut 2 – 13 ¼” x 13 ¼” pieces of fusible batting
Assembly
(¼” seams are used unless noted)
Spring Flowers Applique Trivet Instructions
Fuse the batting to the wrong side of the 2 main fabric squares. Set aside.
Fold 11 ¾” x 3 ½” flap piece in half lengthwise with right sides together. Press.
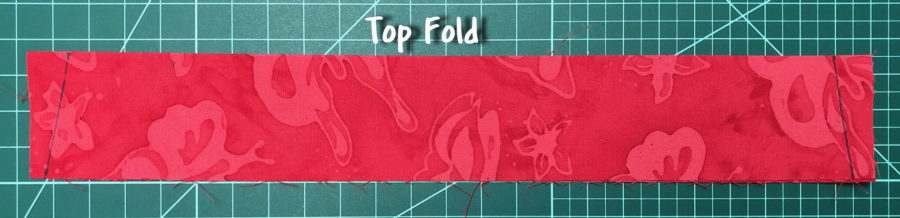
Make a mark ½” in from top fold, on both sides of the flap. Mark an additional mark ¼” in from the bottom on both sides of the flap. Draw a line connecting to two marks and stitch on the line. Trim the top corners, turn right side out and press.
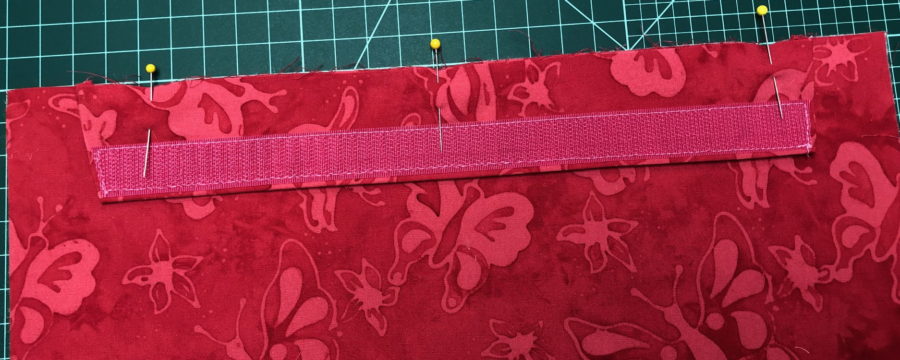
Stitch an 11” piece of hook and loop tape commonly known as Velcro, approximately 1/8” below the fold line. You will need to trim it at an angle, at the ends.
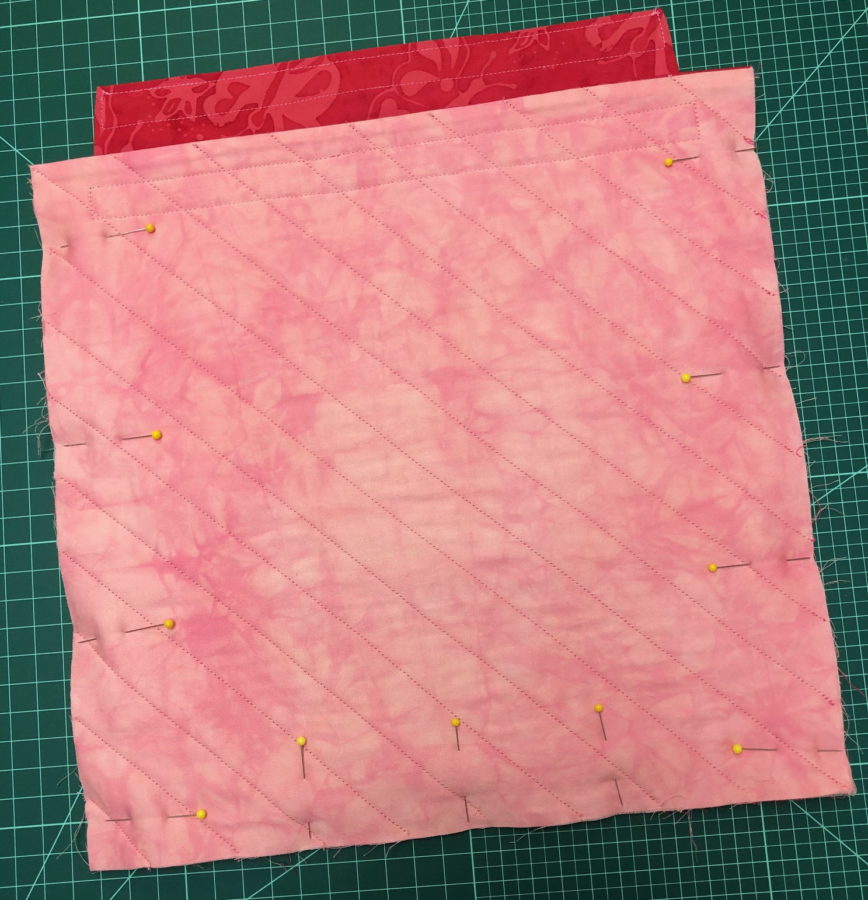
On your work surface, lay 1 main fabric square with fleece fused, facing up. Finding the centers lay the flap on top with Velcro facing up and pin.
Lay lining fabric right side down on top and carefully move the pins to the top. Stitch with flap sandwiched in between the layers. Open and press lining to the back of the main fabric square. You have completed the front of your trivet.
Make the back using the same method, but without a flap.
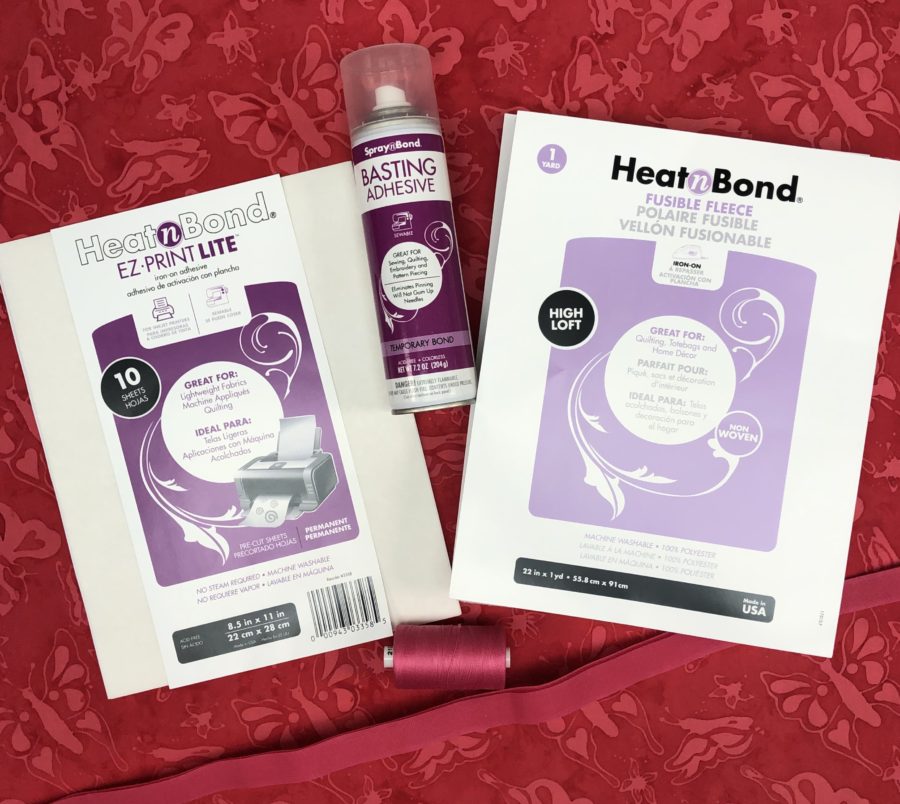
To hold the lining, nicely in place on top of fusible batting, use SprayNBond®Basting Adhesive.
Print the applique shapes on page 6, on a sheet of HeatNBond®EZ Print Lite. These shapes have been reversed for you. Cut flowers, centers, stems and leaves apart and fuse to the reverse side of your scraps of fabric using the manufacturers’ recommendations.
Cut out applique shapes. Using the layout sheet included, build your applique on an applique pressing sheet. Once it’s cool, remove and center on the front side of your trivet cover.
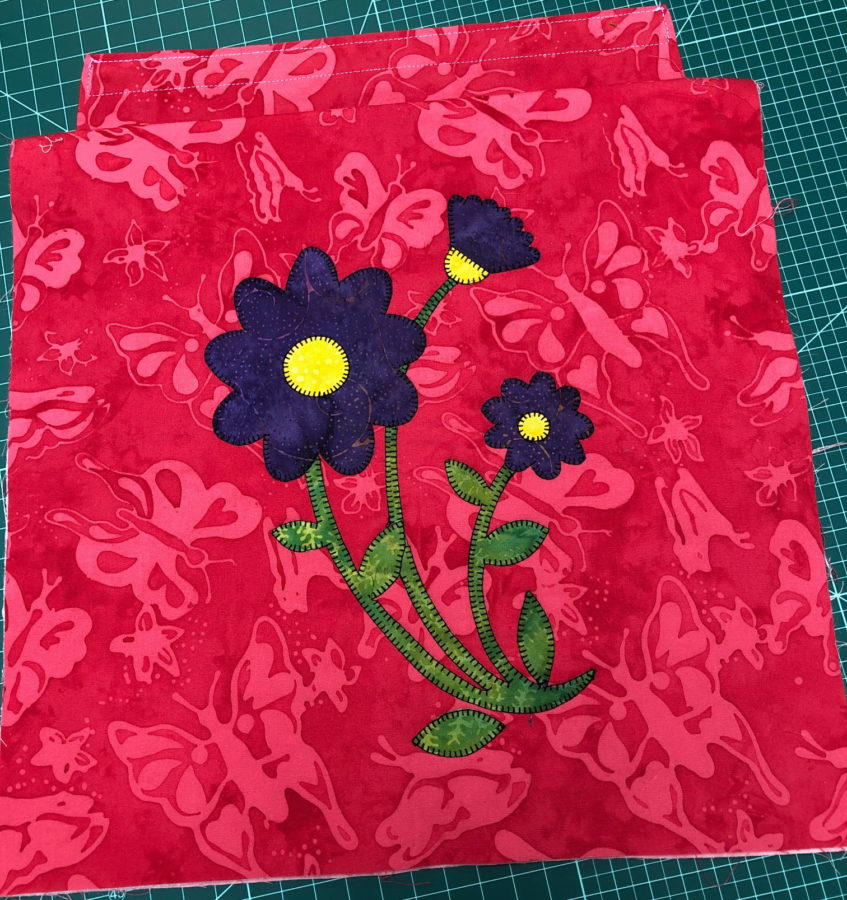
Stitch down applique and quilt, as desired.
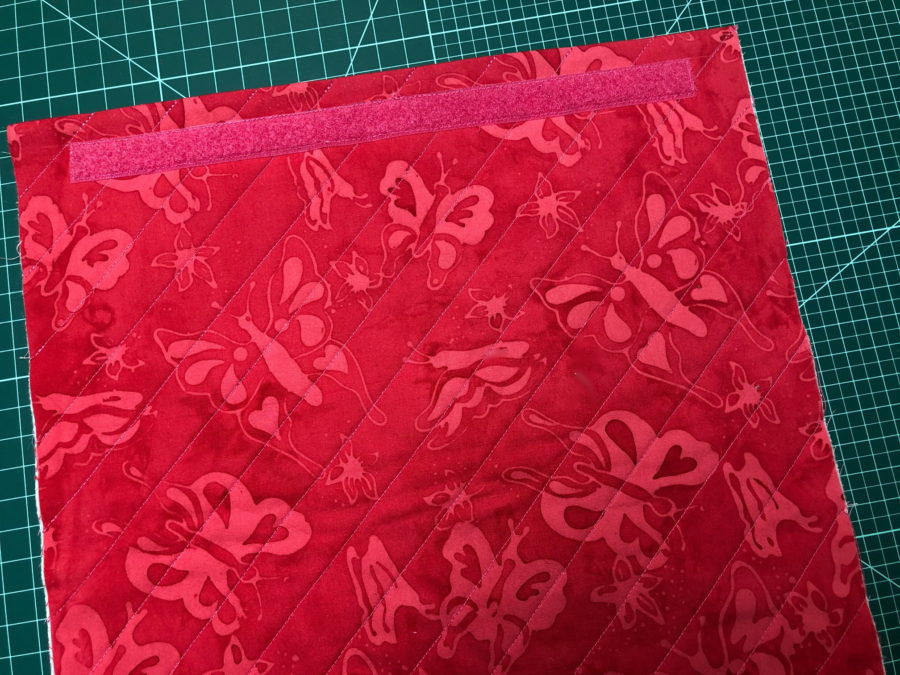
Quilt back to hold layers nicely. Trim the loop piece of Velcro down to approximately 10 ½”. Center and stitch ½” down from the top. With the right sides together, lay back on top of the front. Pin and stitch down both sides and across the bottom.
Turn right sides out.
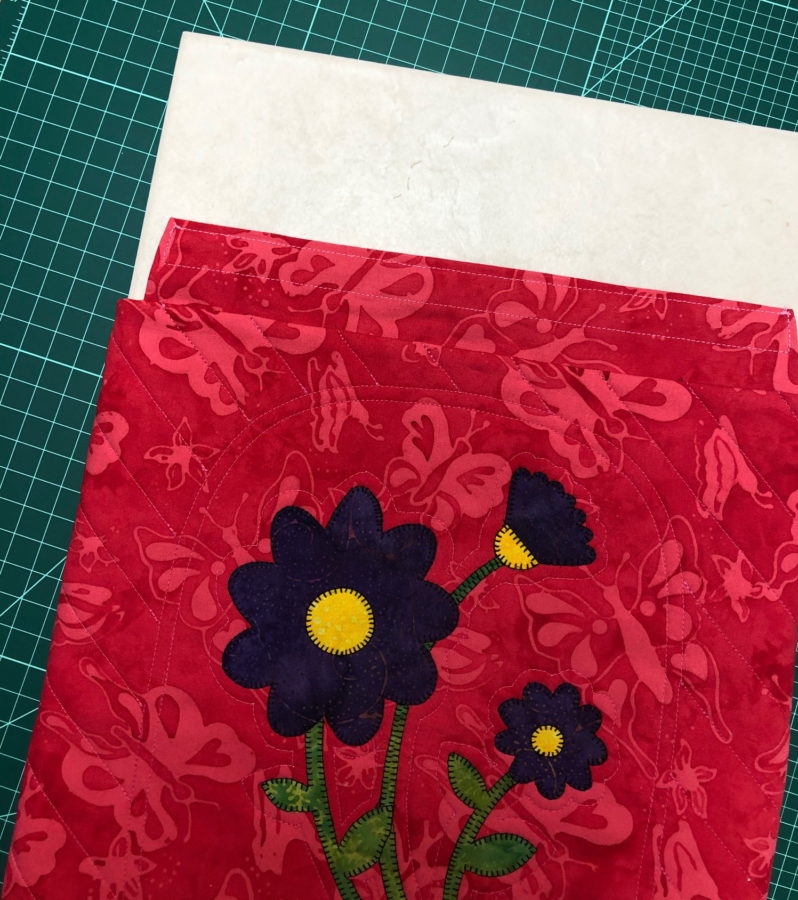
Insert tile and your spring flowers applique trivet is complete.
Having the Velcro flap makes it easy to remove for washing, as well as change out when desired.
![]()
Don’t miss these pretty spring coasters that coordinate with this project too!
[…] For the complete trivet, you will need the pattern for “Spring Flowers Applique Trivet”availab… […]