Hello and welcome!
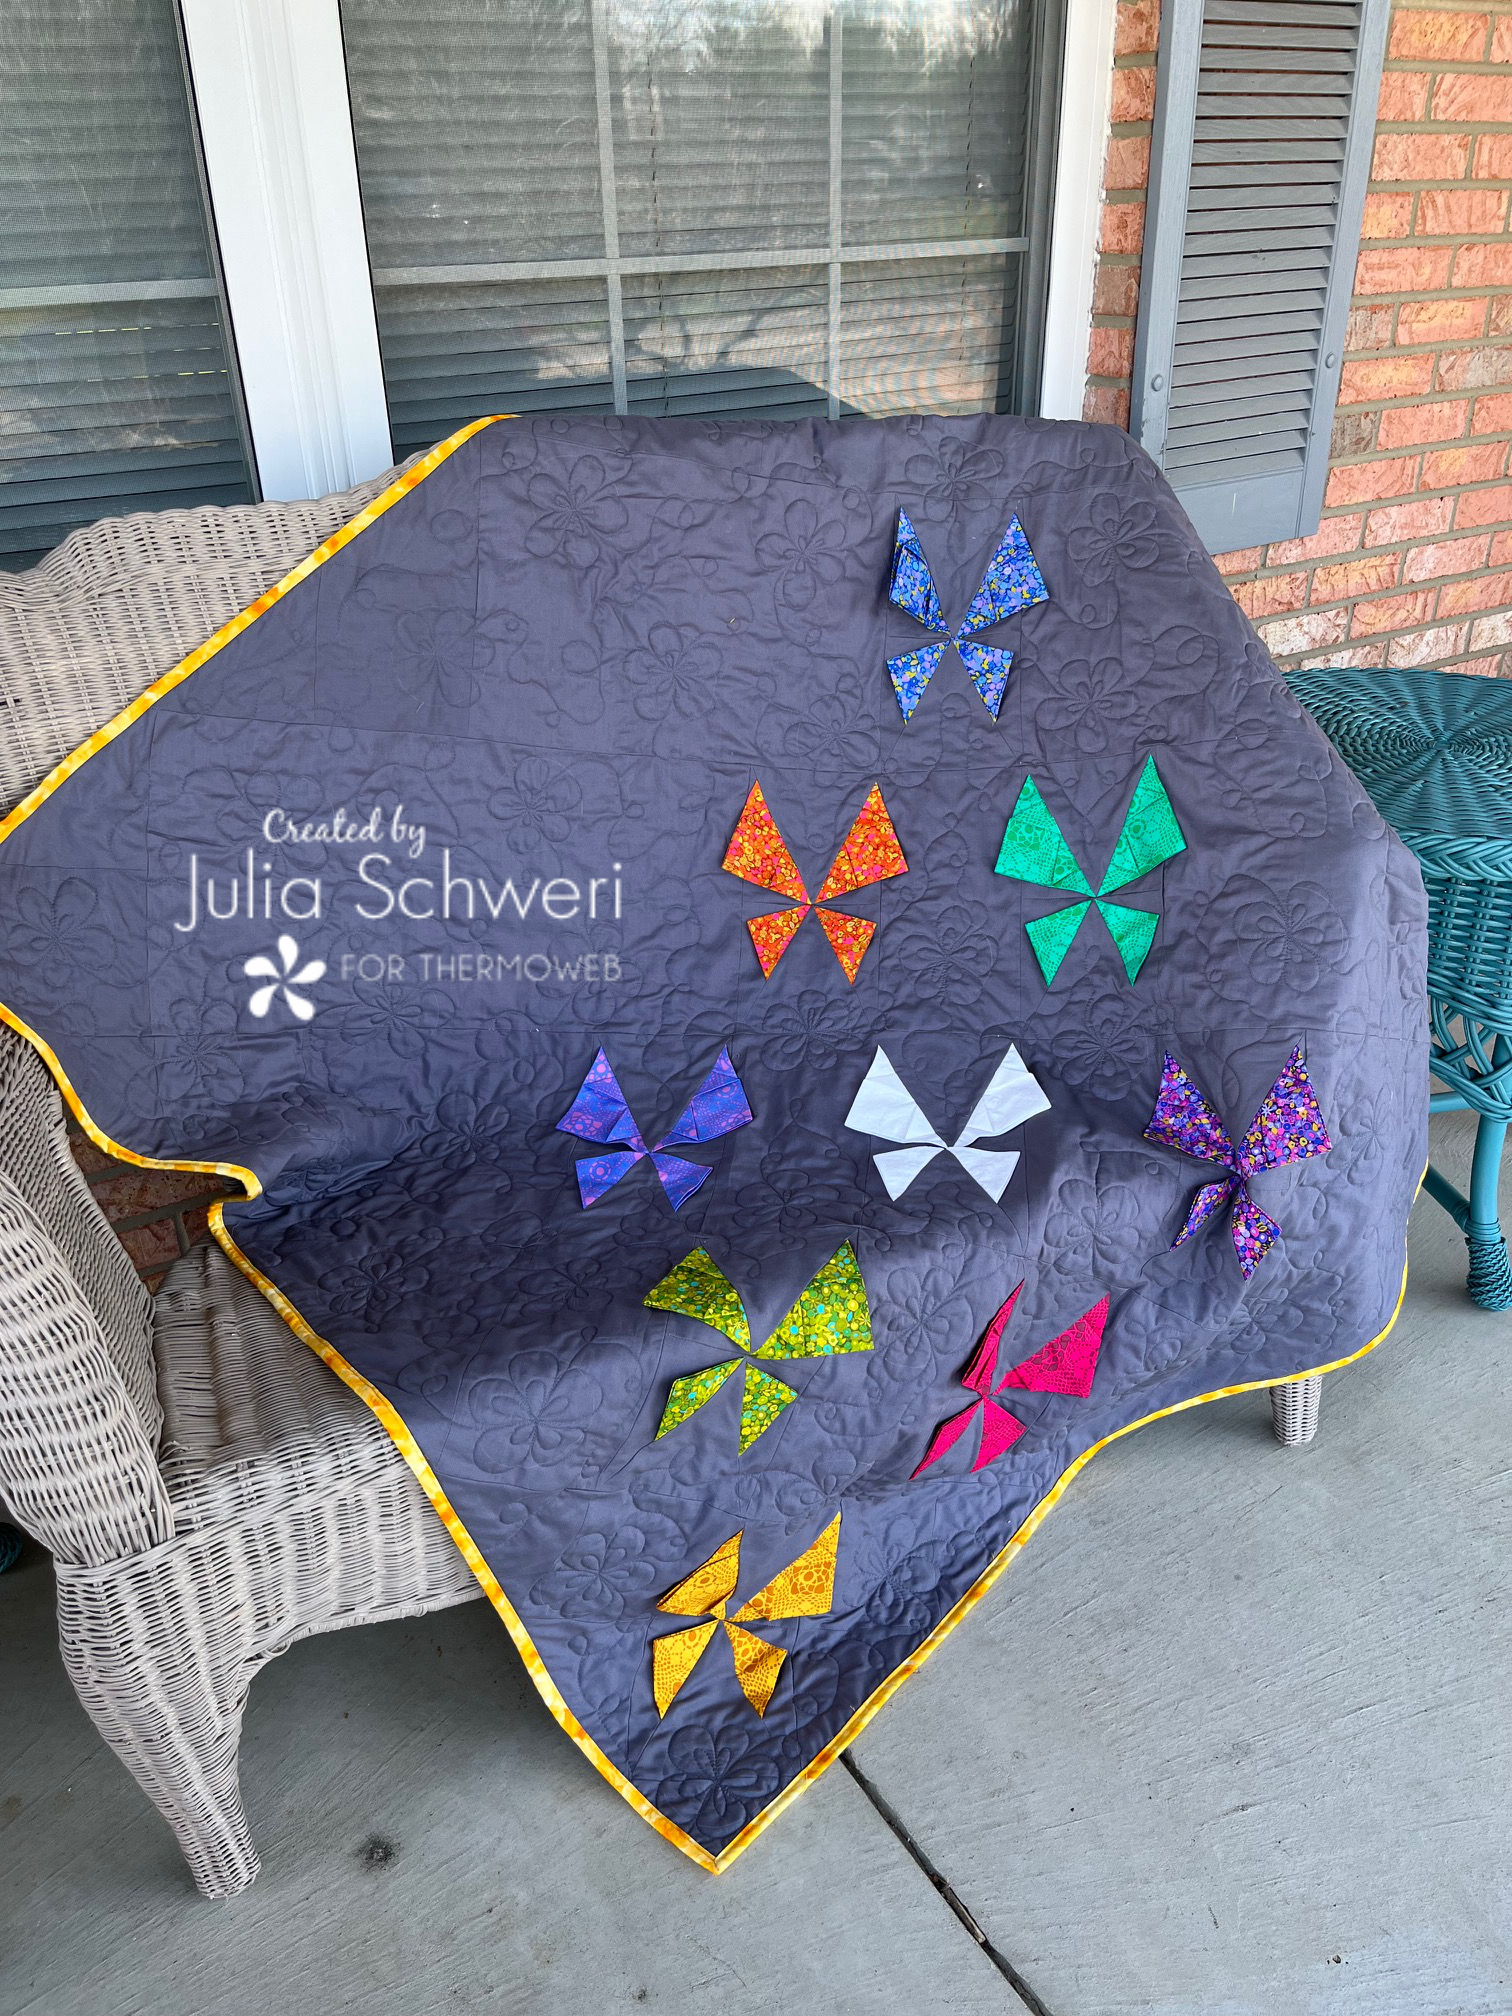
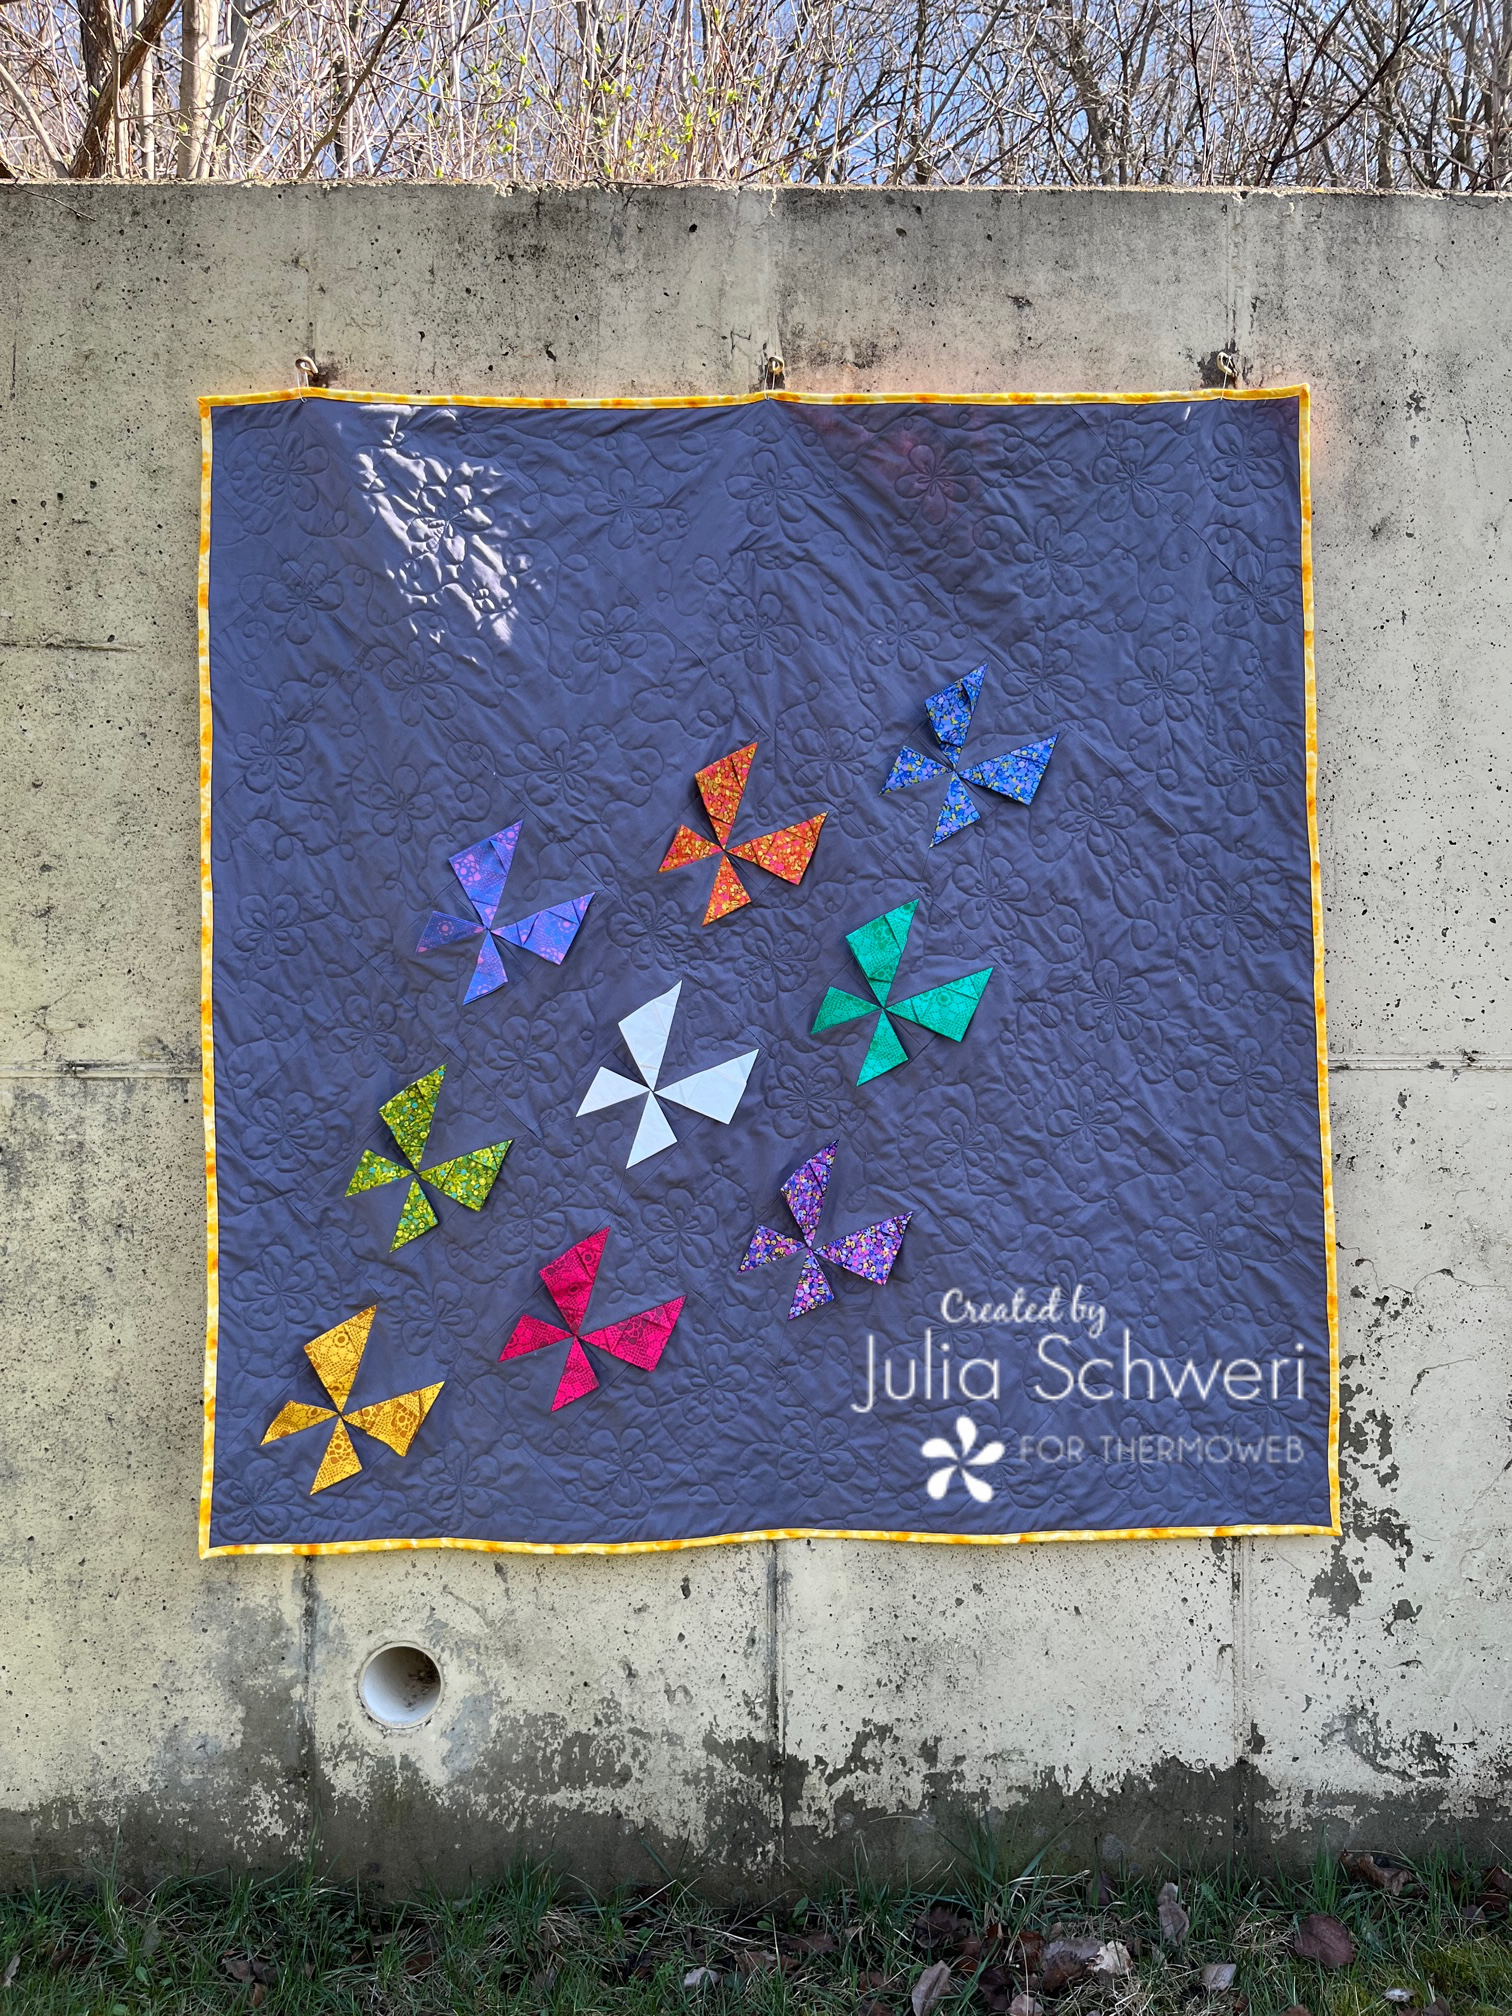
It’s Julia from Inflorescence Designs! I’m so joyful you are visiting today. Thermoweb has an awesome new product available. Their StitchnSew sew-in fleece now comes in a 60″ width! This new length is perfect for making larger quilted pieces. I decided to try out their new wide-width fleece with Inflorescence Designs newest quilt pattern: “Spring Fling 3D Butterfly Quilt.”
This quilt uses the art of folding fabric to create special 3D fabric butterflies that make your quilt come alive with color and dimension.
Spring Fling 3D Butterfly Quilt
Supplies:
- Purchase the Spring Fling 3D Butterfly Quilt from Inflorescence Designs (pattern includes all fabric requirements and detailed cutting and assembling instructions)
- SpraynBond Basting Adhesive
- SpraynBond Fabric Stiffener
- 60″ StitchnSew High Loft Sew in Fleece – 2 yards NEW!
- Olioso Iron – I used both my Mini and Regular size irons
- Sewing Machine and basic sewing notions
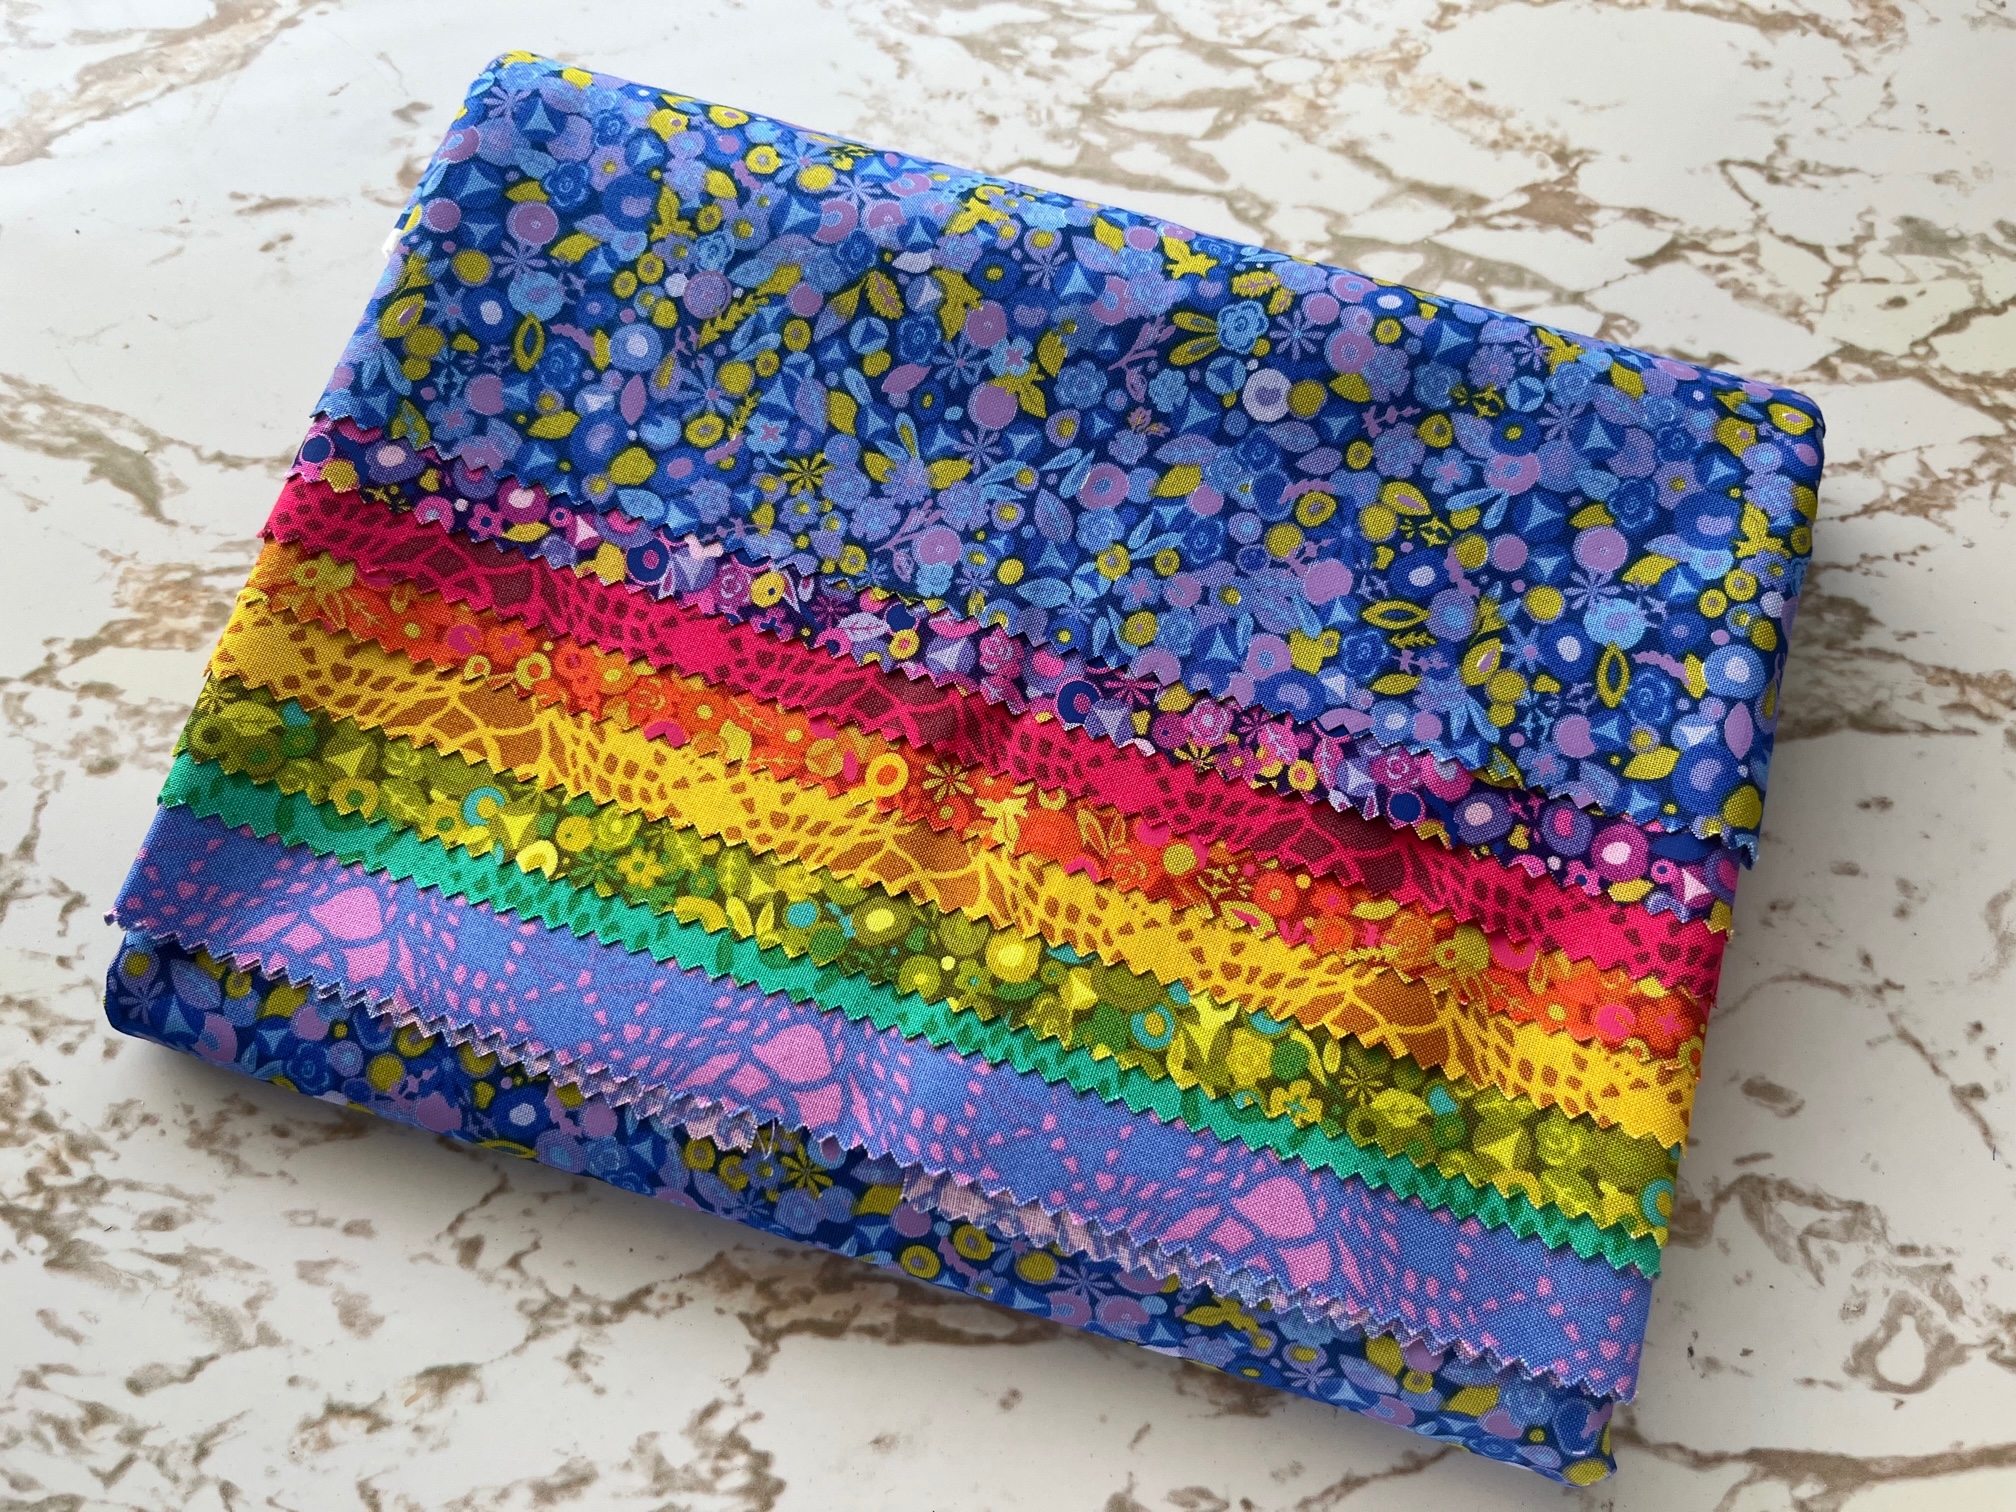
- Fabric Used: Butterflies– Sun Print 2021 Background-Kona Cotton Coal
Product Instructions:
Begin by…
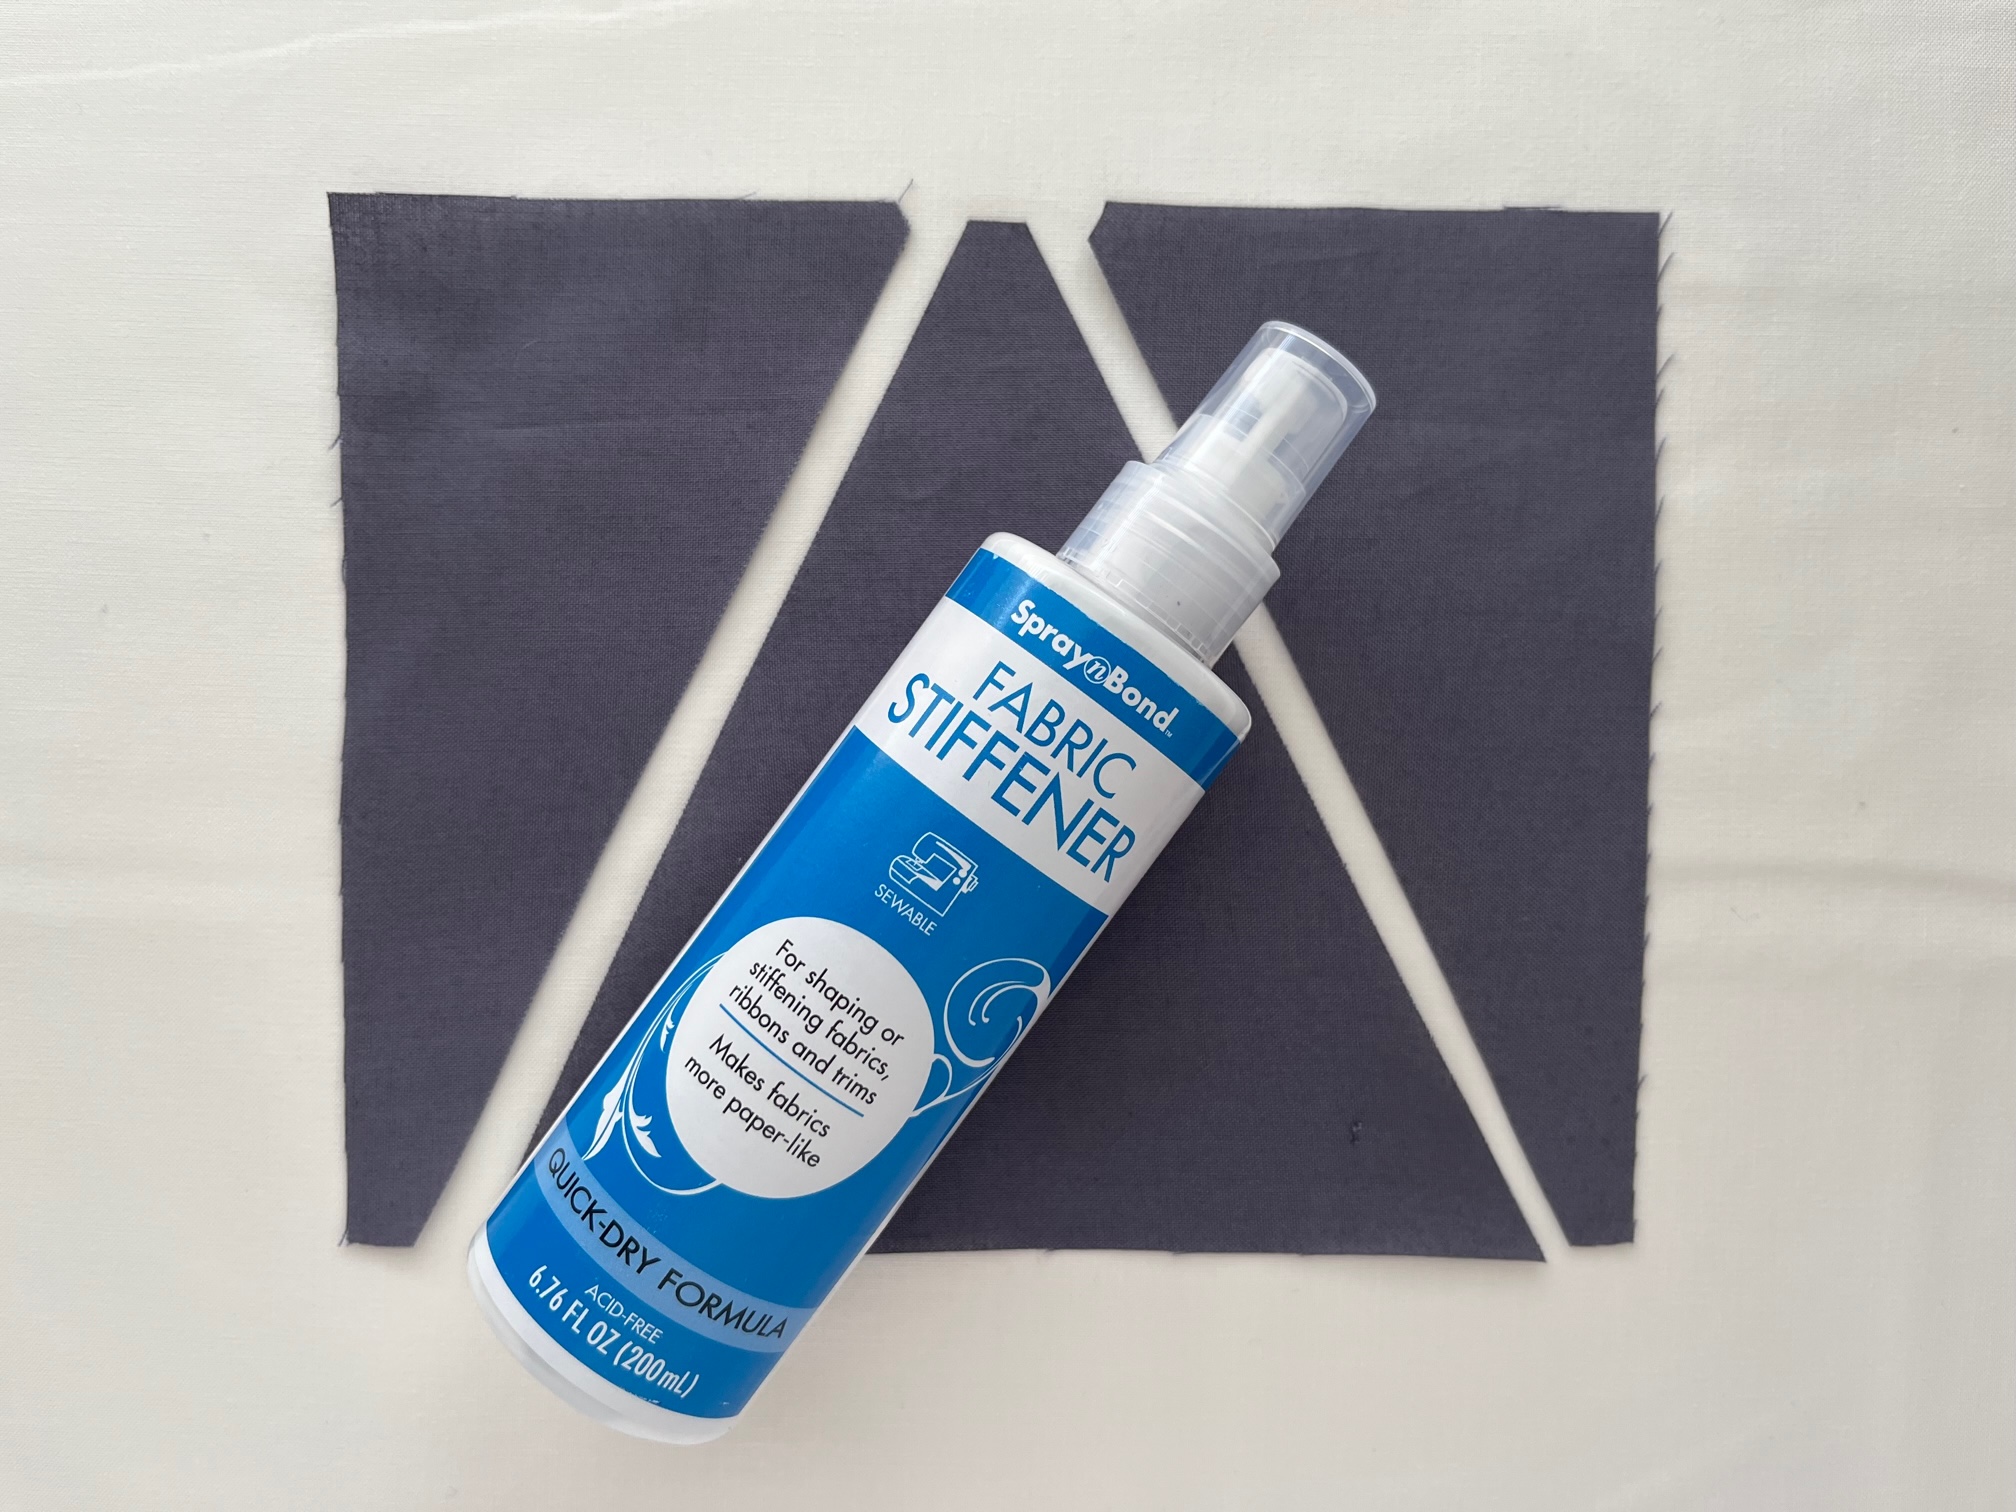
Purchasing and printing the Spring Fling 3D Butterfly Quilt pattern. Read all instructions before beginning. Using the template provided, cut out all your template pieces. Your pieces when cut will expose the bias of the fabric. This is where Thermoweb’s SpraynBond Fabric Stiffener spray really helps.
SpraynBond Fabric Stiffener makes fabrics more paper-like and fray-free for easy cutting, pressing and stitching. This quick-dry, non-aerosol formula dries clear and can be left in or washed out depending on your needs. Unlike other fabric stiffeners on the market, there is no need to soak the fabric, just spray until damp. Let fabric air-dry or iron it for immediate use.
Since the template pieces have the bias exposed the fabric stiffener helps prevent stretching when you sew your pieces together. I also used the fabric stiffener for my setting triangles. This quilt is also sewn on the diagonal so the bias is also exposed on those pieces too.
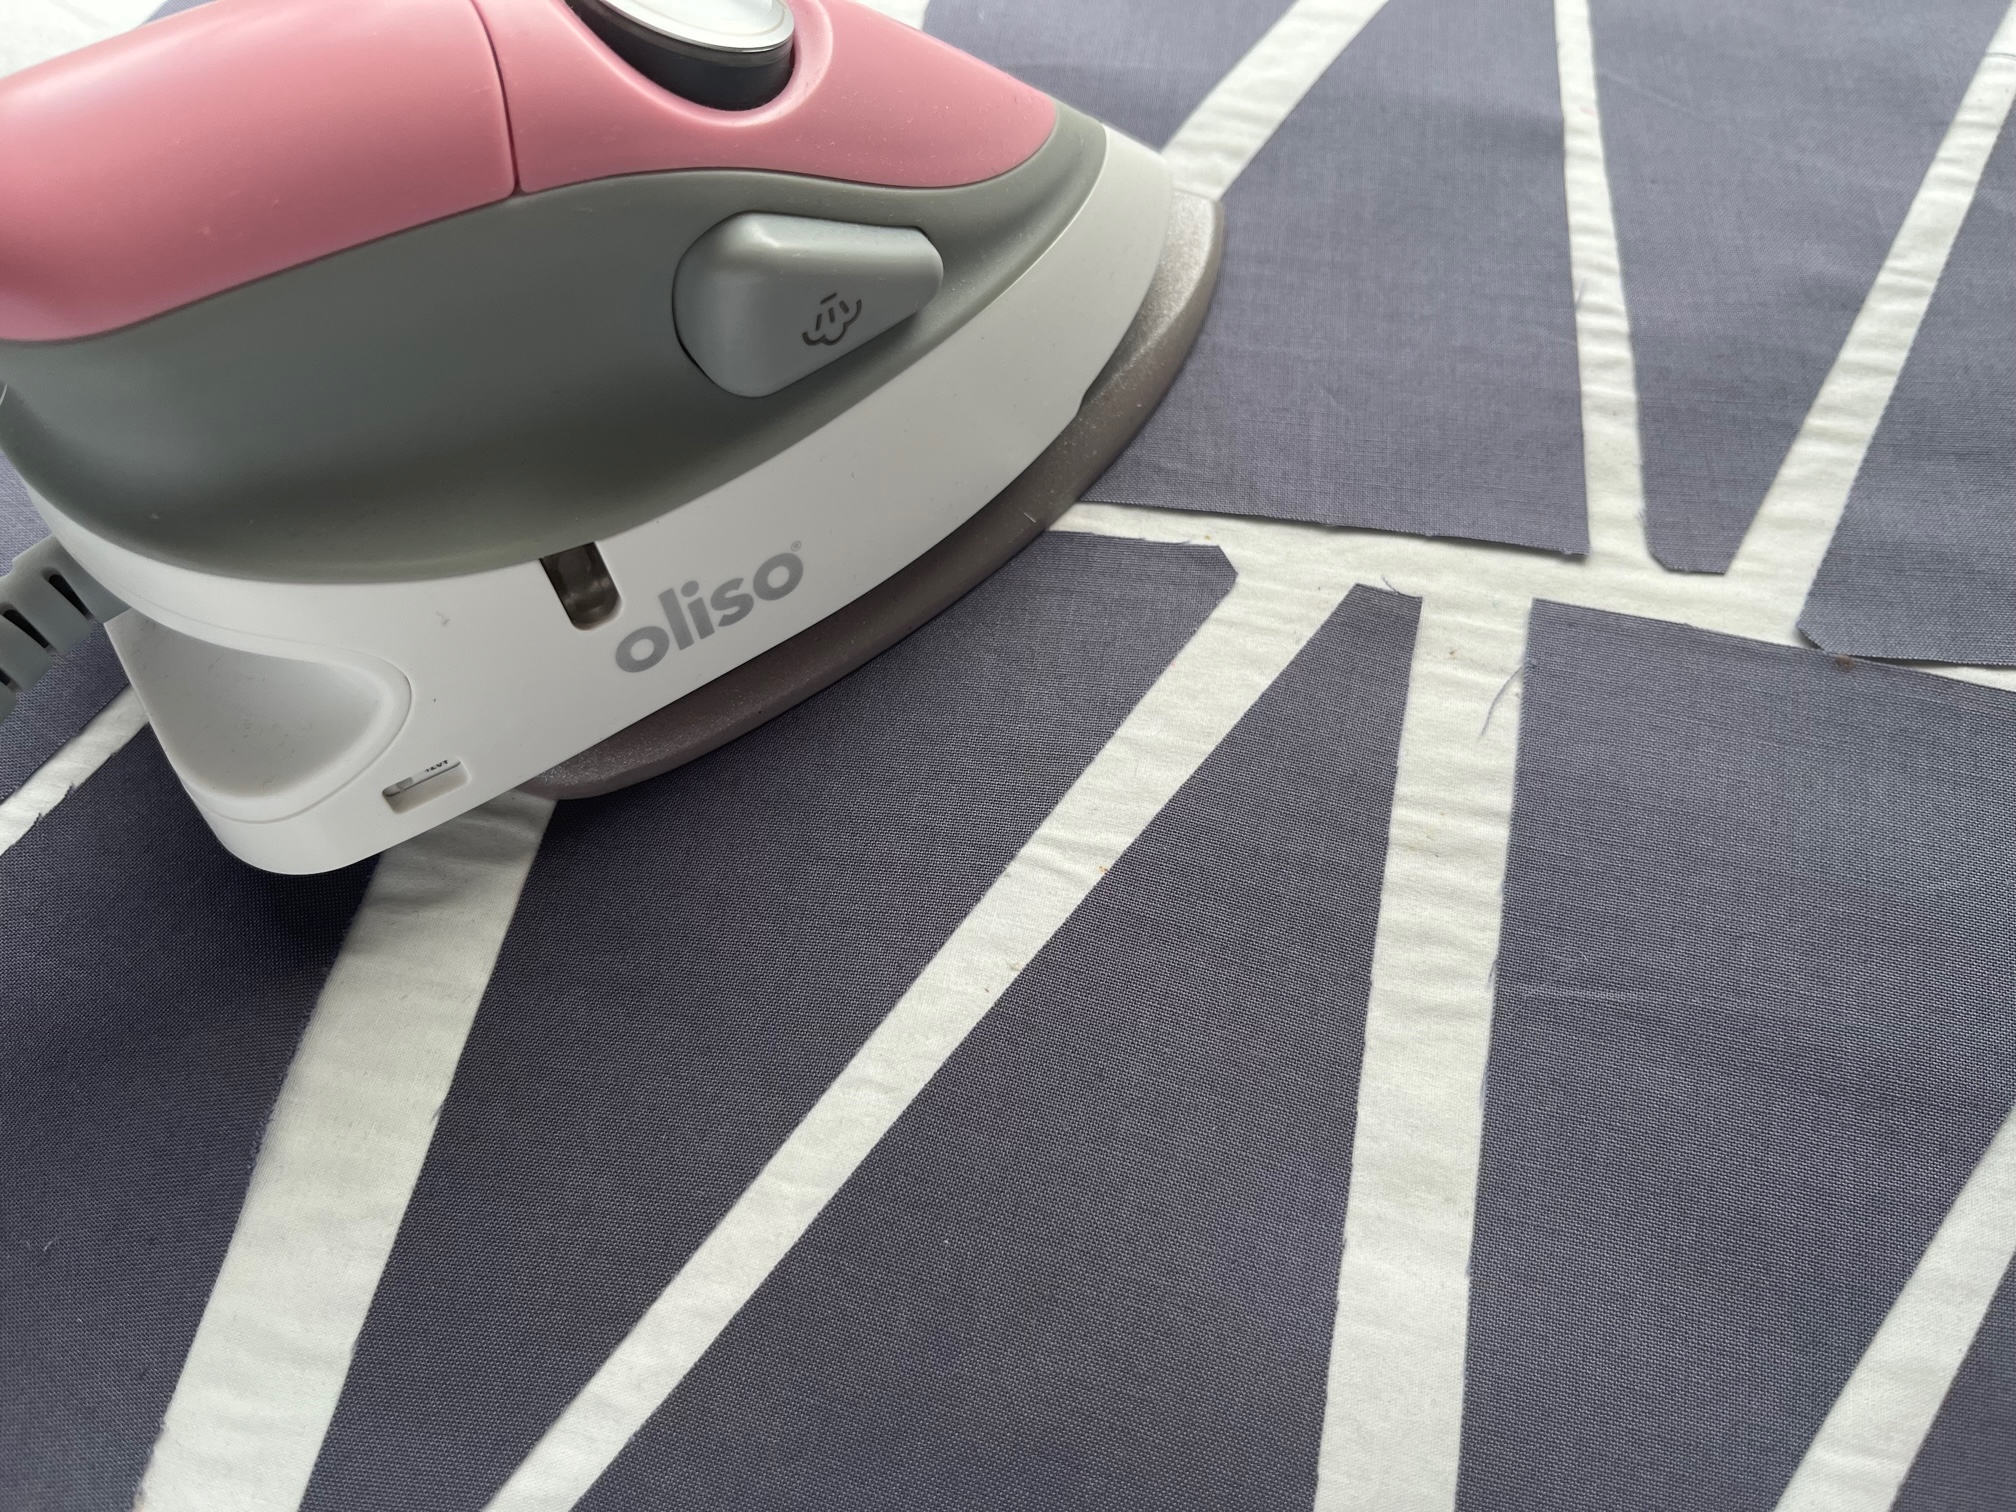
For more information about sewing on the diagonal, you can read about it here.
Next…
Assemble all your butterfly blocks, cut out the remaining background pieces and begin to assemble your quilt.
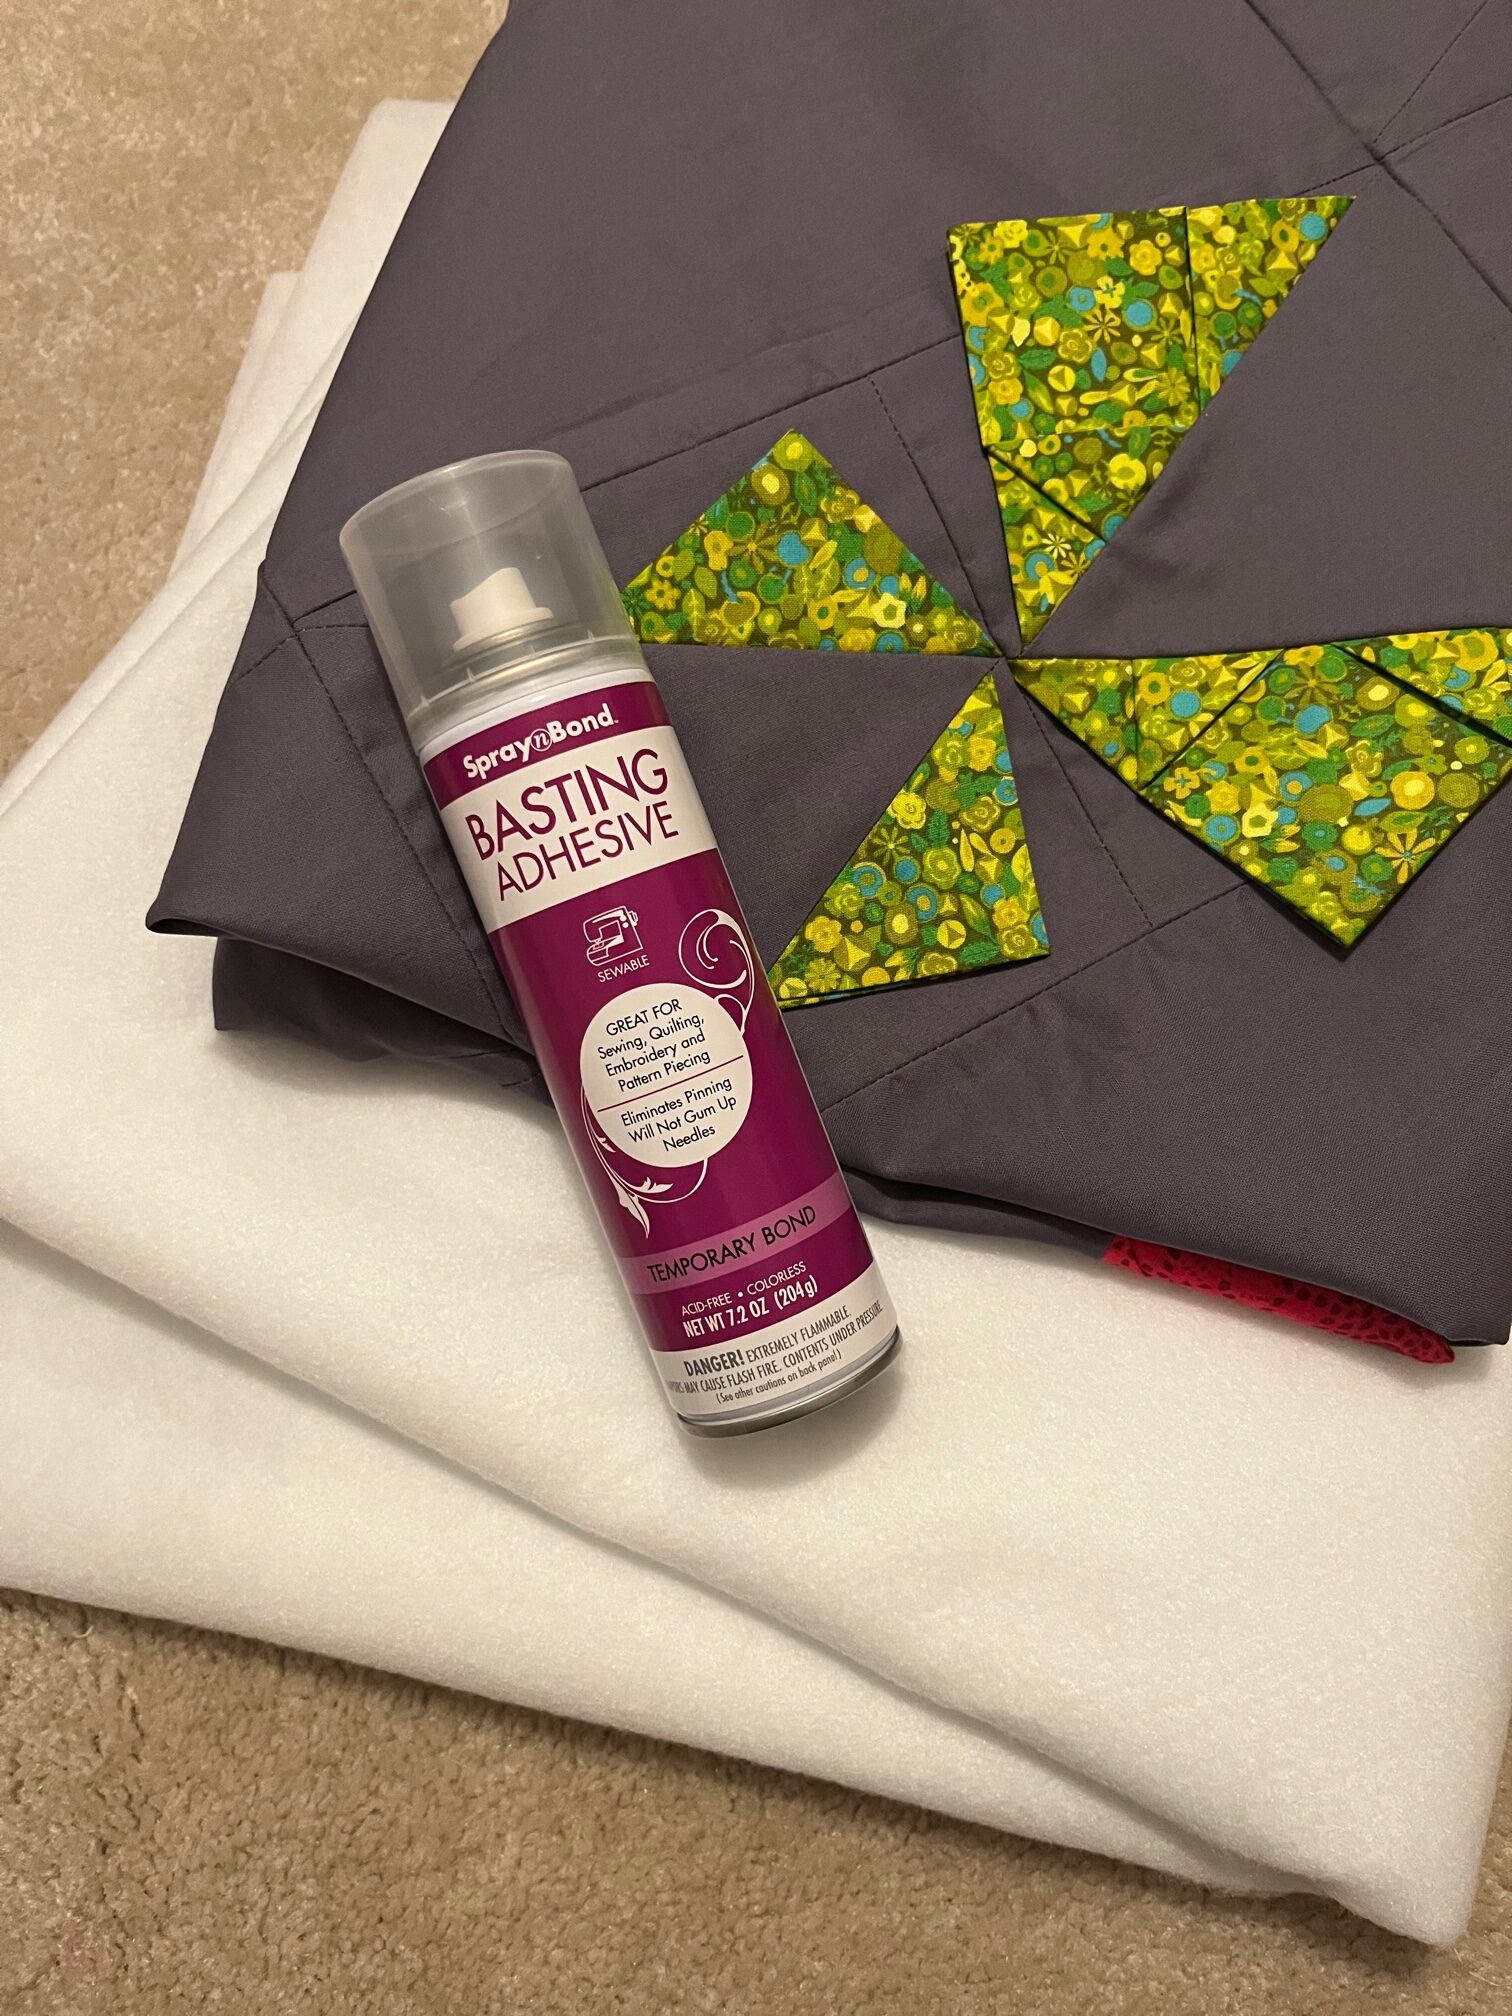
Once your quilt top is assembled, it’s time to make your quilt sandwich. To make things super easy for myself, I used SpraynBond basting adhesive. I love using this for larger quilt projects because I detest pin basting larger pieces. I can never get it to be completely smooth on both sides and I always end up getting puckers no matter how hard I try. This spray is definitely a must for me. So much time and effort are spent on piecing quilt tops and Thermoweb’s SpraynBond Basting Spray ensures I have a smooth baste ready for quilting every time.
Quilting
Once your quilt top is sandwiched and basted it is time to quilt. This quilt has A LOT of negative space. For some this is exciting. There are so many really amazing ideas floating about on the internet on how to quilt negative space. However, this can also be a challenge for some. The focus on the quilt is the 3D butterflies, so finding a way to quilt the background without taking away from the focus can be challenging.
When I quilted my 3D Butterfly Quilt, I chose a simple flower and meandering loops free motion quilting design. I began by drawing circles around my butterflies with 5 lines drawn to the center. I used the circles and lines as a guide for making whimsical double petal flowers. Between each flower, I chose to do meandering lines and loops.

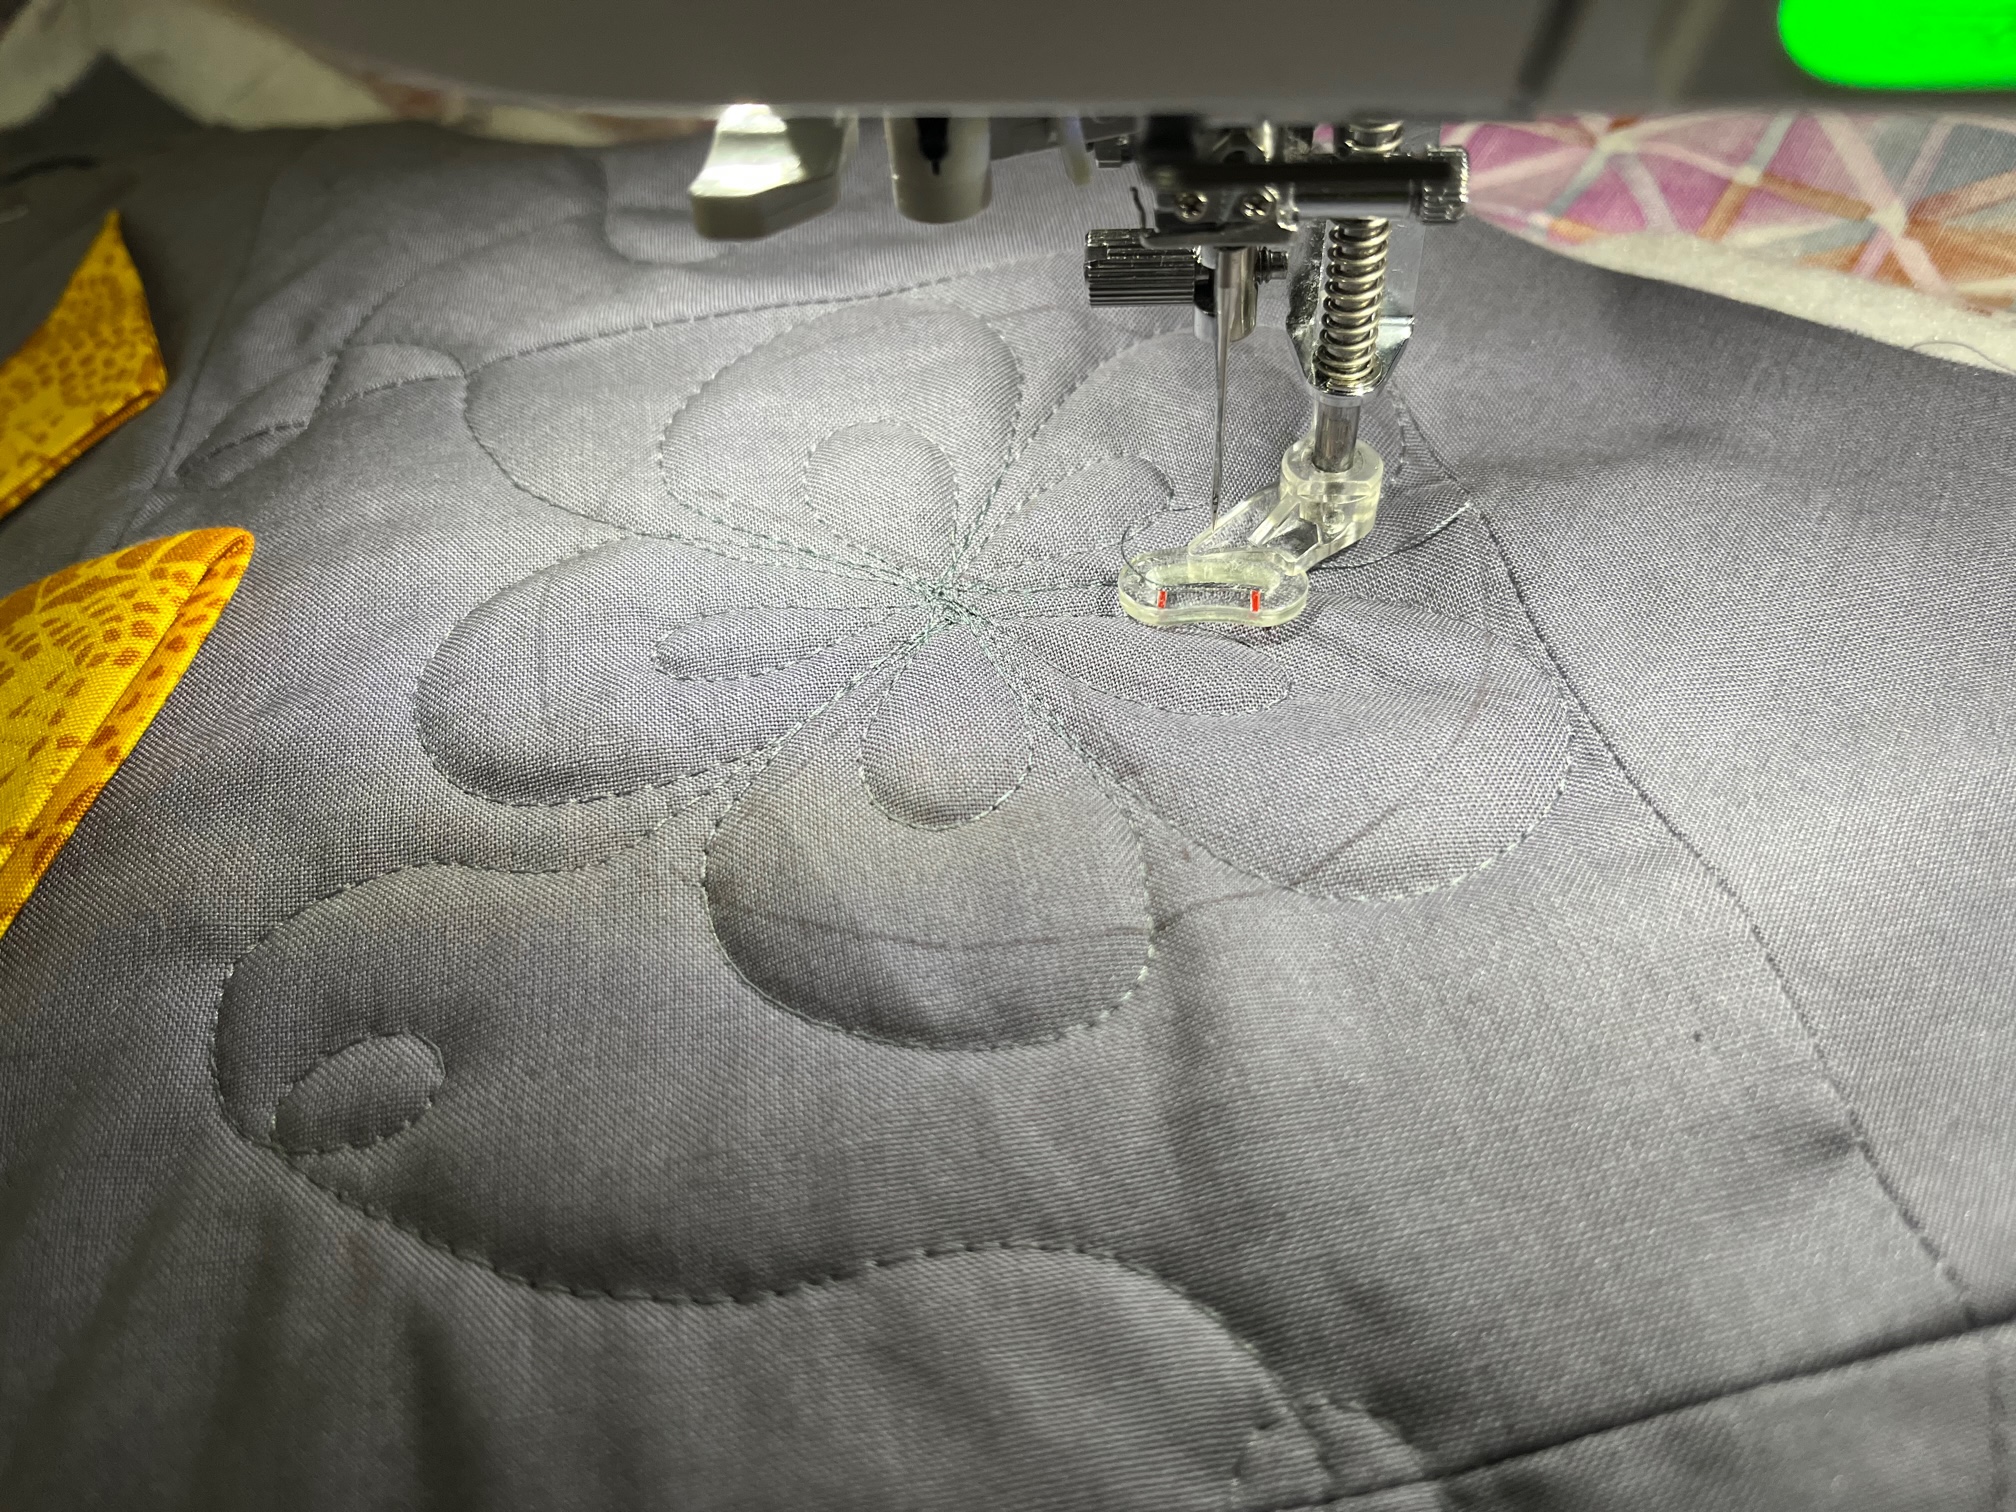
Before I actually started quilting, I practiced this design with pen and paper. I always try to do that before quilting so I can feel the flow I want to create when sewing.
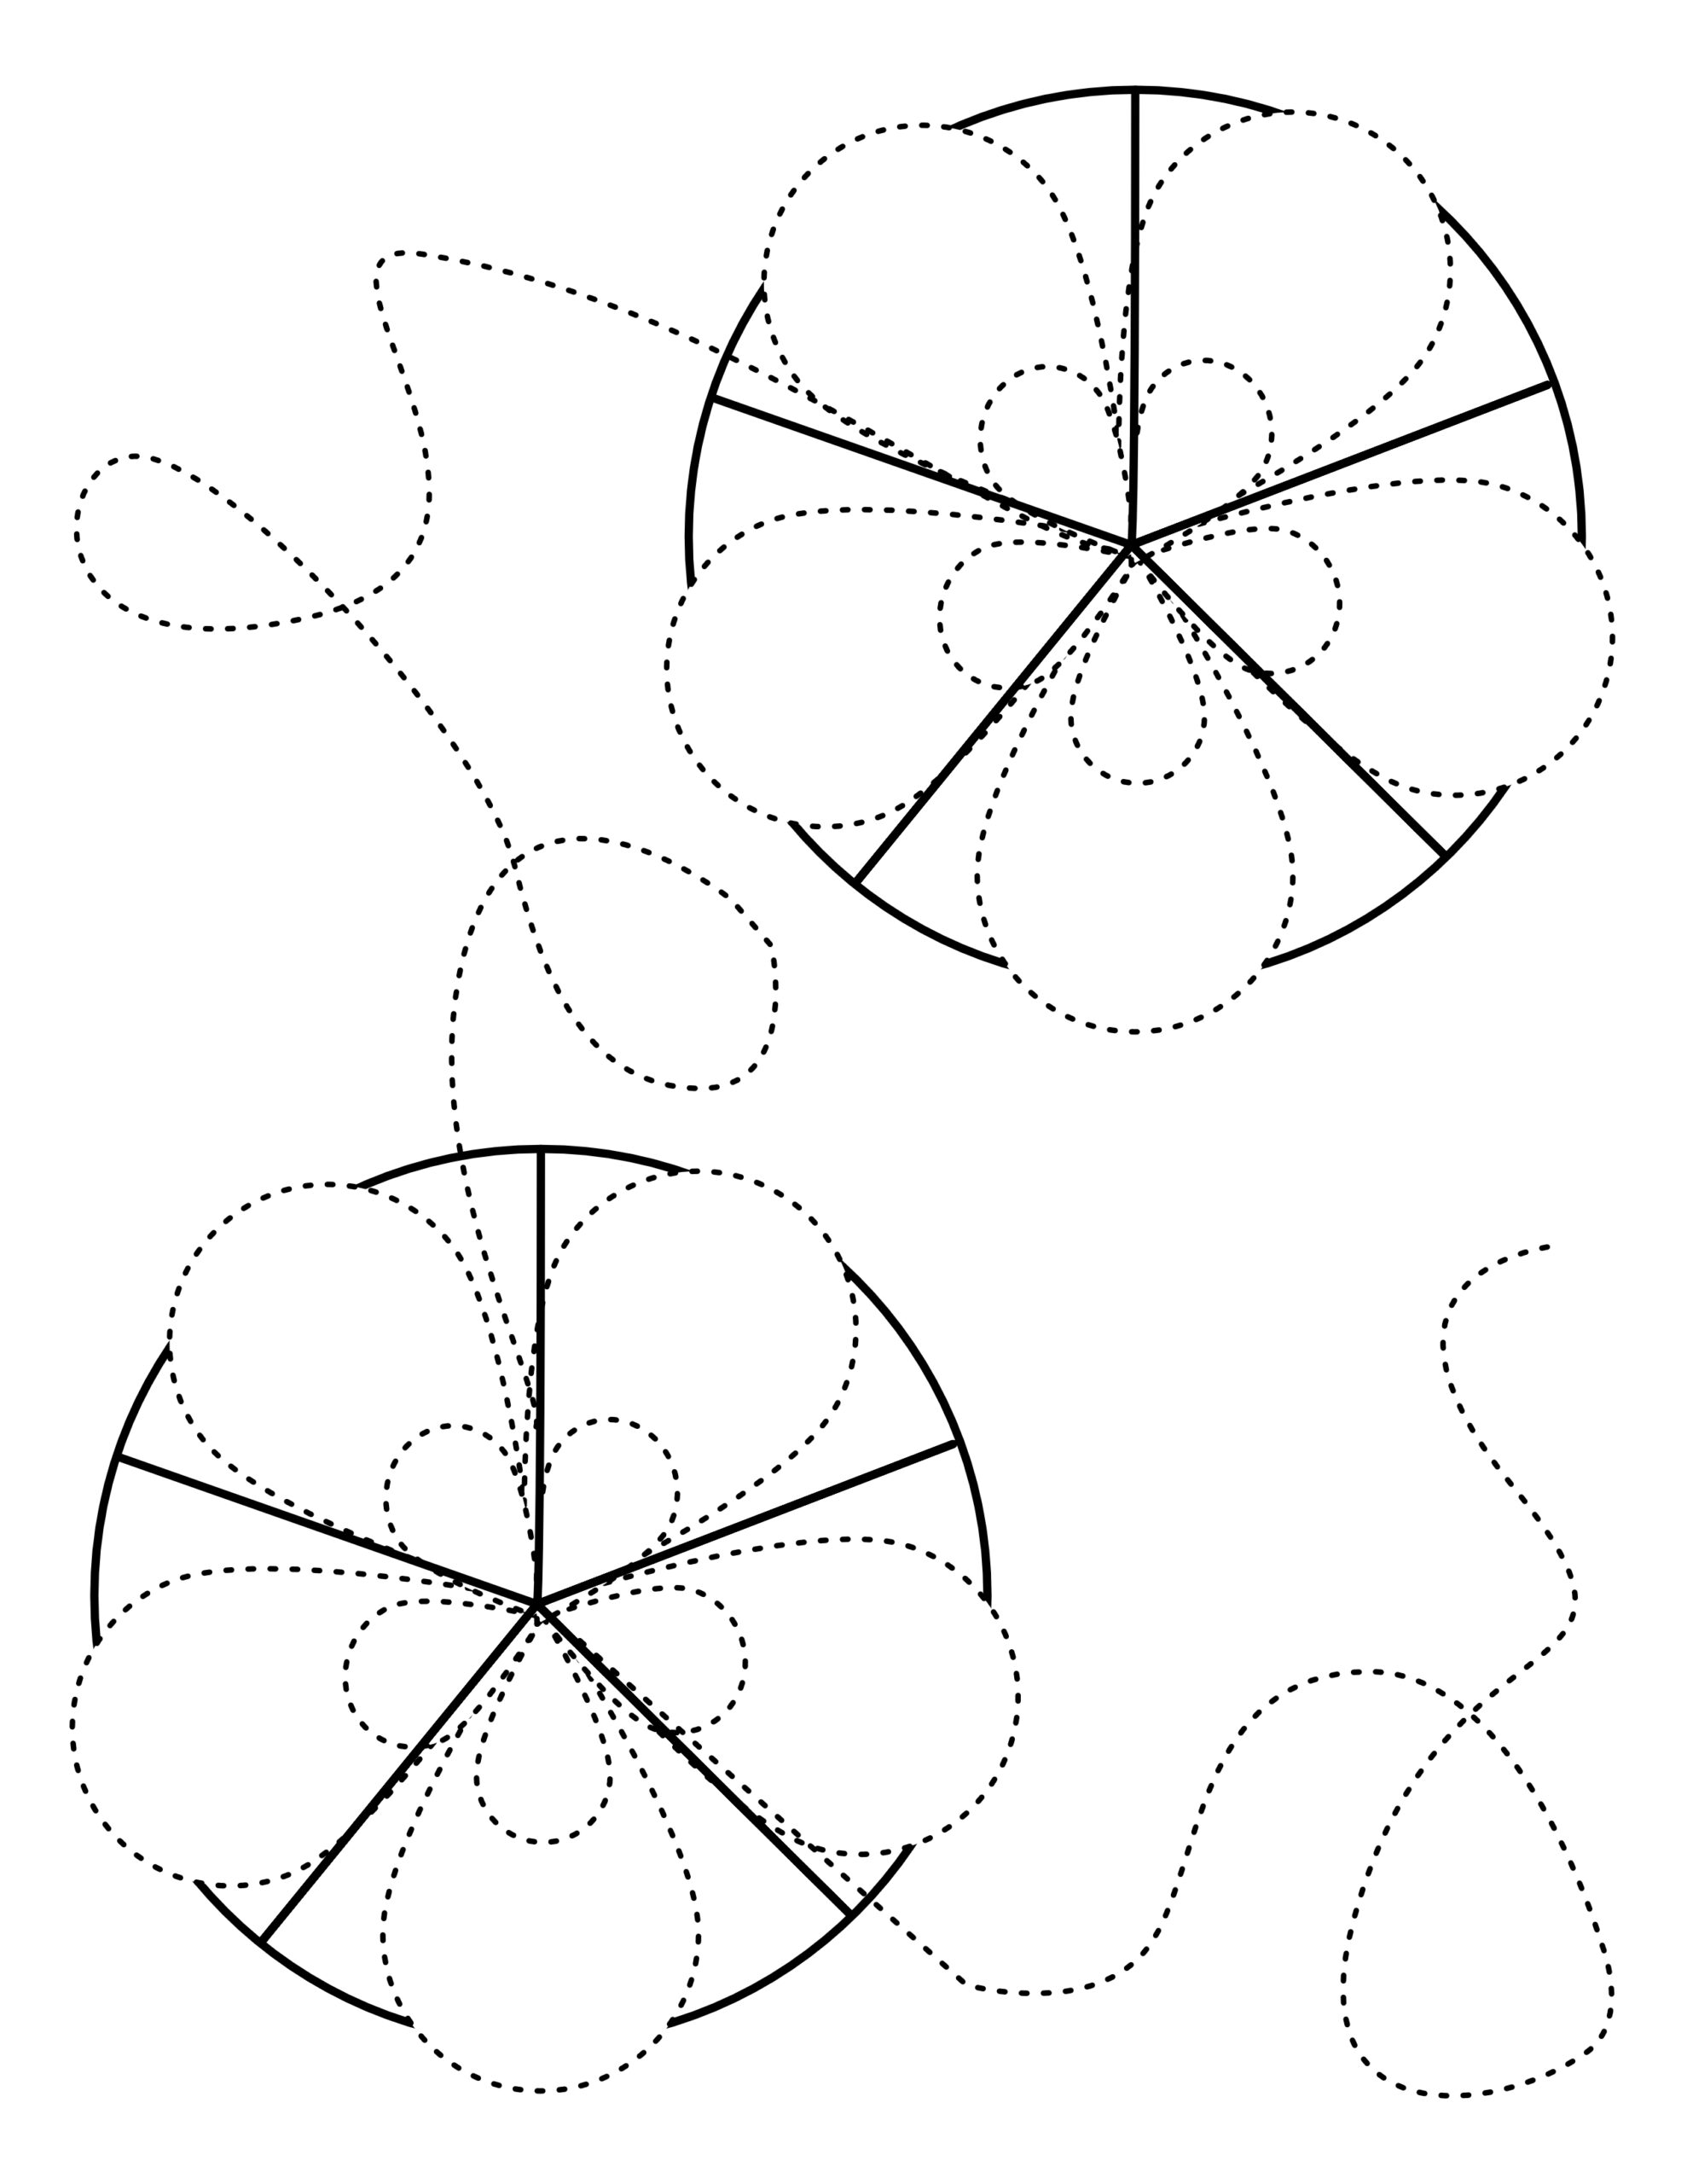
If you want to practice this design, download the pdf below and try it out!
Practice Flower and Loops Quilting Design
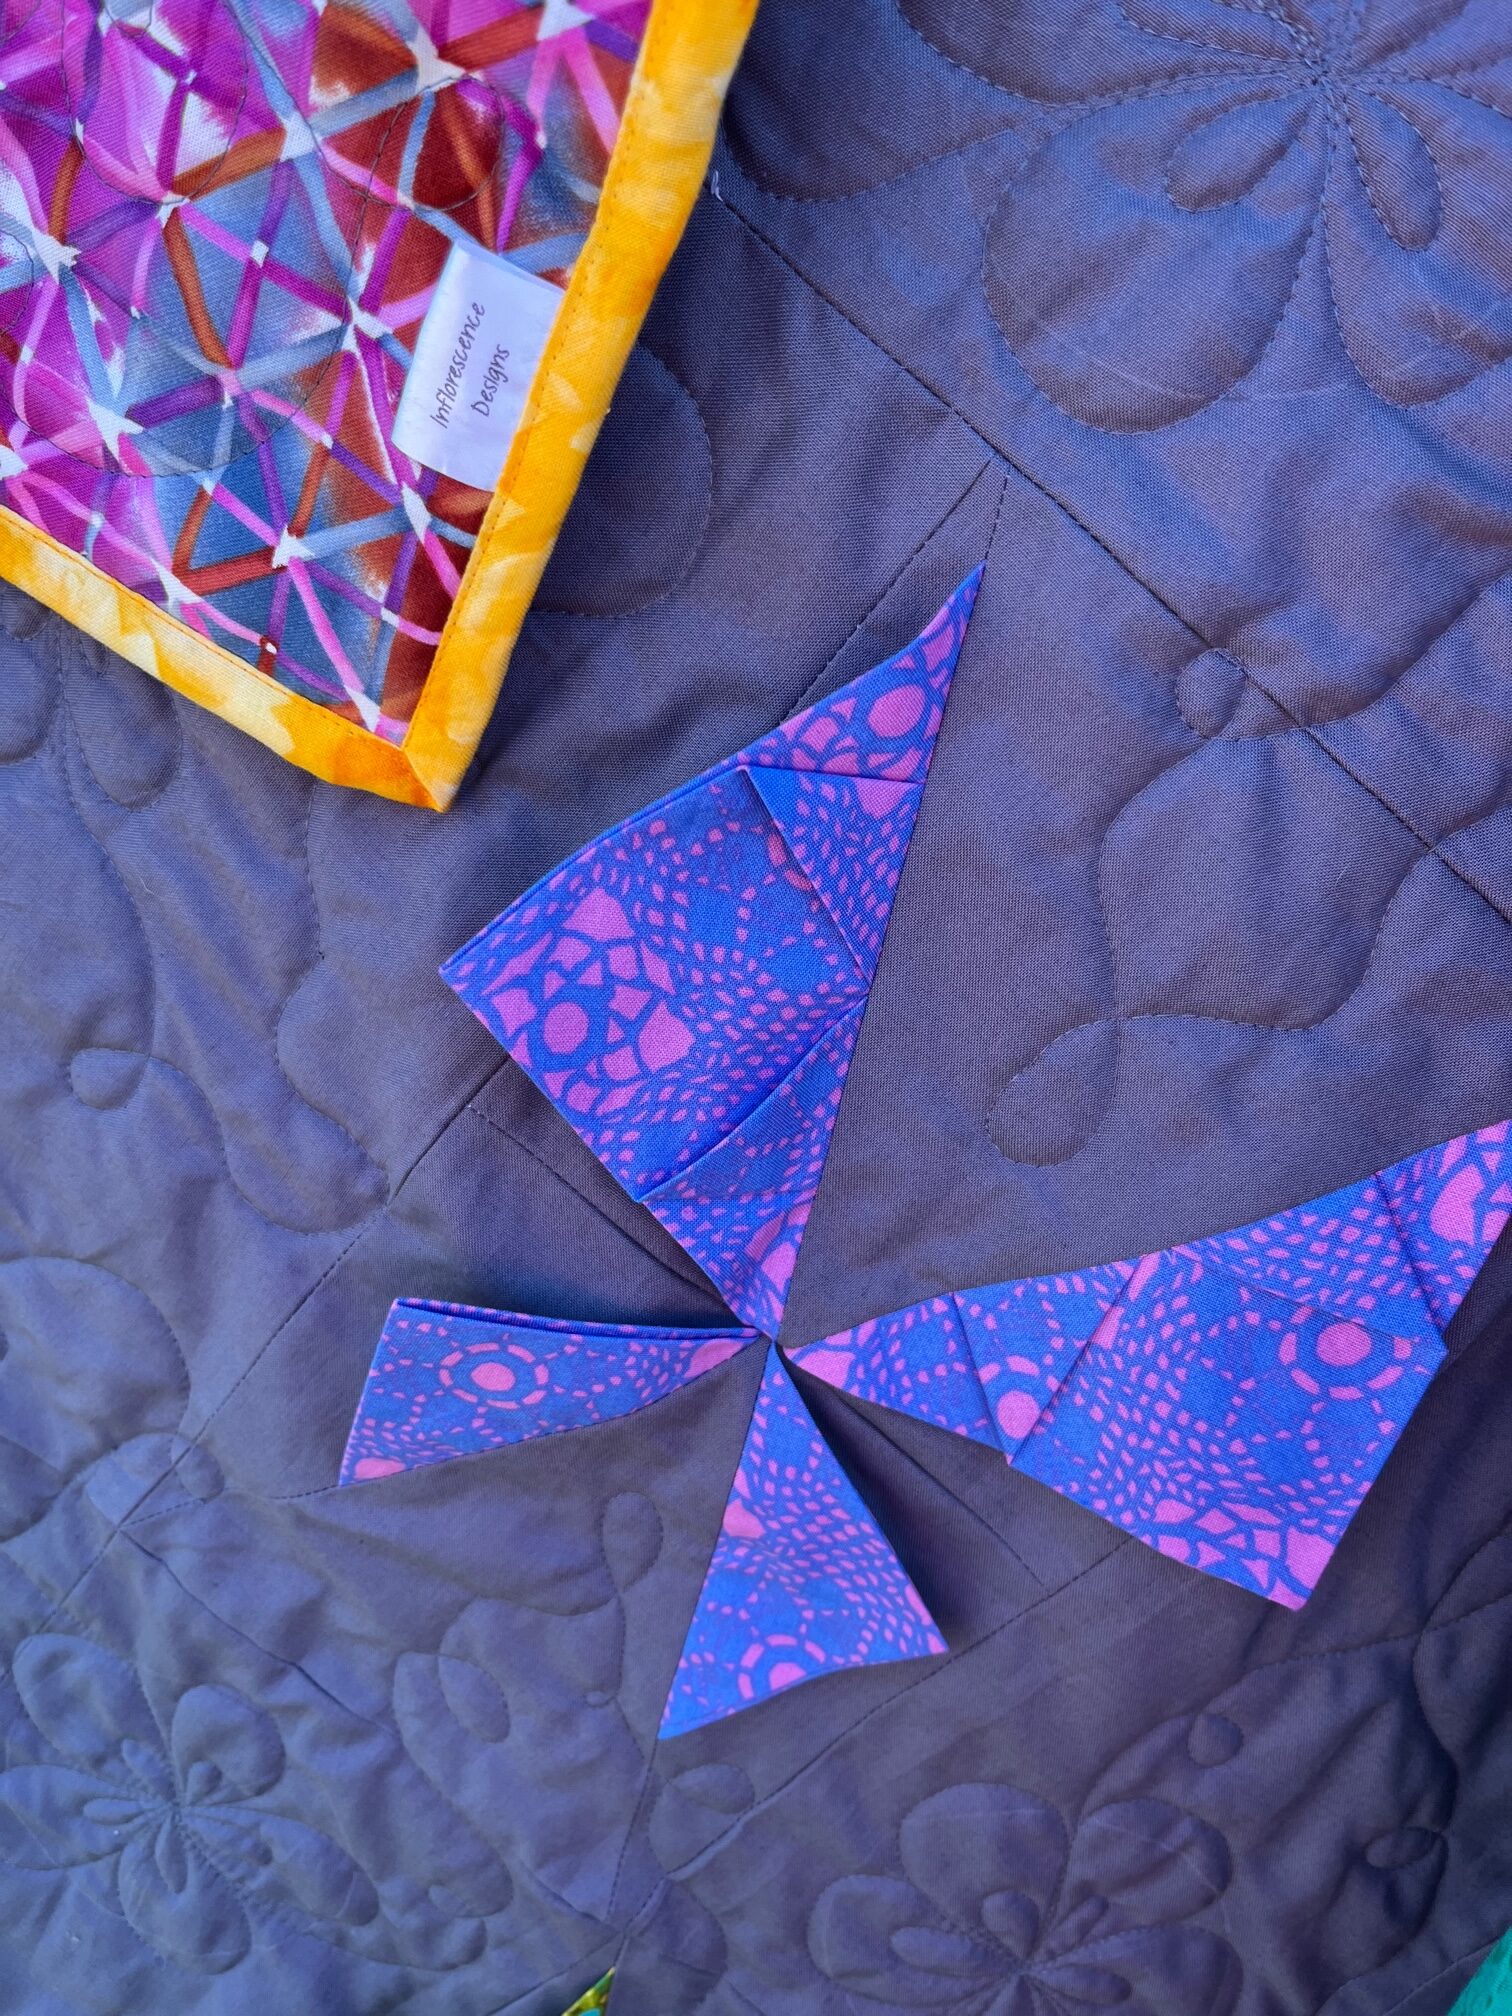
FINISHED!
Thank you for visiting today! Come back soon to see what else will be starting to bloom with Inflorescence Designs!
Starting to bloom by choosing JOY ~ Julia
