 Hello my lovelies, it’s Daryl here from Patchouli Moon Studio with another project for you. Independence Day is almost here, so this is a quick and easy Patriotic project for you to sew up using Patriotic fabrics.
I needed a bag to hold my little scanner and I thought the Salty Sailor Mini Ditty Bag by Needle & Anchor would be the perfect bag. I have made a few of these bags before and really like them, however, my scanner was too long to fit into one I already had made.
 Well, that didn’t stop me from making one and adding a couple of inches to the bag, so that’s what I did and the scanner fits perfectly! And it was perfect timing with Therm-o-Web’s Sparkle it Up USA theme week because I used a USA fabric print of fireworks that actually has sparkly glitter on the fabric.
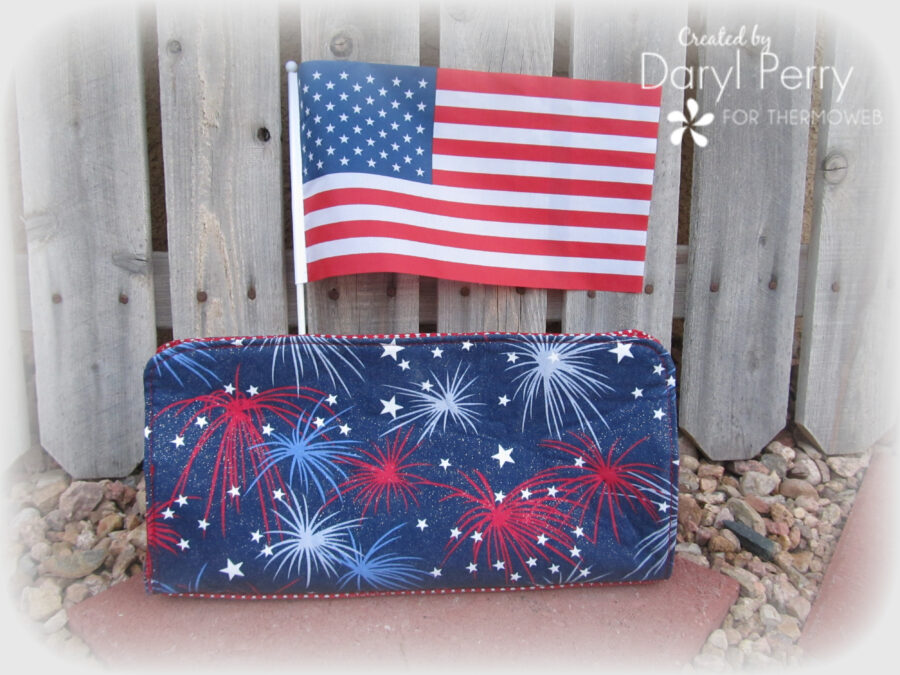
Salty Sailor Mini Ditty Bag with HeatnBond Interfacing
This is an easy and quick project and it uses snaps to close the bag, so if you have a phobia over sewing a zipper, no worries making this bag!
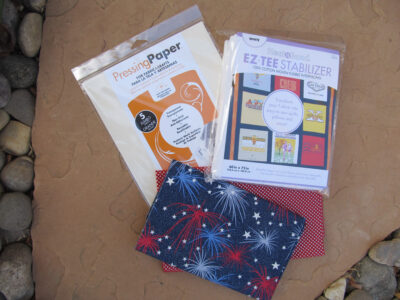
The Supply List:
- Salty Sailor Mini Ditty Bag PDF (it’s a FREE pattern)
- Exterior fabric: 1/3 yard or 1 Fat Quarter
- Lining fabric: 1/3 yard or 1 Fat Quarter
- HeatnBond EZ-Tee Stabilizer (I LOVE this interfacing for bag making!): 1 package, but you will have plenty leftover for other projects
- StitchnSew Non-Woven Craft Sew-in Firm Interfacing for the bottom of the bag: 9″ x 3″ piece (plus 4 small scraps to use with the magnetic snaps)
- HeatnBond Fusible Fleece: 1/3 yard (use this instead of the foam called for in the pattern as it works great!)
- HeatnBond Pressing Paper
- 2 sets of Magnetic Snaps size 14mm or 18mm
- Thread to match fabric
- Marking pencil
- Iron (I used my Oliso iron)
- Sewing Clips
- Glue stick
Sailor Mini Ditty Bag Making Tips
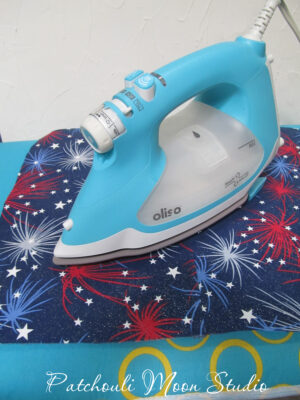 Press your fabric pieces well before cutting.
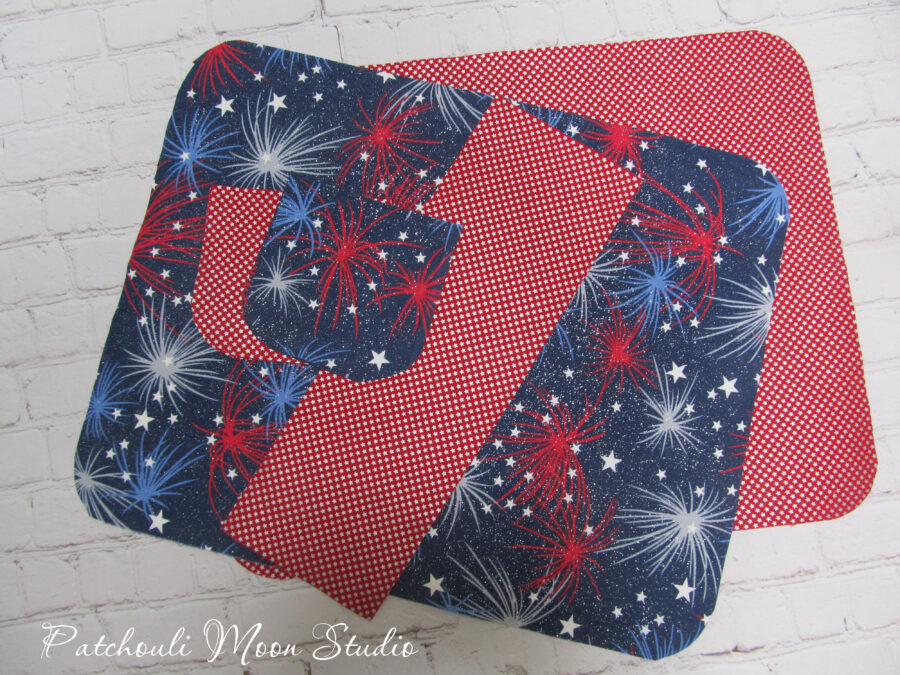 Cut out your pieces according to the directions in the pattern. Fuse your interfacings where directed in the pattern instructions. <strong>Tip:</strong> Place the <a href=”https://www.thermoweb.com/products/stitchnsew-non-woven-craft-sew-in-firm-white-20-in-x-by-the-yard?_pos=2&_sid=021ee134f&_ss=r”>StitchnSew Non-Woven Craft Sew-in Firm Interfacing</a> on the bottom piece, and then place the <a href=”https://www.thermoweb.com/products/stitchnsew-non-woven-craft-sew-in-firm-white-20-in-x-by-the-yard?_pos=2&_sid=021ee134f&_ss=r”>StitchnSew Non-Woven Craft Sew-in Firm Interfacing</a> over it, and press in place, using a Pressing Paper on top. The interfacing will hold the firm interfacing in place by fusing like this.
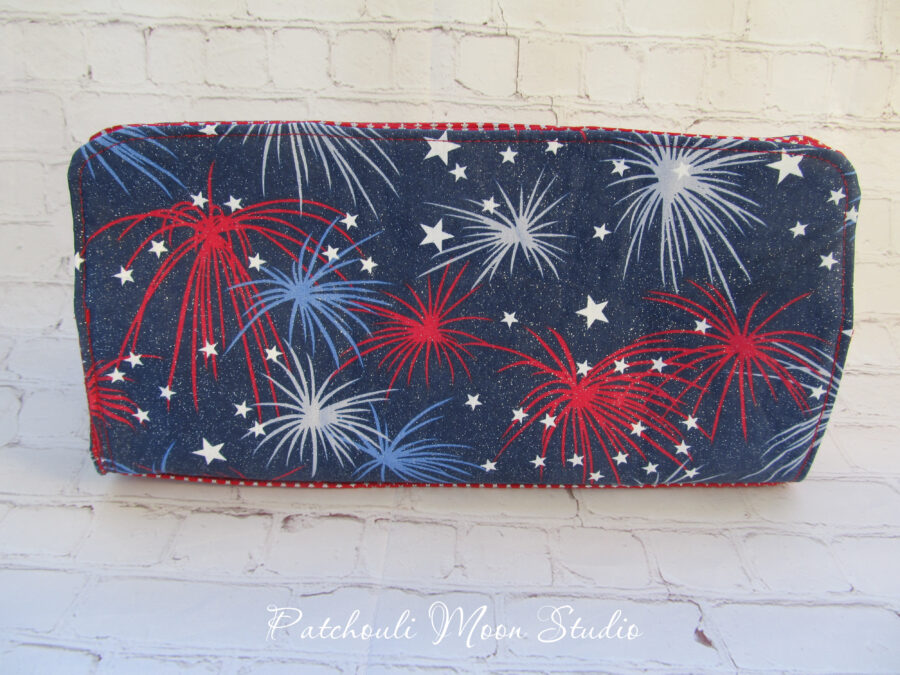 The finished Salty Sailor Mini Ditty bag in my Sparkle fireworks print.
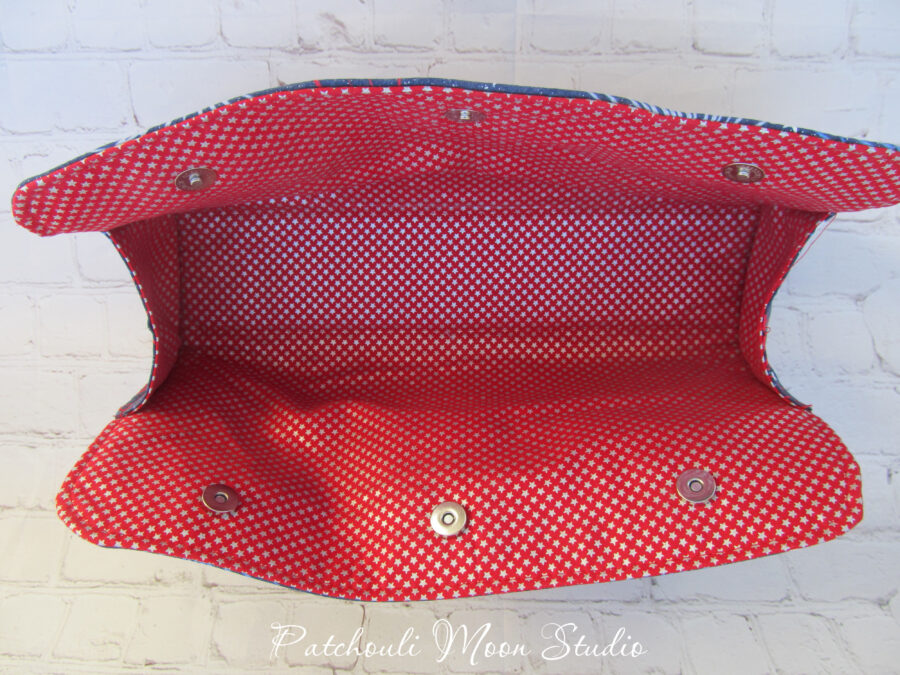 I used a red fabric with silver stars for the lining and bottom of the bag. Remember I made my bag a couple of inches longer, so I added another magnetic snap to mine, but you will follow the instructions for adding 2 snaps.
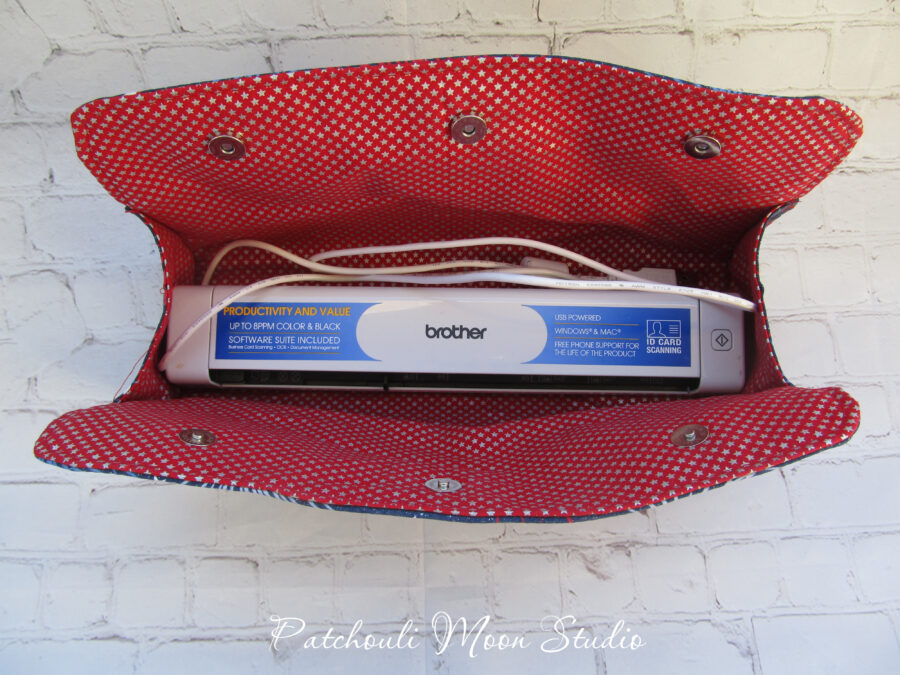 And inside my bag now lives my little scanner with cord. It’s a perfect fit!
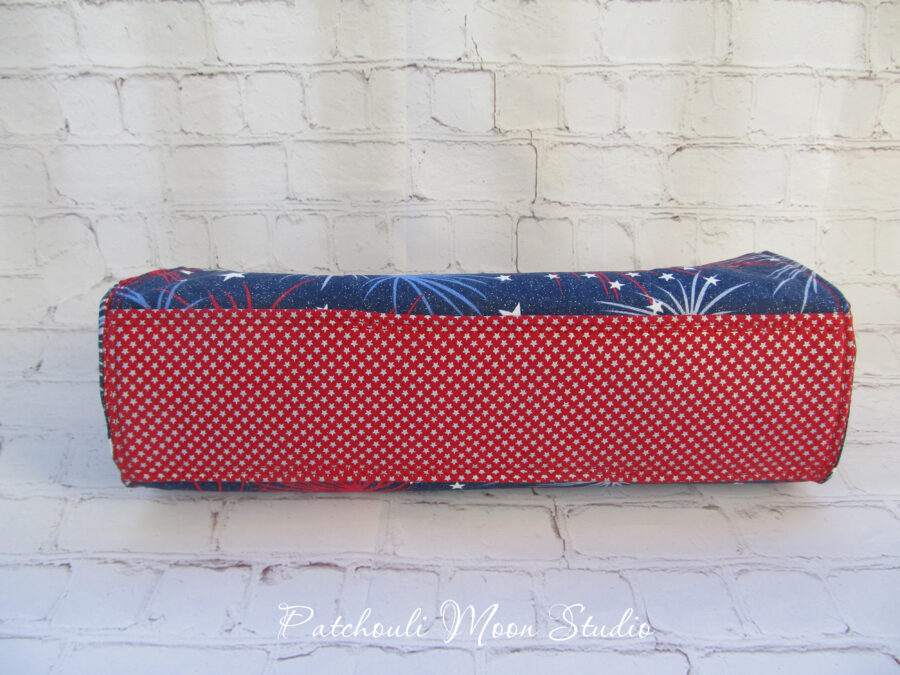 The bottom of the bag is the same fabric as the lining.
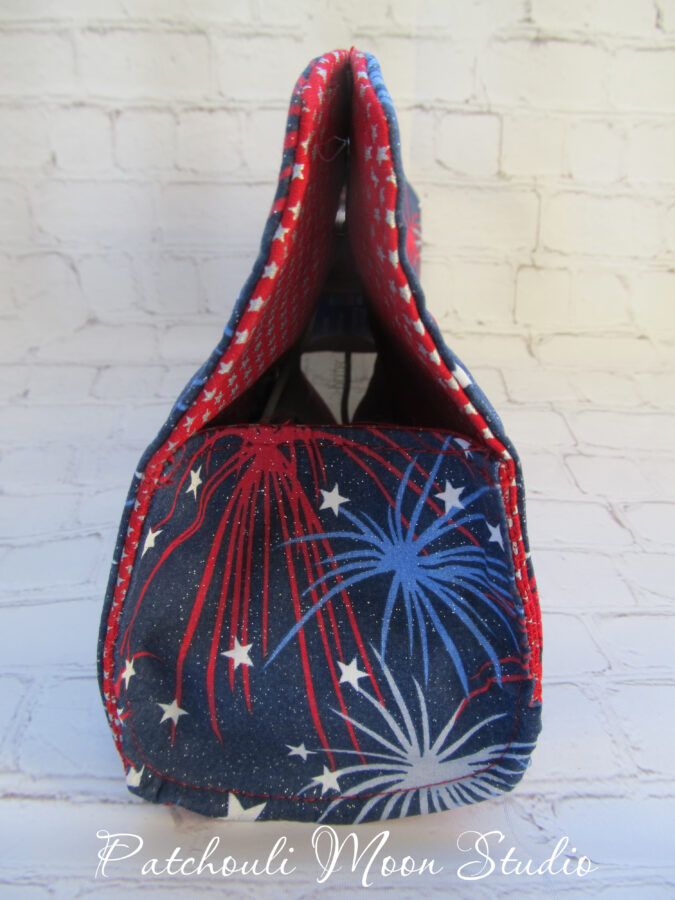 The side view of the bag.
Tip: When sewing the sides of the bag, the fabric does get thick here, so I clip the sides to the bag and then hand sew it together first. That way I don’t have clips or pins in the way when I machine sew around it next, which I find makes it easier to sew the sides.
Now that was pretty easy to make, don’t you think? And it is a great shape and size for holding all kinds of things, such as pencils/pens, makeup, men’s shaving stuff, craft supplies, knitting needles, first aid kit, sewing stuff like clips or rotary cutters and more, stamp pads and small stamps, etc…
Happy sewing, ~Daryl


