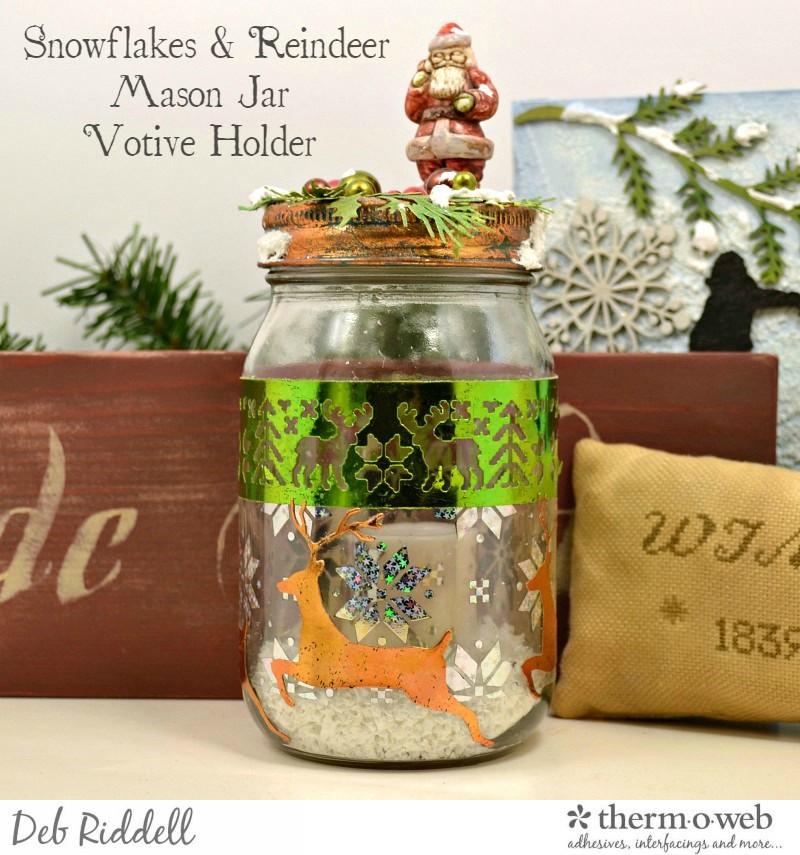
Hello everyone and thank you for stopping by, Deb Riddell here with you today to share a Christmas themed votive candle holder that was inspired by Therm O Web’s newly released Clear Designer Toner Sheets for the holidays!
Mason Jar Votive Holder
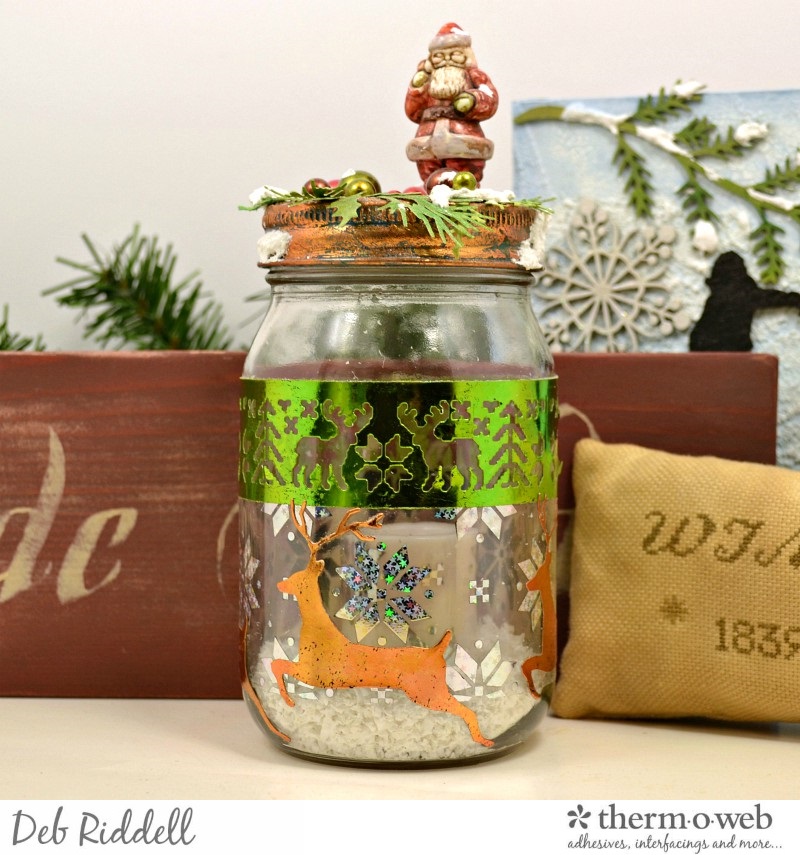
I used the Prim Poinsettia Clear Designer Toner Sheet on this project but turned the poinsettias into snowflakes by foiling them with Silver Stars Deco Foil Transfer Sheets.
 Mason Jar Votive Holder Supplies
Therm O Web Supplies Used:
Deco Foil™ Clear Toner Sheets • Prim Poinsettia
Deco Foil™ Transfer Sheets • Silver Stars
Deco Foil™ Transfer Sheets • Lime (Satin)
Deco Foil™ Transfer Sheets • Copper
Deco Foil™ Toner Sheets
Deco Foil™ Liquid Adhesive 2.1oz
Memory Tape Runner XL™
iCraft Mixed Media Adhesive 2.1 fl oz
Other supplies used:
Foil Laminator • 12 inch
Holiday Knit dies; Mini Holiday Greens dies – Sizzix
Leaping Deer die – Memory Box
Alcohol Inks; Alcohol Ink Blending Pen; Distress Inks; Clear Rock Candy Distress Glitter – Ranger Ink
Salvaged Santa; Baubles – Advantus
Americana Asphaltum acrylic paint; Media Cobalt Turquoise and Titanium White Fluid acrylic paint; Media Raw Umber Antiquing Cream – DecoArt
White Texture Effect medium – Martha Stewart
Miscellaneous – pint mason jar with lid; battery operated votive candle; faux snow; cardstock; heat gun; scissors; paper trimmer
Snowflakes and Reindeer Mason Jar Votive Holder Instructions:
Select a pint size mason jar complete with lid and ring and a battery operated votive candle.
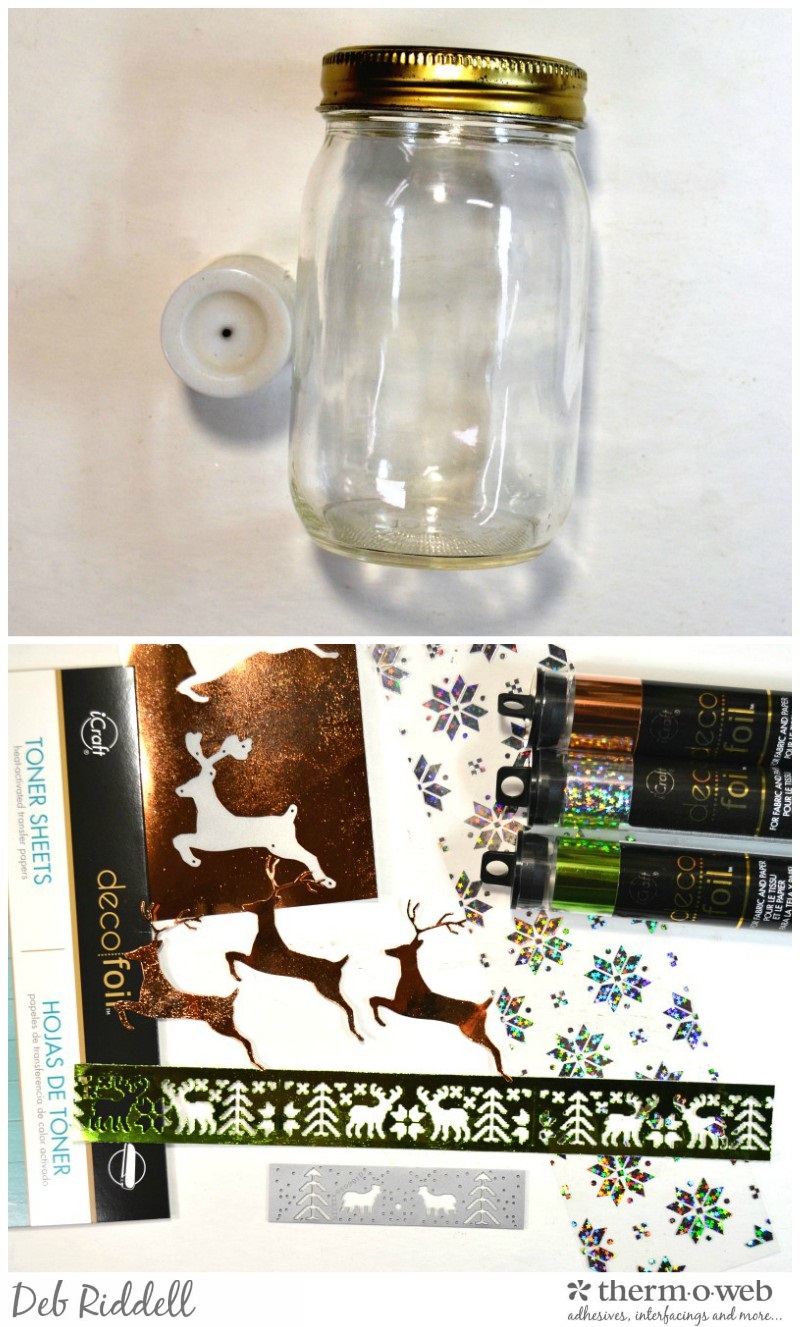
Preheat your laminator and foil the Prim Poinsettia Clear Designer Toner Sheet with Silver Stars Deco Foil Transfer Sheet. Foil a couple of pieces of Deco Foil Toner Sheet with Lime and Copper Deco Foil Transfer Sheet. Die cut the Lime foiled Toner Sheet with the reindeer and tree die from the Holiday Knits die set, repeating the pattern as necessary till you have a piece long enough to encircle your mason jar. Die cut the Leaping Deer four times from the Copper foiled Toner Sheet.
Cut a piece of the foiled Prim Poinsettia Clear Toner sheet to size to fit your mason jar (mine was about 2″ wide by 10 1/2″ long). Apply Memory Tape Runner XL double sided tape to all four edges and wrap it around the bottom half of your mason jar.
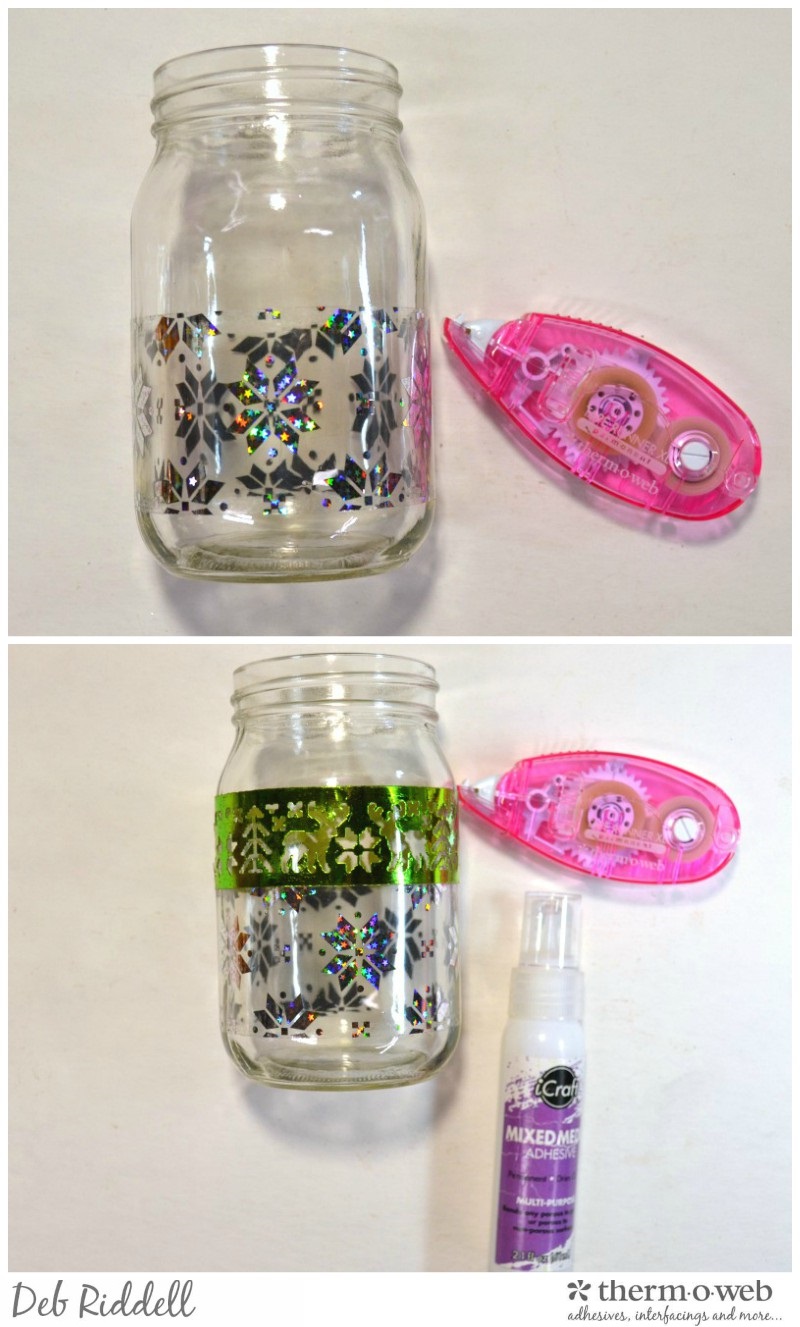
Add more Memory Tape Runner XL tape to the Lime foiled die-cut Toner Sheet strip and adhere it around the top edge. If the die cut images are not lying flat on your jar, add some wee dots of iCraft Mixed Media Adhesive to them.
Adhere the four Copper foiled die cut deer around the bottom edge over the top of the Clear Designer Toner Sheet strip, spacing them evenly and adhering them with Memory Tape Runner XL and iCraft Mixed Media Adhesive.
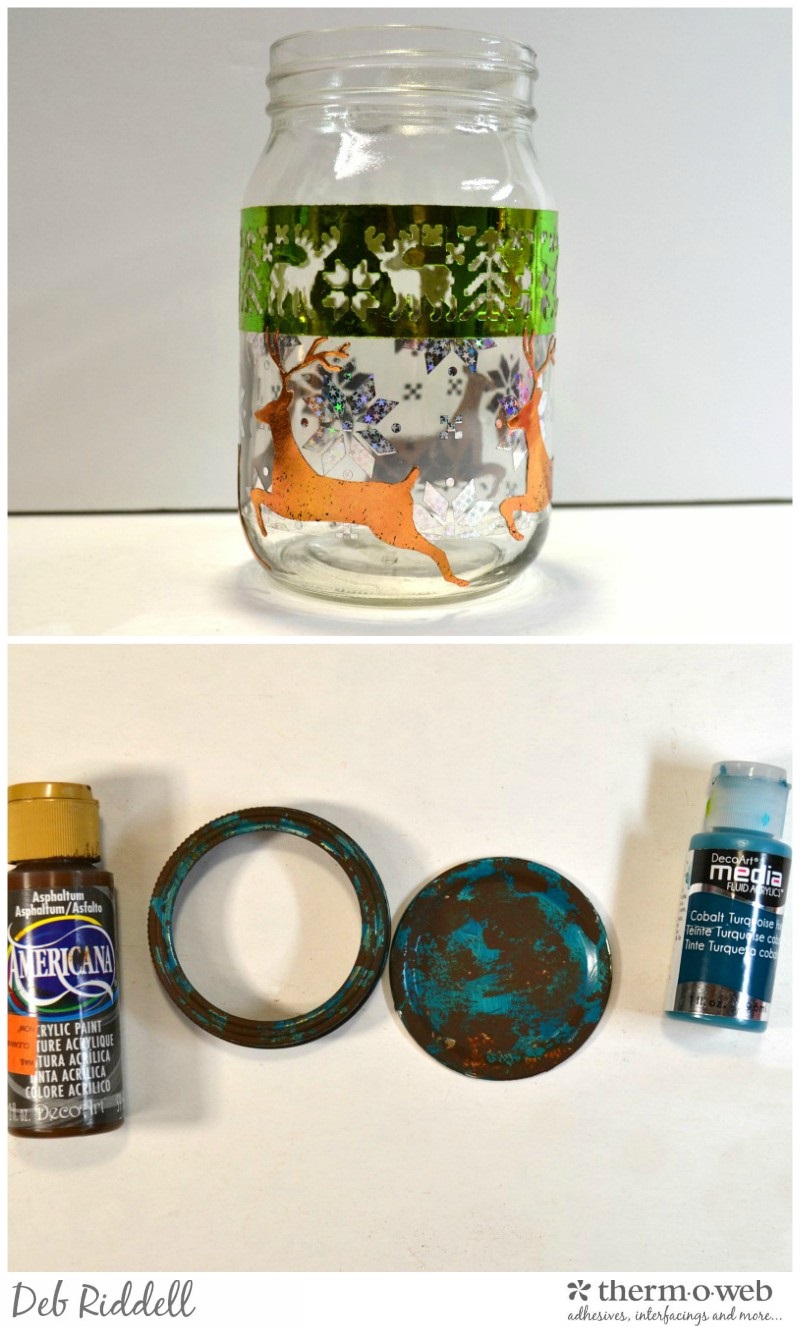
Votive Jar Lid
Paint the jar lid and ring with Cobalt Turquoise Media Fluid acrylic paint and once dry stipple on some Asphaltum acrylic paint here and there for a mottled appearance. Let dry thoroughly.
IMPORTANT: this next step involves using your heat gun on metal objects in order to transfer the Deco Foil. The mason jar lid and ring can get hot so please be very careful that you don’t burn yourself! If you are worried about using this method, try the Deco Foil Adhesive Pen to apply adhesive to the lid and ring, the Pen adhesive doesn’t require the application of heat to transfer the Deco Foil. The foil coverage may not be as complete but you won’t have to worry about burning yourself!
If you choose to use the heat method, apply Deco Foil Liquid Adhesive to the painted lid and ring with a paintbrush in a slapdash manner, don’t worry if you don’t have perfect coverage. Let the adhesive dry till clear (1 – 3 hours depending upon how thickly you have applied it). Cut a piece of Copper Deco Foil Transfer Sheet, grab a soft towel and heat a small area on the painted lid with your heat gun. Quickly place the Copper Deco Foil Transfer Sheet over top the heated area and burnish with the towel. Pull off the Transfer Sheet to reveal the foiled area. Repeat this process to cover the entire lid and ring. You are going for a patina copper look so don’t worry if you don’t get complete coverage, you want a bit of the paint colours to peek out here and there. Glue the jar lid into the ring with Mixed Media Adhesive and set aside to dry.
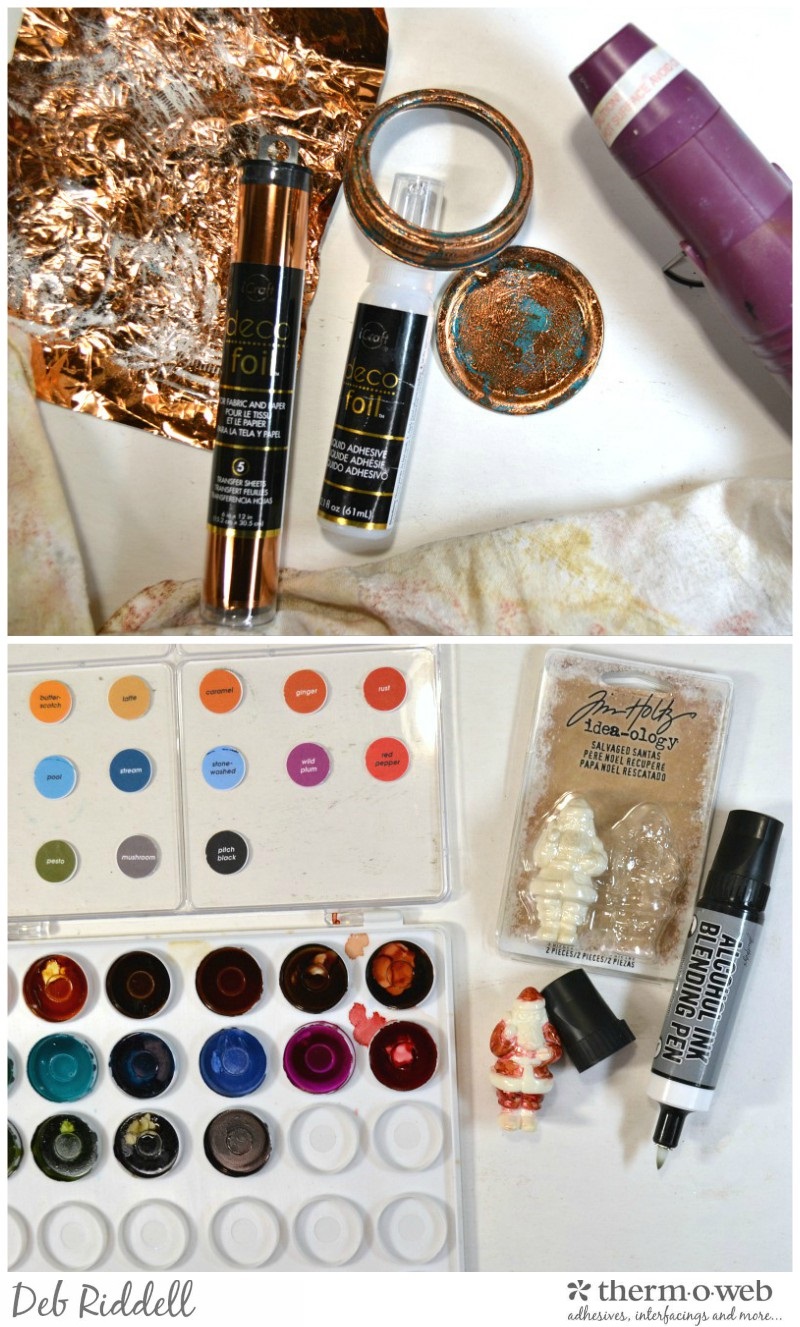
Coloring Santa
Colour a Salvaged Santa with Alcohol Ink and the alcohol ink blending pen. You could probably use alcohol ink markers to colour the Santa instead of using the Alcohol Inks and Blending Pen but I don’t have any markers so I can’t tell you how well they might work, sorry!
Once the Santa has dried completely, give him an aging coat of Raw Umber Antiquing Cream, rubbing off the excess to leave it in the nooks and crannies. Set Santa aside to dry.
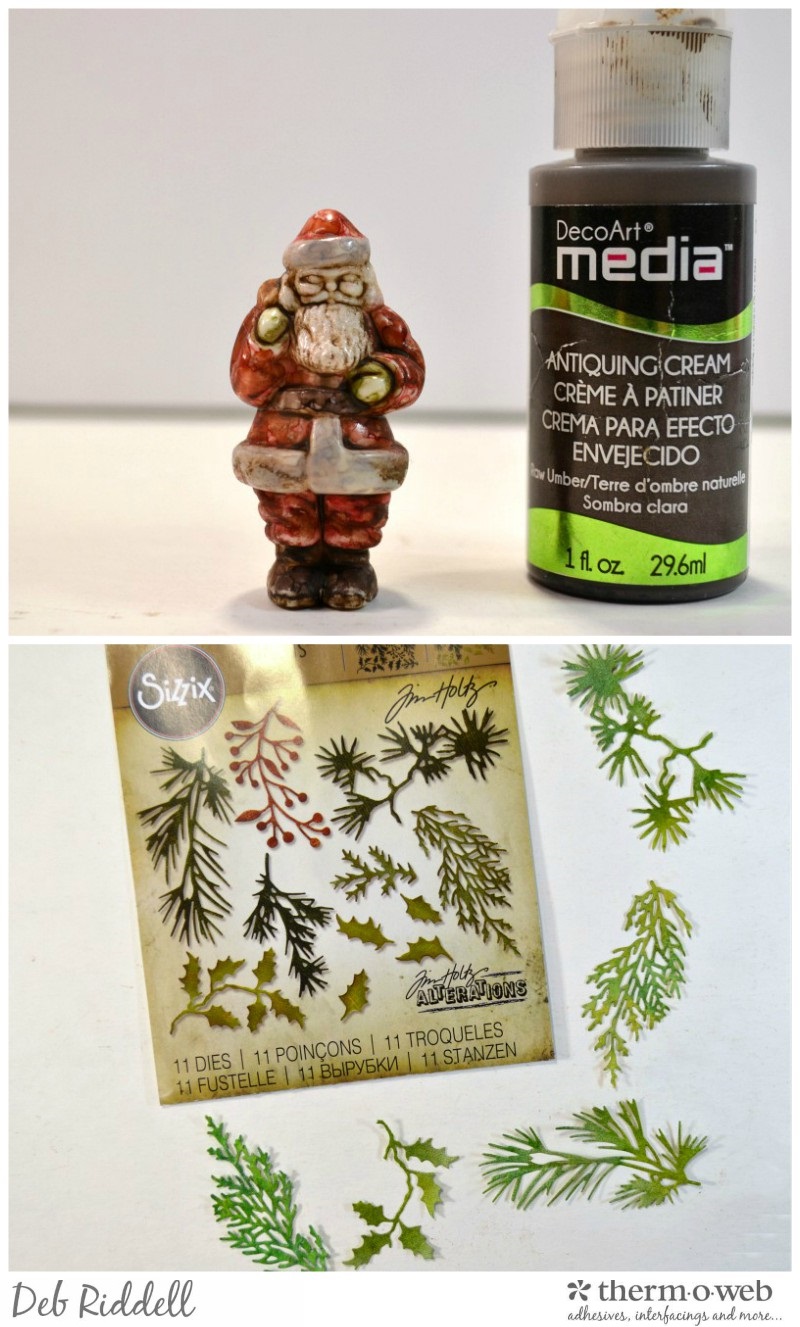
Ink up cardstock with several shades of green Distress Inks and die cut some greenery with the Holiday Greens dies.
Colour several Baubles with Alcohol Inks. I used shades of red, green and brown Alcohol Inks with some Copper Mixative on the brown Baubles. Hint: to colour the Baubles, add a drop or two of Alcohol Ink into a small lidded jar (I use some small craft storage jars that I got at my local $1 store), add the Baubles, tighten the lid and swirl the jar around to colour the Baubles. Dump the coloured Baubles out into a plate or bowl and let them dry completely. Voila, custom coloured Baubles!
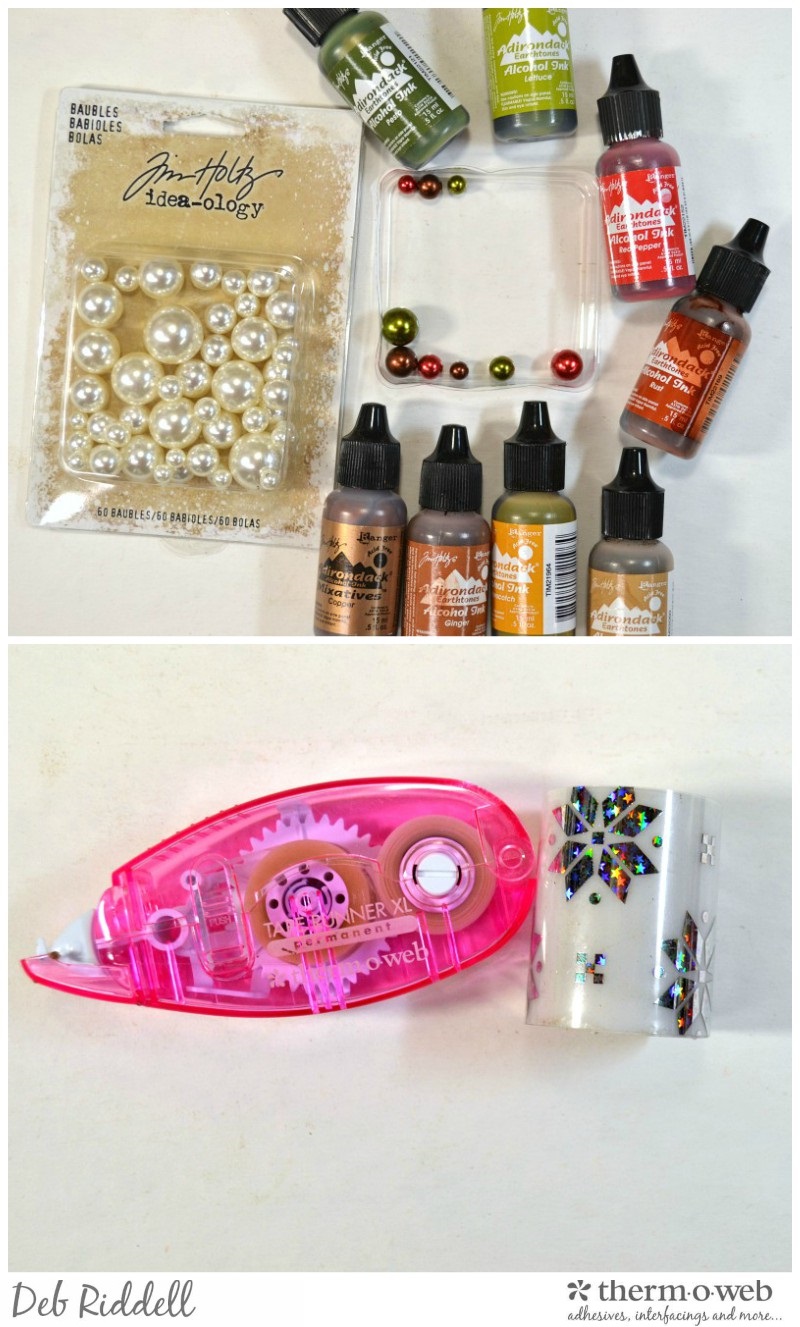
Jazz up your battery operated votive candle by adding a strip of the Silver Stars foiled Prim Poinsettia Clear Designer Toner sheet around it, adhering it in place with Memory Tape Runner XL tape.
Adhere the die cut greenery around the edge of the prepared lid with iCraft Mixed Media Adhesive. Apply some sanded texture medium onto the top and sides of the lid and embed the Santa and coloured Baubles into the texture medium. Add some dabs of white acrylic paint here and there on the Santa and the Baubles. Sprinkle the wet texture medium and paint with a generous amount of Clear Rock Candy Distress glitter and set it aside to dry thoroughly.
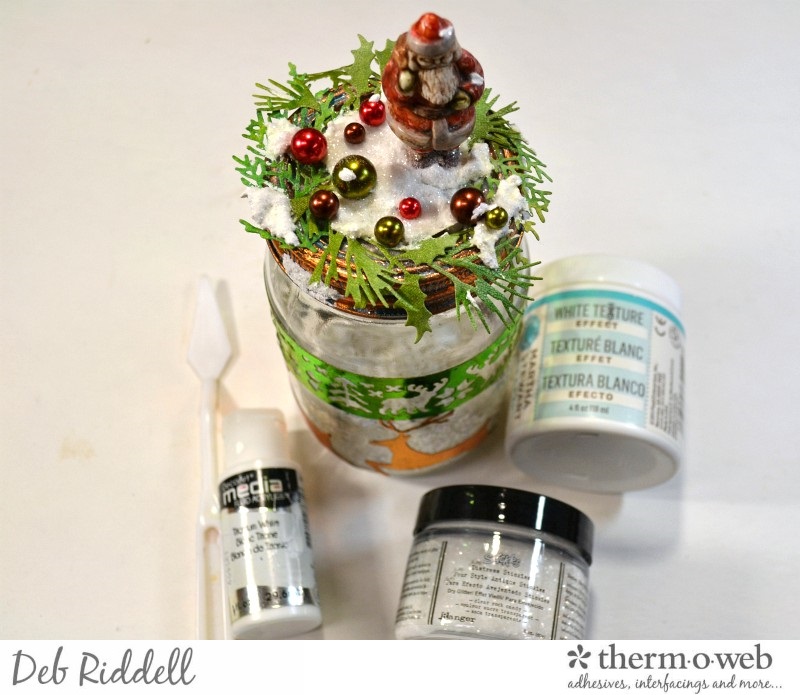
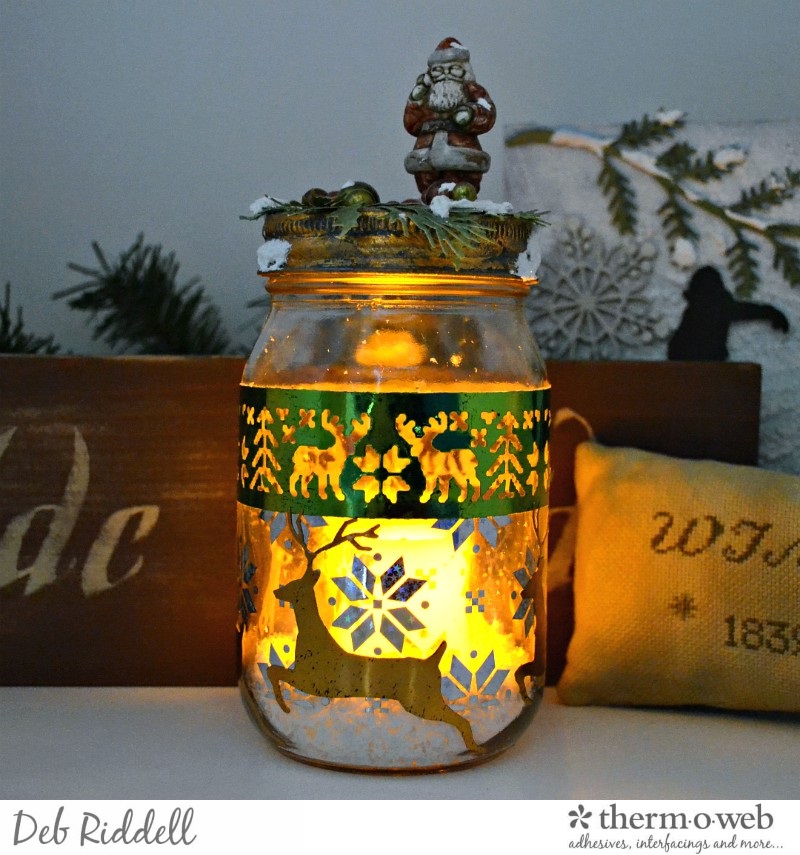
Dump off the excess glitter once the texture medium has dried, add some faux snow into the bottom of your mason jar along with the battery operated votive candle, screw the lid on top of the jar and your Snowflakes and Reindeer Mason Jar Votive Holder is complete! Here are a few pictures of the finished piece.
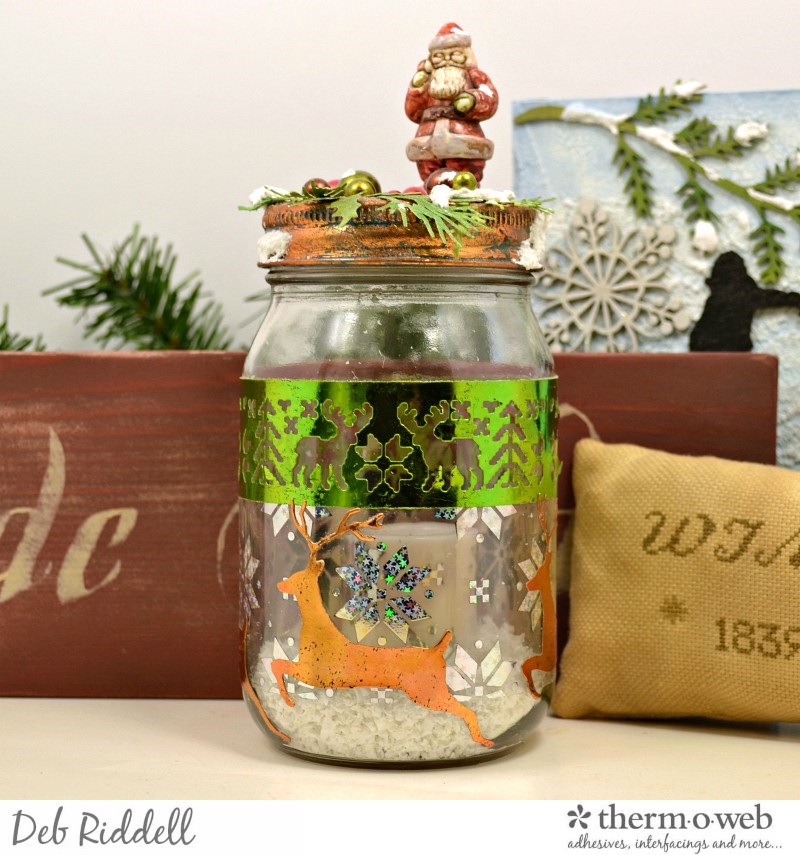
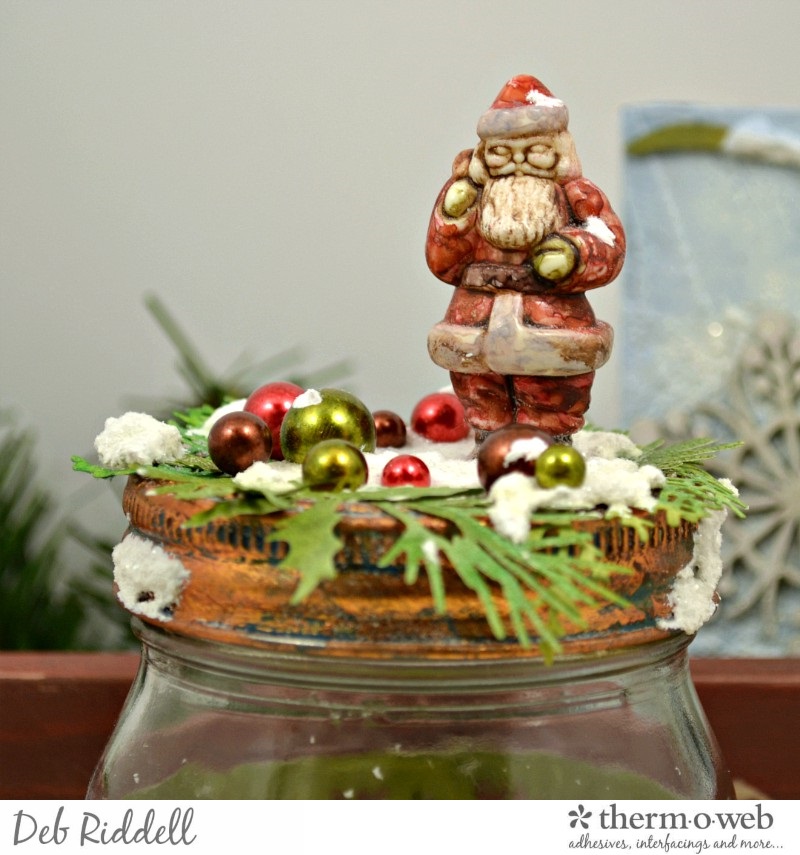
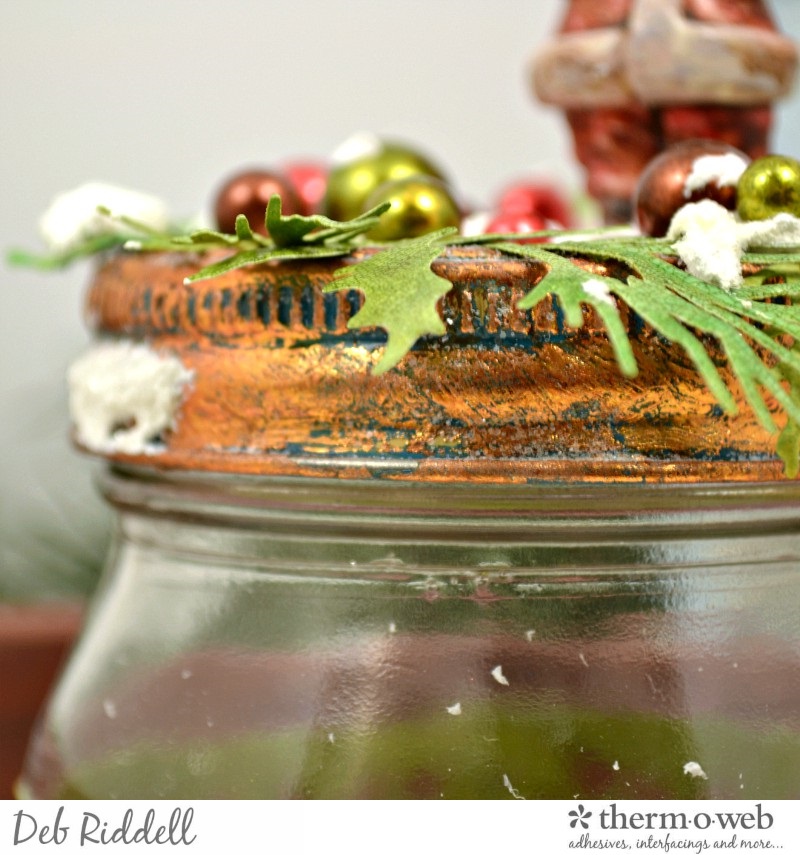
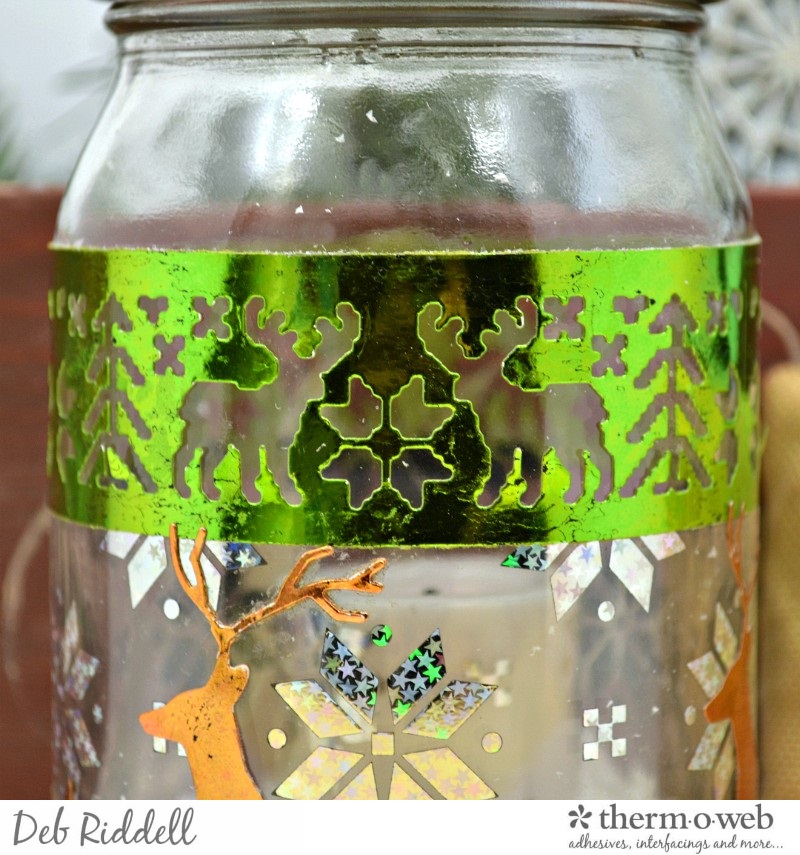
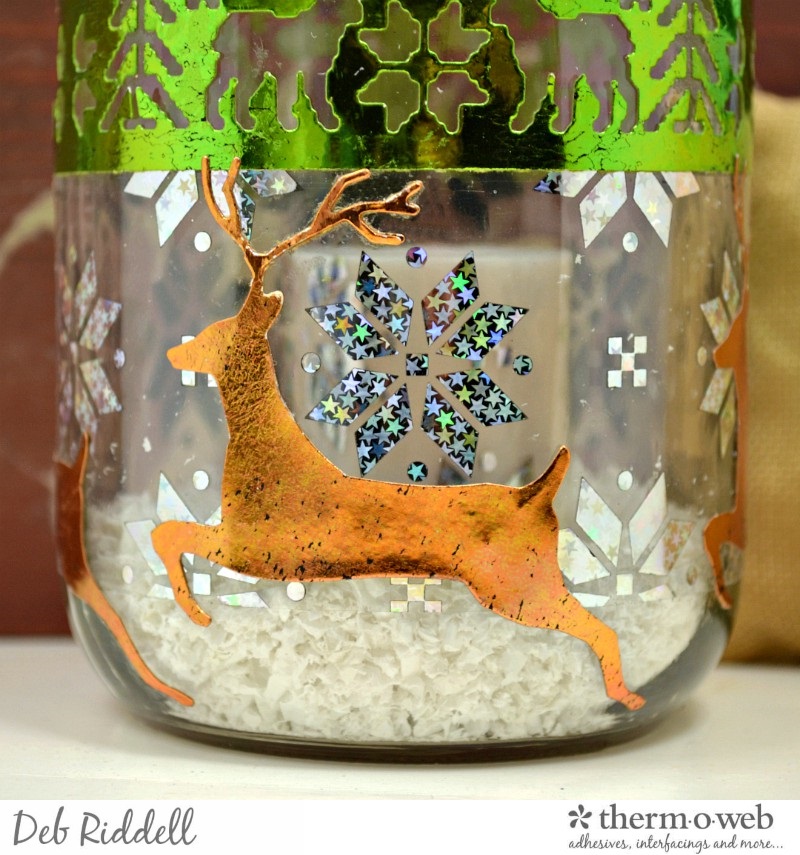
Love seeing the echo of the Prim Poinsettia Clear Designer Toner Sheet pattern on the votive candle through the mason jar!
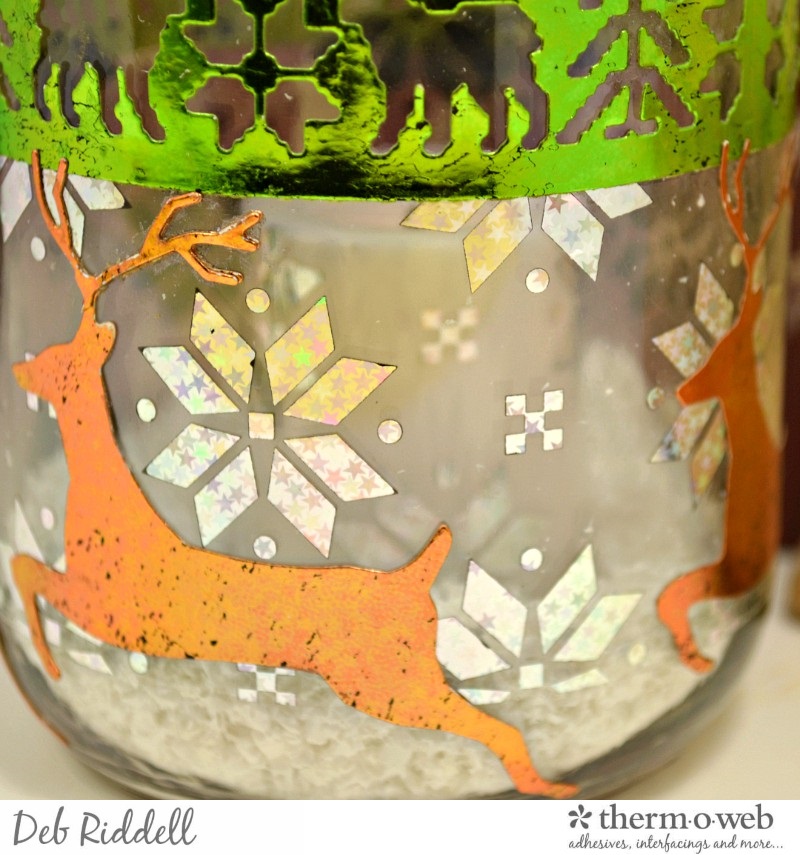
Hope that you have enjoyed seeing how my Christmas candle holder came together and that you’ve been inspired to try the new holiday Deco Foil Clear Designer Toner Sheets, so many possibilities! Have fun and happy creating!
Deb xo
