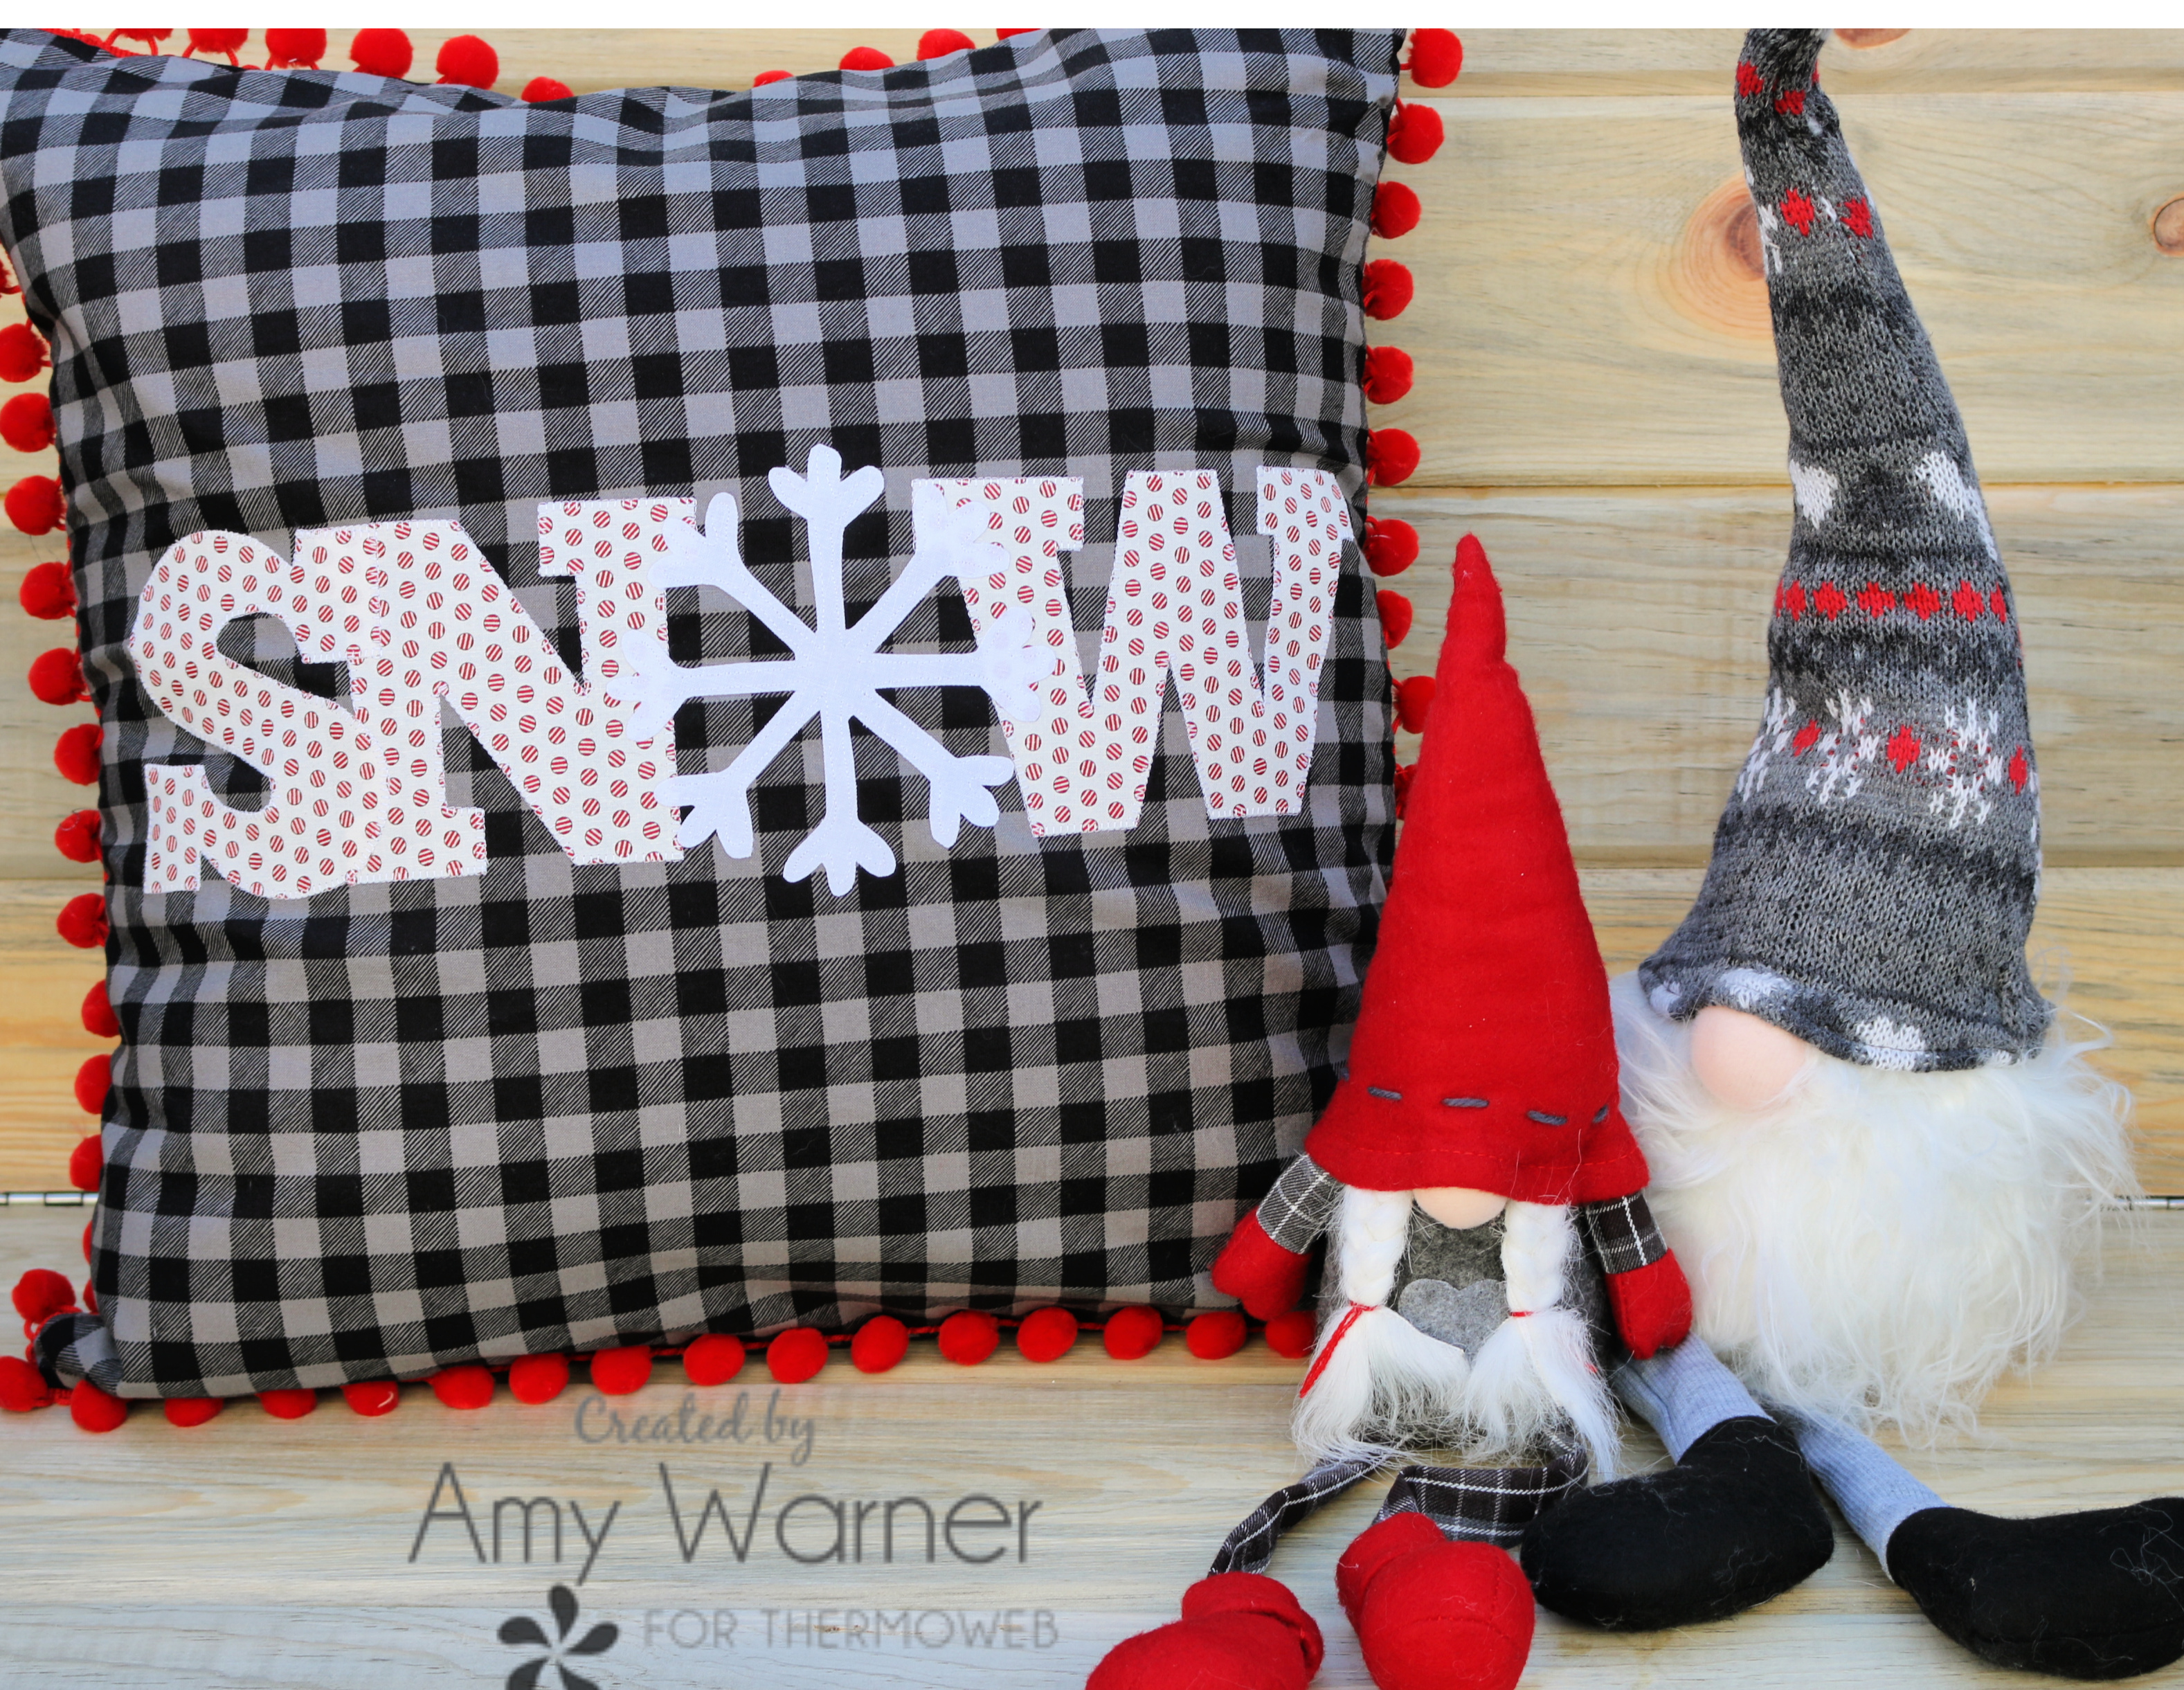
I am a sucker for a quick and cute project that can be easily completed in a few hours or less. It is cold and snowy here where I live, so a Snow pillow is an addition that can be used for almost ½ of the year. Amy here from Sew Incredibly Crazy to show you just how to create your very own.
Snow Day Pillow Supplies
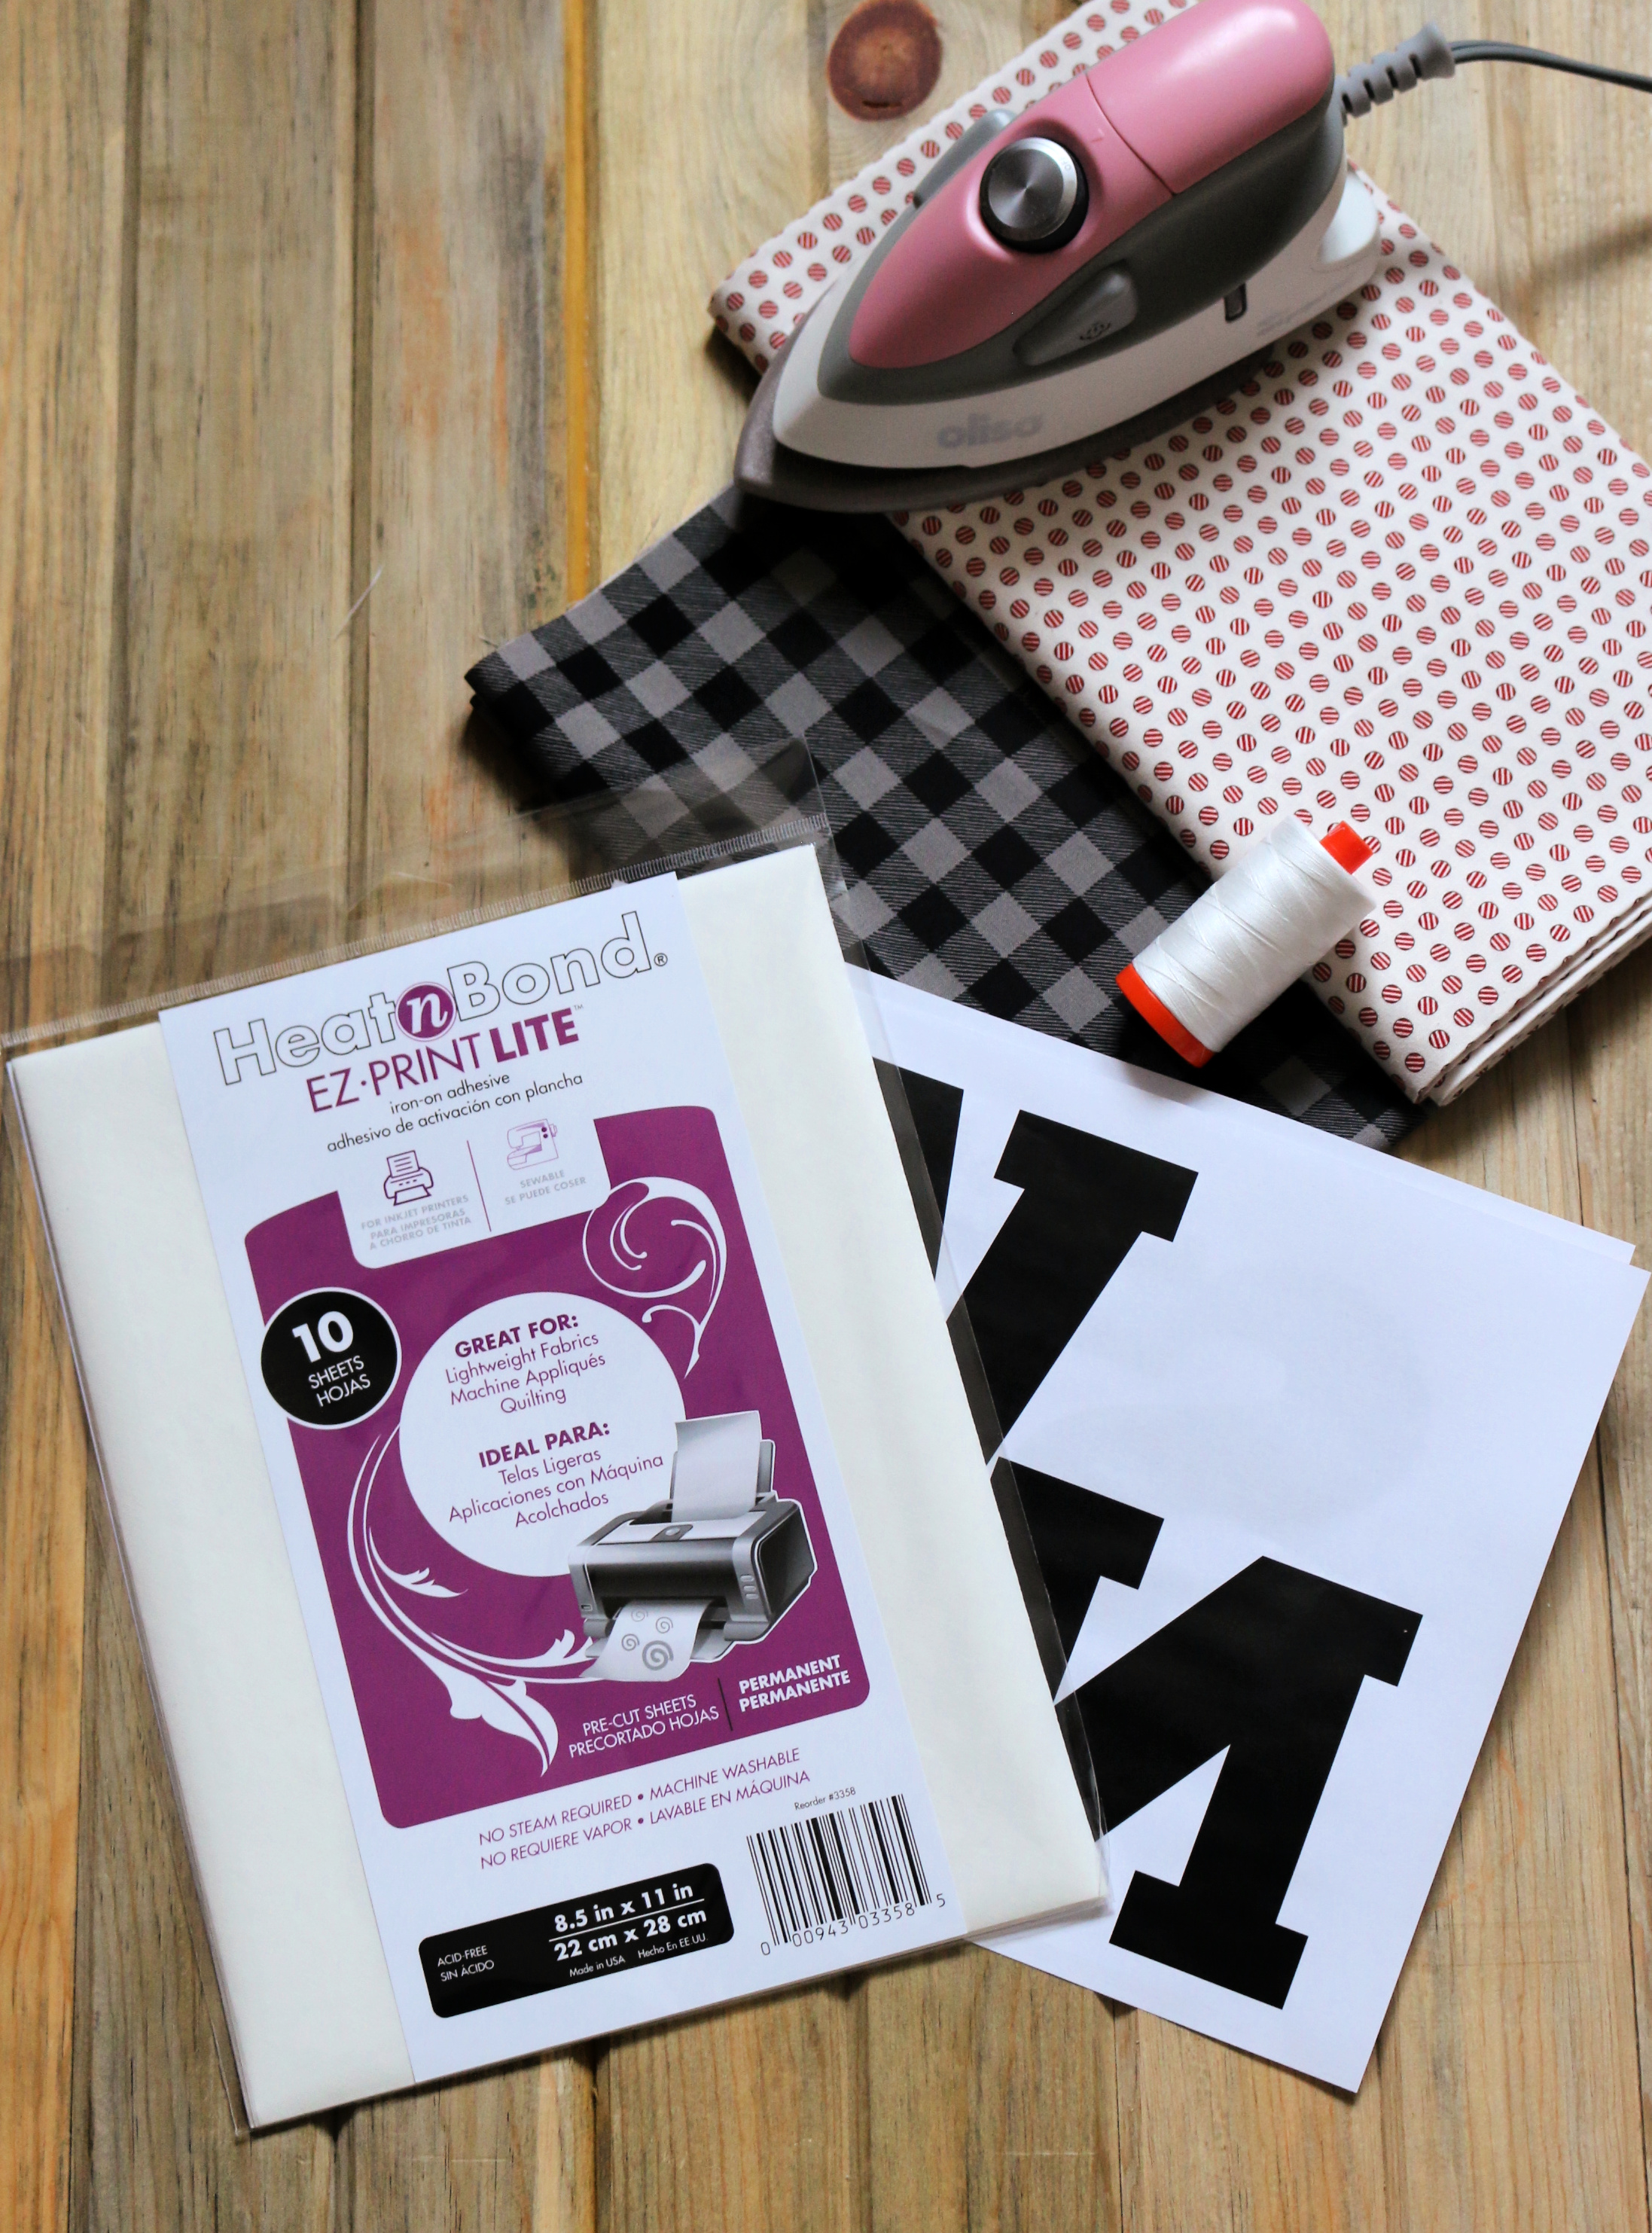
Snow Day Pillow Pattern
EZ Print HeatNBond Lite Sheets
¾ yard Background fabric
1 Fat Quarter for the Letters – small print
1 Fat Quarter of White for the Snowflake
Aurifil Thread
Oliso Iron
2 1/2 yards of pom poms (optional)
18″ Pillow Form
Snow Day Pillow Instructions
Step 1: Cut a 20″ square from the background fabric. Save the rest of the fabric for the back.
Step 2: Print the Snow Day pattern onto the EZ Print HeatnBond Lite Sheets.
Step 3: Iron the SNW to the Small Print Fat Quarter.
Step 4: Iron the snowflake shape to the White Fat Quarter.
Step 5: Cut out the shape and letters directly on the line.
Step 6: Find the centerline of the background fabric by folding it in half and ironing a small crease in it.
Step 7: Layout the letters up to the centerline. Find where the Snowflake will go, but remove it and wait to iron it on. Leave approximately a 3″ space from the right and left edge of the letters to the edge of the background fabric.
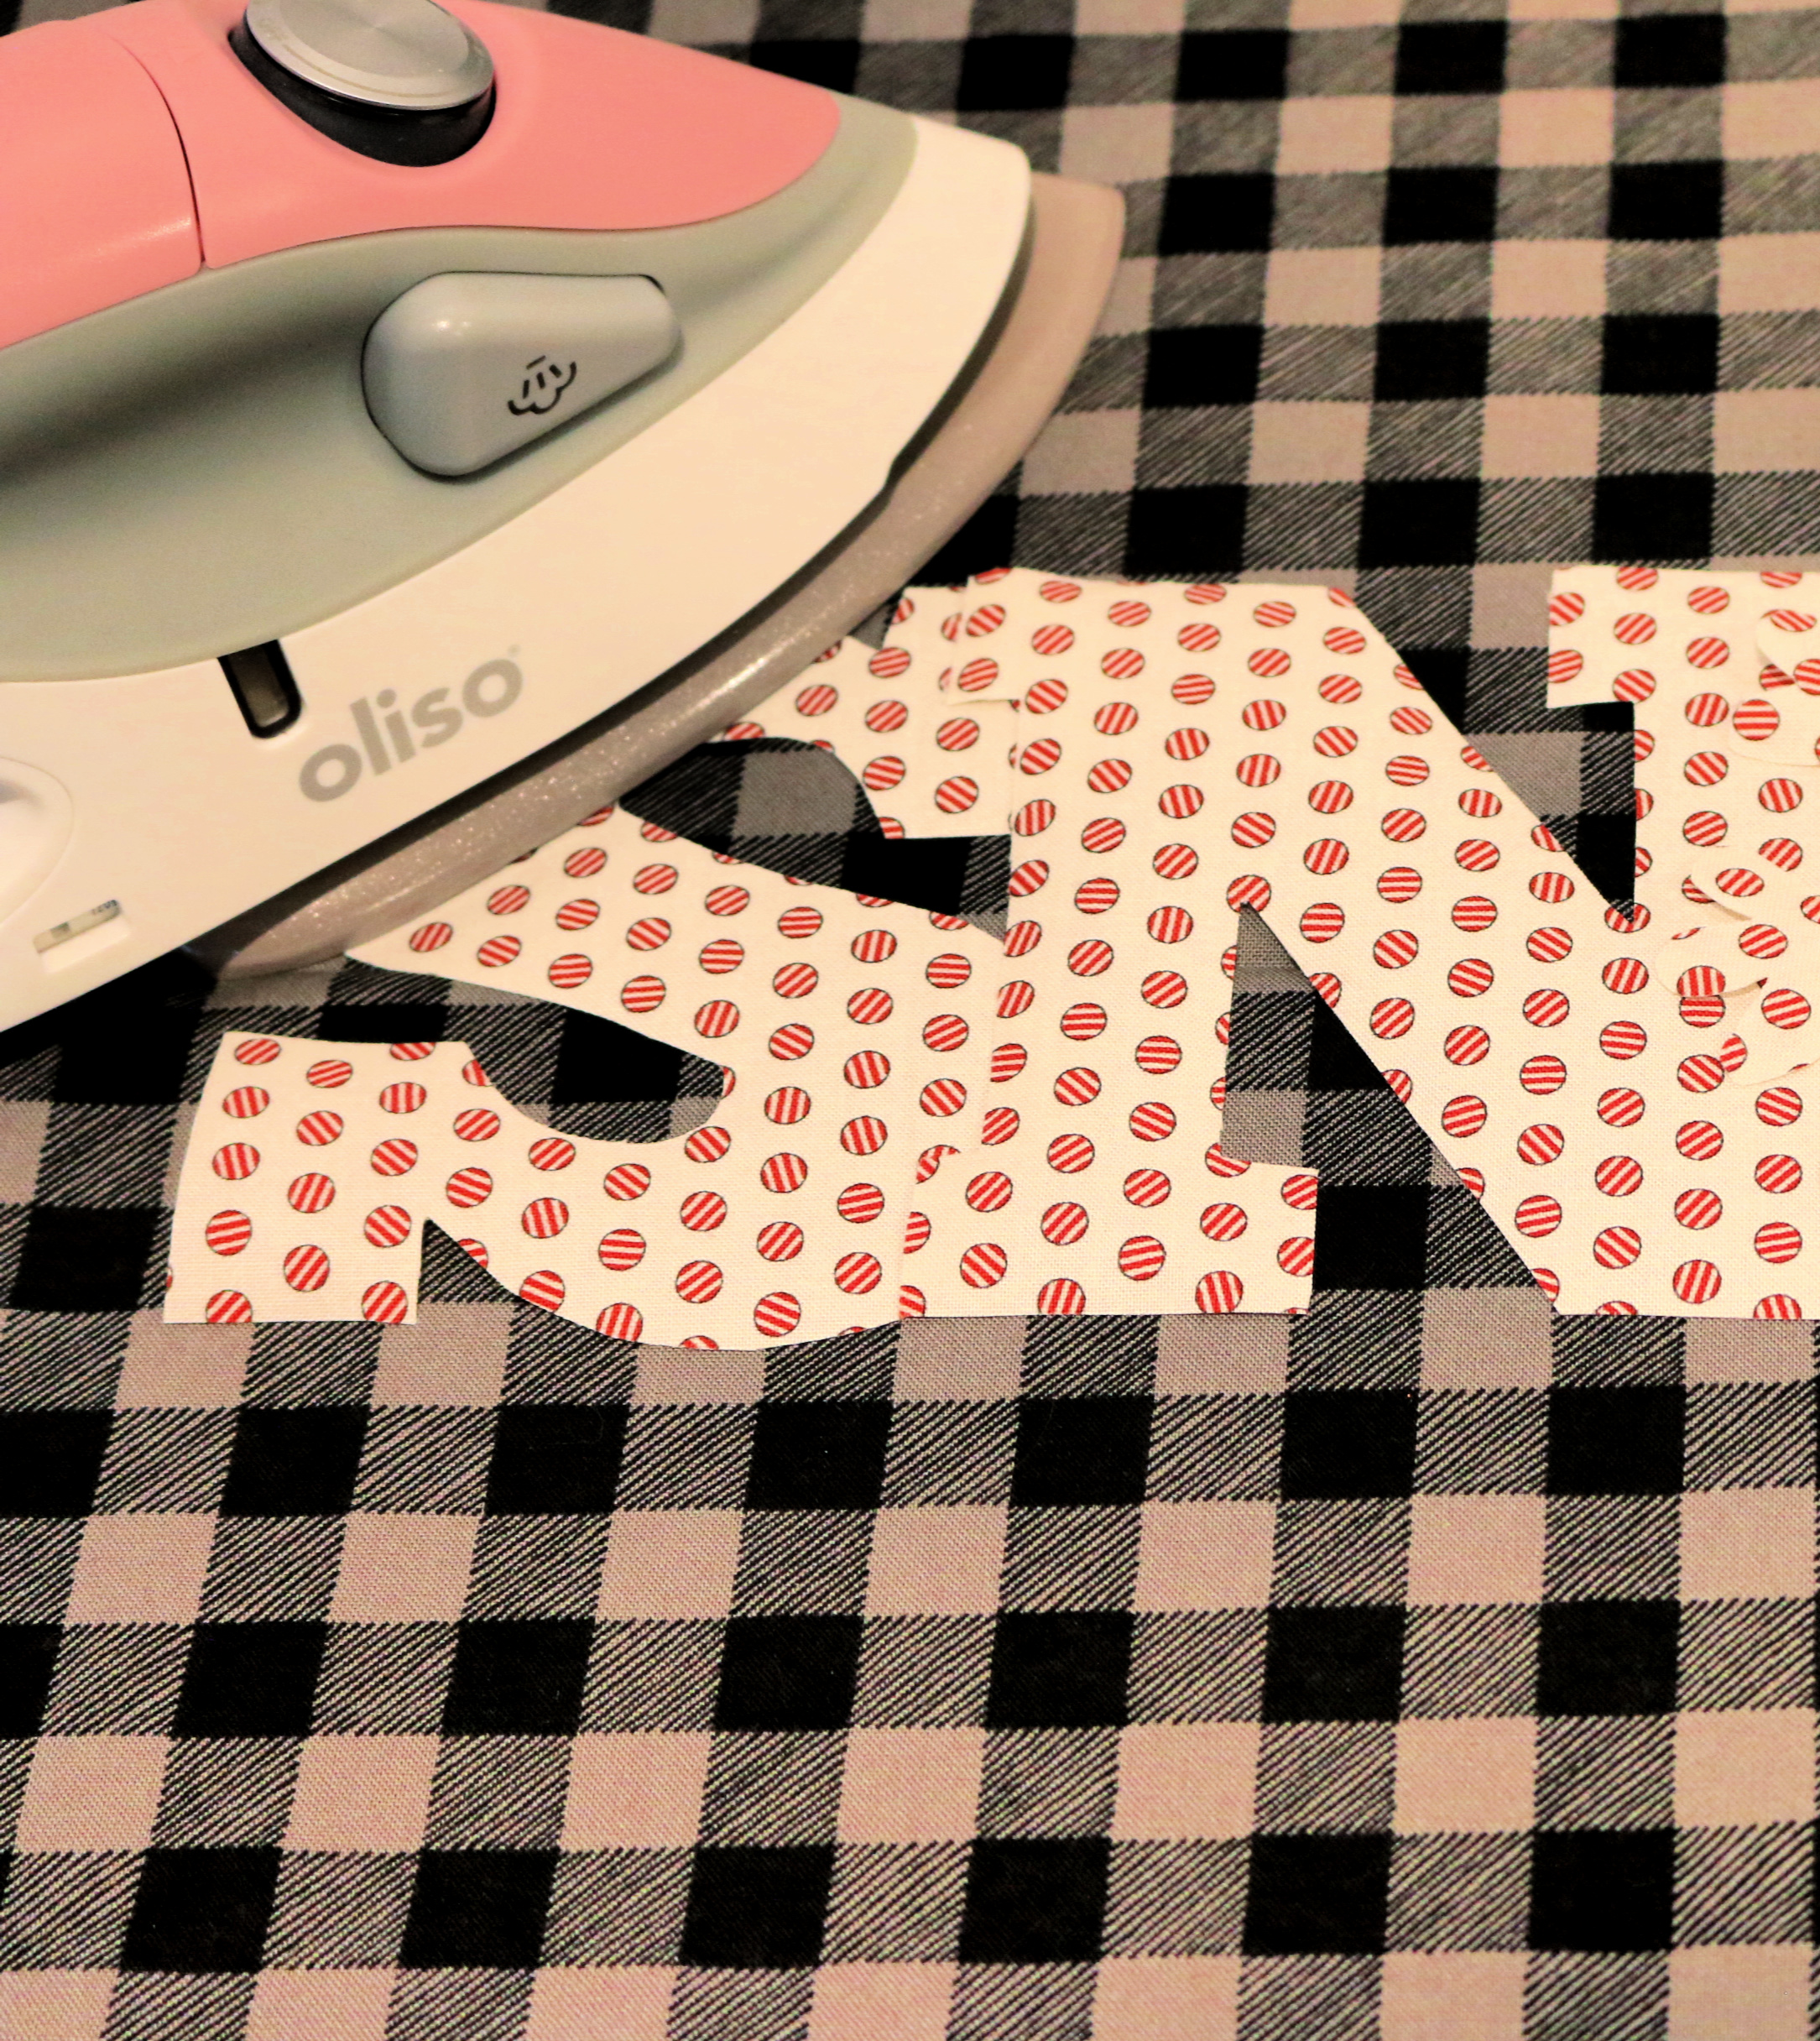
Step 8: Iron the letters in place and then stitch around them using an applique stitch.
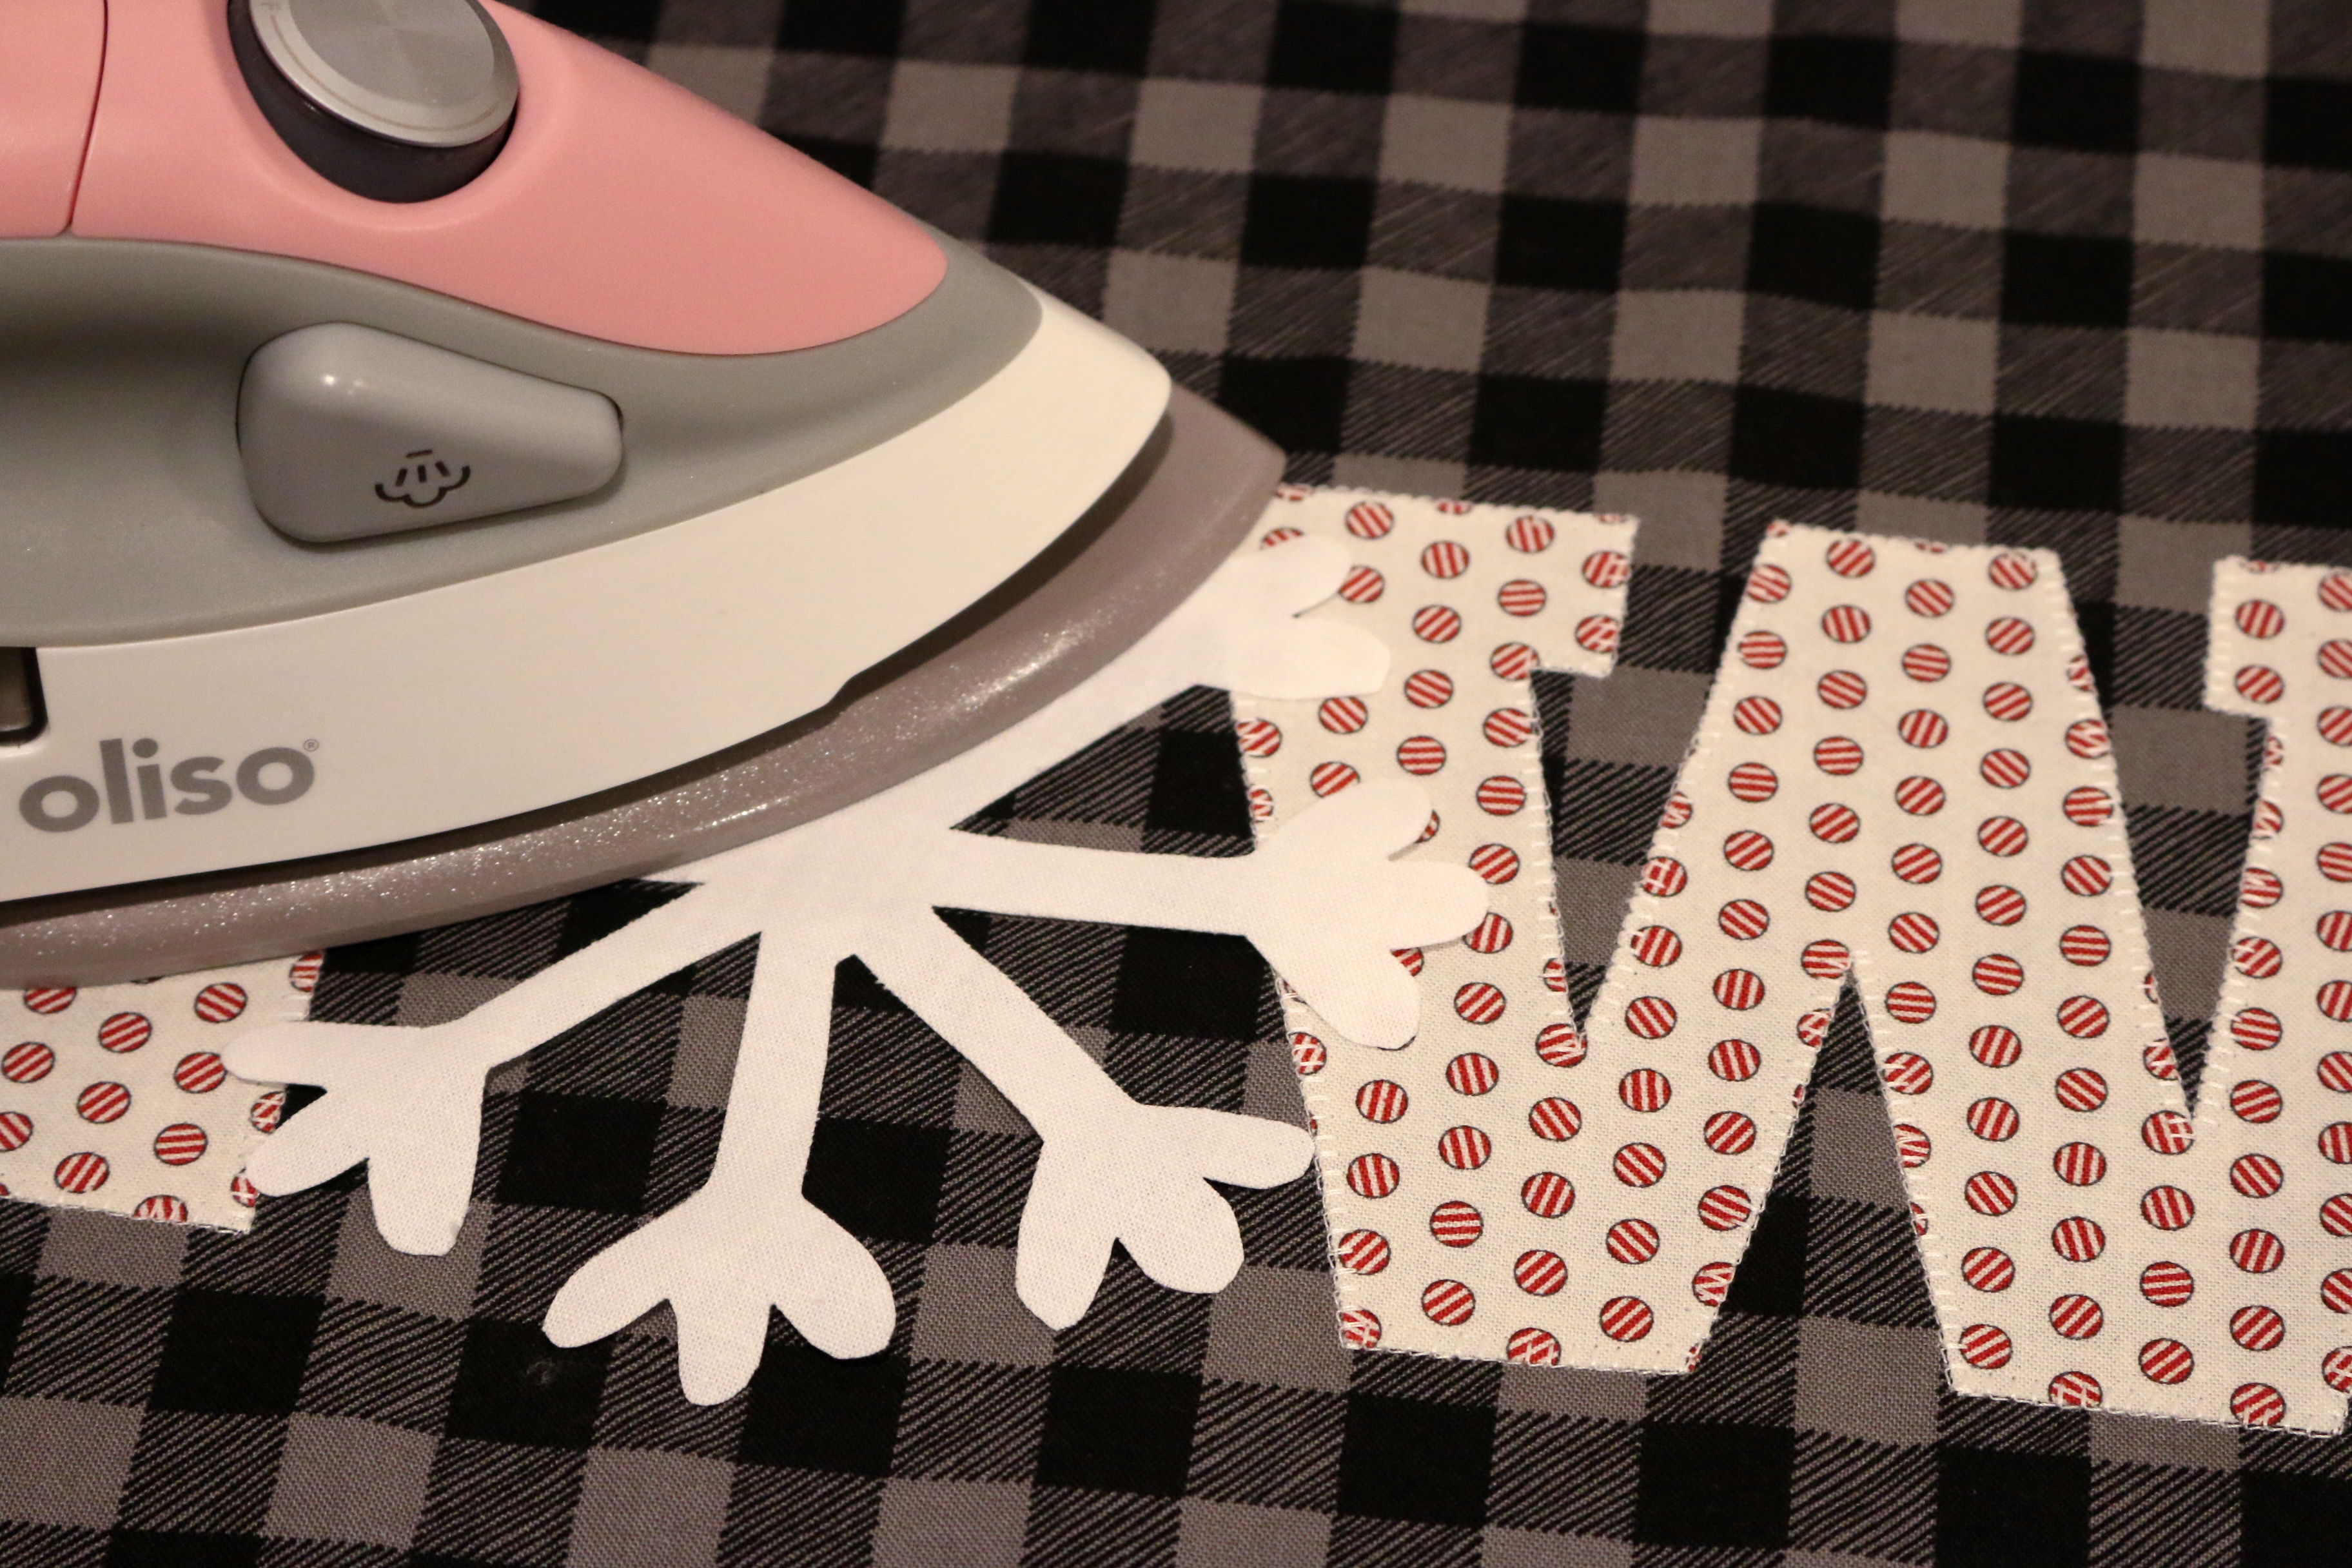
Step 9: Iron the Snowflake on top of the N and W. It will overlap both letters. Stitch around the Snowflake.
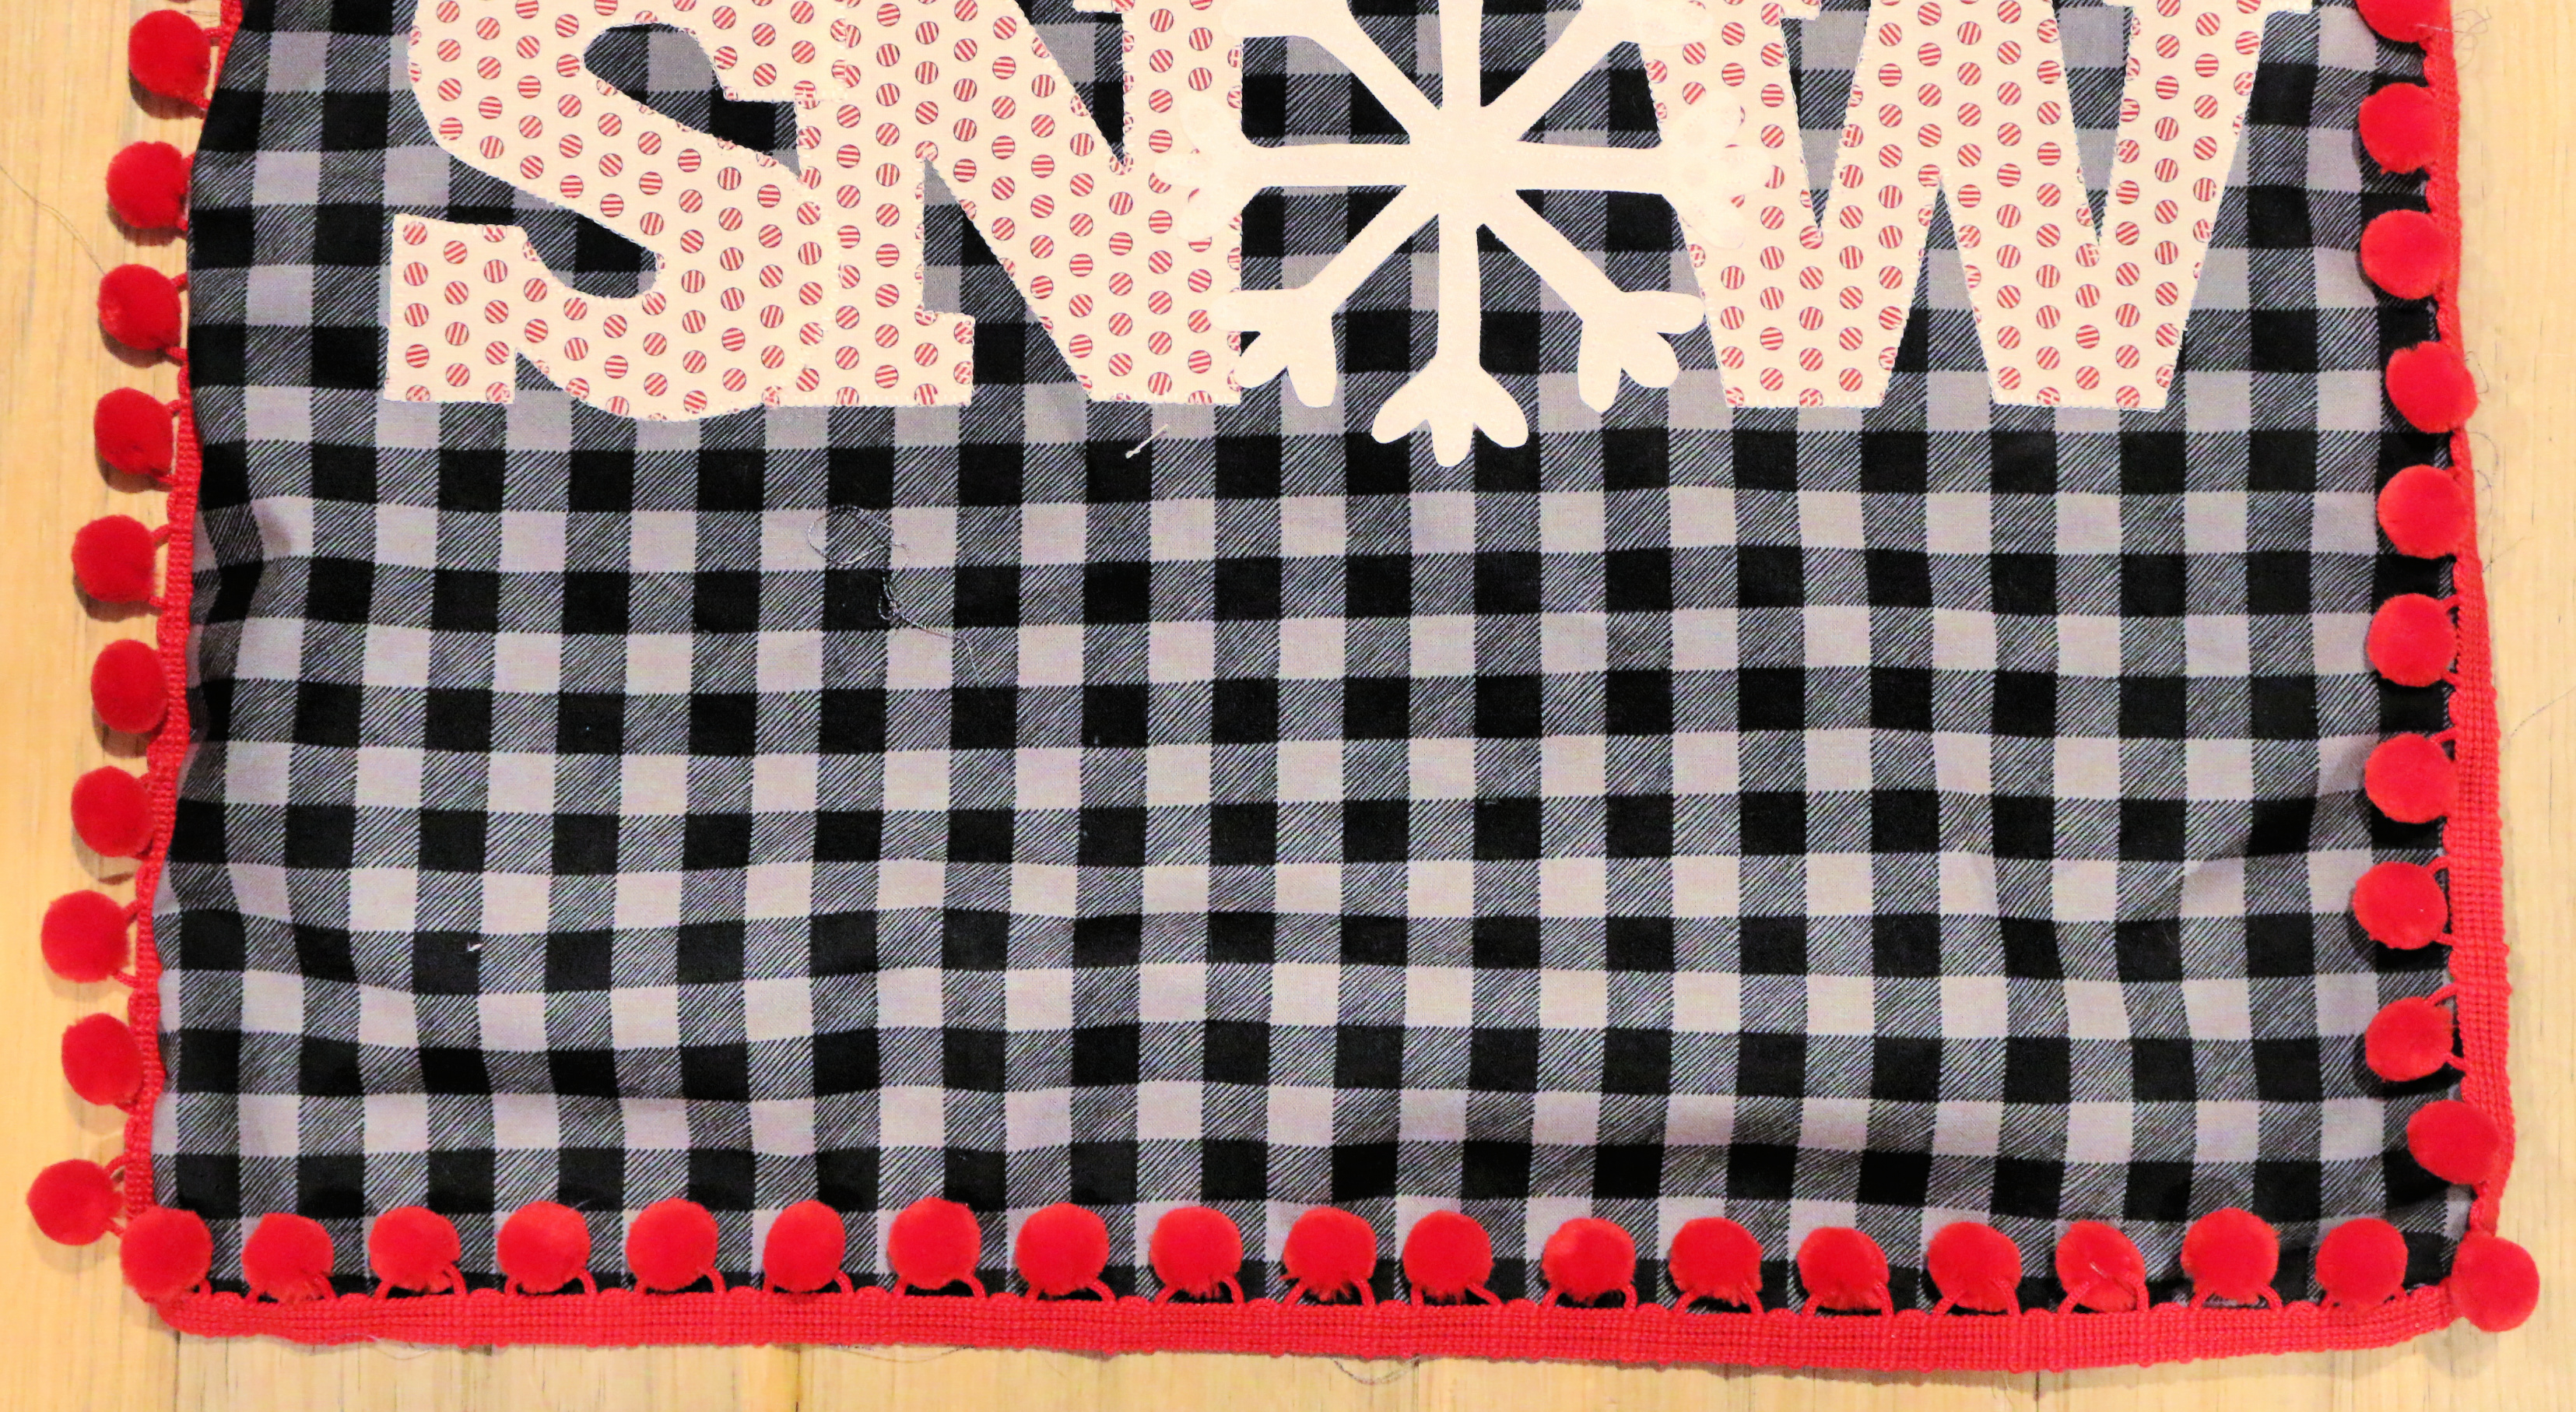
Step 10: Take the Pompom Trim and baste it to the edge of the pillow top.
Step 11: Create the back to the pillow.
Step 12: With the right sides together, stitch the front and back of the pillow cover together.
ENJOY!!!

