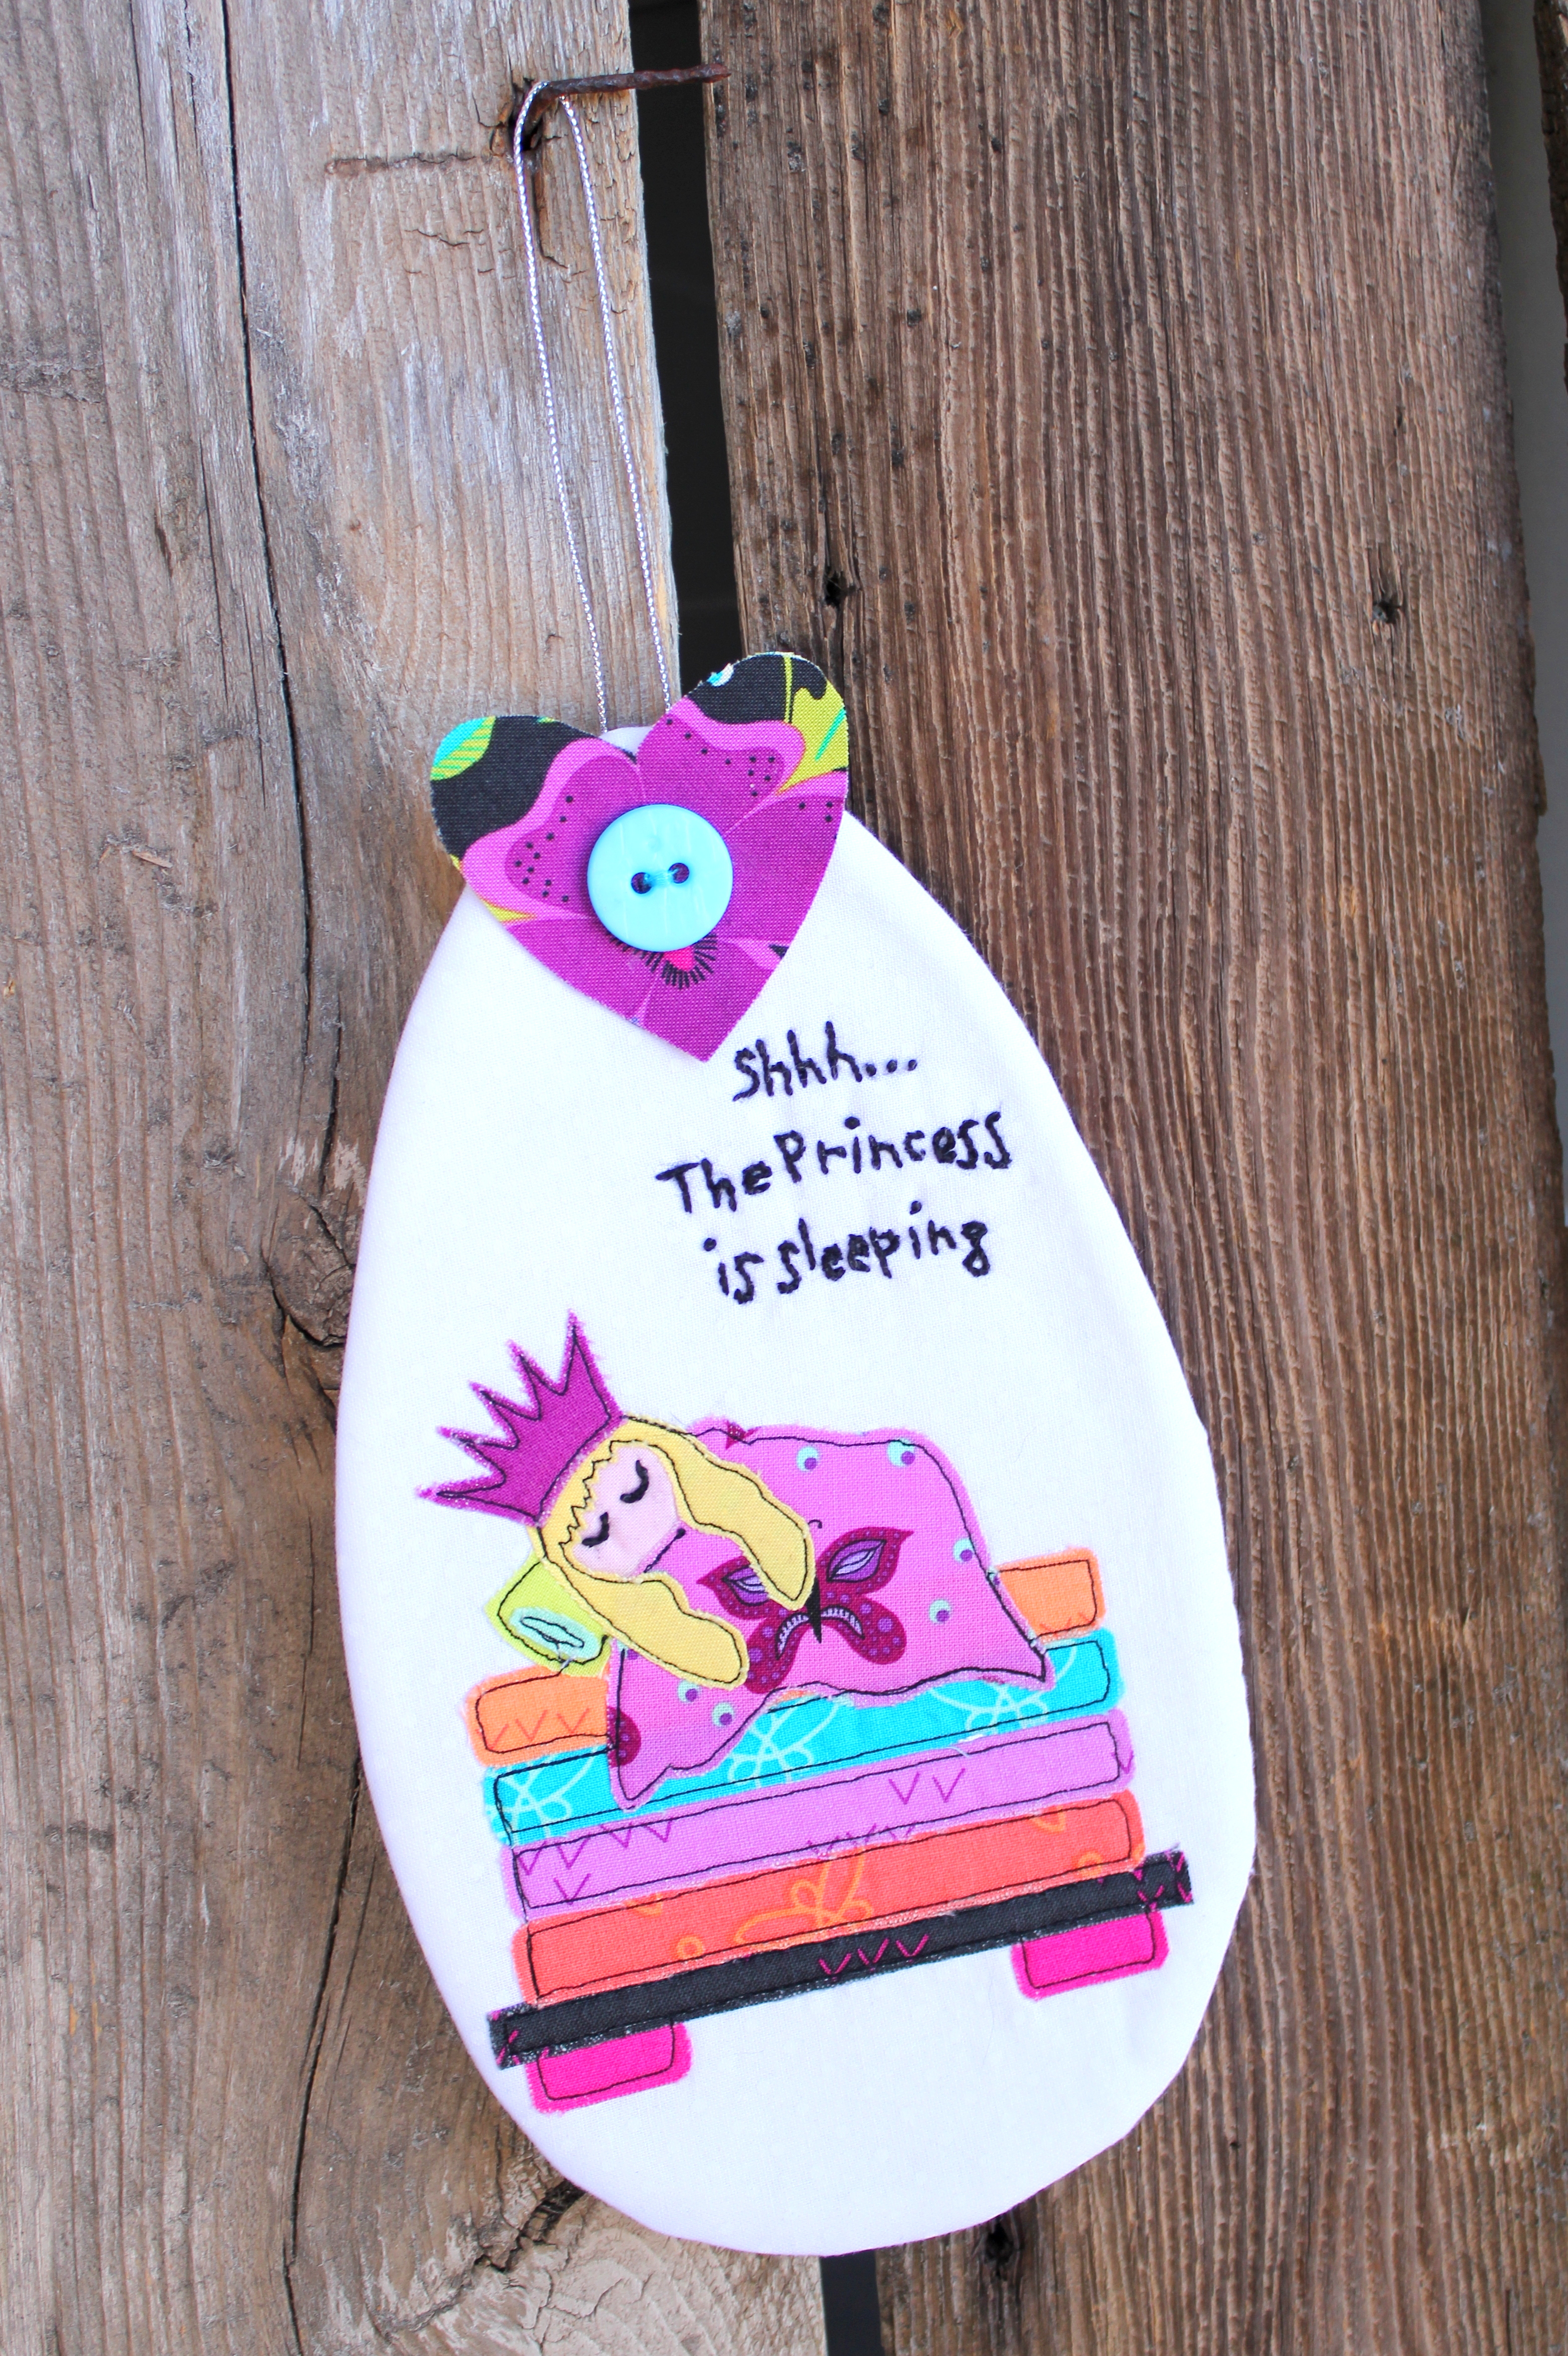
When there’s a little one in the house, it’s always a blessing when they finally fall asleep after being awake a long time or if they’ve been unusually fussy. With hopes of not waking the baby, everyone is instructed to tiptoe quietly around the house and baby’s room out of fear the sleeping cutie will hear a noise that will disturb their slumber. Having a door hanger on the front door or bedroom door is a gentle reminder to everyone to keep the noise down. “The Princess is Sleeping” door hanger will definitely get their attention! It’s so easy to make using Therm O Web products.
Shhh The Princess Is Sleeping Fabric Door Hanger
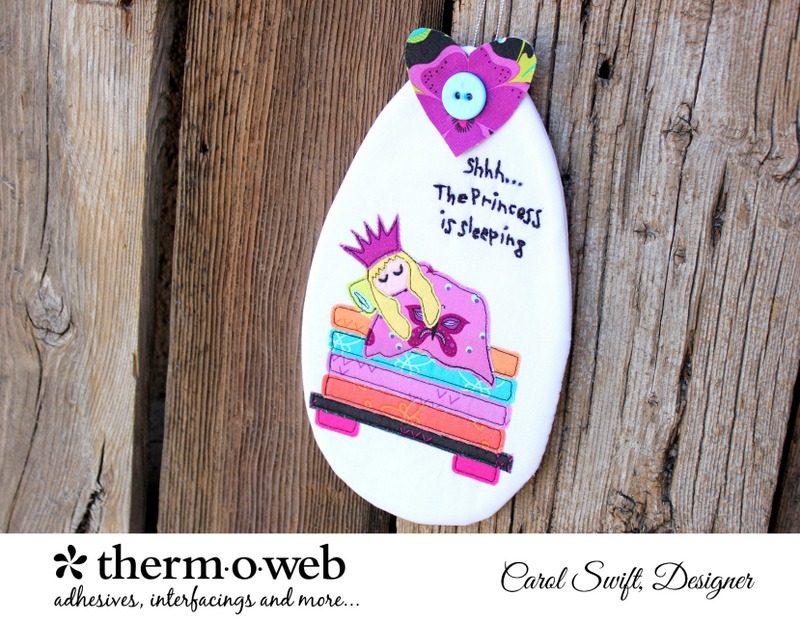 You’ll need a few things to make this door hanger:
HeatnBond Fleece Fusible High Loft
Therm O Web EZ Print Lite Sheets or Heat n Bond Lite
Therm O Web Fabric Fuse Liquid Adhesive
Aurifil Thread
Oliso Purple Iron
Fabric
String/ribbon
Button
Embroidery thread
Windham “Gypsy” fabric
The fabrics in Windham’s “Gypsy” are gorgeous! The door hanger took only a couple fat quarters, so I’m excited to make something else using this line of fabric.
Shhh The Princess Is Sleeping Fabric Door Hanger Instructions:

The cutting instructions are quick:
Cut 2 – fabric, front and back hanger base
Cut 2 – Heat n Bond Fleece Fusible High Loft
Cut 1 – String/Ribbon, 8”
Prepare the princess applique designs following either of the applique instructions below:
Applique with printable Heat n Bond EZ Print Lite sheets: Using your inkjet printer, print out applique pattern pieces using Heat n Bond EZ Print Lite sheets. Load one sheet at a time into the paper tray. Sheet should be placed so printing is on the smooth side of the paper. Print quality at the normal setting and for plain paper. Allow 5-10 seconds for ink to dry.
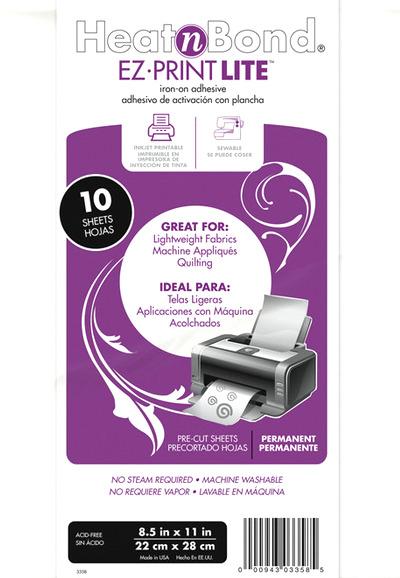 Applique with Heat n Bond Lite: Trace applique designs on the smooth side of Heat n Bond Lite.
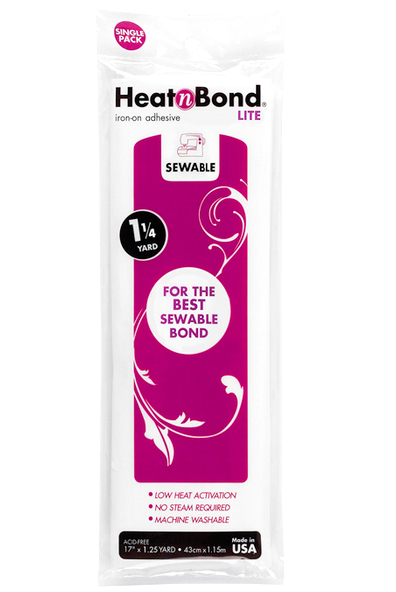
Iron adhesive pieces to wrong sides of fabrics with a medium heat iron, no steam. Press for 2 seconds. Repeat until all surfaces have been bonded to the fabric. Let cool. Cut out applique pieces. Peel off paper liner.
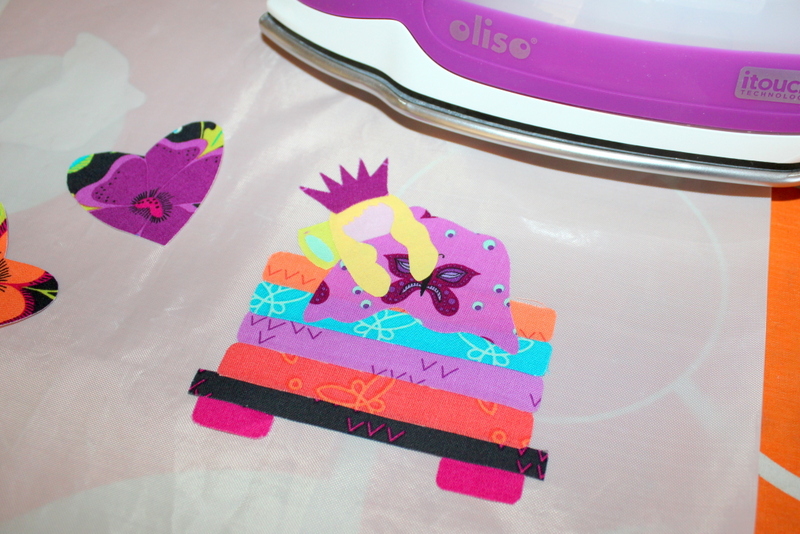
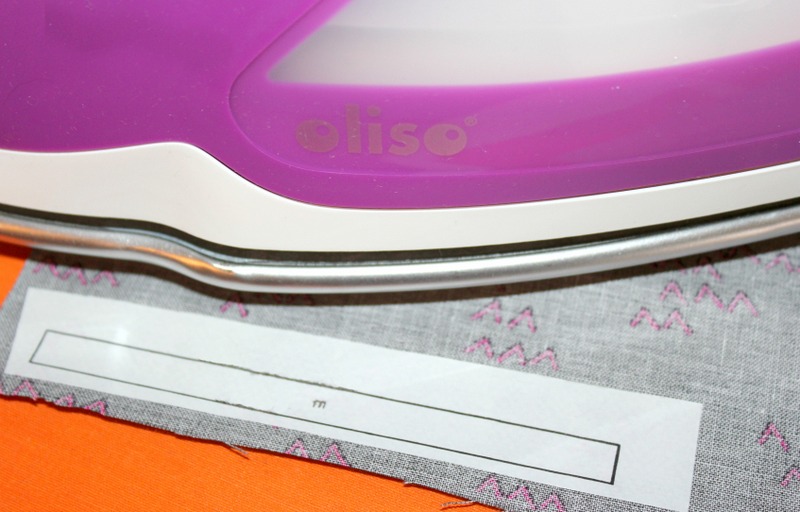 Place applique shape, adhesive side down, on top of right side of the fabric on hanger base front. Press and hold iron for 6 seconds on each section until the entire piece is bonded. Let cool. *Hint: Using a heatproof applique sheet to arrange your designs before ironing them to your fabric helps avoid mistakes. Lightly press each piece in place, let cool, lift and move to your fabric.
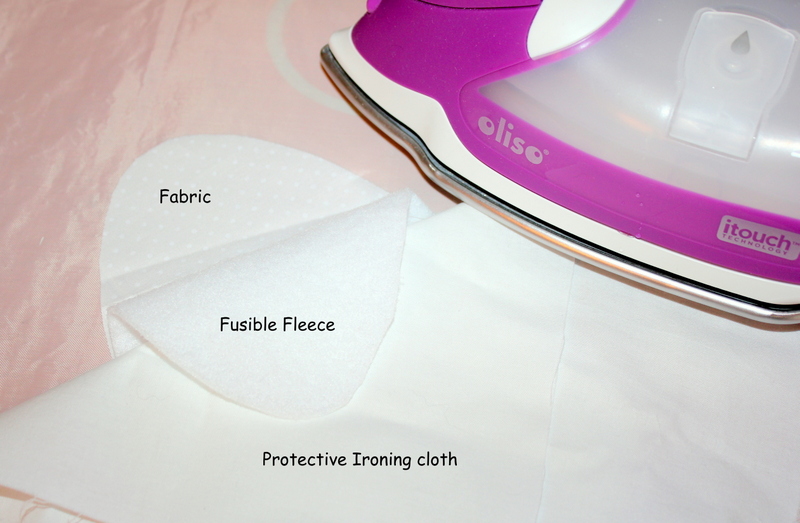
 Iron HeatnBond Fleece Fusible High Loft to the wrong side of the fabric on front and back hanger pieces following manufacturer’s directions.
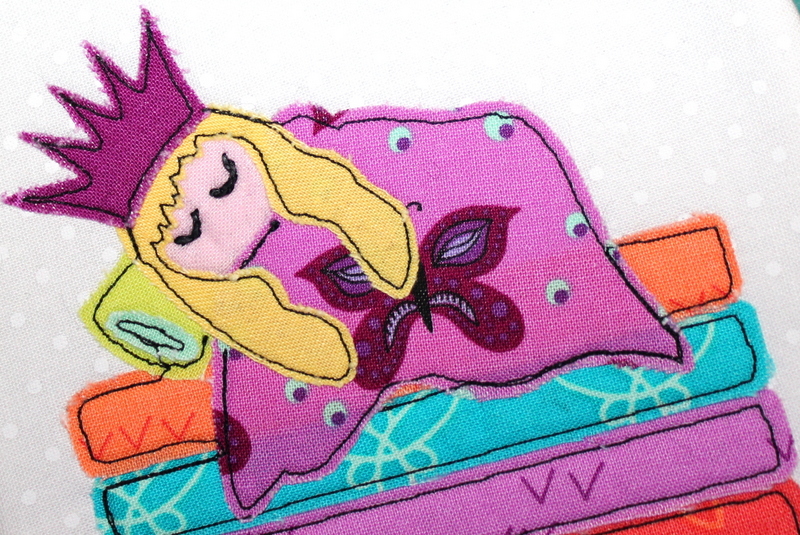
Sew around applique edges using a straight, zig-zag, or blanket stitch. Trace and embroider lettering and eyes.
 With right sides together, sew around edges of front and back hanger base leaving a 2” opening on the side for turning. Turn inside out; hand stitch opening closed. Press,
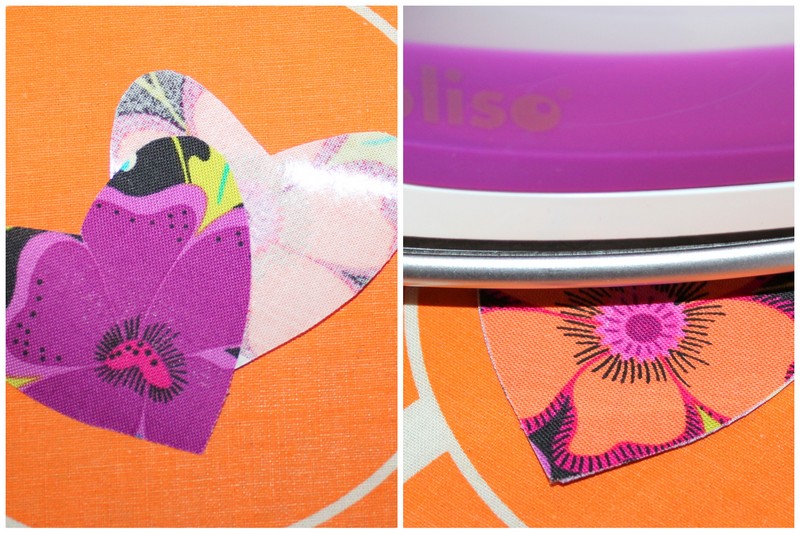
Following the applique directions above, make two applique hearts. Matching all edges, press adhesive sides of the heart together. Trim if necessary.
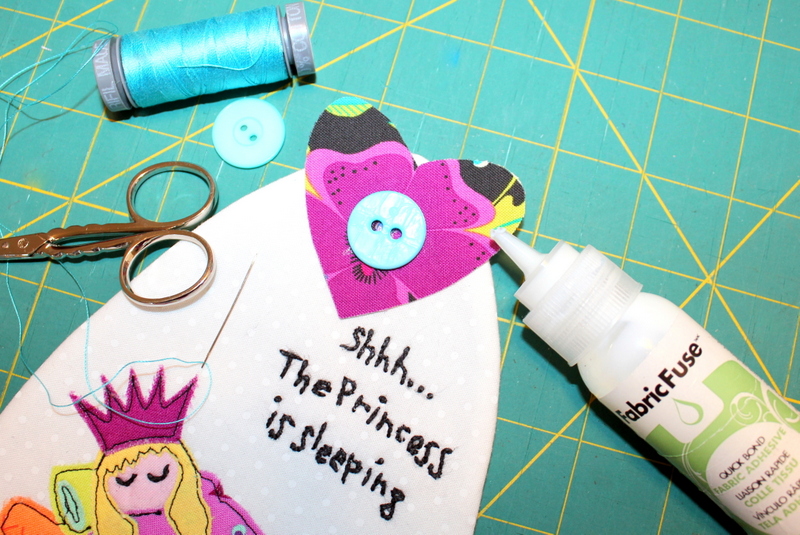
Attach heart to the front of hanger base by sewing a button to the front and back. Using Fabric Fuse Adhesive helps hold the heart and button in place to making sewing easier. Apply Fabric Fuse and allow to dry. Sew buttons to front and back with thread. Aurifil 28 WT, #5005 was the perfect color!
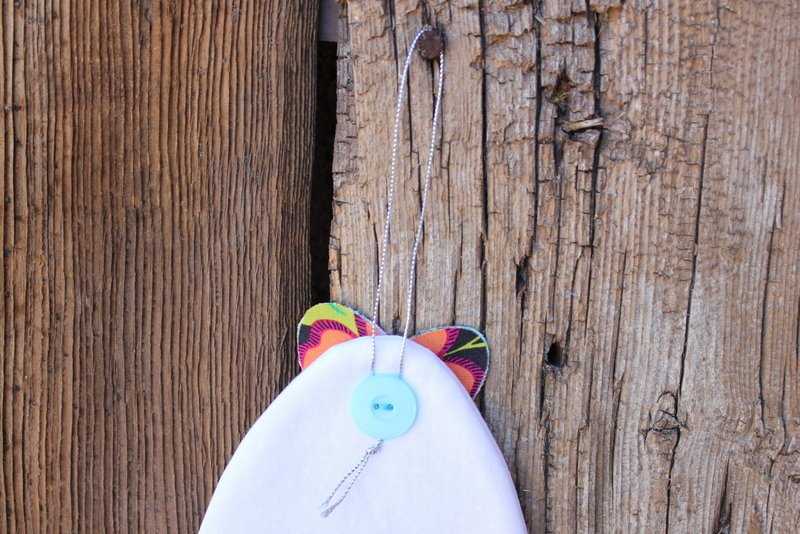
Attach looped string/ribbon to back button for hanging on the doorknob.
Sweet dreams, Princess!
