


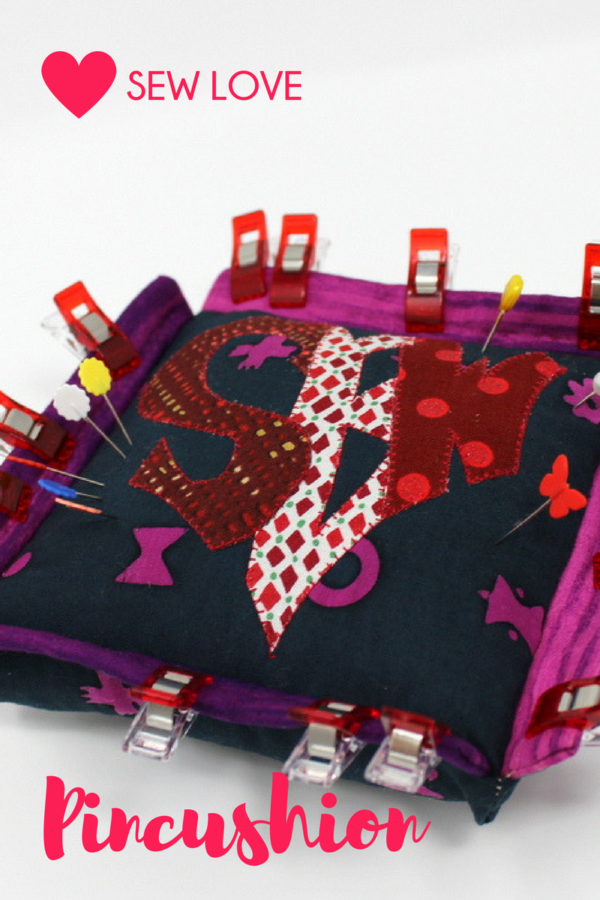
Hello everyone! It’s Kim Lapacek from Persimon Dreams. I’m excited to share with you a fun way to create a fun effect on the Clip’n’Pincushion which was designed by Fabrics and Flowers UK. The original pattern calls for you to use up your half square triangle trimmings to make a fun patchwork top which I think is brilliant. But I also wanted to show how you could add a fun little applique to make this Clip’n’Pincushion.
Supplies
- Clip’n’Pincushion pattern from FabricsandflowersUK
- HeatNBond® Lite
- Pressing Paper
- Aurifil Thread 2250
- Free SEW Love Template on Craftsy
- HeatNBond Fusible Fleece (use this for the “wadding” indicated in the pattern)
Instructions to add the Applique
Follow the instructions in the Clip’n’Pincushion pattern to get all your materials prepared for the pincushion.
Download and print out the free SEW Love template from my Craftsy page.
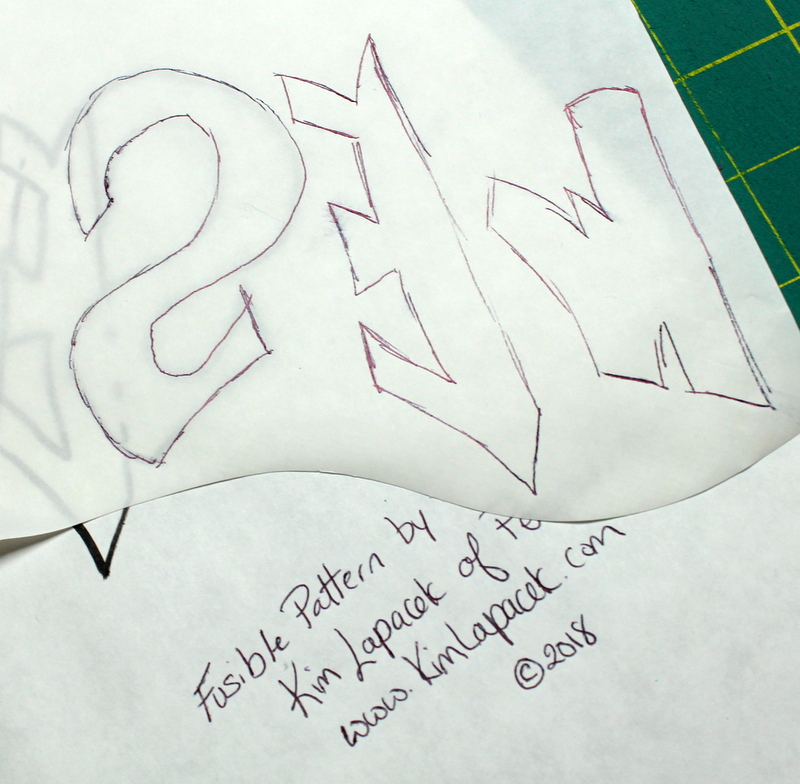
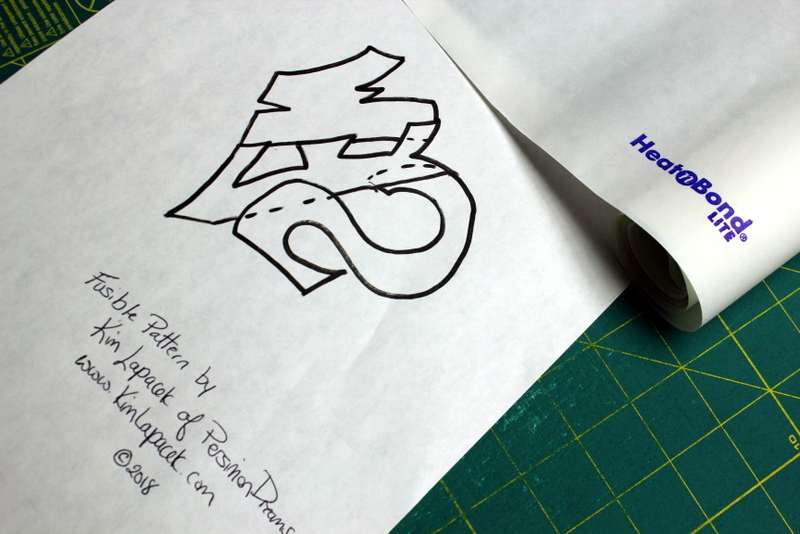
Trace the letters S E W (all backwards) onto the HeatNBond® Lite. Trace right on the dash lines to complete each letter.
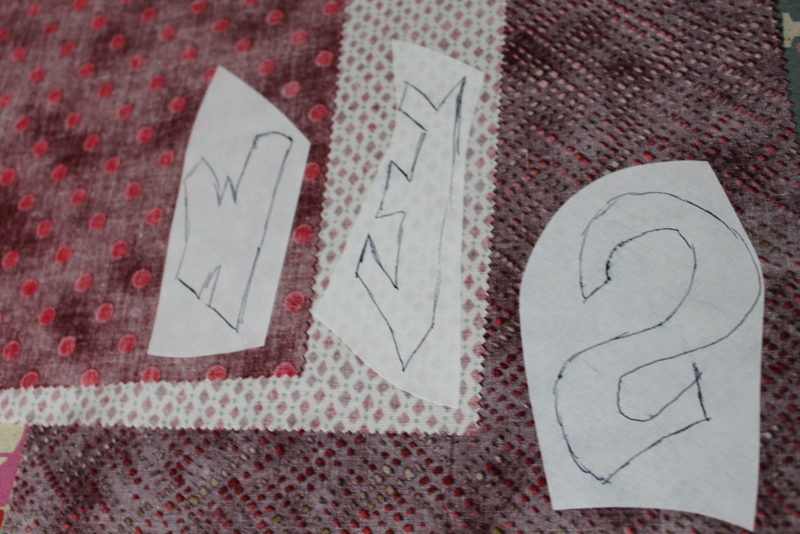
Choose three different scraps of fabrics – one for each letter. Make sure the fabric chosen for the “E” contrasts significantly with the “S” and “W”. Rough cut around the traced letters and press them onto the WRONG SIDE of the three fabrics.
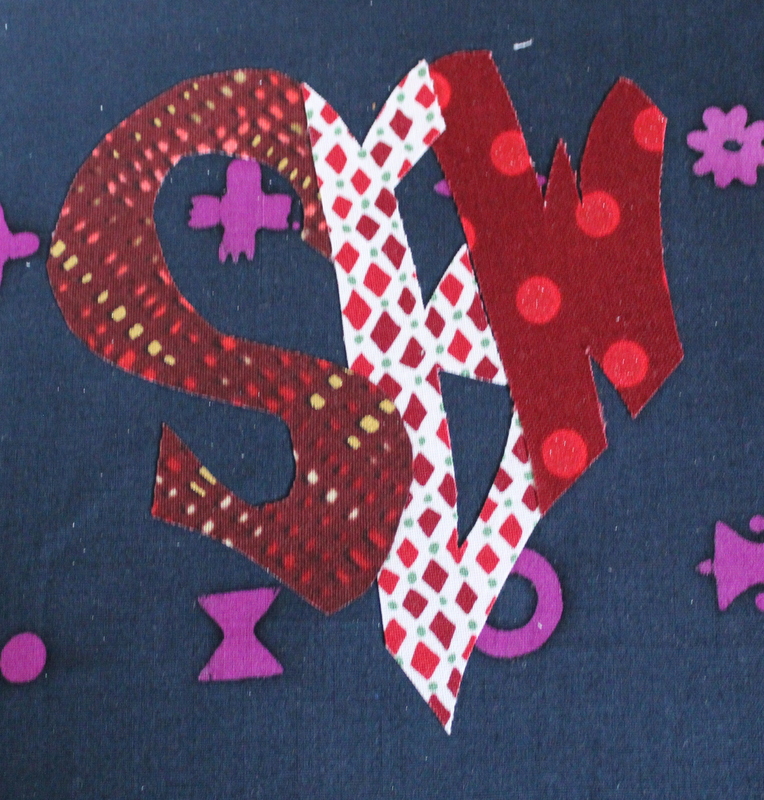
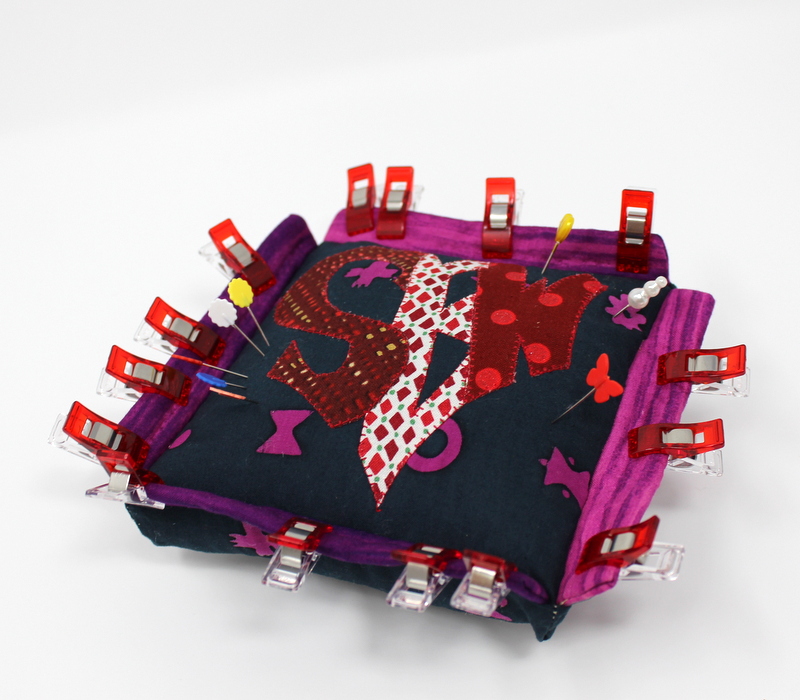
Layout the letters “SEW” so they overlap and if you were to draw an invisible line around the shape you would see that a heart is made.
Lay a piece of Pressing Paper over the letters once they are in a spot pleasing to you and press with a hot iron to set the HeatNBond® Lite.
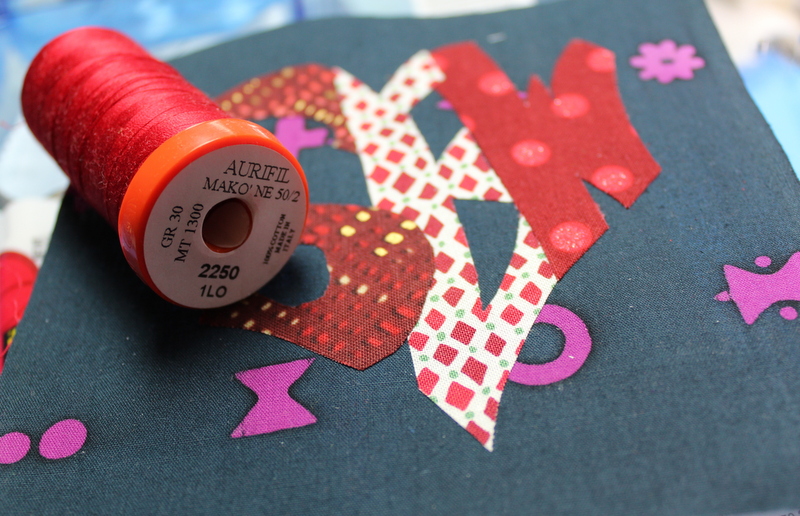
Layer a piece of HeatNBond Fusible Fleece on the wrong side of the Clip N Pincushion top. Lay a piece of Pressing Paper down and press to fuse. 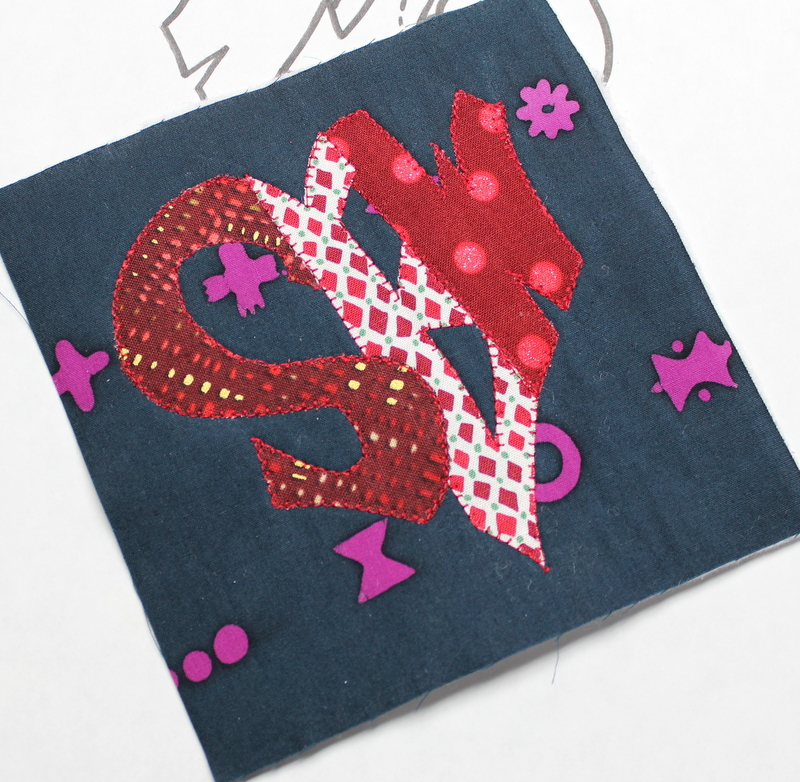 Using Aurifil 2250, blanket stitch around each letter to secure them to the fabric.
Follow the rest of the instructions in the Clip N Pincushion pattern to complete the project.
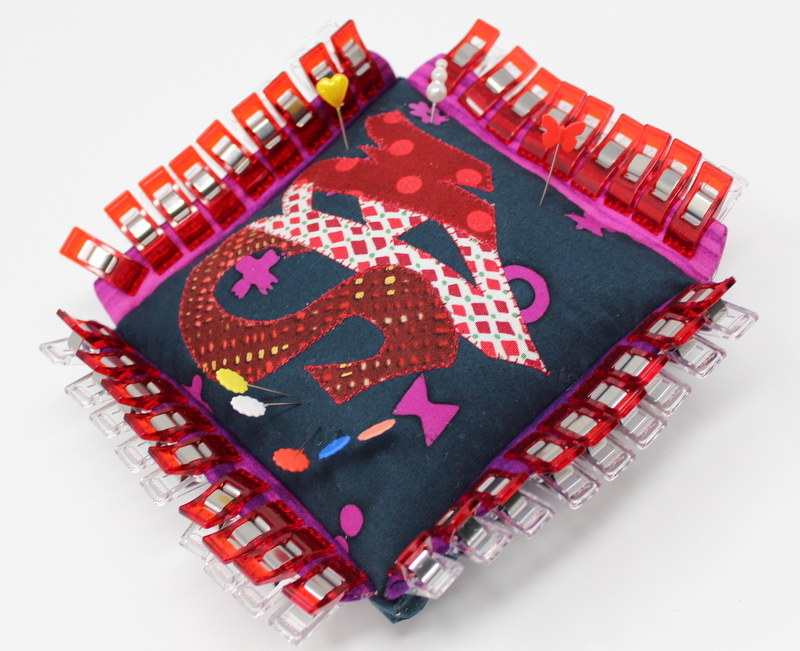
Before you know it you’ll have an adorable Clip’N’Pincushion great for holding your Wonder Clips and your pins! I truly think this is brilliant!