
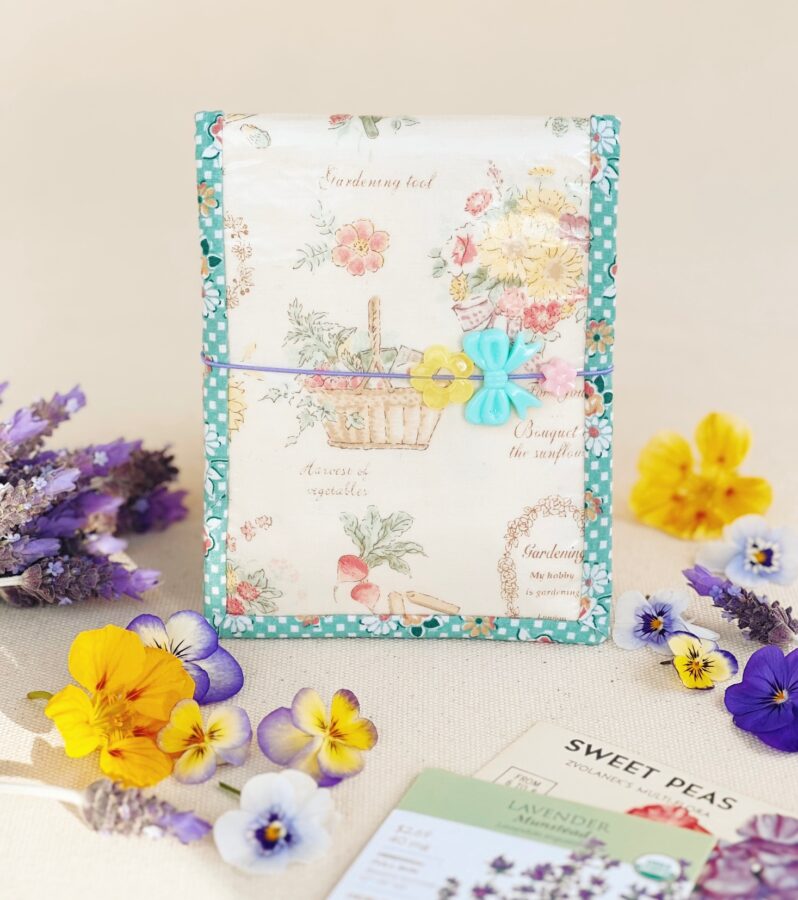
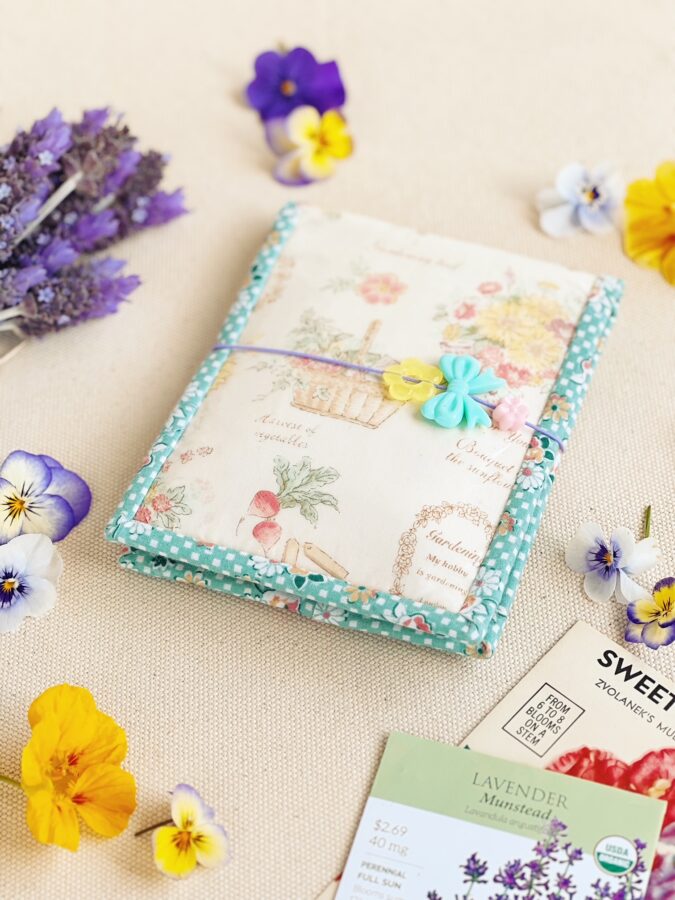
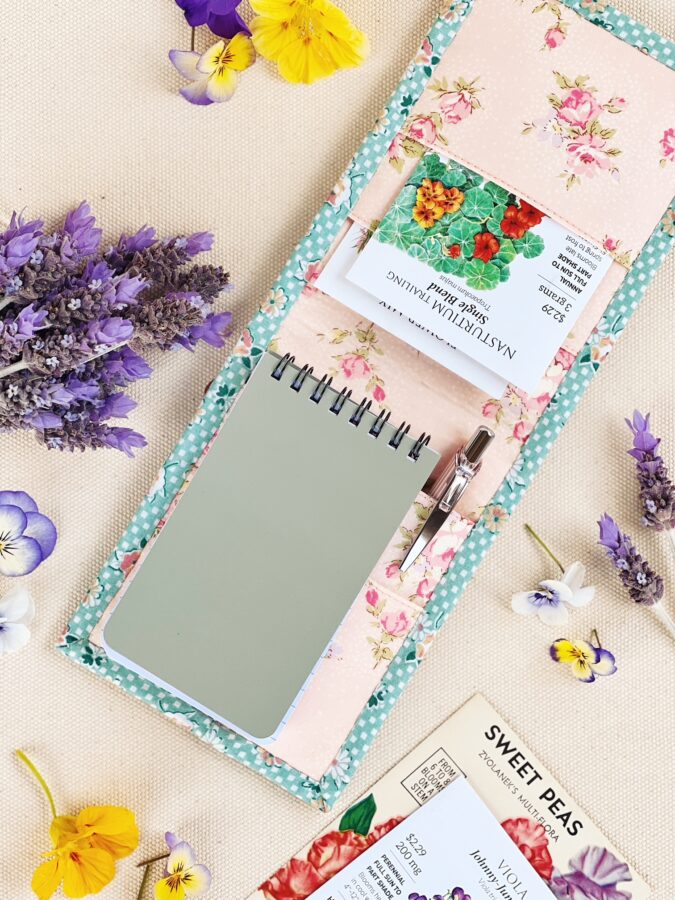
Hello! It’s Karen from Creamcraft Goods! I’m excited to share my first project tutorial with you to celebrate Spring – a handy dandy Seed Storage Pocket. This is a cute way to store your Springtime seeds for yourself or it makes a lovely gift for a friend or two! You can also use it to store other things such as a small notebook, pen, and much more! For this project, I used Heat N Bond Iron on Vinyl in Matte for the front and HeatnBond Craft Extra Firm Non-Woven Fusible Interfacing for the body and pockets to give it a nice sturdy finish. Let’s get started!
Seed Storage Pocket Instructions:
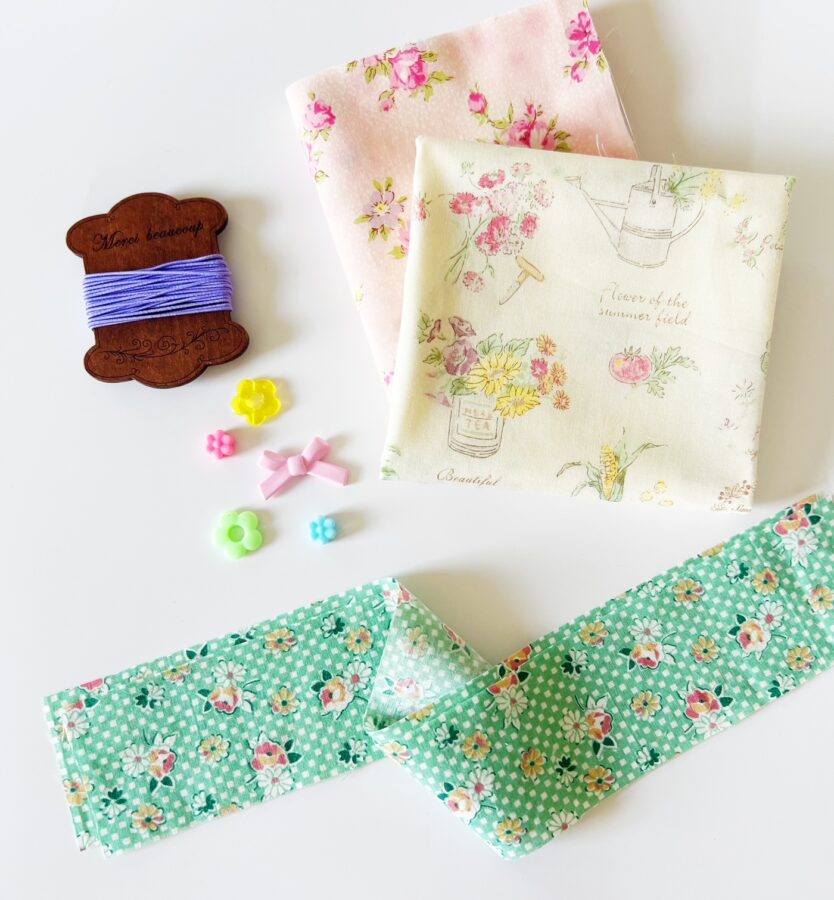
Materials
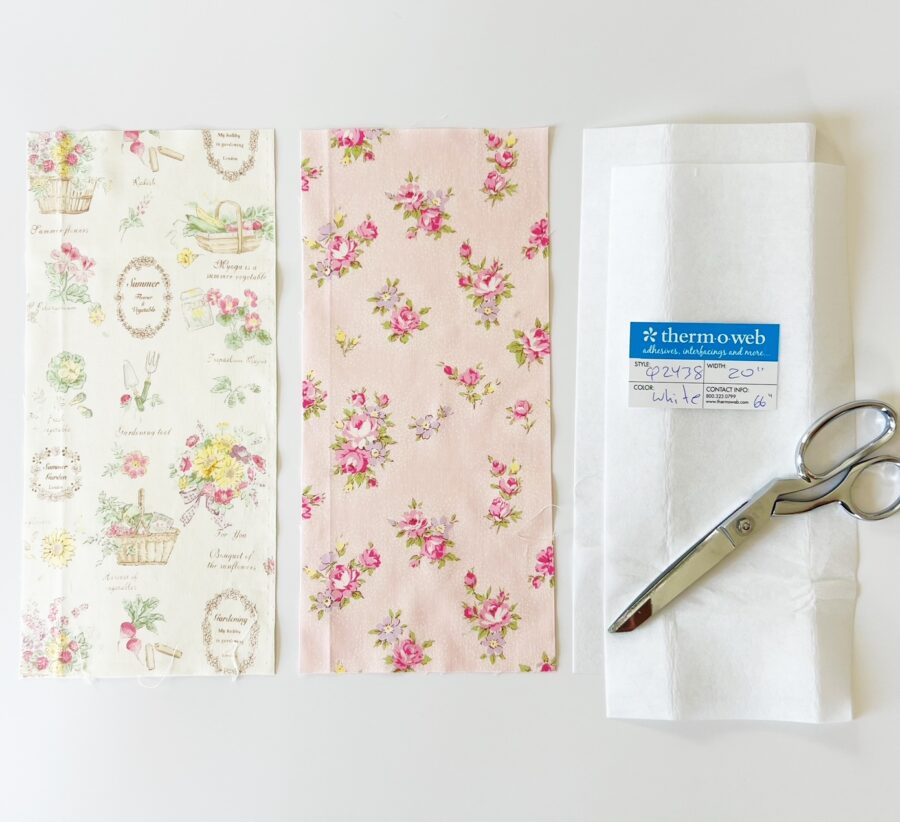
- 2 fat quarters in different coordinating prints – for the body and inner pockets
- Binding – if making your own, you will need at least 1/4 yard of fabric cut along the width (44”) or 1 package of premade binding
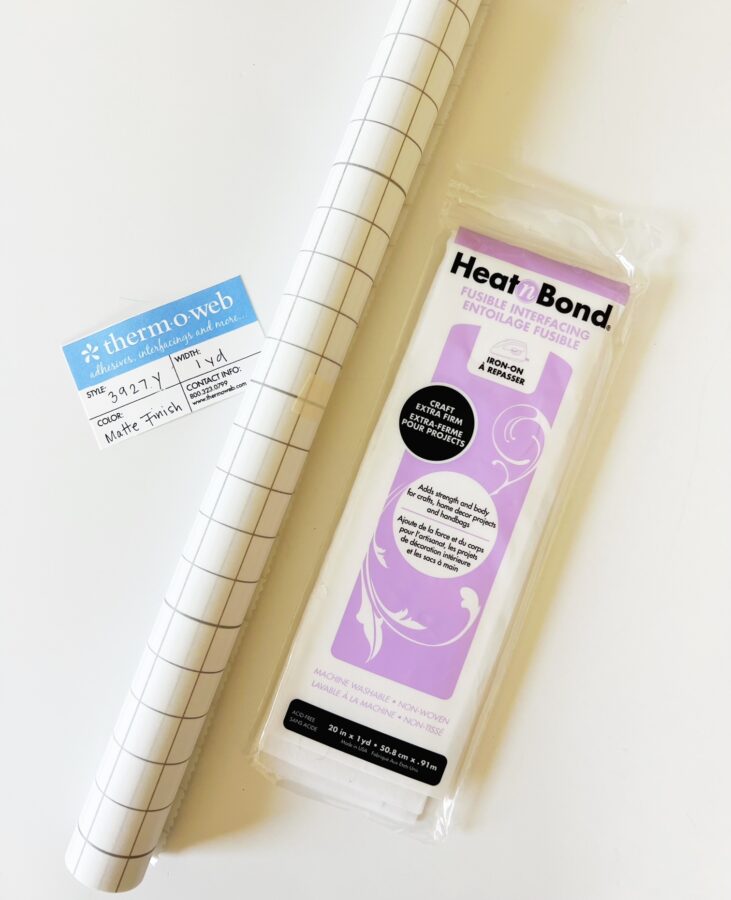
- HeatnBond Craft Extra Firm Non-Woven Fusible Interfacing
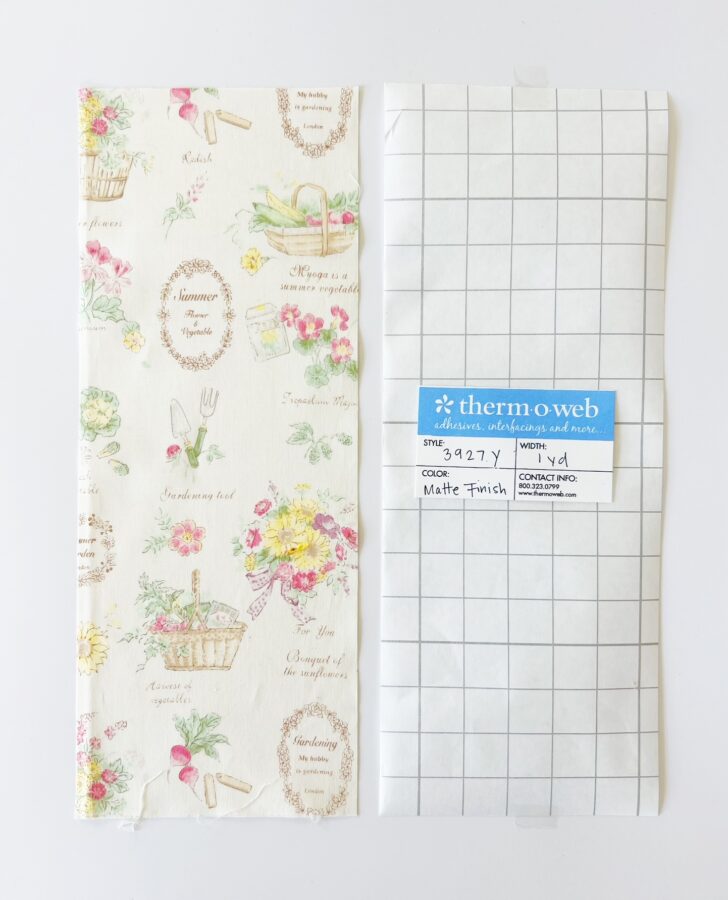
- HeatnBond Iron-On Vinyl – Matte Finish
- Elastic
- Charm embellishments (optional)
Cutting for the Body
- Two 13” x 5” cotton rectangles for the outer and inner body
- Two 13” x 5” HeatnBond Craft Extra Firm Non-Woven Fusible Interfacing rectangles
- One 13” x 5” HeatnBond Iron-On Vinyl (Matte Finish) rectangle for the outer body
- One 39” x 2 1/4″ cotton strips for the binding (if making your own)
- Cut one 5” elastic piece
Cutting for the Inner Pockets
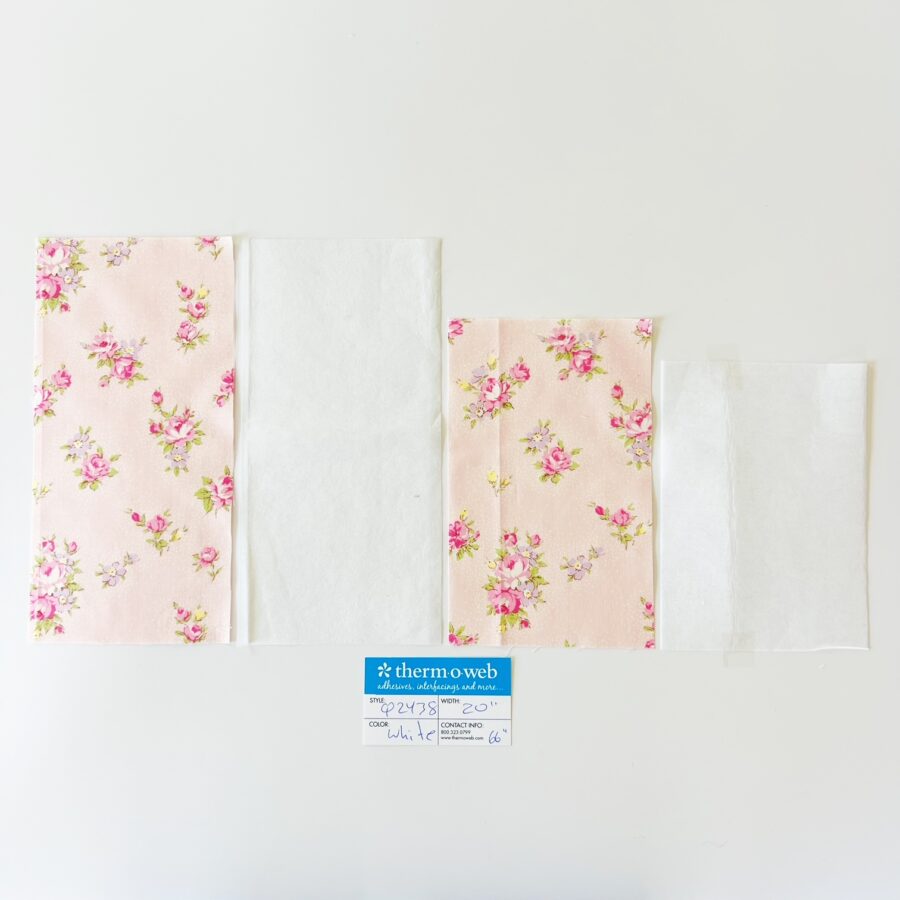
- Two 10” x 5” cotton rectangles for the large pockets and two 7” x 5” cotton rectangles for the small pockets
- Two 10” x 5” and two 7” x 5” Craft Extra Firm Non-Woven Fusible interfacing rectangles
Inner pockets using HeatnBond Craft Extra Firm Interfacing
Supplies Used
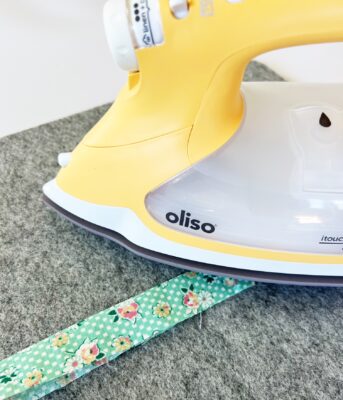
- Iron – I use an Oliso Iron
- Wool Ironing Mat
- Rotary Cutters
- Cutting Mat
- Scissors
- Water soluble pen
Tips
- Use a ¼” seam allowance unless otherwise noted
- Baste stitch uses a 3/16” seam allowance or the farthest stitch to the right on your sewing machine
- Save the HeatnBond Iron-On Vinyl paper backing – you will use this when you press the vinyl onto the fabric.
Prep Your Fabric
- Prep you pieces by first attaching the HeatnBond Craft Extra Firm Fusible Interfacings to the outer body, inner body, and the inner pockets. Use the directions indicated on the package to apply the interfacings.
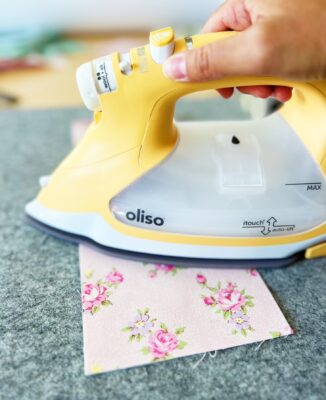
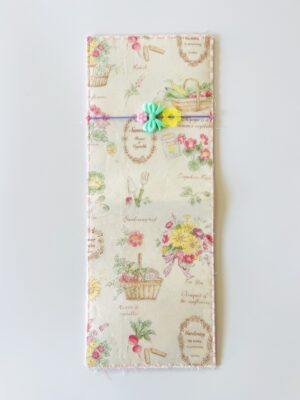
Attach the Interfacings to all cotton pieces, using the cotton setting (high) on your iron. - Once the interfacings are attached, you can add the HeatnBond Iron-On Vinyl to the outer front body. Follow directions on Package to fuse vinyl to the front outer body. Tip – DO NOT discard the paper backing! You will use this when pressing the vinyl onto the fabric.
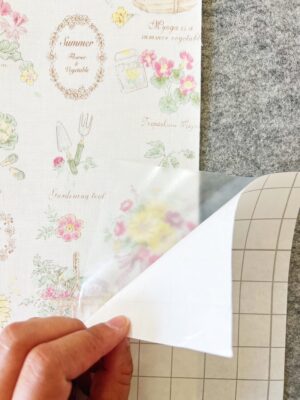
Peel the vinyl from the paper, but save the paper! 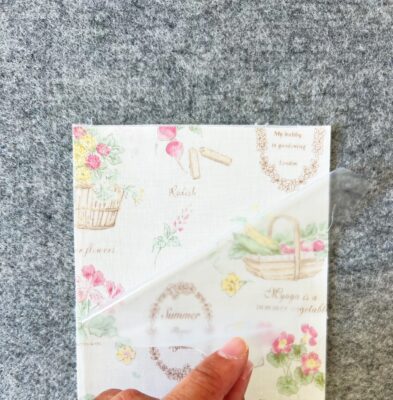
Attaching the Vinyl, sticky side down 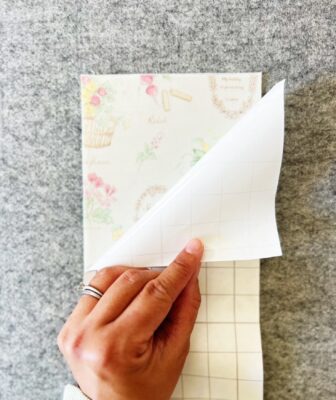
With the saved paper, lay it on top of the vinyl / fabric 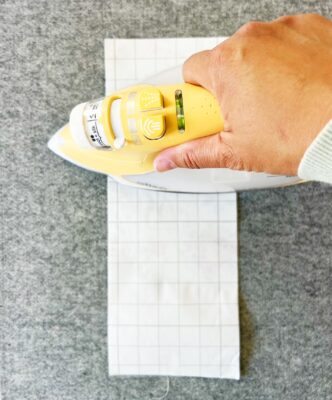
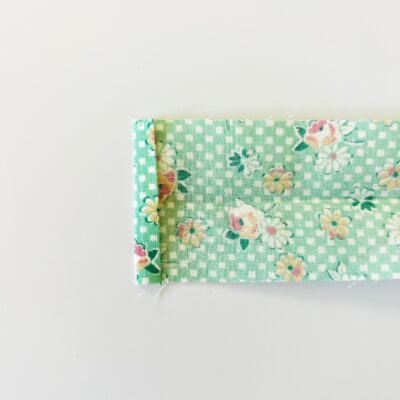
Press using medium heat - Prep the binding (if you are not using premade binding). Fold the 36” x 2 ¼ cotton strip in half lengthwise and press with an iron. Set aside.
Prep the binding
Make the Body
- To make the body, lay the inner body (right side facing up, fuse side down) on top of the outer body’s fused side (right side facing down, fused side up).Clip in place and baste around the edges.
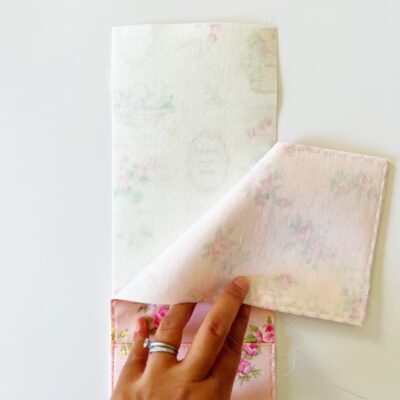
Lay the inner body on top of outer body (interfacings should be facing each other) 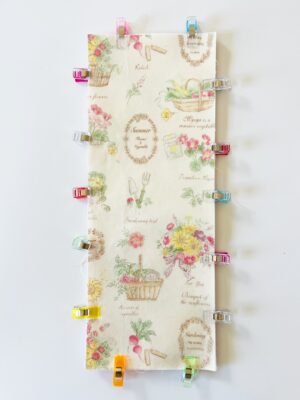
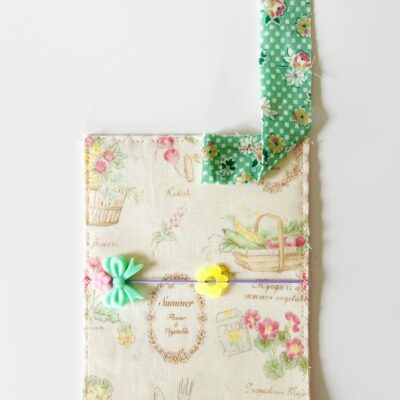
Clip in place and baste around the edges - Attach the elastic to the backside of the pocket. First, fold the body in half (from top to bottom) with the outer body facing out. Locate the placement desired on the backside of the outer body. Mark both sides with a water soluble pen for the elastic placement. If using charms, you can attach these now (if they are clip ons, add these after). Clip the elastic into marked spots. Open the folded body and baste each side of the elastic, making sure to securely stitch it onto the body. I use a small zigzag stitch. Set the body aside.
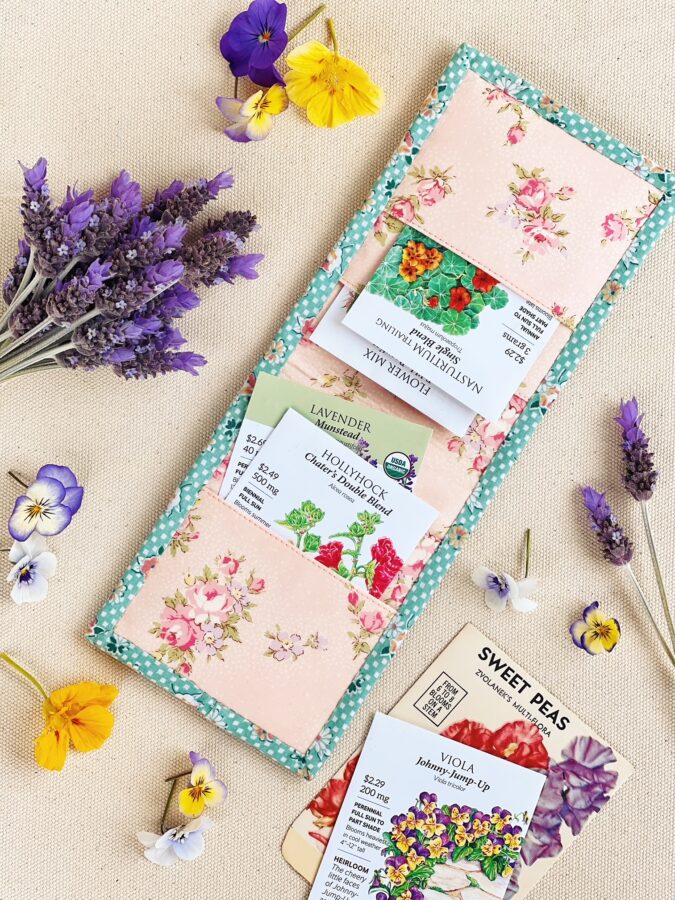
Make the Inner Pockets
- To make the inner pockets, fold two 10” x 5” cotton rectangles (large pockets) and the two 7” x 5” cotton rectangles (small pockets) in half height wise (from top to bottom). Press with an iron and sew a seam close to the folded edges.

Take the pocket pieces and fold them in half from top to bottom 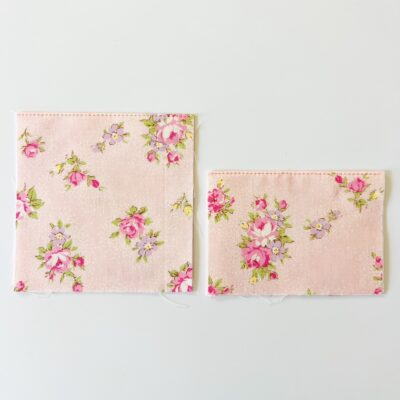
Press with an iron and sew a seam close to the top folded edges - With the raw edge facing down, lay a smaller pocket onto the bottom raw edge of a large pocket piece. Clip in place and baste around the sides and bottom edges, leaving the top unsewn. Repeat for the second pocket piece.
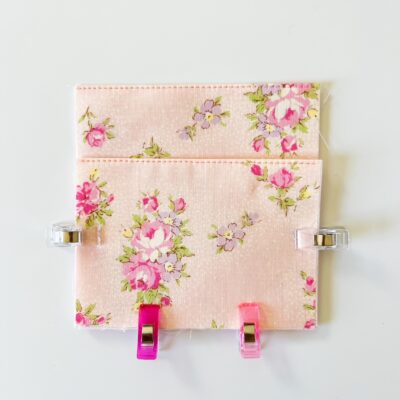
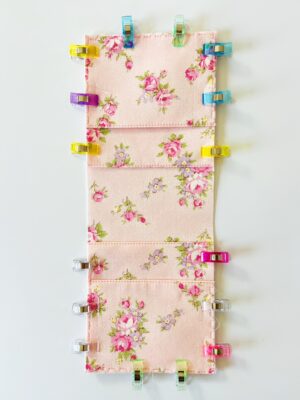
Place a small pocket onto a large pocket. Clip and baste. Raw edges will be facing down. - Attach each pocket piece to the top and bottom edges of the inner body, lining up the raw edges. Clip in place and baste around the sides of the pocket piece areas. Note – for top placement of pocket, the pocket seams should be facing down, with the raw edges aligning to the top of body. For the bottom placement of the pocket, pocket seams will be facing up, with the raw edges aligning to the bottom of the body. See picture below.
Line up each raw edge of the pockets to the inner body.
Assemble the Pocket and Attach the Binding
- With the pockets facing out, lay the inner pocket body on top of the outer body (right side facing down, interfacing facing out). Clip in place and baste around all the edges. You will now attach the binding to the vinyl side.
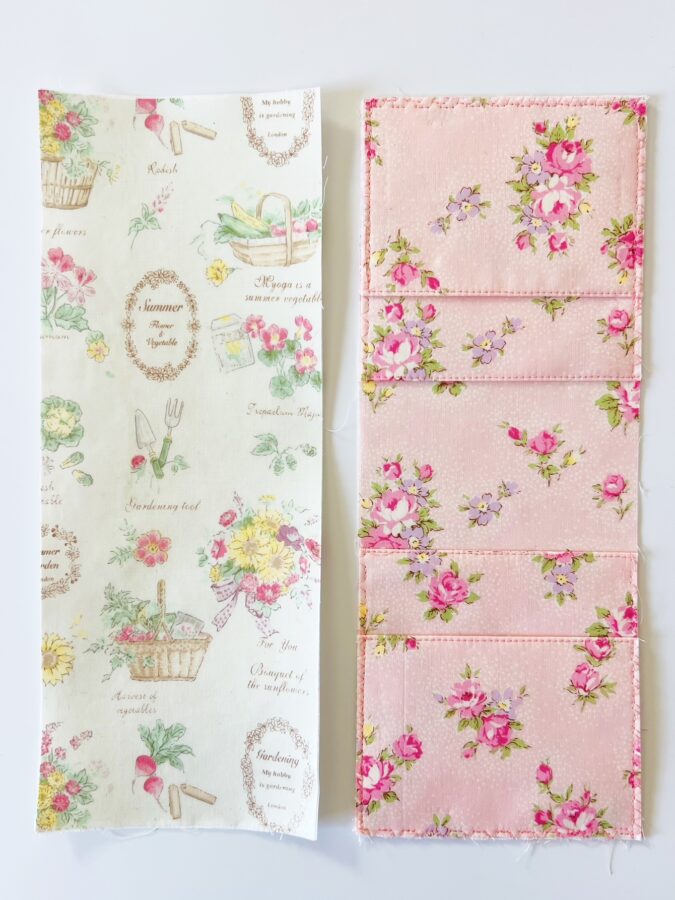
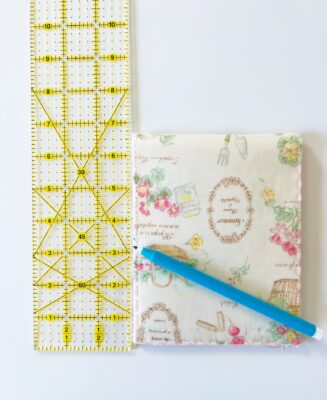
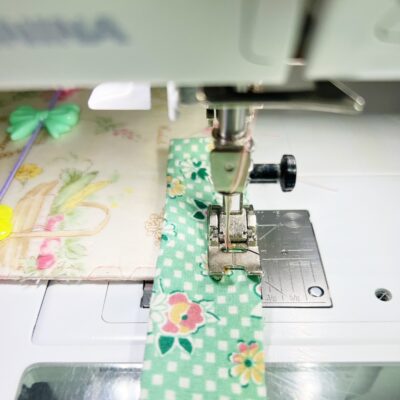
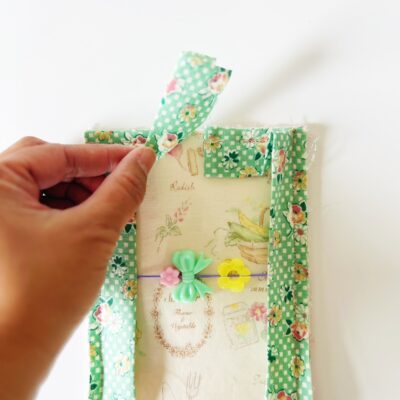
With right sides facing out, lay the outer and inner pockets together, clip in place and baste - Attach the binding to the front body (with vinyl facing out). Flip the body so the bottom is facing up, making it easier to sew (I like the binding seam on the bottom of my projects). Fold the left side of the binding in by ¼” , with the raw edges facing up, place the binding on the middle of the top edge of the body. Starting 1” from the left (leave 1” open), clip in place and sew using a ¼” seam allowance until you get to the first corner and miter the corner.
Fold in one edge of the binding by 1/4″ 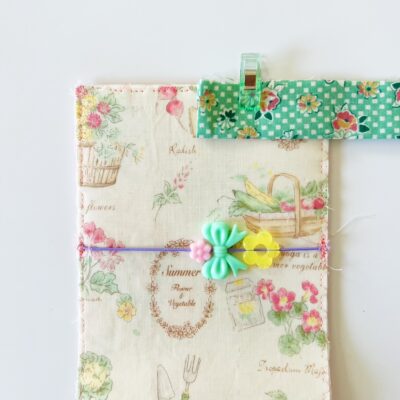
Sew 1″ from the start, leaving an opening. - To miter the corners, stop at 3/8” from the corner and backstitch. Lift you presser foot from your sewing machine and turn the binding so that it is diagonal to the corner. Sew until you meet the end of the corner.
Stop once you get 3/8″ from the first corner and backstitch 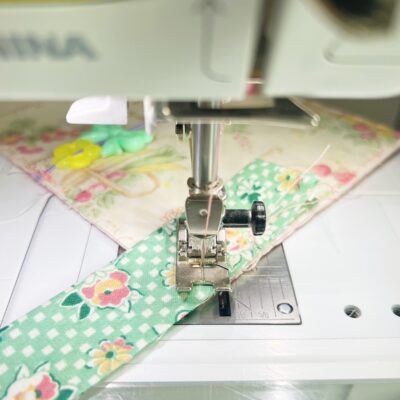
Lift presser foot and turn the binding to corner and sew Take the piece out from the machine and turn the binding towards the top edge and press at the diagonal seam.
Turn the binding up Bring the binding down and line up with corner edges. Continue sewing and mitering the rest of the corners. Stop once you get to 1” from the end of the binding.
Processed with VSCO with s3 preset Once you get to 1” from the end of the binding, remove some clips and take the left-over tail (you can trim to fit). Place it into the 1” folded opening you left at the start. Clip in place and continue to sew a ¼” seam allowance on the top.
Tuck the tail into the 1″ opening from the start (trim tail as needed) 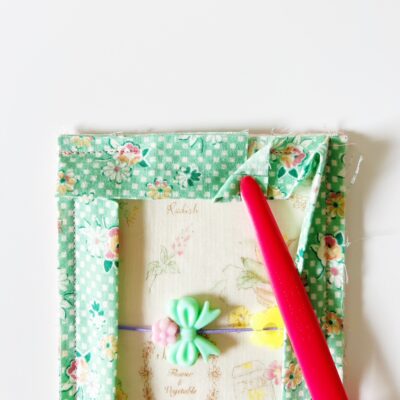
Tuck tail into 1″ opening from the start 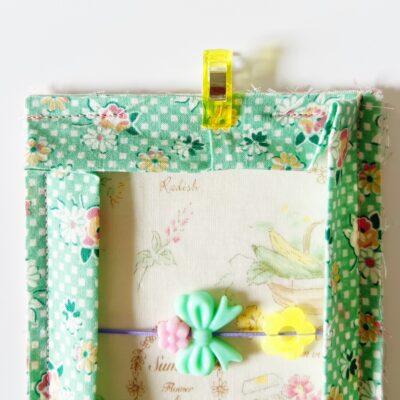
Clip back in place and continue to sew using a 1/4″ seam Take the folded edge to the other side of the pouch, clip in place and hand or machine sew in place, sewing a seam close to the folded edge.
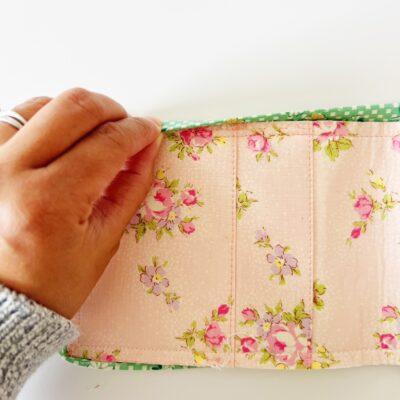
Take folded binding to the other side (inner pockets), clip in place and either hand or machine sew in place. 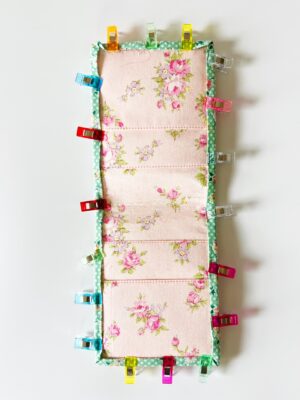
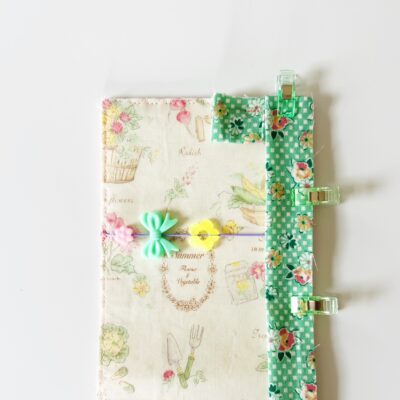
Take folded edge to the other side (inner body). Clip in place. Take the elastic and turn over to the other side, placing it over the flap to close in place. You are now done!
PamkittyMorning
April 7, 2023 at 2:58 pm (2 years ago)OMGOSH Karen so cute. I have some of the fusible vinyl waiting cor this now!