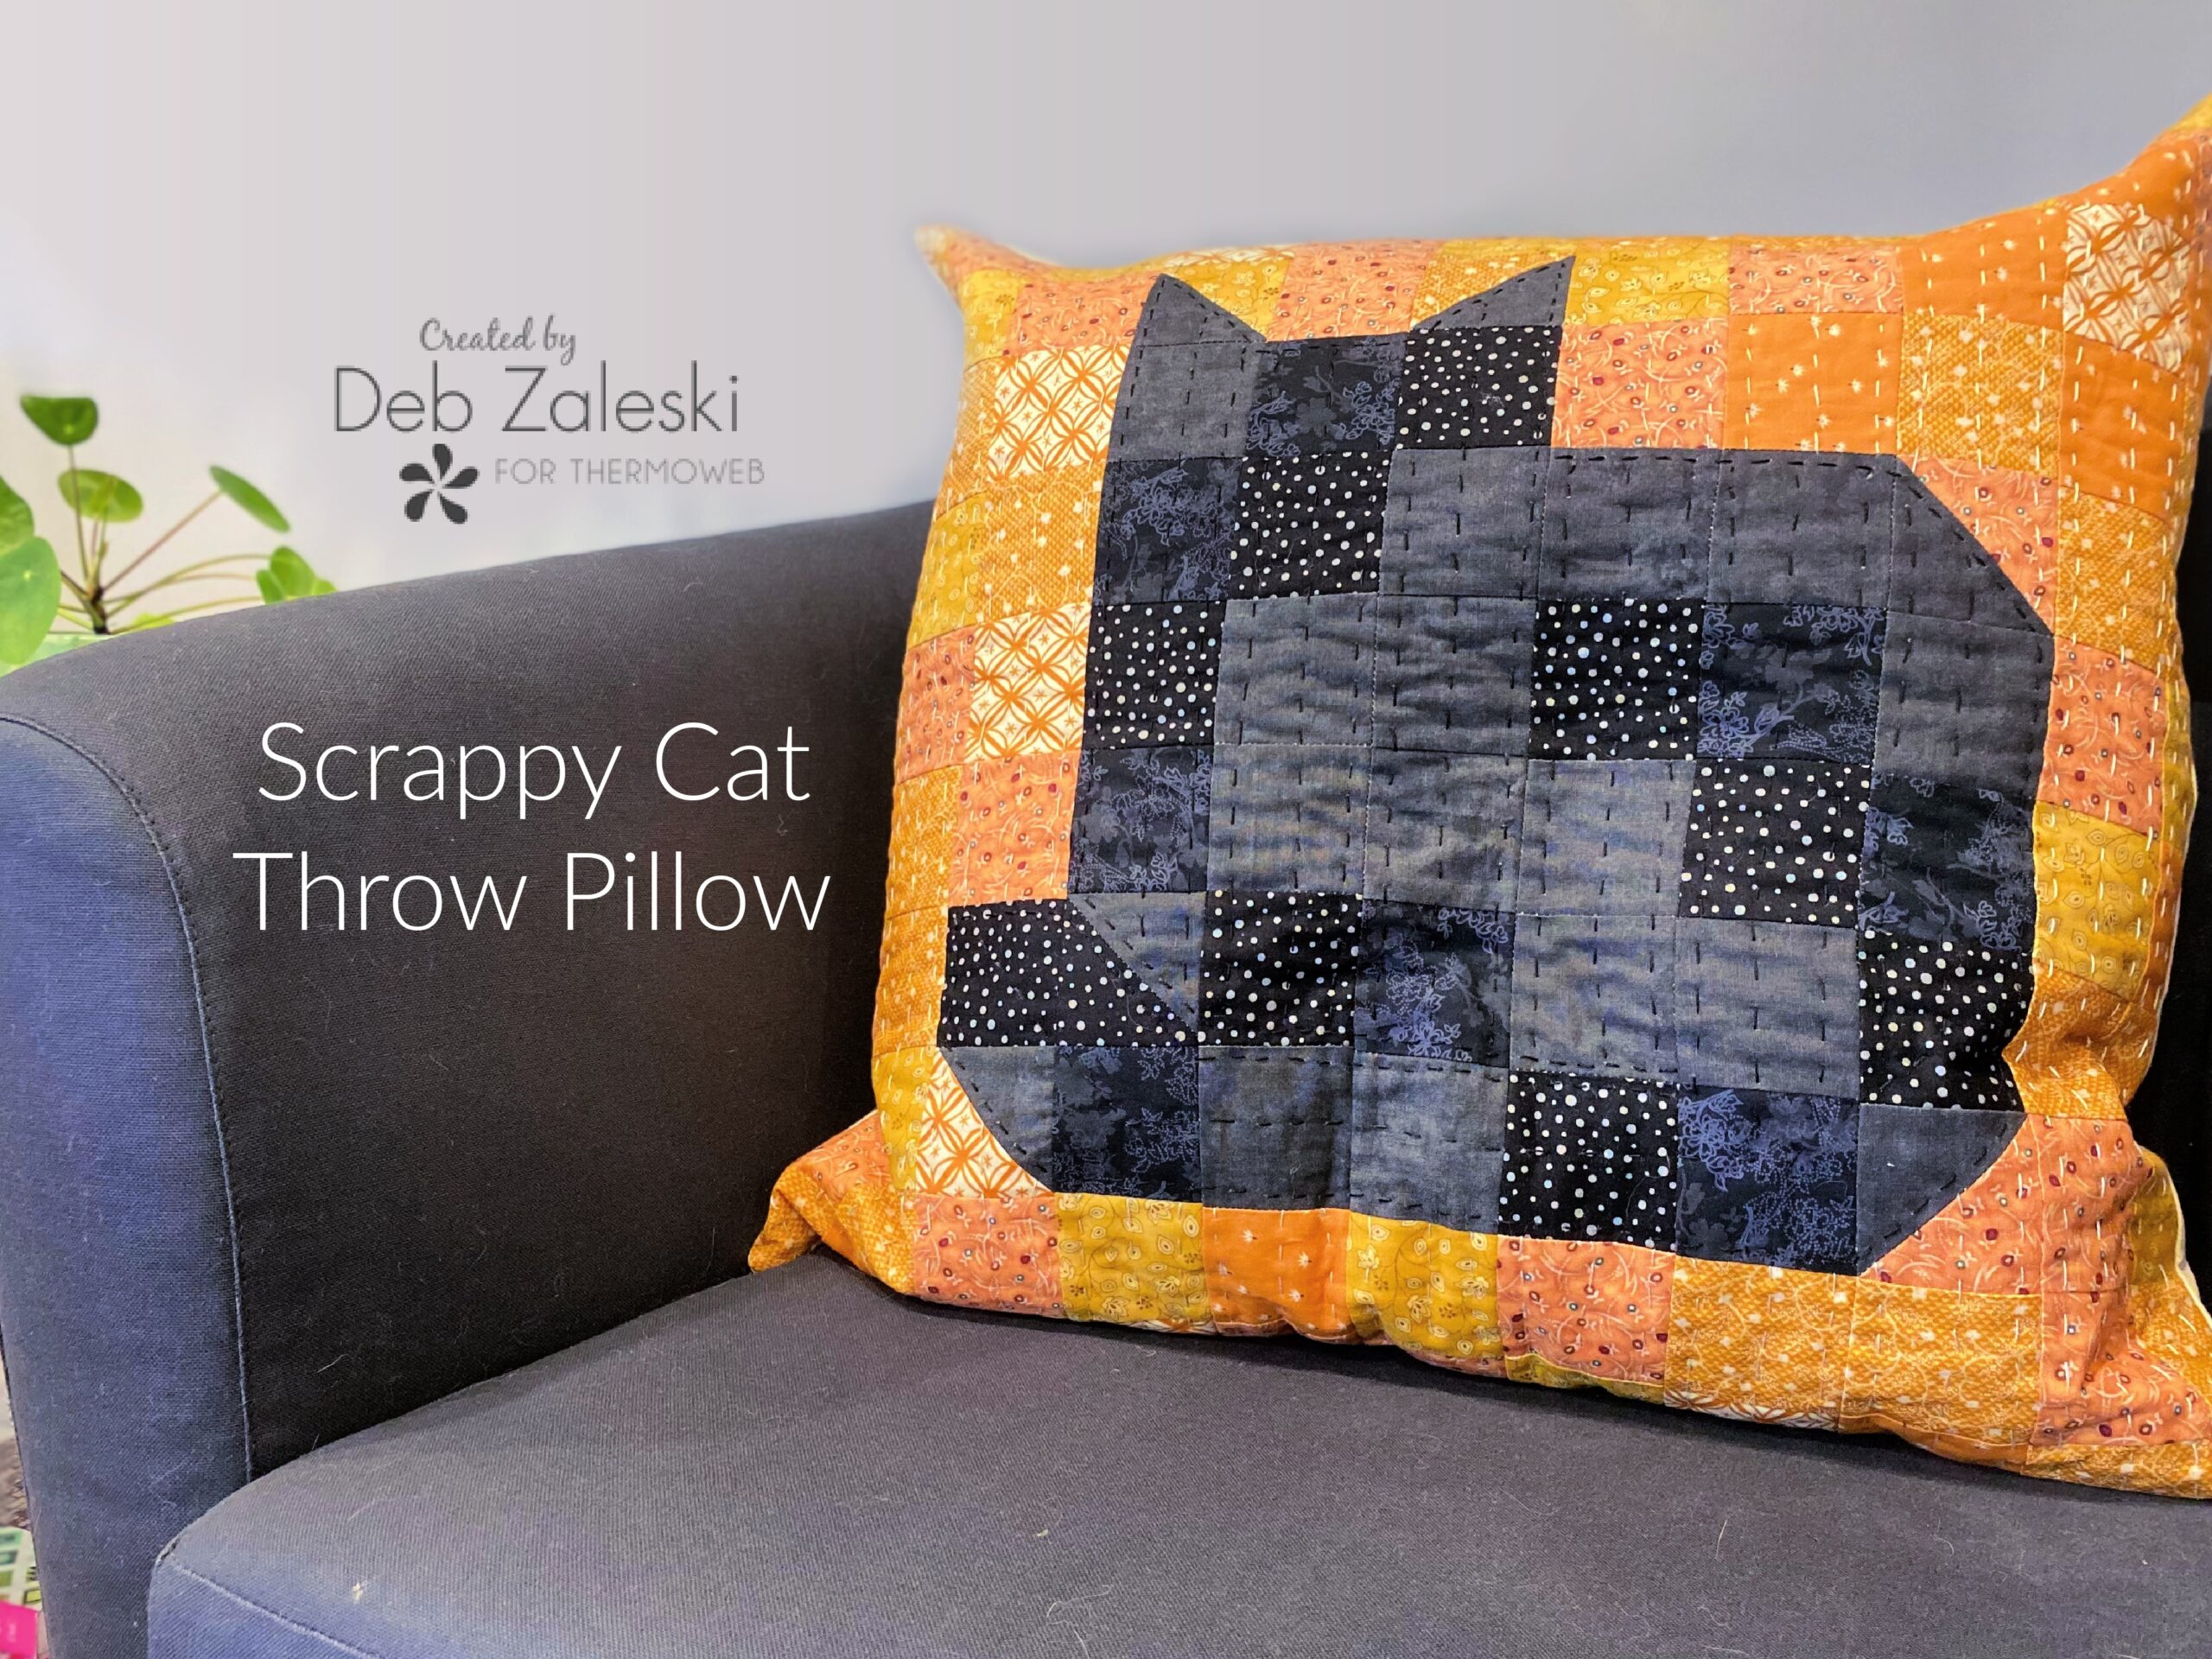
By now you know that I love a good throw pillow to quickly change up my home decor. I chose fabrics from my stash to go with the fall season to create a scrappy throw pillow. Remember, you can pick the colors you want. This project is a great stash buster! I’ve also created a printable assembly chart that you can download here! (Assembly chart TOW)
It’s time to get creative, so gather your supplies and tools!
SUPPLIES:
- 3/4 yard HeatnBond High-Loft Fusible Fleece
- Your favorite fabrics from your remnant bin
- 12″ zipper (or longer) optional
- Coordinating thread
- DMC pearl cotton
- Hand embroidery needle
- Assembly chart TOW
TOOLS:
- Sewing machine
- Scissors
- Oliso M3Pro Mini Project Iron
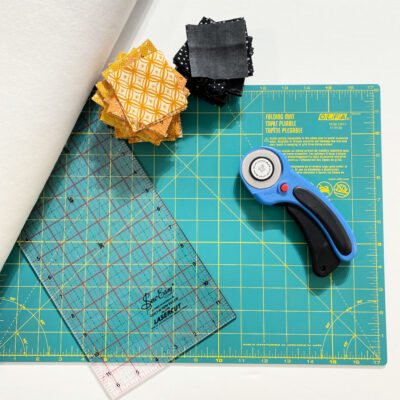
- Olfa Rotary Cutter
- Self-healing mat
- Quilting ruler
GETTING STARTED:
1. Download and print the assembly chart. The chart will help you place your square pieces.
2. Using a rotary cutter, cut 38 (2.5″) black squares and 88 (2.5″) orange squares.

3. Create (5) orange and black half-square triangles and (1) black-on-black half-square triangle. There are some great tutorials on Youtube to help you create your half-square triangles (HST).
TIP: Be sure to square your finished HST so that it measures exactly 2.5″.
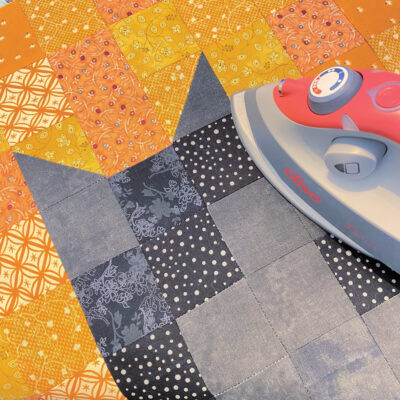
4. Using the assembly chart, place the 2.5″ squares to create the scrappy cat and background. Assemble the squares row by row using a 1/4″ seam allowance, pressing the seam allowances to one side and then the next row, pressing the seam allowances to the opposite side. Join the rows together.
5. Apply the HeatnBond Fusible Fleece to the back of the pillow top.

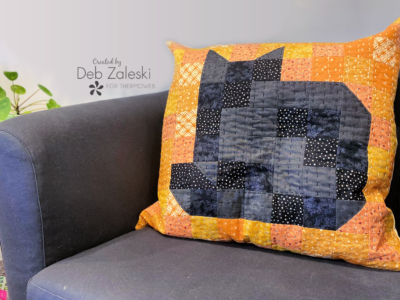
6. I used a light DMC (8) pearl cotton to make vertical running stitches on the orange background and black DMC (8) pearl cotton, also a running stitch, to mimic the outline of the cat.
7. I finished the pillow with a zipper, you can find those instructions in this tutorial (click!) or you and simply finish the pillow by laying the backing on the pillow top with right sides together. Stitch around the perimeter, leaving an opening to turn your work right side out and finally hand stitch the pillow to close.

Thank you for joining me. I hope I’ve inspired you to create your very own scrappy cat and help you get through all those beloved leftovers from your stash! If you liked this project, please let me know by posting a comment. And don’t forget to stop by my Instagram and say “Hello!”