Riley Blake Scaredy Cat Halloween Zipper Pouches
by Designer Audrey Pettit
Supplies:
Therm O Web Heatn’Bond Fusible Fleece Package
Therm O Web Gina K. Designs Fancy Ribbon Gingham Black & White
Therm O Web Purple Tape
Fabric: Riley Blake Designs Scaredy Cat by Amanda Niederhauser
Zipper: Zippers by Annie
Seam Binding Kit
We are huge Halloween fans here on the Therm O Web team, and this week, we are so excited to be getting our spook on with fabric projects featuring the adorable Scaredy Cat fabric collection by our friend Amanda Niederhauser for Riley Blake Designs.
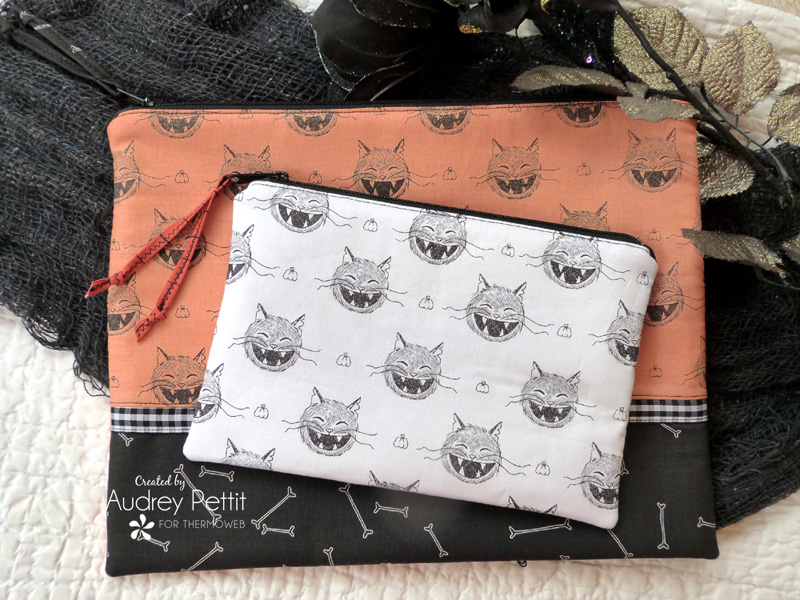
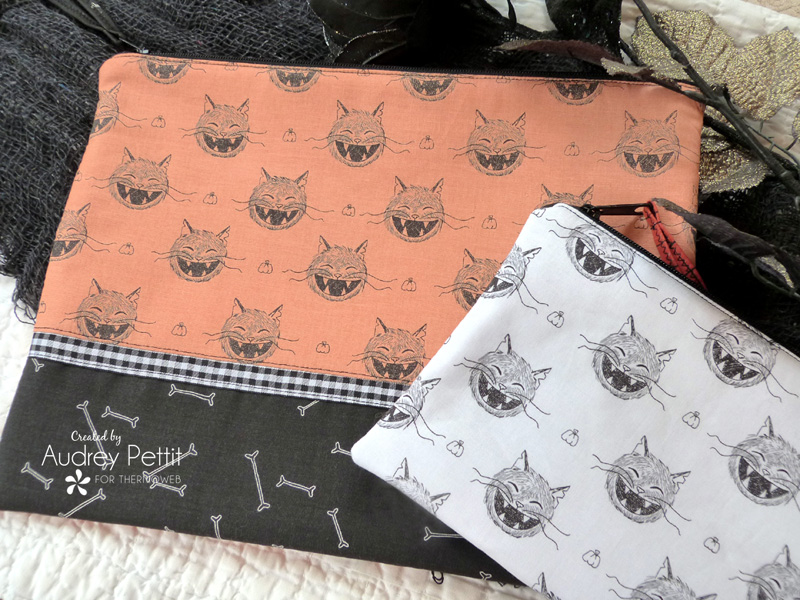
Today I have a pair of zipper pouches to share, in both a larger 13 x 10 size and a smaller 9 x 6. I love a good zipper pouch, as they can be used for so many things. From a tablet or iPad covers, to project bags, to jewelry or make-up pouches…. everyone can find a use for a zipper pouch.
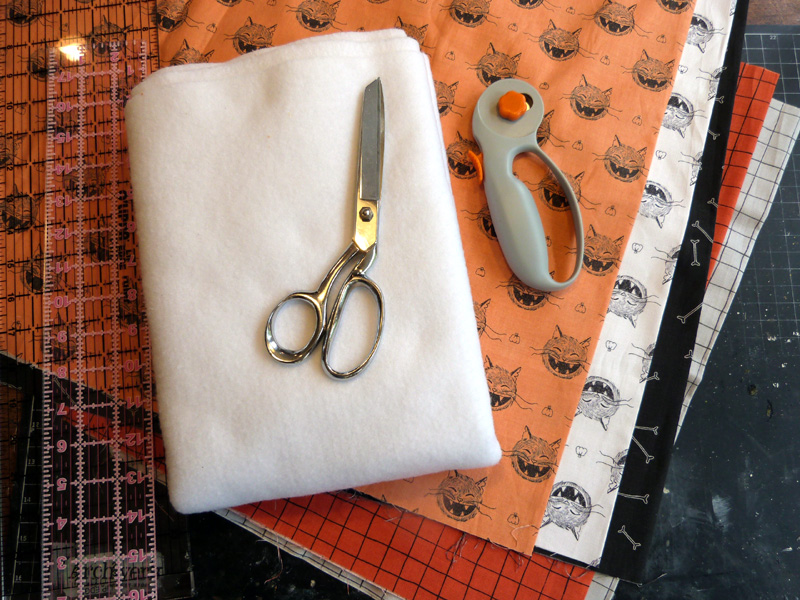
To begin, gather your supplies:
Cut the Fabrics
You will need fabrics for both the outer and inner liners, along with HeatnBond Fusible Fleece and ribbon trim. You will also need a rotary cutter or fabric scissors, zippers, and a cutting mat and ruler.
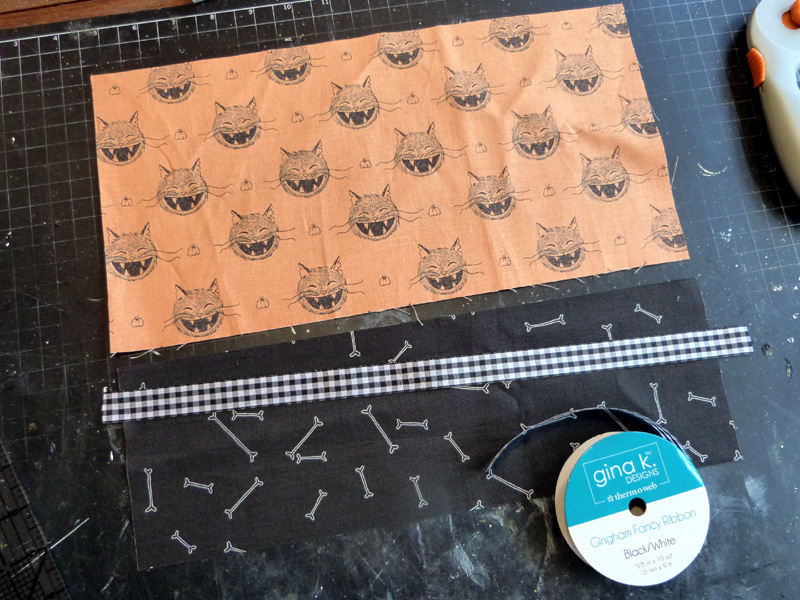
For the larger pouch, I pieced two fabrics together with a gingham ribbon between the layers, for the front of the pouch. You can use just one piece of fabric if you prefer. For this version, cut one piece of fabric at 14 x 8.25″, and a second piece at 14 x 3.25″. Cut a piece of gingham ribbon slightly longer than 14″.
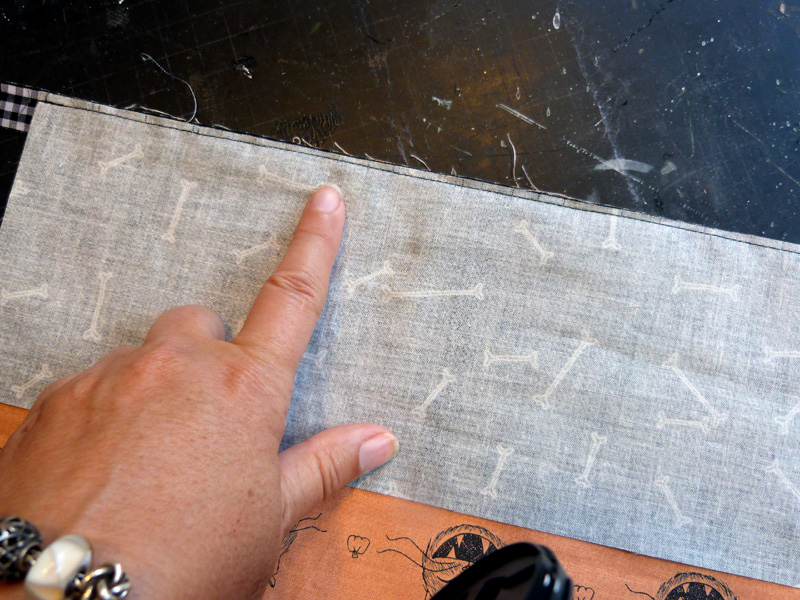
Lay the ribbon along the bottom edge of the 14 x 8.25″ fabric piece. Place the second piece of fabric (face down) onto the ribbon, lining up all the edges. Stitch across the panel using a 1/8″ seam allowance. Open the panel up, and press flat with an iron. Topstitch along the top edge of the ribbon.
 Cut the Fusible Fleece
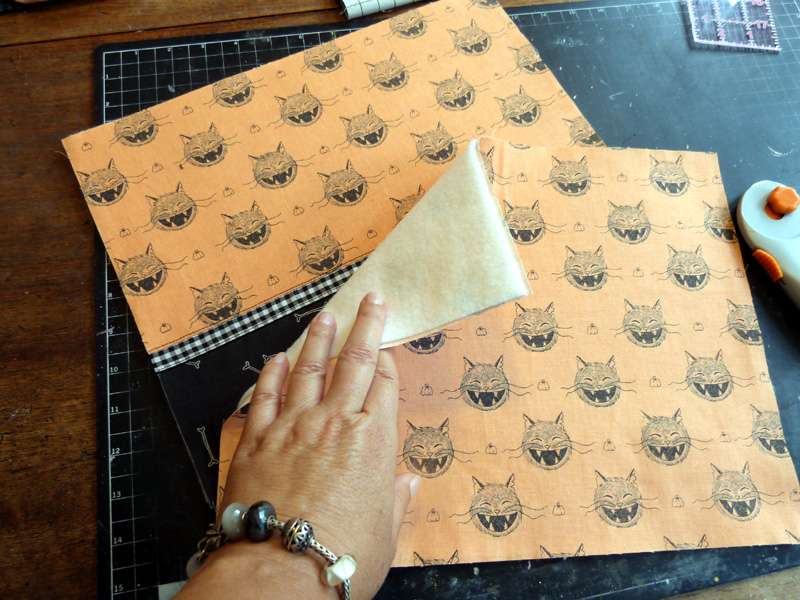
Cut a 14 x 11″ piece of fabric for the back of the bag. Cut two 14 x 11″ pieces of Heatn’Bond Fusible Fleece. Fuse the fleece to the back of the fabric panels using the heating instructions on the packaging.
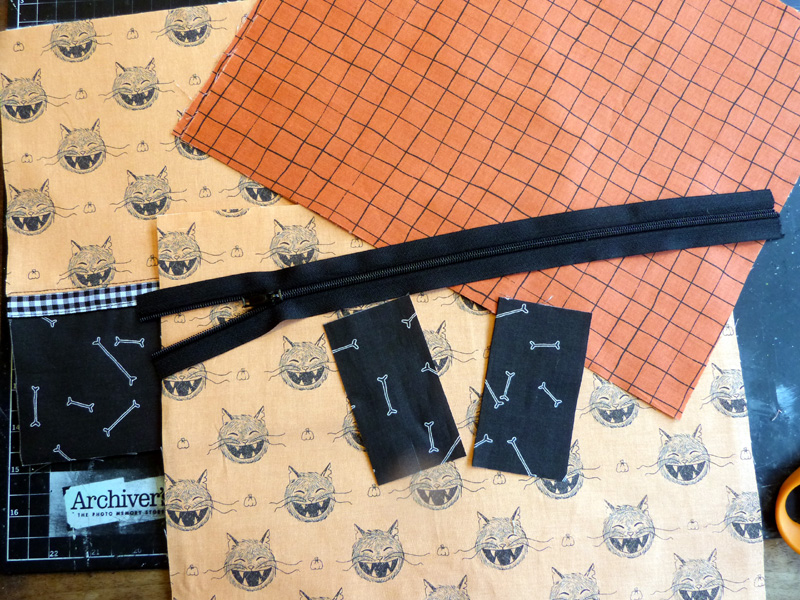
Cut two 14 x 11″ panels of contrasting fabric for the inner lining. Cut two 2 x 4″ pieces of fabric to use as zipper stoppers. Cut a strip of zipper tape slightly longer than 14″, or select a 16″ zipper.
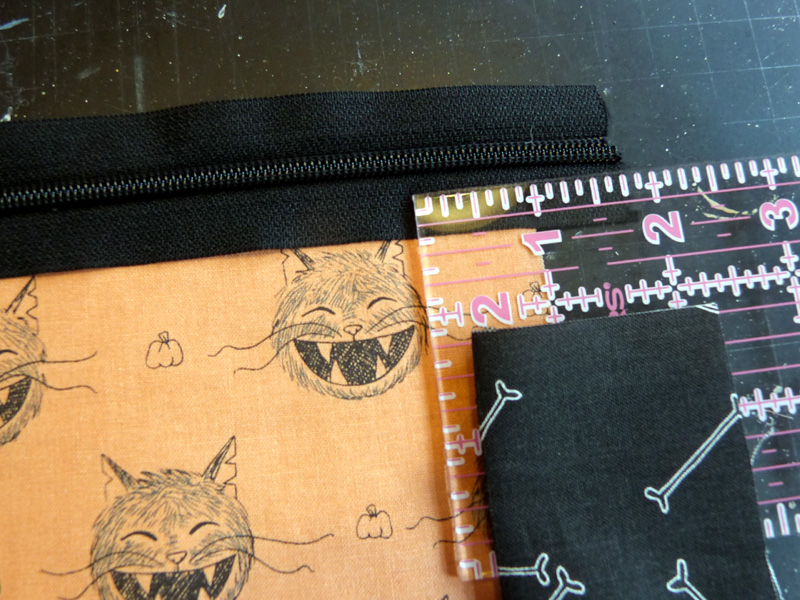
Lay the zipper across the top of the front panel. Measure 1″ in from the side of the bag, and make a small mark with a fabric pen or marker. Measure 1″ in from the other side of the bag, and make another small mark. Fold the zipper stopper fabric pieces in half.
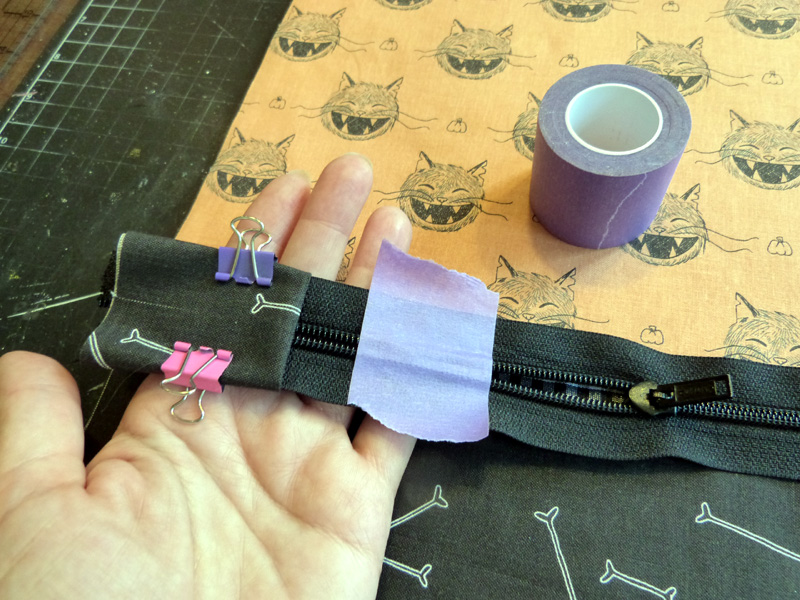
Grab Your Purple Tape
Line the folded edge of the zipper stopper up at the mark you made on the zipper. Clip or pin the fabric in place. Make sure you move the zipper pull out of the way for stitching. I like to use Therm O Web’s Purple Tape to keep the sides of the zipper in place while stitching. Stitch along the zipper stopper fabric using a 1/4″ seam allowance. Repeat the process on the other side of the zipper. Remove the Purple Tape.
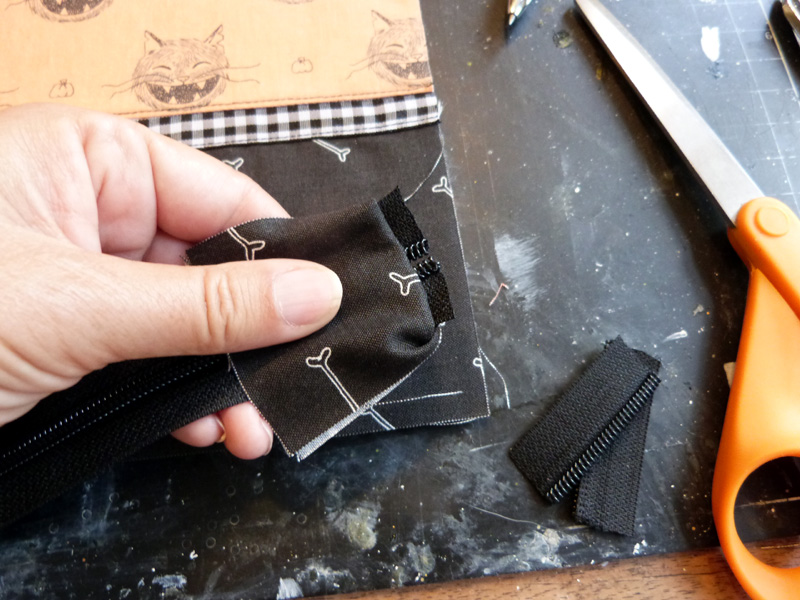
Fold back the zipper stopper fabric so that you can get at the zipper, and trim off the excess using a strong scissor. Then turn the fabric back over. Repeat the process on the second end of the zipper.
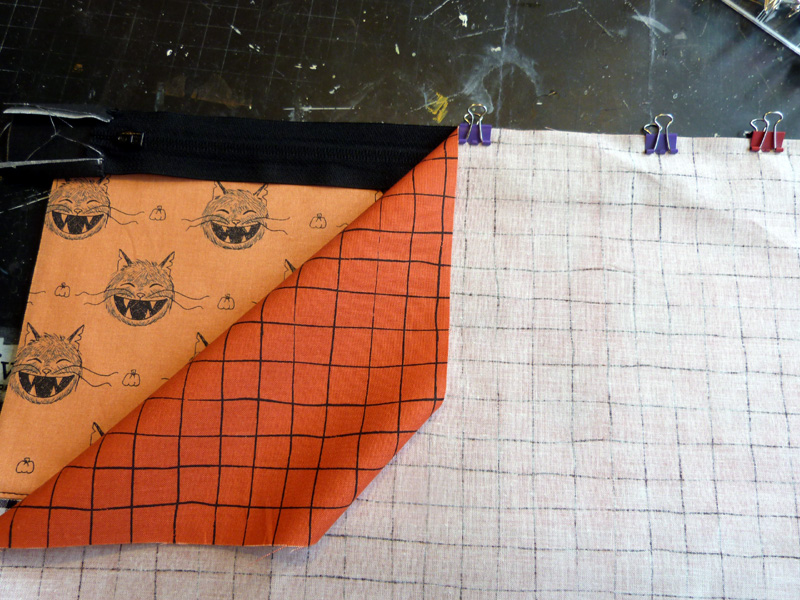
Lay the front of the zipper pouch facing up on your table. Place the zipper face down along the top edge, lining up the edge of the zipper with the edge of the fabric. Make sure the zipper is centered on the fabric. Then place one of the lining fabrics face down onto the panel, lining up all the edges along the top. Clip or pin the fabrics in place, and then stitch along the top using your sewing machine’s zipper foot.
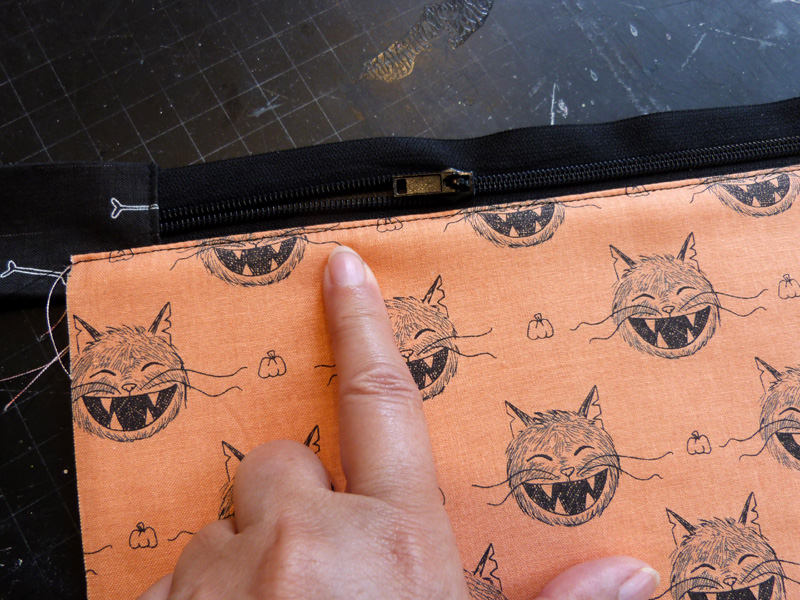
Fold the lining fabric over to the back, and press all the fabrics flat. Topstitch along the fabric, which helps keep that lining fabric down in place.
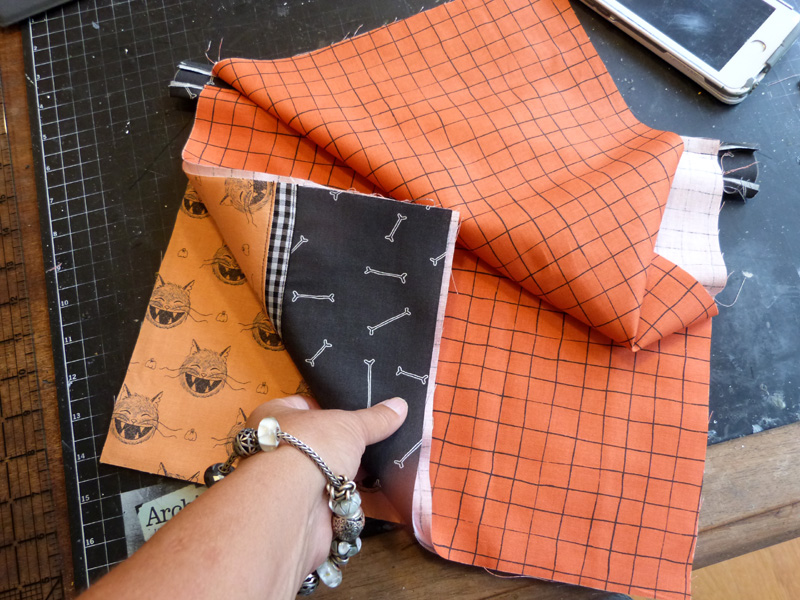
Place the back panel face up on your table. Place the front panel face down onto the back panel, lining up the top edge of the zipper with the top of the back panel. Place the second lining fabric face down, again lining up all those edges along the top. Stitch across using the zipper foot.
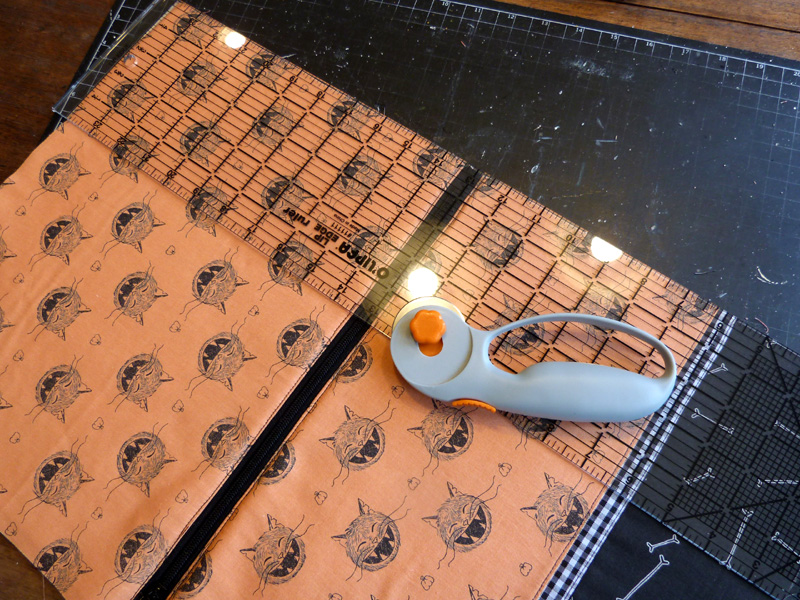
Fold the lining fabric to the back, and press all the fabric with an iron. Topstitch along the top of the back panel. Square up all the sides of the pouch using a ruler and rotary cutter.
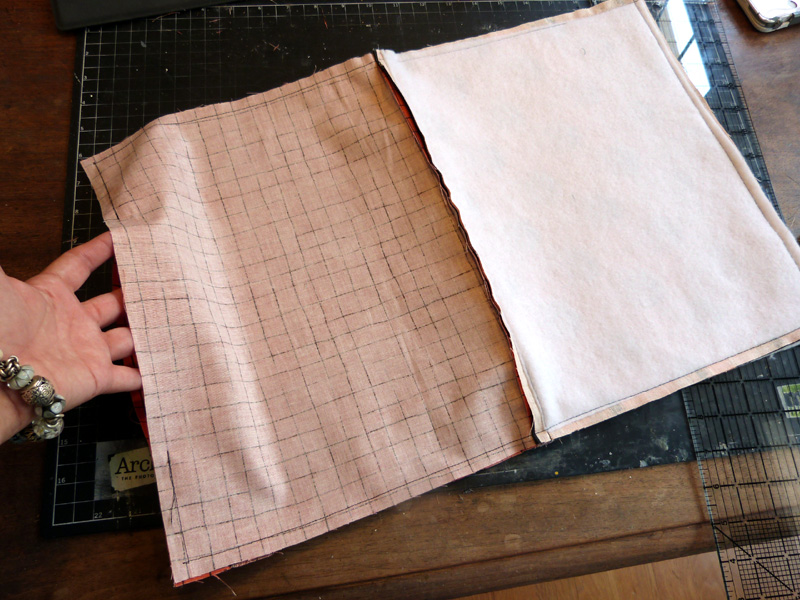
Lay the two outer fabric pieces together with right sides facing. Lay the two inner lining fabric pieces together with right sides facing. Reach inside and make sure your zipper is almost all the way open. Sew all the way around the pouch using a 1/2″ seam allowance, leaving about a 3-4″ gap in the bottom of the lining fabric. Clip off the corners of the fabric to eliminate some of the bulk.
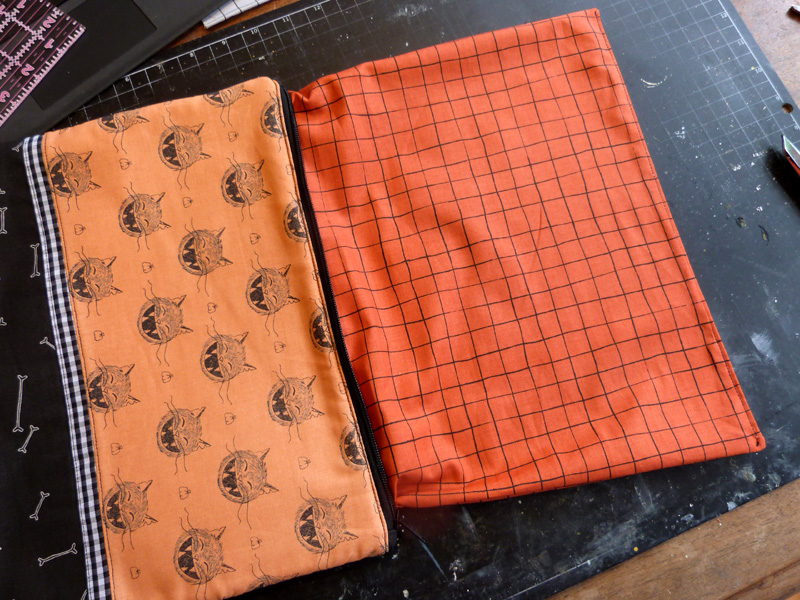
Reach through the opening in the pouch, and turn the bag right side out. Fold the fabric along the bottom opening inwards, and then topstitch across the bottom of the pouch. Tuck the lining fabric down into the zipper pouch.
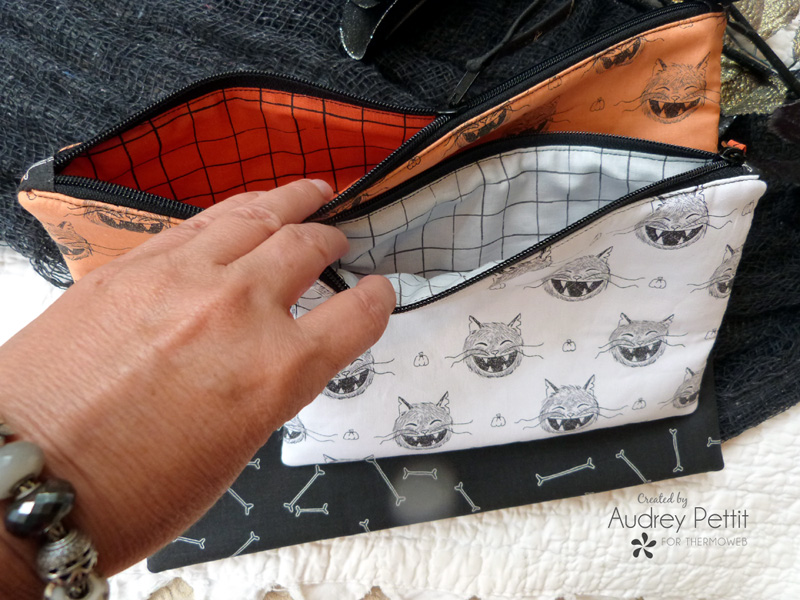
Create a strip of seam binding using a seam binding tool kit, or by hand. Thread the seam binding through the zipper pull, and stitch across it as close to the pull as you can to keep it secured. Tie knots at the ends of the seam binding, and trim the ends as needed.
Repeat the process for the smaller zipper pouch using fabric and fusible fleece cut to 10 x 7 for a finished size of 9 x 6.
Save
Save
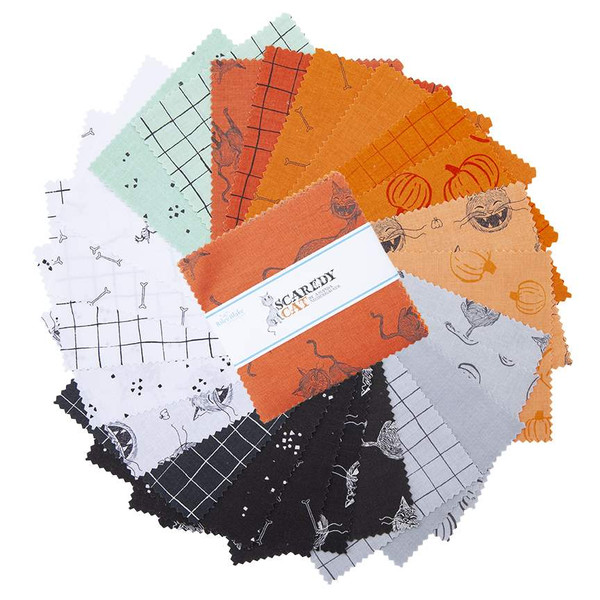 Love the Scaredy Cat Fabrics?!
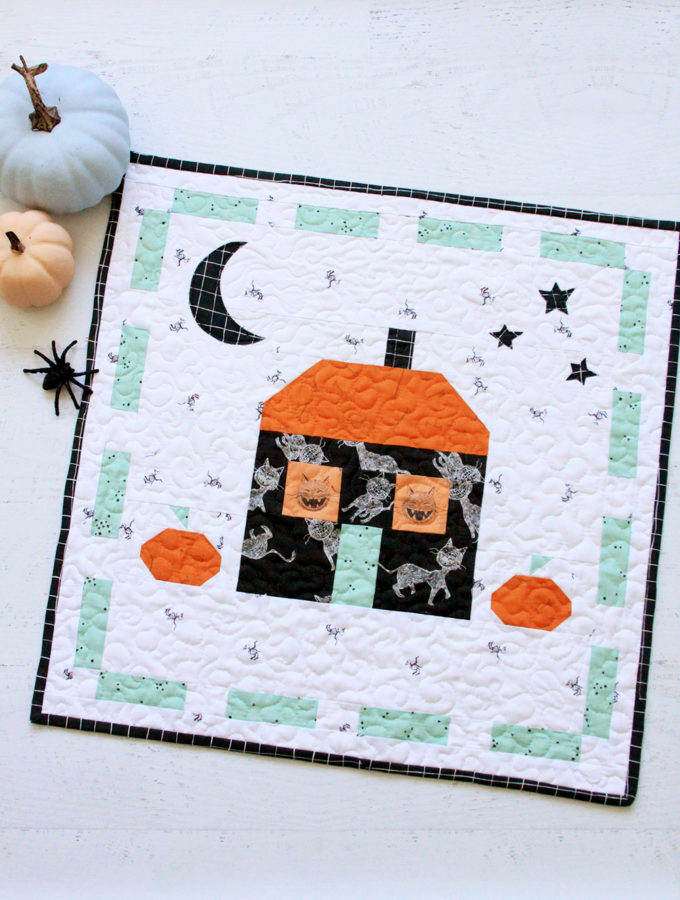
Don’t miss this frightfully sweet Halloween manor mini quilt from our friend Bev at Flamingo Toes! CLICK HERE for more information about them on Bev’s website!
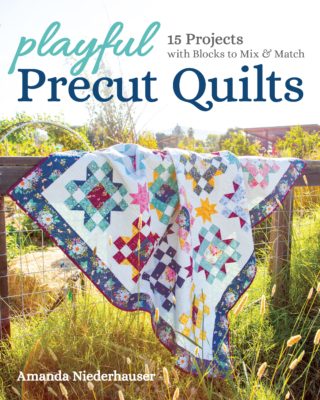
In celebration of this oh so fun frightfully fabric from Amanda Niederhauser and her NEW Quilt Book…we’re offering a giveaway for you. Like we said…all treats…no tricks!
Amanda is offering up a copy of her new book that is filled with beautiful quilt projects! And that’s not all…we’re including a $30 Shopping Spree (PLUS FREE SHIPPING) to a lucky winner to shop on our website. Pick up some of Amanda’s favorite so you can make these beautiful quilts!
This post contains affiliate links. For more information, see our disclosure HERE.

