


There is just something magical about sand dollars. Finding that perfect, delicate shell always feels like good luck. The last time I went to the beach I found two, miniature, intact sand dollars and it just made me so happy. I decided to capture some of the magic of these amazing shells with this Sand Dollar mini quilt. This tiny quilted treasure measures just 6 1/2″ square so it takes very little time or fabric to create. I will also include instructions if you would rather create coasters instead of a mini quilt.
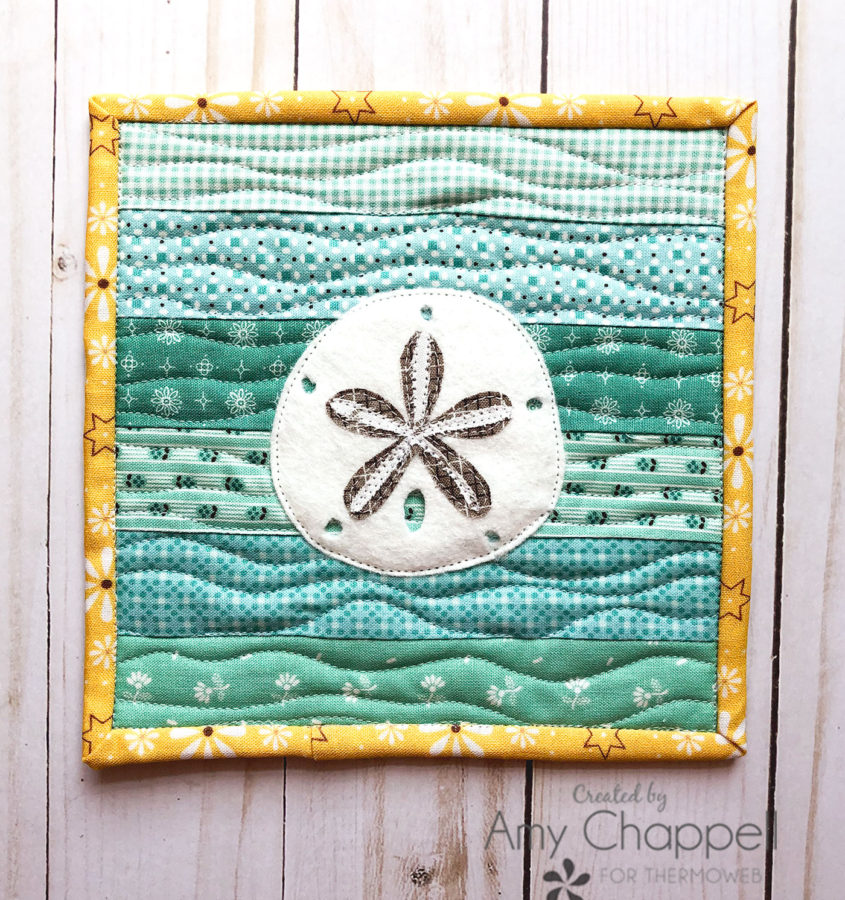
Sand Dollar Mini Quilt Tutorial
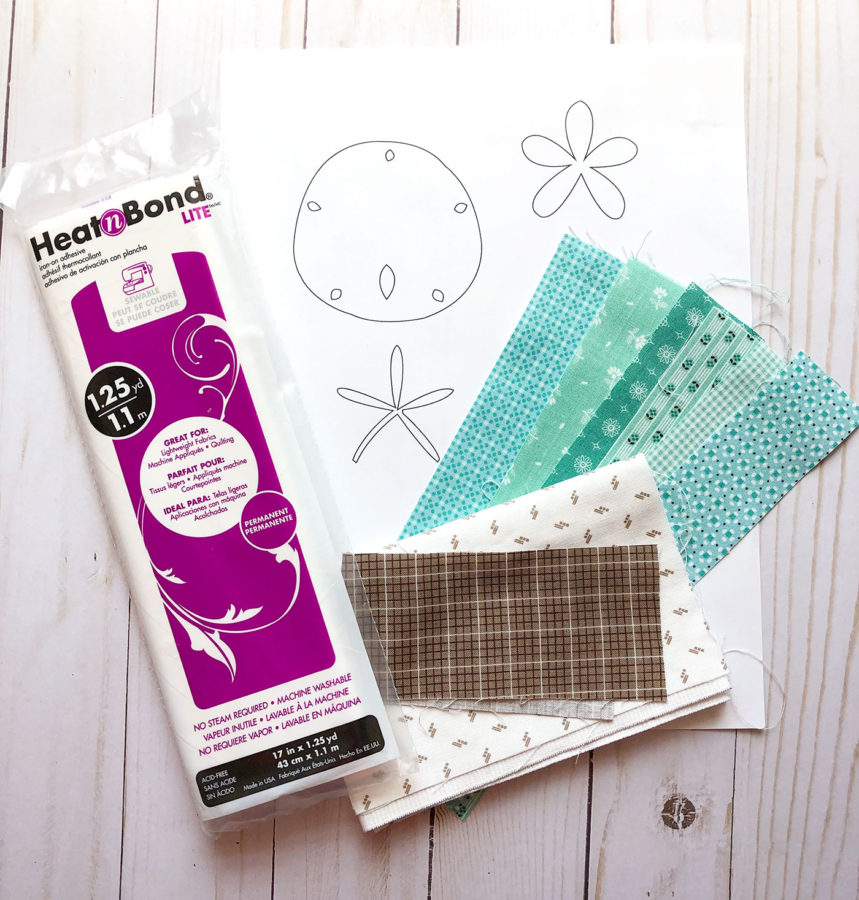
Sand Dollar Mini Quilt Supplies:
- Heat n Bond Lite- you will just need small bits of it, so I recommend using it off the roll.
- 1 1/2″ strips of fabric in blues and aquas: 6- 7″ strips for a mini quilt, 4- 5″ strips for each coaster- I am using pieces from Prim by Lori Holt for Riley Blake Designs
- Small piece of gray and white fabric for the sand dollar details (and the sand dollar if you are making coasters)
- 3 1/2″ square of white felt for the sand dollar.
- Batting or fleece 7″ square for mini quilt 5″ squares for coasters
- Fabric for the backing of mini quilt or coasters (same size as batting/fleece)
- SpraynBond Basting spray (optional)
- Sand Dollar Mini Quilt pattern
- fusible light or medium interfacing (if using fabric for sand dollar- optional)
Prepare the background for the mini quiltSand Dollar Mini Quilt pattern
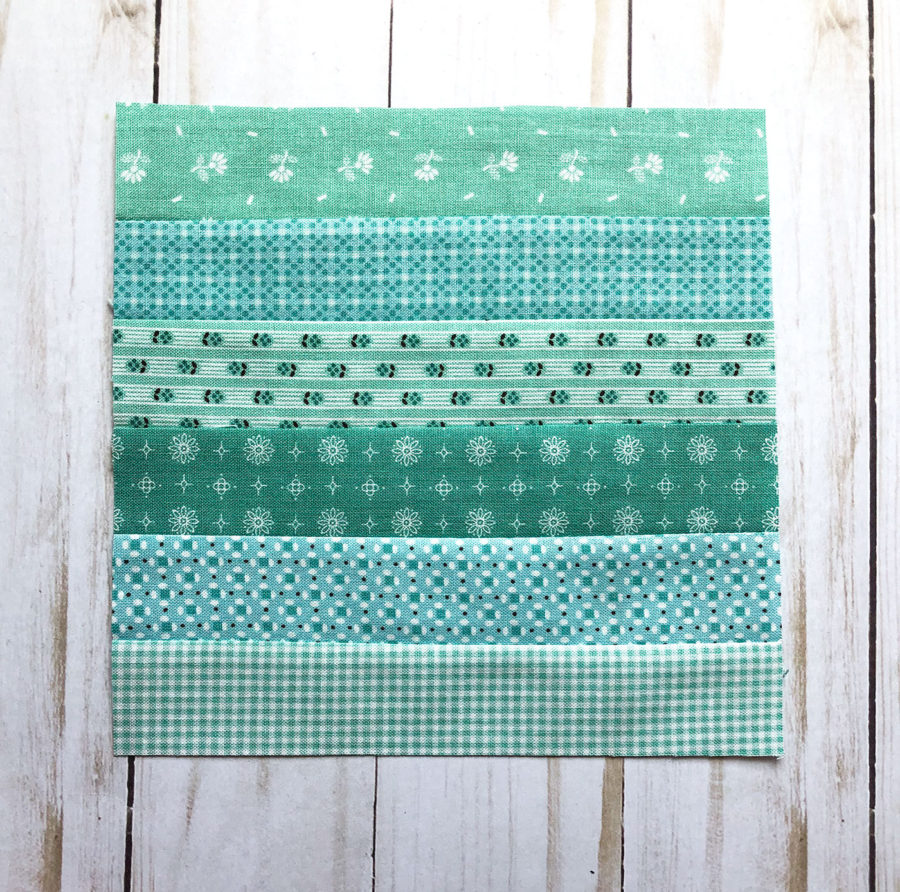
- Sew your 1 1/2″ strips together using a 1/4″ seam allowance.
- Press the seams in one direction.
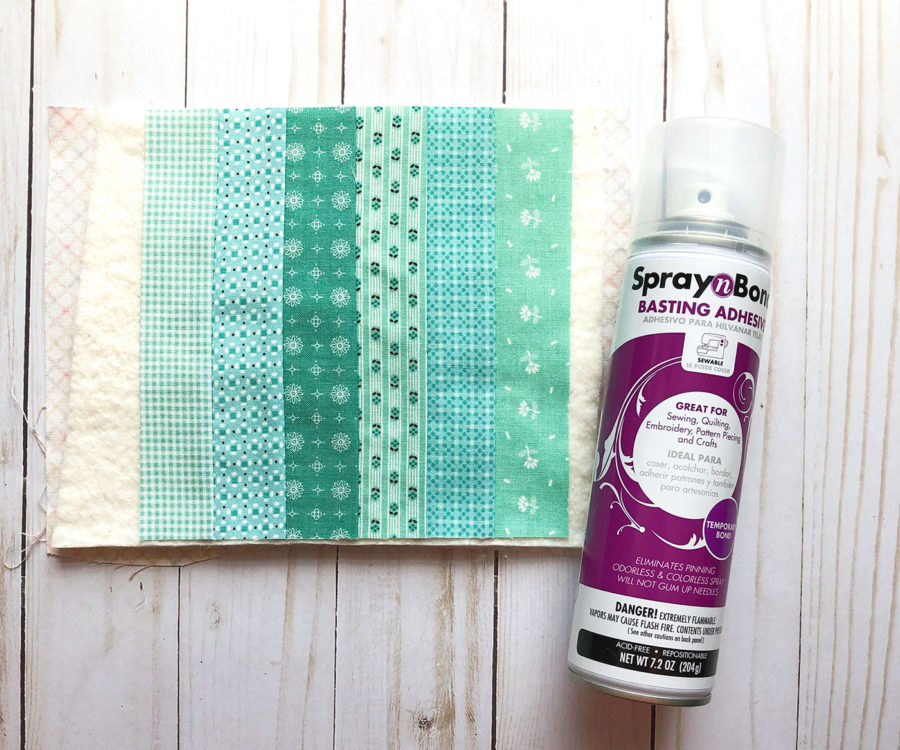
- Layer the backing fabric, right side down; the batting or fleece, and then the pieced background right side up.
- Baste the layers together
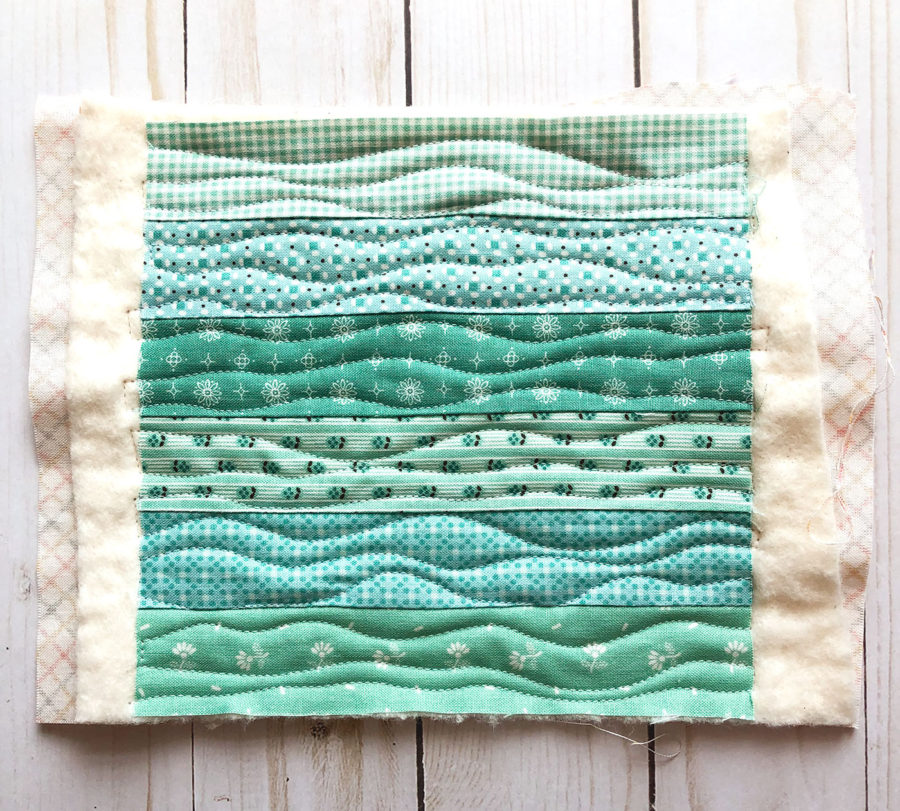
- Quilt your quilt sandwich as desired. I used random wavy lines to mimic waves.
- Trim your quilt to 6 1/2″ square for a mini quilt, or 4 1/2″ square for a coaster.
Make sand dollar applique
- Print off the sand dollar applique pattern onto regular paper.
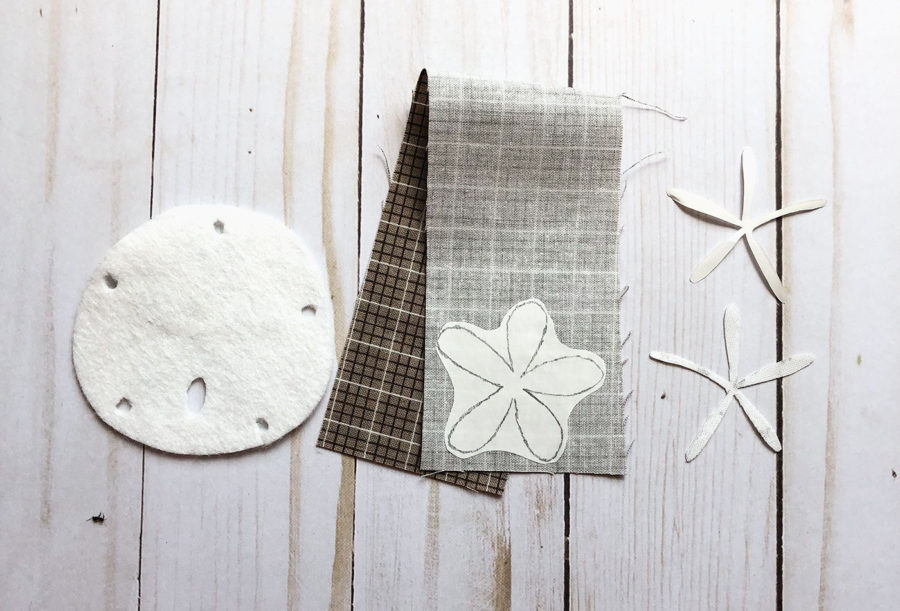
- Cut out the sand dollar body from felt using your favorite method. (I like to use freezer paper)
- *If you are making coasters I recommend using fabric and HeatnBond Lite instead of felt to make it flatter for setting drinks on.
- First, fuse light or medium interfacing to the back of the white fabric to prevent shadowing behind your sand dollar.
- Then follow the steps for the rest of the applique preparation.
- Trace the center details onto the paper side of your HeatnBond Lite.
- Cut out the center detail pieces, leaving a slight margin around each piece.
- Fuse the detail pieces onto the wrong side of the fabric chosen for each layer.
- Cut out the detail pieces along the traced line.
- Peel the paper backing from the detail pieces.
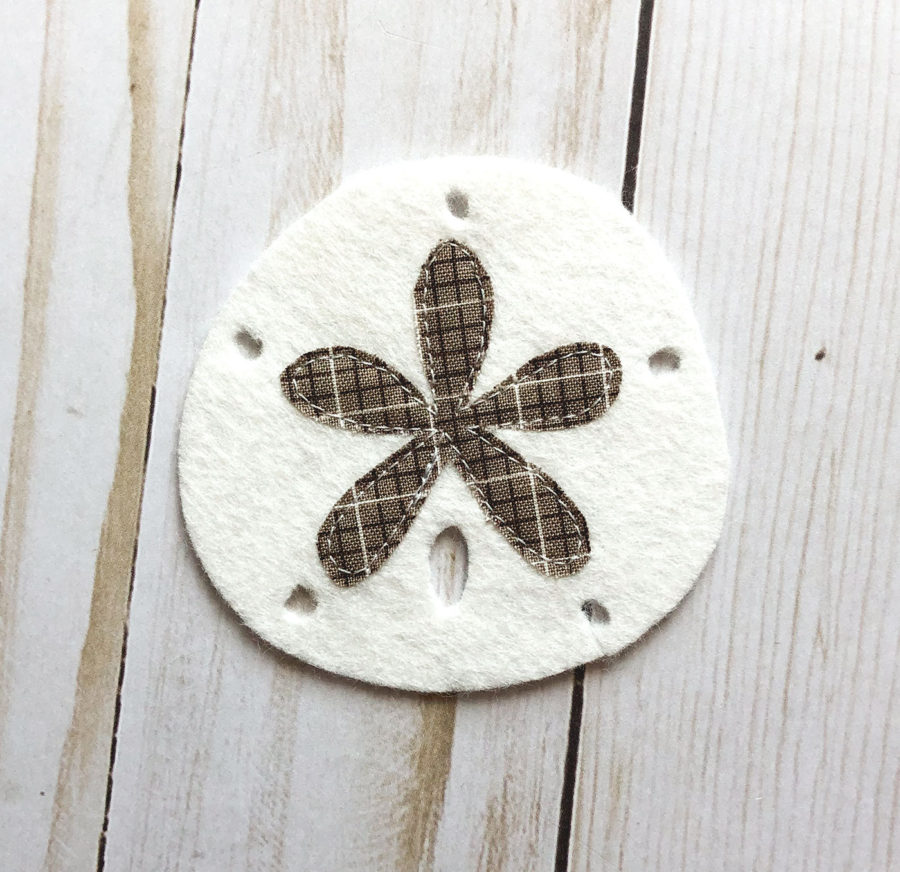
- Fuse the first layer to the center of the sand dollar piece.
- Sew around the layer using a straight stitch.
- Fuse the second layer to the first layer and sew around using a straight stitch.
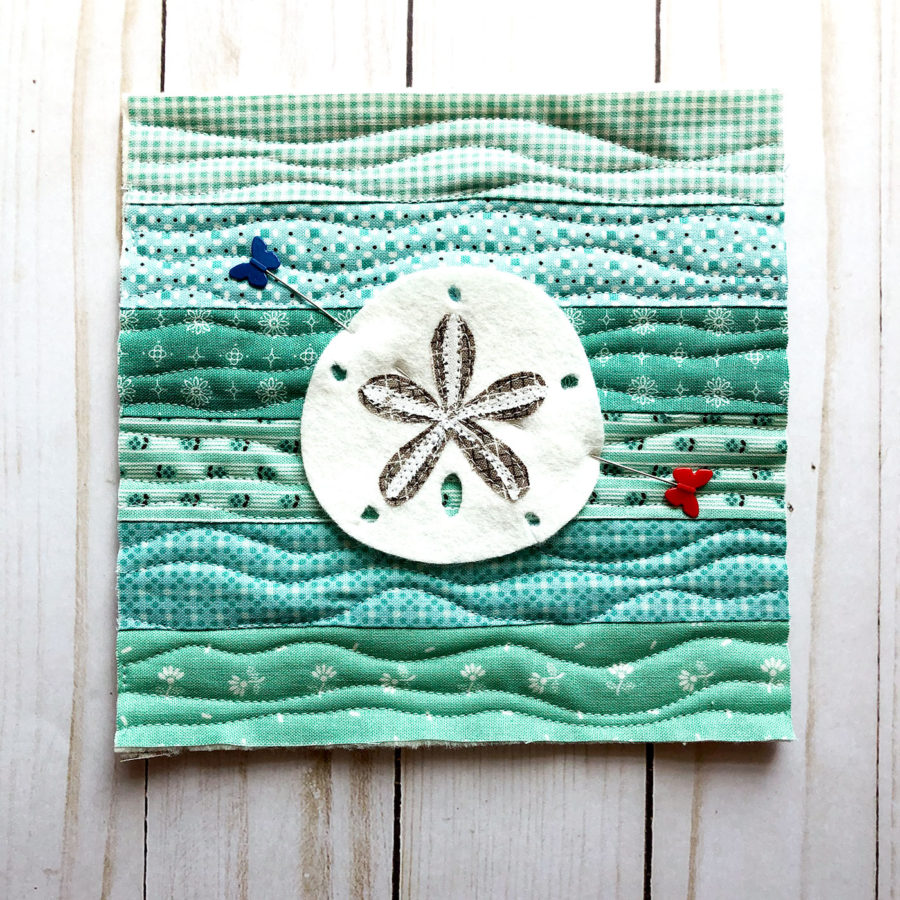
- Center the sand dollar piece on your mini quilt background, pin in place.
- Sew sand dollar to the mini quilt.
- *If you are making coasters or using fabric for the sand dollar, fuse the sand dollar first and then add the center detail layers, sewing around each layer on the background.
Finish mini quilt/ coasters
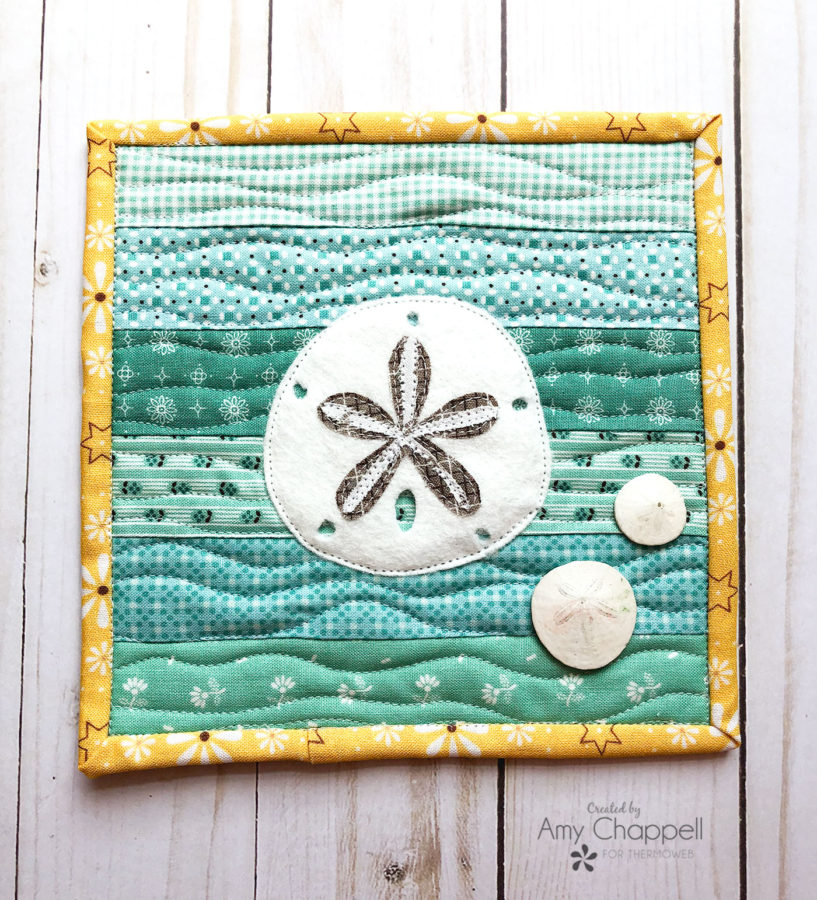
- Bind the mini quilt or coaster using your favorite binding method.
You can see the tiny sand dollars I found in this picture, aren’t they amazing?
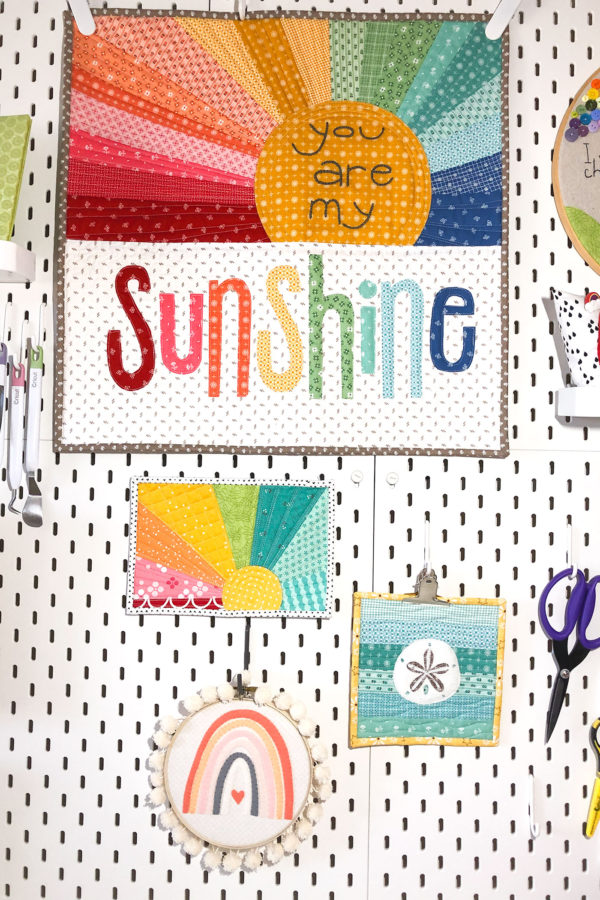
Doesn’t it look so cute on my pegboard? I think it would be a fantastic addition to a gallery wall.
Where are you going to hang your sand dollar mini quilt?
And if you’re looking for the pattern for the You are My Sunshine mini quilt, you can find it in my shop. And the sunset rainbow mug rug is a free pattern on my blog.
[…] Sand Dollar Mini quilt is only 6″ square and would be the perfect project to start on if you are new to […]