


Hello and welcome!
It’s Julia from Inflorescence Designs! I’m so joyful you are visiting today. For today’s tutorial, I am going to show you how to make reversible decorative pumpkins!
This project was inspired by those reversible emotion showing stuffed animals.
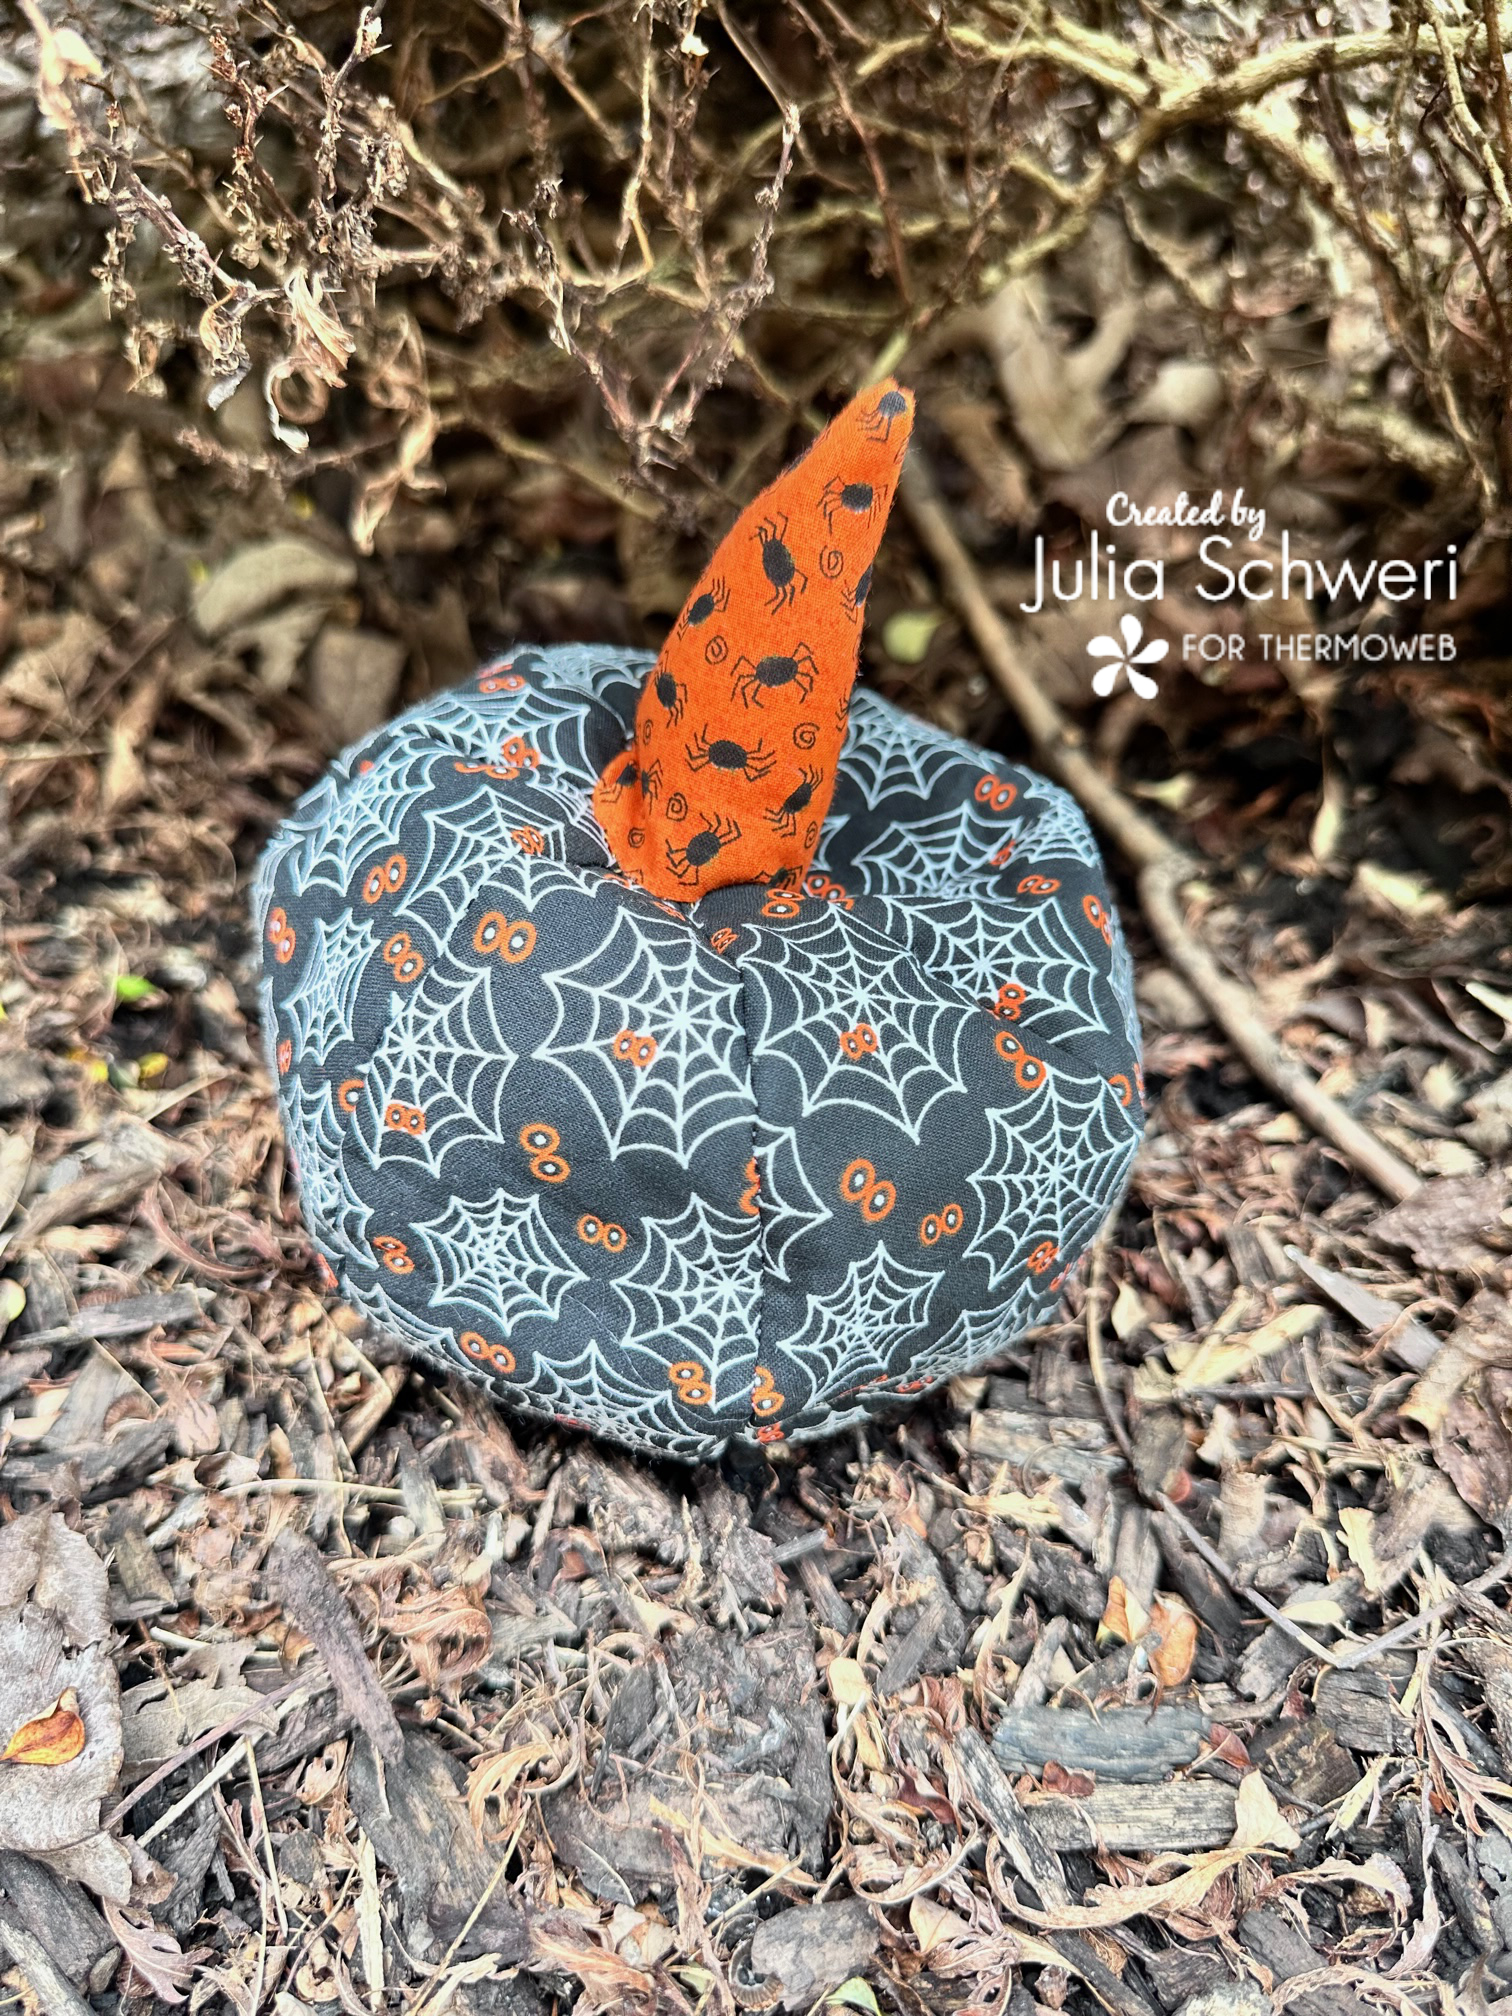
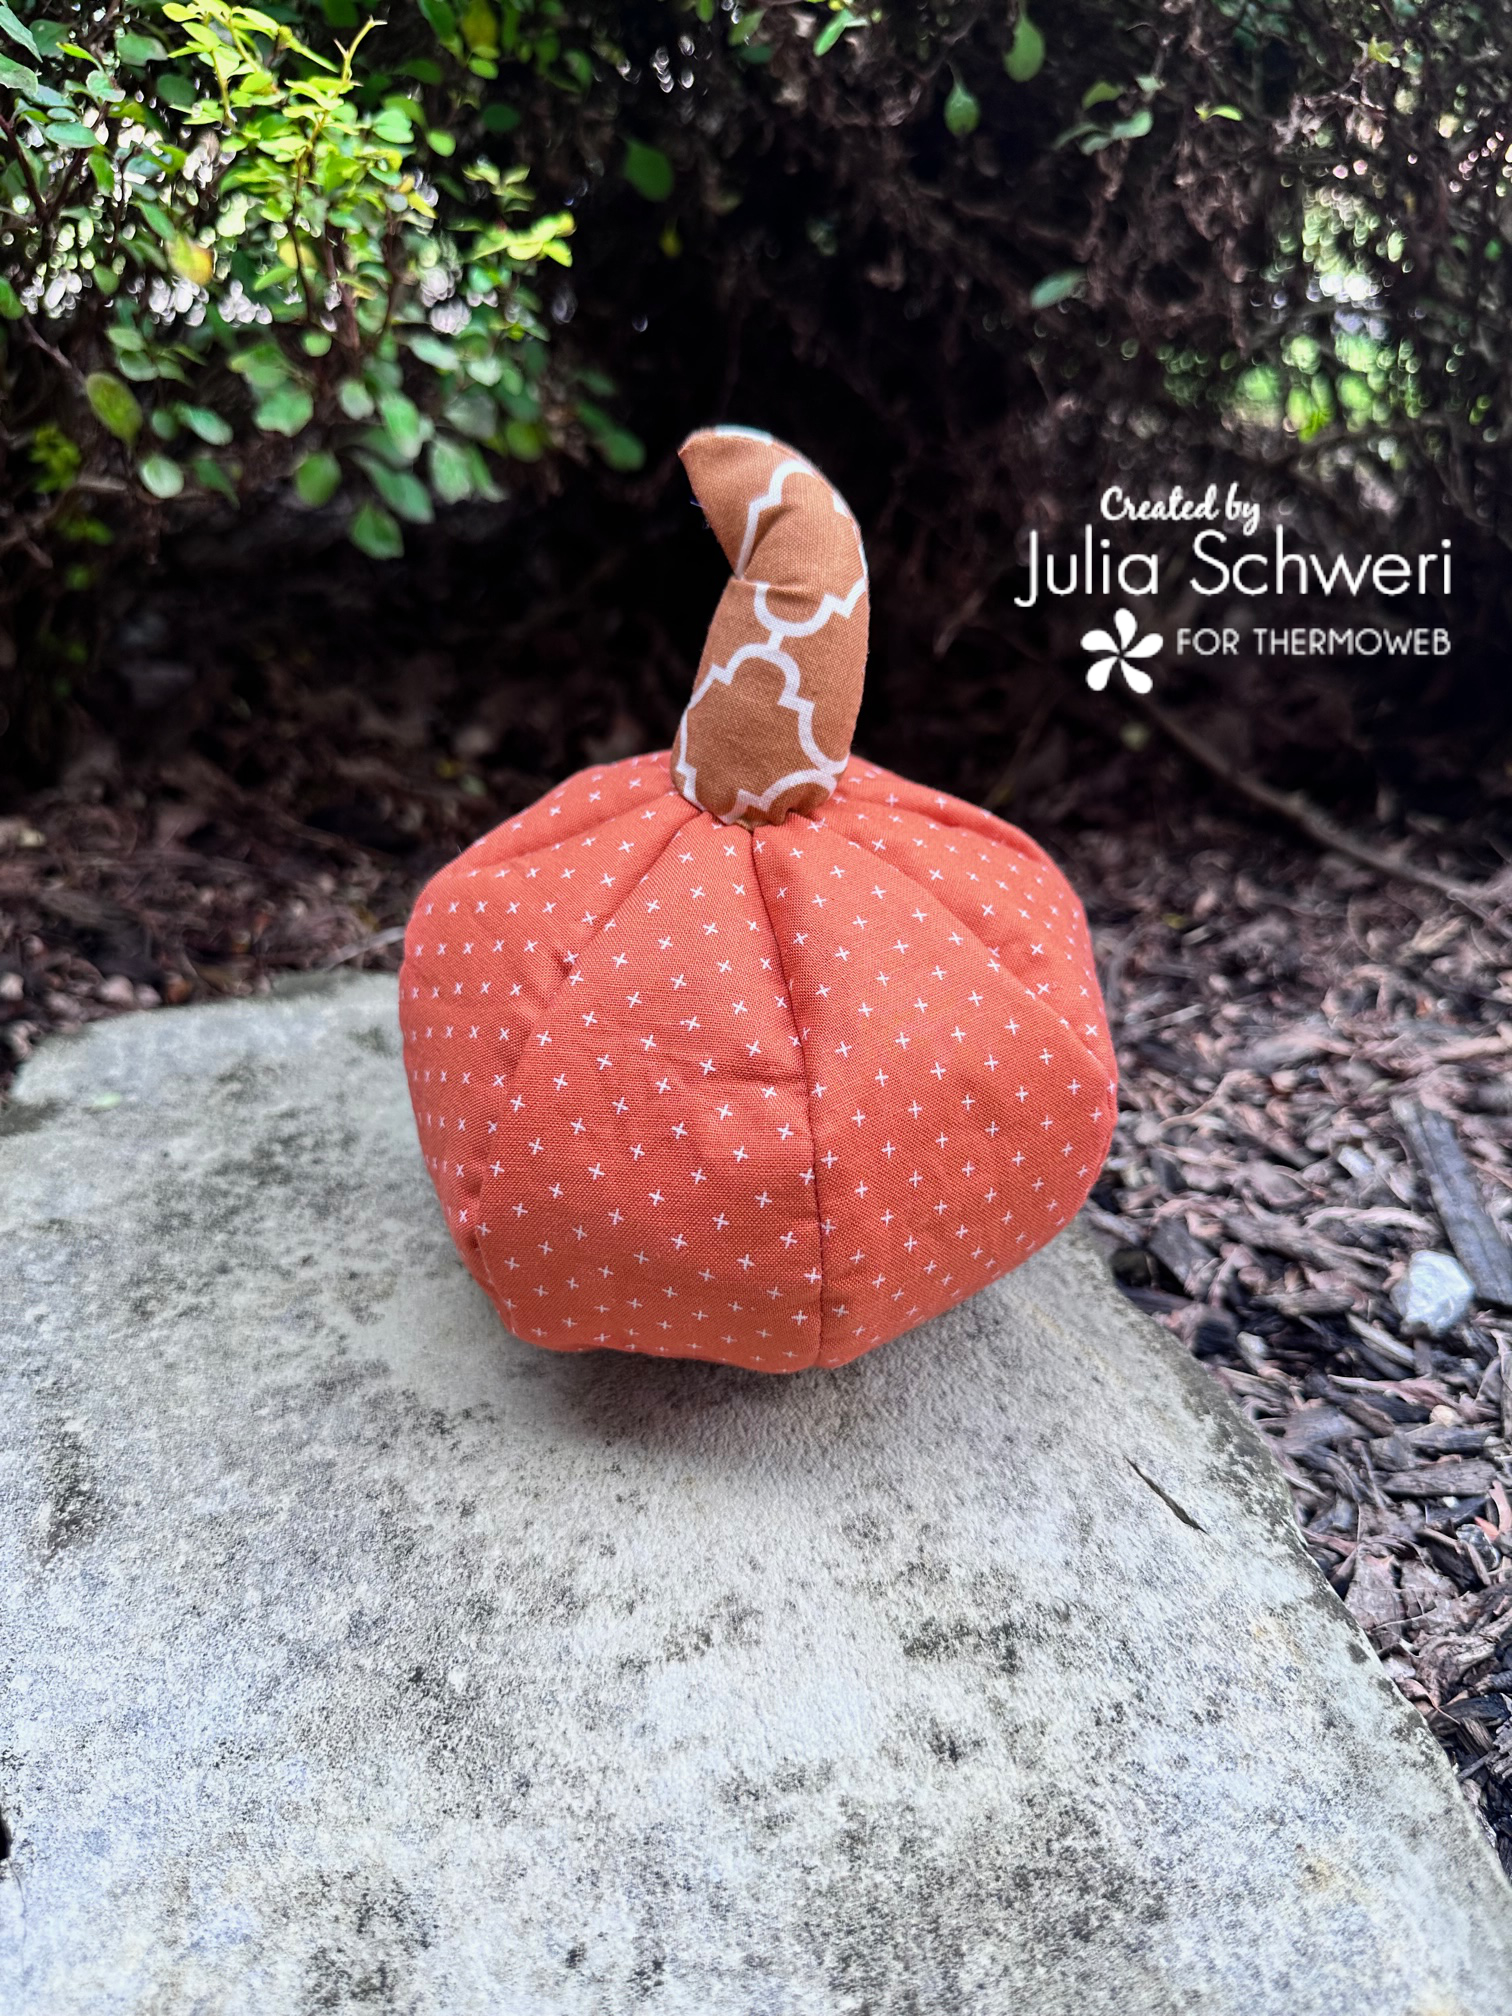
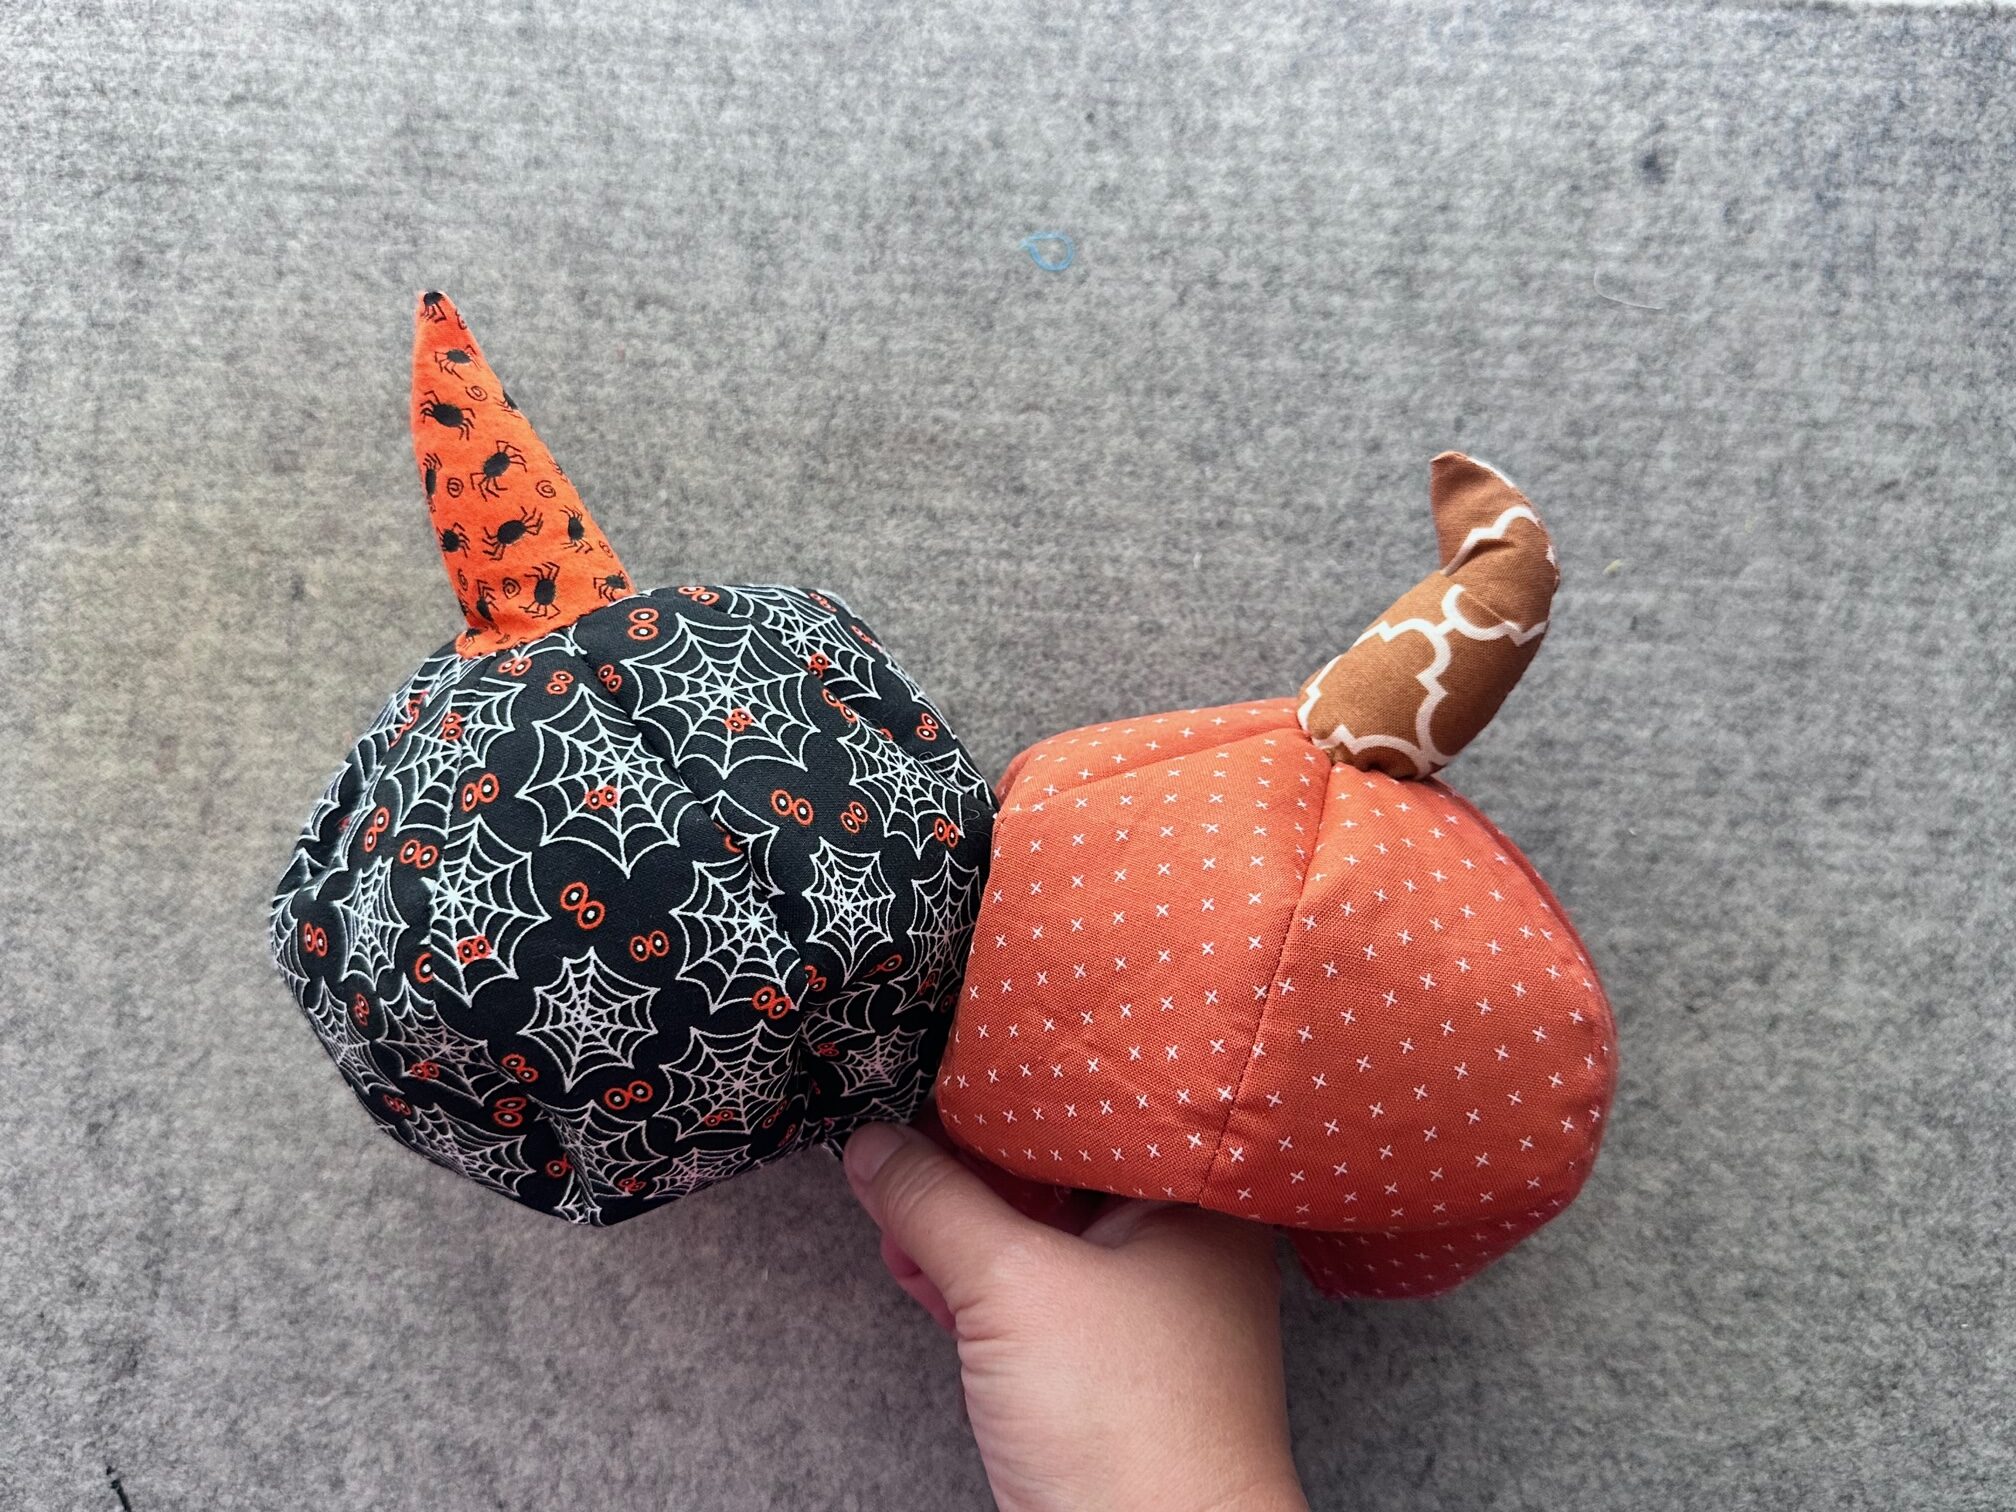
Pumpkins are a great decoration and have a nice long window of time to be on display. What makes these pumpkins even better is that they are reversible! One side features Halloween fabric while the other autumn, making it perfect for the entire fall season!
Reversible Fabric Pumpkin
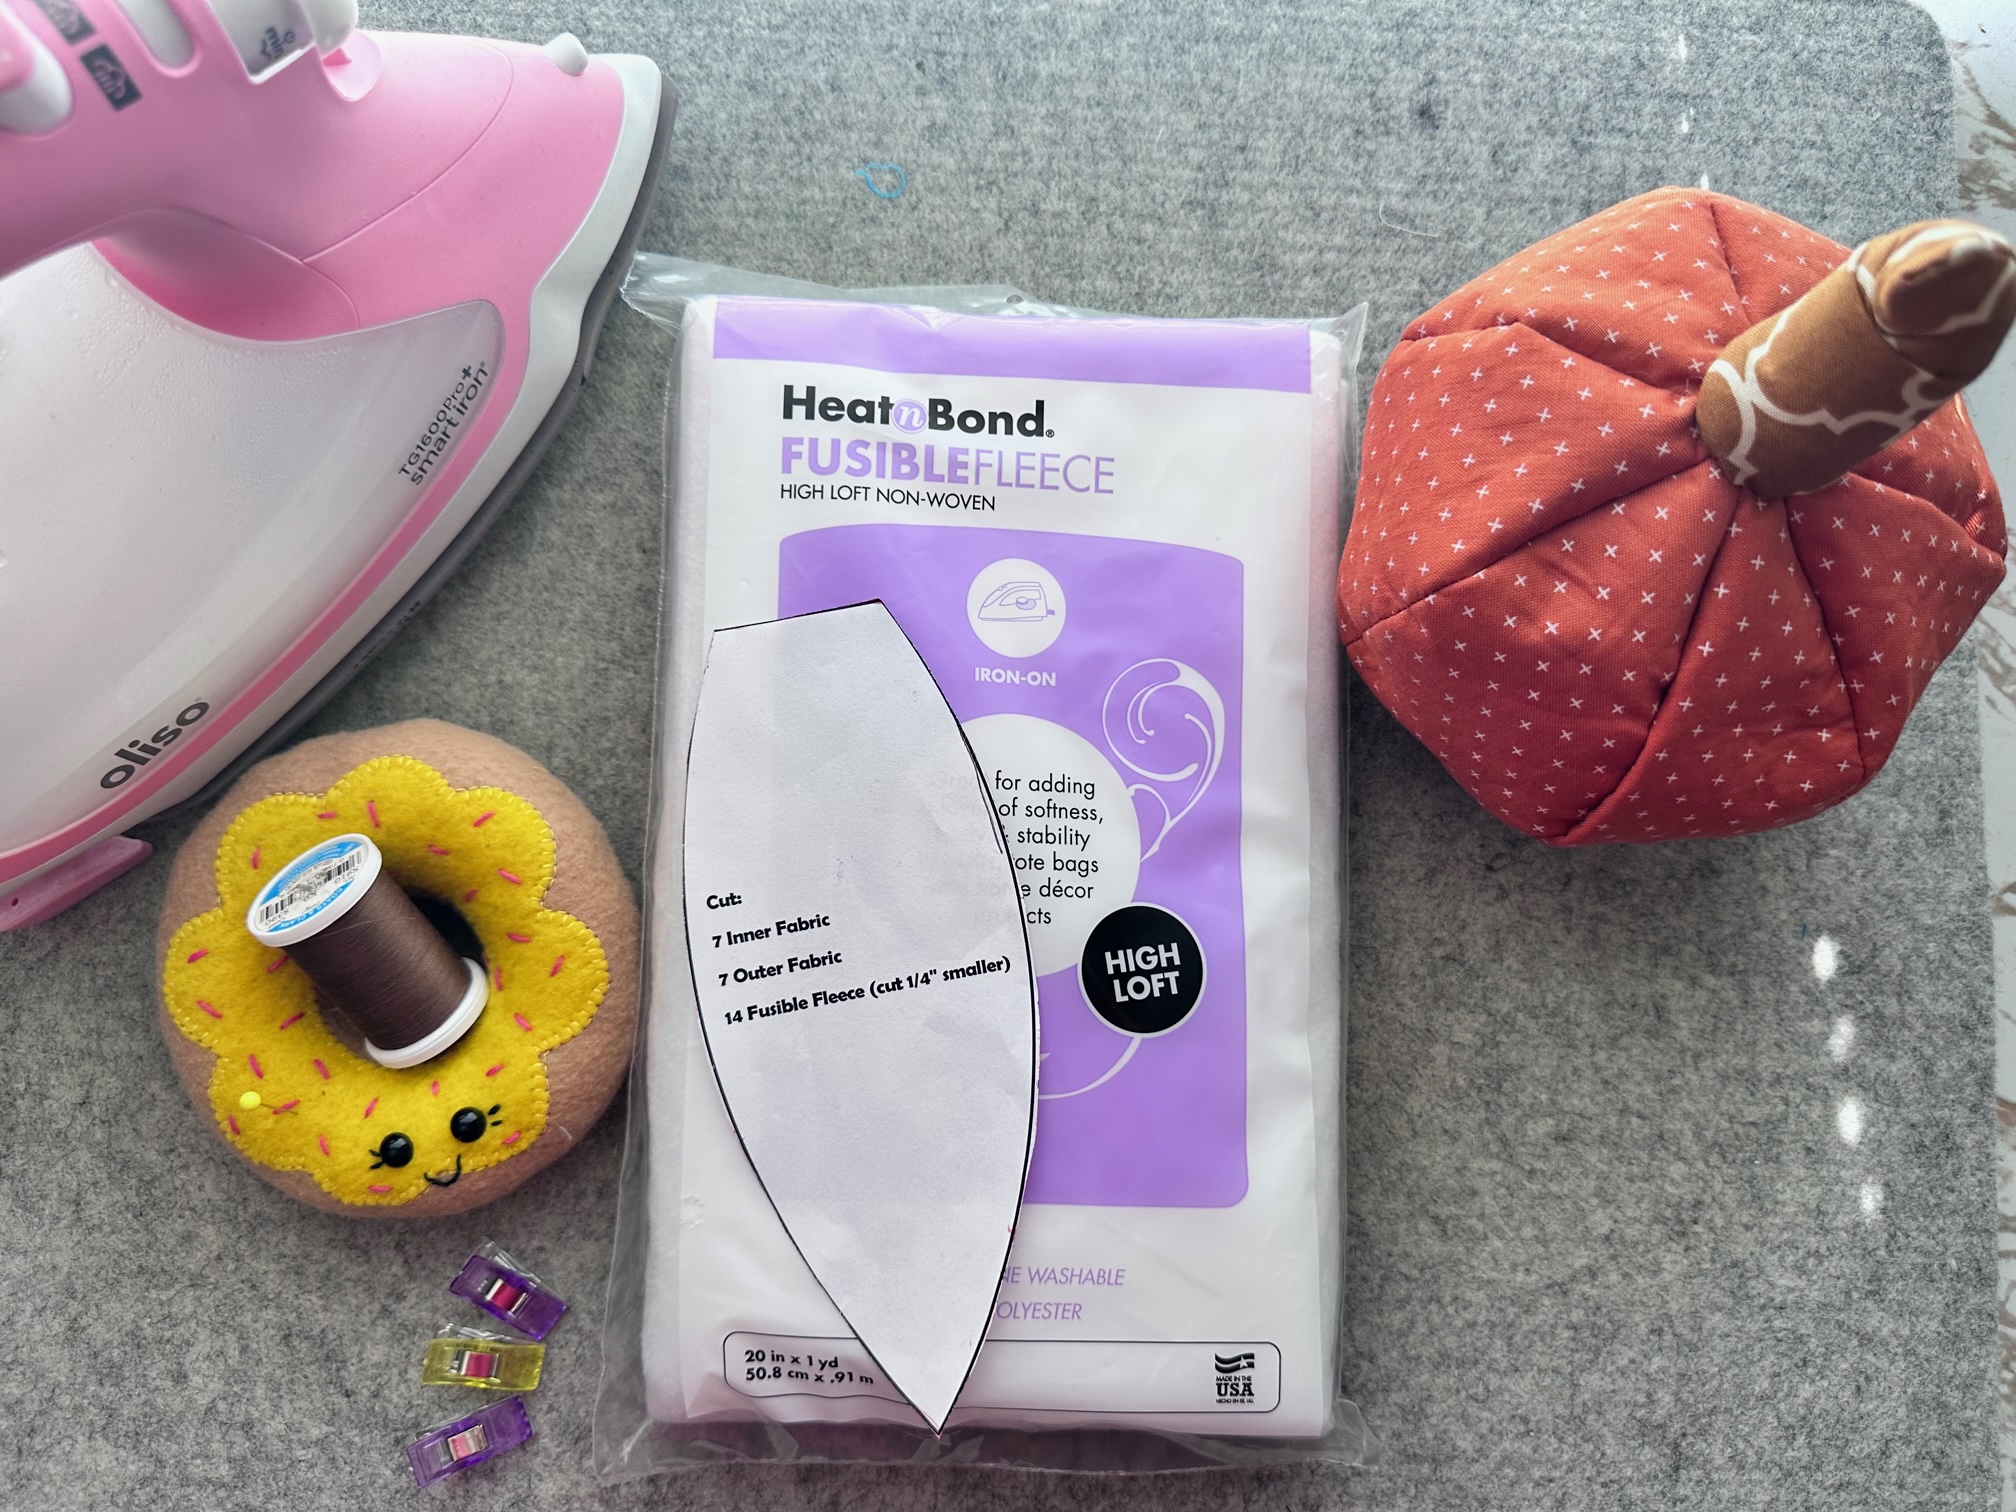
Supplies:
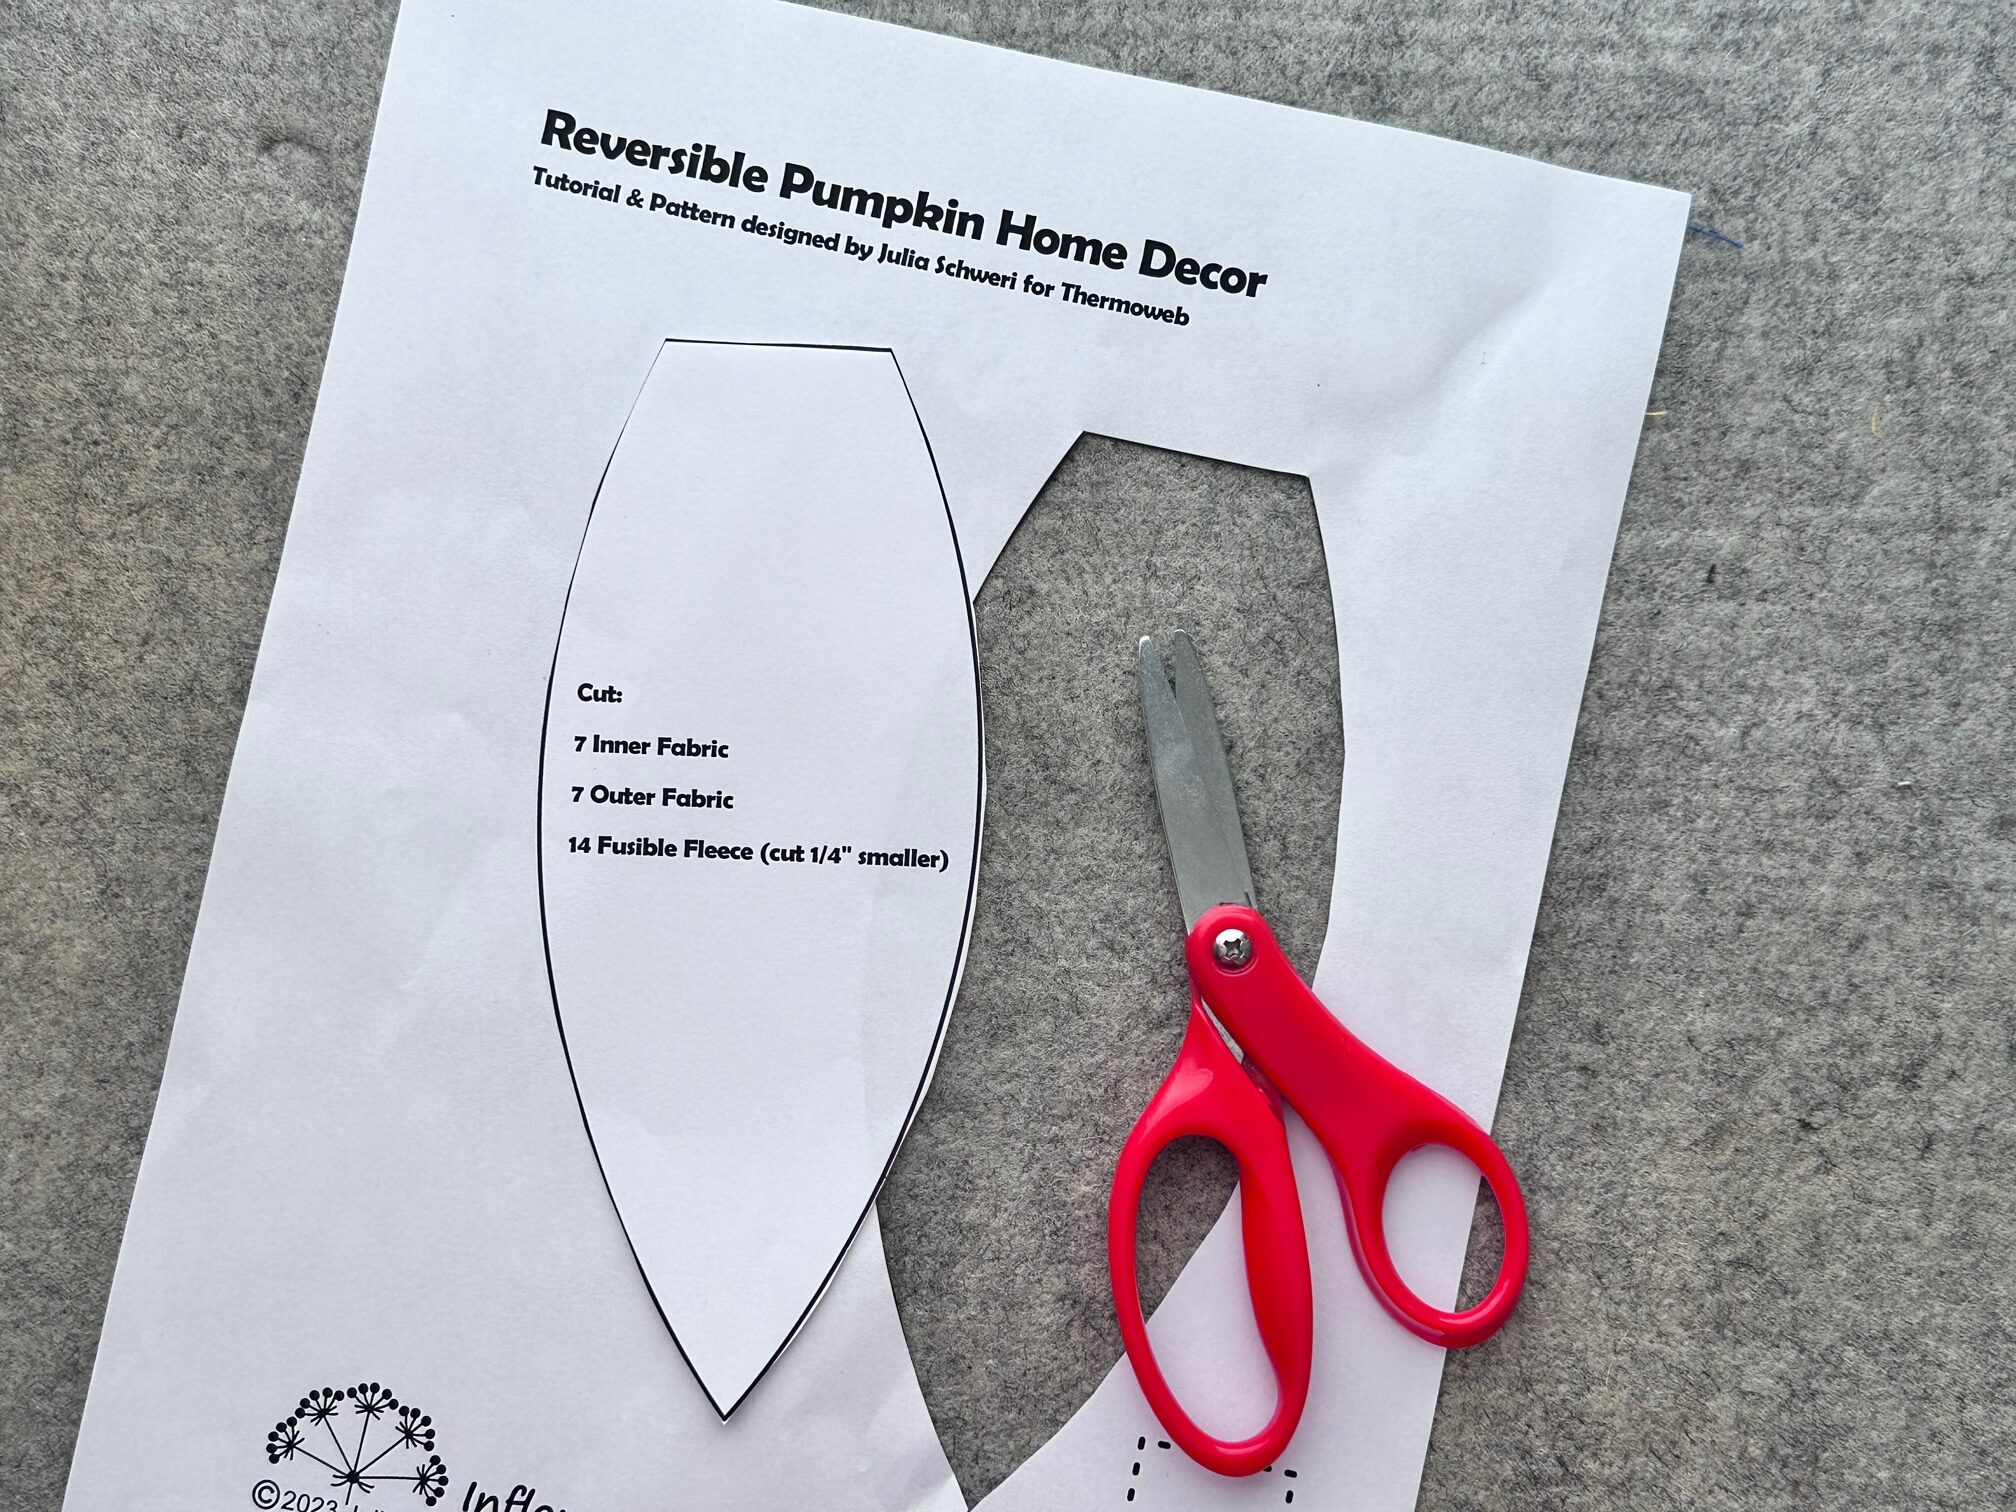
- Reversible Pumpkin Pintable PDF Template
- HeatnBond Fusible Fleece
- Seasonal fabric for each side of the pumpkin
- (2) 3 1/2″ x 4 1/2″ rectangles for the pumpkin stems
- Needle and coordinating thread
- Fiber fill
- Oliso Iron
- Basic sewing notions
Instructions:
Begin by…
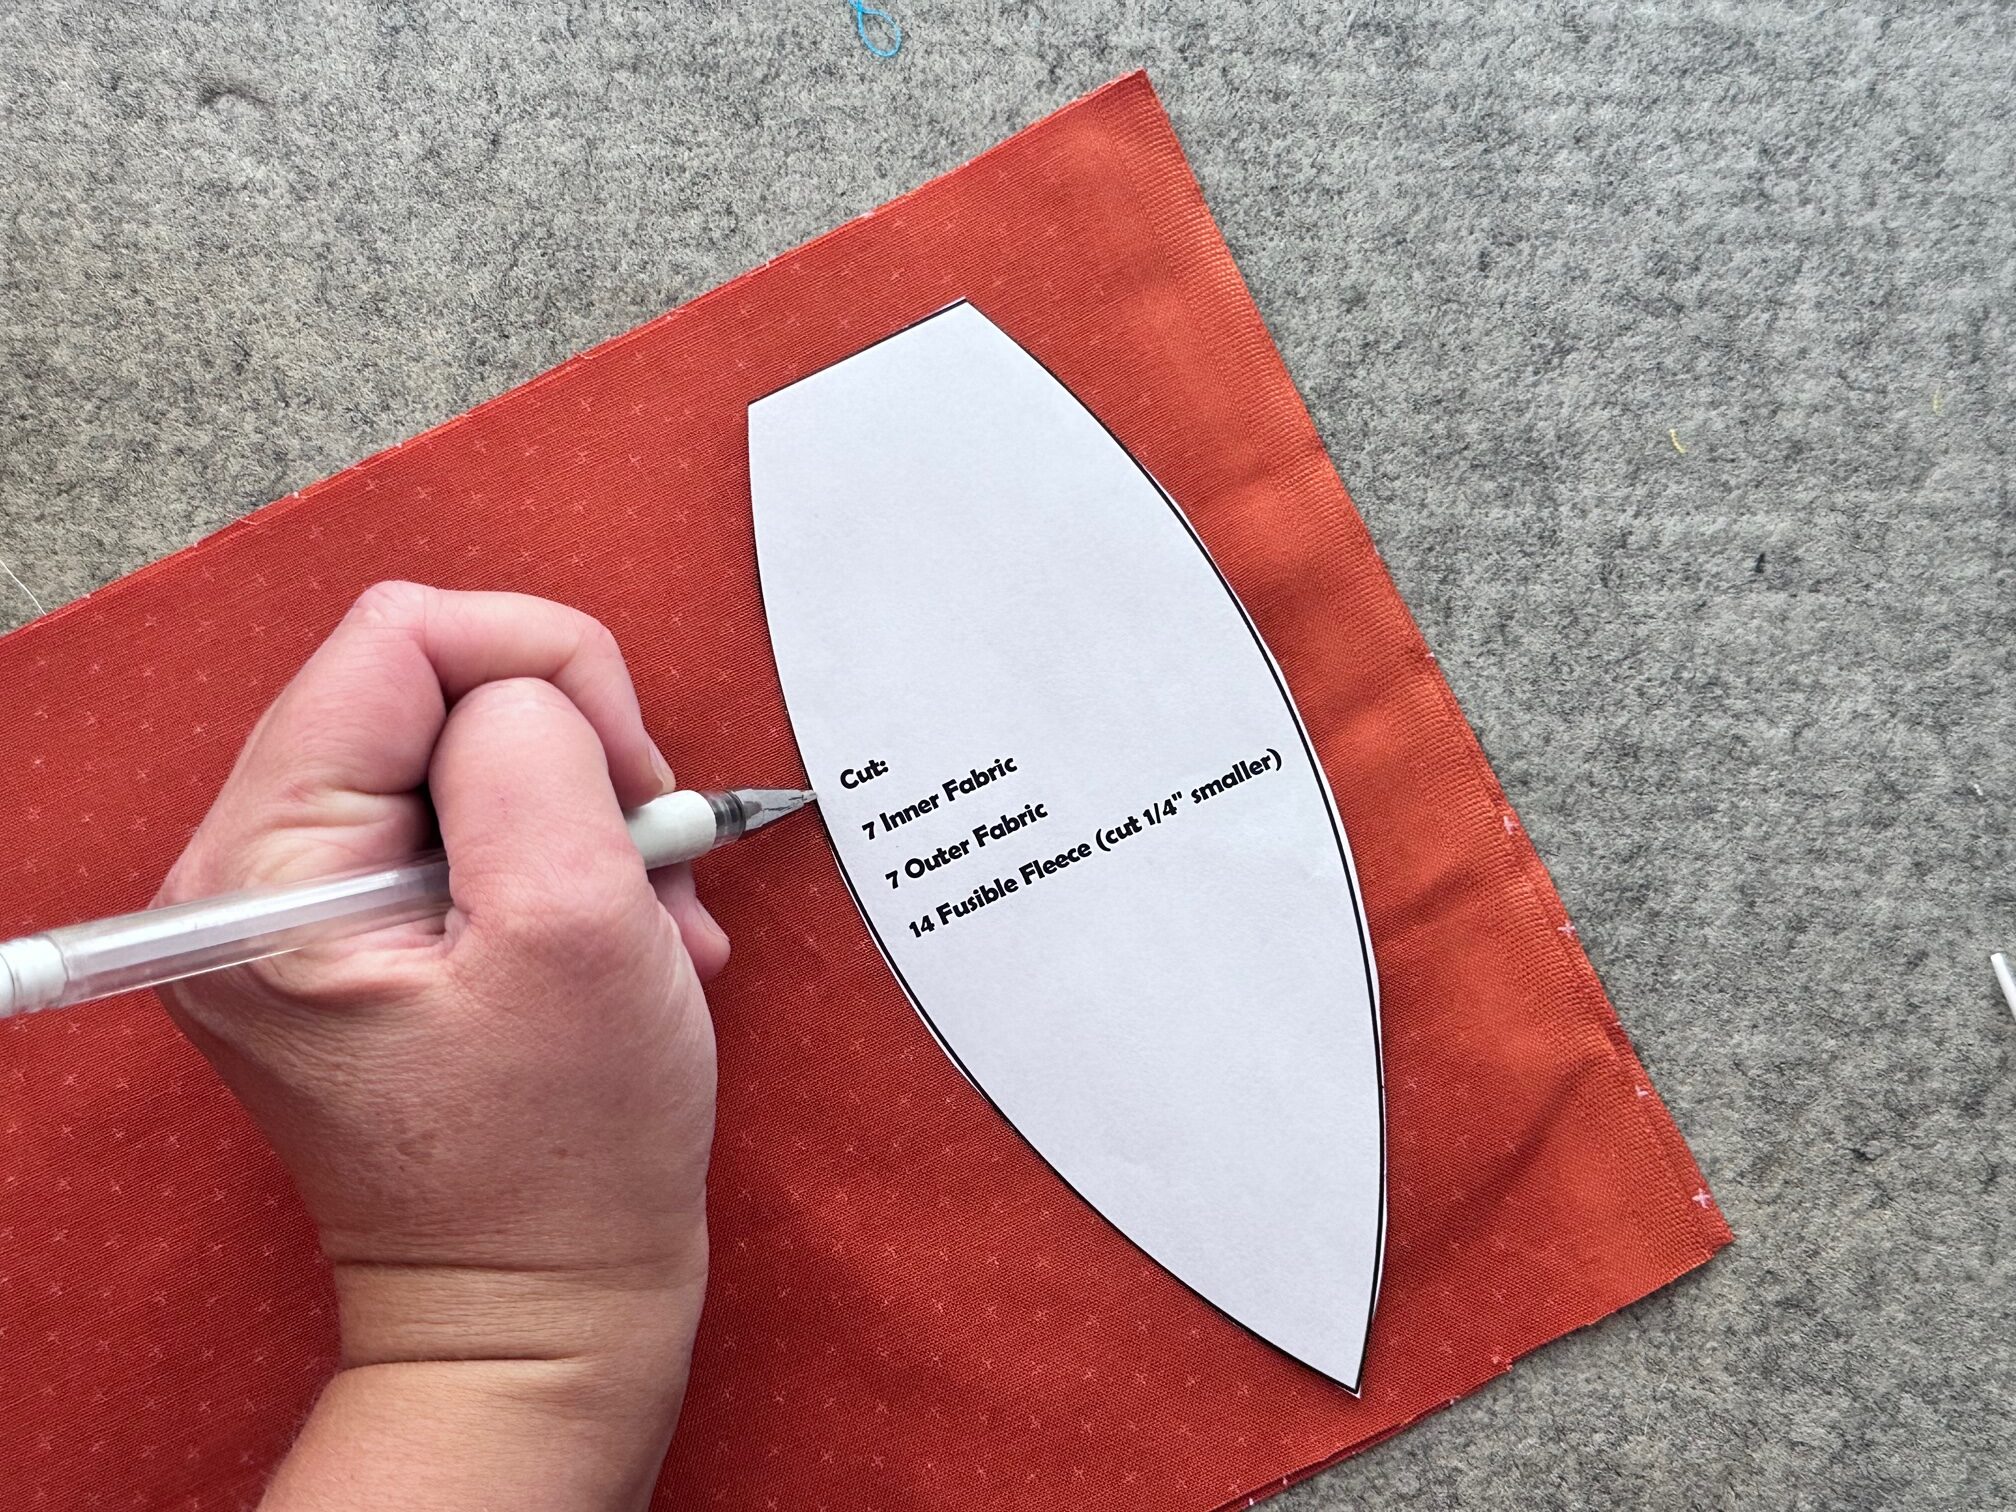
Print off the template and cut out the pumpkin wedge shape. Trace the shape onto your first fabric and cut out seven wedges. Repeat these steps and cut out seven of your other fabric.
Next…
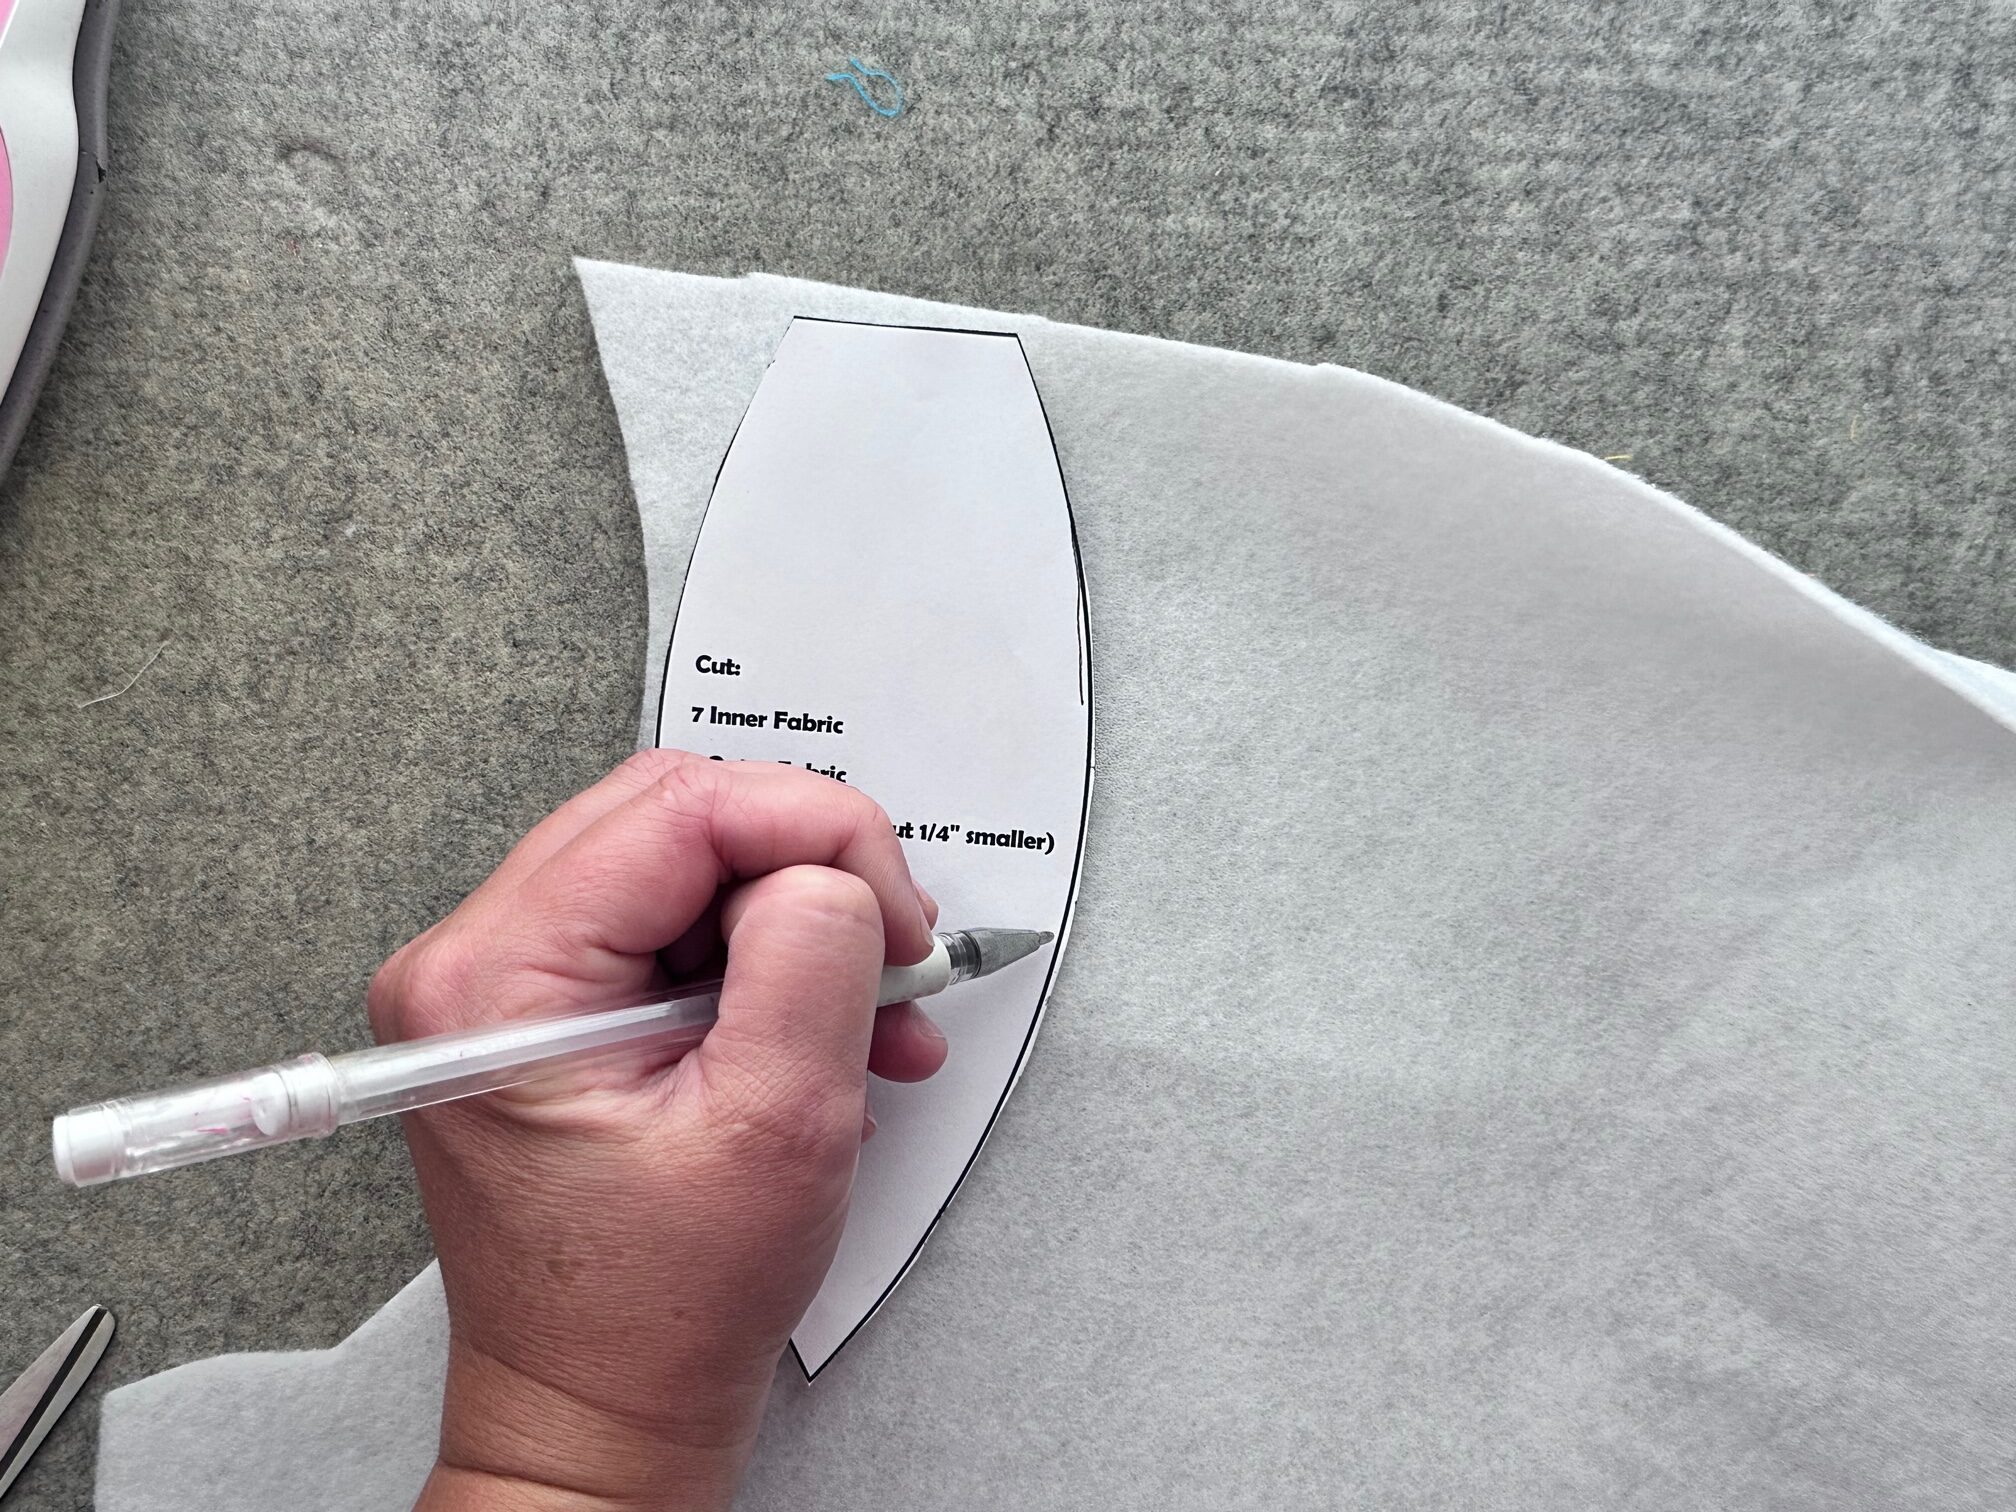
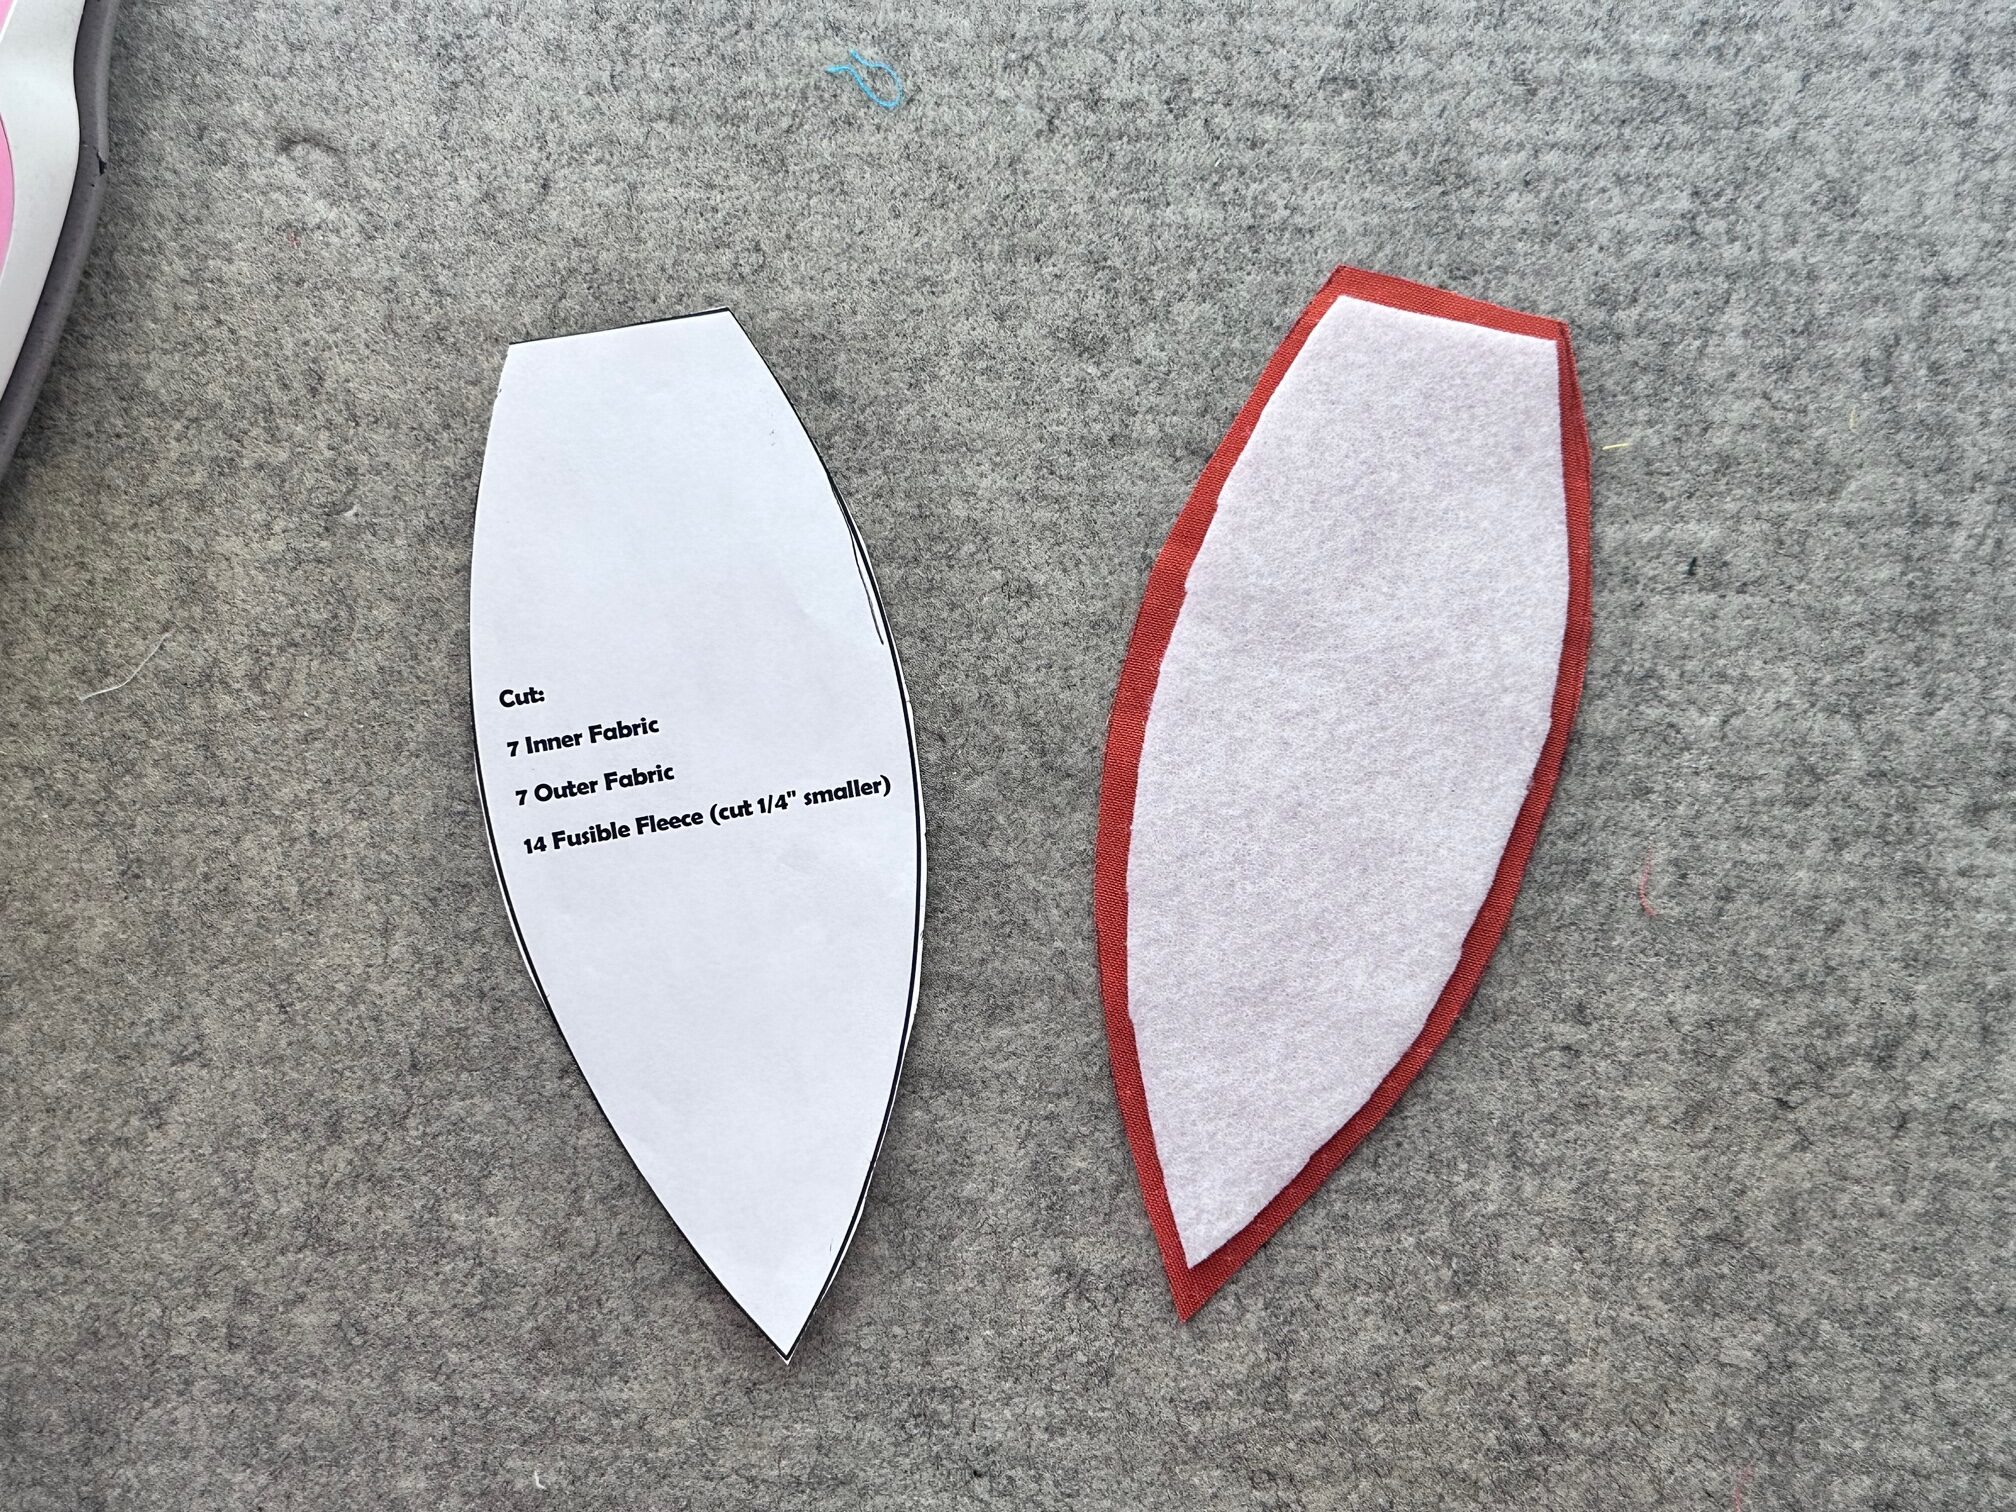
Trace the template on to the fusible fleece and cut out 14 wedges about 1/4″ smaller than the template.
Continue by…
Adhere the fusible fleece to the wrong side of the 14 pumpkin wedges.

Then…
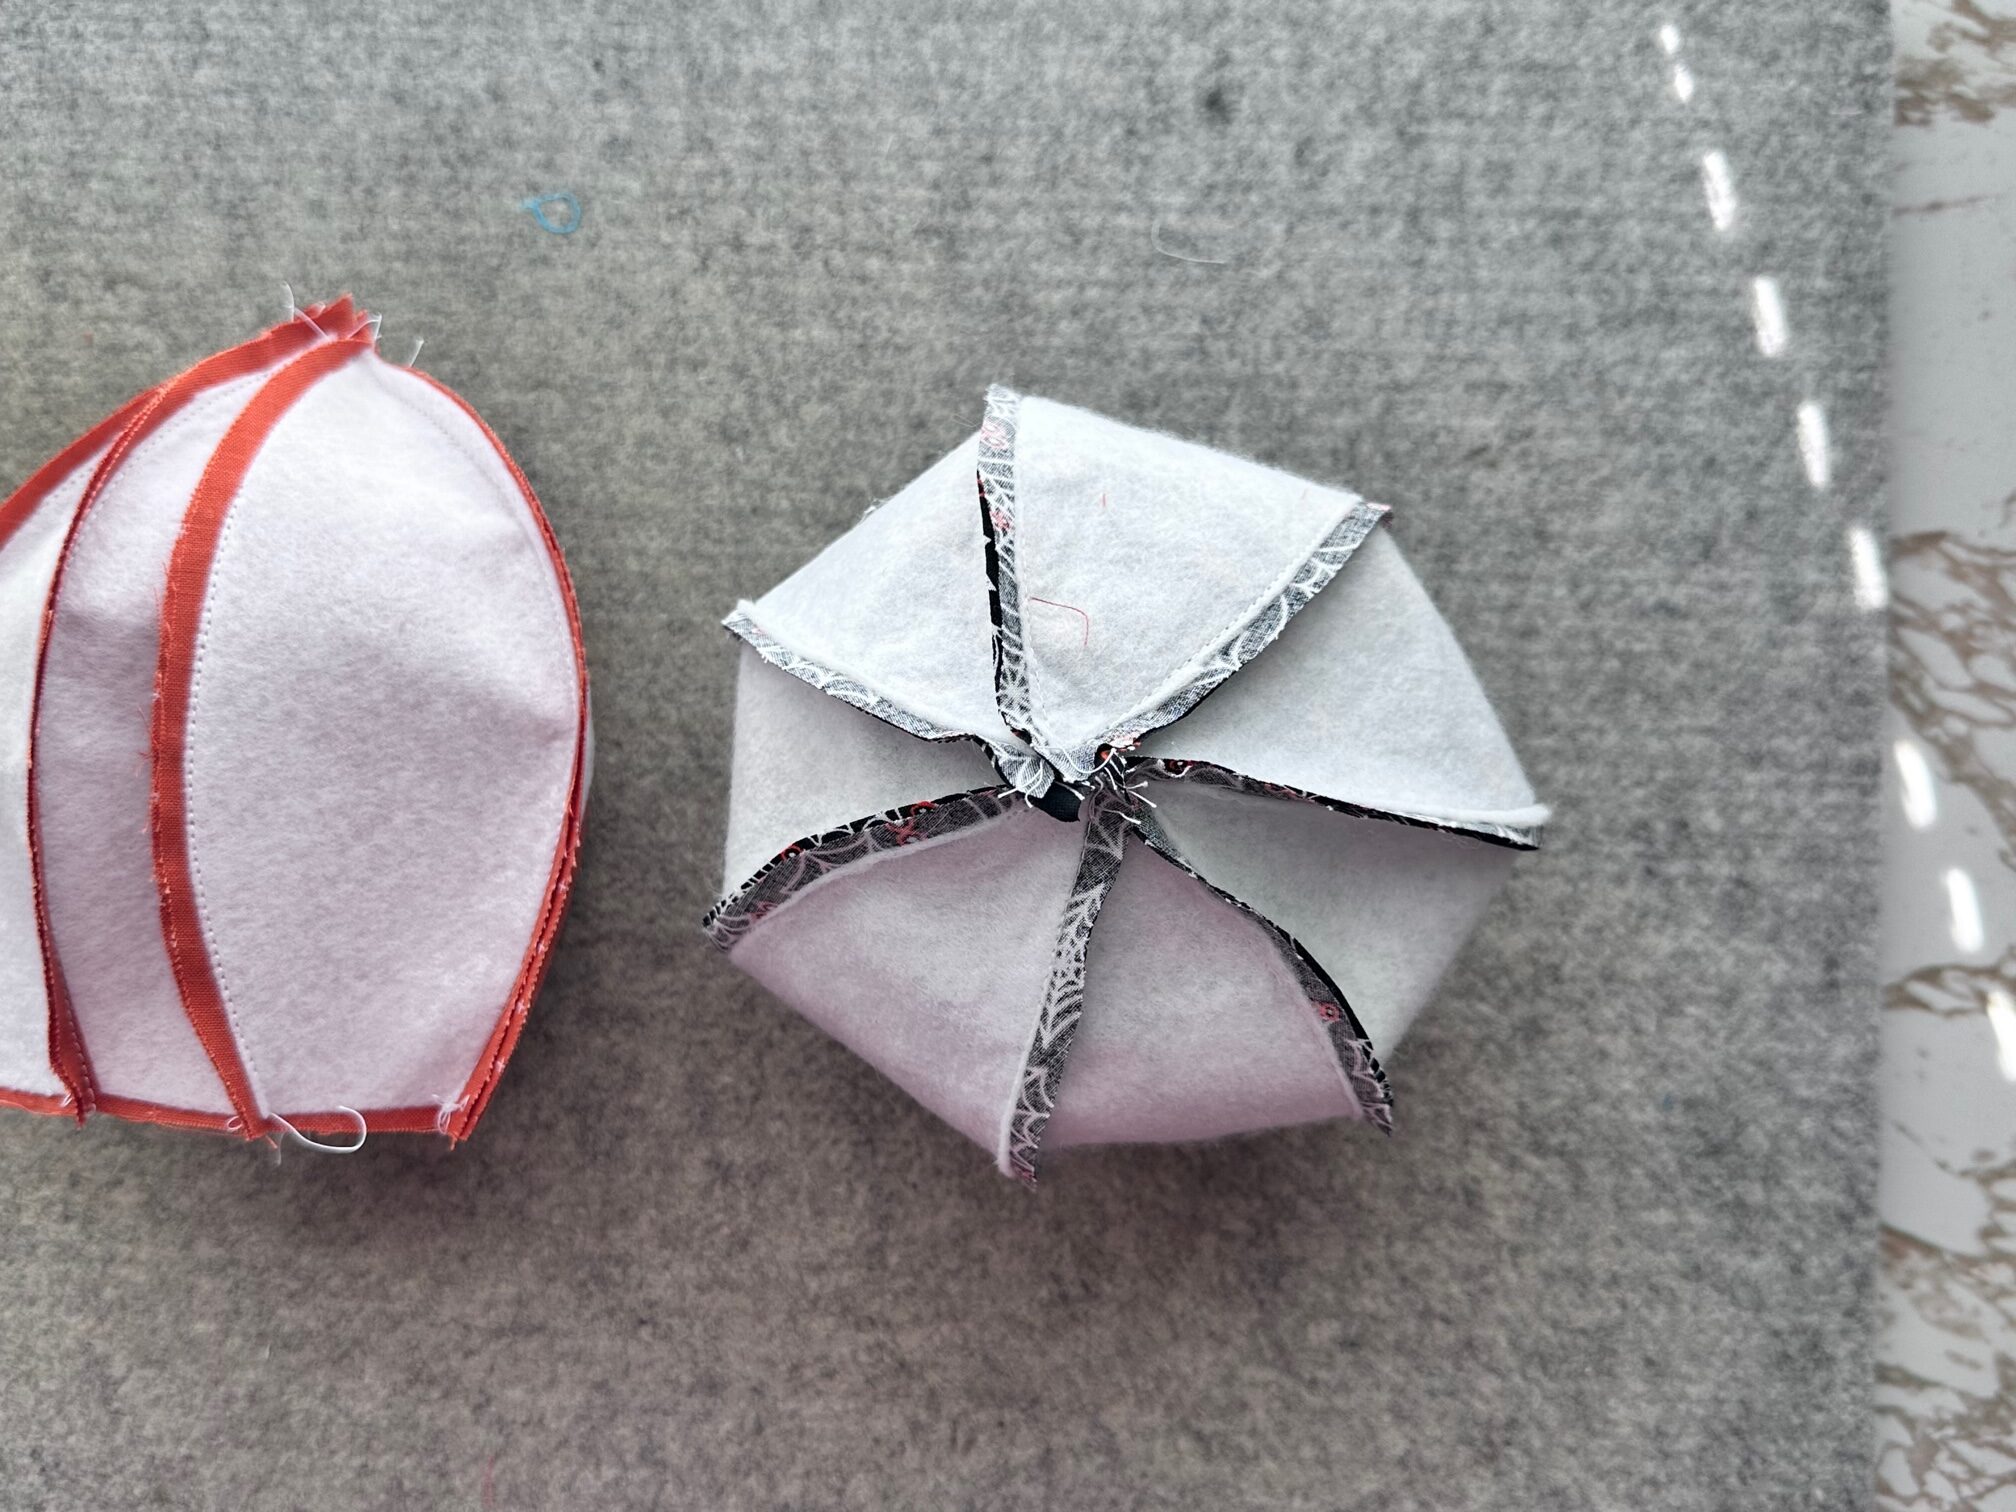
Begin sewing the wedges together using a 1/4″ seam allowance. Start sewing on the edge with the straight/flat bottom. Sew around the curve but leave a 1/4″ unsewn near the tip of the wedge. Sew all seven wedges together till you have made a complete ball shape.

Next…
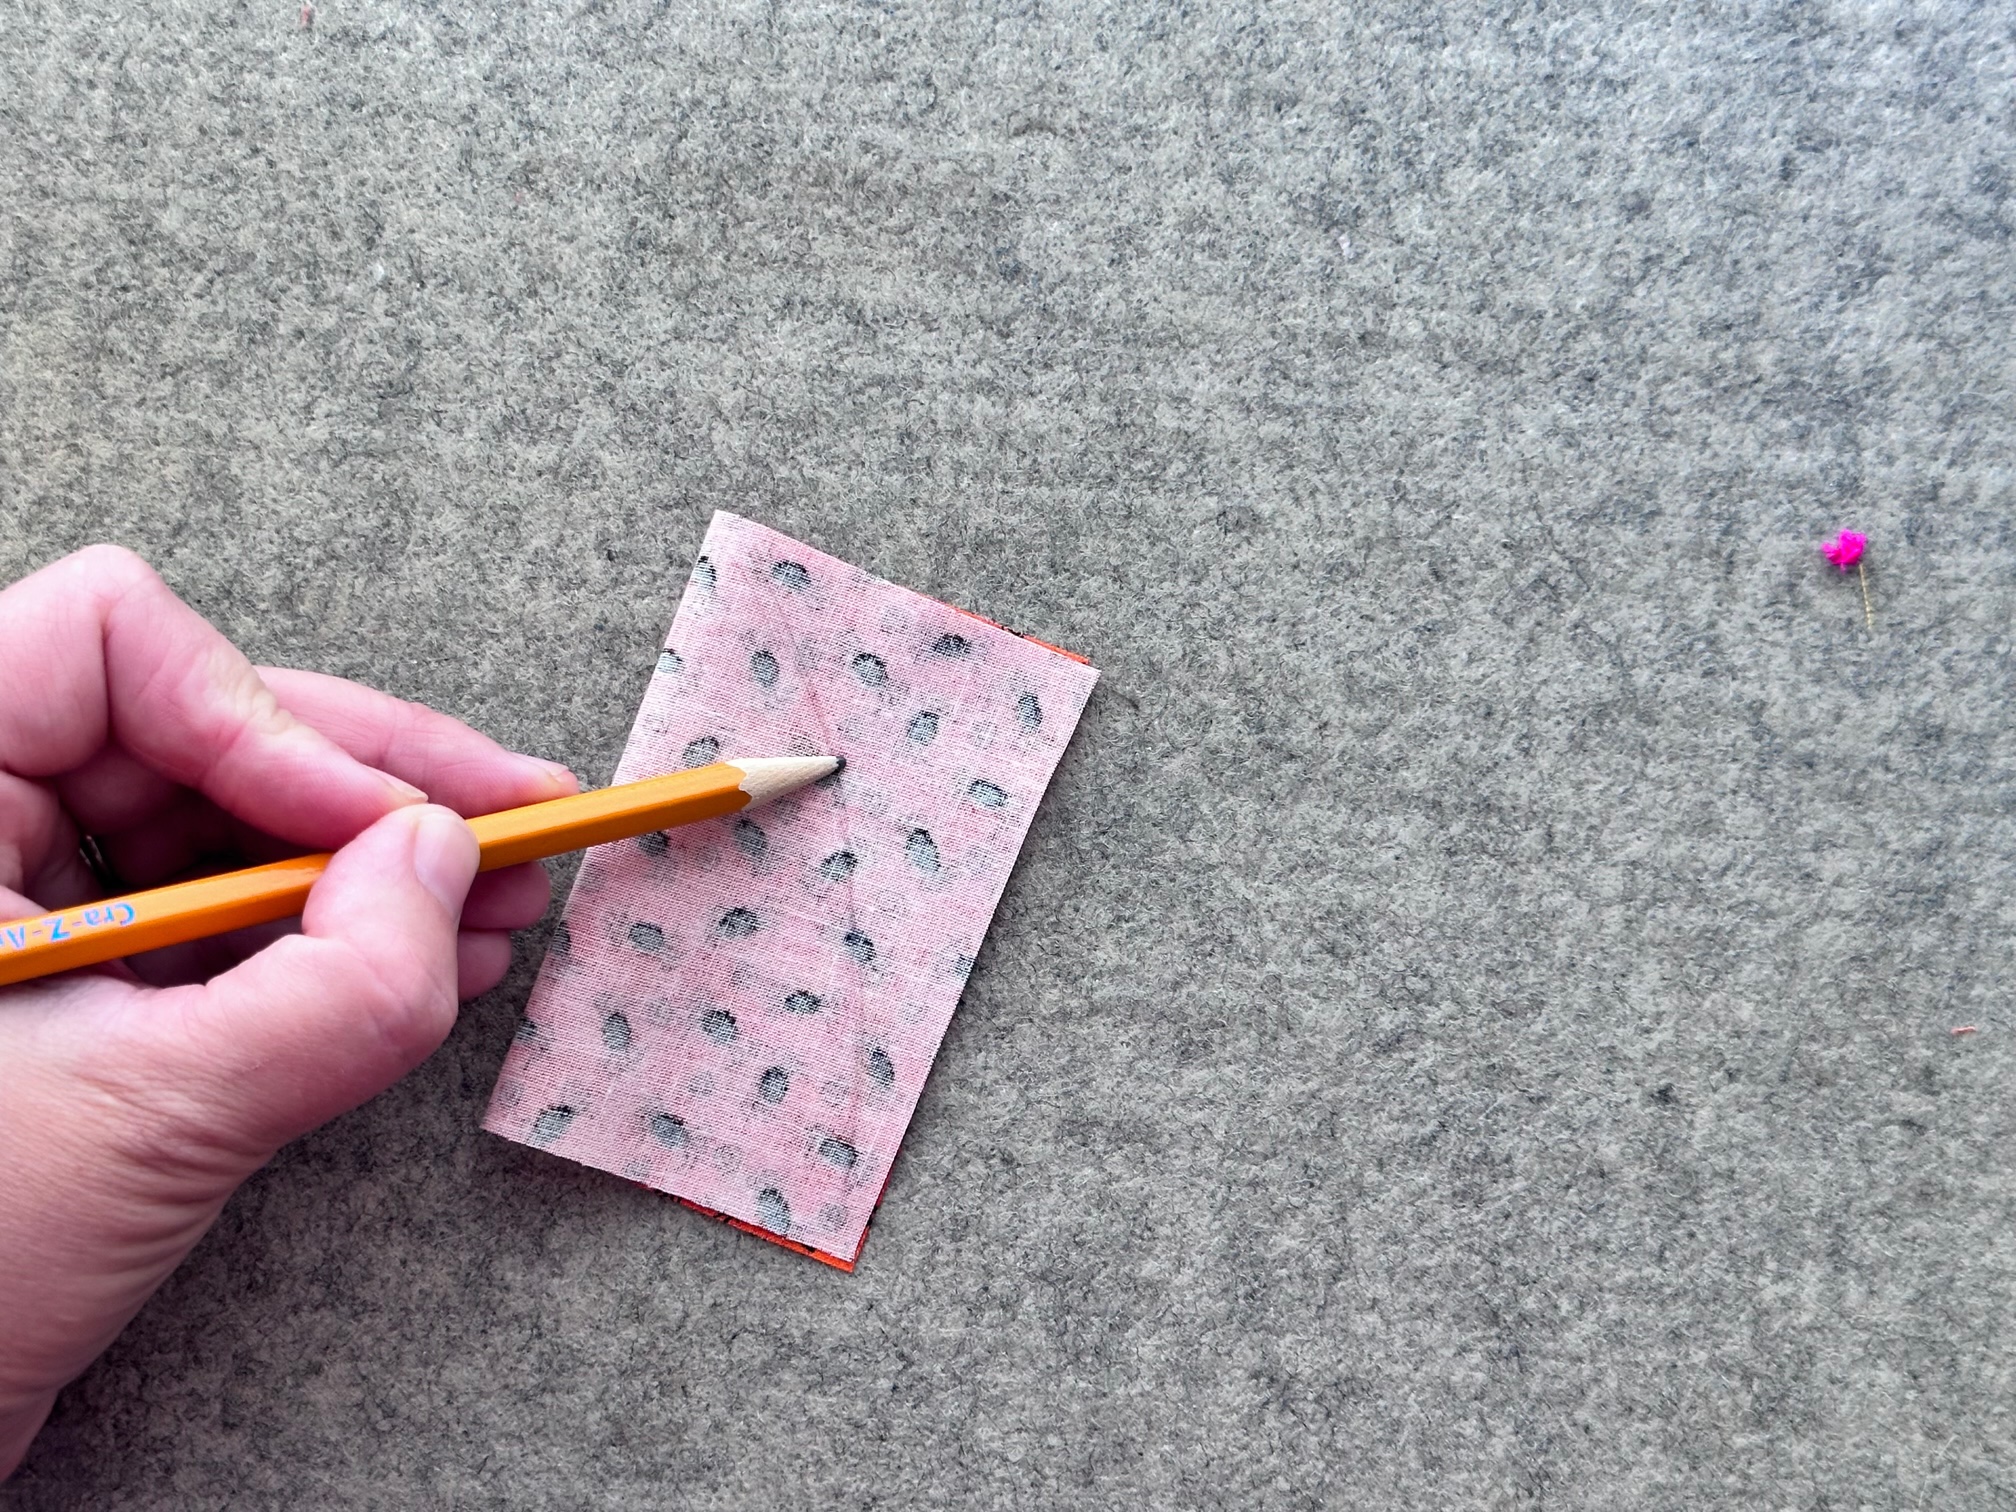
Turn the pumpkins right side out. Then, fold over the 3.5″ x 4.5″ rectangle in half. Draw a curved line from the top left corner to the bottom right. Sew along the drawn line and then trim the excess fabric. Then, turn the fabric right side out and stuff with fiber fill.
Continue by…
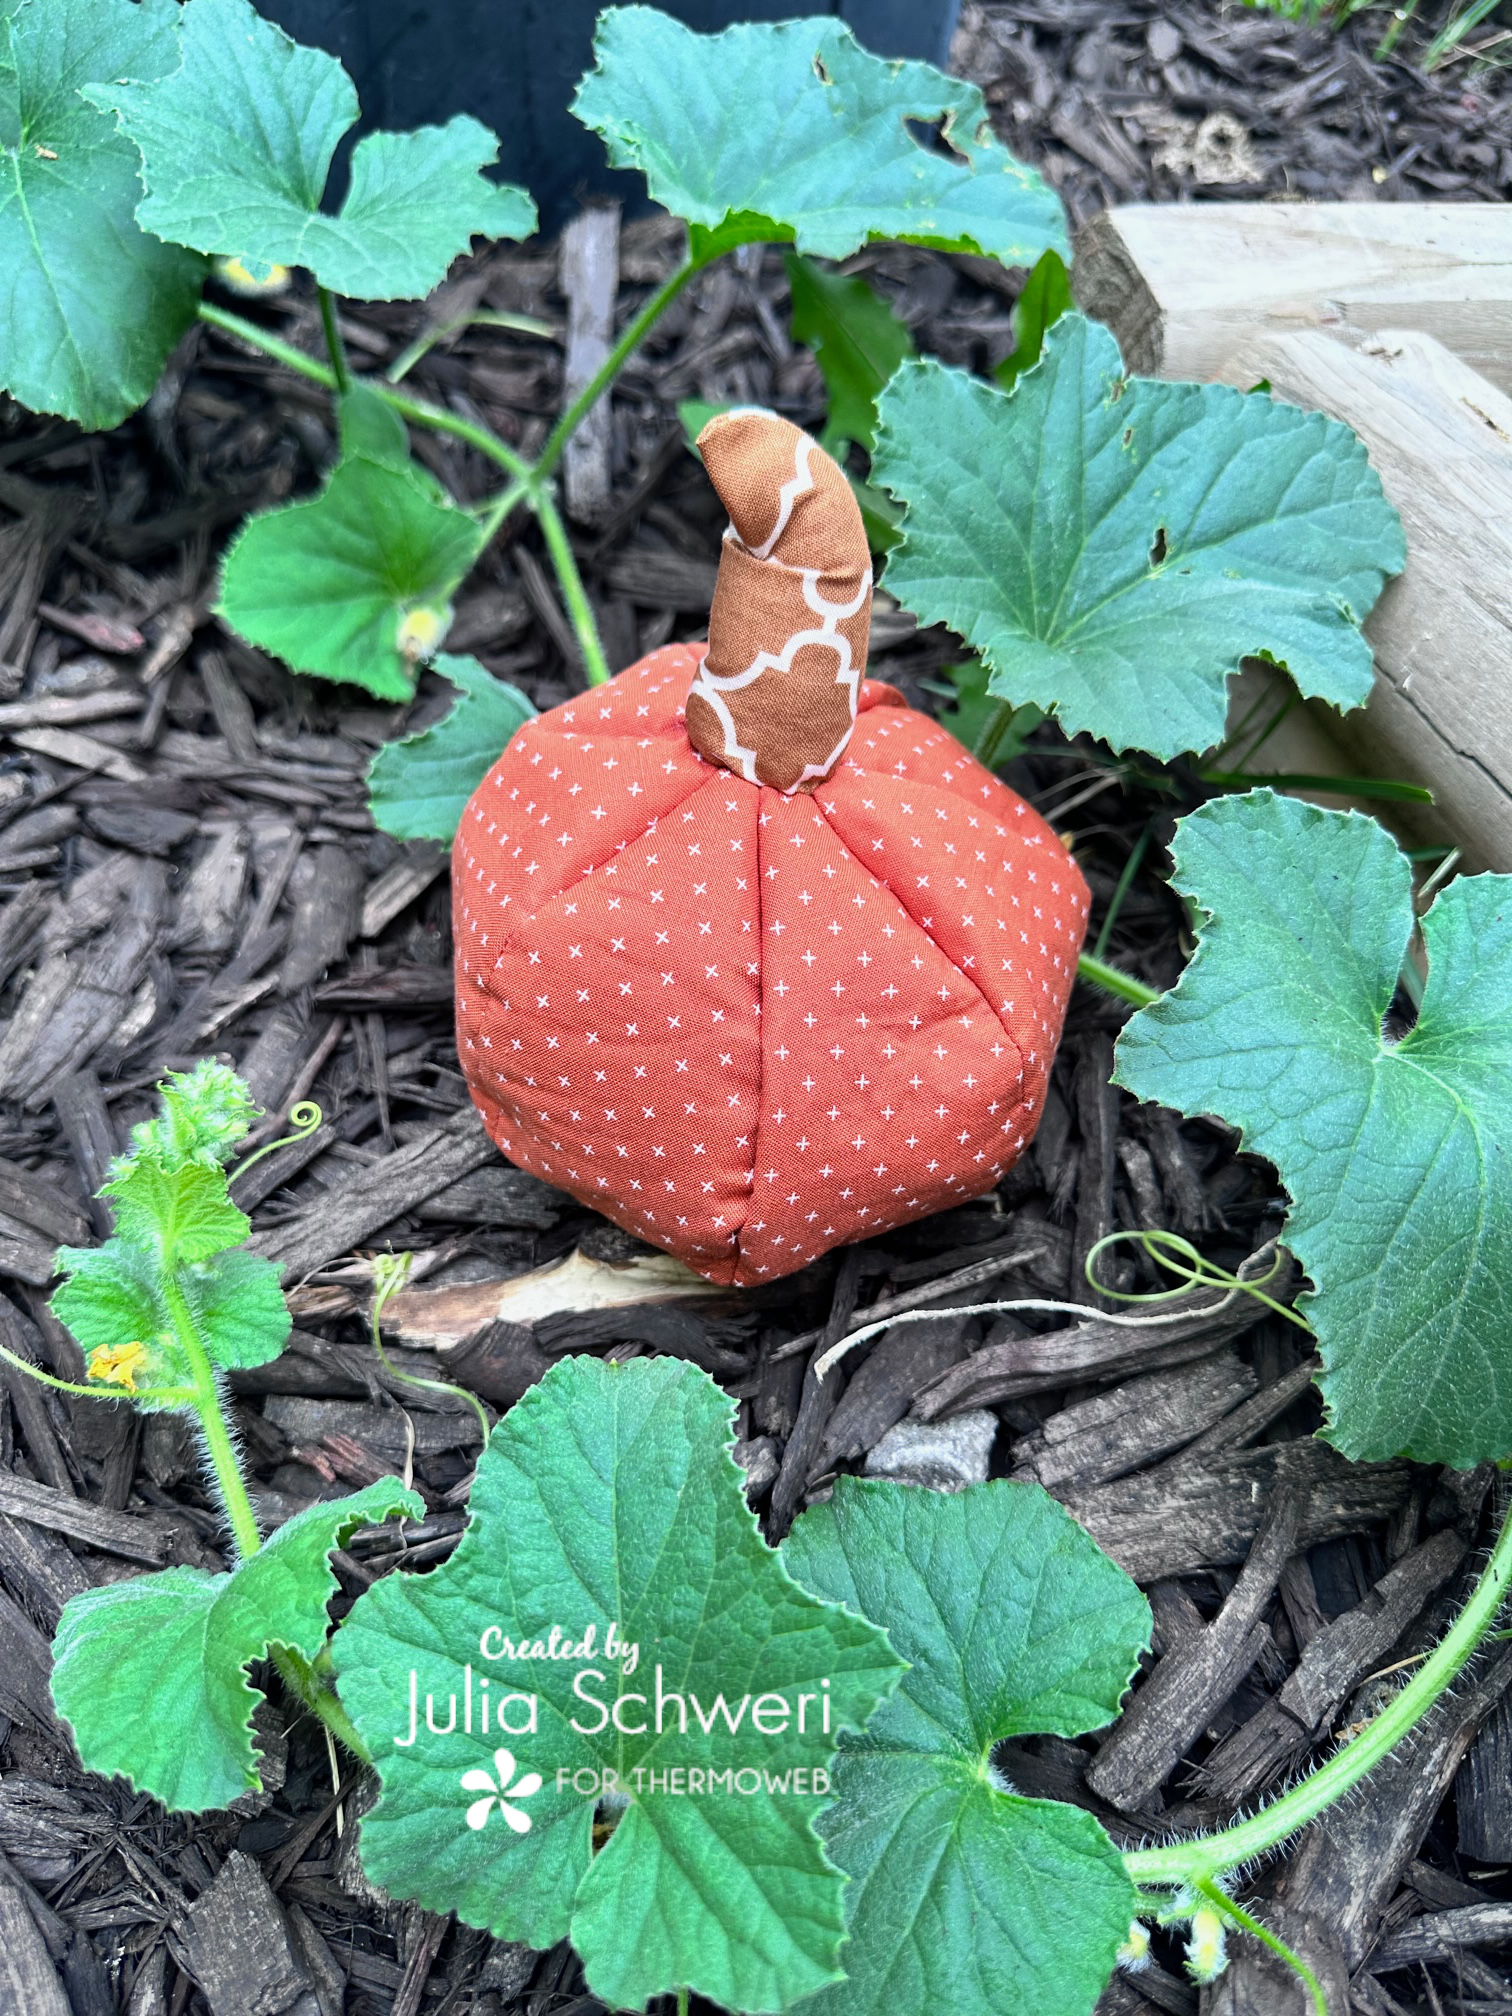
Turn the raw edges of the stems under and stitch to the top of each pumpkin. You can control the angle and bend of each stem by adding extra stitches that pull the fabric. Another fun thing about these pumpkins is that they are an organic shape! Any little bump or funky seam is OK!
Finally…
Turn one of the pumpkins inside out. Insert this pumpkin into the right side out pumpkin and align the seams. Trun under the raw edges of the opening and clip to hold in place. Hand stitch around the turned under raw edges to close.

Need more visual help? Check out the YouTube Video Tutorial HERE!
Finished!
Need a quit look at how they are reversible? Check it out HERE!
Thank you for visiting today! Come back soon to see what else will be starting to bloom with Inflorescence Designs!
Starting to bloom by choosing JOY ~ Julia