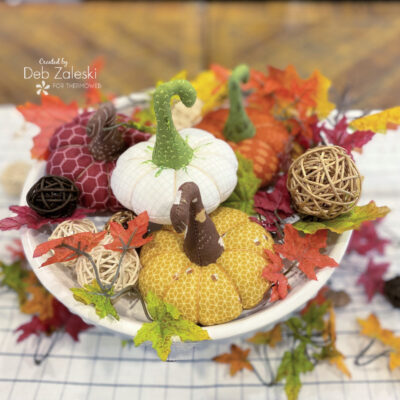
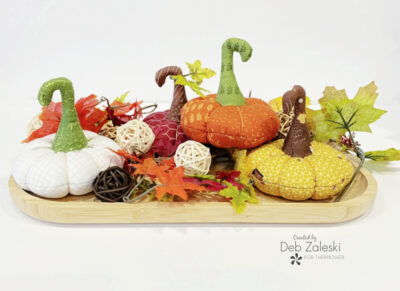
I’ve created this sweet little Pumpkin Pincushion that I’ll most definitely use all year round in my sewing space, and I’ve made a few extra to use as my fall decor as a table center piece in my living room or dining table. Once you start making these you’ll quickly become addicted!
SUPPLIES:
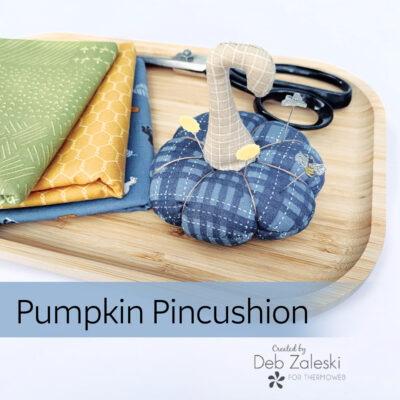
- 5″ x 10″ rectangle of HeatNbond Fusible Fleece
- 5″ x 10″ rectangle of quilter’s weight cotton, low volume print for the pumpkin main
- 4″ x 8″ rectangle of quilter’s weight cotton, low volume print for the pumpkin stem
- Thread
- Embroidery floss
- Poly fiber fill
- Deco Foil liquid adhesive
- Deco Foil Transfer Sheets (I used Lime Satin, use the color that works best for your project! )
- Ebellishments such as ribbons or buttons (optional)
- PDF file pumpkin pincushion TOW
i used different fabrics from the Country Life fabric collection by Jennifer Long.
TOOLS:
- Iron & ironing board
- Coordinating thread
- Sewing machine
- Scissors
- Water soluble fabric marker

GETTING STARTED:
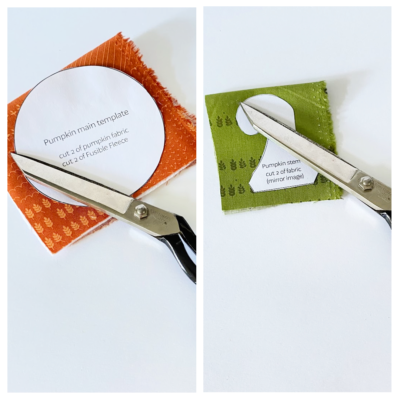
1. Download and Print the templates. Print actual size – do NOT “fit to page” or “shrink to fit.” Get the PDF file here – pumpkin pincushion TOW
2. Apply the Fusible Fleece to the Main Pumpkin fabric BEFORE cutting out the circle for the main pumpkin piece.

3. Cut out 2 Main Pumpkin pieces and 2 Pumpkin Stem pieces (mirror image).
4. Place the shapes right sides together, pin or clip them together so they’ll be easier to sew.
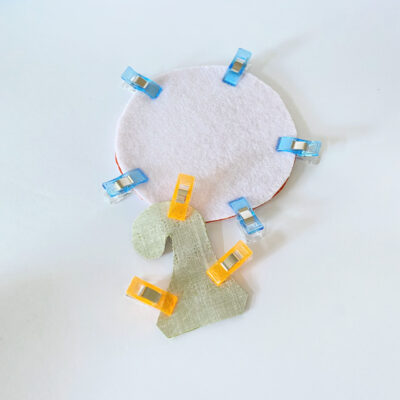
5. Using a 1/4″ seam allowance sew around the perimeter of the Main Pumpkin shape (circle) leaving a 1.5″ opening. Sew the Pumpkin stem using a 1/4″ seam allowance leaving the flat base open. TIP: go slowly when sewing the stem and use a smaller stitch to be able to follow the curves!
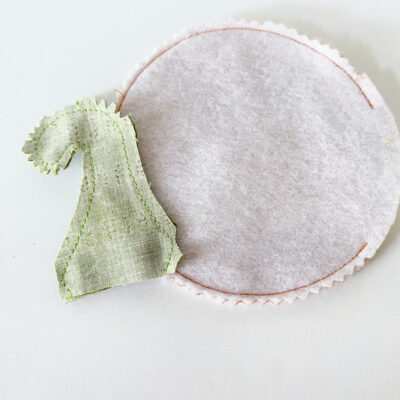
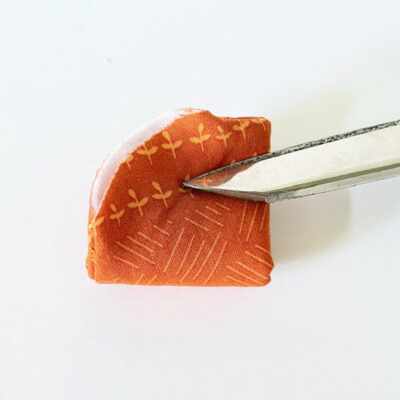
6. Clip curves and points to allow for a nice smooth finish when the shape is turned right side out. Be careful not to cut through your stitching.
7. Turn your shapes right side out, use a turning tool or chop sticks to get all the points and curves smooth. BEFORE stuffing the Main Pumpking shape, find the center (I did this by folding my circle into quarters) and mark the center with a water soluble fabric marker.

8. Stuff your shapes firmly, especially if you plan on using your pumpkin as a pin cushion. Use Tools as need to get the stuffing all the way to the tip of the pumpkin stem.

9. Close the opening of the Main Pumpkin shape with a tight ladder stitch.
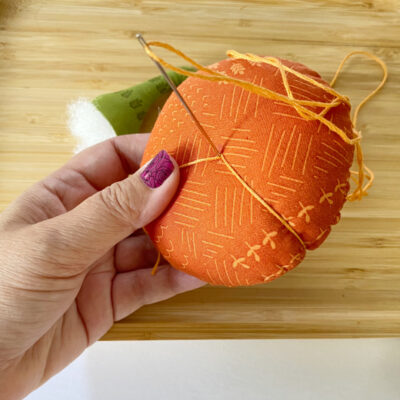
10. Using all 6 strands of embroidery floss and a long needle for doll making, poke trought the center of the Main Pumpkin shape wraping the thread around the shape to give your pumpkin texture.
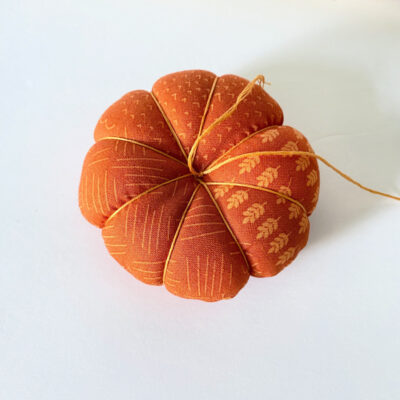
11. Continue working until you have the desired look. Tie a knot to keep the threads together and the ends will be tucked under the stem so not to worry if you keep them a little long.
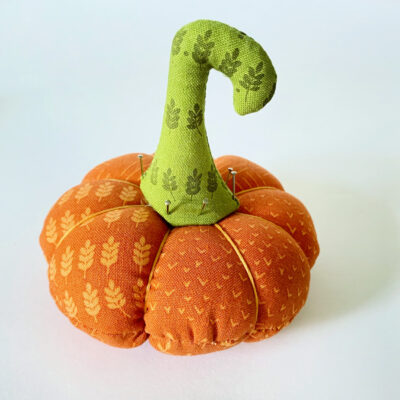
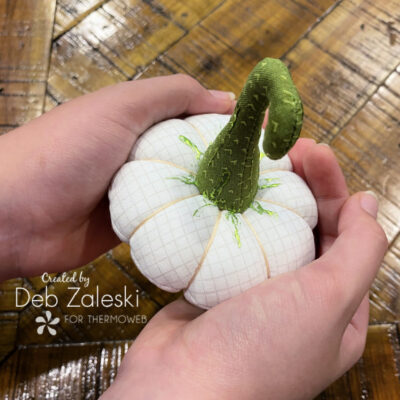
12. Pin the Stem PIece to the Main Pumpkin and use a tight ladder stitch to sew the stem into place. Once the handstitching is done you can embellish your pumpkin to suit your needs!
FINISHING OFF THE PUMPKIN WITH DECO FOIL:
13. Put some Deco Foil Liquid Adhesive where you want to have some accents added to your pumpkin. I wanted to add accents to the stem and to the base of them.
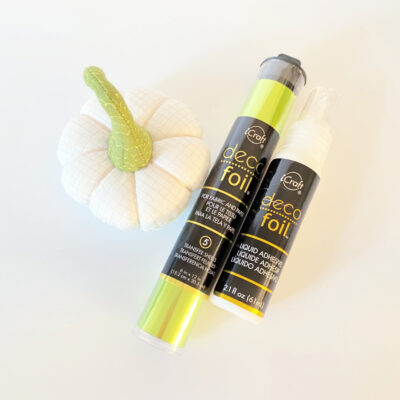
14. Once the adhesive is dry its time to apply the transfer sheet to the pumpkin.