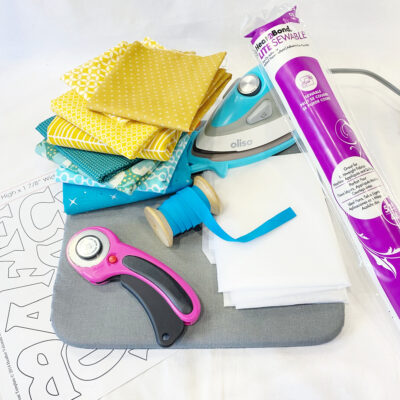
SUPPLIES:
- 1/4 yard or more HeatNbond non-woven medium interfacing (depending on how many flags you want to put in your collection)
- Small amounts of HeatNbond Lite Sewable
- Various quilter’s weight cotton prints. 17″ x 11.5″ of each print (a fat quarter would work perfectly)
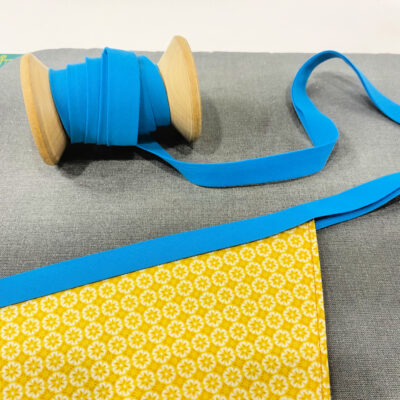
- Premade bias tape or make your own using a strip of 2.5″ x WOF (width of fabric) of quilter’s weight cotton.
- Thread
- Alphabet applique template by The Sewing Loft or any 3″ letter template (make sure it fits on the flag)
- A sheet of letter sized paper to create your flag template
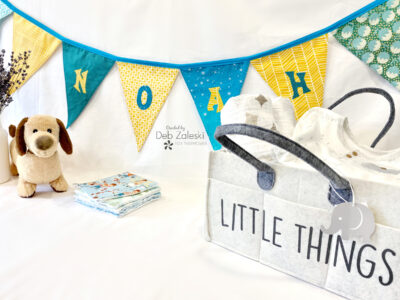
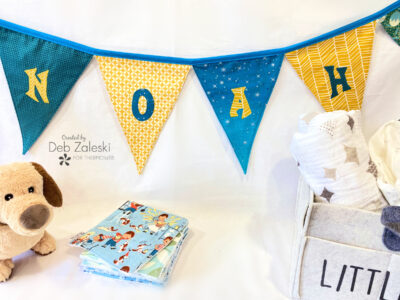
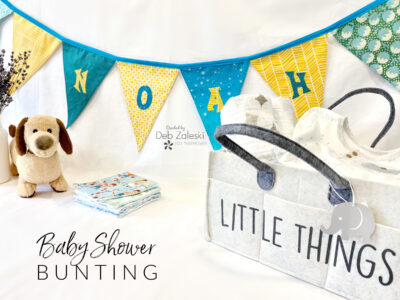
i used different fabrics from my stash.
TOOLS:
- Iron & ironing board
- Coordinating thread
- Sewing machine
- Scissors
- Rotary cutter and self-healing mat
- Ruler
GETTING STARTED:
1. Download and Print the alphabet template, I used one from The Sewing Loft but you can create your own or find another alphabet template as long as the letters fit on your flags,
CREATING A TEMPLATE:
2. Create your flag template. Use a letter sized sheet of papaer. Fold it in half length wise to create a crease down the center.

3. Using a ruler draw a diagonal line from one top corner to the bottom center and then again from the opposite corner to the center.
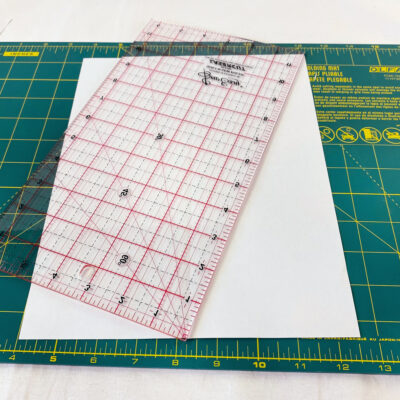
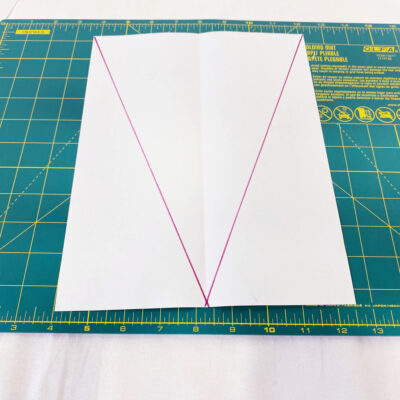
4. Cut out the template keeping only the center triangle as your template.
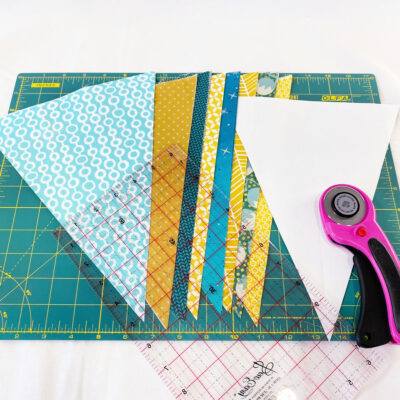
CUTTING OUT FABRICS:
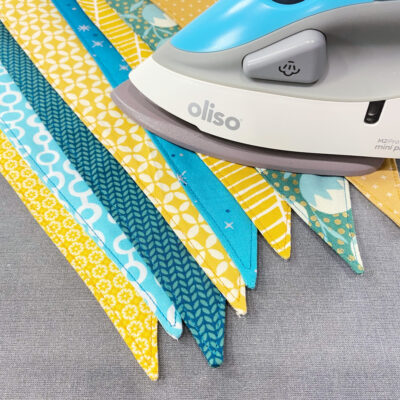
5.For each flag your’ll need a top fabric, a botton fabric and HeatNbond non-woven Medium Interfacing.
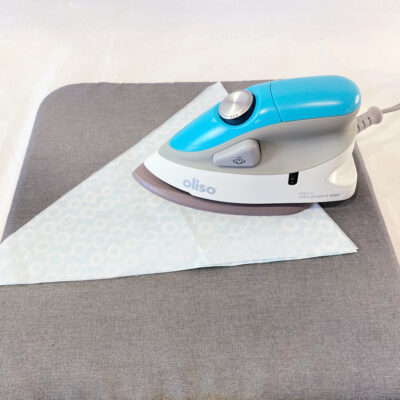
6. Fuse the interfacing to the back of each flag on the wrong side of the fabric. Set your flags aside keeping all the layers together.
7. Trace out the letters on the HeatNbond Lite. Make sure you trace them mirror image so that your letters don’t come out backwards.
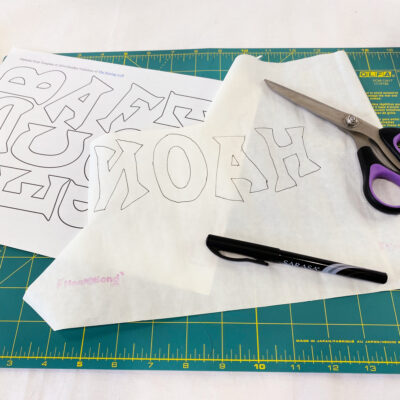
8. Roughly cut out the letters and fuse them to the back of the fabrics you’ve chosen for the letter applique. Cut out the letters following the cut line you’ve traced out in the previous step.
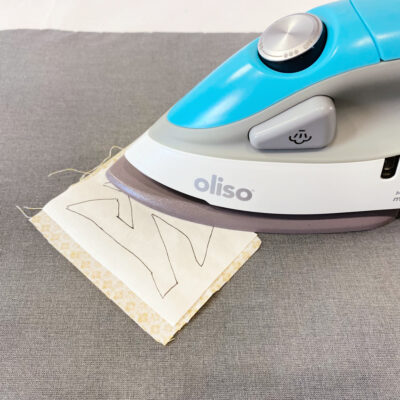
9. Remove the paper backing from the letter and apply the to the side of the flag that DOESN’T have any interfacing.
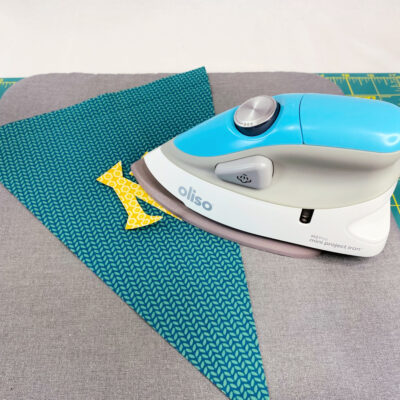
APPLIQUÉ WORK:
10. Now it’s time to have a ittle fun with the stitching! You can use a variety of stitches for the appliques from a blanket stitch to a plain zigzag. Remember to go slow and to keep the needle down in the fabric when turning corners.
ASSEMBLING:
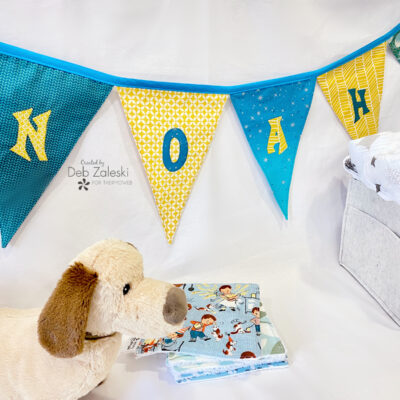
11. Place two flags of the same fabric (one with and one without interfacing) with right sides togher, and stitch along the two longer sides using a 1/4″ seam allowance, Repeat this step for all the flag units,
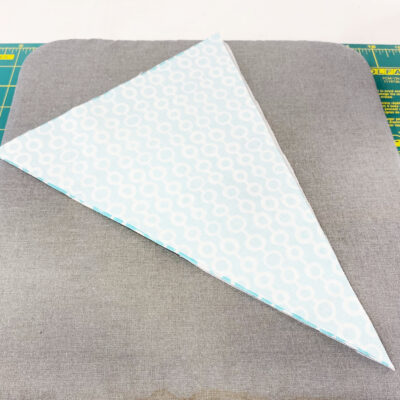
12. Trim the tip of the flag making sure not to cut your stitching, Turn each unit right side out, use a pointer tool to get the end of each point out, Press and top stitch the edges. Give them on final press after top stiting.