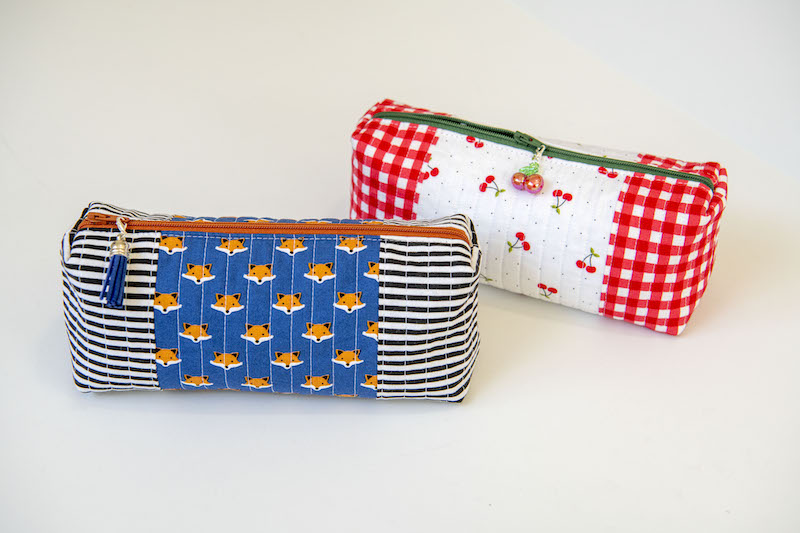
My nine year old daughter has been invited to so many friend birthday parties lately. I thought of this little pencil case as a gift to make for her to give with some fun school supplies (cute pens, pencils, a notebook, etc). It’s a fast sew and fully lined. Easy zipper installation since there’s no tabs to fiddle with, too. I’m making a bunch, assembly style, for a local craft boutique as well. One perfect back to school project coming up.
Before we get sewing let me apologize for the black and white stripes. Ha! They are so cute but my eye started going a little buggy while sewing with it. So if it goes the same to your eye I apologize and have learned my lesson for next time we sew together. 🙂 Let’s get sewing.
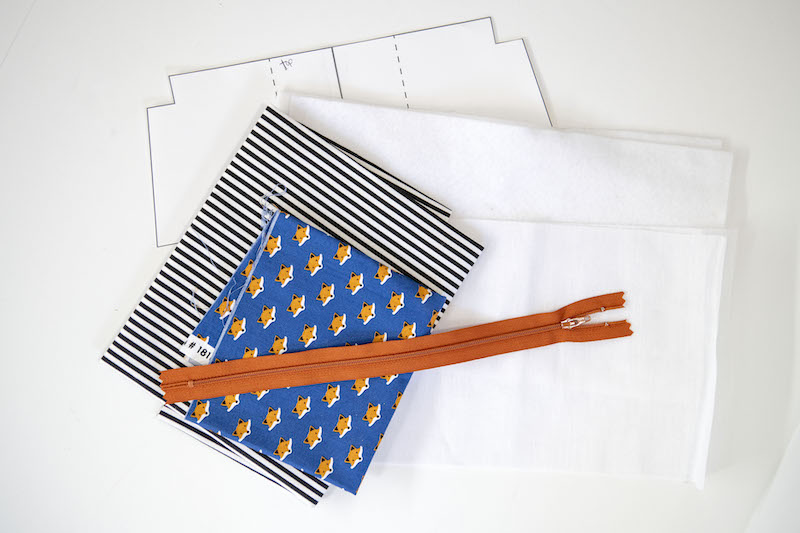
Supplies:
- Pattern (DOWNLOAD IT HERE)
- Two coordinating fat quarters
- Zipper- at least 10” long
- HeatnBond Fusible Fleece (two 12”x14” rectangles)
- HeatnBond Fusible Interfacing (two 12”x14” rectangles)
**All seam allowances are ¼”. Measurements are Width x Height.
Cut out the pattern, overlap and tape the pieces together along the dotted line.
Iron your fabrics.
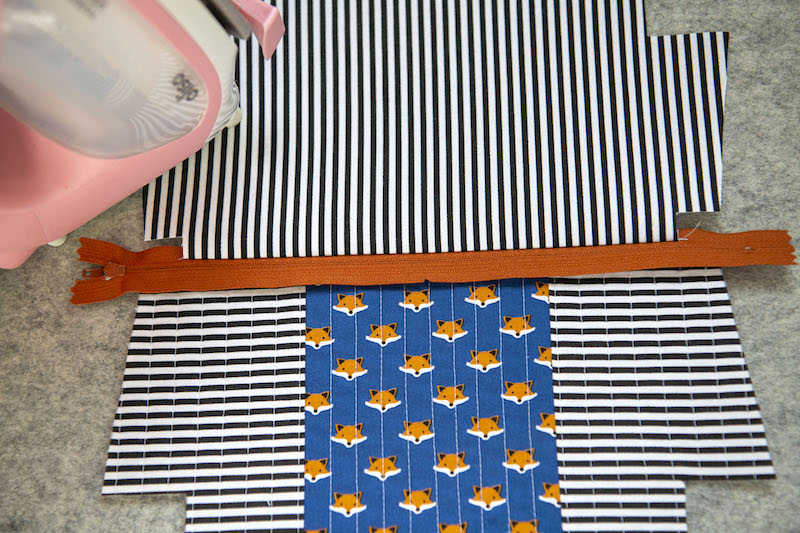
Cut guide
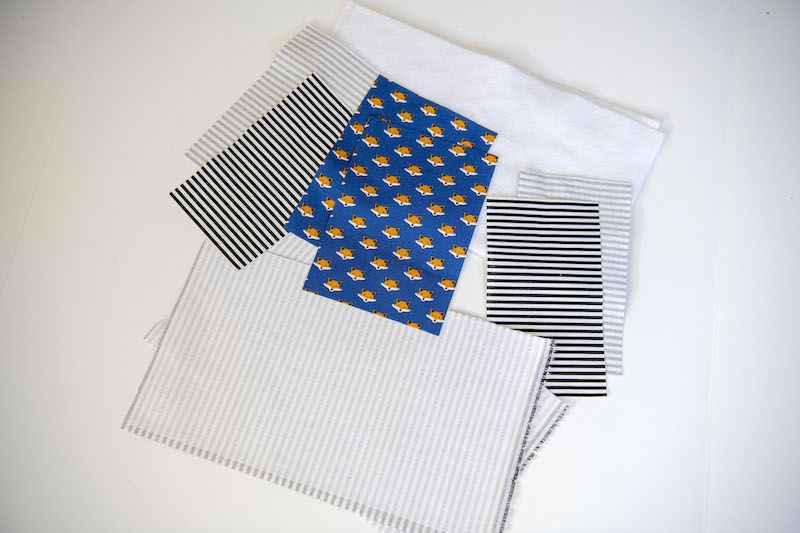
- From your main fabric (the middle section of the pencil case) cut two 5”x7” rectangles.
- From your secondary fabric cut four 4”x7” & two 12”x7”
- From your HeatnBond fusible fleece cut two 12”x7”
- From your HeatnBond fusible interfacing cut two 12”x7”
Tutorial
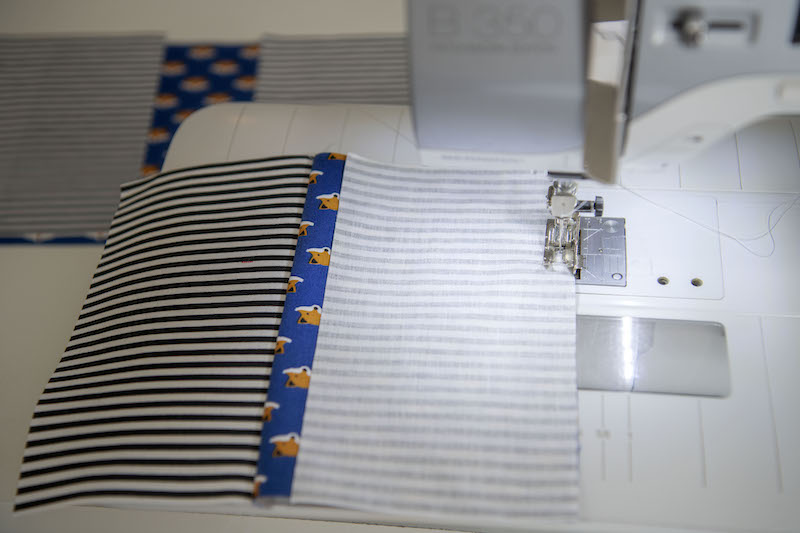
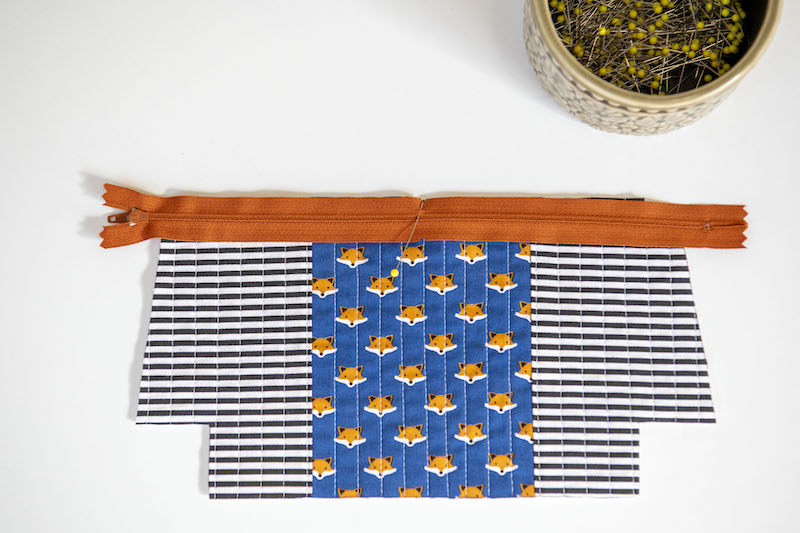
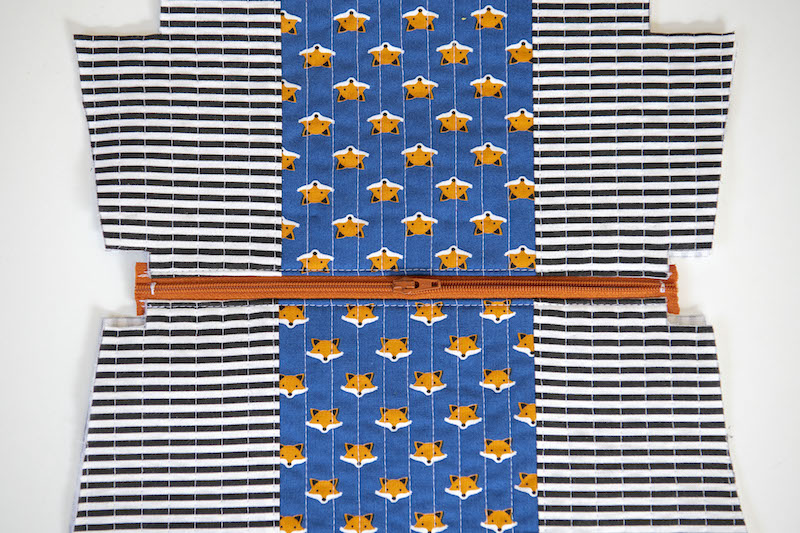
Let’s start assembling. Take one of your main fabric rectangles and two of your 4”x7” secondary fabrics. Sew the secondary fabrics onto the left and right of your main fabric. Repeat with the second set.
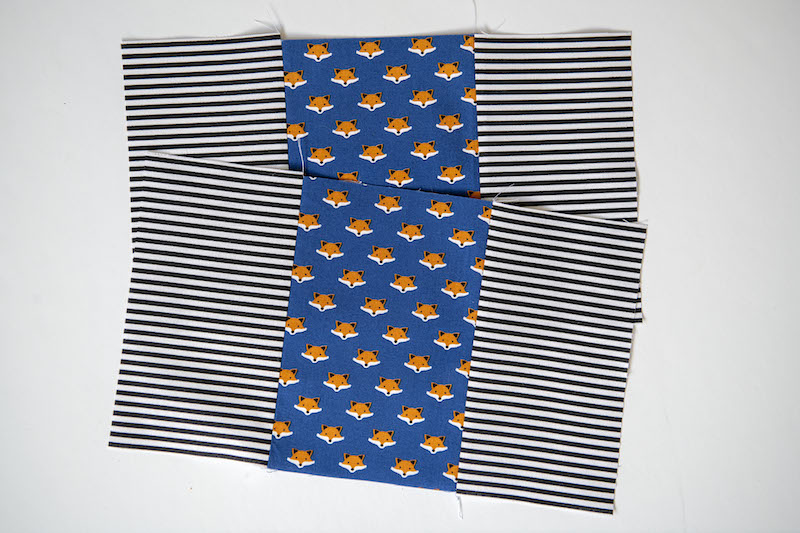
Press your seams open on both panels. Adhere your sewn fabric rectangles to the HeatnBond fusible fleece. Adhere the HeatnBond fusible interfacing to the wrong side of your 12”x7” secondary fabric lining pieces.
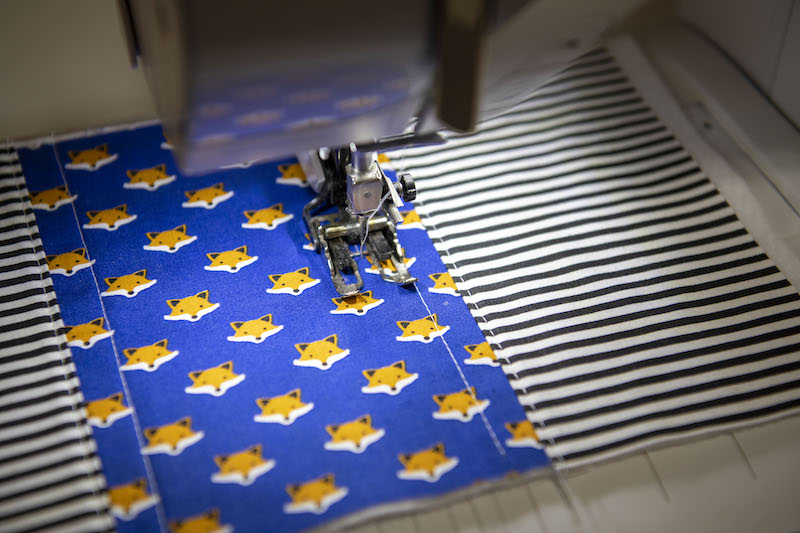
Take your main bag panels (adhered to the fusible fleece) to your sewing machine and quilt them using a walking foot.
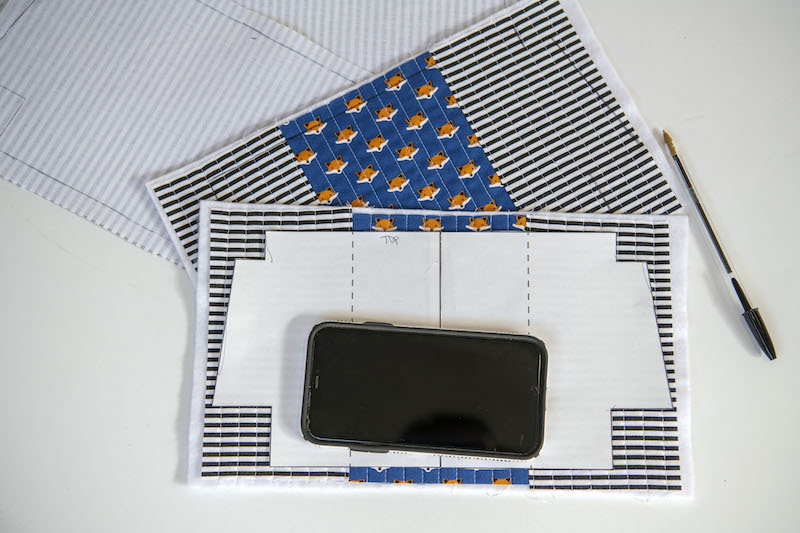
Grab your pattern and lay it overtop your quilted main bag pieces. If any of your fabrics are directional (like my fox fabric) make sure it is facing up towards the top. Line up the dotted lines on the pattern with the center fabric of your panels on the top and bottom. I use my phone to hold the pattern in place. Once situated correctly trace around the pattern.
Repeat with your second panel and trace your pattern on your lining pieces as well. Cut all four out.
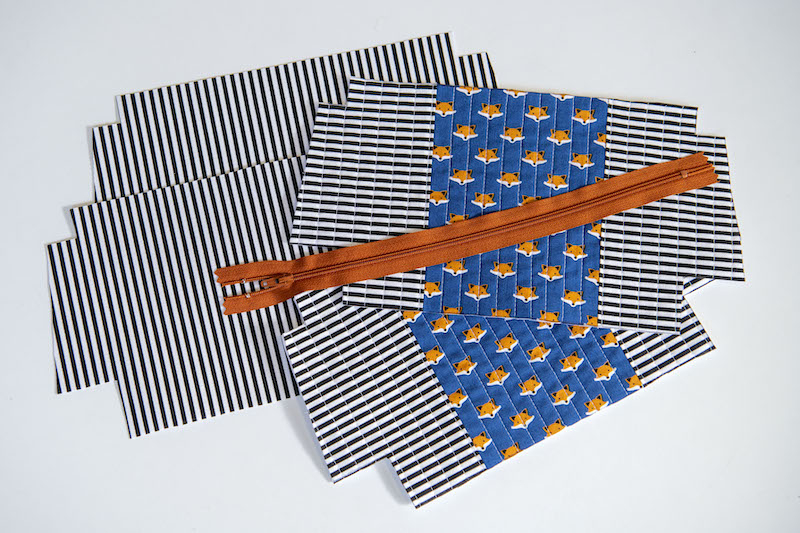
Let’s get ready to install our zipper. Fold your zipper in half and cut small notches in the zipper tape on both sides to mark the center point.
Fold your bag pieces in half to find the center of the top edge on each piece. Make a small mark on the top edge. This will help our panels to line up so the seams on both sides of your zipper once sewn together align.
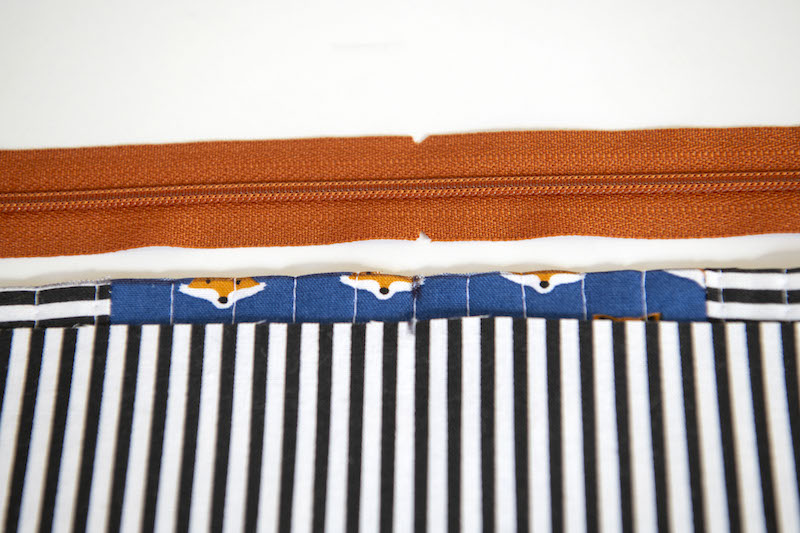
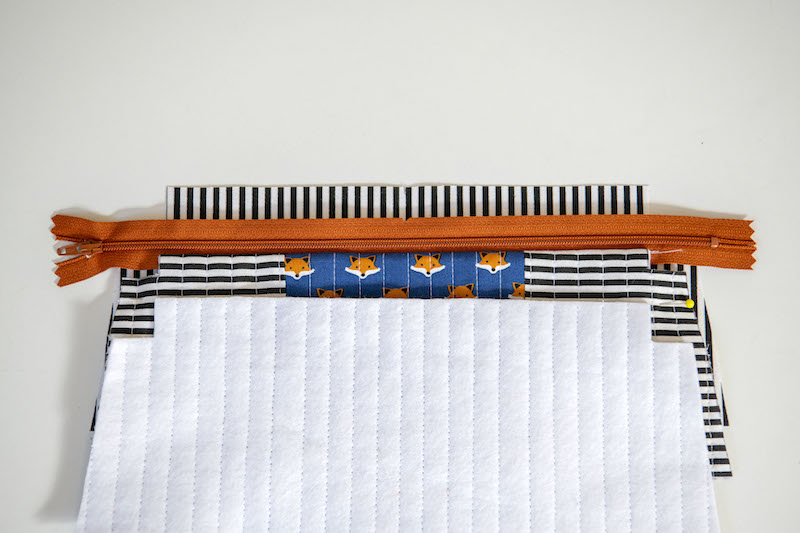
OK, take one side of your main bag and place it on your work station right side up. Place your zipper on top of that with the zipper pull on the left and the zipper facing down toward your main bag.
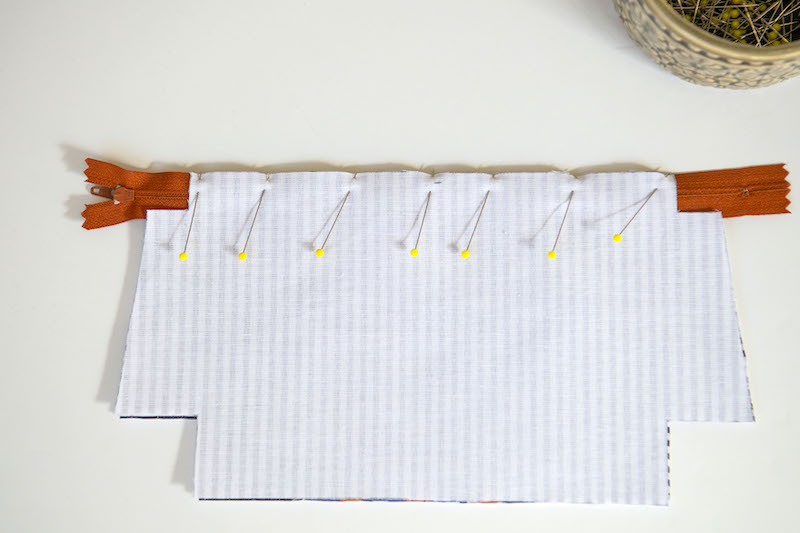
Then place one of your lining pieces on the top sandwiching the zipper in between. Make sure your center point on each lines up and then pin all three together with the top edges flush together.
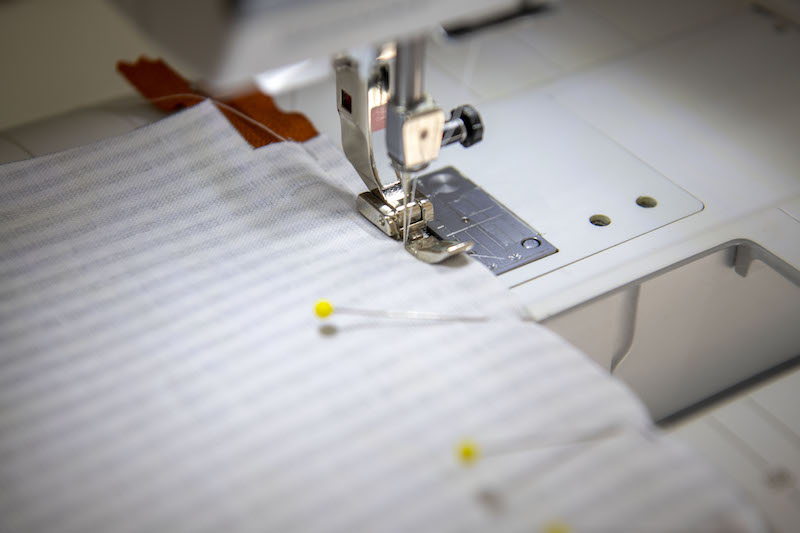
With a zipper foot, sew along the pinned line.
Once sewn, press the lining and main panel open. Fold the lining back behind the zipper with the main panel pressed down in the front so they align with the right sides facing out on both (the picture below helps show this as well). Pin or clip them together to keep them out of the way.
Repeat with the second main panel piece and lining piece on the opposite side of the zipper. Place lining behind, right side up, and main panel on top , right side down. Remember to align all the center marks when pinning. Sew.
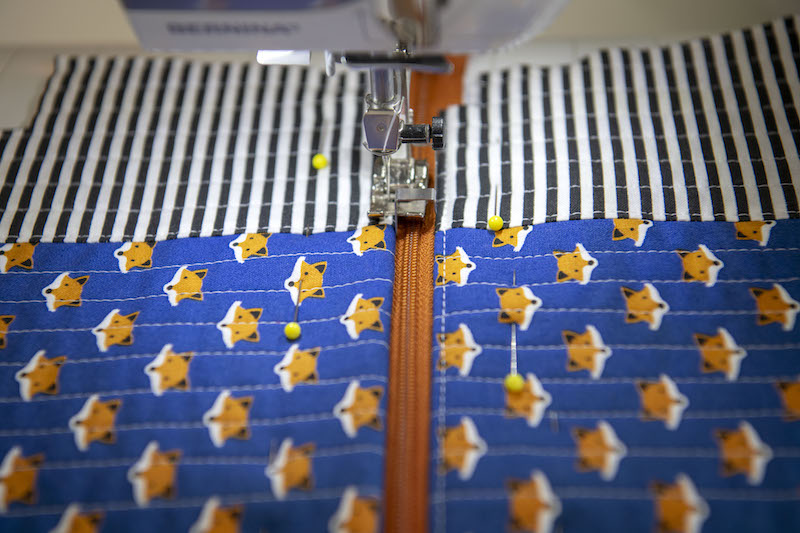
Press the second side open when finished. Pin the lining and main panel on the second side as well in preparation for top stitching. Top stitch along both sides of the zipper.
Open the zipper half way so the zipper pull is in the middle and out of your way. Sew a few small stitches along both outer edges of the zipper tape, just inside where the cutout is, to keep them together. Trim the excess zipper tape.
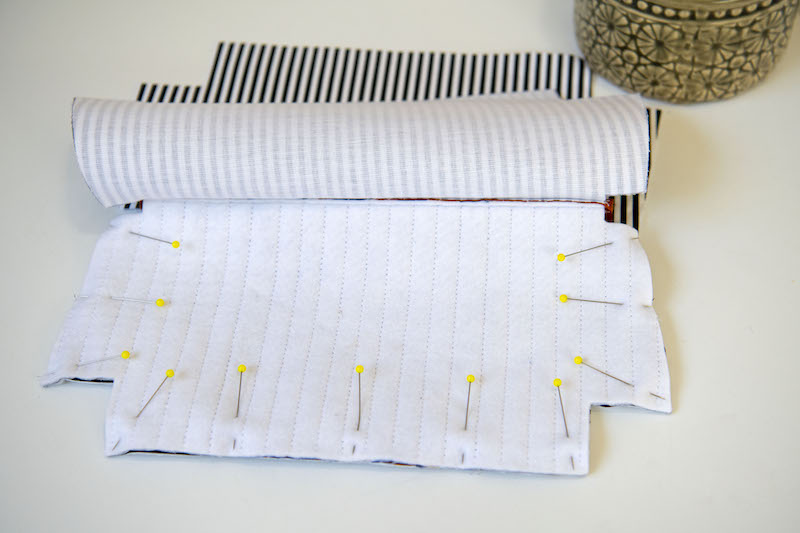
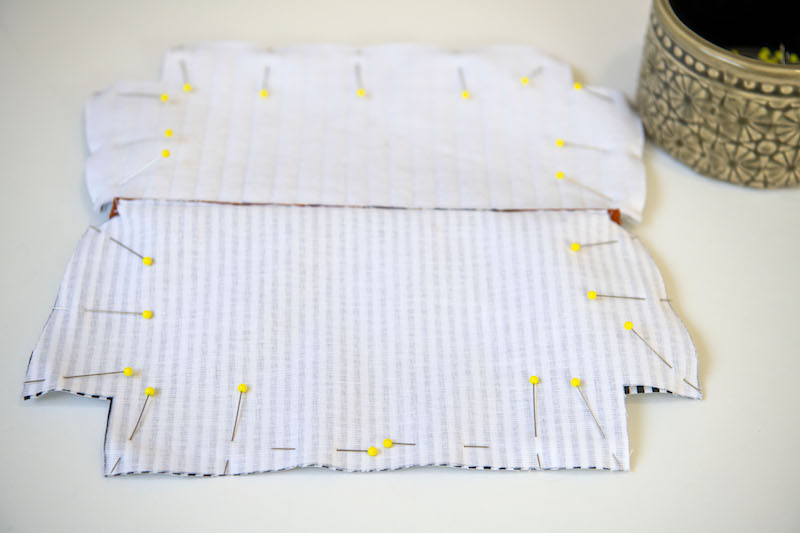
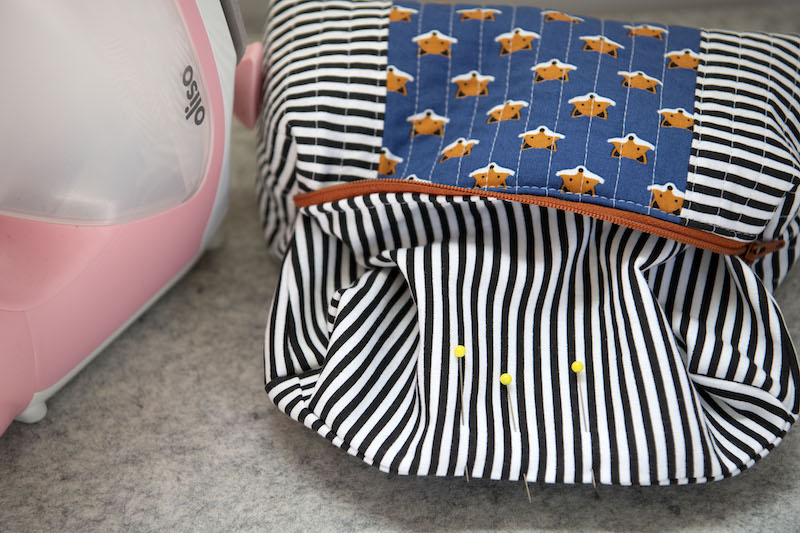
Next we will be sewing our case’s seams together. Make sure your zipper is still half way open. Take both lining pieces and pull them so they are right sides together as well as both main bag sides. Pin along the straight edges leaving our boxed corners alone.
On the bottom of the lining, make sure to mark a place for an opening for turning later (approximately 3” wide). I do this by placing one of my pins sideways as a reminder.
Sew each of your pinned sides on your main panels. Then repeat with your lining sides but this time use a smidge larger seam allowance (I leave my ¼” seam allowance foot on but move my needle in two notches) to help the lining fit snugly inside when finished.

Once each side is done we will sew our boxed corners along each bottom edge. On the first place your fingers inside and pull until the two seams come together. Flatten out the fabric and pin. Repeat with the other three corners. Sew each making sure to back stitch at the beginning and end.
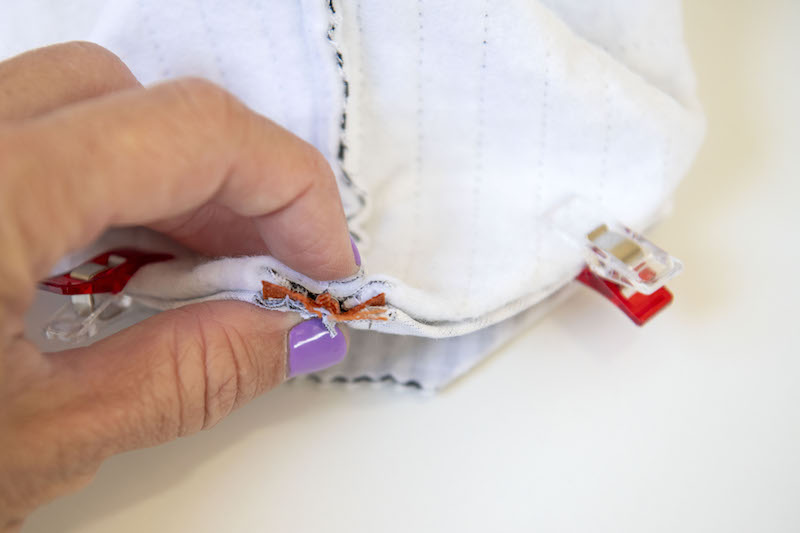
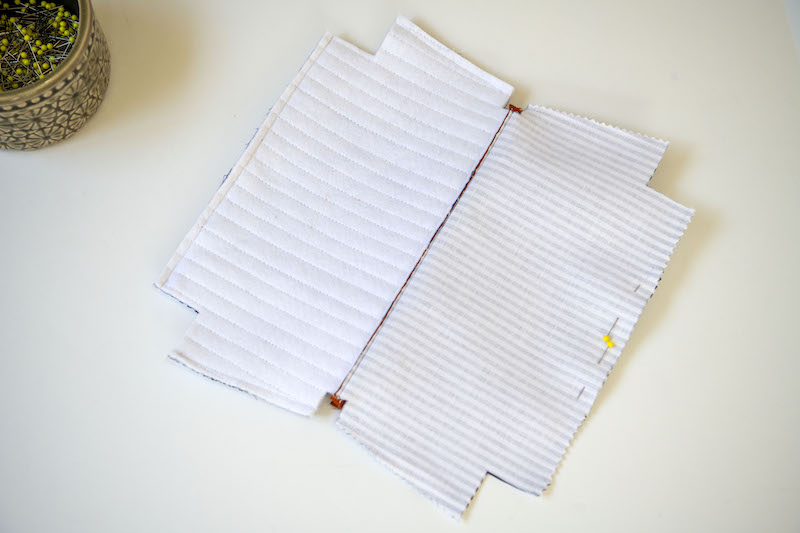
Ok, now for our corners by the zipper. We will be opening them up just like we did on the bottom corners but this time we are laying both the lining and main bag seams flat. You want the zipper to be sandwiched in between the two and the seam of the lining and main case to line up right over the zipper teeth. Pin all the layers and take to your sewing machine. I used a few clips down on the sides just to help hold everything straight.
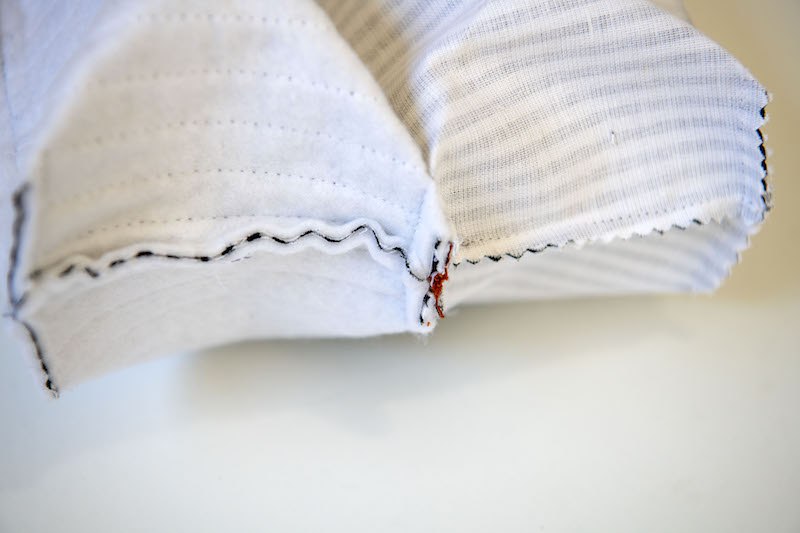
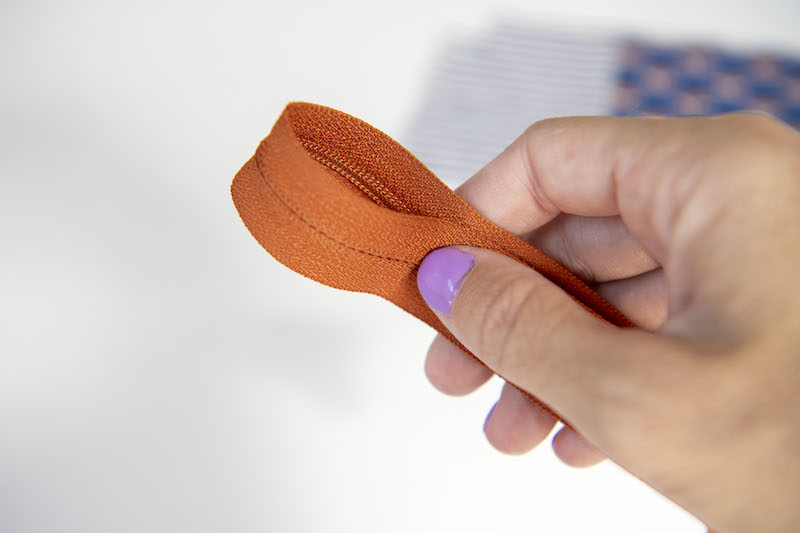
Make sure the seams line up centered with the zipper teeth. Sew one seam (per side) through all the layers. I prefer to do two lines of stitching. One at ¼” and then one just beside it just to make sure it’s extra strong and that I get all the layers. Trim any excess hangover zipper tape or messy seam allowance. Here’s what our case should look like from the side at this point.
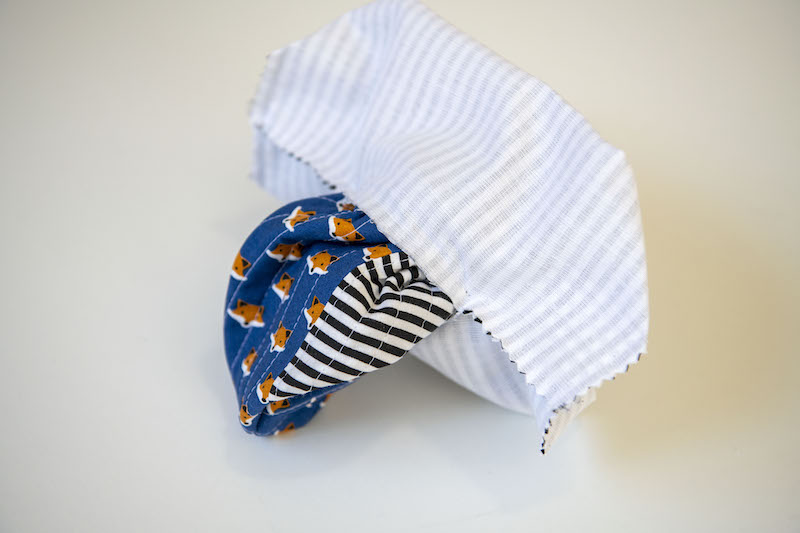
Once you have both sides sewn you are ready to turn your case right side out. Reach inside the opening in your lining and open the zipper up all the way. Pull the fabric out through that hole turning it right side out.
Push the corners out and line up the two sides of the opening in the lining and pin. Stitch the lining closed.
That’s it for our pencil case! You can add a fun charm or hand sew on a few cute buttons for added detail. Fill it up and ship it with your kiddies to school or it’d make a great gift paired with a notebook and markers.