Hello everyone! It’s Kim Lapacek here from Persimon Dreams AND Lapacek’s Orchard today to share with you a fun sewing and quilting tutorial! I normally don’t include my apple orchard in my introduction but you’ll understand in a few minutes why it’s significant today!


Patchwork Apple Potholder
Designed, pieced and quilted by Kim Lapacek
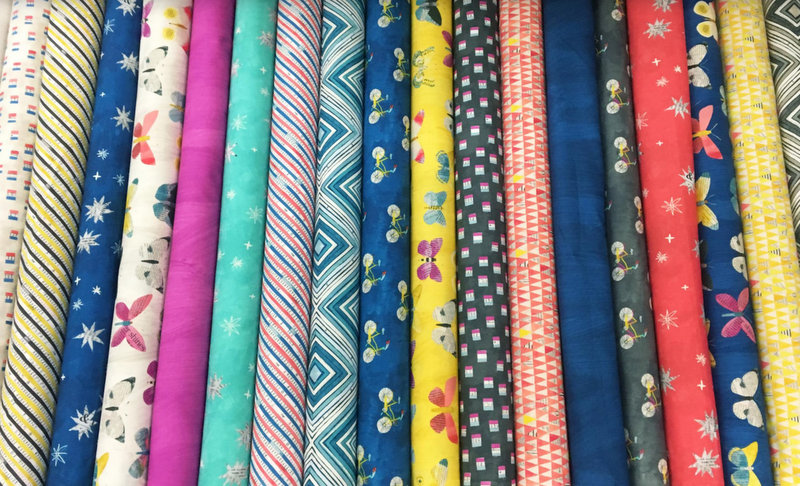
These are so much fun and easy to make! I’m going to share with you a simple tutorial on how to make four half square triangle blocks into a pinwheel for your potholder. By simply rotating the placement of the half square triangles you can make other fun blocks for your potholders too! Today’s tutorial features the adorable, whimsical and fun fabric “Wonder” by Carrie Bloomston for Windham Fabrics.
Project Supplies
*this supply list is to make one potholder
Print a copy of the “Apple Potholder Template” from my craftsy page HERE.
(2) 5″ squares of fabric A
(2) 5″ squares of fabric B
(1) 8.5″ square of fabric C
(1) 8.5″ square of HeatNBond Fleece Fusible High Loft
(1) 6.5″ x 2.5″ strip of fabric A
optional* (1) 36″ x 2.5″ strip cut on bias of fabric A
optional* (1) ceramic bead
Thread – coordinating color. Aurifil 2225 – 50 wt. was used for these potholders.
Dritz Dual Purpose Marking Pen
Patchwork Apple Potholder Instructions:
Start by drawing a line from corner to corner on the wrong side of the 5″ Fabric B squares with the Dritz Dual Purpose Marking Pen.
Place the 5″ Fabric A and 5″ Fabric B squares right sides together. Sew a 1/4″ on each side of the line drawn.
Cut directly on the line. Press towards the darker of the two fabrics.
 There are now two half square triangle (HST) blocks. Repeat this with the other pair of 5″ Fabric A and B squares.
Square the four HST blocks up to 4.5-inch squares. Arrange the four blocks to make a pinwheel pattern.
Sew the four HST blocks together to create an 8.5″ pinwheel block.
Layer the 8.5″ pinwheel block, the 8.5″ square of HeatNBond Fleece Fusible High Loft, and the 8.5″ square of Fabric C. The pinwheel square and Fabric C will be wrong sides together.
Pin the Apple Template to the top of the pinwheel square.
Cut around the edges of the template.
Quilt as desired with Aurifil thread.
Using your ruler, find the 45-degree line and cut the 2.5″ binding strips on a bias. This is important because of the curve of the apple shape. The biased binding will help create a smoother look.
Attach binding to the potholder.
Create biased tape for the “stem” of the apple. Take the 6.5″ rectangle and press in half.
Press the sides to the middle seam just created in the last step.
Press the two folded sides in half.
Stitch at 1/8-inch on each side of the bias rectangle.
Add the bias strip to the apple potholder – feel free to use a ceramic button to cover the spot the “stem” is attached too. Don’t use plastic if you plan to use this as an actual potholder – it will melt!
~|~|~
alternate method – the sandwich method!
Would you prefer to skip attaching the bias binding? You can also sandwich the potholder together.
Create an 8.5″ patchwork top like shown above. Feel free to arrange the HST blocks in any format … even if it’s not a pinwheel.
Layer the 8.5″ square of Fabric C right sides together with the 8.5″ block and the 8.5″ square of HeatNBond Fleece Fusible High Loft at the bottom.
Pin the Apple Template to the top of the pinwheel square. Cut around the edges of the template.
Remove template, re-pin quilt sandwich and sew a 1/4″ seam around the edge of the apple shape leaving approximately a 3-inch opening. Cut perpendicular to the stitch seams before turning.
Special Tip: Press the 1/4″ fabric on each side of the unsewn edges open. This will make the turning of the apple more precise.
Once the sandwich is sewn together, flip it right sides out. Pin the open seams together.
Stitch an 1/8″ around the entire edge of the apple.
Quilt as desired with Aurifil Thread. Create the biased tape stem like you did before.
Hand stitch it to the back of the potholder.
 You now have two options to create these adorable potholders! Now I can barely stop! I’ll have an entire collection of them before apple season even begins!
  My family owns and operates an apple orchard just north of Madison, WI – Lapacek’s Orchard and I’m sure that my customers are going to love these!


