


I have been loving the citrus trend lately. The bright colors, the symmetry- oh, and I love eating citrus too! So when I was challenged to create a fruit themed project, I jumped right on the citrus bandwagon.
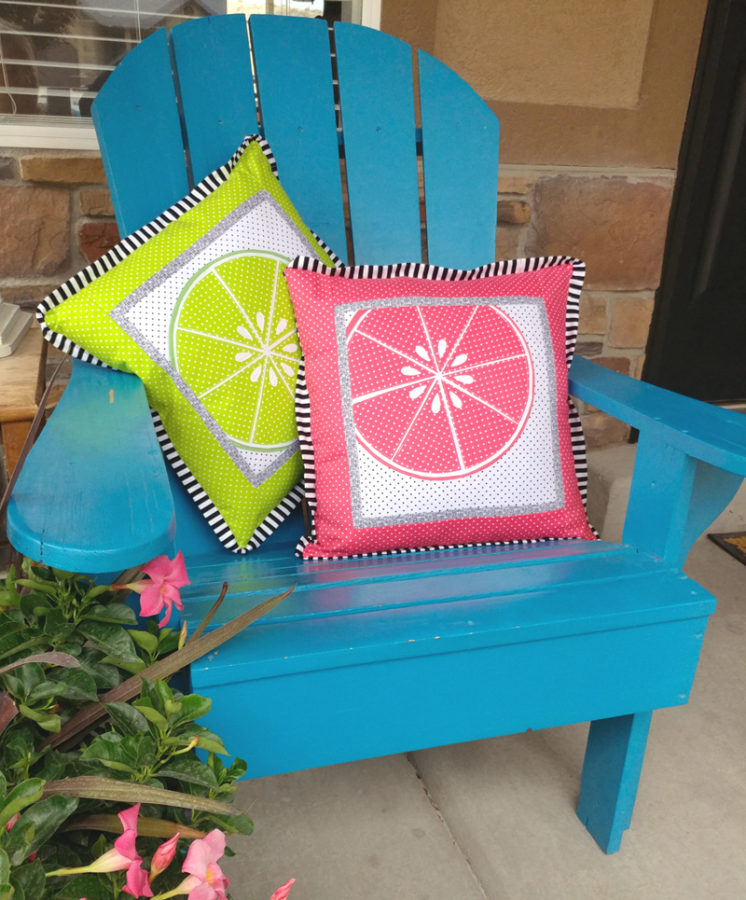
Slice of Citrus Summer Fruit Pillows with HeatnBond EZ Print Sheets
I’m pretty happy that I did!
These pillows were pretty quick and easy to make, especially when I decided to use the Heat n Bond EZ-Print Featherlight sheets. If you want to join me in the citrus craze and create your own citrus themed project, I have all the information to enable you!
Slice of Citrus Summer Pillows with HeatnBond EZ Print Sheets Supplies:
Instructions and materials will create 1 citrus slice block
Fabrics: I am using Riley Blake Designs basics for these pillows.
You will need a 10 1/2″ square of your solid color
10″ square, 2- 3″ X 11 1/2″ and 2- 3″ X 16 1/2″ strips of the patterned color
11″ square of white
10 1/2″ square of black on white swiss dots
2- 1″ X 10 1/2″ strips and 2- 1″ X 11 1/2″ of the black on white mini hashtag
If you want to make a pillow, you will also need material to create a back for your pillow and I also added black and white striped welting to my pillow
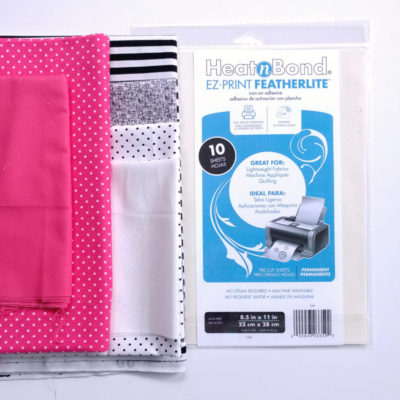
Other supplies:
HeatnBond EZ-Print Featherlight Sheets
pattern pieces found here
optional: SpraynBond Basting spray
16″ pillow forms if making a pillow
Slice of Citrus Summer Fruit Pillows with HeatnBond EZ Print Sheets Directions:
The first step is printing your pattern pieces. I wanted my pith to fray just a hair, so I did not print that pattern piece on the HeatnBond EZ print sheets. I just printed that page on copy paper (if you want to use the EZ print sheets on this layer as well, you will need 2 copies of the pith pattern and follow the directions for creating the rind piece). The rest of the pattern pieces will be printed on the EZ print sheets- I chose to use the Featherlight sheets because I knew I would be layering multiple layers and I still wanted my pillow to be soft. You will also need to print off 2 copies of the rind pattern piece! You should end up with 5 total pages of pattern pieces- 2 pages of rind pieces, 2 pages of wedges (one with seed pieces); all on EZ print sheets and 1 page of pith pieces, on regular paper.
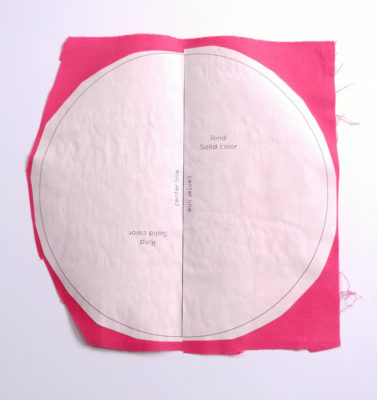
It’s time to create our pattern pieces! Let’s start with the rind pieces. Cut out the pattern pieces exactly on the center line, you can also trim the extra paper away from the rounded side. Fuse the first half to the fabric, following the directions on the package. Take the second half and match up the two center lines so the circle pieces match up to make a whole circle. Fuse then cut out the circle.
Separate the seed pattern pieces from the wedge pattern pieces and trim off any excess paper. Fuse the wedge pieces to your patterned fabric and set aside the seed pieces for a moment.
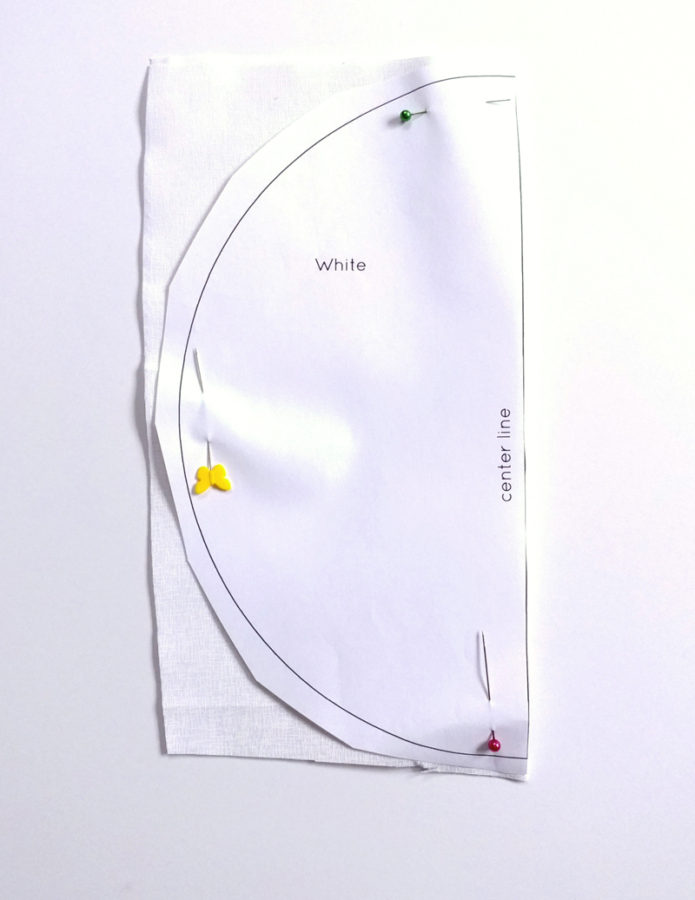
To cut out the pith, cut your white square of fabric down to a 10″ square. Fold the square in half. Line up the center line of your pith pattern piece with the fold and pin the pattern piece in place. Cut out the half circle to create a full circle. Use the scraps of your white fabric to fuse and cut out your seed pieces.
Assembly:
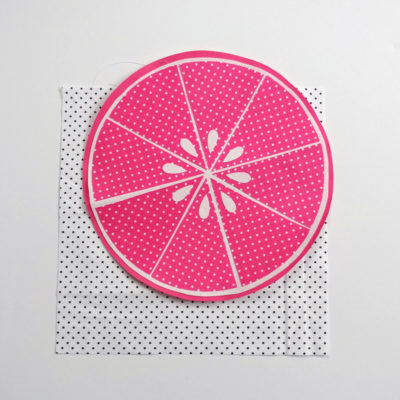
Remove the paper backing from your wedge pieces and arrange on the white circle. I intentionally did not make these exact and even. Once they are arranged to your liking, fuse in place. Repeat with the white seeds. Use the basting spray or pins to center the white circle on your solid circle. Place your fruit slice on your backing square. I chose to offset mine if you also want to offset yours, decide where you want it and then use a rotary cutter and ruler to trim off the excess fruit slice.
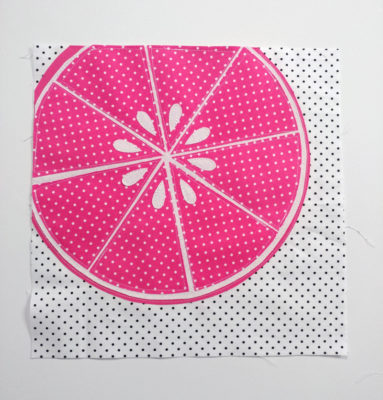
Remove the paper backing from the solid circle and fuse your fruit slice in place on your backing square. Sew around the wedges, seeds and both circles.
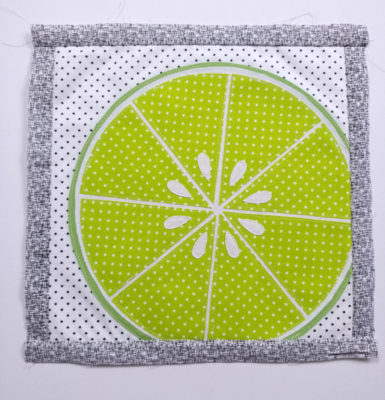
Add your borders to the citrus slice. Start with the 1″ strips then add the 3″ strips. Your Citrus block is done!! You could sew 4 different blocks together to make a mini quilt, create more blocks to create a lap quilt, or do what I did and just finish off one block with a backing to make a pillow.
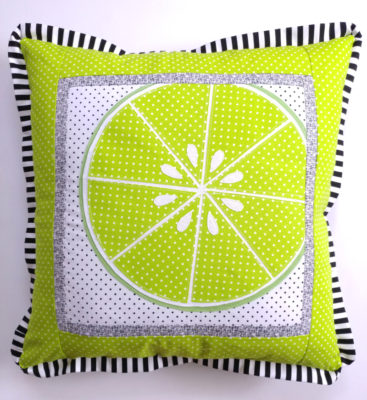
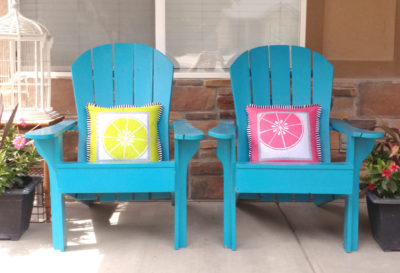
They look so bright and cheery on my front porch! I think I need to make a quilt to hang out on the chairs with them!
I hope you’ll join me on my blog Ameroonie Designs for more projects and Ideas. You can also find me on Instagram and Facebook under AmeroonieDesigns. Hope to see you soon!
xoxo,
Amy