Hello there! Alice with you today sharing a few paper crafted Christmas ornaments created with an assortment of goodies from our friends at Little Yellow Bicycle.
Paper Crafted Snowflake Christmas Ornaments
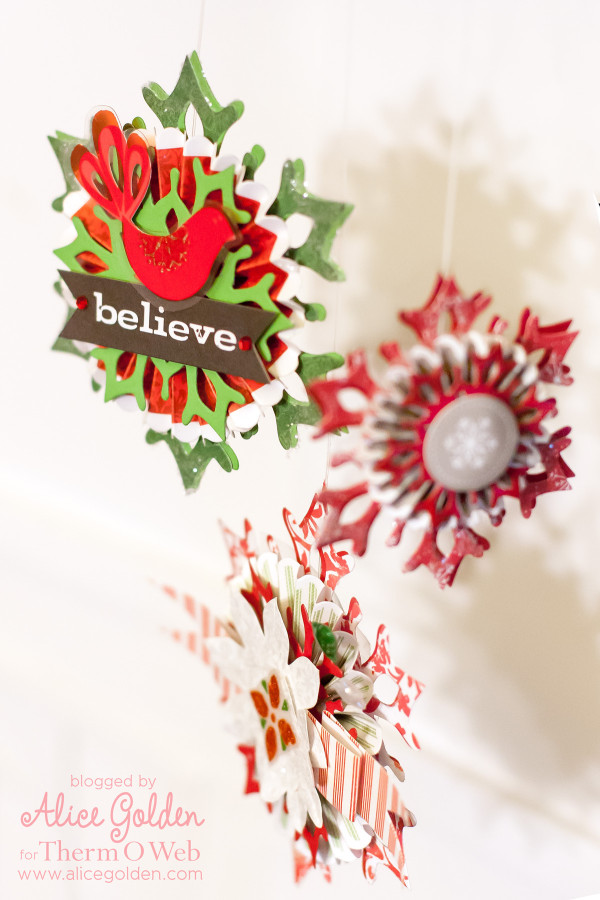 Each of the ornaments is made up of multiple layers of paper, card stock, stickers, printed die cuts, and transparencies. In order to photograph these, I hung them from a mantle since we don’t have our tree up yet (waiting for my oldest son to get home so we can all decorate it together). I’m sure if these were on a tree that the lights would reflect off the glitter and it would be easier to see all the sparkle and shimmer. How did we ever decorate for the holidays before they invented glitter?
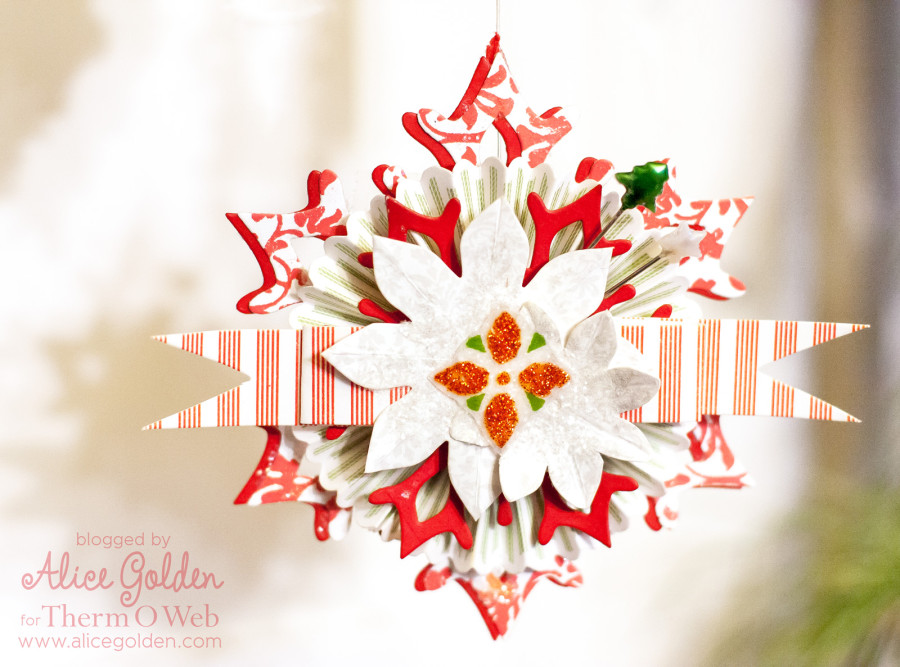
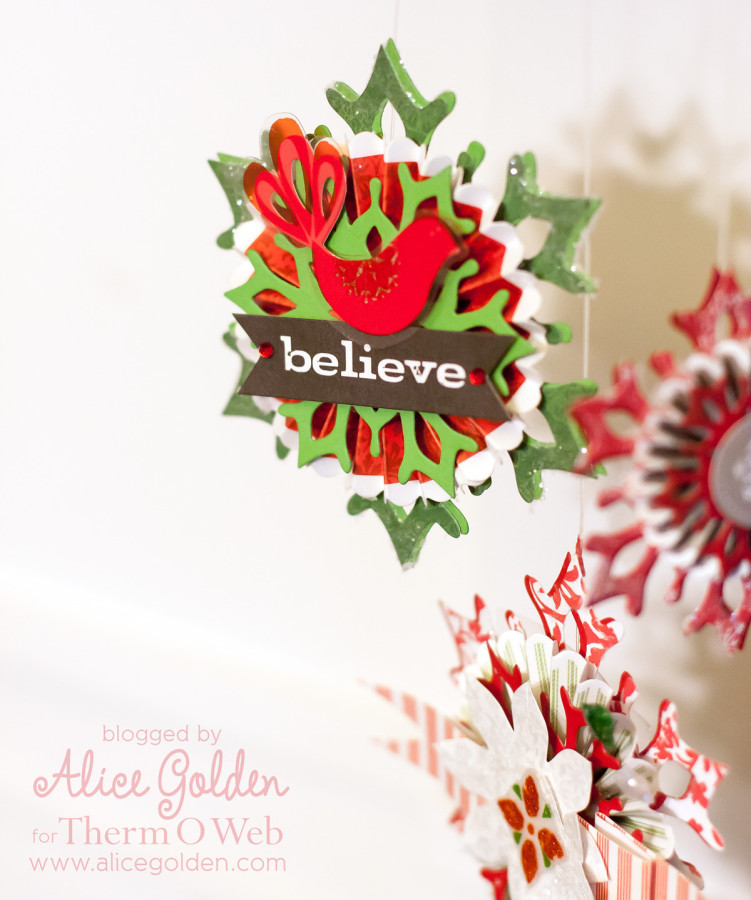
Although the ornaments look fairly different on first glance, they each follow the same basic construction. The layers of each are as follows: snowflake die cut from cardstock, snowflake die cut from patterned paper and slightly offset, die cut paper rosette, smaller cardstock snowflake, followed by assorted embellishments.
Paper Crafted Snowflake Christmas Ornament Instructions:
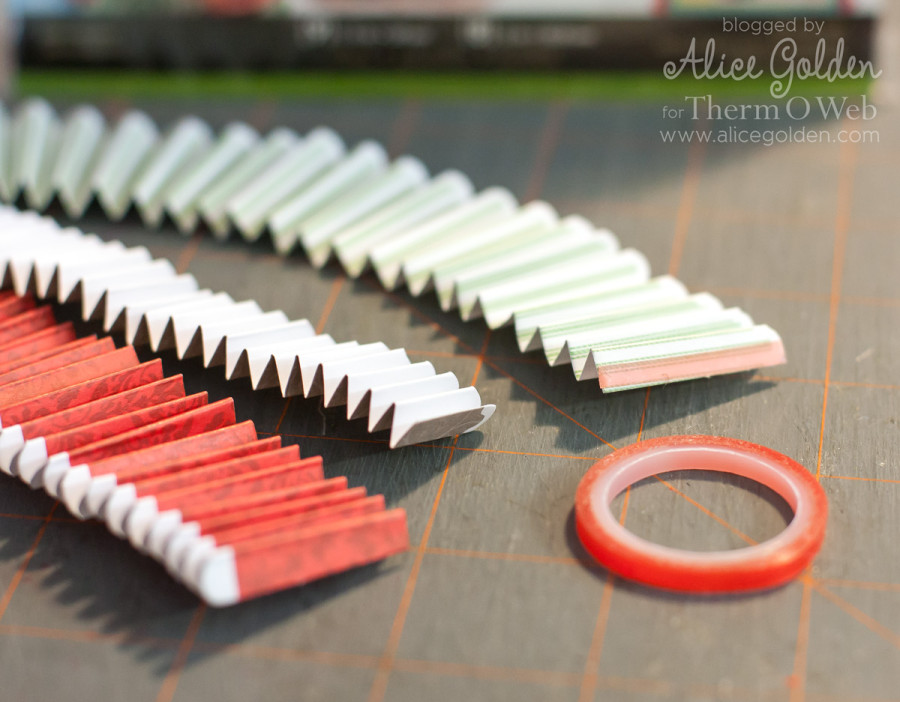
The rosettes came already die cut and scored as part of the Little Yellow Bicycle Paper Crafting Kit (MM-305). I knew that I wanted a really strong adhesive to hold the ends together, so I turned to SuperTape – the strongest adhesive that Therm O Web makes for paper crafting.
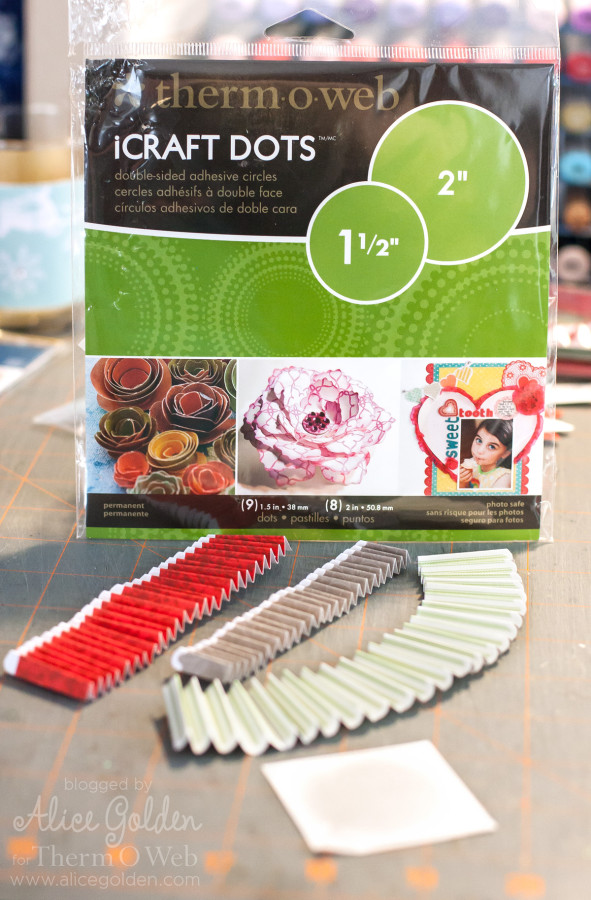
iCraft circles (no longer available…use our iCraft Easy-Cut Adhesive Sheets) were used to hold the rosette in shape. I found it helped to add a smaller piece of iCraft on the top as well to make it extra secure. Don’t mind the corner of the package… turns out I’m not the only one in the house who likes iCraft… my cat, Midnight, is drawn to them as well. 🙂
Here is a look at all three ornaments. There are two made with the largest snowflake die as a base, and one made with the medium snowflake die as the base. I think a set of these would make a nice gift, don’t you?
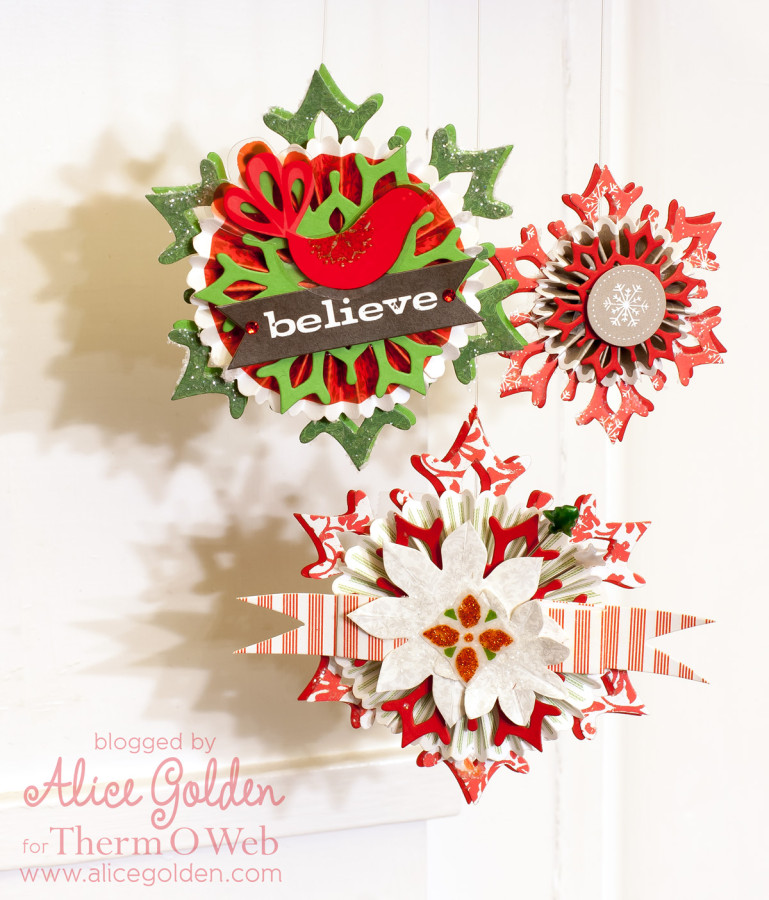 Because I wanted the glitter to stick to the edges of the ornament randomly… kind of like clumps of snow… I used my Ultra Bond Liquid Adhesive stick to apply a coat of glue across different sections of the ornament and then pressed it into a pile of glitter. This really embeds the glitter in the glue and gave the chunky, snowlike look I was going for. The only thing about this technique that is difficult is photographing it! You’ll have to trust me that it looks good. This shot does show the layers though.
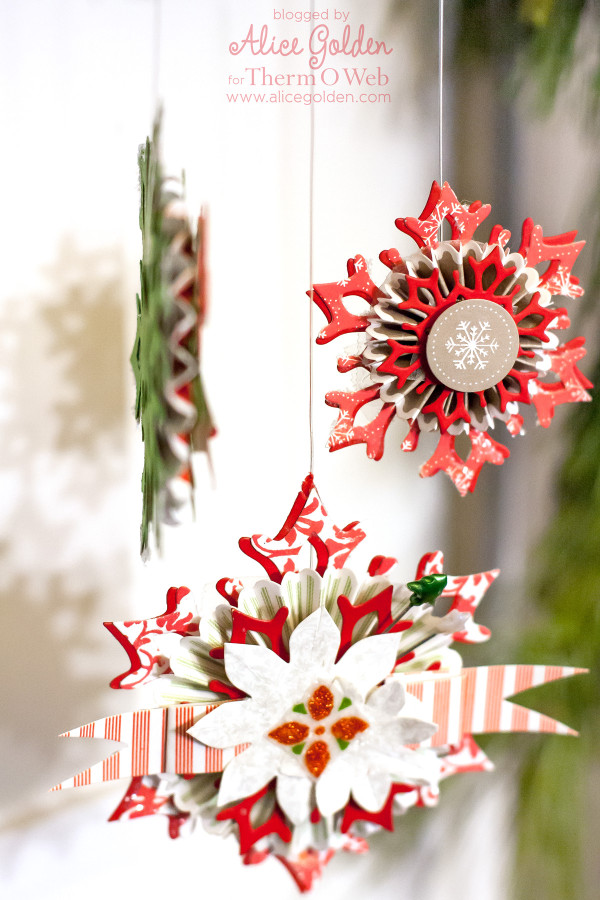 The products we were sent included some fun die cut transparency shapes. These can sometimes be a challenge to adhere without the adhesive showing through. I find that the Mini Tape Runner does a really good job of applying a very thin, even coat of adhesive that is almost impossible to see behind the transparency (I used it on the bird on the green ornament and on the red flower that is layered over the white poinsettias on the bottom ornament).
Thanks so much for visiting the Therm O Web blog today. I hope you and your family have a wonderful holiday!
Supplies:
iCraft Adhesive™ Easy-Cut Sheets
Paper, stickers, stick pins, transparencies, rosettes, embellishments from Little Yellow Bicycle
Snowflake dies from Papertrey Ink
Glitter from Martha Stewart/EK Success

marylouh
December 14, 2013 at 9:54 am (11 years ago)I don’t do twitter or follow boards on Pinterest so I’m pretty well blocked out of this contest. that’s too bed – because I do like your products.