


Hello there Thermoweb fans! Caroline here from SewCanShe.com and I am so excited to guest post for you today… This little table topper looks like you spent a lot of time on it, but really you can finish it in a snap because the hexagons are applique. English paper piecing is beautiful and I do that too… I also love to find ‘cheater’ projects when time is short.
To make my Snowball Crumb Catcher, you will need:
- HeatnBond® lite fusible adhesive
- SpraynBond® Quilt Basting Spray or pins for basting
- Two fat quarters of coordinating fabric for the hexagons
- Two 20” squares of fabric for the front and back of the crumb catcher. The front will be the background for the hexi’s and the back won’t show unless someone turns it over.
- A 20” square of batting. I used Warm and Natural.
- Fabric for binding. I cut two 2 1/2” strips the width of the fabric.


2. Fuse the HeatnBond® Lite to the backs of your fat quarters of fabric. Cut out the hexagons and remove the papers.
3. Create a quilt sandwich with the 20” squares of fabric and quilt batting. I used SpraynBond® to baste the layers of my mini-quilt together, but you could also pin.
Note: I removed my cutting mat and placed my quilt sandwich directly on my work table so I could iron lightly later.

4. Arrange the hexagons on top of the quilt sandwich. See my design above, but feel free to arrange them however you like.
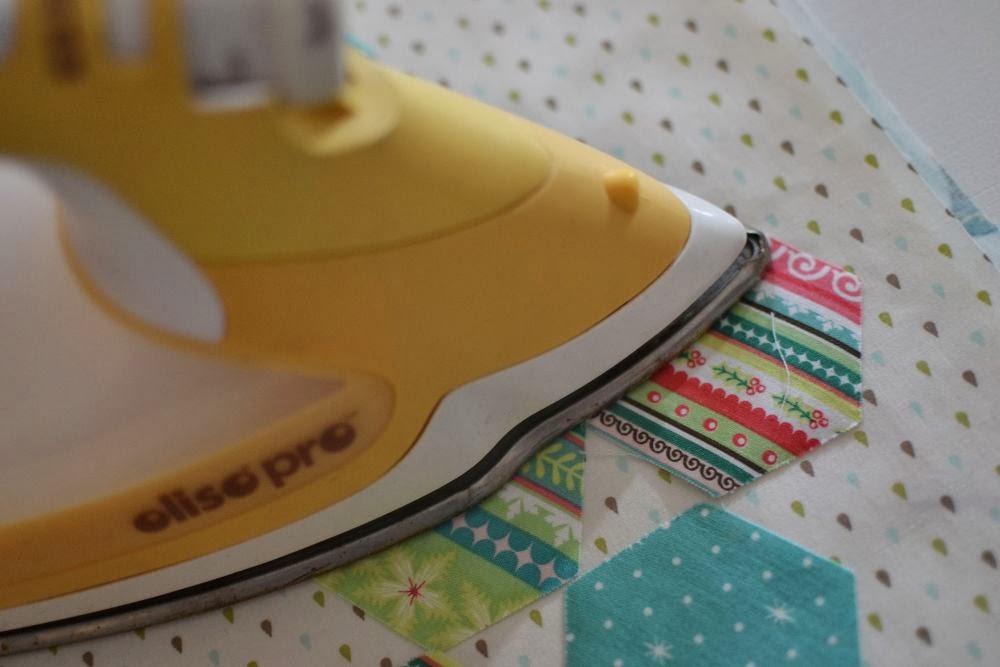
5. If your surface is safe for lightly ironing your hexi’s to fuse them to the background, do that now. I felt safe doing it since I had already removed my cutting mat and my table was protected by the layer of batting and two layers of fabric. After lightly touching the hexi’s with the iron here, move the quilt sandwich to your ironing board and fuse thoroughly.

6. Time to Applique! You may sew your hexi’s down any way that you like and this also serves as quilting. Feel free to straight stitch the edges, satin stitch, blanket-stitch, or use one of your machine’s fancy stitches like I did. Sorry – I forgot to take a picture of this before the binding went on. You will be stitching the hexagons on and quilting in one step before you put on the binding.
I used Coats and Clark rayon embroidery thread for a little bit of sheen. Any type of coordinating thread will do.

8. After applique stitching/quilting, trim away the extra fabric and batting. Leave a 1/2” border around the applique pattern.
And there you go. Time to make cookies to go with it!
Please come visit my website at http://www.sewcanshe.com for a new sewing idea every day. I also have a daily newsletter to let my fans know what free tutorial is featured that day.
Happy Holidays,
