


 Hello friends, this is Jennifer Long from, Bee Sew Inspired, fabric designer with Riley Blake Designs and doll and quilt pattern designer.
It’s that time of the year when we start thinking of all the fun crafts we want to make and how we want to decorate our homes for the Holiday Season.
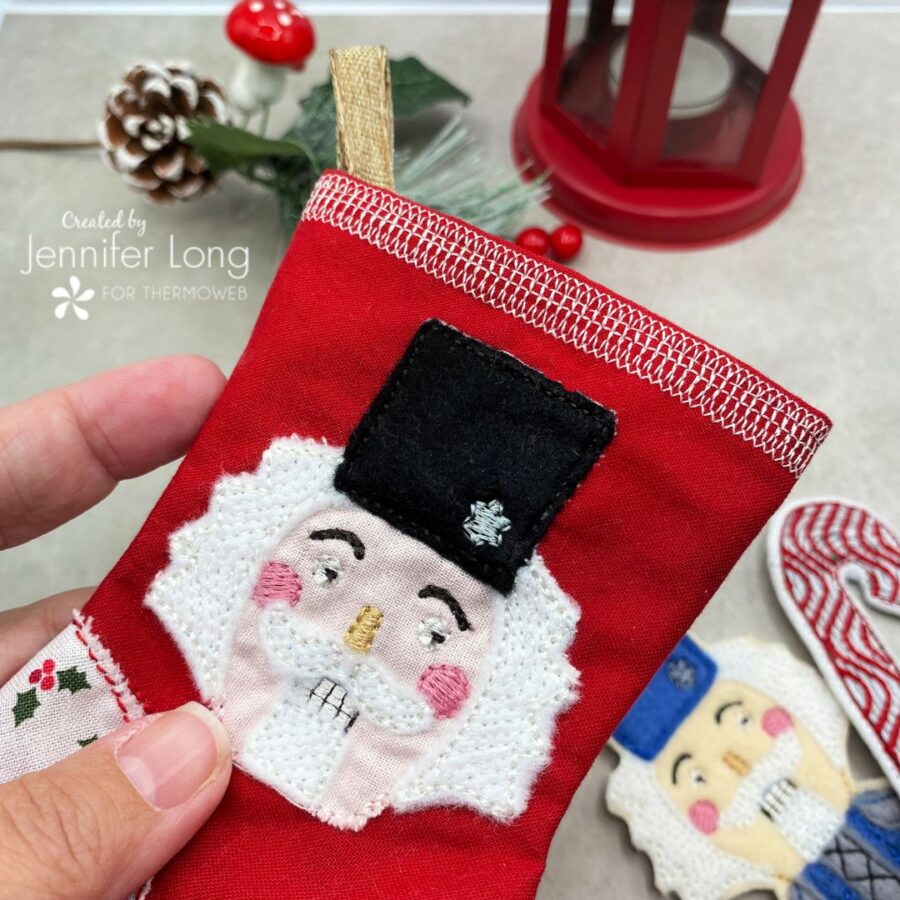
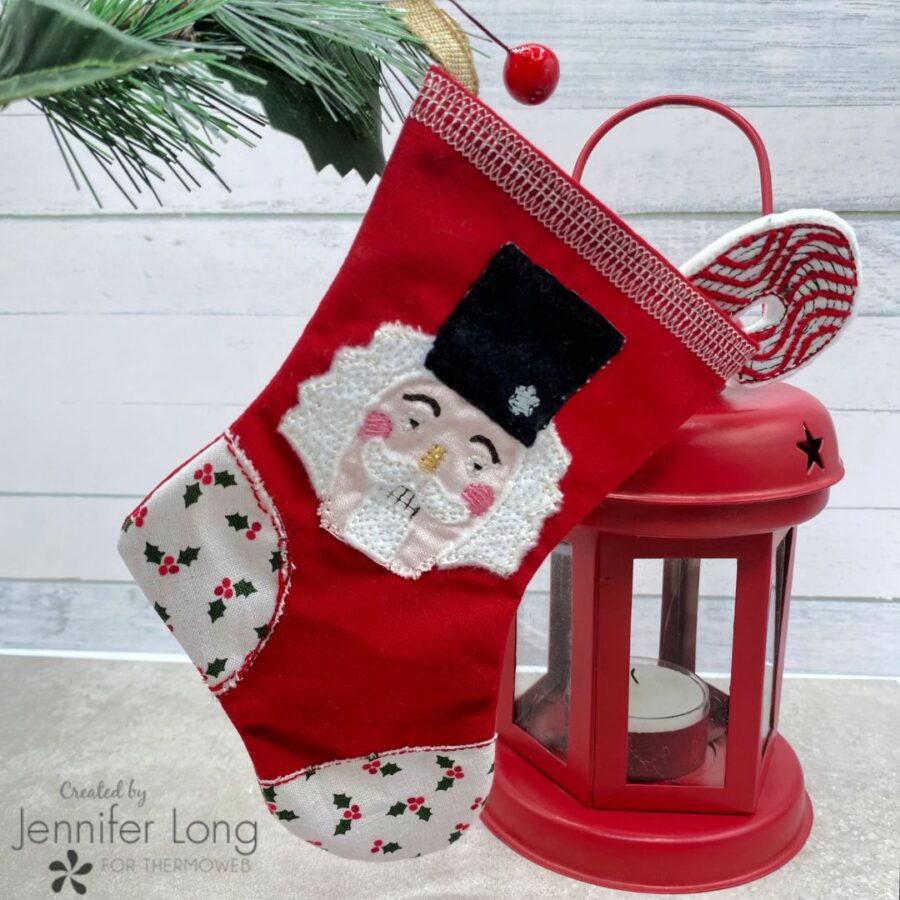
These cute little stockings can be made with or without the Nutcracker embroidery and applique detail on the front. This project is even available as an in-the-hoop embroidery project just in case you have a home embroidery machine! YAY!
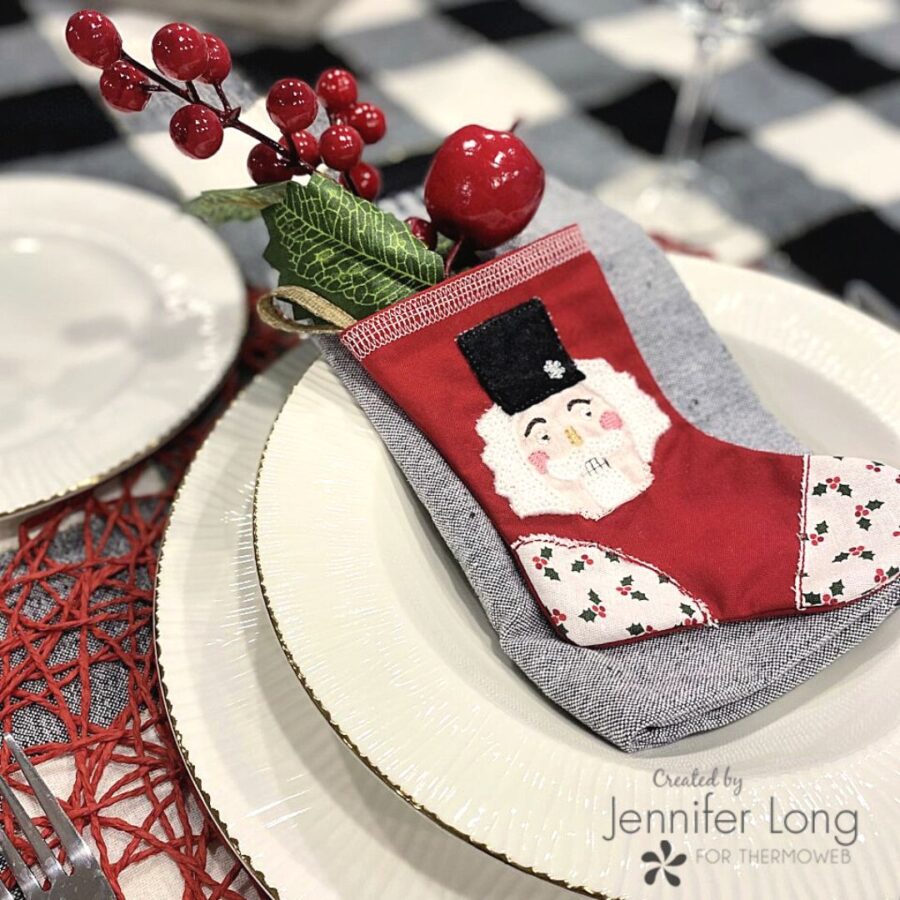
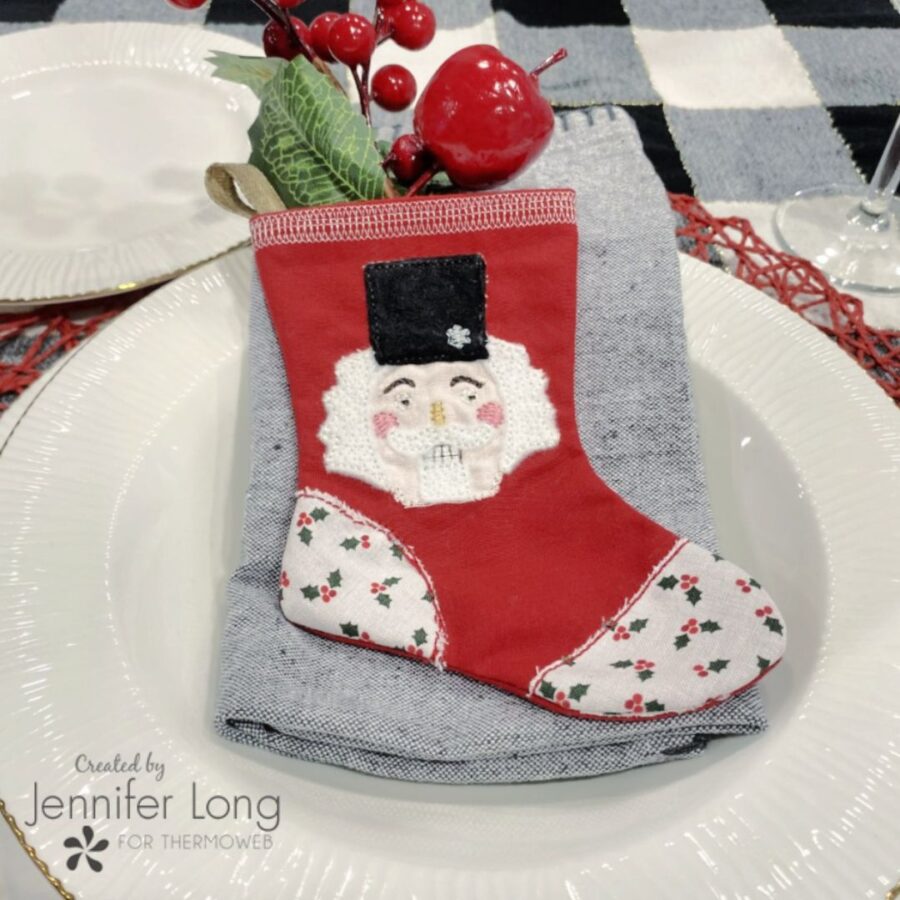
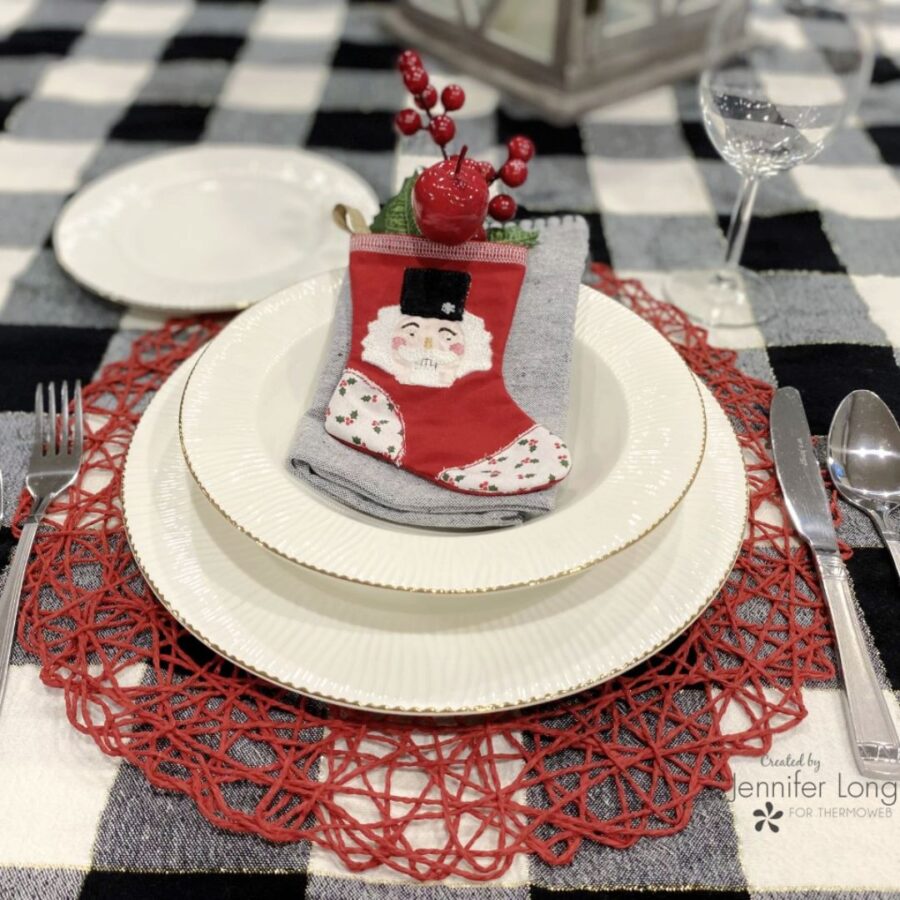
Why not make a bunch of mini stockings and string them up as a garland, place gift cards in them for little gifts to a teacher or neighbor, or even use them as a place setting at the table.
Let’s get creative! Just gather the supplies below, then download the pattern/files. Don’t forget to share your project on social media using the hashtag #BSImakerscluband tag @beesewinspired.
What You Need:
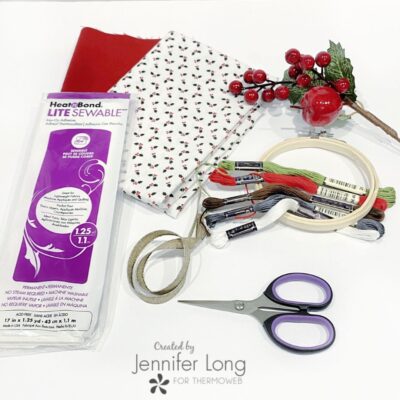
Tools
- Download the Nutcracker Stocking Machine Embroidery Pattern at http://www.beesewinspired.com/download-codes and use the code “BEMERRY”
-
Sewing Machine or Embroidery Machine – requiring a 5″ x 7″ hoop or larger.
-
Rotary Cutter
-
Quilting Ruler
-
Self-Healing Mat
-
Iron and Wool Mat
-
Scissors
-
Hand sewing needle
-
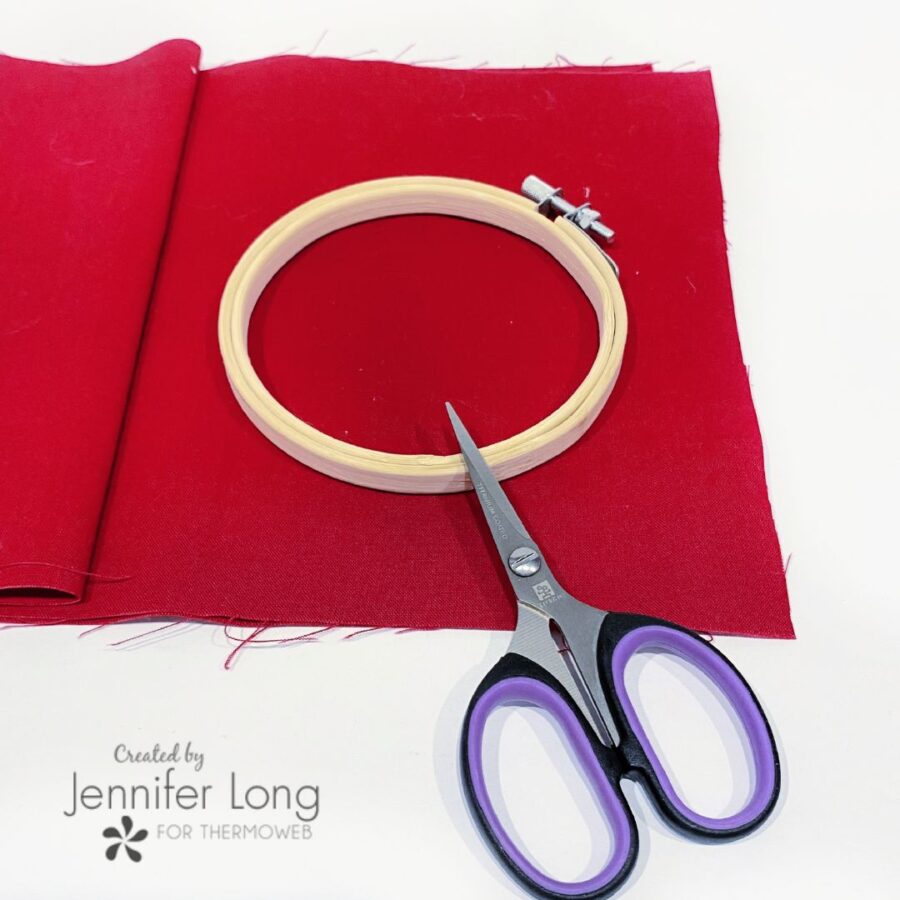
Embroidery hoop
Materials
-
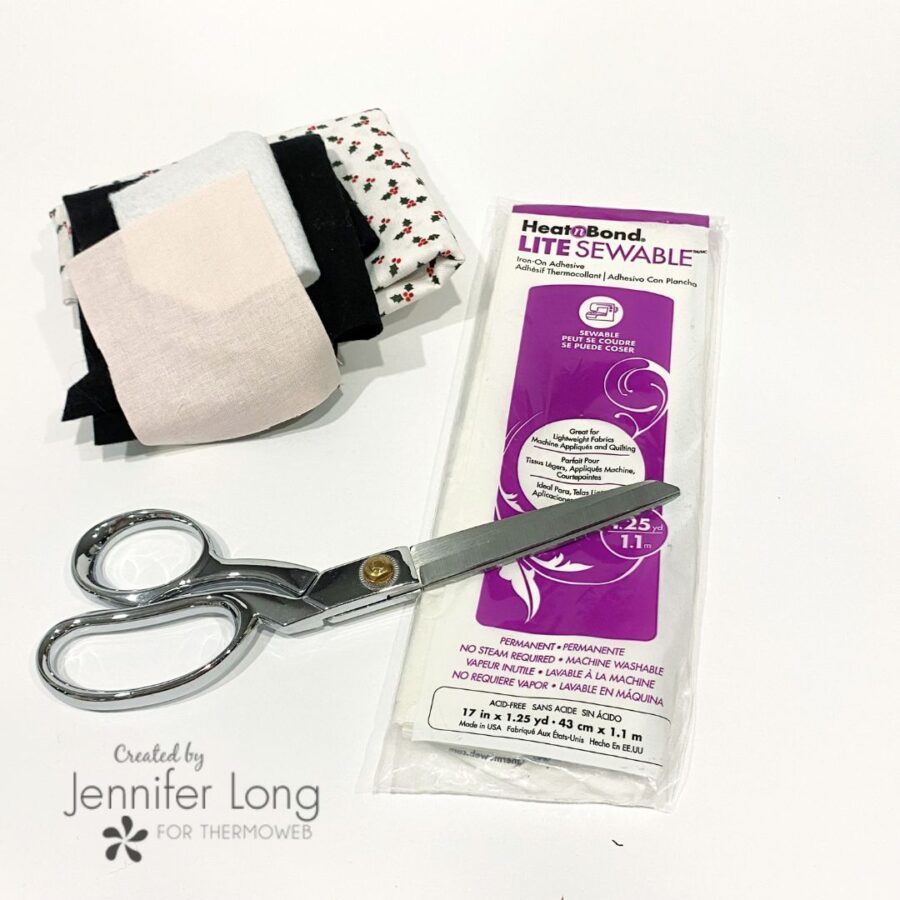
Assorted colors of felt
-
Small pieces of Heat n Bond LITE SEWABLE
-
Scraps of your favorite festive cotton fabrics
-
Embellishments
-
Embroidery Thread in matching colors
-
Thread
-
Small amounts of ribbon to hang the stocking
Instructions:
1. Download the Nutcracker Stocking Ornament Pattern designed by Bee Sew Inspired. You can choose either the PDF Pattern to hand cut your shapes or the SVG Cut File and follow the directions to have your Cricut Maker cut the felt shapes. Make sure to use your rotary blade and set the fabric to felt.
2. Fuse the Heat n Bond LITE SEWABLE to the wrong side of your decorative fabrics BEFORE cutting the shape. This will help keep the fabric stable while cutting out all those curved edges of the Nutcracker’s main skin tone as well as the heal and toe of the stocking
3. If you are planning on doing embroidery and applique work on the stocking just trace the template onto your main stocking fabric. Using the template, cut out the Nutcracker’s skin tone for his face. Fuse the face to the main stocking fabric. Use your templates to make sure everything lines up correctly. Trace the facial features (eyes, eyebrows, nose, cheeks and teeth) onto the skin tone fabric.
Use scrap pieces of felt for the hair, mustache, beard and hat applique. Keep these pieces in place using a little bit of Fabric Fuse Quick Bond Fabric Adhesive. Hand stitch on machine stitch these elements to the stocking.
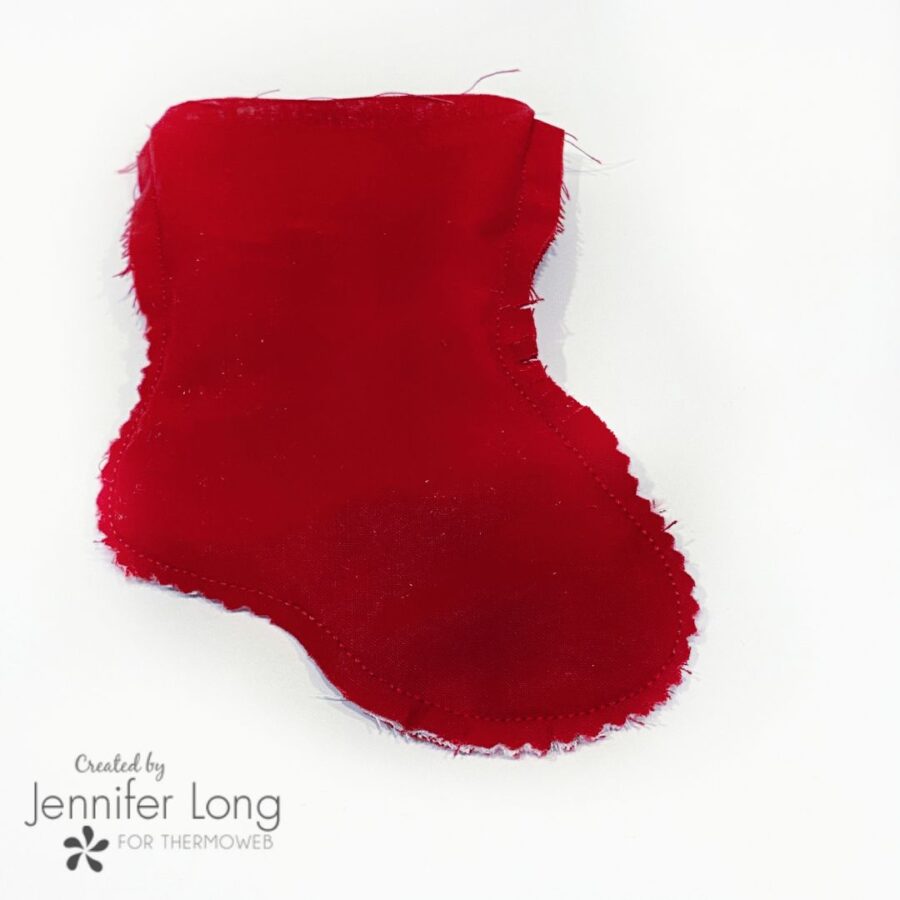
4. Using the templates, cut out two stocking shapes (mirror images). Now cut out the heel and toe pieces. Fuse them to the right side of the stocking on the same side as your Nutcracker. Embellish with some hand embroidery or use a triple stitch or blanket stitch if you have those available on your sewing machine. Place the two stocking pieces with the right sides together. Stitch around at a 1/4″ seam allowance leaving the top open. Clip curves to make nice smooth edges when turning your stocking right side out.
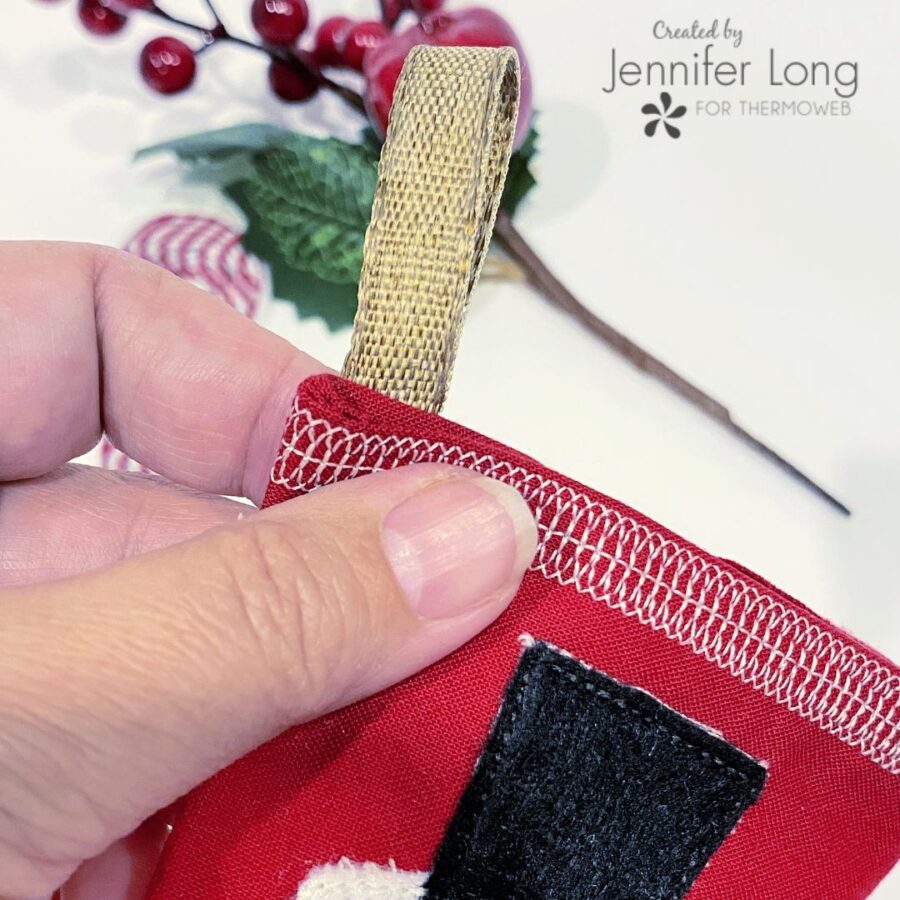
5. Press the top edge down 1/4″ in towards the inside of the stocking and stitch them hem. Stitch a small piece of ribbon forming a loop to be able to hang the stocking.
Thank you for joining me today on the Thermoweb Blog. Christmas is my favorite season and I am so grateful to share this little project with you today! Merry Christmas!
If you liked this tutorial, please come join our Bee Sew Inspired family at http://www.beesewinspired.com