Hi it’s Jen Belnap stopping in today! I am sew excited about the project I get to share with y’all. I am a huge fan of the holidays. I also really love projects that I can create for my kiddos. I fell in love with Jennifer Long’s Nativity panel for Riley Blake Designs. I just knew I had to make it! Plus using Jennifer’s new Sparkle Paste was the cream on top!
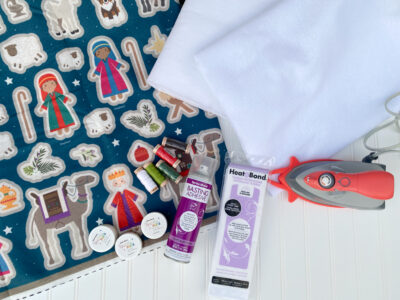
Do you want to make one too? Make sure you gather the following supplies:
Nativity Felt Panel
HeatnBond Craft Extra firm Non-woven fusible
SpraynBond Basting Adhesive Fabric Spray
White Felt
Sewing Machine
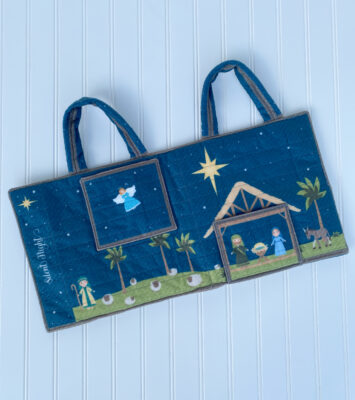
Start by making the bag first. Jennifer Long has created some YouTube videos as well as a PDF to help you with creating this bag.
The felt is a bit flimsy by itself. Make sure you line the bag with the HeatnBond Craft Extra Firm Non-woven Fusible, plus the HeatnBond Fusible Fleece.
Preparation Tip: When ironing felt, it is important to use medium heat (wool/silk setting) and a press cloth or HeatnBond Pressing Paper between the iron and the fabric. If you prefer not to iron your felt, you can use SpraynBond Basting Adhesive to temporarily fuse the Craft Extra Firm Fusible and the Fusible Fleece to the felt panel.
Sewing Tip: Sew SLOWLY! There will be multiple layers under your sewing machine needle. Make sure to take your time and go slowly.
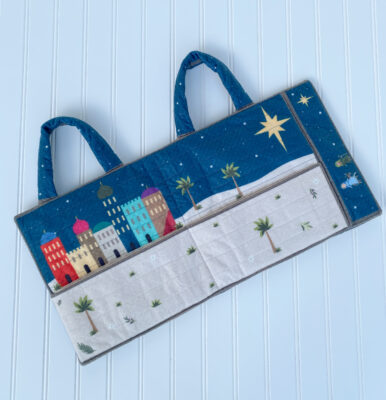
This cute bag comes with pockets too! Make sure you are lining the pockets with the HeatnBond Craft Extra Firm and the HeatnBond Fusible Fleece. Again, I chose to use SpraynBond Basting Adhesive to temporarily fuse the layers until I sewed them.
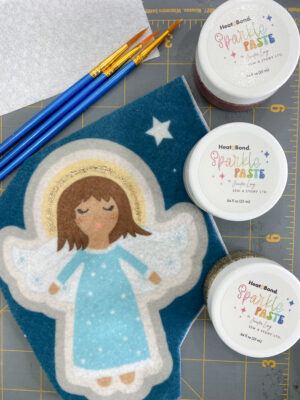
This Nativity Panel comes with the sweetest characters. I love the size of them! They are perfect for little hands to act out the sweet Nativity story. Make sure you back the Nativity characters with the HeatnBond Craft Extra Firm first. This will make sure that the felt doesn’t get torn or damaged with play.
Now for my favorite part…embellishing! Jennifer Long came up with my new favorite product from Thermoweb and it’s the Sparkle Paste! I used Gold, Snowflake and Ballerina for my Nativity characters. Every angel received a bit of gold. All characters got Ballerina pink cheeks. And the angels got an extra coating of Snowflake to make their wings sparkle! This stuff is so fun to paint on and makes a big impact on these sweet dolls. I can’t wait to use Sparkle Paste on more of my projects in the future.
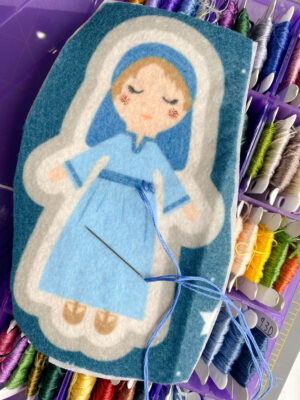
Do you see the pink cheeks on our sweet Mary? I just love this Sparkle Paste! I also used some embroidery floss to add little details to the Nativity cast, like this little belt for Mary.
After you are done embellishing, make sure to back each character with white felt. I used the SpraynBond to adhere the felt. Then stitch around each character in the cream border surrounding each character. After you stitch, trim each character to the cream seam allowance.
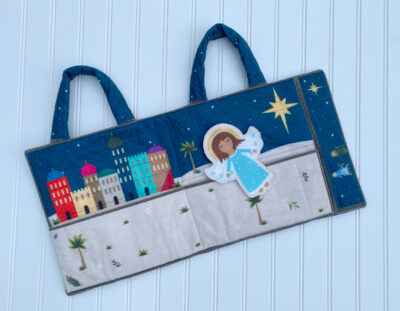
Now get ready for hours of play during this holiday season! This little bag is perfect to carry all of the characters around.
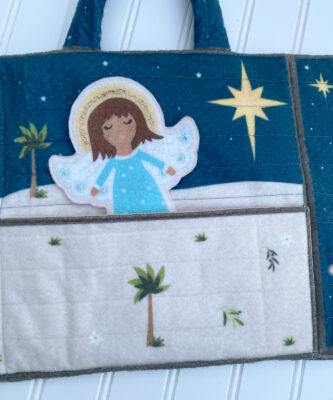
Seriously isn’t this so cute? We have plenty of concerts and events to attend this Holiday season. I am excited to have something to keep little hands busy!
Thanks for stopping by! If you would like to see more of what I am up to, you can follow me on Instagram, Facebook, Pinterest, my blog and subscribe to my YouTube channel! And if you love giveaways and being first to hear about anything new, sign up for my super cool emails! You get a free pattern when you do!!!
Happy Sewing!
Jen
