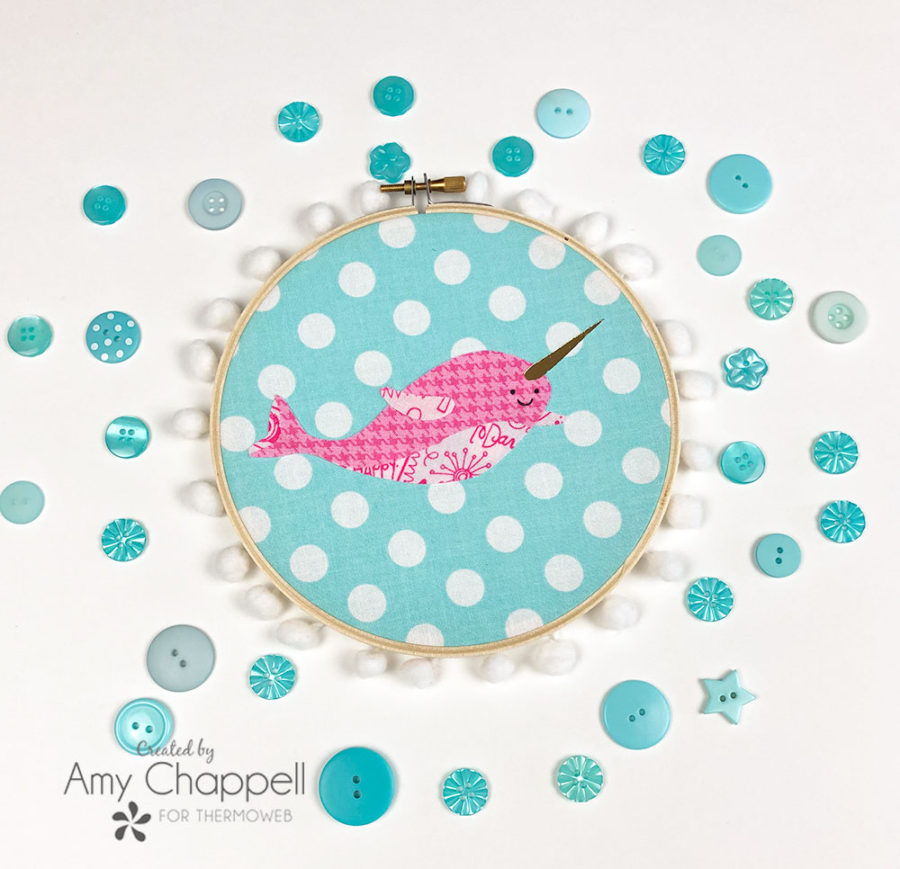
Narwhals always inspire me with their crazy long horn and amazing size. I love the idea of creating a charming piece of home décor with this incredible animal. This Narwhal Applique Pattern comes together really quickly. The hoop requires no sewing and can be customized to fit the colors and style of your room.
Let’s make one!
Narwhal Applique Hoop
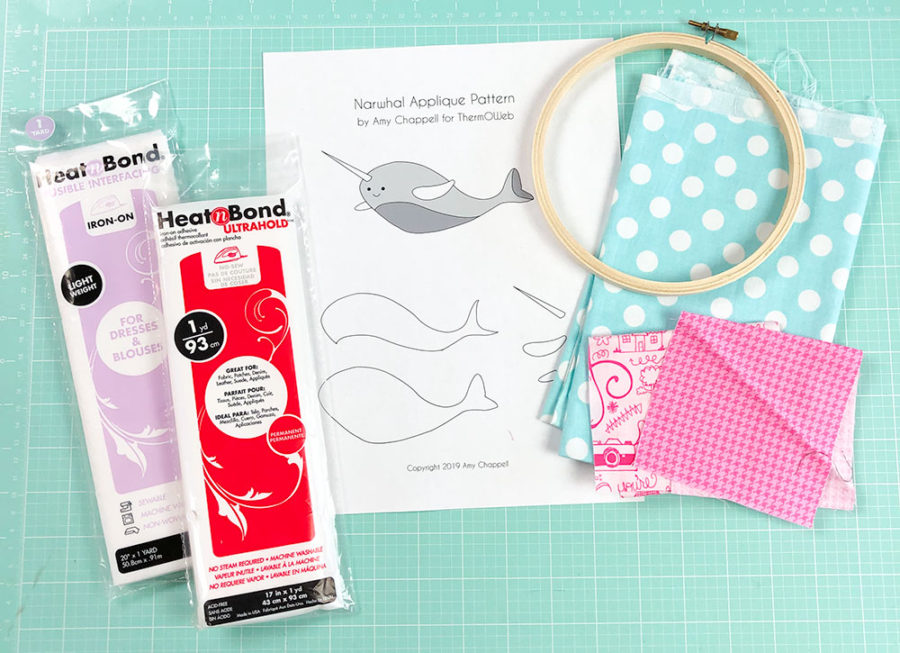
Narwhal Hoop Supplies
-
- 6″ embroidery hoop
- Narwhal Applique Pattern
- Heat n Bond Ultrahold Fusible Adhesive
- Heat n Bond Light or Medium Weight Fusible Interfacing
- fabric for hoop and pattern pieces
- Deco Foil Transfer Sheets – Gold
- Deco Foil Hot Melt Adhesive
- hot glue gun and glue sticks
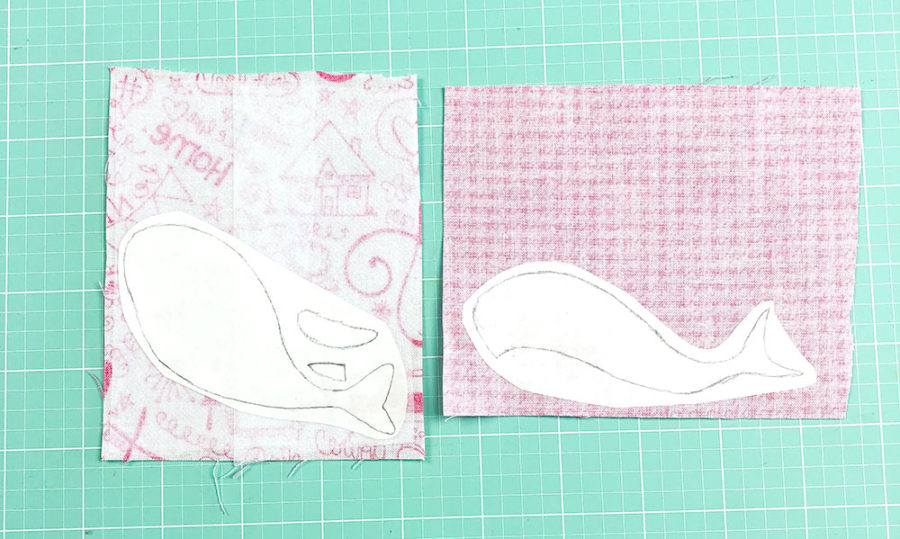
Create Applique:
- Begin by tracing the applique pattern pieces onto the paper side of the Heat n Bond Ultrahold. *NOTE: pattern pieces are already reversed.
- If using a light colored fabric, you may choose to first fuse your Heat n Bond fusible interfacing to the back to help prevent shadowing.
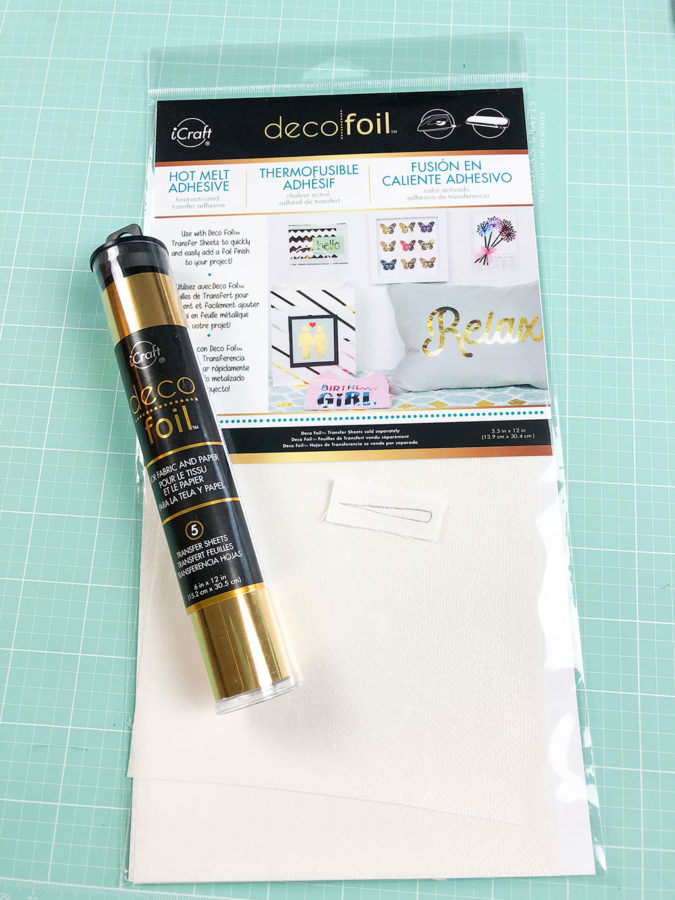
- Optional: I decided to give my Narwhal a golden horn. To do this, fuse a small piece of Deco Foil Hot Melt Adhesive onto the front of a scrap piece of fabric.
- Next, cut out your pattern pieces leaving a slight margin around the traced lines.
- Third, fuse the Heat n Bond Ultrahold to the back of the fabric for the applique pieces.
- Cut out all the pattern pieces along the traced lines. *if using the Hot Melt Adhesive to foil your horn make sure to mark which side of your horn piece is the Ultrahold and which is the Hot Melt Adhesive.
- Use the pattern as a guide to mark the face on the accent body piece with a pencil. (you may need to remove the paper backing first and it may also be helpful to use a lightbox to do this)
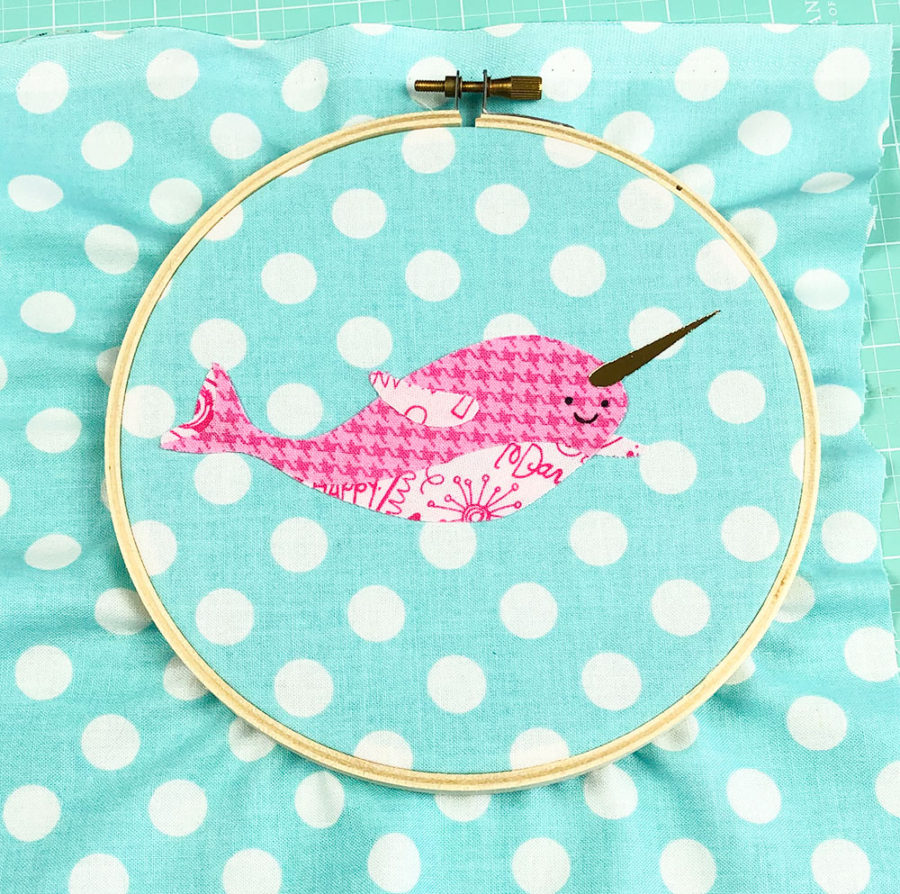
Fuse Applique to fabric:
- Use the picture on the pattern as a guide. First, peel off the paper backing from your pattern pieces and position them on the background fabric.
- Fuse into place following the package directions. *when you get to the horn, make sure to leave the paper from the Hot Melt Adhesive in place. You may want to use some parchment paper on top of the horn to prevent any of the adhesive from getting onto your iron.
- *TIP: I marked some guidelines on the paper backing from the main body piece to help me position the fins and horn
- *If you are foiling the horn- after all pieces have been fused, remove the paper backing from the Hot Melt Adhesive. Second, cut out a small piece of Deco Foil in Gold. Finally, place colored side up on top of the horn piece and cover with parchment paper. Then, adhere the foil. Wait until the adhesive cools before removing the excess foil.
- Finish the face as desired. I just used a black pen, but you could stitch the eyes and mouth, or use beads for the eyes and just stitch the mouth if you want.
Finishing the Hoop:
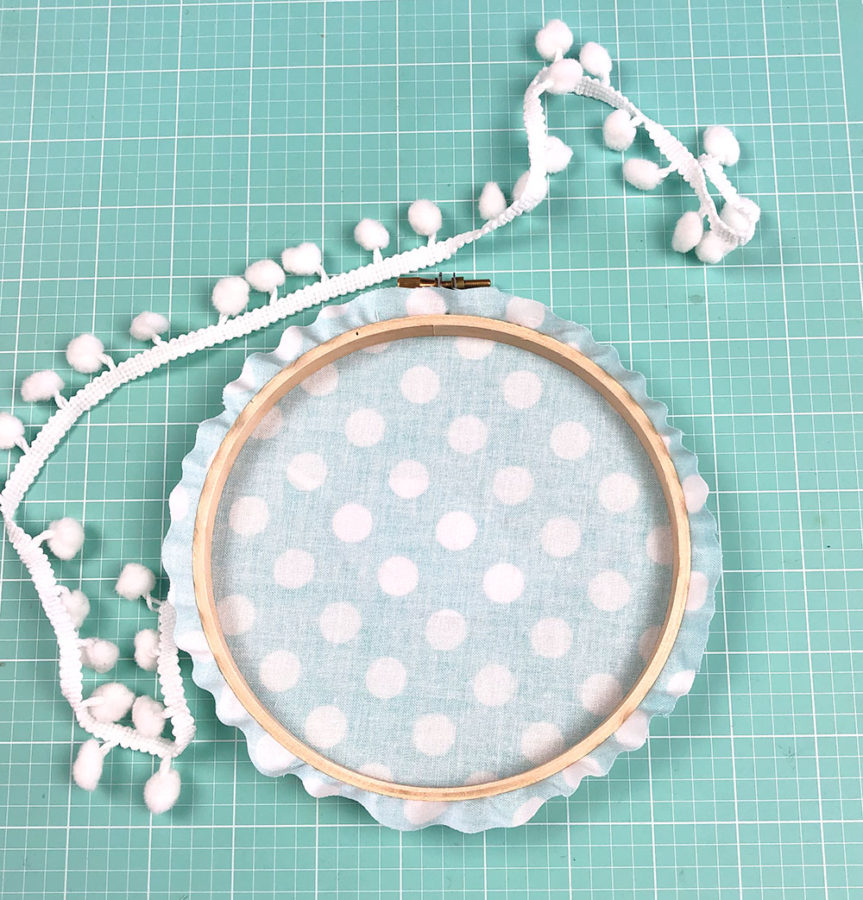
- Center your Applique in the hoop. Make sure the fabric is taut, but not distorted and tighten the screw.
- Trim the excess fabric to about 1/2″ away from the hoop.
- Use a hot glue gun to glue the fabric to the edge of the hoop toward the back side.
- If desired finish by adding some pom pom trim with your hot glue.
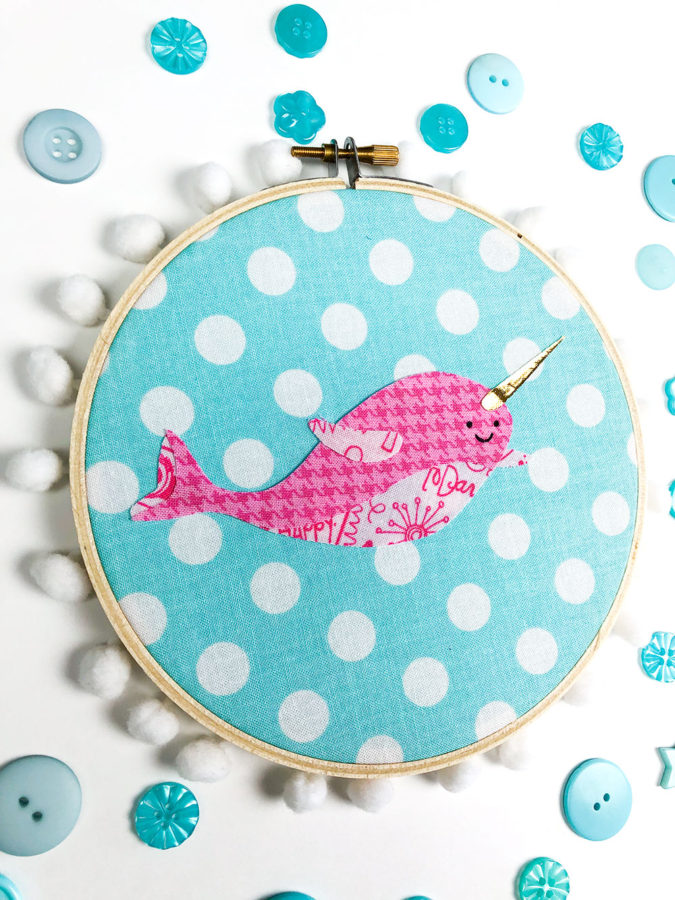
Enjoy your darling new decoration!!

Monica J Gayheart
August 7, 2019 at 12:10 pm (6 years ago)Love this
Monica J Gayheart
August 7, 2019 at 12:19 pm (6 years ago)I thought everything to do the pattern was free
admin
September 7, 2019 at 5:09 pm (6 years ago)Monica the pattern is free. Just click on the pattern to open the link and download the pattern.