 Hi, friends! I’m so happy to be back working with ThermOWeb again. Today I have a fun and simple sew for you. It’s a sweet mini Easter basket to whip up and fill with a few treats to drop by to a friend.
 It takes minimal fabric and can easily be personalized with an applique initial on the front, some fun Easter buttons, or fun embroidery embellishments. Or you could even omit the handle too! I’m sticking with the bare minimum for the tutorial but hope you take it the extra mile if the creative bug strikes. Let’s get to it.
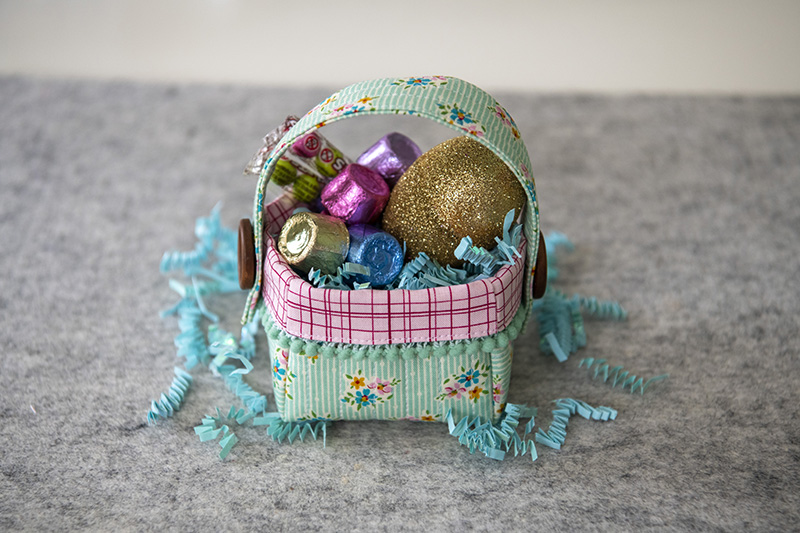
Mini Fabric Easter Treat Basket with Fusible Fleece
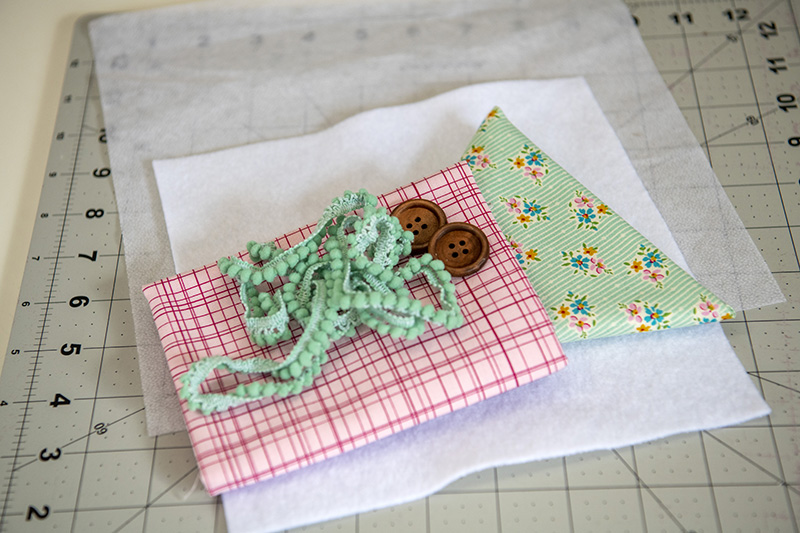
Supplies:
- Pattern (DOWNLOAD HERE)
- Two coordinating fat quarters (non-directional)
- HeatnBond Fusible Fleece
- HeatnBond Featherweight Non-Woven Fusible Interfacing
- Two 1” buttons
- Small trim (12.5” long)
- Coordinating thread/hand sewing needle
Cut guide:
From the main fat quarter cut (1) 8”x8” rectangle
From the coordinating fat quarter (lining) cut (1) 10”x10” square and (1) 10”x4” rectangle
From the Fusible Fleece cut (1( 8”x8” rectangle and (1) 9”x7/8” rectangle
From the featherweight interfacing cut (1) 10”x10” square
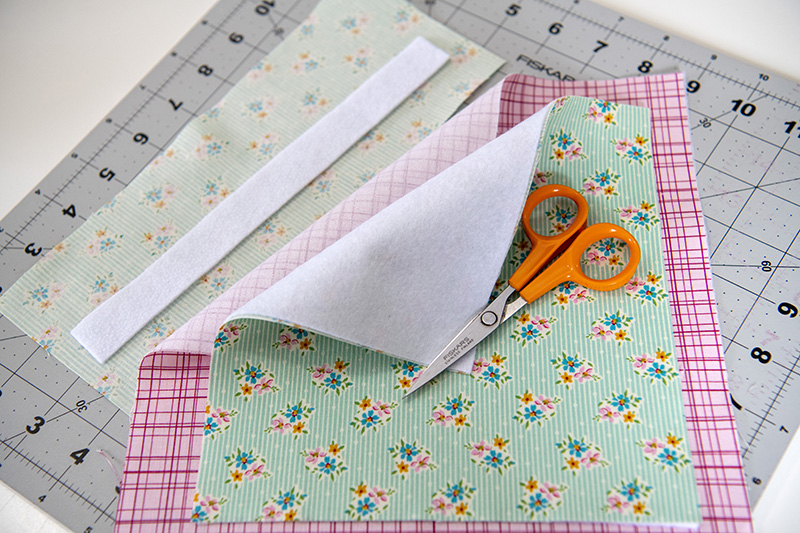
Print and cut out your pattern following the thick black line around the outside. Tape the two pieces together by overlapping the main pattern piece so the two thick solid lines down the middle touch. Fuse the fusible fleece to your main fabric. Fuse your featherweight interaction to your lining.
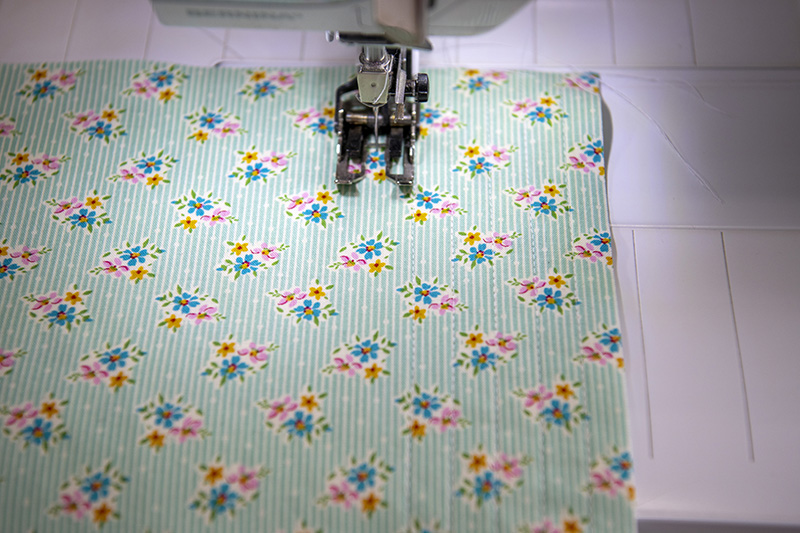
Quilt your main fabric/fusible fleece using a walking foot. This step is optional of course just my personal preference.
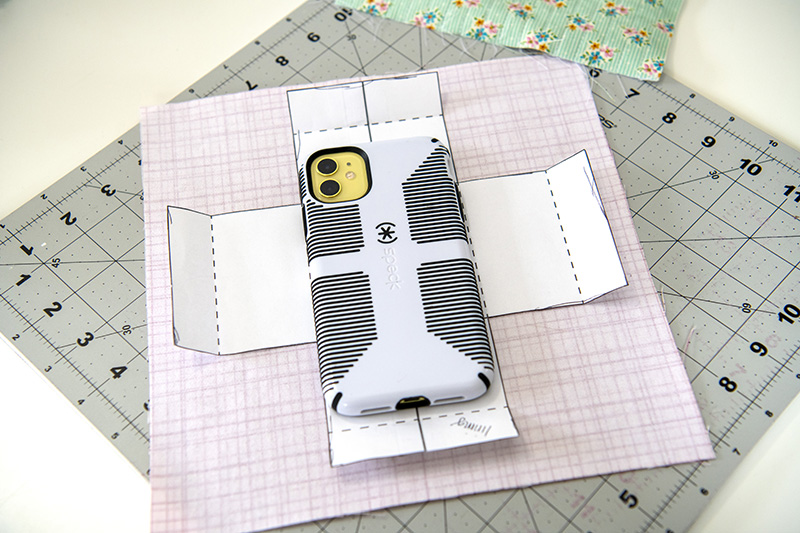
Take your lining piece and trace your pattern on the back. I use my phone as a weight so the pattern doesn’t shift on me when tracing it.
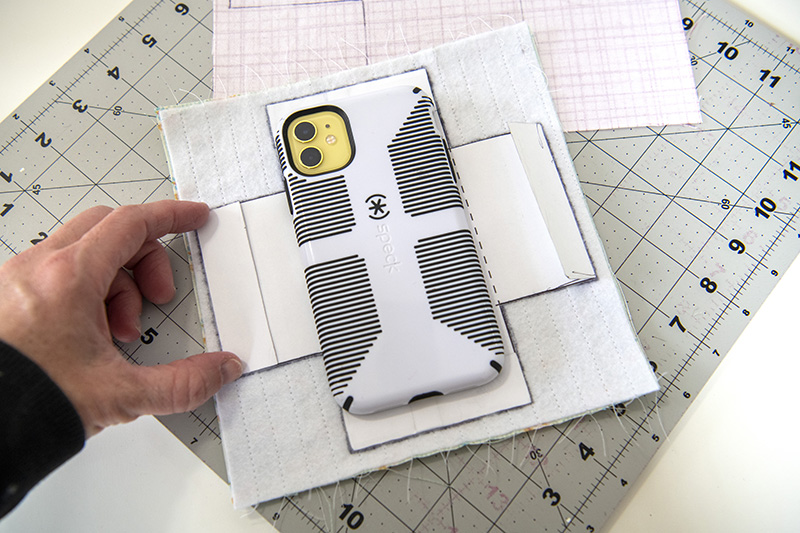
Next, fold the pattern along the dotted lines on the outside edges of the pattern. I use the edge of a ruler to make sure and get them nice and crisp. Keep the sides folded in and trace the smaller pattern onto the back of your main fabric. Cut them out.
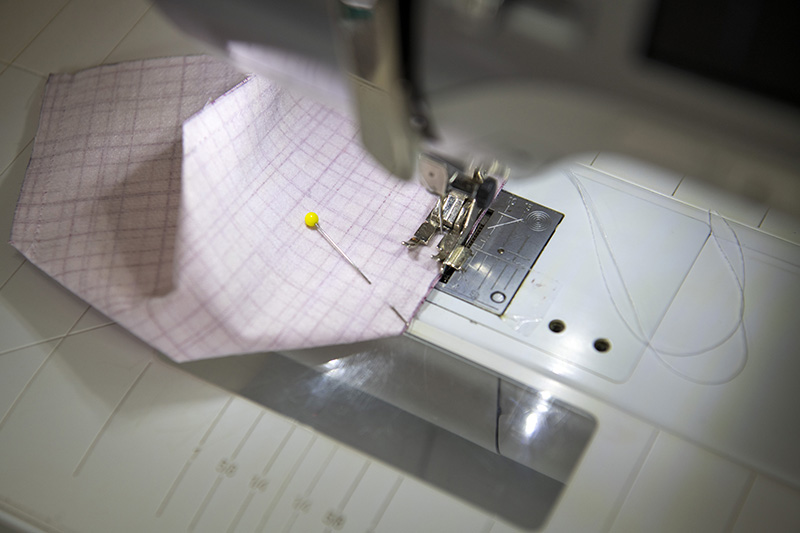
Next, we need to sew the corners together to make our box basket shape. With right sides together match your boxed edged up and pin. Sew using a ¼” seam allowance. Make sure to backstitch at the beginning and end.
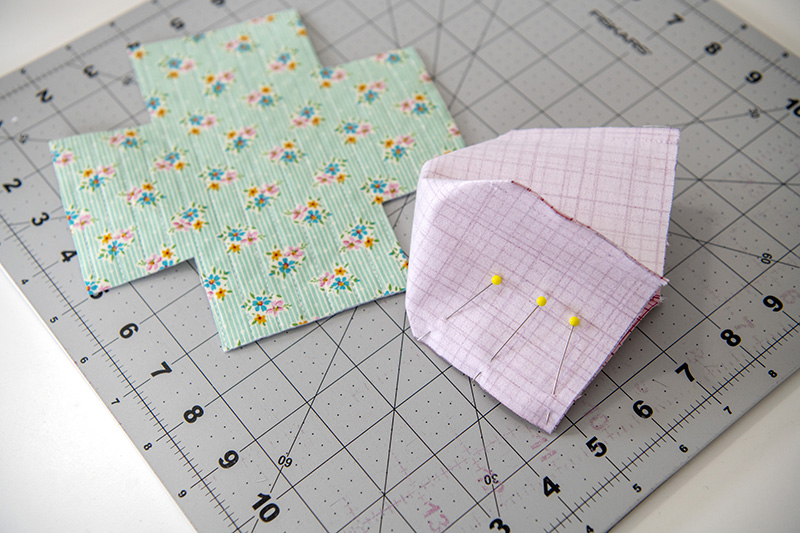
 Continue with each corner of the lining and the main basket. I like to move my needle in one notch when doing the lining so it fits extra snug inside the main basket. I prefer using pinking shears for cutting notches in the seam allowance to cut down on bulk but it’s optional.
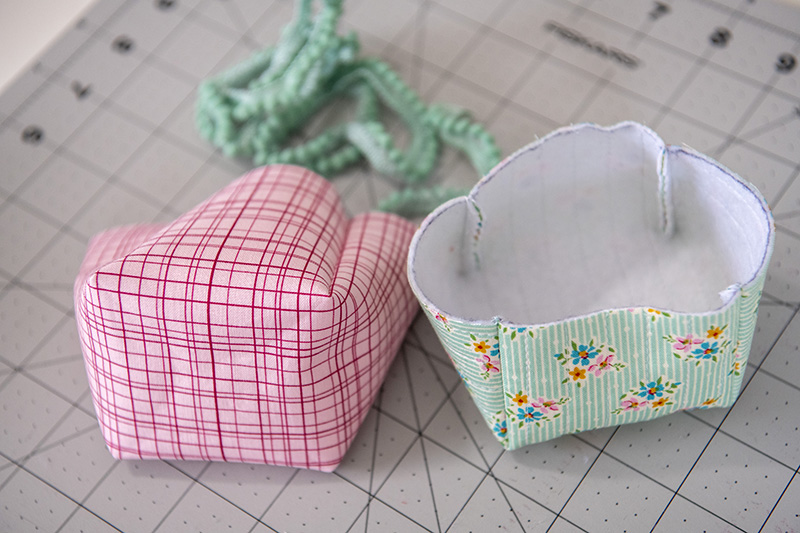
Turn both baskets right sides out. Set the main basket aside.
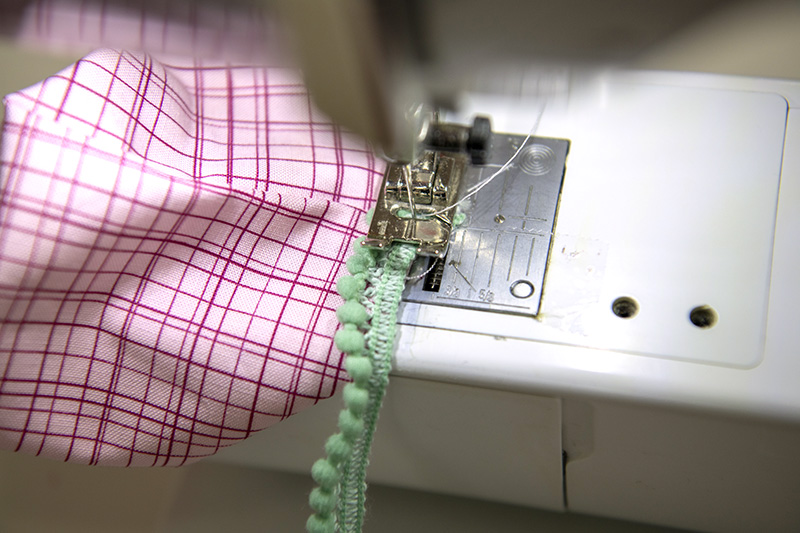
Grab your trim. Take your lining and at one corner line the edge of your trim with the top edge of your lining. Slowly start sewing the trim onto the lining. You want to sew down the center if it’s rickrack or as close to the edge closest to the pom-poms if you are using pom-pom trim.
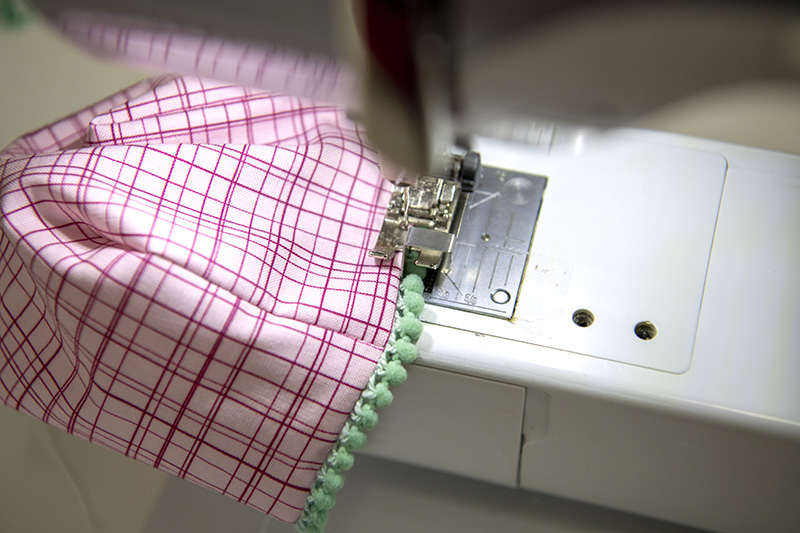
Continue until you are all the way around. Turn the trim so the raw edge is facing the wrong side of your fabric and topstitch.
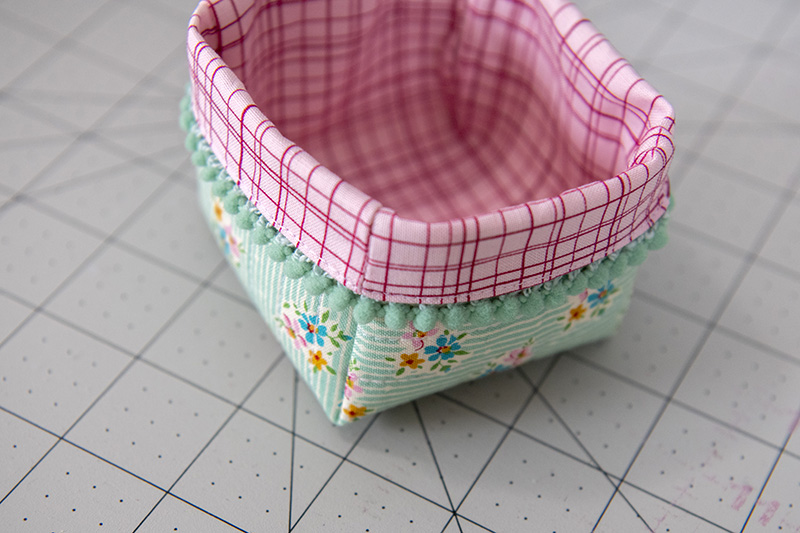
Turn the lining wrong side out again. Place into your main basket lining up the corners. Fold the top of the lining over the front of your main basket. Set aside.
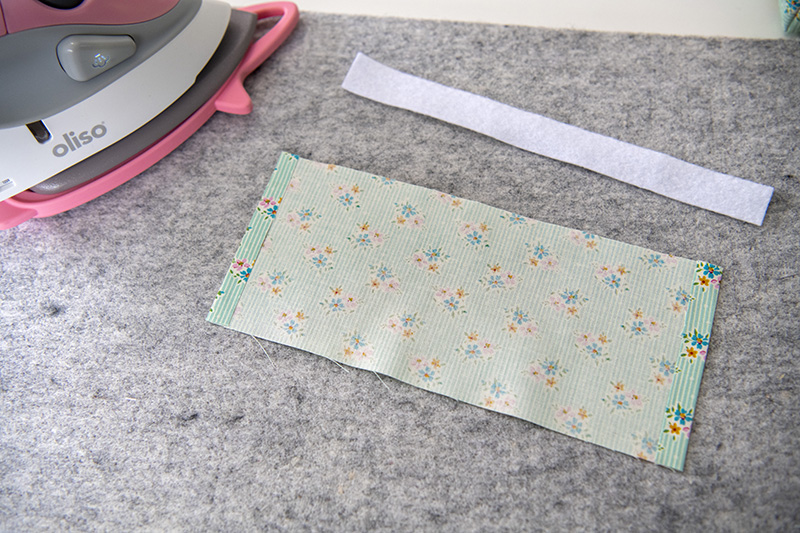
Perfect, let’s move on to our handle. Grab your last piece of fusible fleece and your 4”x10” fabric rectangle. Fold in the short edge of your fabric approximately ¼”-½”. Use your fusible fleece as a guide.
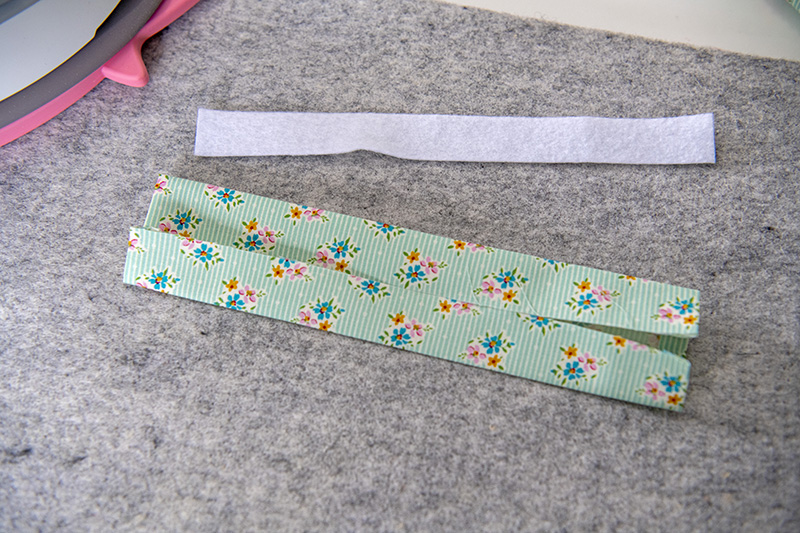
Next, we will be folding the fabric like you do when making double-fold bias tape. Fold it down the center (like a hot dog bun) and press. Open back up then fold both raw edges into the centerfold and press.
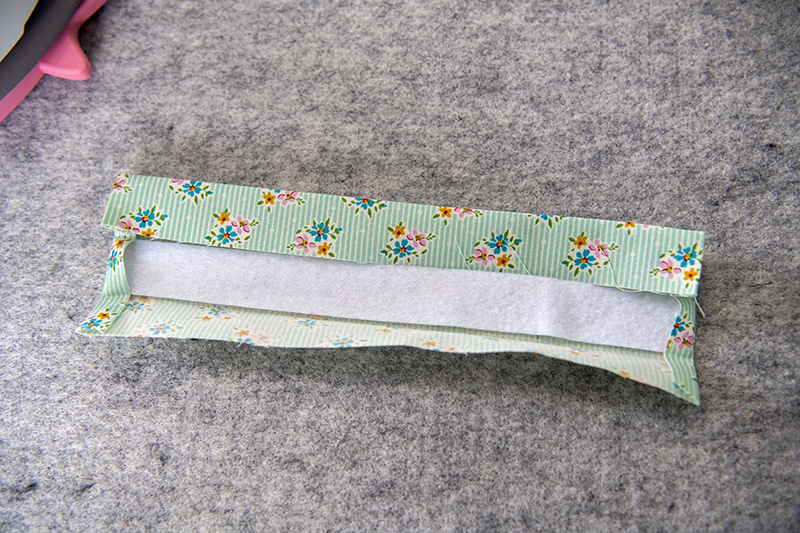
Open so you can slip the fusible fleece in on one side. Fold back up and press.
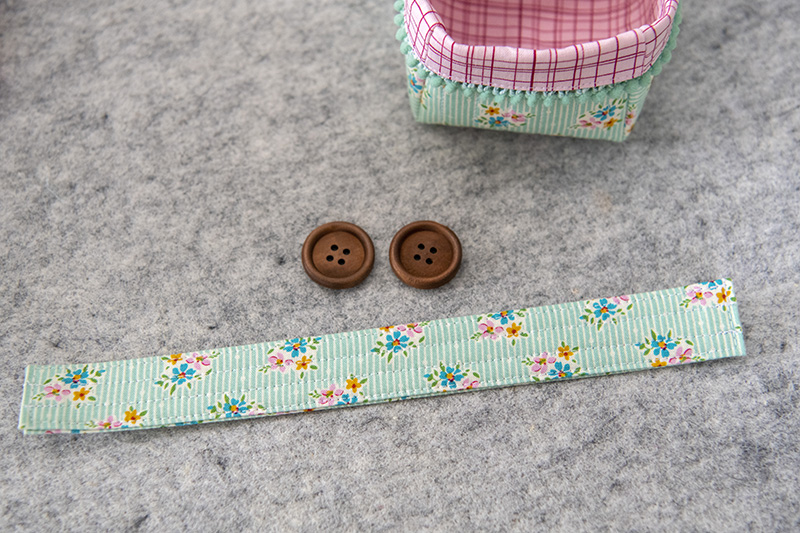
Topstitch all the way around. I like to add a few sewn lines down the center as well to help the handle to stand up when attached.
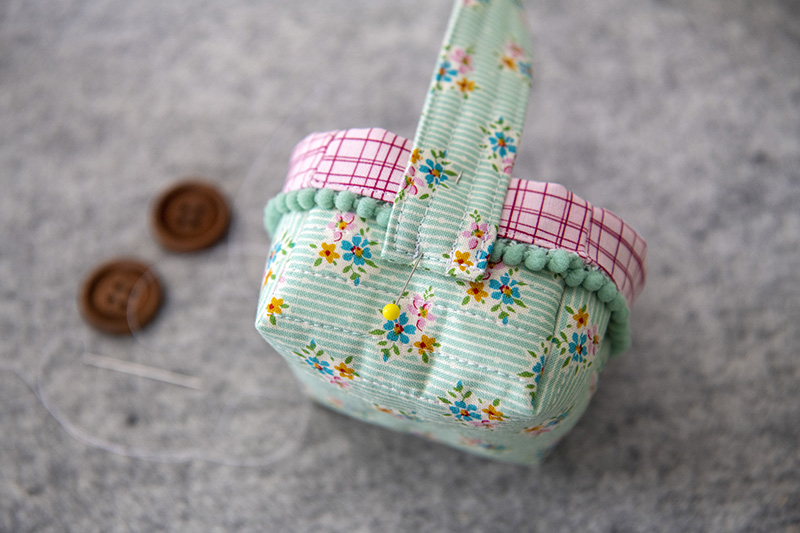
Attach the handle using your buttons. Place one end of your handle on one side of your basket. Center the handle and have the edge overlapping by 1 ¼”.
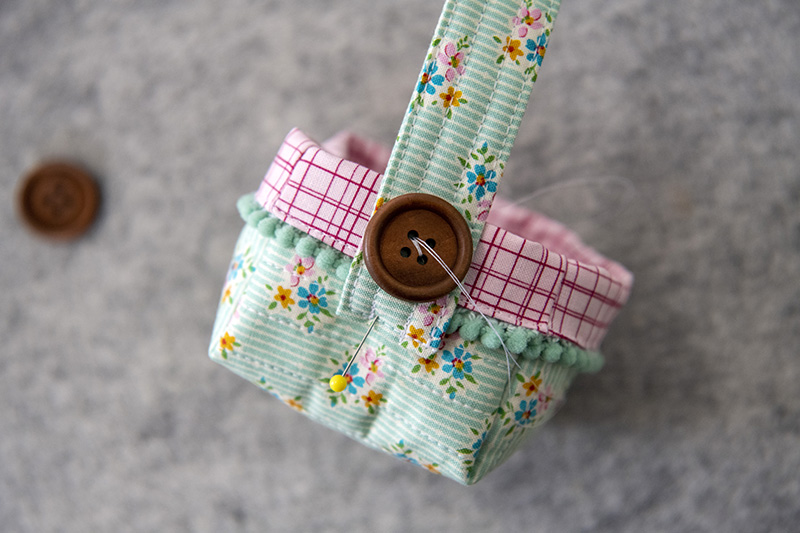
Hand sew the button on top to keep the handle in place (this will also hold the lining in place). Take the other side of the handle and do the same on the opposite side.

Fill and hand-deliver to make someone’s day!
