


 Happy Easter everyone!
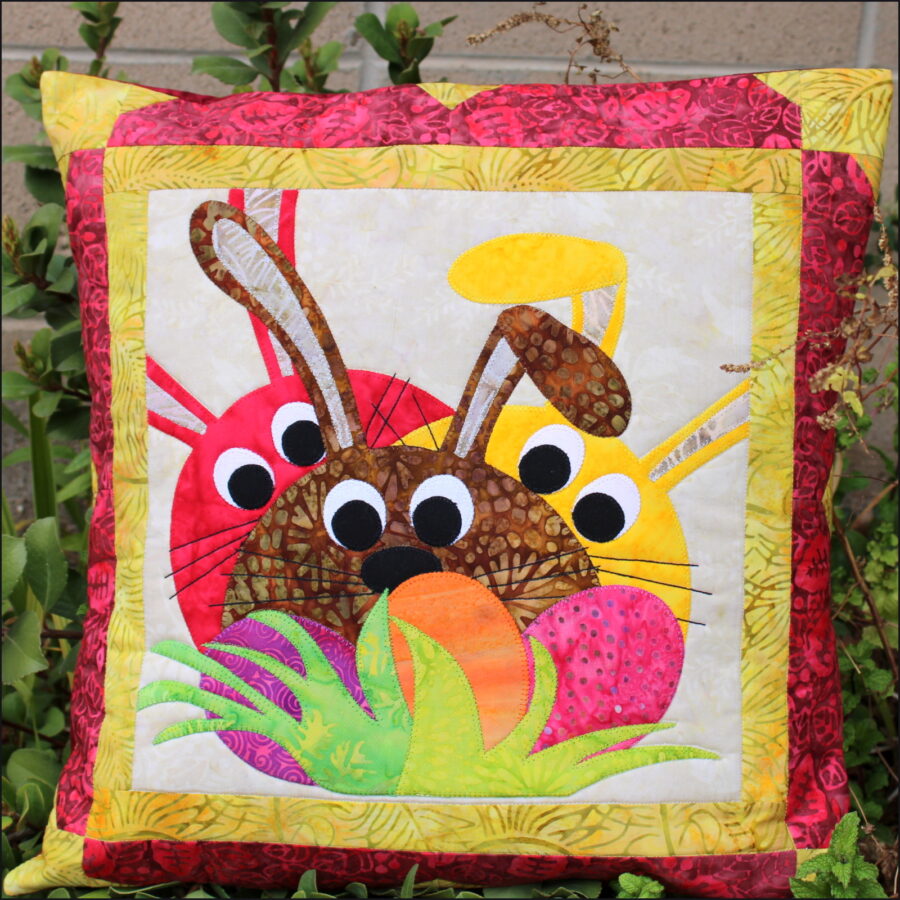
I am Carol from Just Let Me Quilt and this time of year means bunnies in all types and sizes around my home. My new pillow pattern, Peek-A-Boo Bunnies, will add some smiles all around and is easy to make using ThermOWeb products.
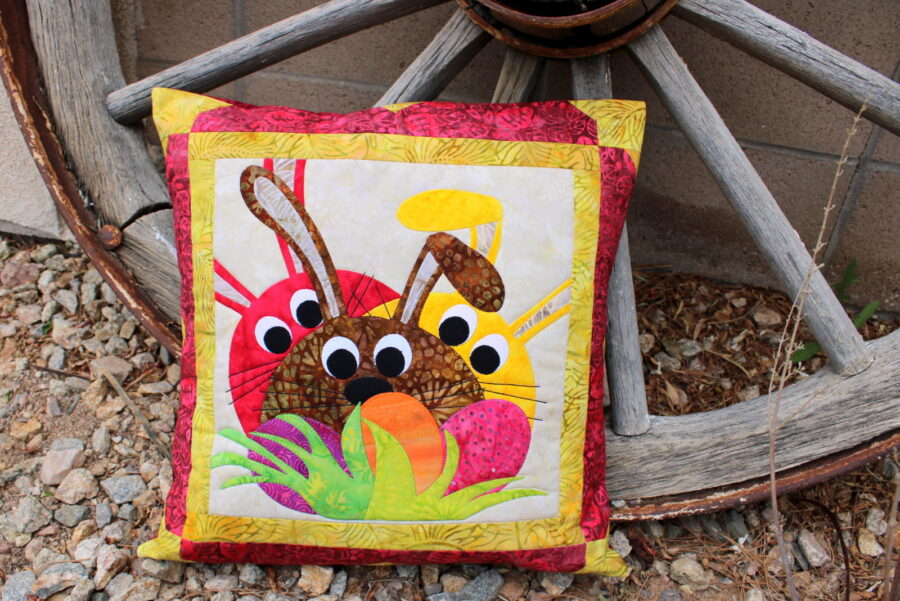
Peek A Boo Bunny Easter Applique Pillow with HeatnBond Lite
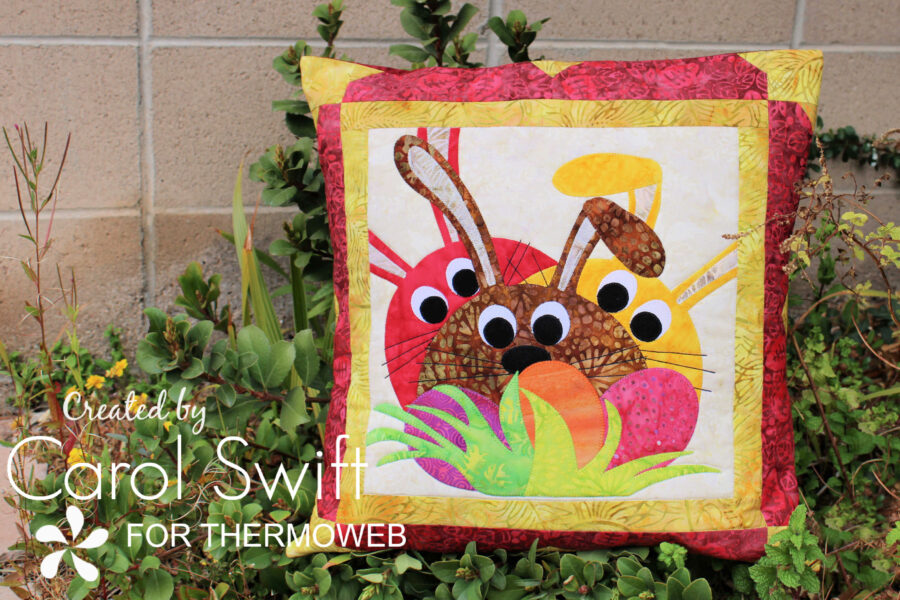
Peek-A-Boo Bunnies measures 18″ x 18″ when finished.
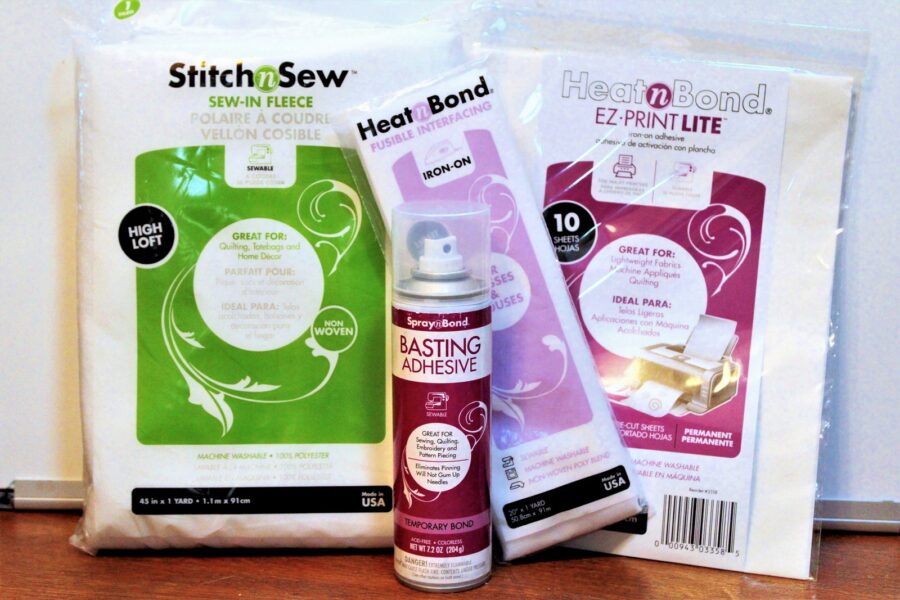
THERMOWEB PRODUCTS USED:
Heat n Bond Lite Iron-on Adhesive or Heat n Bond Lite EZ Print Sheets
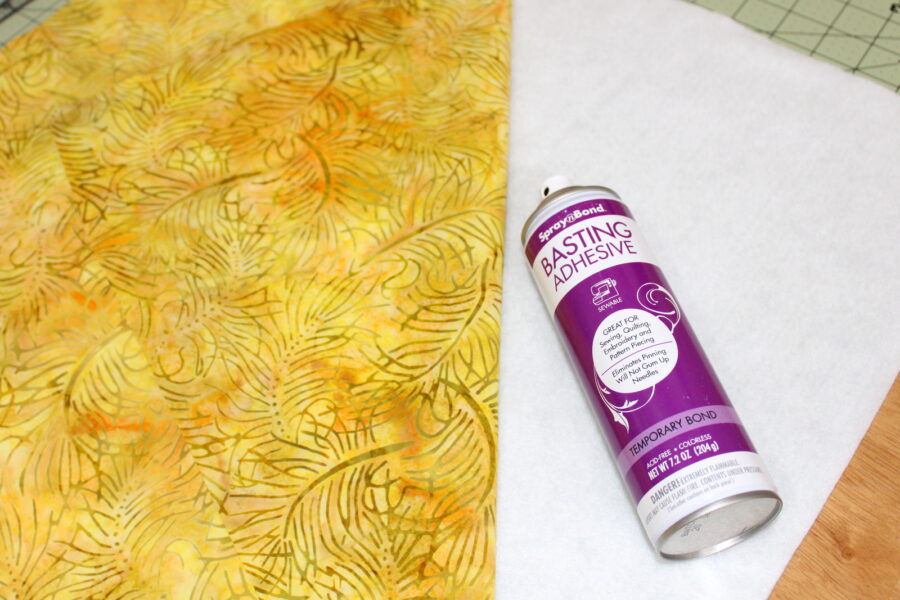
Spray n Bond Basting Adhesive
Stitch n Sew High Loft Fleece
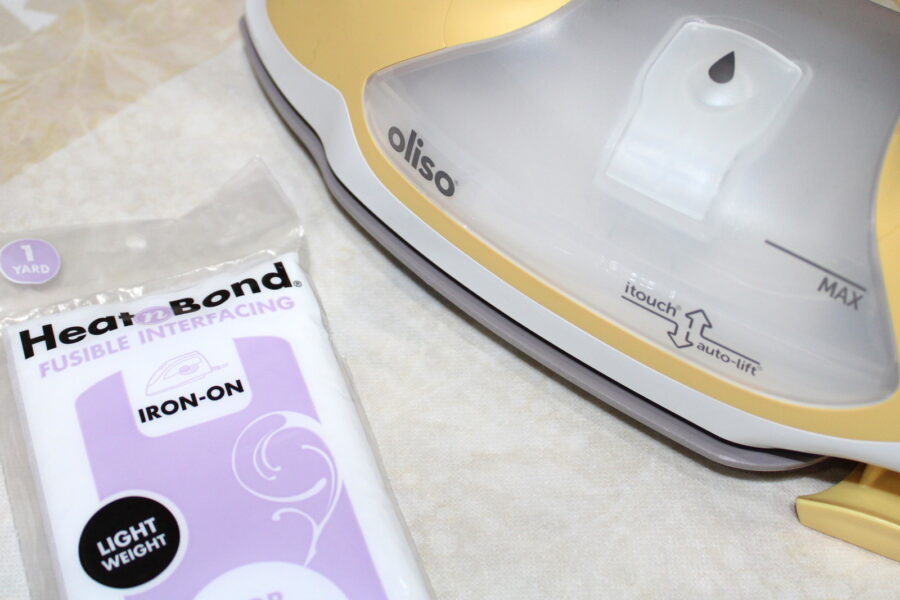
Heat n Bond Light Weight Non-Woven Interfacing
Ironing Heat n Bond Light Weight Non-Woven Interfacing to your applique projects can add stability to the fabric and stitching. Follow package directions to iron the interfacing to the wrong side of the applique backing fabric. An Oliso iron makes the process even better!
Creating applique designs has never been easier, especially with Heat n Bond Lite Iron-on Adhesive or Heat n Bond Lite EZ Print Sheets. The EZ Print Sheets can copy your designs using an inkjet printer…no tracing! You’ll also love how easy it is to remove the backing. No scoring the paper to get it off.
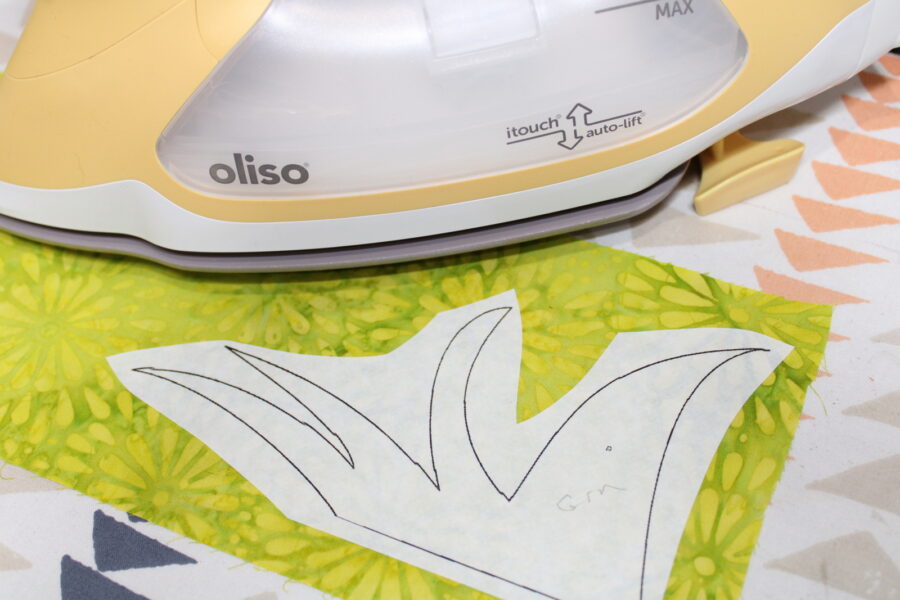
Trace applique designs on the smooth side of iron-on adhesive. Cut around traced applique designs leaving at least a quarter-inch from the solid line.
 Hint: Writing the desired fabric color on the paper applique piece can avoid confusion when ironing to the fabric. Iron applique designs (rough side down) to the wrong side of fabrics following package directions. Let cool.
Cut out applique pieces on solid lines. Peel off paper liner from the backs of applique pieces. Follow design keys for correct placement. Place applique, adhesive side down, on right side of the fabric. Press according to package directions until the entire piece is bonded. Let cool.
 Applique Tip: When putting together your applique pieces, lay them out first before ironing them to your fabric. Make sure they slightly overlap if indicated in the keys. A heatproof sheet is a great tool for assembling the pieces. Lay them out on the sheet and lightly press them in place (do not do it for too long.) Let cool. Carefully peel off the applique from the sheet and lay it on the right side of your fabric. Press in place.
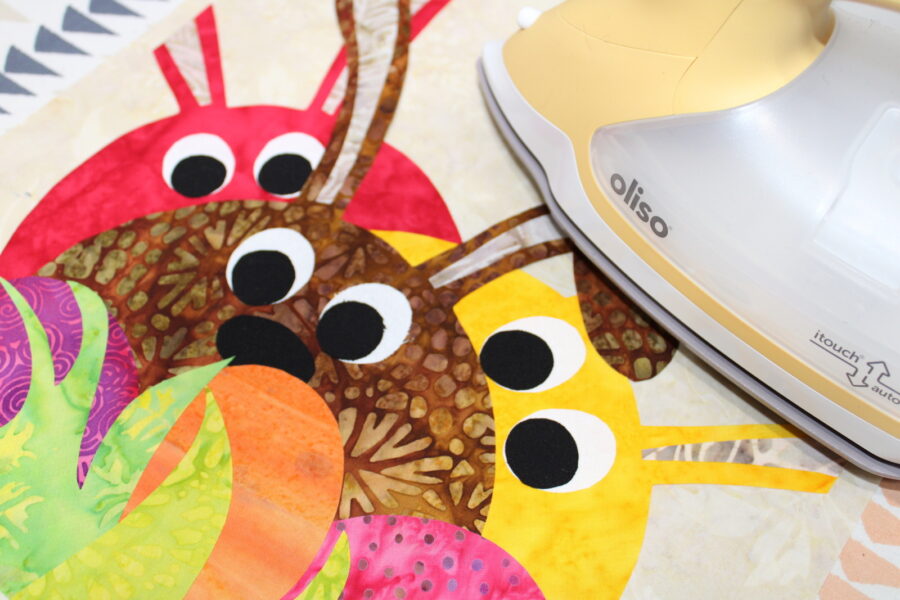
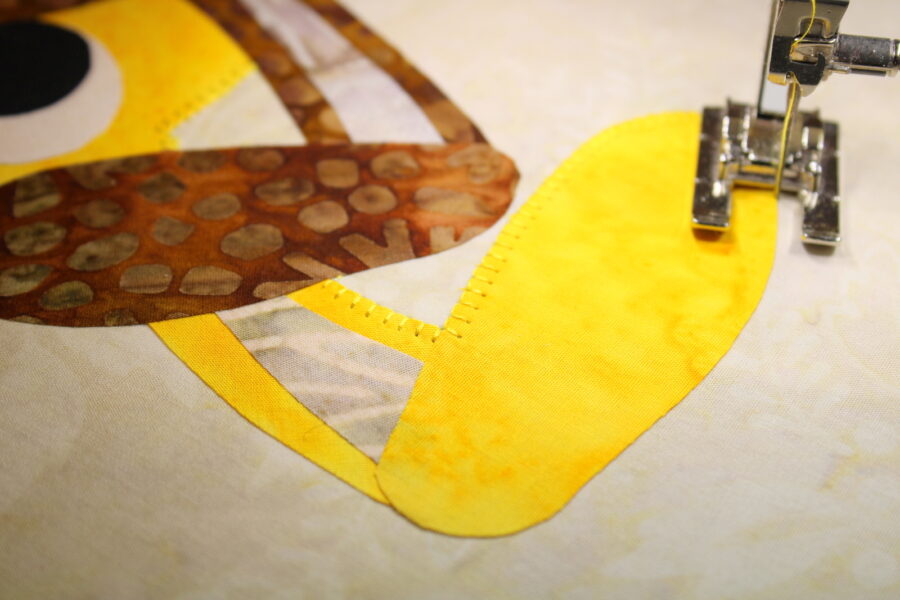
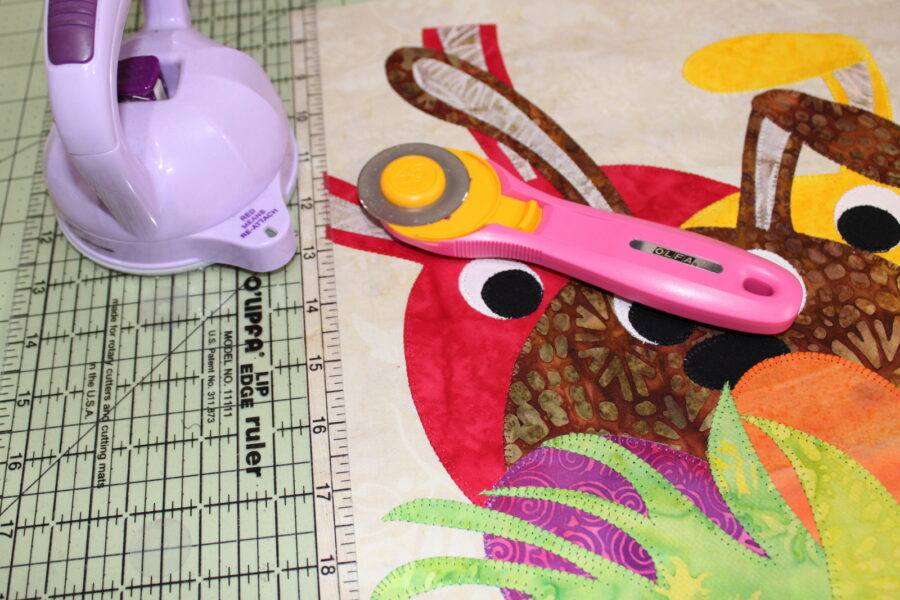
Sew around applique design edges using a straight, zig-zag, or blanket stitch. Trim block after stitching.
Applique Tip: Cutting your background fabric an inch bigger before stitching applique in place can help with any shrinkage that might occur.
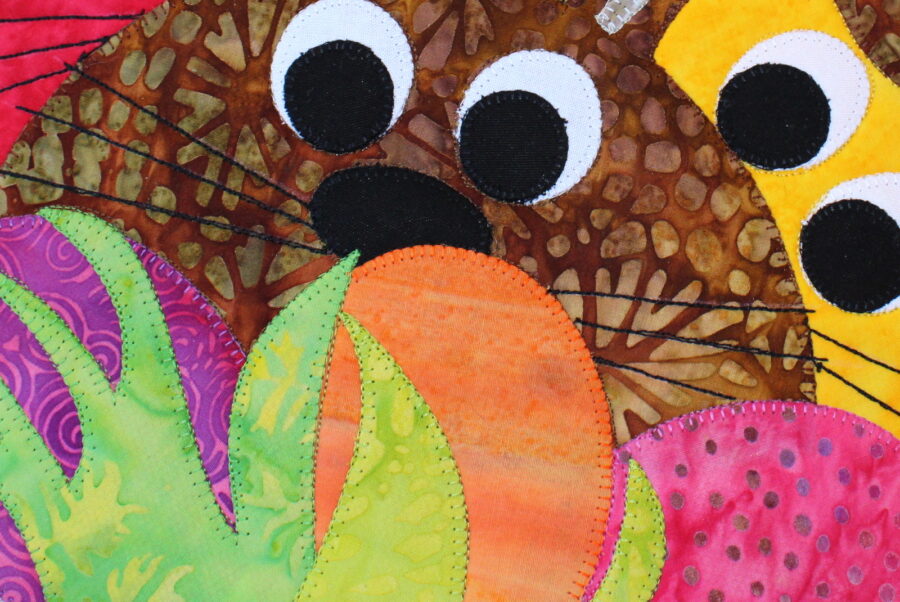
Machine stitch the whiskers…no hand sewing involved! Use a chalk pencil and ruler to mark the lines.
Adding Stitch n Sew High Loft Fleece behind your applique can help add dimension when you quilt it. Lay your fleece on a protected surface. Lightly spray the Spray n Bond Basting Adhesive over the fleece. With the wrong side down, lay pillow lining on sprayed fleece. Smooth to remove wrinkles.
Turn both pillow lining and fleece over to have fleece facing up. Lightly spray the Spray n Bond Basting Adhesive over the fleece. With the wrong side down, lay the pillow front on sprayed fleece. Smooth to remove wrinkles. Let dry.
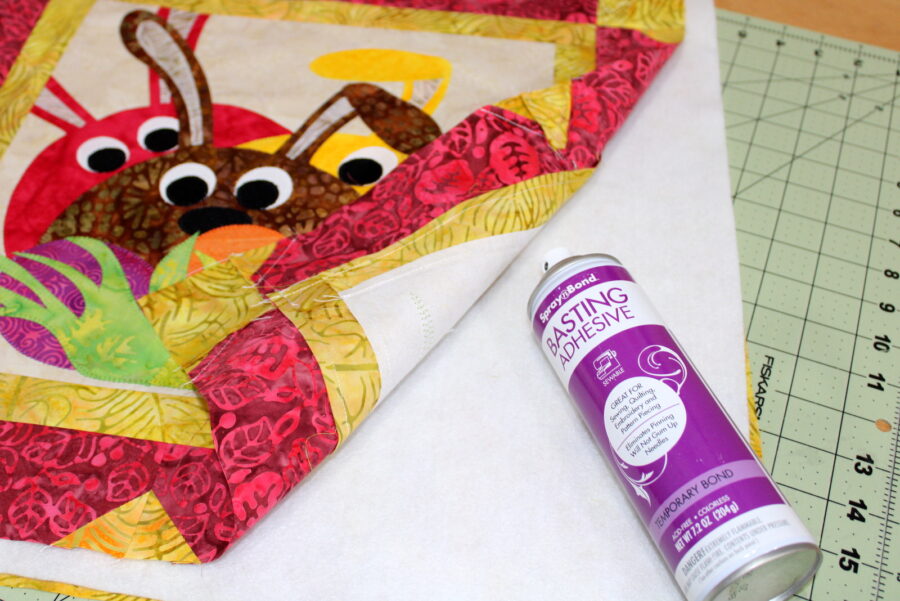
Quilt using your favorite style or just quilt around each of the applique designs to make them pop out to the front of the pillow. Trim pillow after quilting to avoid shrinkage.
Creating a backing for the pillow is really quick: Fold under 1/2” on one long side of each pillow back rectangle. Press. Fold over again 1/2” and press. Topstitch close to the edge of the fold.
Place the pillow front right side up on a flat surface. Place the two backs, right side down over the right side of the pillow front with folds towards the middle of the pillow. Overlap in the center and line up the outer edges with the pillow top. Pin around all edges; Sew around all the edges with a 1/4” inch seam. Trim corners. Turn inside out and press around the edges. Place preformed 18” x 18” pillow inside through the flap.

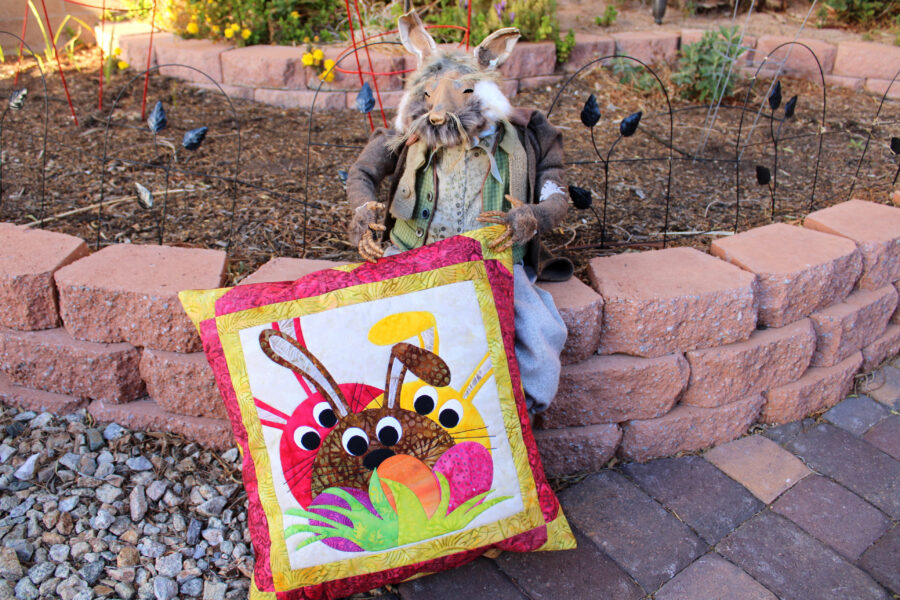
This guy, Creepy Bunny, totally loves this pillow! He thinks you will, too.
 The complete instructions for “Peek-A-Boo Bunnies” can be found HERE.
Have a Happy Easter stitching, decorating, and spending time with family!