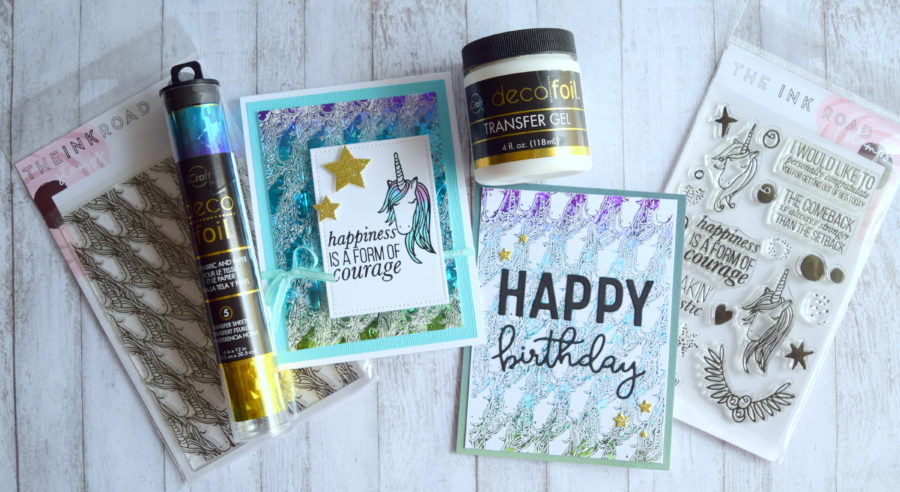
 Hello there! Shemaine here today sharing some fun cards I created using some of Therm-O-Webs products and some awesome stamps from Ink Road. I’m thrilled that we have teamed up with them for some amazing inspiration all week on the blog.
Majestic Ink Road Deco Foil Cards
Therm-O-Web supplies:
DECO FOIL™ TRANSFER GEL
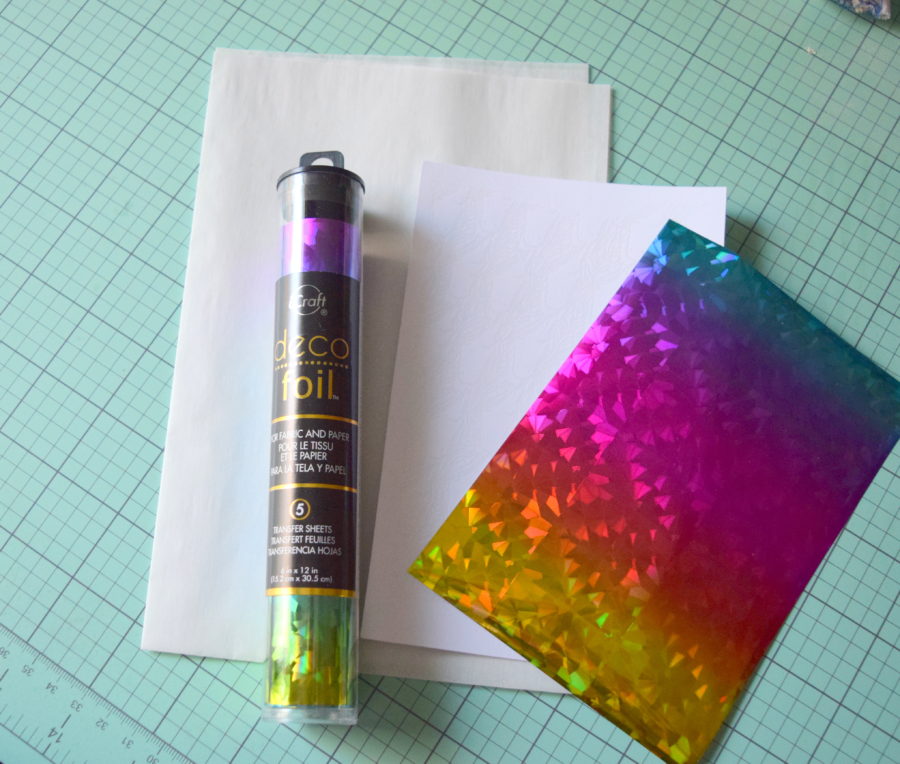
DECO FOIL TRANSFER SHEETS – RAINBOW SHATTERED GLASS
DECO FOIL™ WHITE FOAM ADHESIVE
MEMORY TAPE RUNNER XL™
ICRAFT ULTRA BOND ADHESIVE 2 FL OZ
Ink Road Supplies:
Majestic Background
Majestic stamp set
__________________________________________________________________________
Majestic Cards
For today’s cards, I used Deco Foil transfer gel and a brayer to apply the gel onto the Majestic background stamp and then stamped the image onto the cardstock. Let it dry for about an hour. Make sure to immediately wash your brayer and stamp with warm water and soap when you are finished.
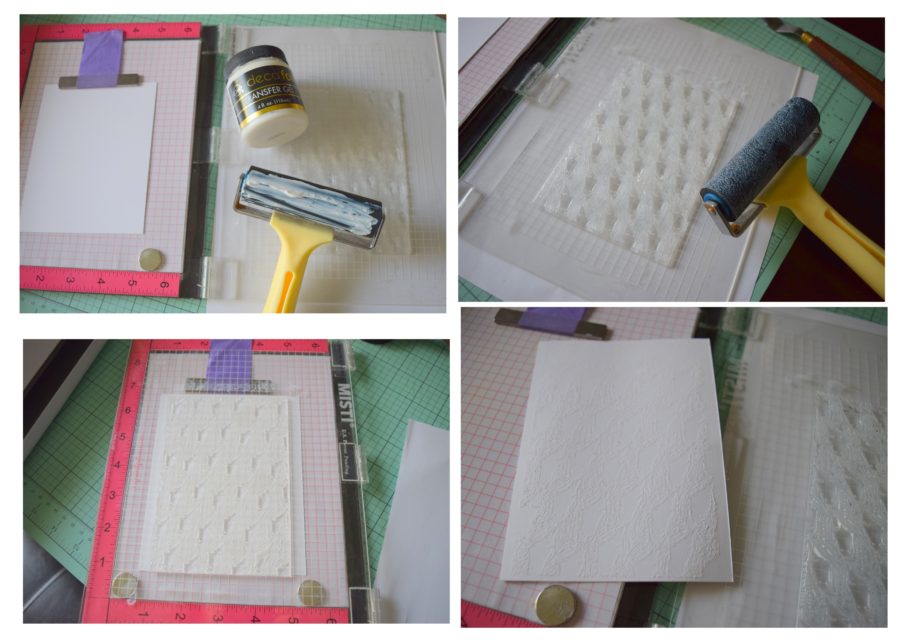
Now that the Deco Foil Transfer Gel has dried, cut a piece of foil the size of the cardstock and run thru the laminator inside the parchment paper with a shim of cardstock under for best results.
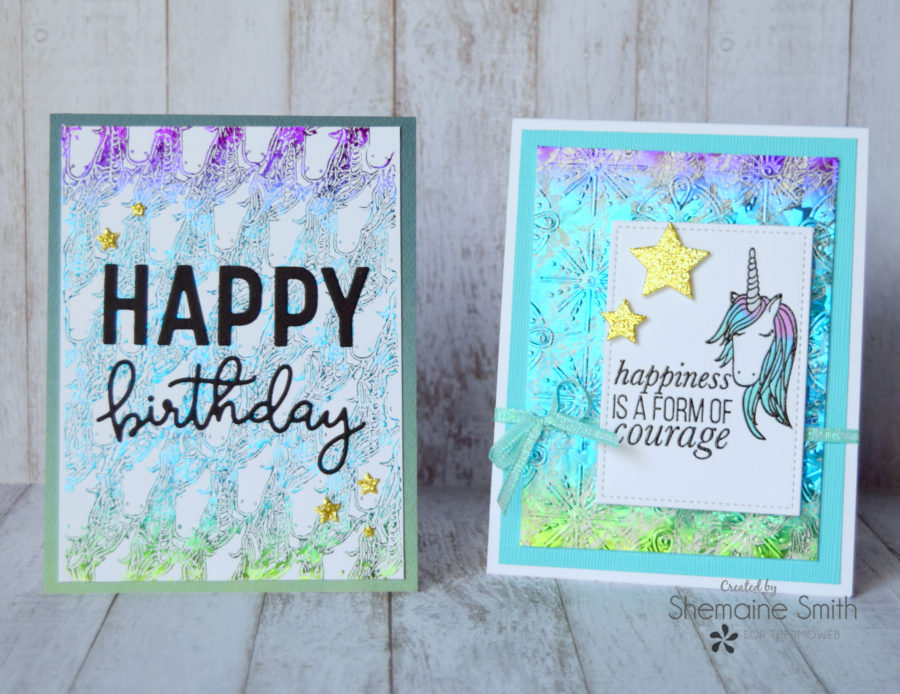
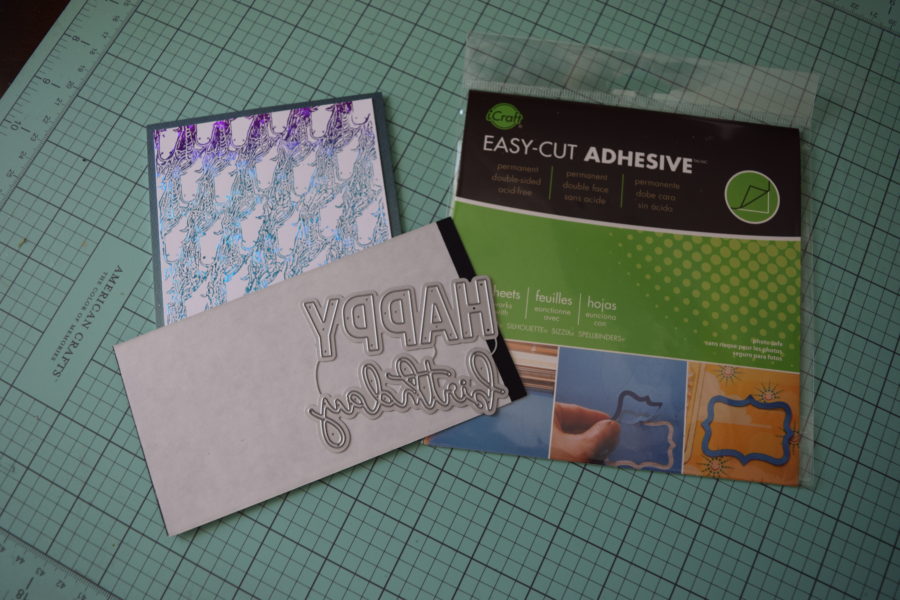
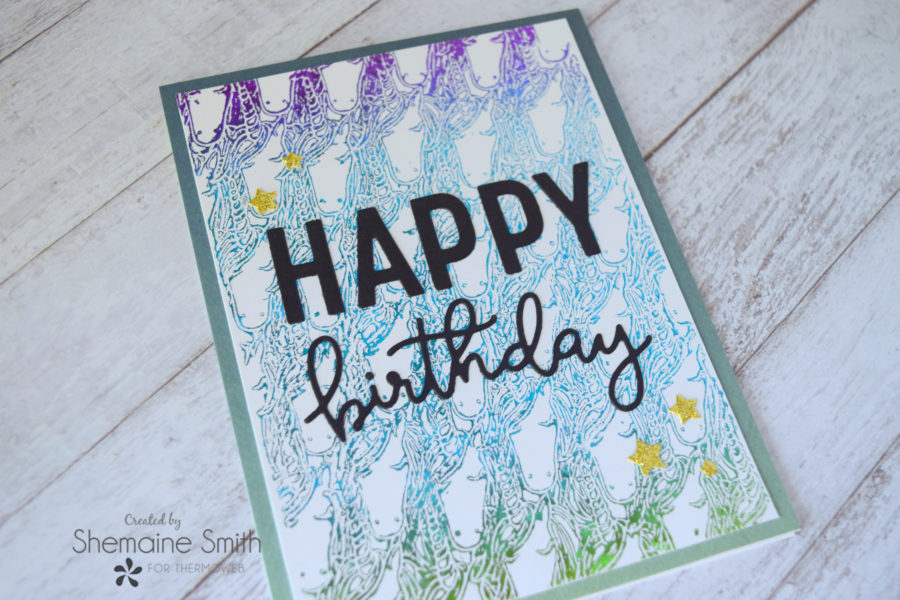
Next adhere the foiled background to your card base and choose your favorite die cut sentiment. I chose a Happy Birthday sentiment. For a great way to adhere detailed die cuts to your card bases, use the Easy-Cut Adhesive on the back of your cardstock and place the color side down on the die and die cut. Then peel off the back and adhere to your card base.
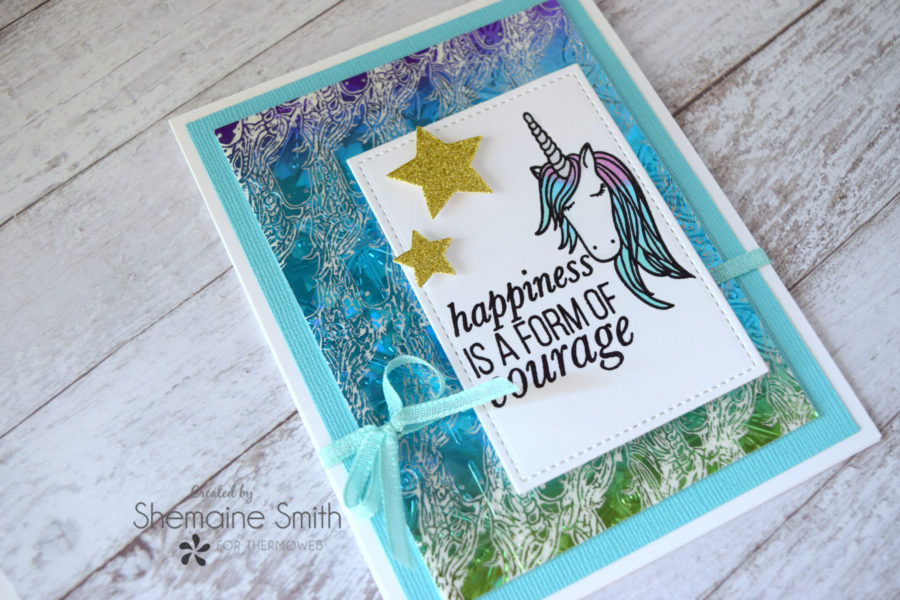
I added some small gold stars with our iCraft Ultra Bond Adhesive. The finished card is really pretty don’t you think?
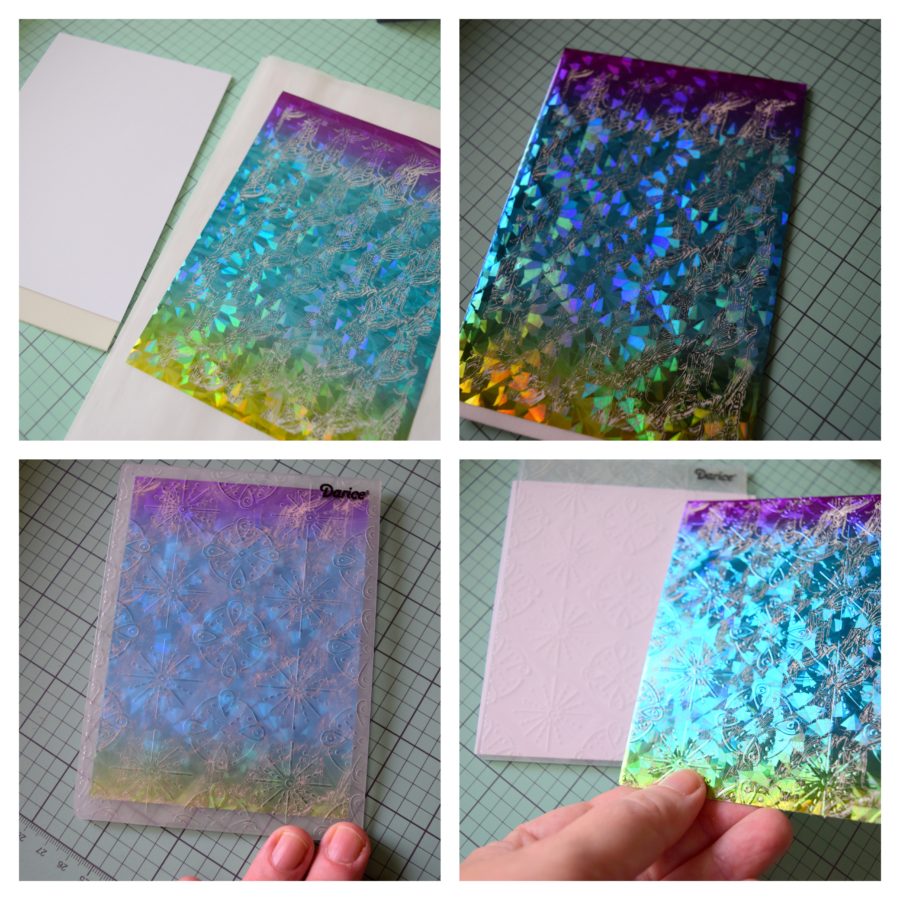
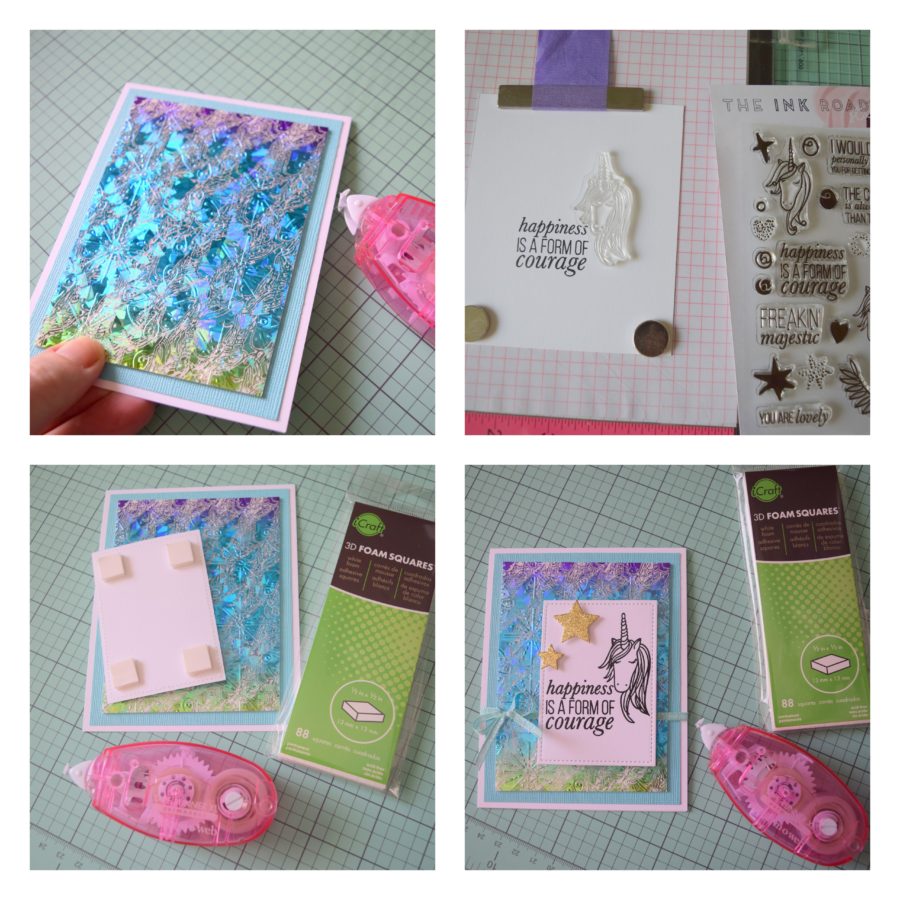
I love the negative image left behind from foiling. I hate the thought of just discarding it so I found a fun way to use them along with our Deco Foam Adhesive sheets.
1. Cut a piece of cardstock 4 1/3 X 5 1/2 and then cut the Deco Foam Adhesive the same size.
2. Peel off the top layer of the foam adhesive and adhere the cardstock. Then turn over and peel off the other layer and carefully place the negative foil image from the top and smooth downward to apply evenly.
3. Place inside your favorite embossing folder and run it through your favorite die cutting machine.
4. Then admire the results.
Now adhere the finished piece to the card base with our XL tape runner. Look at the dimension this technique adds! Stamp the image and die cut to adhere to the front of the card using our 3D foam squares. Finish with a ribbon bow and some die cut gold stars.
I hope you’ll give these techniques a try on your next card. Have a creative day!
Shemaine
Be sure to take a moment to get yourself entered to win so you too can shop for these amazing products. Then visit our friends at Ink Road Stamps to see what kind of inspiration they are sharing with our products!
You’ll find a bonus opportunity to enter to win a $40 Gift Card by following an exclusive IG account here!

Christine Cox
May 21, 2019 at 2:25 pm (6 years ago)I love it all, but I would like to try the transfer gel. That iridescent foil is gorgeous!
Denise Bryant
May 21, 2019 at 3:07 pm (6 years ago)Pretty cards today! I love that sweet unicorn stamp! The foils are beautiful!
Sue D
May 21, 2019 at 9:33 pm (6 years ago)Wow–these are so pretty!
Sharon Gullikson
May 22, 2019 at 10:43 am (6 years ago)The foiling makes such a difference!!!!!!!!!! Perfect!
StarSpry
May 22, 2019 at 2:38 pm (6 years ago)These cards are lovely! I would really like to try out this Transfer Gel. 🙂
Marisela Delgado
May 23, 2019 at 7:44 pm (6 years ago)awesome card