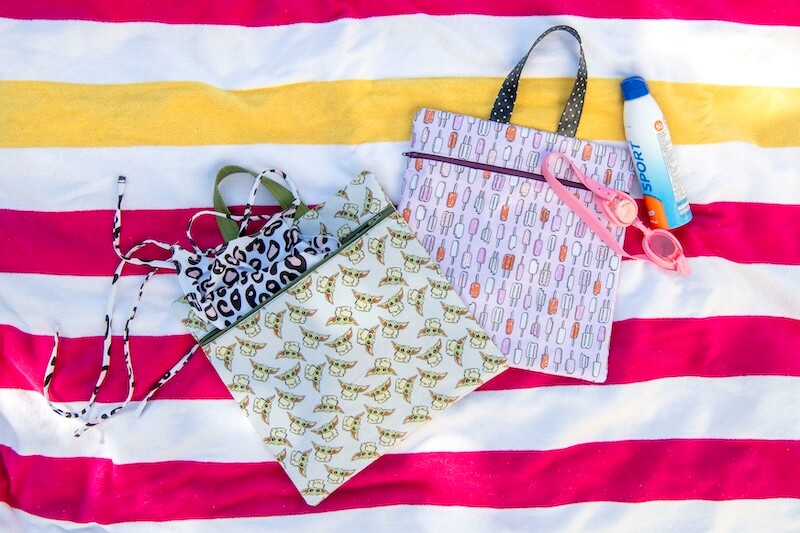
Hi friends! I am so excited about the warmer weather rolling in. For today’s tutorial I decided to make a wet bag. It’s waterproof thanks to the HeatnBond Liquid Vinyl. Perfect for shoving your wet swimwear in after the pool without getting everything in your pool bag wet. I’ve made it so you can use a directional print and still have it facing right side up on the front and back.
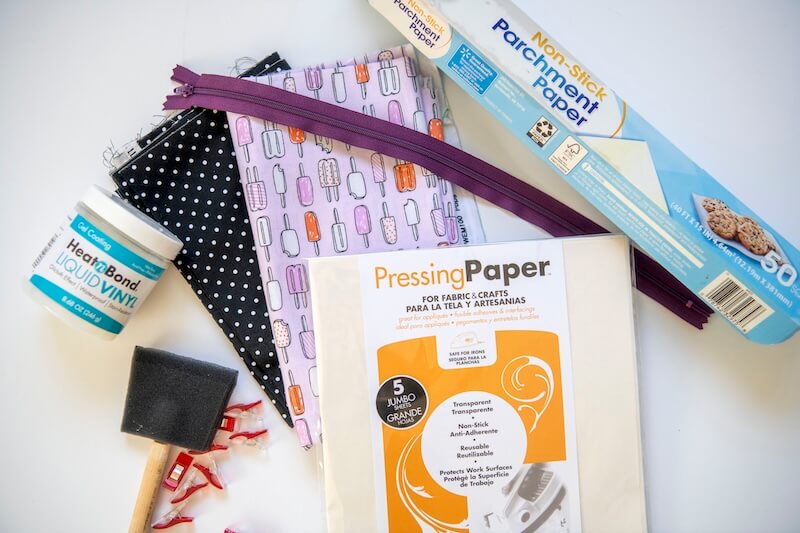
Supplies:
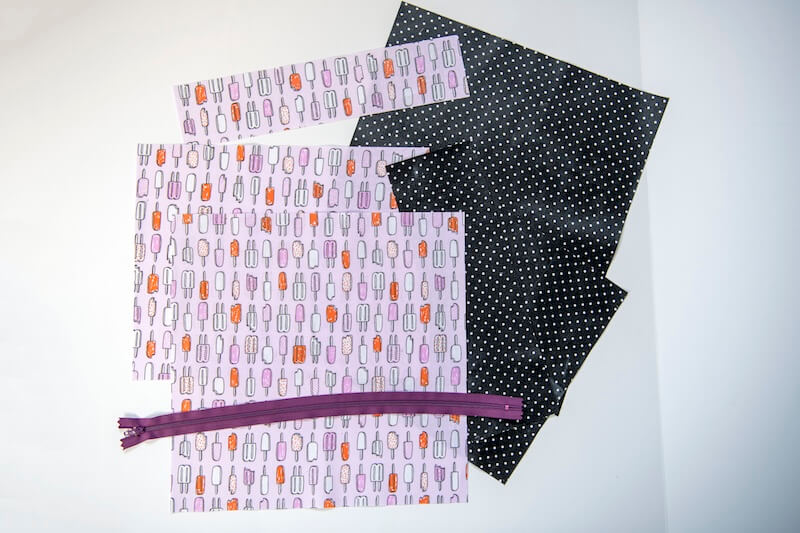
- Half yard of 2 coordinating quilters cotton fabrics
- Pressing Paper
- HeatnBond Liquid Vinyl/sponge brush
- 14” or longer zipper
- Parchment paper
- Clips
**Use a ¼” seam allowance unless otherwise stated.
Ok, let’s get started.
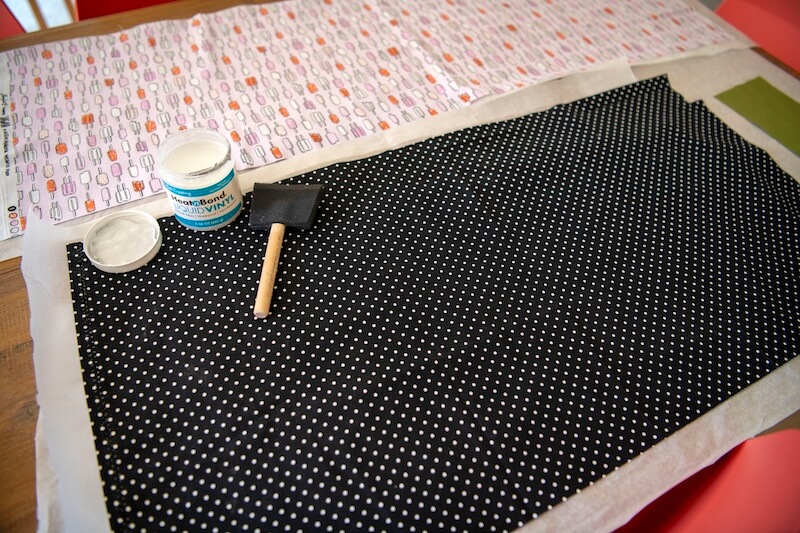
First we will treat our fabric then we will cut it down to size.
- From your main fabric, cut one 26” wide by 13.5” tall rectangle
- From your lining fabric, cut one 26” wide by 16” tall rectangle
Lay your two pieces of fabric on some parchment paper. Take your Liquid Vinyl and sponge brush. Brush a thin layer of the Liquid Vinyl onto the right side of your fabrics. If you see any threads, peel them off now. Once it sets it’s tricky to remove them. Let it dry. Repeat two more times until you have three coats on each fabric.
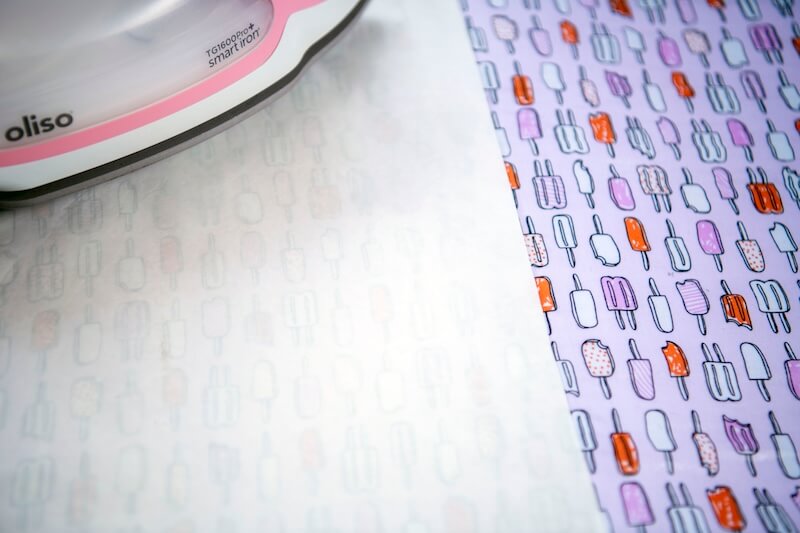
After all three coats dry let’s set the Liquid Vinyl as directed on the bottle using our Pressing paper as a barrier (shiny side down).
Once set we are ready to cut our fabrics down to the sizes shown in the cut guide.
Cut guide (WxH):
From main quilters cotton fabric cut-
- (1) 12.5”x2.75”
- (1) 12.5”x10”
- (1) 12.5”x12.5”
From lining fabric cut-
- (1) 12.5”x14.75”
- (1) 12.5”X10”
- (1) 4”x10”
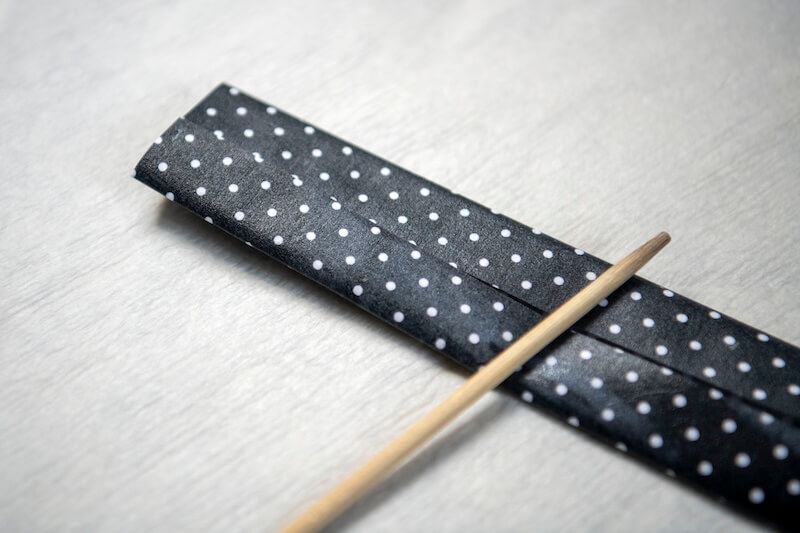
Let’s get sewing. Take your 4”x10” strip of lining fabric. We’ll be folding this like double fold bias tape to make the handle. Fold the fabric in half lengthwise, right side out, and press (make sure to use your pressing paper every time you use the iron. Open back up. It may stick to itself a bit but gently pull it apart. Fold in both ends into your pressed line. Close it back up trapping those raw edges inside. Press. Take to your machine and topstitch down both sides.
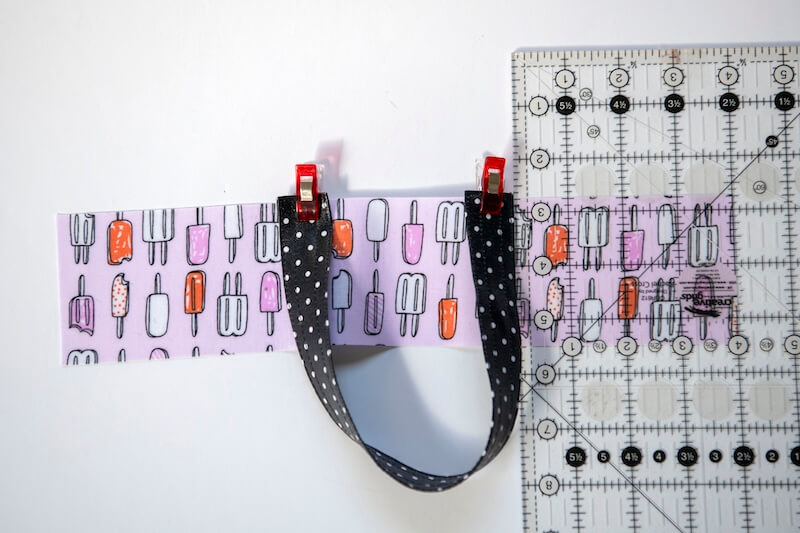
Next grab your 12.5”x2.75” strip on your main fabric. Lay it on your work surface right side up with your print facing the correct direction. Measure 4-inches in on one side a clip the raw edge of your handle along the top of your fabric panel. Repeat on the other side with the other end of the handle. Tack in place.
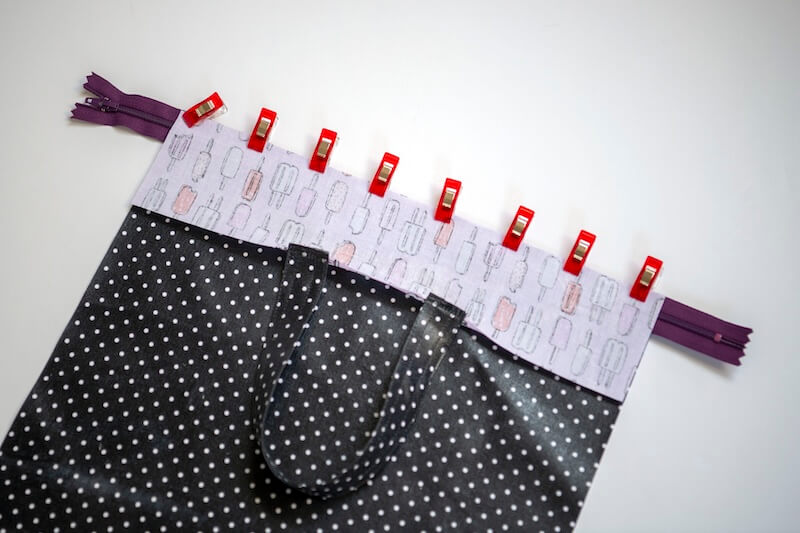
Grab your zipper and your 12.5”x14.75” lining piece. Lay your lining piece on your work surface right side up. With your zipper right side up and the zipper pull on the left side, center your zipper over the top of your lining piece with the top edges matching up. Next lay your main bag top piece with the handle attached over top of your zipper with the wrong side facing up and the handle side on the bottom. Clip. Sew
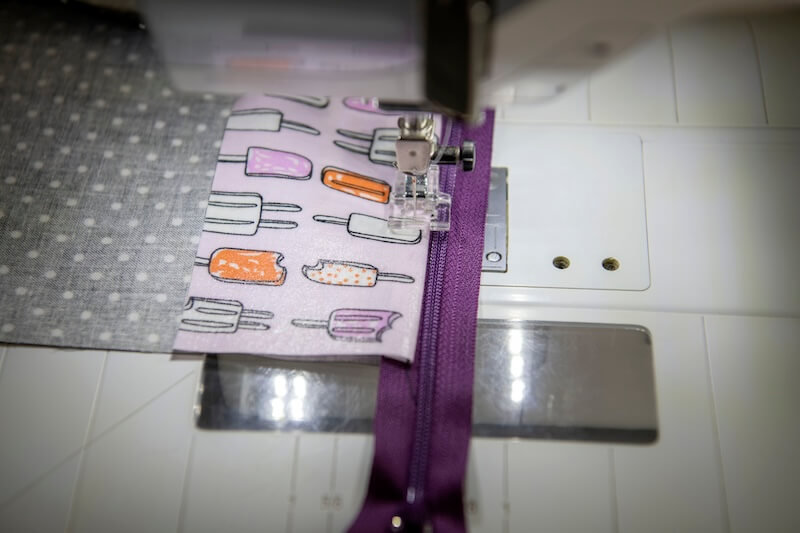
Open up and top stitch. If you have a teflon foot it’ll make it a little easier to sew.
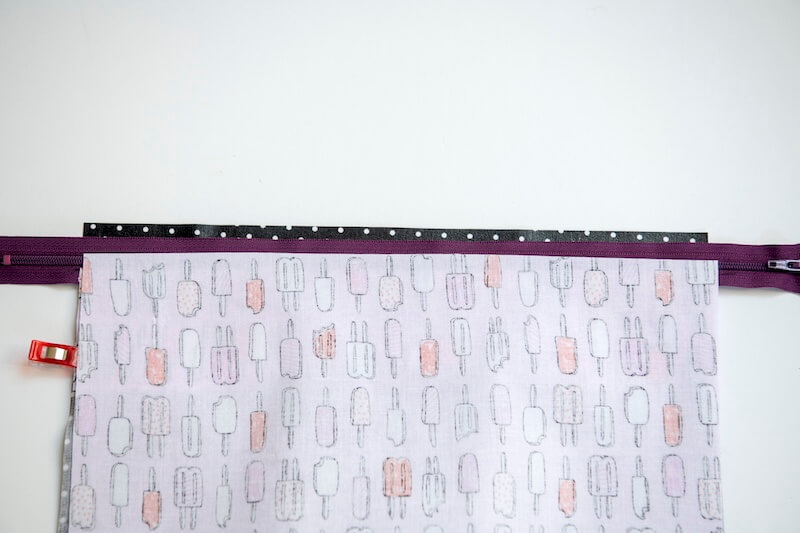
Turn so the unsewn side of your zipper tape is facing up. Grab your remaining lining piece and lay it on your workstation. Line your zipper tape up with the top edge. Next lay your 12.5”x10” main fabric piece on top, wrong side up. If you have directional fabric, lift it up and make sure the fabric direction is upside down (open it up and see if it’s going the same direction as your top piece). Clip, sew, then top stitch.
Grab your last panel. Line it up with the top of your panel that our handle is attached to. Make sure the handle is facing down and sandwiched between the two panels and that all of your lining pieces are out of the way. Sew along just that one top edge.
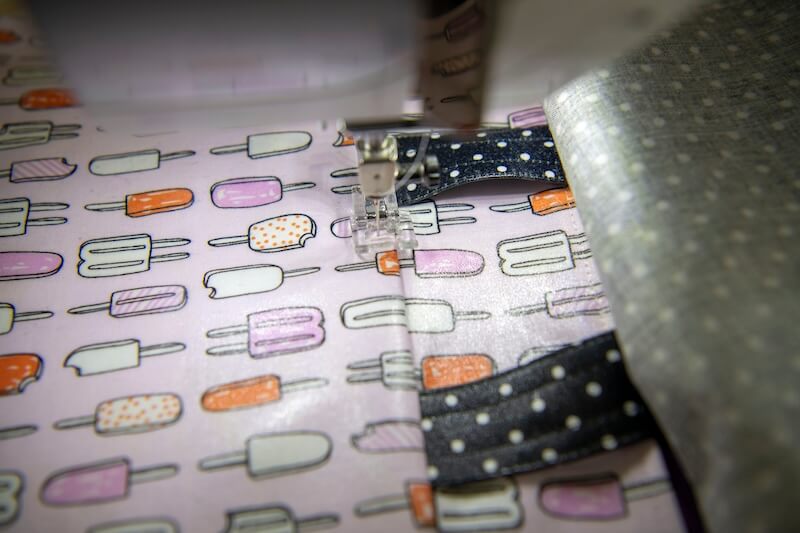
Top-stitch to strengthen the handle.
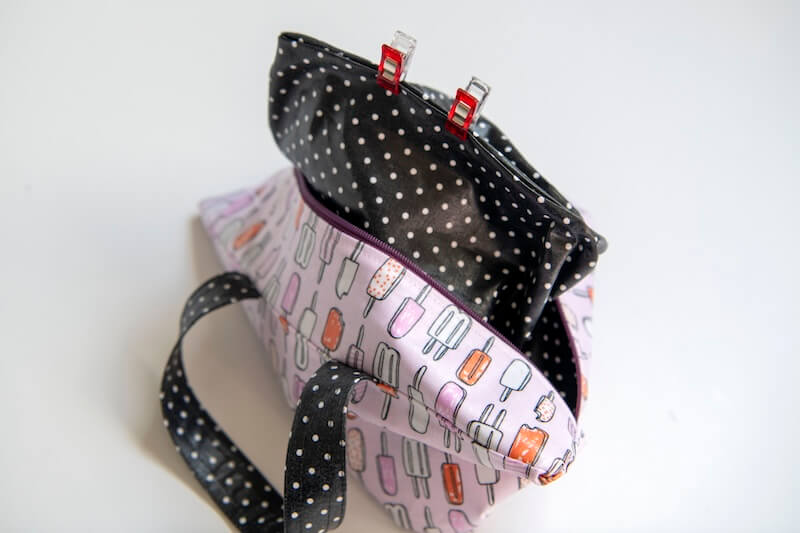
Open your zipper up halfway and tack the zipper tape so it stays together just by the edge of your fabric.

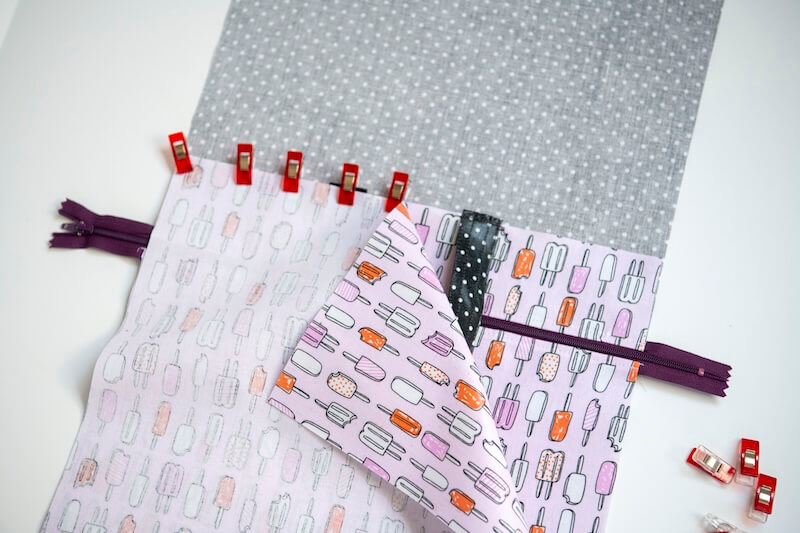
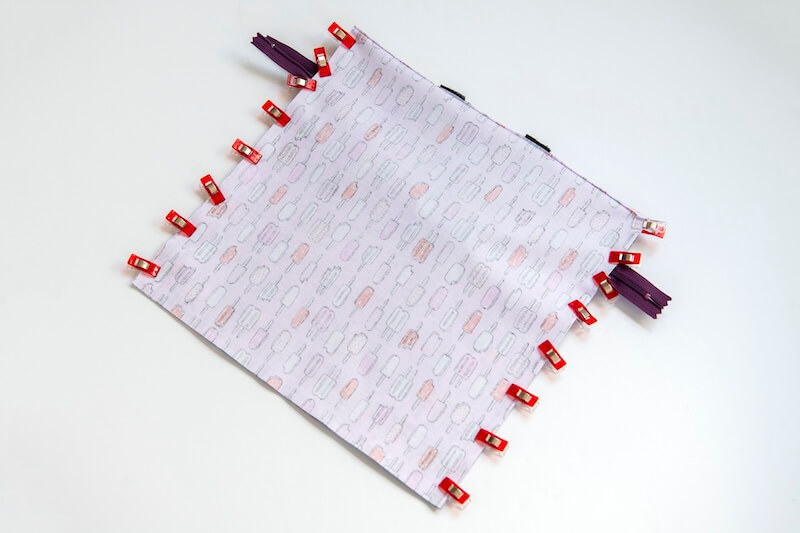
Match your linings up and clip along the bottom edge. On the lining, leave an opening for turning (that’s the space shown with the green clips). Match up the ends of your main fabrics as well and clip. Sew both using our ¼” seam allowance.
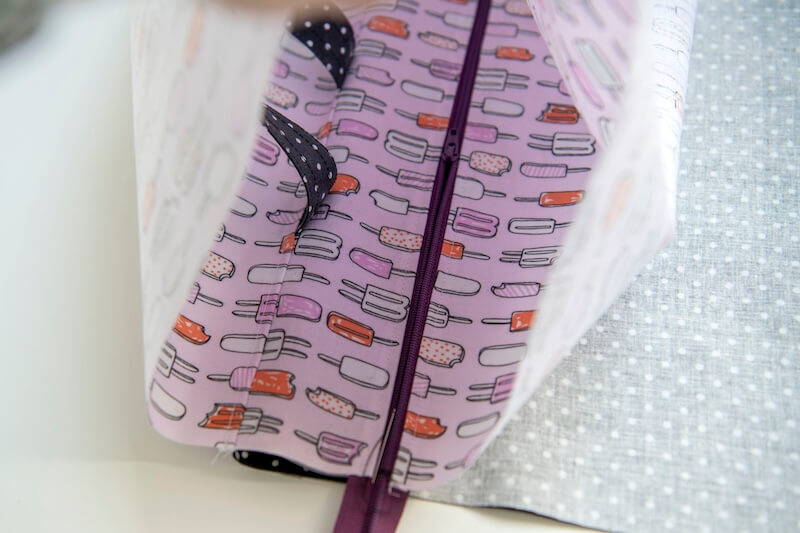
Next, lay your project on your work station with the wrong sides still facing out. Start by lining up the bottom seam of your main bag and lining and clip along the unsewn sides. Clip all the way up on both sides, clipping all four layers together as you go. Sew those two sides starting at the bottom seam on both sides to avoid puckering. Clip the excess zipper and the corners.
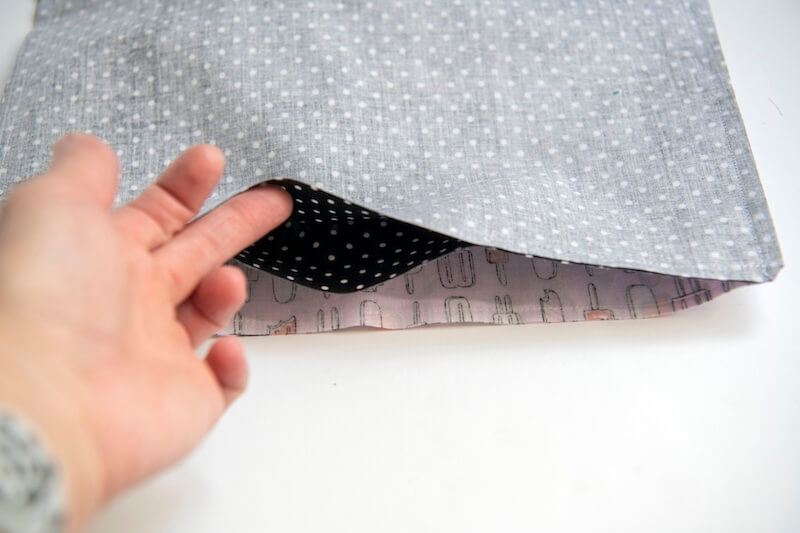
Turn right sides out by opening up the zipper all the way and pulling the fabric through the opening.
Sew the opening in the lining close and then push the lining back inside and smooth your wet bag out.
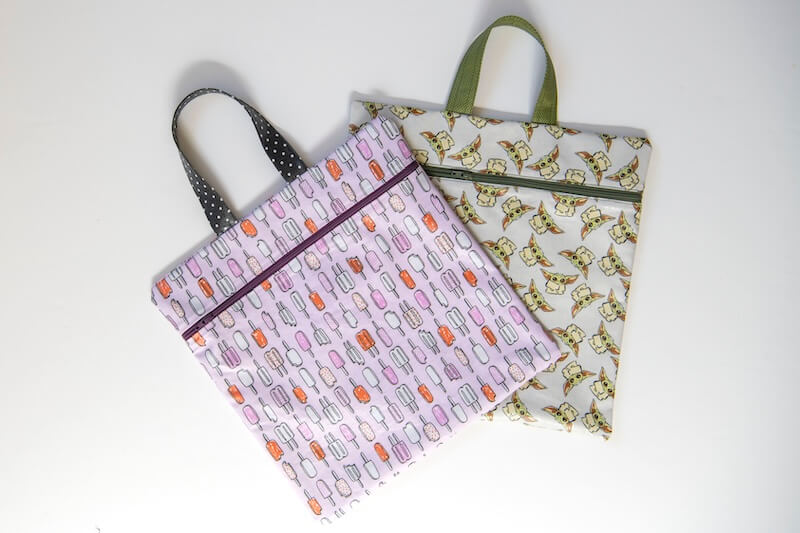
All done! It can easily fit inside your pool bag, it’s waterproof, and machine washable! Great little summer birthday gift, too. Thanks for sewing along!