


Hello! It’s Karen from Creamcraft Goods. Christmas seems to be everywhere I go – songs playing on the radio, stores already selling and decorated for Christmas, friends who already have Christmas trees up! My kids have been reminding me daily to add this or that to their Christmas list to Santa. So, we’ve been working on those lists and I thought of a cute way to display and send their letters off to the North Pole – a handmade Letter to Santa Envelope Holder. You can hang the holder on the door and send it off to Santa in December. Stuff Santa’s letters in the holder once he mailed out his response and tell the kids he wrote back! It’s also cute displayed as Christmas decor and can be used as an envelope pouch when the letters have been sent off! Let’s make this holder!
Letter to Santa Holder Instructions
Materials
- HeatnBond Fusible Fleece
- SpraynBond Fusible Adhesive Fabric Spray
- 4 fat quarters in coordinating prints – for envelope
- 1/4″ yard of striped fabric or 2 packages of premade binding – for binding
- Decorative button
- Cotton Cording
Tools Used
- Sewing machine
- Iron – I love Oliso!
- Ruler
- Rotary Cutter
- Water Soluble Pen
Cutting
- Cut two 12″x 15″ cotton rectangles
- Cut one 12″ x 15″ HeatnBond Fusible Fleece
- Cut two 11 1/2″ x 8 1/2″ cotton rectangles
- Cut one 11 1/2″ x 8 1/2″ HeatnBond Fusible Fleece
- Cut two 14″ x 2 1/4″ cotton binding strips – for the envelope sides
- Cut one 17″ x 2 1/4″ cotton binding strip – for the envelope top flap
- Cut one 29″ x 2 1/4″ cotton binding strip – for the body of the envelope
- Cut one 18″ piece of cotton cording
Tips
- Use a 1/4″ seam allowance unless noted otherwise
- Follow the instructions for the HeatnBond Fusible Fleece and
- SpraynBond Fusible Adhesive Fabric Spray as directed from instructions
- If using directional fabric for the 11 1/2″ x 8 1/2″ cotton rectangle (these will be cut into triangles along the diagonal), attach one side right side up onto the 11 1/2″ x 8 1/2″ fusible fleece and on the other side, attach it upside down onto the backside of the 11 1/2″ x 8 1/2″ fusible fleece.
Let’s Begin!
PREP YOUR CUT FABRIC PIECES
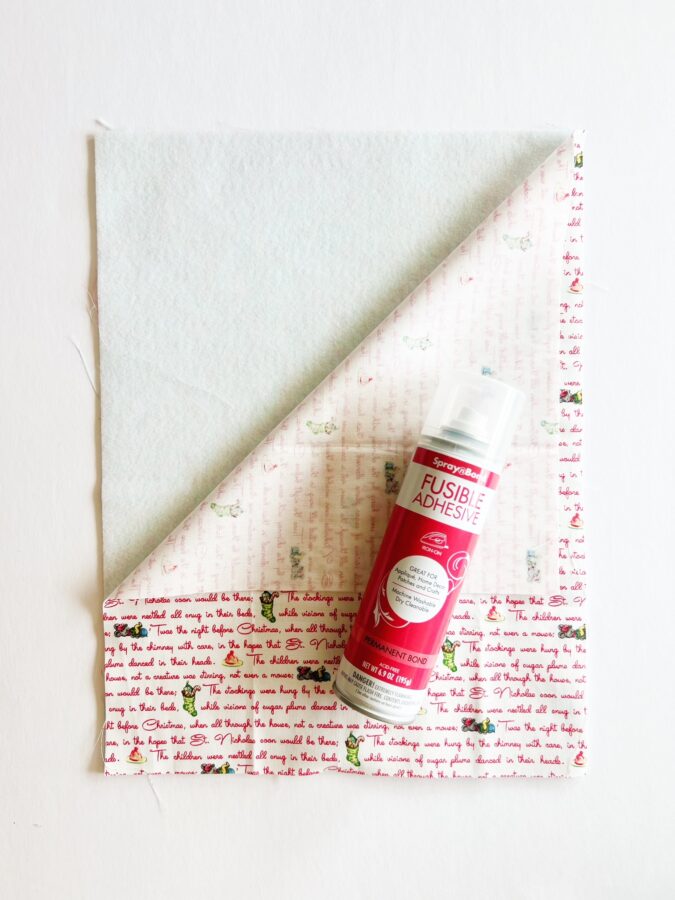
- Adhere all HeatnBond Fusible Fleece pieces to each fabric piece:
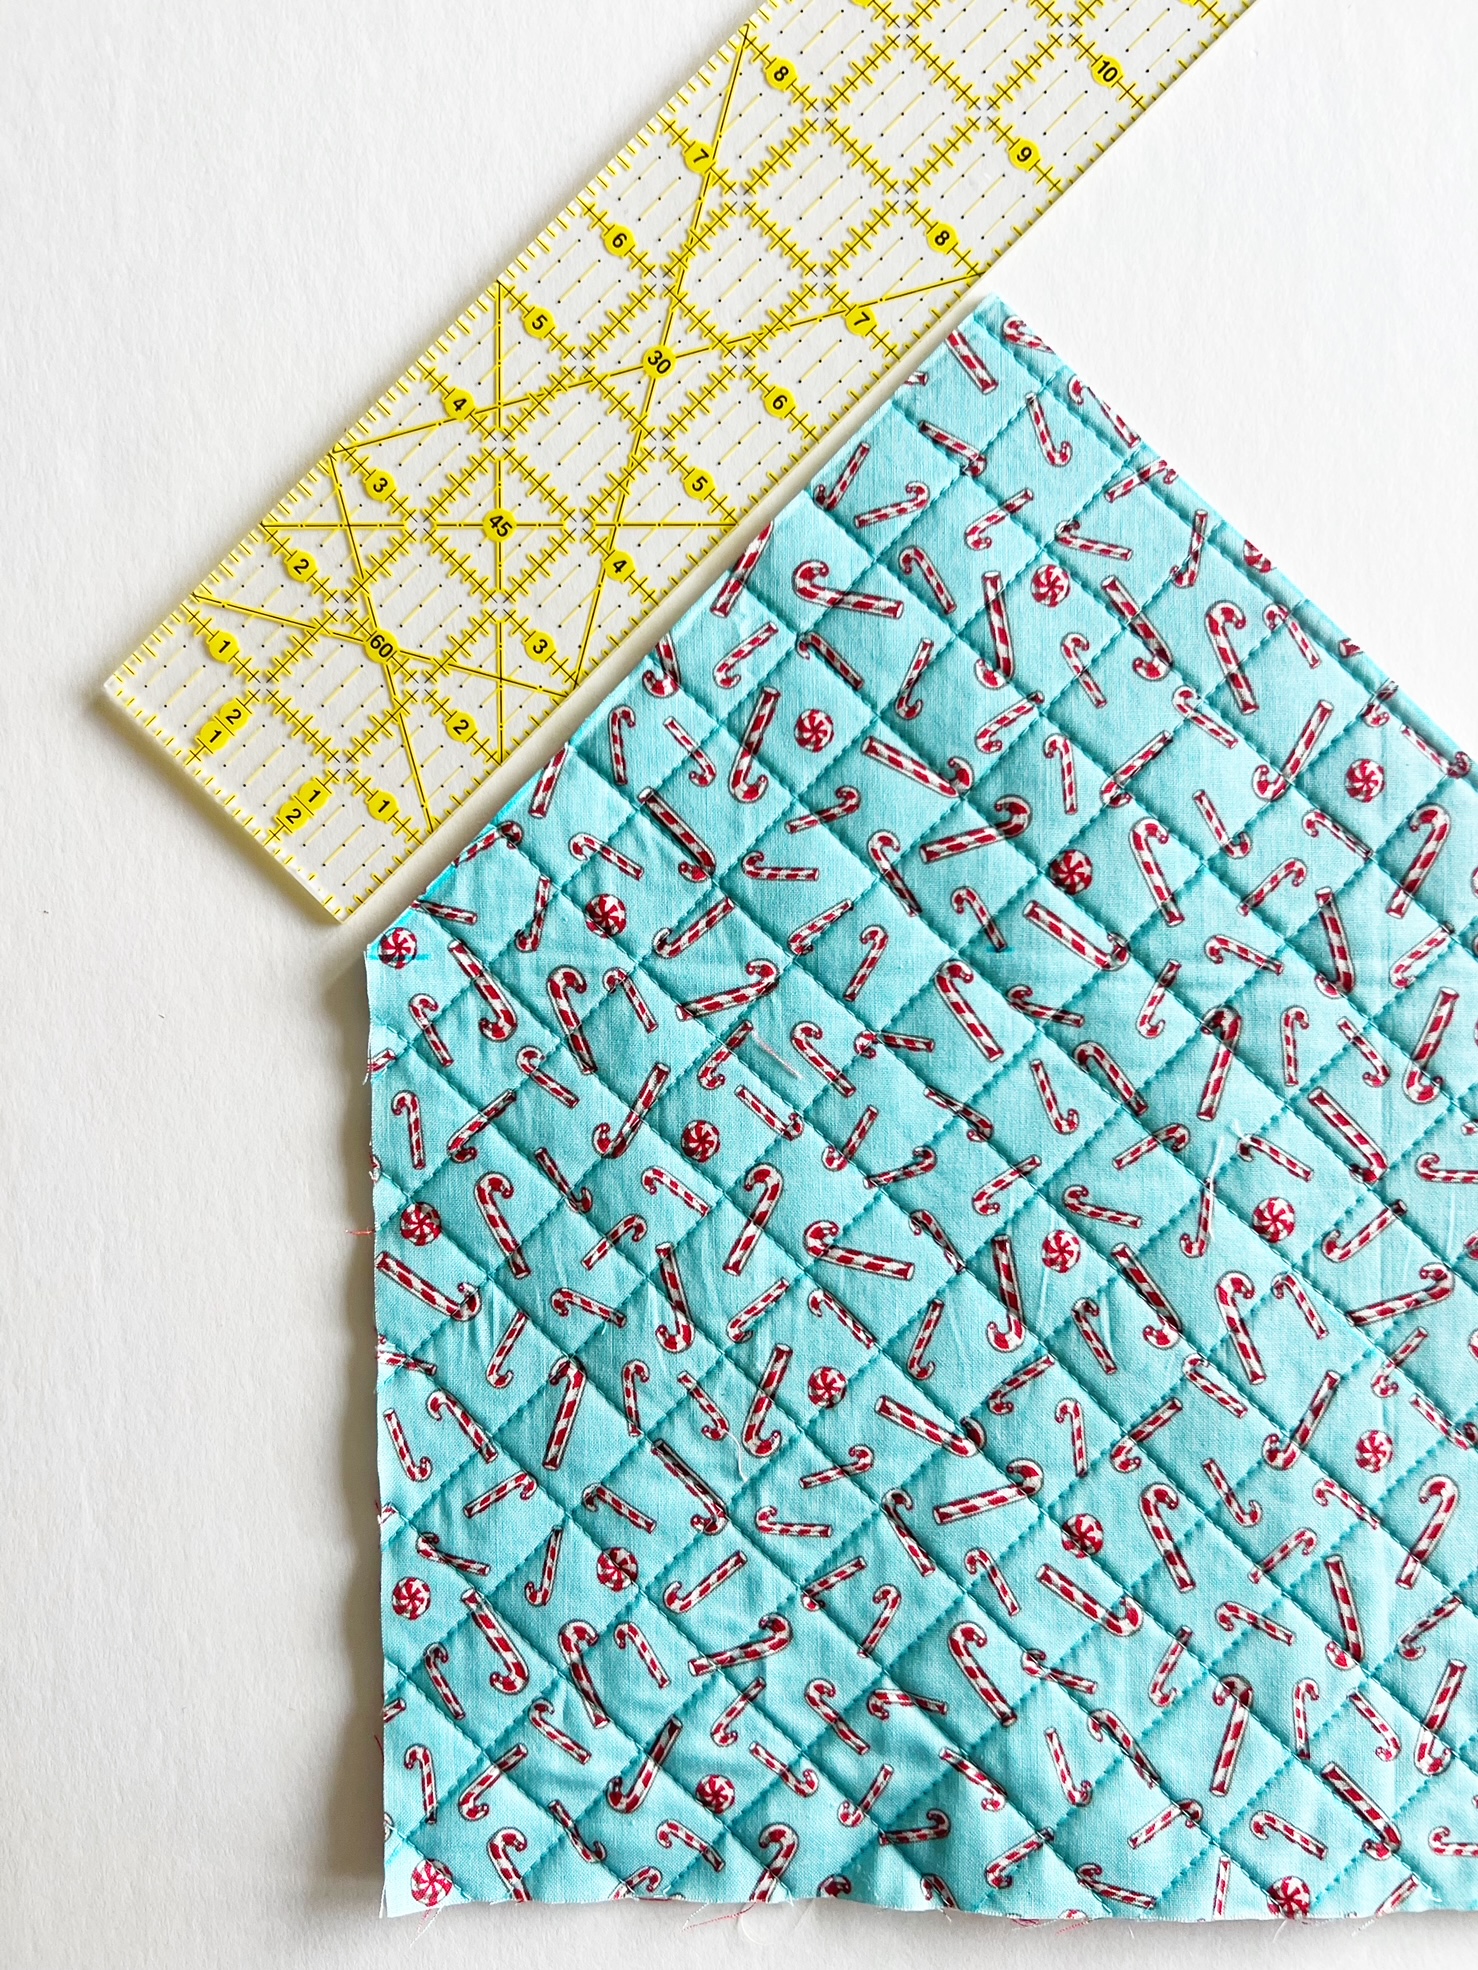
- Adhere a 12″ x 15″ cotton piece to the fusible side of the HeatnBond Fusible Fleece. Press with an iron. Spray the other side of the fleece with SpraynBond Fusible Adhesive Fabric Spray and lay the second 12″ x 15″ cotton piece onto the sprayed side. Follow the instructions for the spray. Once done, quilt as desired. Trim the piece down to 11 1/4″ x 14 1/4″. Set aside.


- Adhere a 11 1/2″ x 8 1/2″ cotton rectangle to the 11 1/2″ x 8 1/2″ fusible side of the HeatnBond Fusible Fleece. Press with an iron. Spray the other side of the fleece with SpraynBond Fusible Adhesive Fabric Spray and lay the second 11 1/2″ x 8 1/2″ cotton rectangle. Once done, quilt as desired. Cut along the diagonal from the top left corner to the bottom right corner.
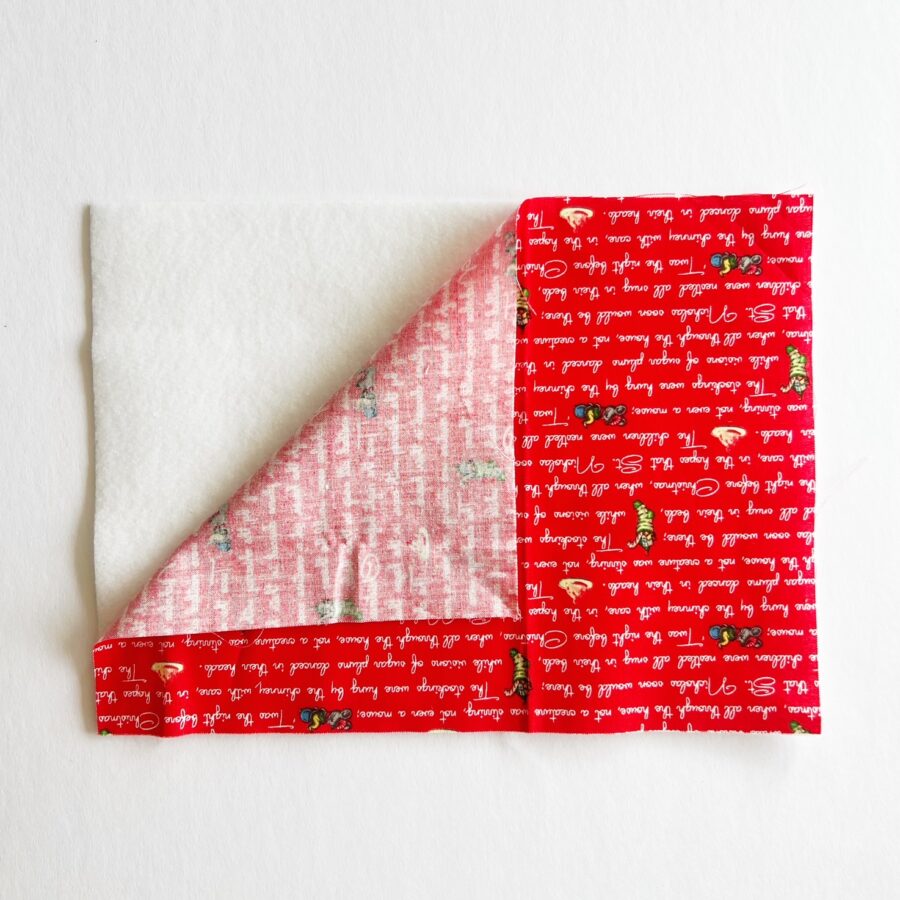

- TIP – If using directional fabric for the 11 1/2″ x 8 1/2″ cotton rectangle (these will be cut into triangles along the diagonal), attach one fabric piece right side up onto the 11 1/2″ x 8 1/2″ fusible fleece and on the other side, attach the second piece upside down onto the backside of the 11 1/2″ x 8 1/2″ fusible fleece.
- Adhere a 12″ x 15″ cotton piece to the fusible side of the HeatnBond Fusible Fleece. Press with an iron. Spray the other side of the fleece with SpraynBond Fusible Adhesive Fabric Spray and lay the second 12″ x 15″ cotton piece onto the sprayed side. Follow the instructions for the spray. Once done, quilt as desired. Trim the piece down to 11 1/4″ x 14 1/4″. Set aside.
CREATE THE MAIN BODY
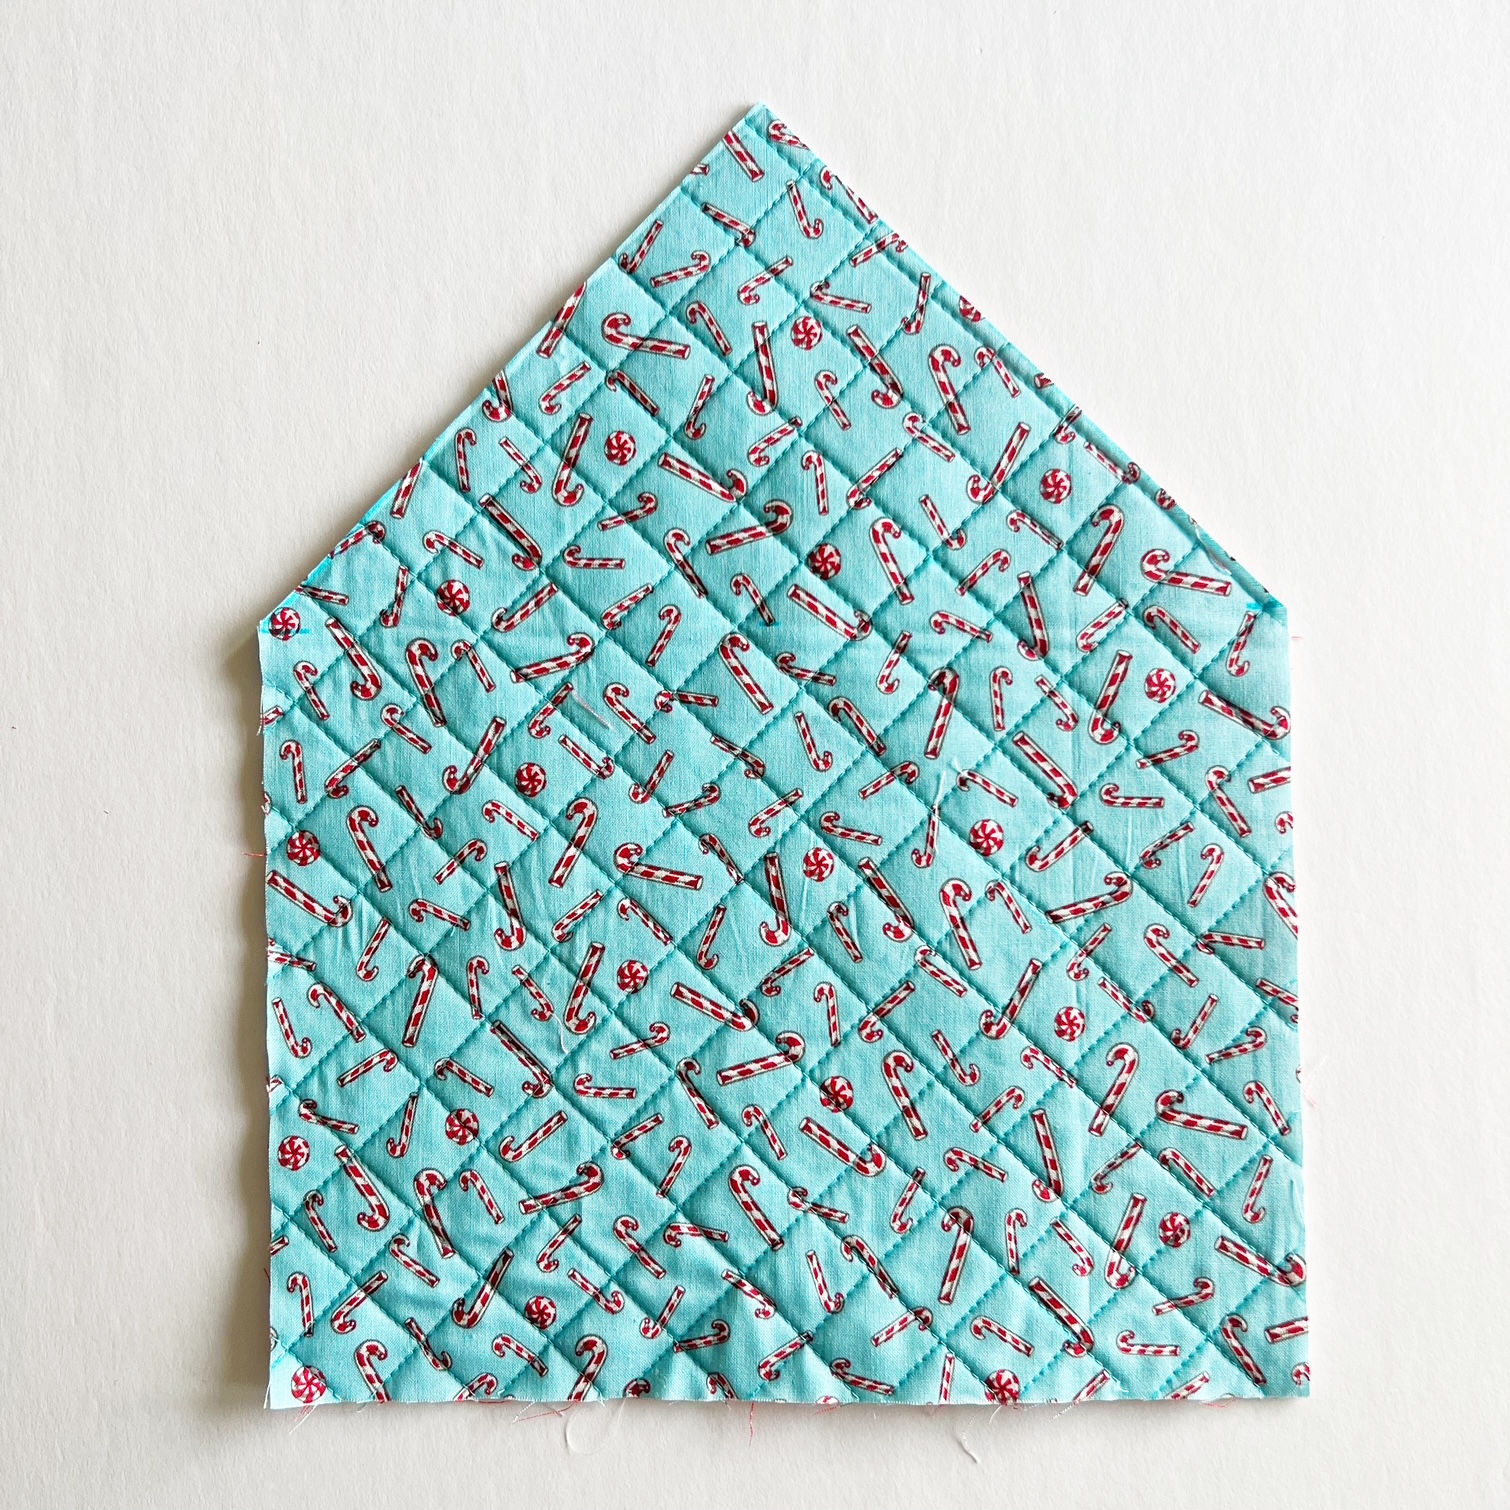
- With the quilted 12″x 15″ cotton rectangle, starting from the right bottom, go up 8 1/2″ and mark with a water soluble pen. Repeat for the other side.

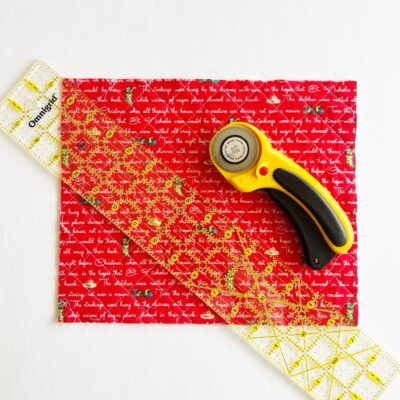
- Create the envelope flap (a triangle) by starting at the 8 1/2″ mark and fold the left top corner towards the middle. Repeat for the right side. Press and make a crease to use as your guideline for the triangle. Using a ruler mark the creased areas with a water soluble pen. Cut the along the marked lines. See picture.

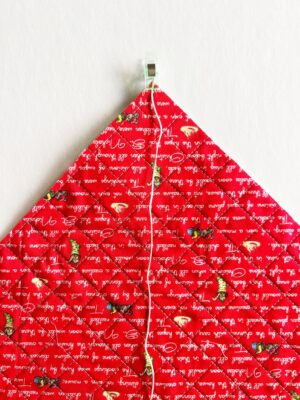
- On the front side of the body, attach one end of the 18″ cotton cording to the top of the envelope flap and baste in place.
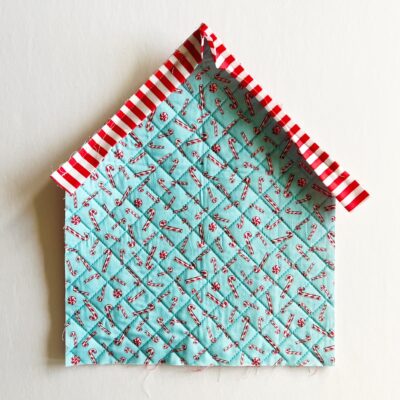
- Now, flip the body to the backside and add the 17″ x 2 1/4″ cotton binding strip to the top flap, starting at the 8 1/2″ marked spot and proceed with finishing the binding in place as needed. Machine or hand sew in place. Trim the binding as needed. Set the piece aside and move onto the envelope sides.
CREATE THE ENVELOPE SIDES
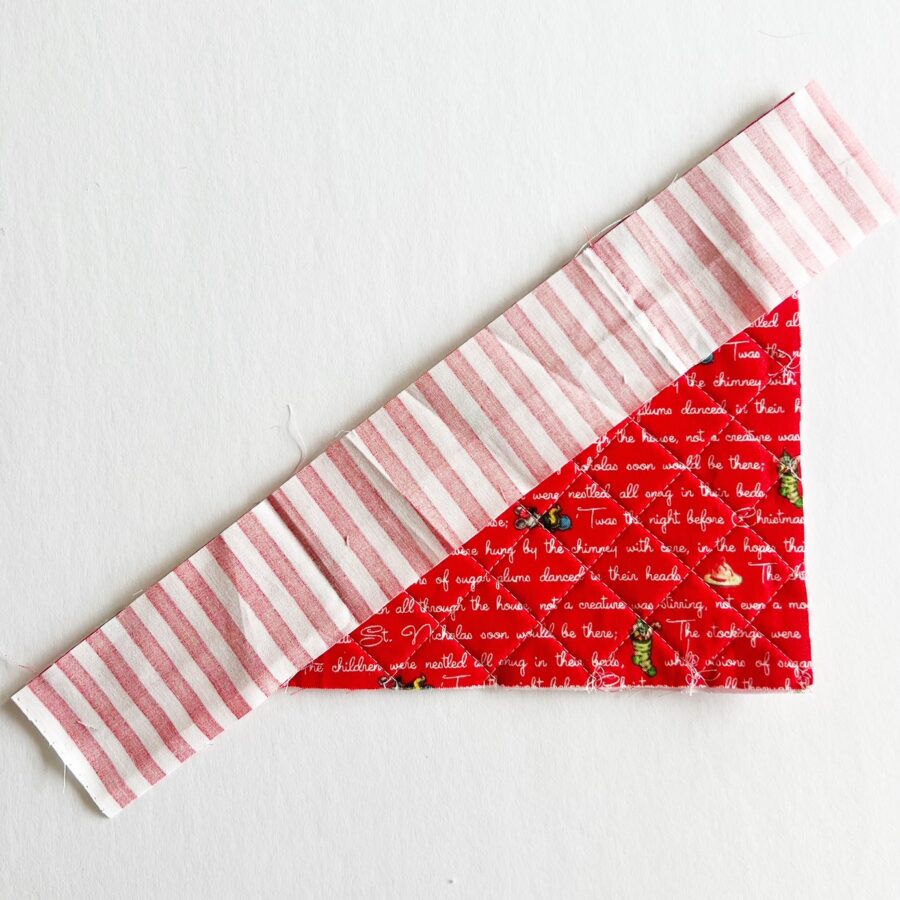
- Take the left triangle and add a 14″ x 2 1/4″ cotton binding strip to the top. Proceed as necessary to attach the binding in place. Machine or hand sew in place. Repeat with the second 14″ x 2 1/4″ cotton binding strip for the right side triangle.
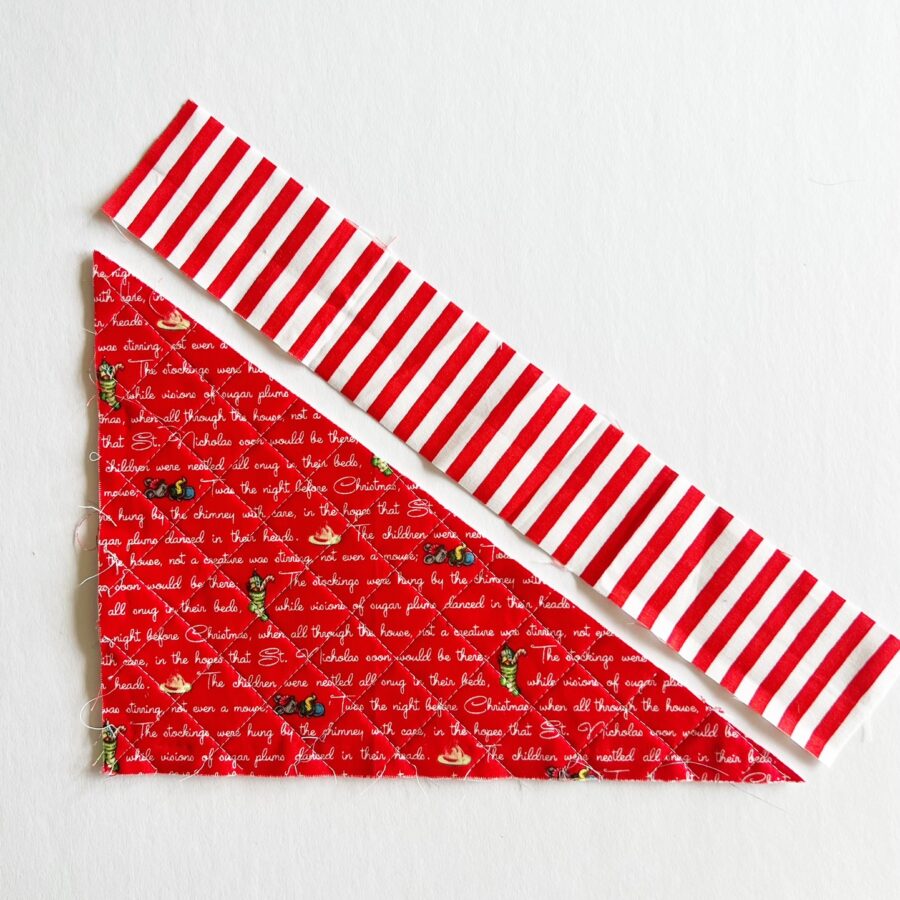
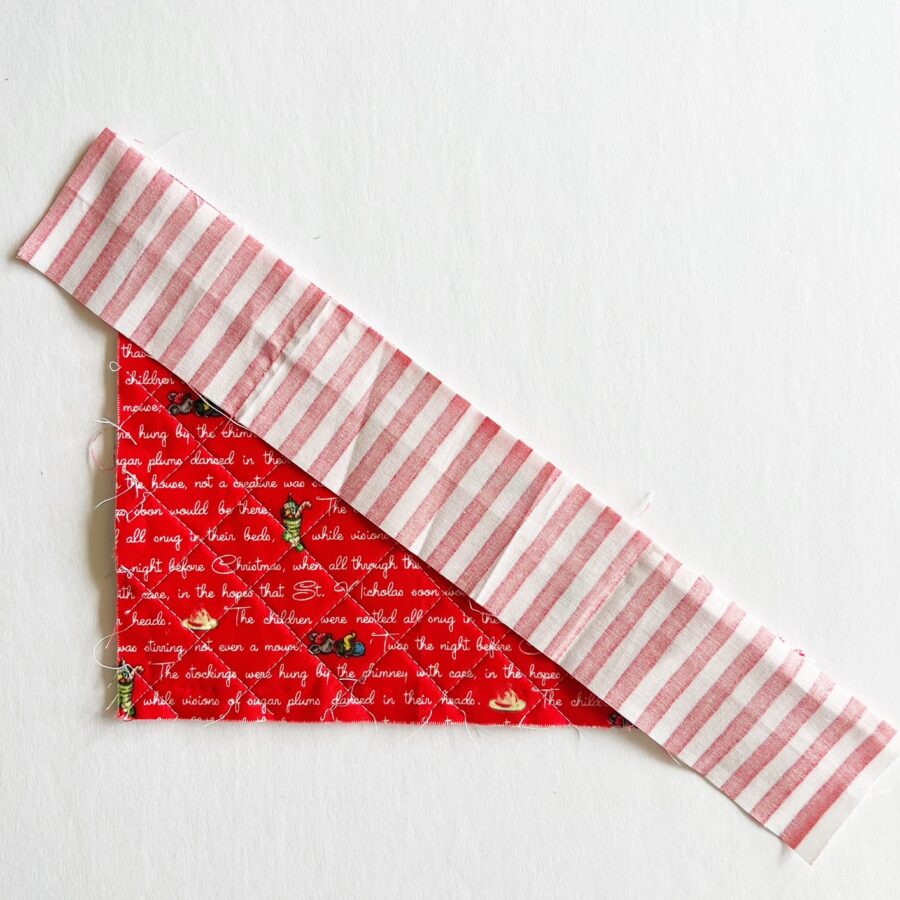
Trim down the excess binding as needed 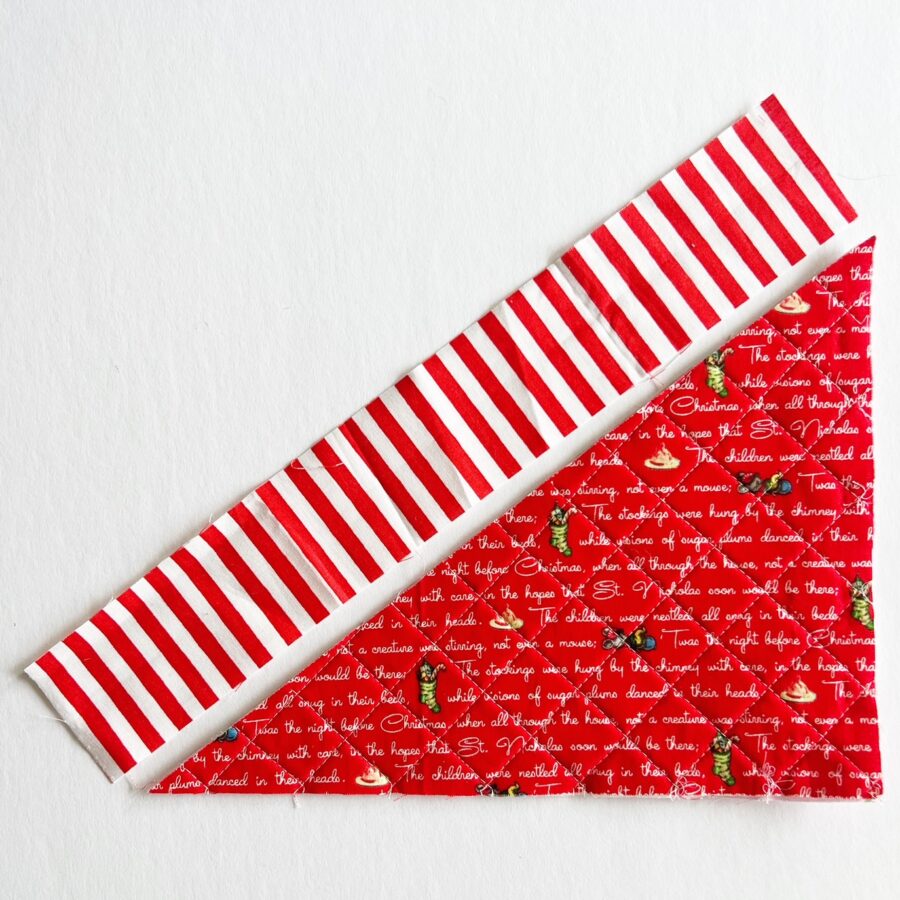
ASSEMBLE THE ENVELOPE
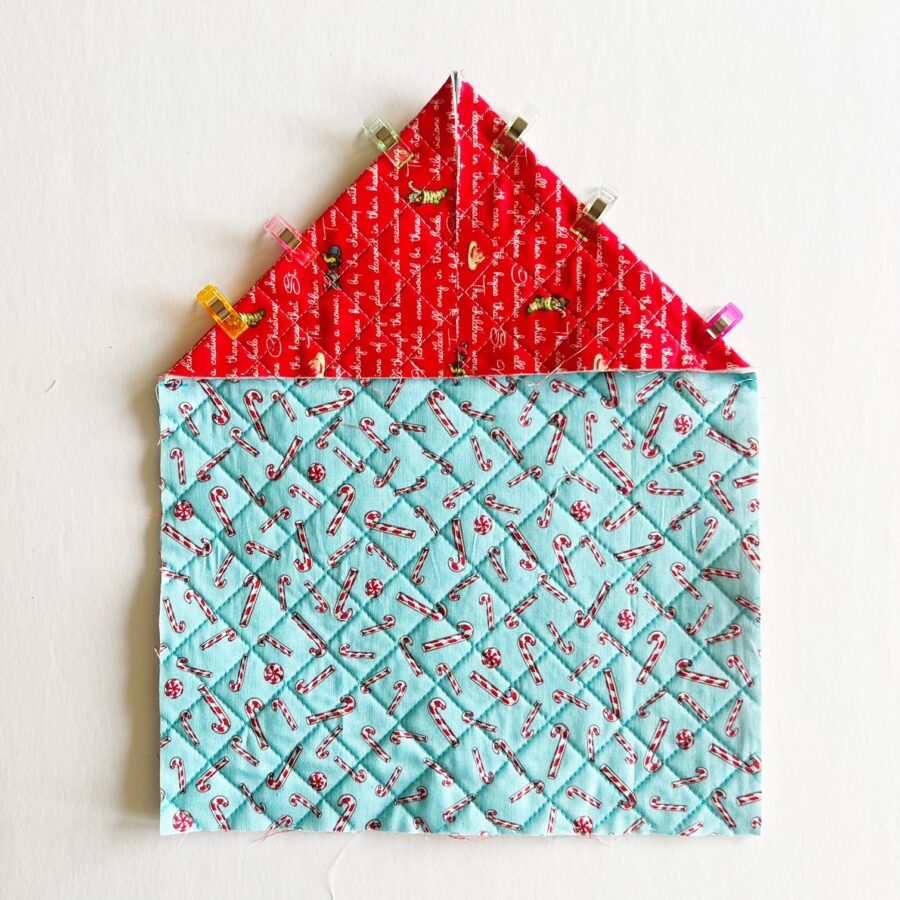
- Take the main body and lay it so the inner side is facing out. Take the left triangle, and place it towards the bottom right hand corner of the body. Clip or pin in place. Now, take the right triangle and place it on the bottom right hand corner of the body. Clip or pin in place. Baste around the sides of the clipped/pinned area.
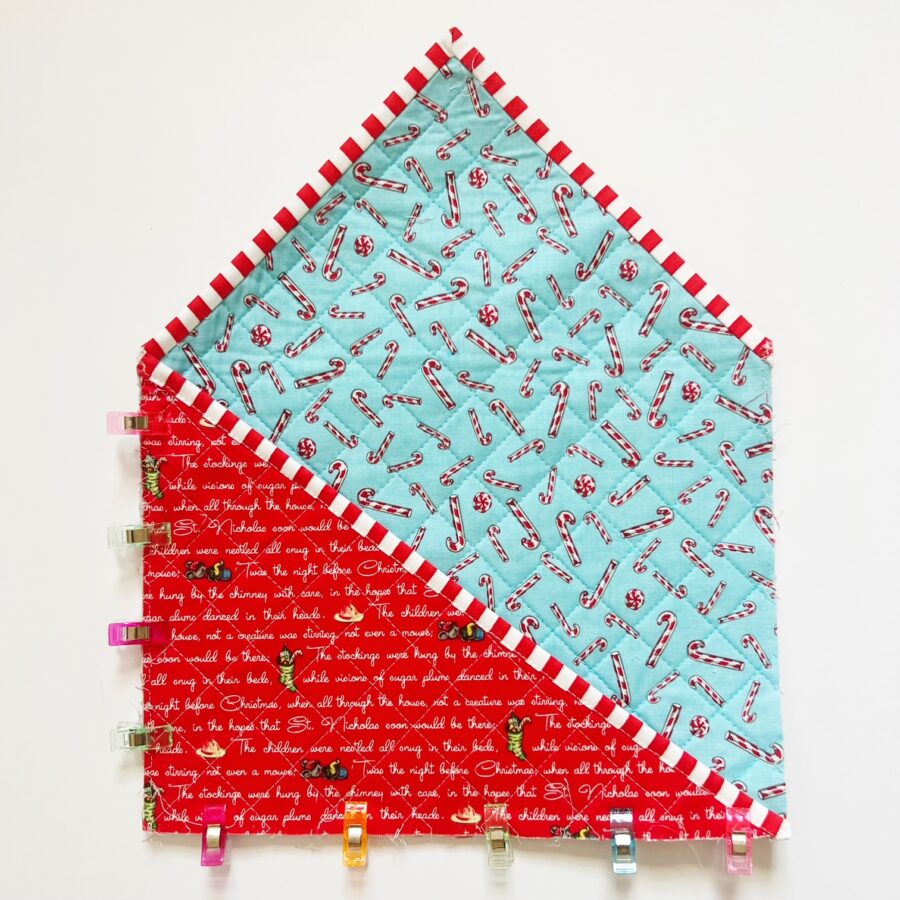

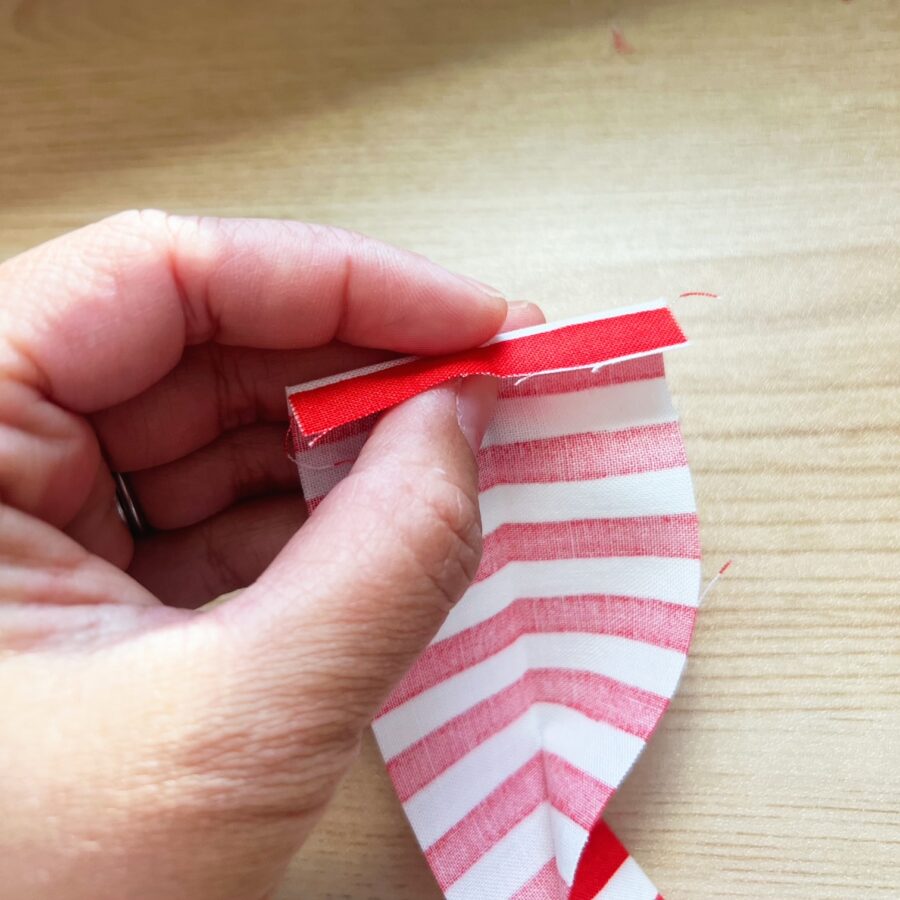
- Attach the 29″ x 2 1/4″ cotton binding strip to the raw edges of the envelope body. Before attaching, fold in the binding by a 1/4″ seam. Proceed as necessary to attach the binding in place. Cut any excess binding and fold in the end of the binding by a 1/4″ seam. Machine or hand sew in place.

- Attach the button by marking where desired using a water soluble pen. Hand sew the button in place. You are now done!

DISPLAYING OR USING THE LETTER TO SANTA HOLDER
To hang the envelope as a decorative Letter Holder, make a loop with cording and tie a knot on the bottom. Place onto hook or doorknob. 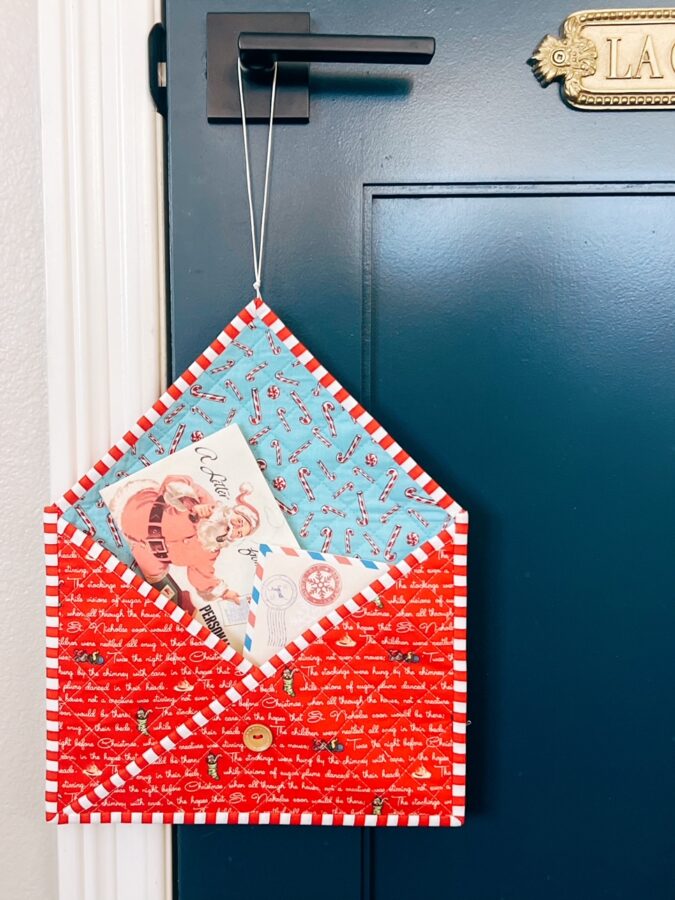
To use as an envelope pouch, close the envelope flap and simply wrap the cord around the button.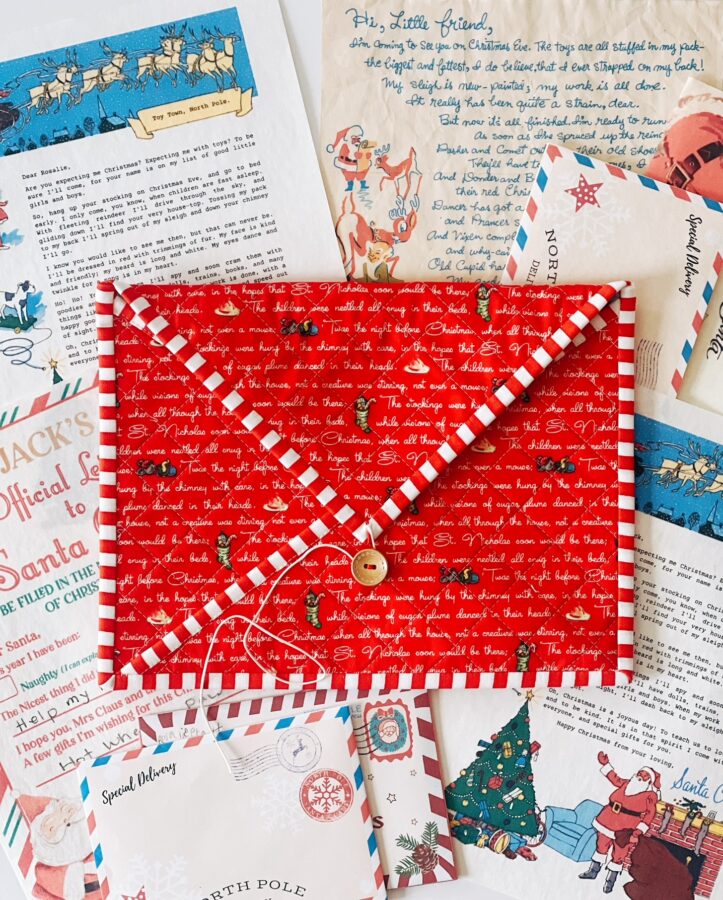
Sue
November 24, 2023 at 4:25 pm (8 months ago)What a great gift for my penpals—yep, we still write letters!