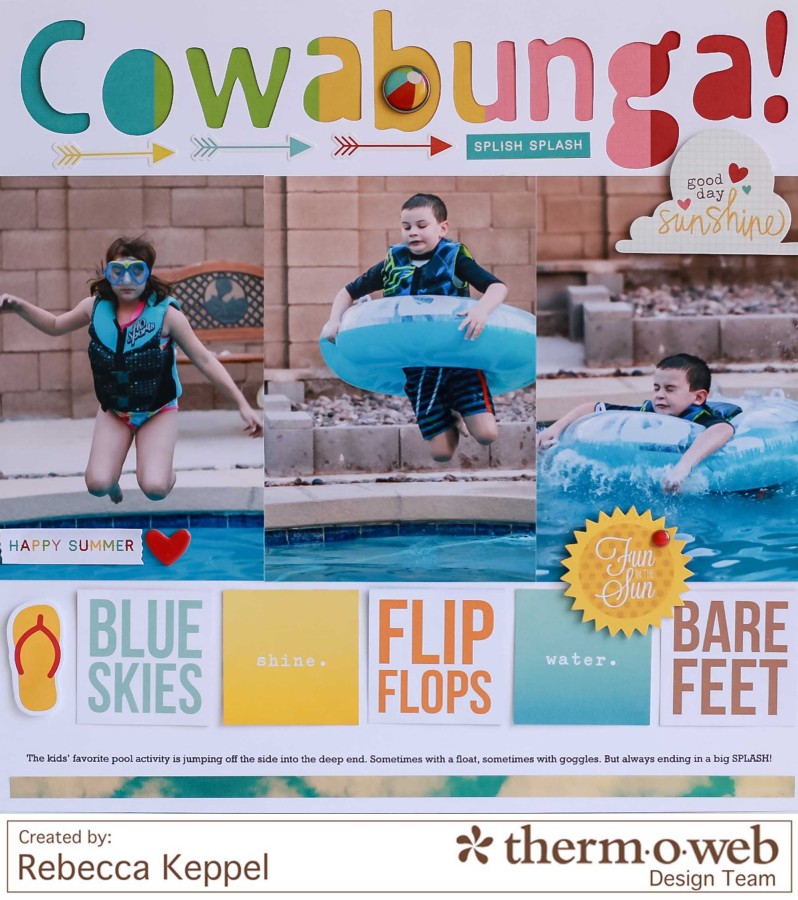
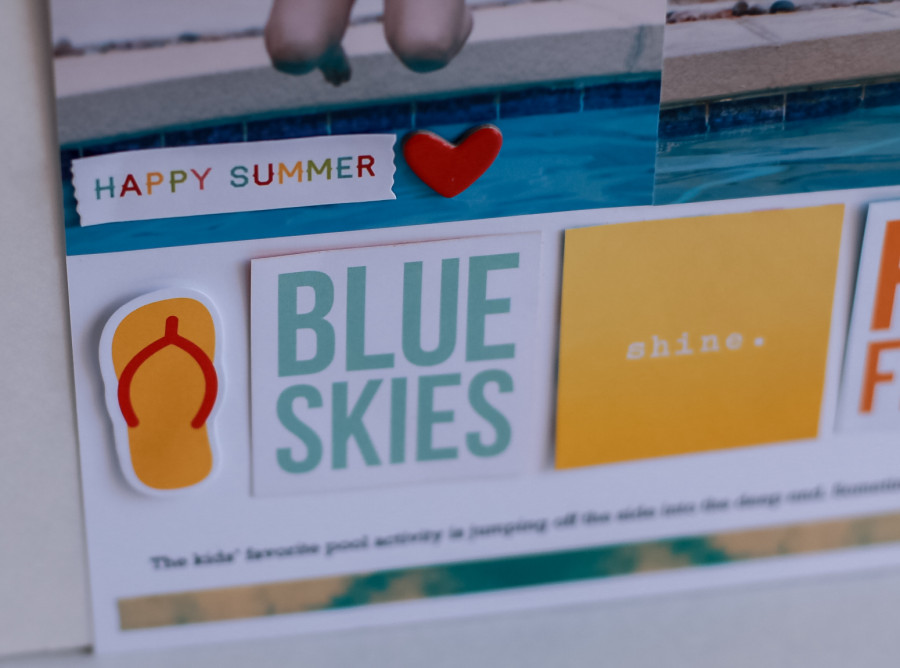
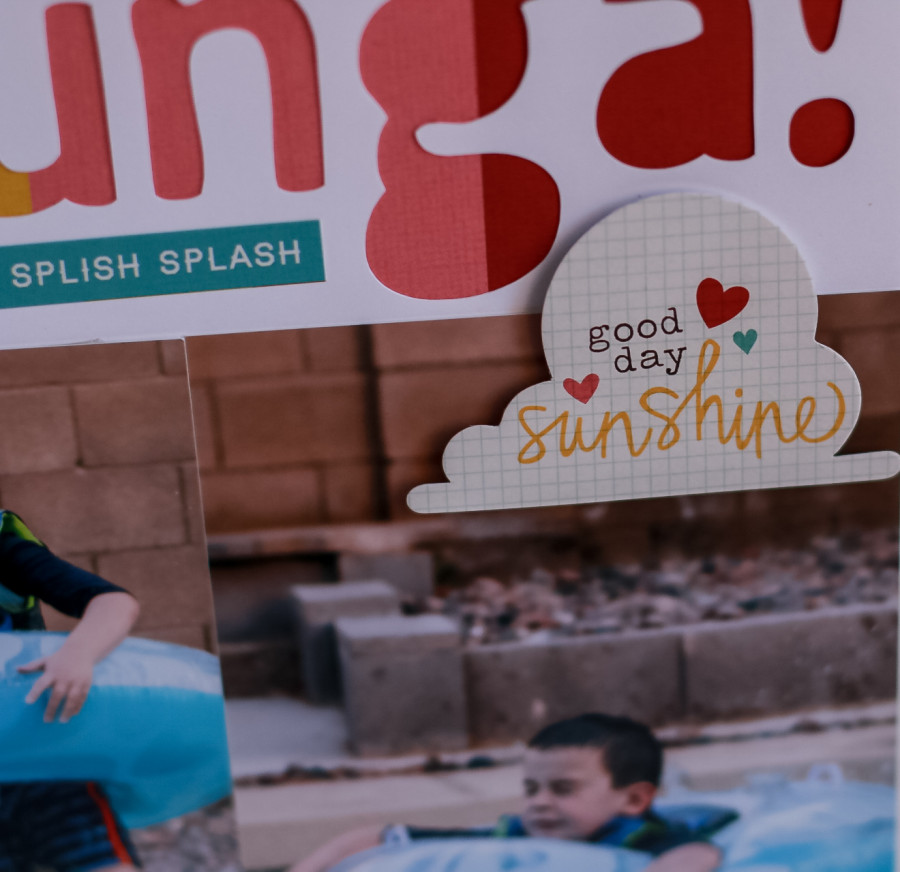
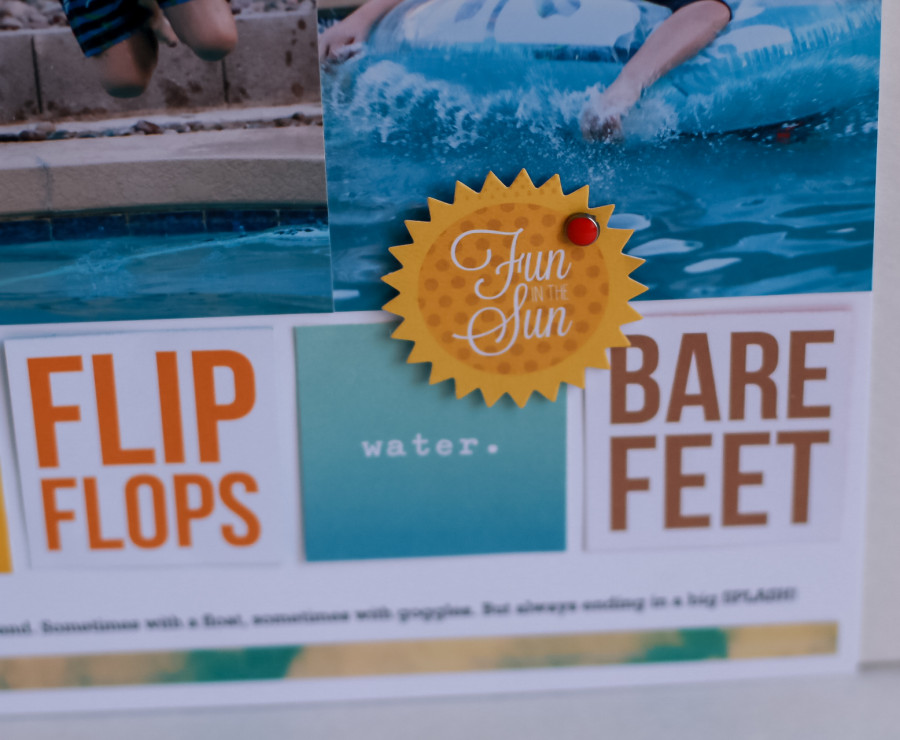
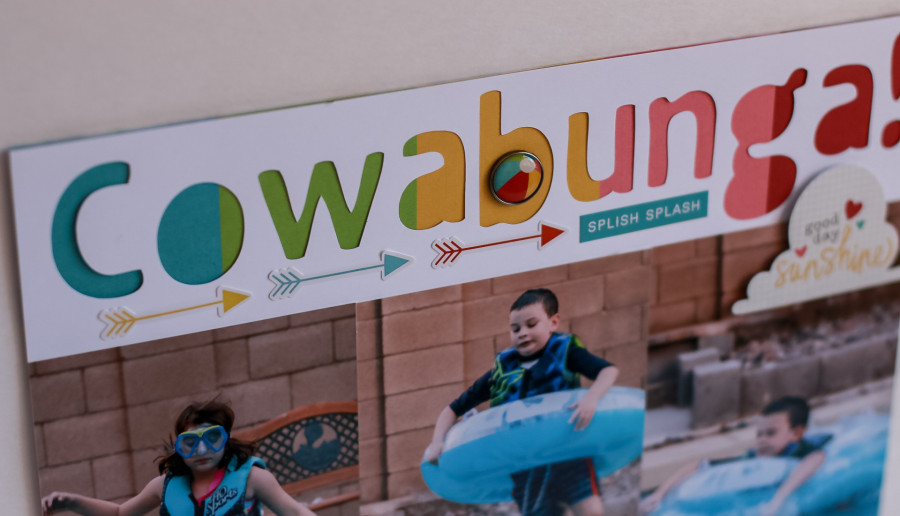
Sometimes projects require an arsenal of adhesives to complete, but occasionally you can complete a papercrafting project from start to finish with just one type of adhesive. Therm O Web Zots™ come in handy for a variety of purposes and on this layout I adhered EVERYTHING with Zots™ and Zots™ alone!
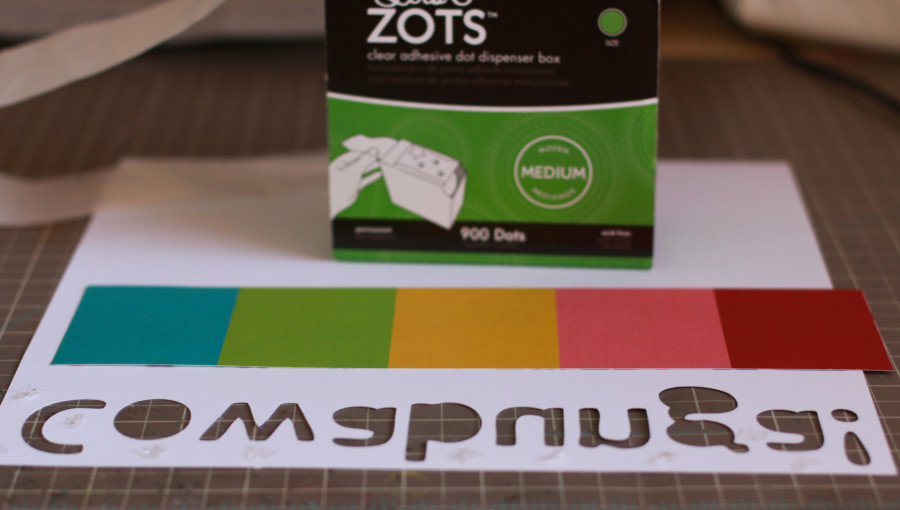
To adhere colored patterned paper behind the die cut title use medium Zots™ in all the spaces not cut out.
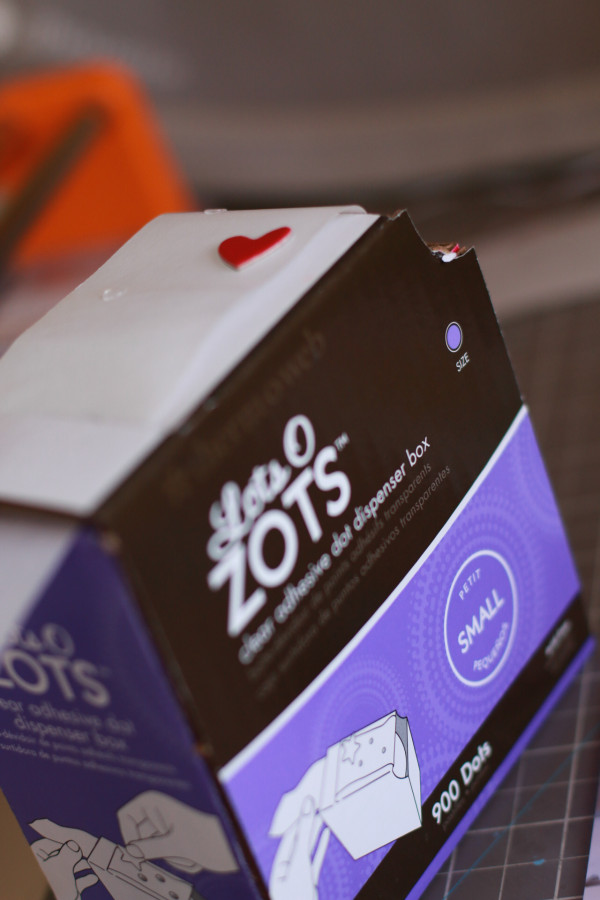
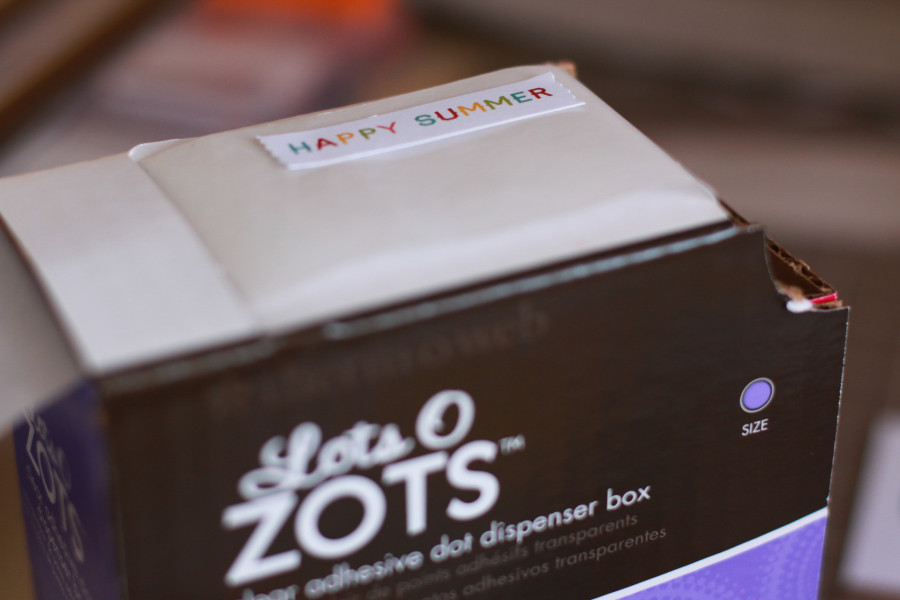
To make sure chipboard stickers stay put place them sticky side down on a small Zots™. Since the Zots™ are on a roll of waxy paper the sticker comes off easily with the Zots™ in place.
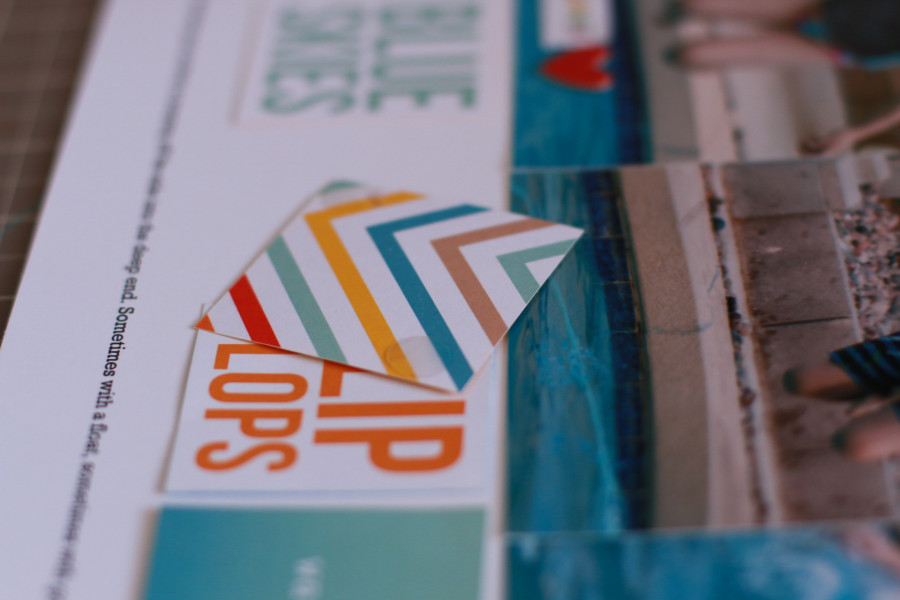
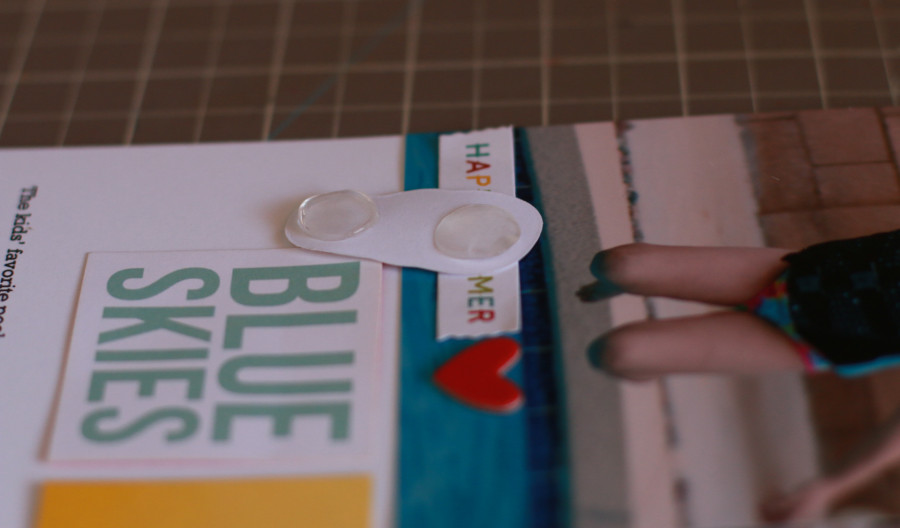
Die cuts are also easily adhered with Zots™.
You can choose the size of Zots™ depending on the size of die cuts you are using.
Instasquares can be adhered with 2 Zots™. Place them on diagonal corners for maximum staying power.
It is also fun to add some dimension to die cuts. Use 3D Zots for that.
I like to use 3D Zots™ in three places on my layouts to create a visual triangle out of dimensional objects.
My favorite tip for using Zots™ in layouts is to use them to adhere brads. Remove the brad wings by bending them back and forth.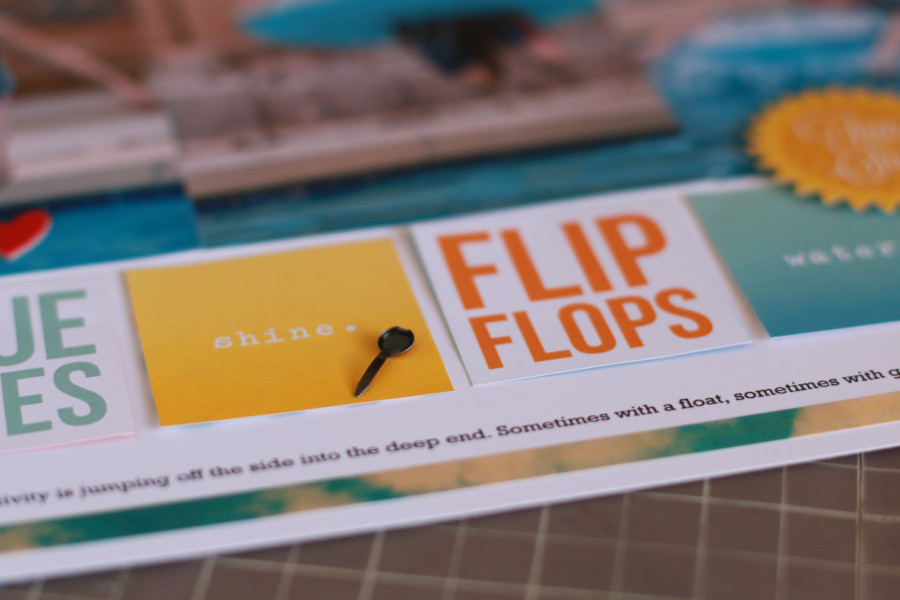
Then place Zots™ behind the smaller brads and adhere to your project. The nice thing about doing brads this way is you don’t have to create a hole and you can place the brads anywhere even on a die cut which is already popped up on a 3D Zots™.
For larger brads where the back has a deeper concave shape, 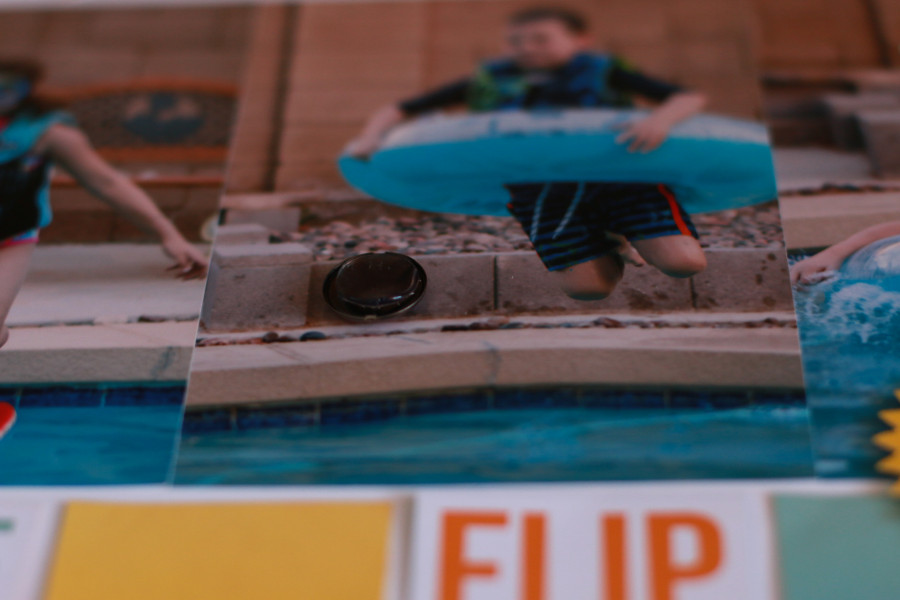
use 3D Zots™ to fill the entire back and adhere to the layout.
I hope you can see how many purposes Therm O Web Zots can fill in your papercrating and that it is possible to make a layout from start to finish with Therm O Web Zots alone!
Supplies:
Therm O Web Zots™ (small, Medium and 3D)
Simple Stories (patterned paper, die cuts, stickers, brads and chipboard)
Bazzill (cardstock)

