


Heat embossing, you think of stamping right?! Katrina here today, during our Zips and Zots Tips feature, to show you that you can do it with Therm O Web also! What I have for you today, shows how to emboss with the Zips™, but you can also do this with Zots™.
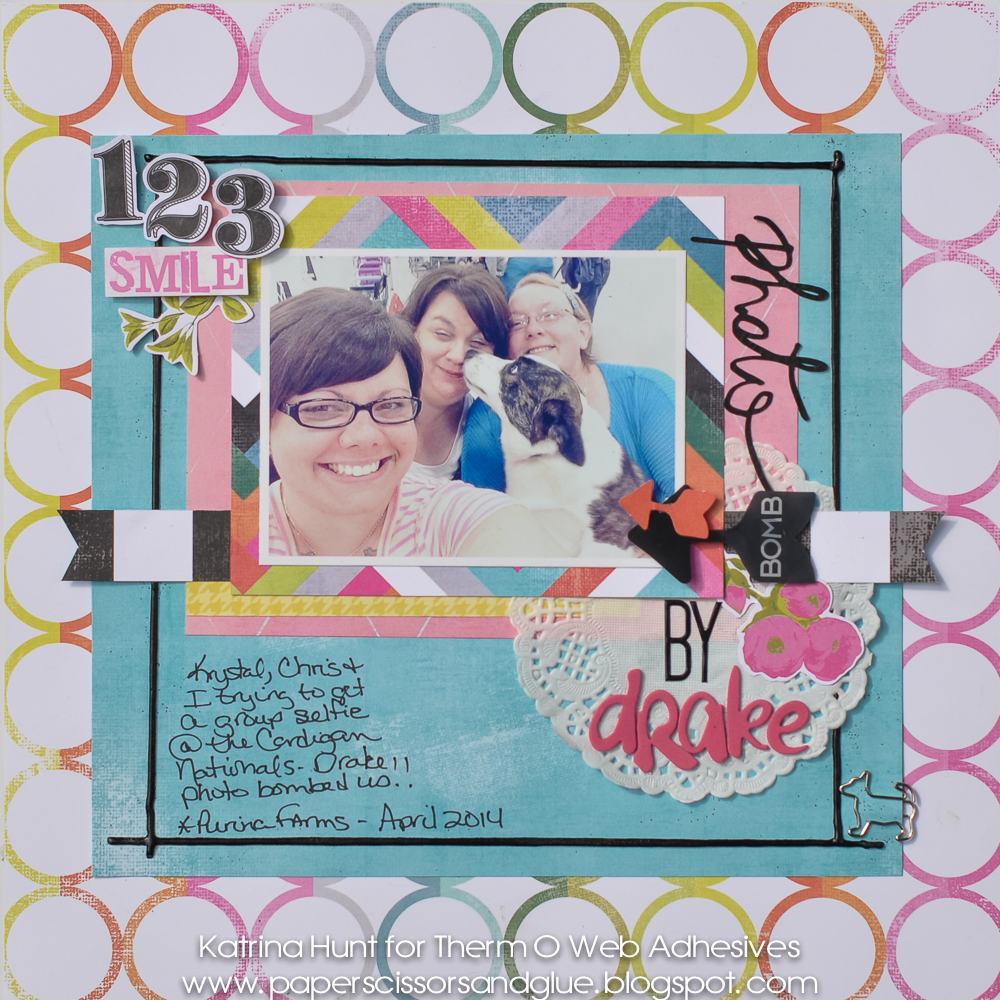
The black frame outline on the teal paper is Zips™ that have been heat embossed. This is really simple, fun and pretty quick once you get the hang of it. Ok, maybe a little messy, but it’s fun to get messy sometimes.
Therm O Web Supplies:
Therm O Web Zips Craft
Therm O Web Zips Memory 32 Feet
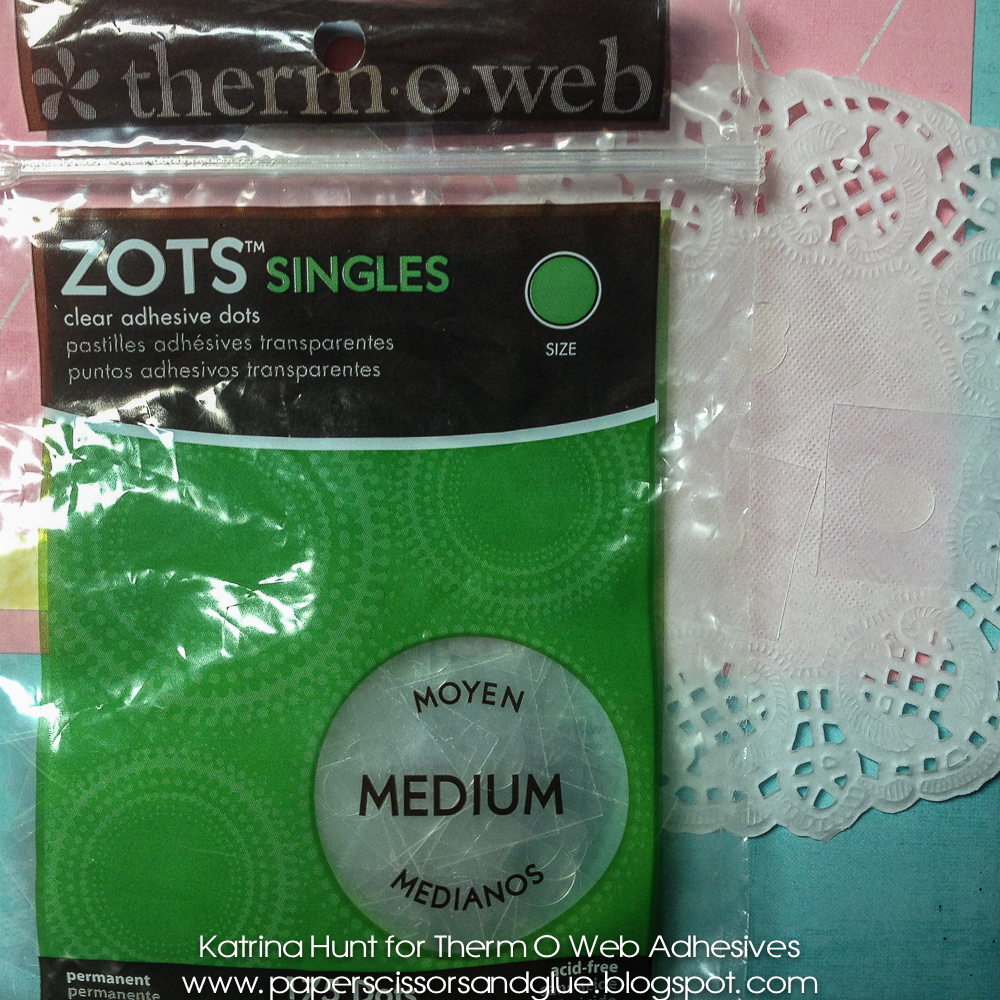
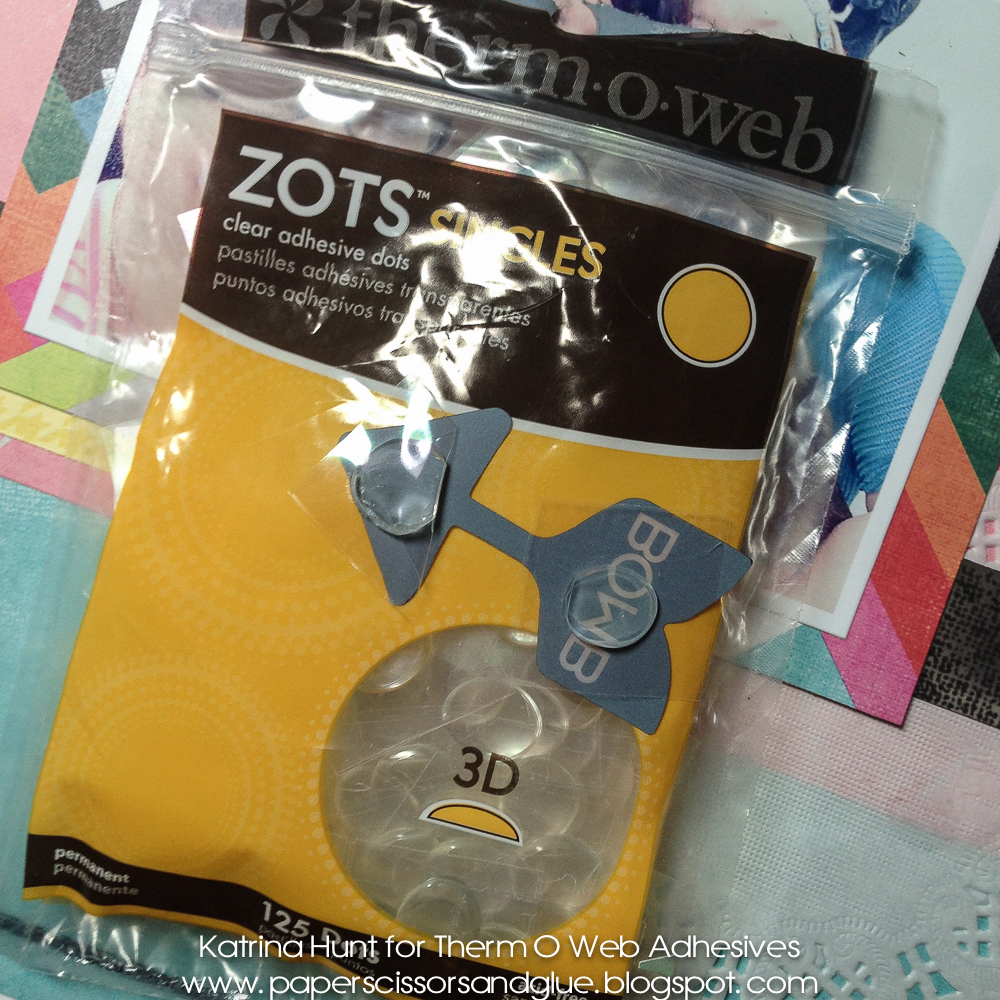
Therm O Web Zots™ Singles-Medium
Therm O Web Zots™ Singles-3D
Therm O Web 3D White Foam Squares-1/4 inch
Therm O Web #D White Foam Squares-1/2 inch
Therm O Web Sticky Tape Mini Runner
Other Supplies:
Pattern Paper, Die Cuts-Heidi Swapp (My Favorite Things and Dreamy); Embossing Powder-American Crafts; Doily-SRM Stickers; Letters-Americarn Crafts; Cardstock-WorldWin Papers; Paper Clip-Unknown; Pen-Sharpie
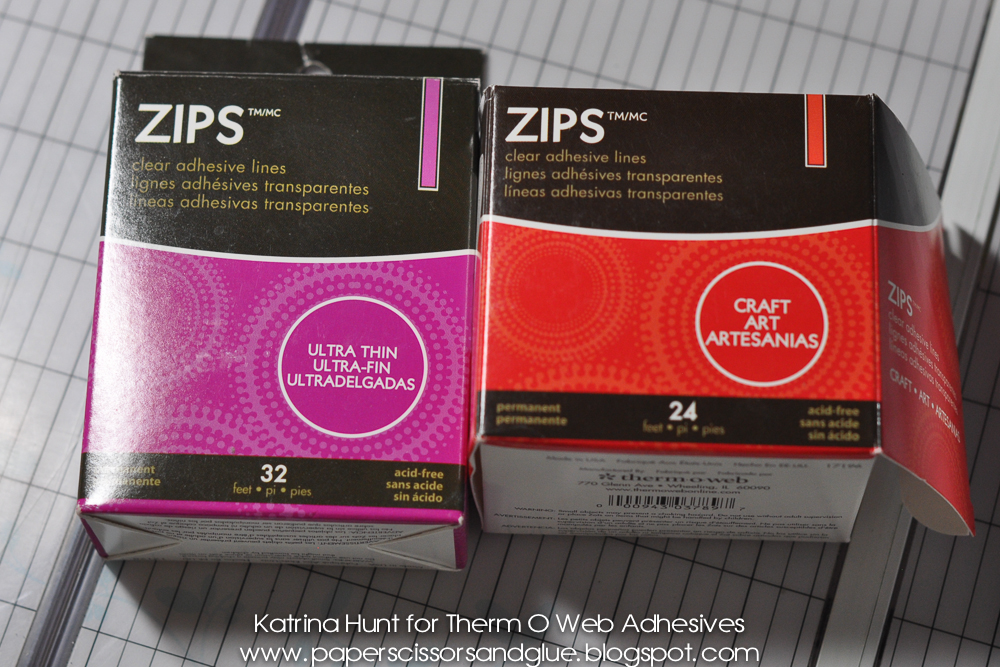
Choose your Zips™ product. Both will work, the Craft Zips™ will have more of a raised look. This layout uses the Craft Zips™.
 Note: I originally was going to do this in the middle of my page, but then changed my mind and trimmed out the square. These photos show the process of doing this in the middle of your paper.
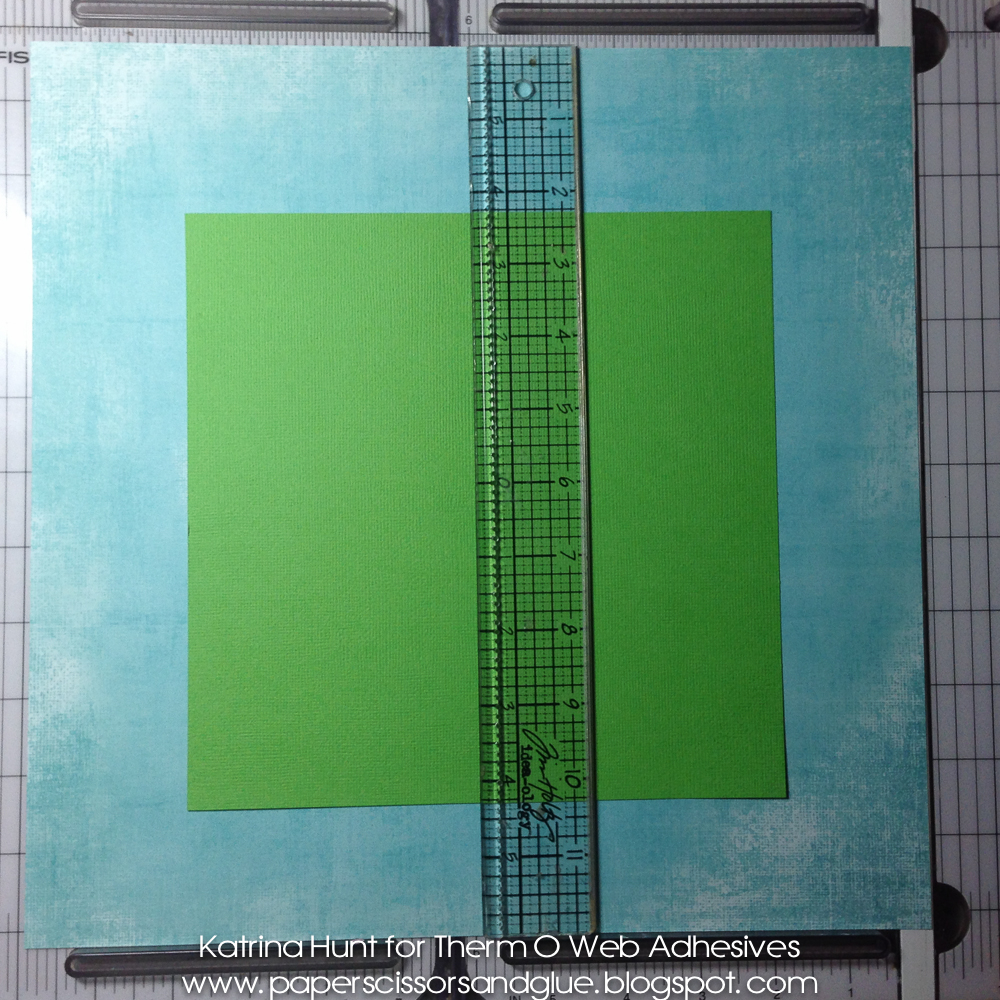
Trim an 8 x 8 square and center on your background paper. Scrap paper is fine for this step, because it will get a bit messy. Use a ruler, both vertically and horizontally, to get your square in the middle.
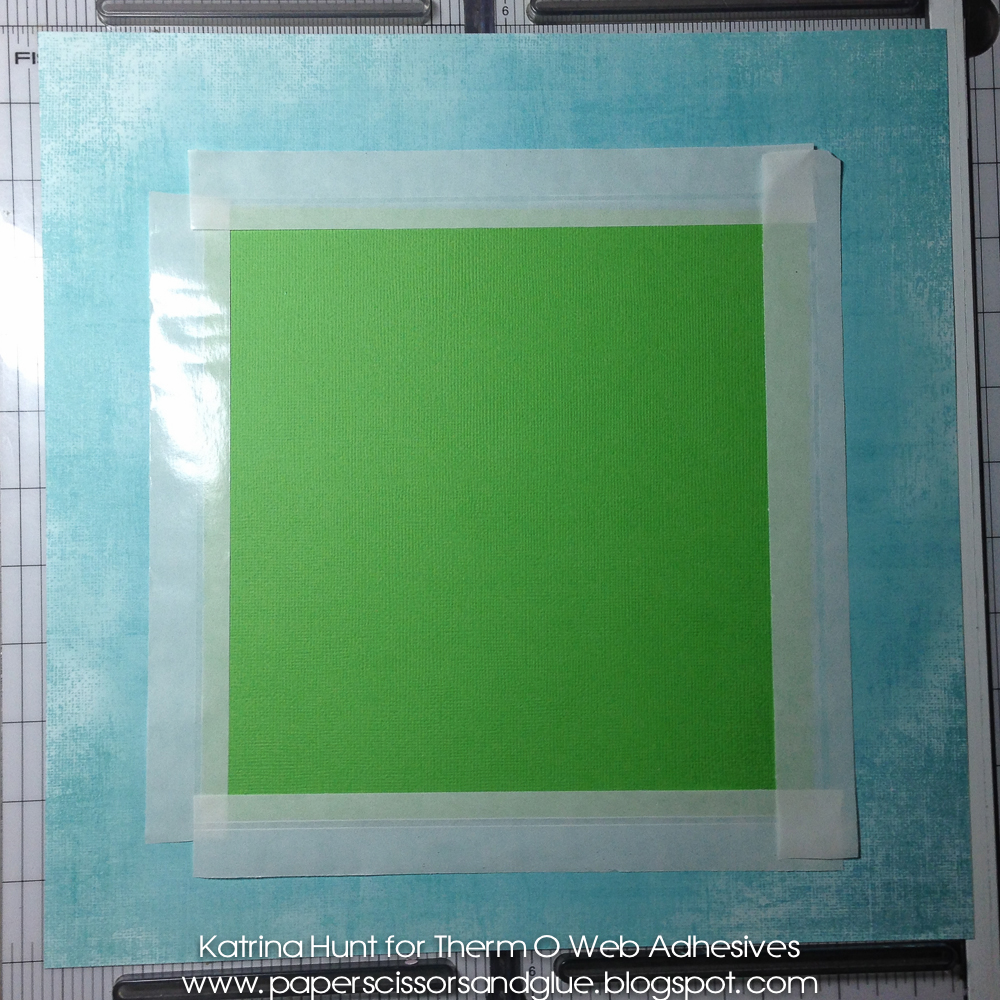
Cut Zips™ and line them up around your square. Then pull off the backing to expose the line of adhesive on your paper. Tip: Rub lightly over the backing paper, this will make it easier to keep that straight line.
 After adhesive is exposed, generously sprinkle embossing powder over all the lines, making sure all adhesive is covered well. Very carefully curve paper and dump the excess embossing powder back into it’s container. At this point, remove the scrap piece that is used to make your square. Using a heat gun, start the embossing process, slowly heating the embossing power. Be sure to hold the heat gun slightly away from the actual line you are embossing and keep the gun moving at all times. This will keep the paper from scorching.
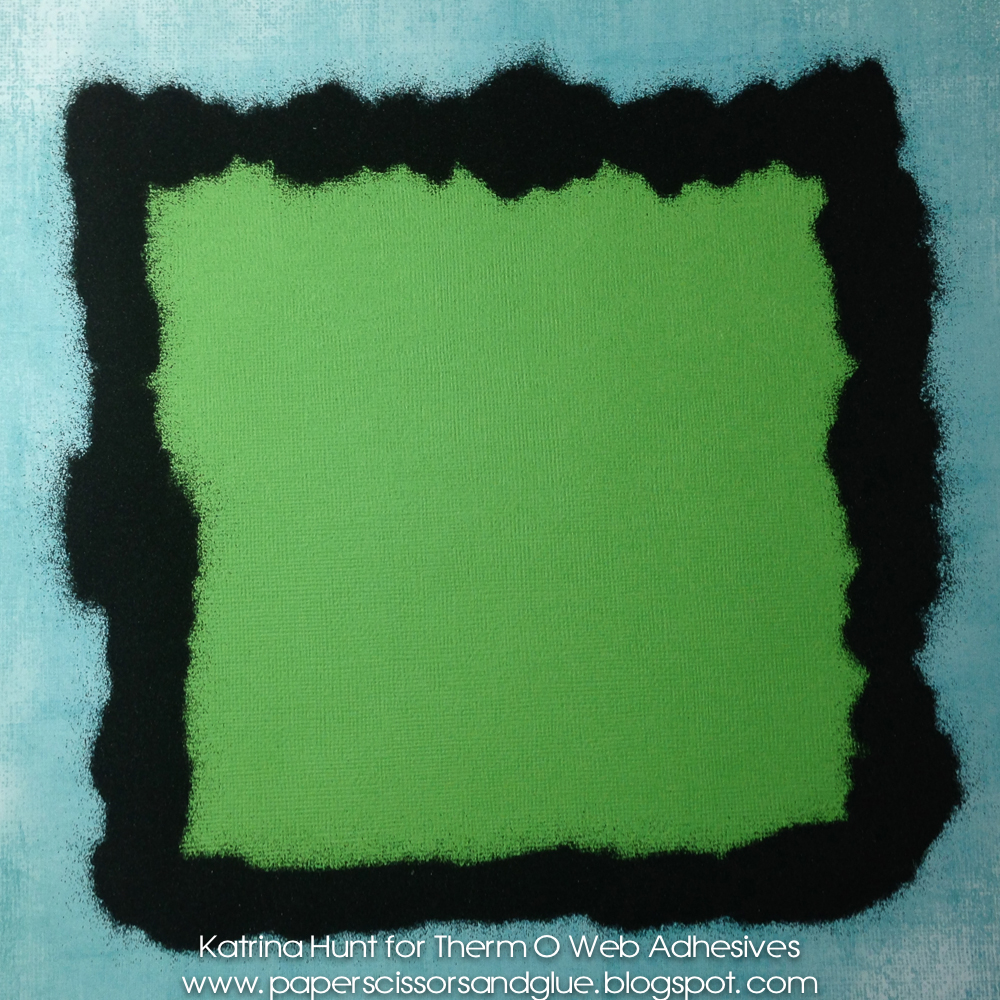 Here you can see the final result. LOVE this look and cannot wait to do more it of it. .
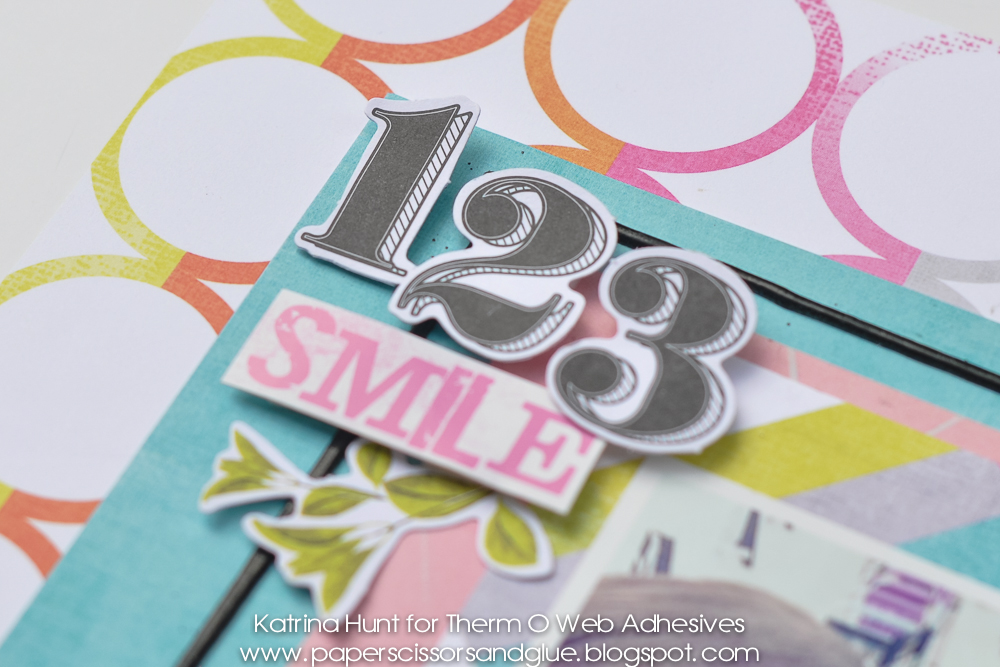
I then continued building my layout using the Sticky Tape Mini Runner and Zots™.

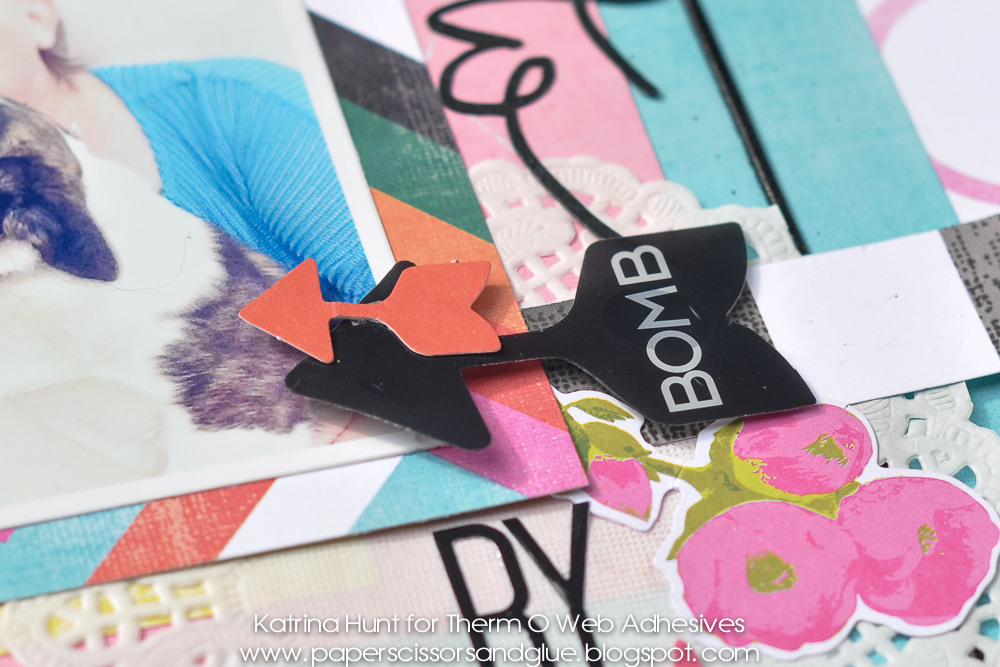
The Zots™ are a great way to attach delicate things. I used the Zots™ Medium to attach to the back of the doily.
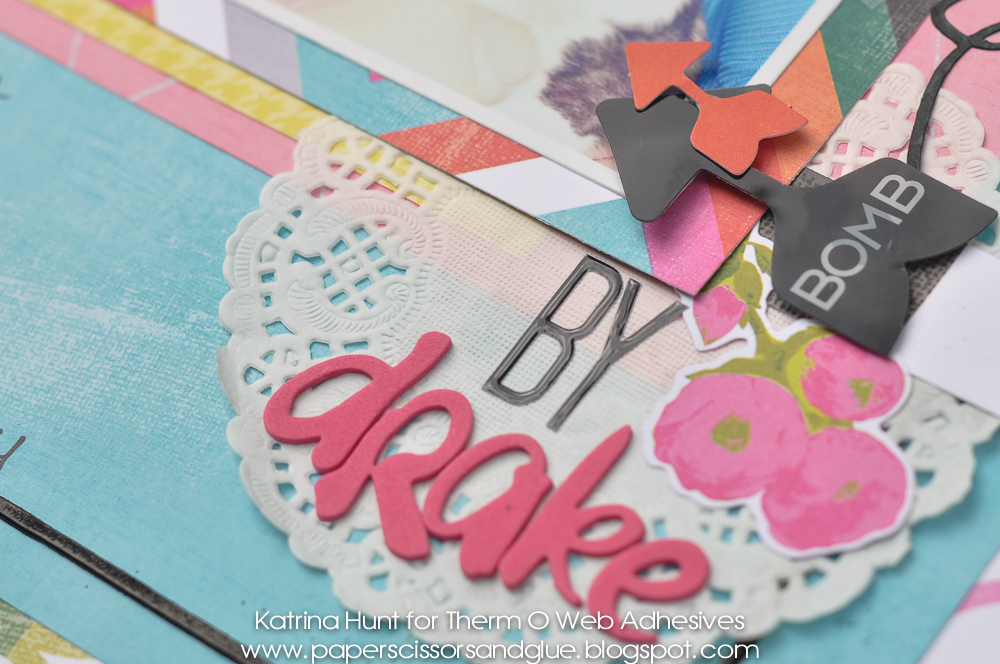
The Zots™ 3D were perfect for attaching the arrow transparency. These Zots™ give a more raised effect, which is perfect to make things stand out.
So, get your Zots™ and Zips™ and start embossing TODAY!
Katrina Hunt