When in need of snack, my stomach begs for cookies, donuts, and cakes, but my brain gives me a dirty look (okay, not really) and reminds me that an apple is a much better choice. I totally prefer what the stomach is telling me! Over the years my choice of apples has changed from Yellow Delicious to the beautiful red and yellow Honeycrisps. Those green ones are definitely not my favorite…way too sour!
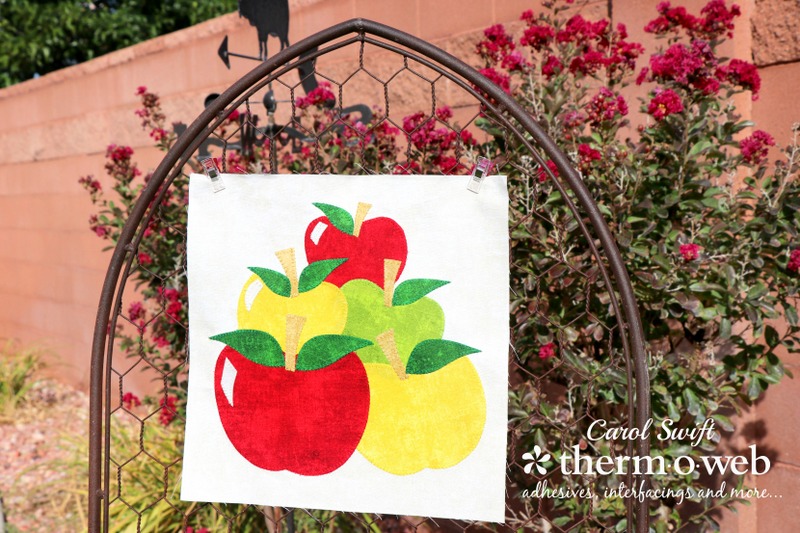
Creating and sewing this block of apples for the Therm O Web block of the month was so easy. I love to applique, but the tracing part isn’t high on my list of things I like to do, especially when the pieces aren’t very big. That’s where Therm O Web EZ Print Lite Sheets make my applique dreams come true. All it takes is an inkjet printer and your designs are ready for to be ironed on the fabric. No tracing makes me so happy, especially when I’m in a hurry or have a deadline!
APPLES finished block is 10” x 10”, by Carol Swift at Just Let Me Quilt
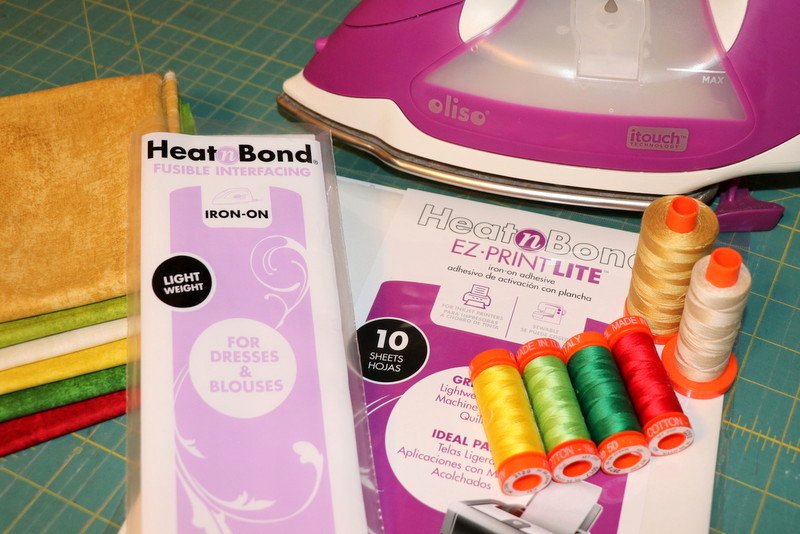
What you’ll need:
HeatnBond EZ Print Fusible Adhesive Lite Sheets
HeatnBond Fusible Interfacing
Aurifil Thread, 50 Wt
Oliso Purple Iron (purple makes everything more fun!)
5-6 fabrics for apples
Cutting instructions:
Cut 1 – 10½” x 10½” fabric square, background
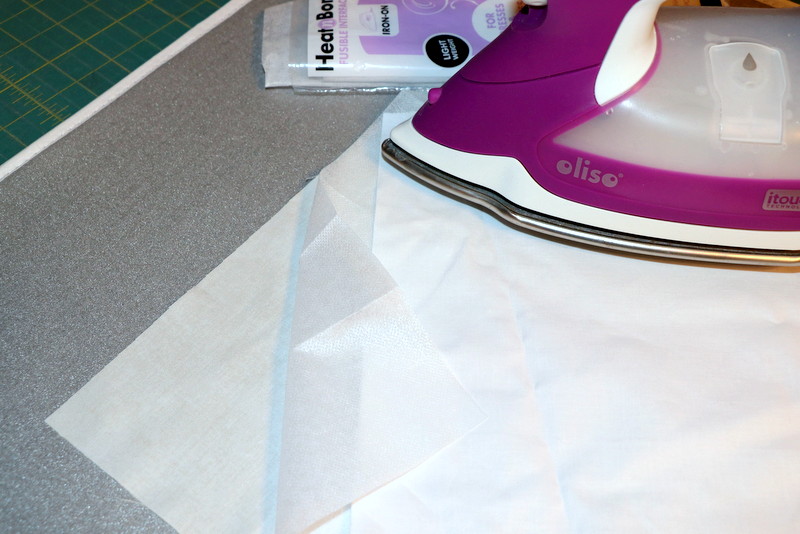
*Optional: Cut 1 – 10½” x 10½” Heat n Bond Fusible Interfacing; Ironing Heat n Bond Fusible Interfacing to the back of an applique block helps keep the threads from showing through to the front of the fabric and makes stitching small pieces easier. Be sure to cover with a pressing cloth and follow manufacturer’s directions.
Step 1: Prepare the applique patterns following applique instructions below or using your favorite iron-on adhesive:
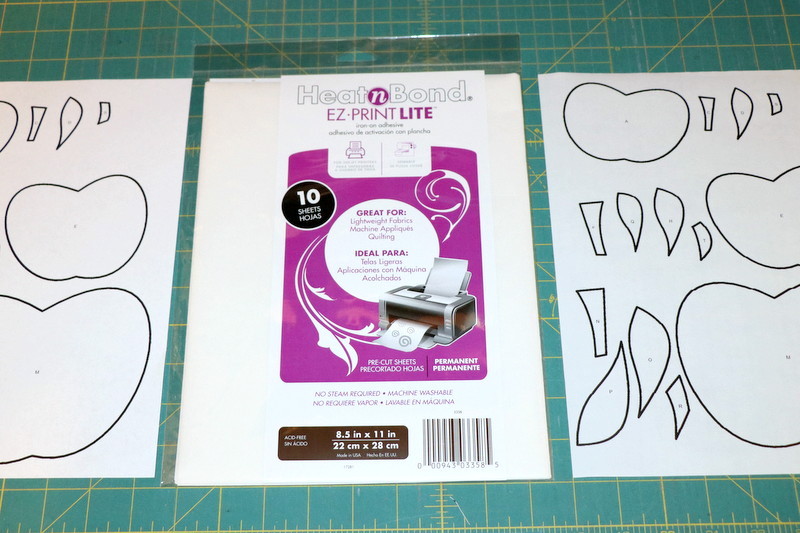
Applique with printable Heat n Bond EZ Print Lite sheets: Using your inkjet printer, print out applique pattern pieces using Heat n Bond EZ Print Lite sheets. Load one sheet at a time into the paper tray. Sheet should be placed so printing is on the smooth side of the paper. Print quality at the normal setting and for plain paper. Allow 5-10 seconds for ink to dry.
Step 2: Iron adhesive pieces to wrong sides of fabrics following manufacturer’s directions. Let cool.
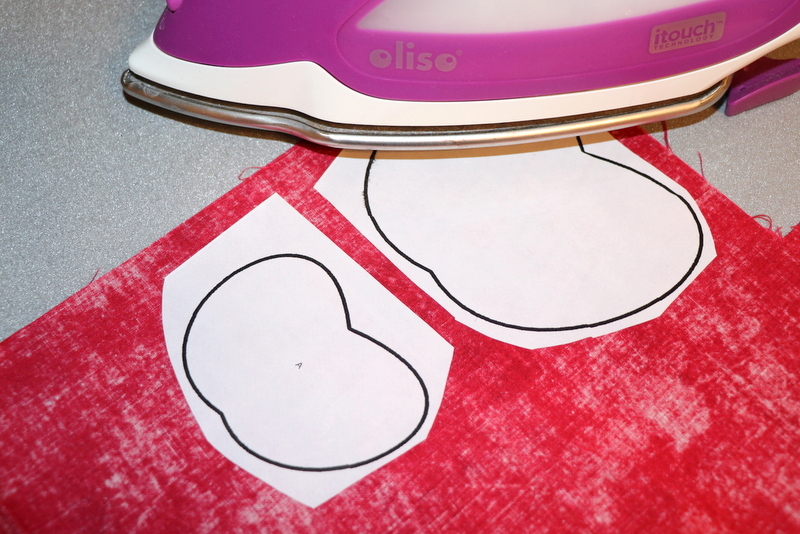
Step 3: Cut out applique pieces.
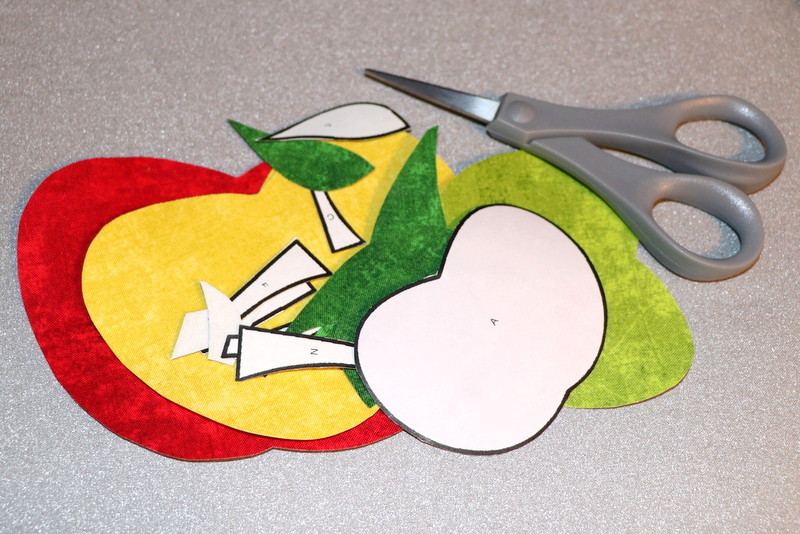
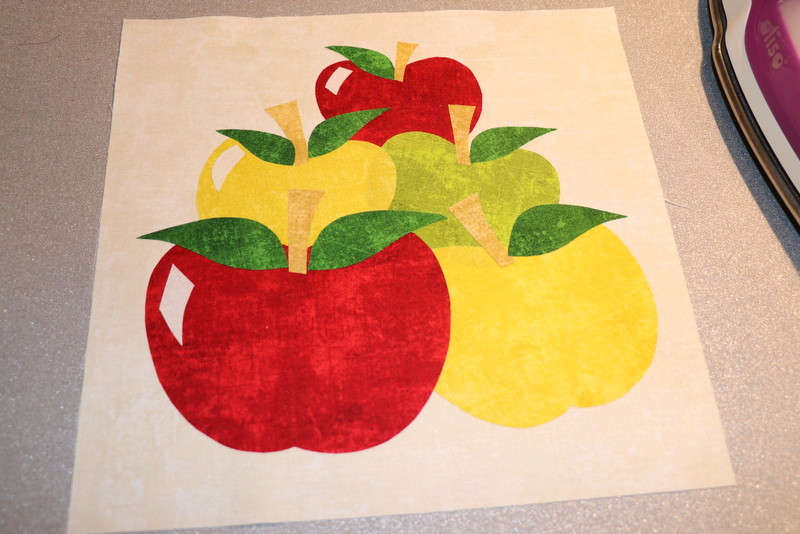
Step 4: Peel off paper liner from the backs of applique pieces. It’s really easy to peel off, which is another reason to love EZ Print Lite Sheets. Place applique, adhesive side down, on right side of 10½” x 10½” fabric background square. Press each section following manufacturer’s directions until entire piece is bonded. Let cool.
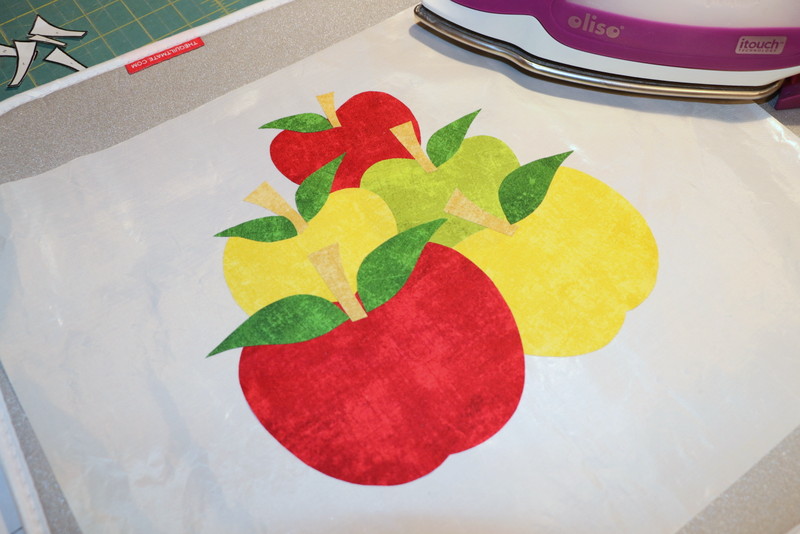
Tip: Using an applique sheet to arrange the pieces before placing on fabric helps avoid mistakes. Place applique pieces, adhesive side down, on applique sheet in correct positions. Lightly press in place. Let cool. Carefully peel away applique designs from applique sheet and place on right side of fabric block. Press in place according to manufacturer’s directions.
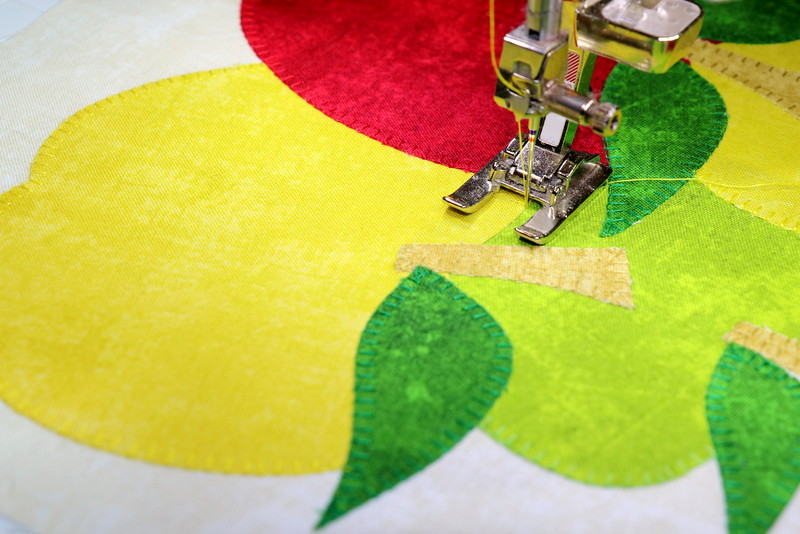
Step 5: Sew around edges using a straight, zig-zag, or blanket stitch.
Watch for the other designer’s blocks and for the final projects we create!
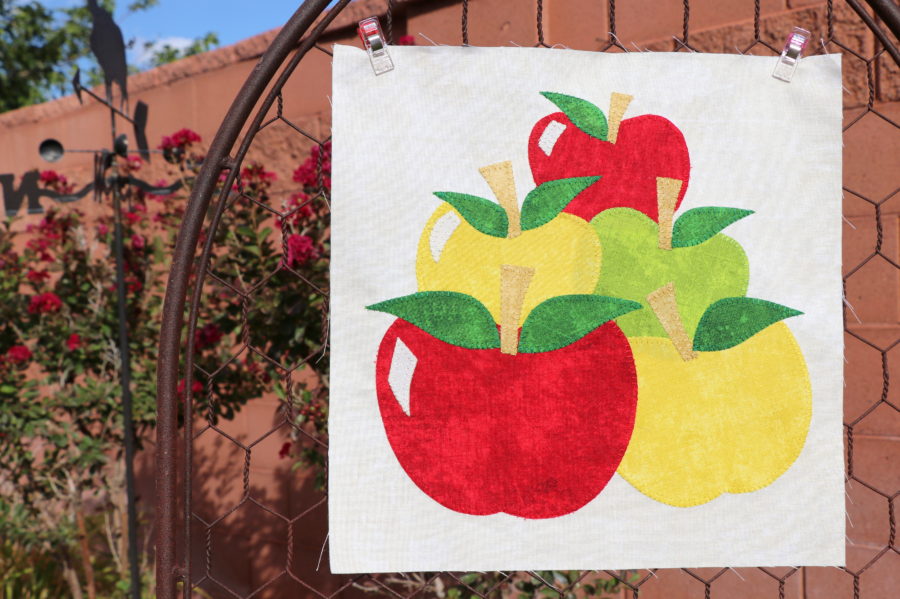
You can find this block HERE.
Be sure to mark your calendars and join us this week and next as we share our fruit themed blocks … Amy Chappell, Carla Henton and Amy Warner will be sharing some adorable fruit-themed blocks you’re going to love!
5 Comments on Join ThermOWeb’s Fruit Block Of the Month
4Pingbacks & Trackbacks on Join ThermOWeb’s Fruit Block Of the Month
-
[…] If you missed our First Block – Apple of Your Eye by Carol Swift Click Here! […]
-
[…] Apples by Carol Swift Cherries by Amy Warner Watermelon by Carla Henton Lemons by Amy Chappell […]
-
[…] Pieces- You can find the Lemon shapes as well as the heart seeds and shines here. The watermelon, apple and cherry patterns can be found in their respective blog posts. *I only printed one of the apple […]
-
[…] Apples by Carol Swift Cherries by Amy Warner Watermelon by Carla Henton Lemons by Amy Chappell […]

Mary
August 7, 2018 at 5:57 pm (7 years ago)That is really cute for fall. The fabrics are perfect with their color variations and the detail makes them so realistic looking.