
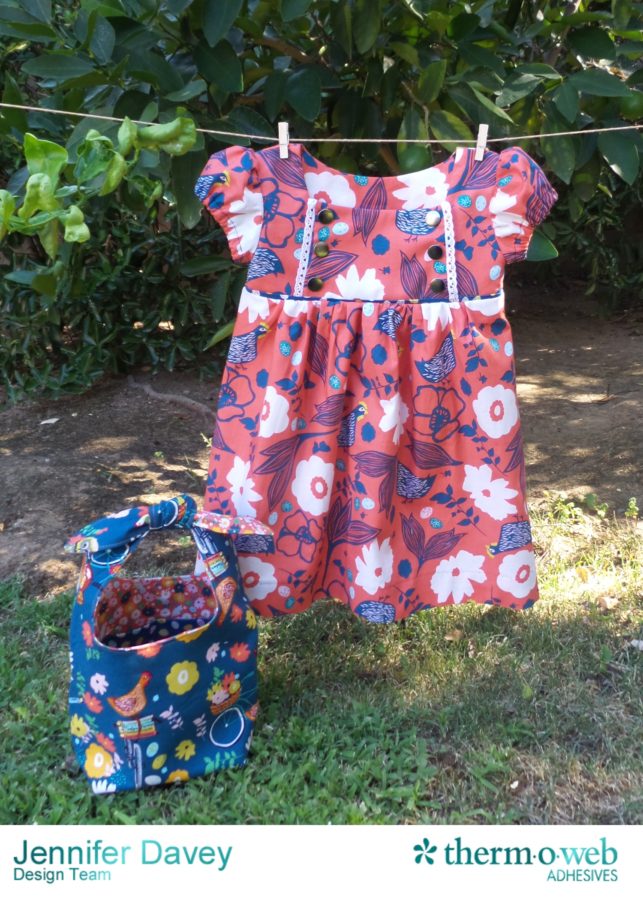
Making little clothes brings joy to my heart. With only a yard or so of fabric, Therm O Web HeatnBond Interfacing, Aurifil Thread and an Oliso Iron, a dress sews up so quickly. This little dress started with an adorable pattern called Junebug Dress. Using Blend Fabrics Garden Roost I stitched this sweet dress up and of course no outfit is complete without a coordinating bag so I couldn’t resist. Join me today as I share with you how to create this back to school dress and tote bag!
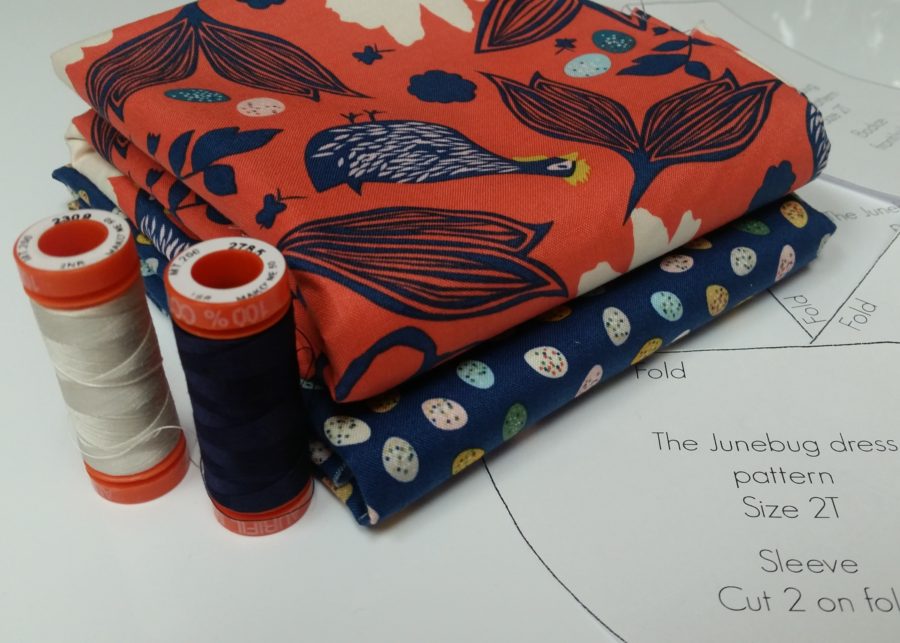
Junebug Back to School Dress Supplies:
Heat n Bond® Woven Fusible Soft Interfacing
Blend Fabric garden roost by Elizabeth- Elizabeth Grubaugh: Pecking Hens Coral & Egg Hunt Navy
Aurifill Thread : 2309, 2785
Lace trim
Snaps (I used these in the place of buttons)
Top Knot Tote Bag Supplies:
HeatnBond® Woven Fusible Soft Interfacing
Blend Fabric Garden Roost: Hitching a Ride Navy & Confetti Flower Coral
Aurifill: 2309 & 2785
Pattern: Simplicity has several sizes and variations on this pattern including, 1385
Tools:
Oliso Iron
Sewing Machine
Scissors
Hammer
Hand sewing needle
Junebug Back to School Dress Instructions:
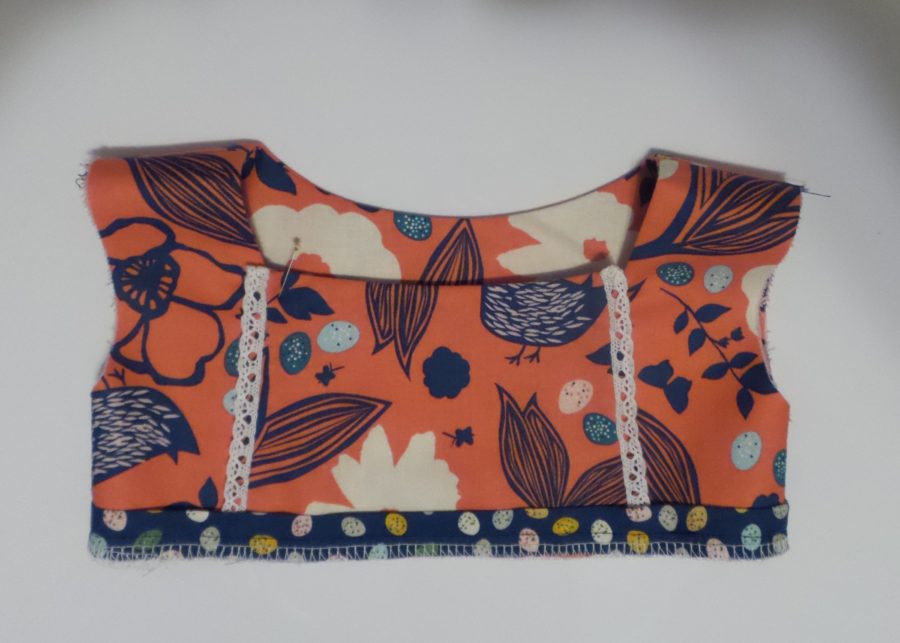
I made a couple of small changes to the Junebug dress. On the bodice, I hand stitched on a lace trim and added a contrast band around the bottom by cutting a 1 1/2 inch strip of contrasting fabric measured to the width of the bodice plus seam allowance. Sew short ends together and press in half with wrong sides facing. Sew in place at bottom of bodice with raw edges matching.
In place of buttons, I choose to use snaps, apply as directed on packaging.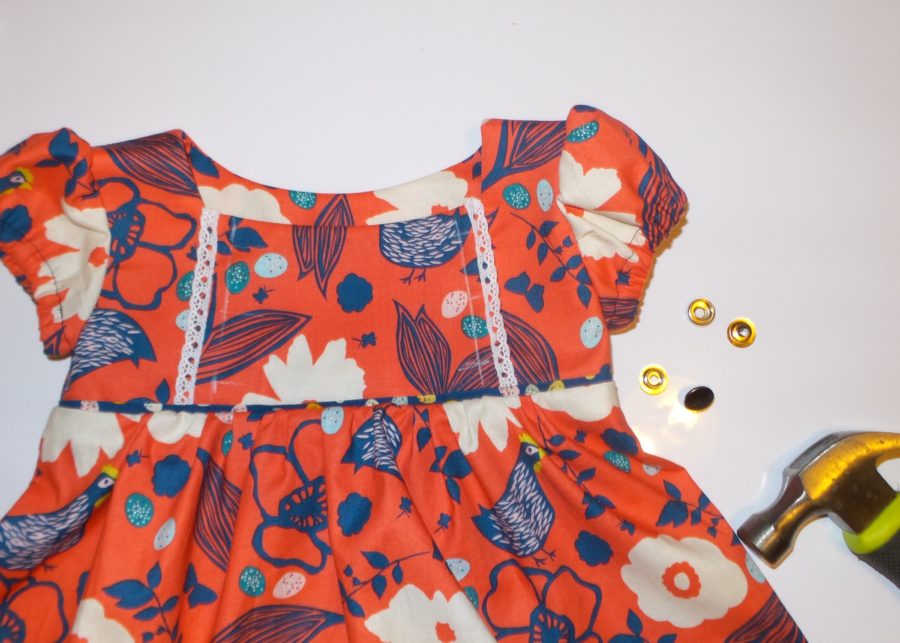
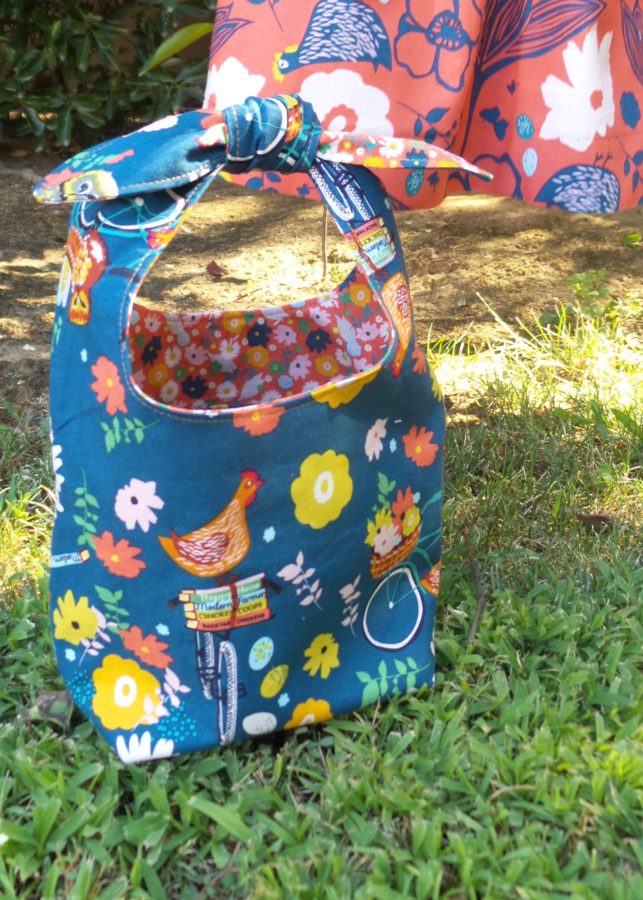
Back to School Tote Bag Instructions:
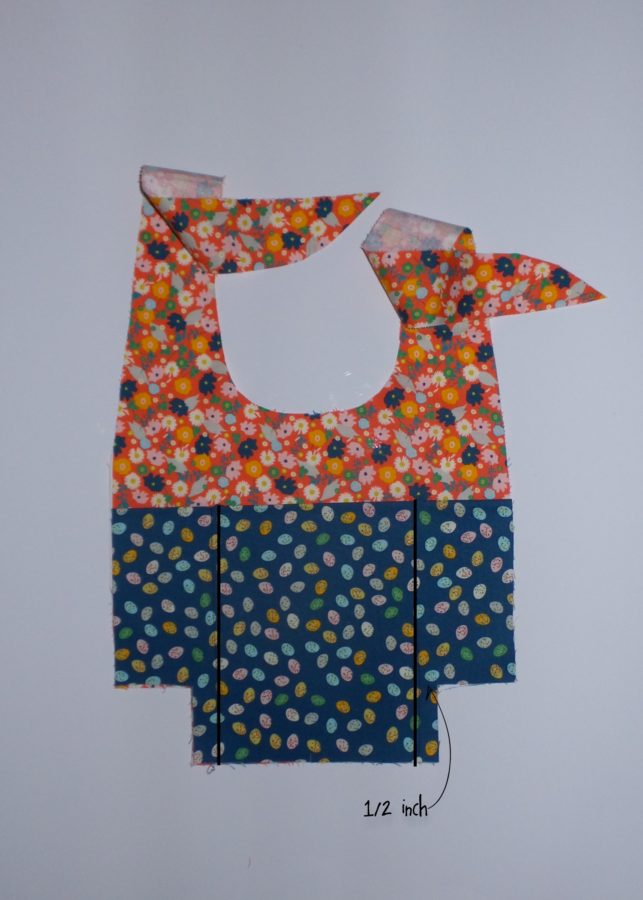
The little tote bag comes together so quickly I added a quick pocket to help organize. Adding a pocket to the inside: Press HeatnBond® Woven Fusible Soft Interfacing to the wrong side of 10 x 9-inch piece of coordinating fabric. Press fabric in half length wise with wrong sides facing, place folded piece with fold up toward the top, at the bottom edge of the pattern piece and cut notches from corners to match the pattern. Stitch 1/2 inch in from inner corner edge as illustrated to divide the pocket into three. Continue sewing bag as directed by the pattern.
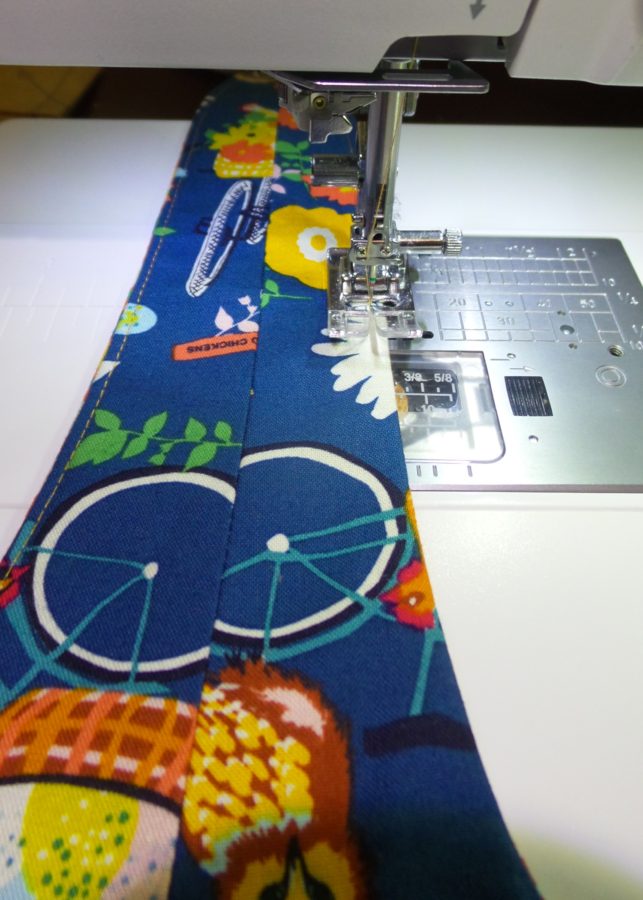
Use a contrast Aurifill thread and adjust the stitch length to about a 3.0 for a nice top stitch around the edges of the bag.

Happy Stitching!
Jennifer
