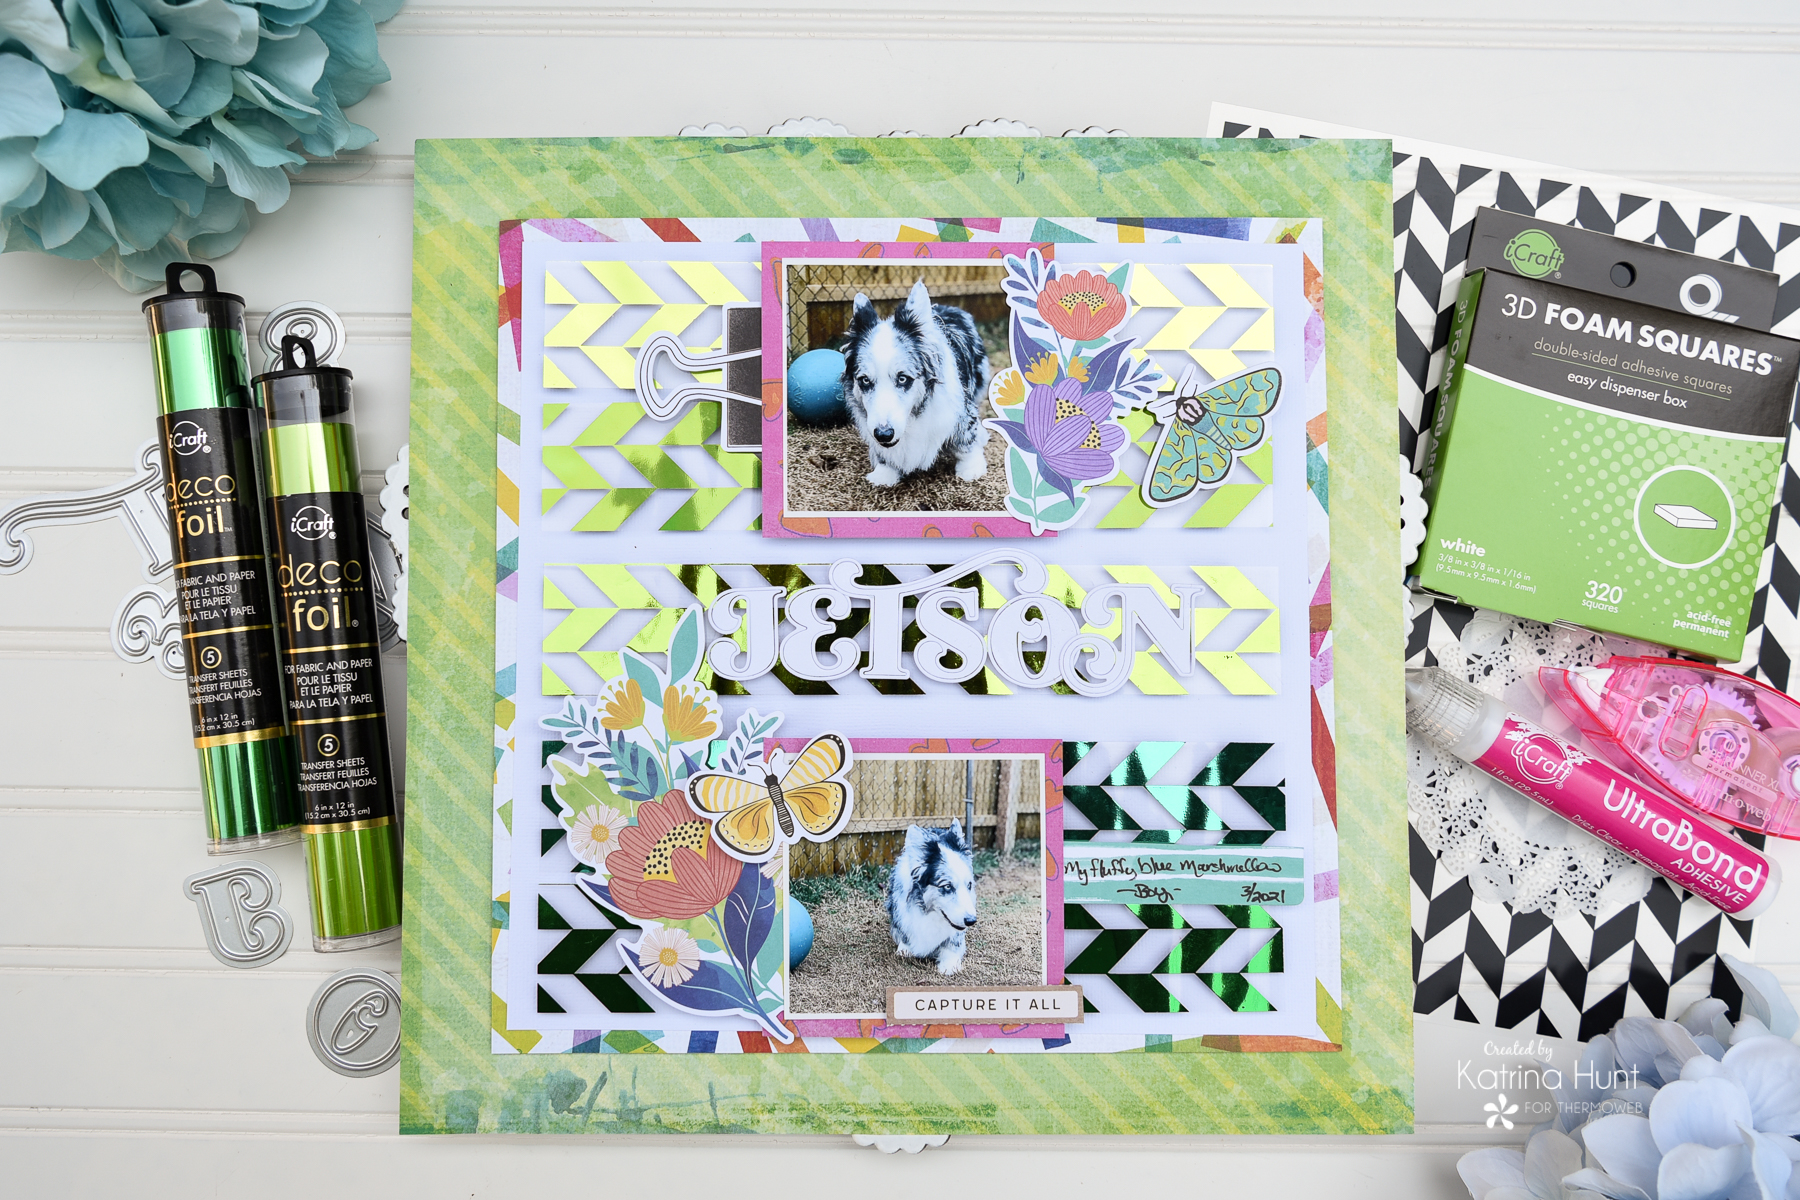
 Hi there!!! It’s Katrina from Paper, Scissors, Glue and Hybrid Too here today. Hope you are loving the projects this week. We all need inspiration and what a better way than from fellow teammates! I was inspired by a couple of Rebecca Keppel’s fun cards and turned both of them into one layout. Can you say ombre and monogram?
Therm O Web Supplies Used
Memory Runner XL
Memory Runner XL Refill
3D Foam Squares – Combo Pack
NEW 3D FOAM SQUARES BOX
NEW 3D FOAM TAPE ROLL 1/16
Deco Foil Clear Toner Sheet–Chic Chevrons
Deco Foil Transfer Sheets-Lime
Deco Foil Transfer Sheets-Lilypad
Deco Foil Foil Transfer Sheets-Spring Green
Deco Foil Transfer Sheet-Jade
Deco Foil Transfer Sheet-Green
Ultra Bond Liquid Adhesive
NEW ULTRA BOND LIQUID ADHESIVE PEN
Other Supplies Used
American Crafts White Cardstock
Vicki Boutin Color Study Collection
PinkFresh Alpha Dies-Lea’s Ornate Upper Case
Ombre Layout and Inspiration Projects
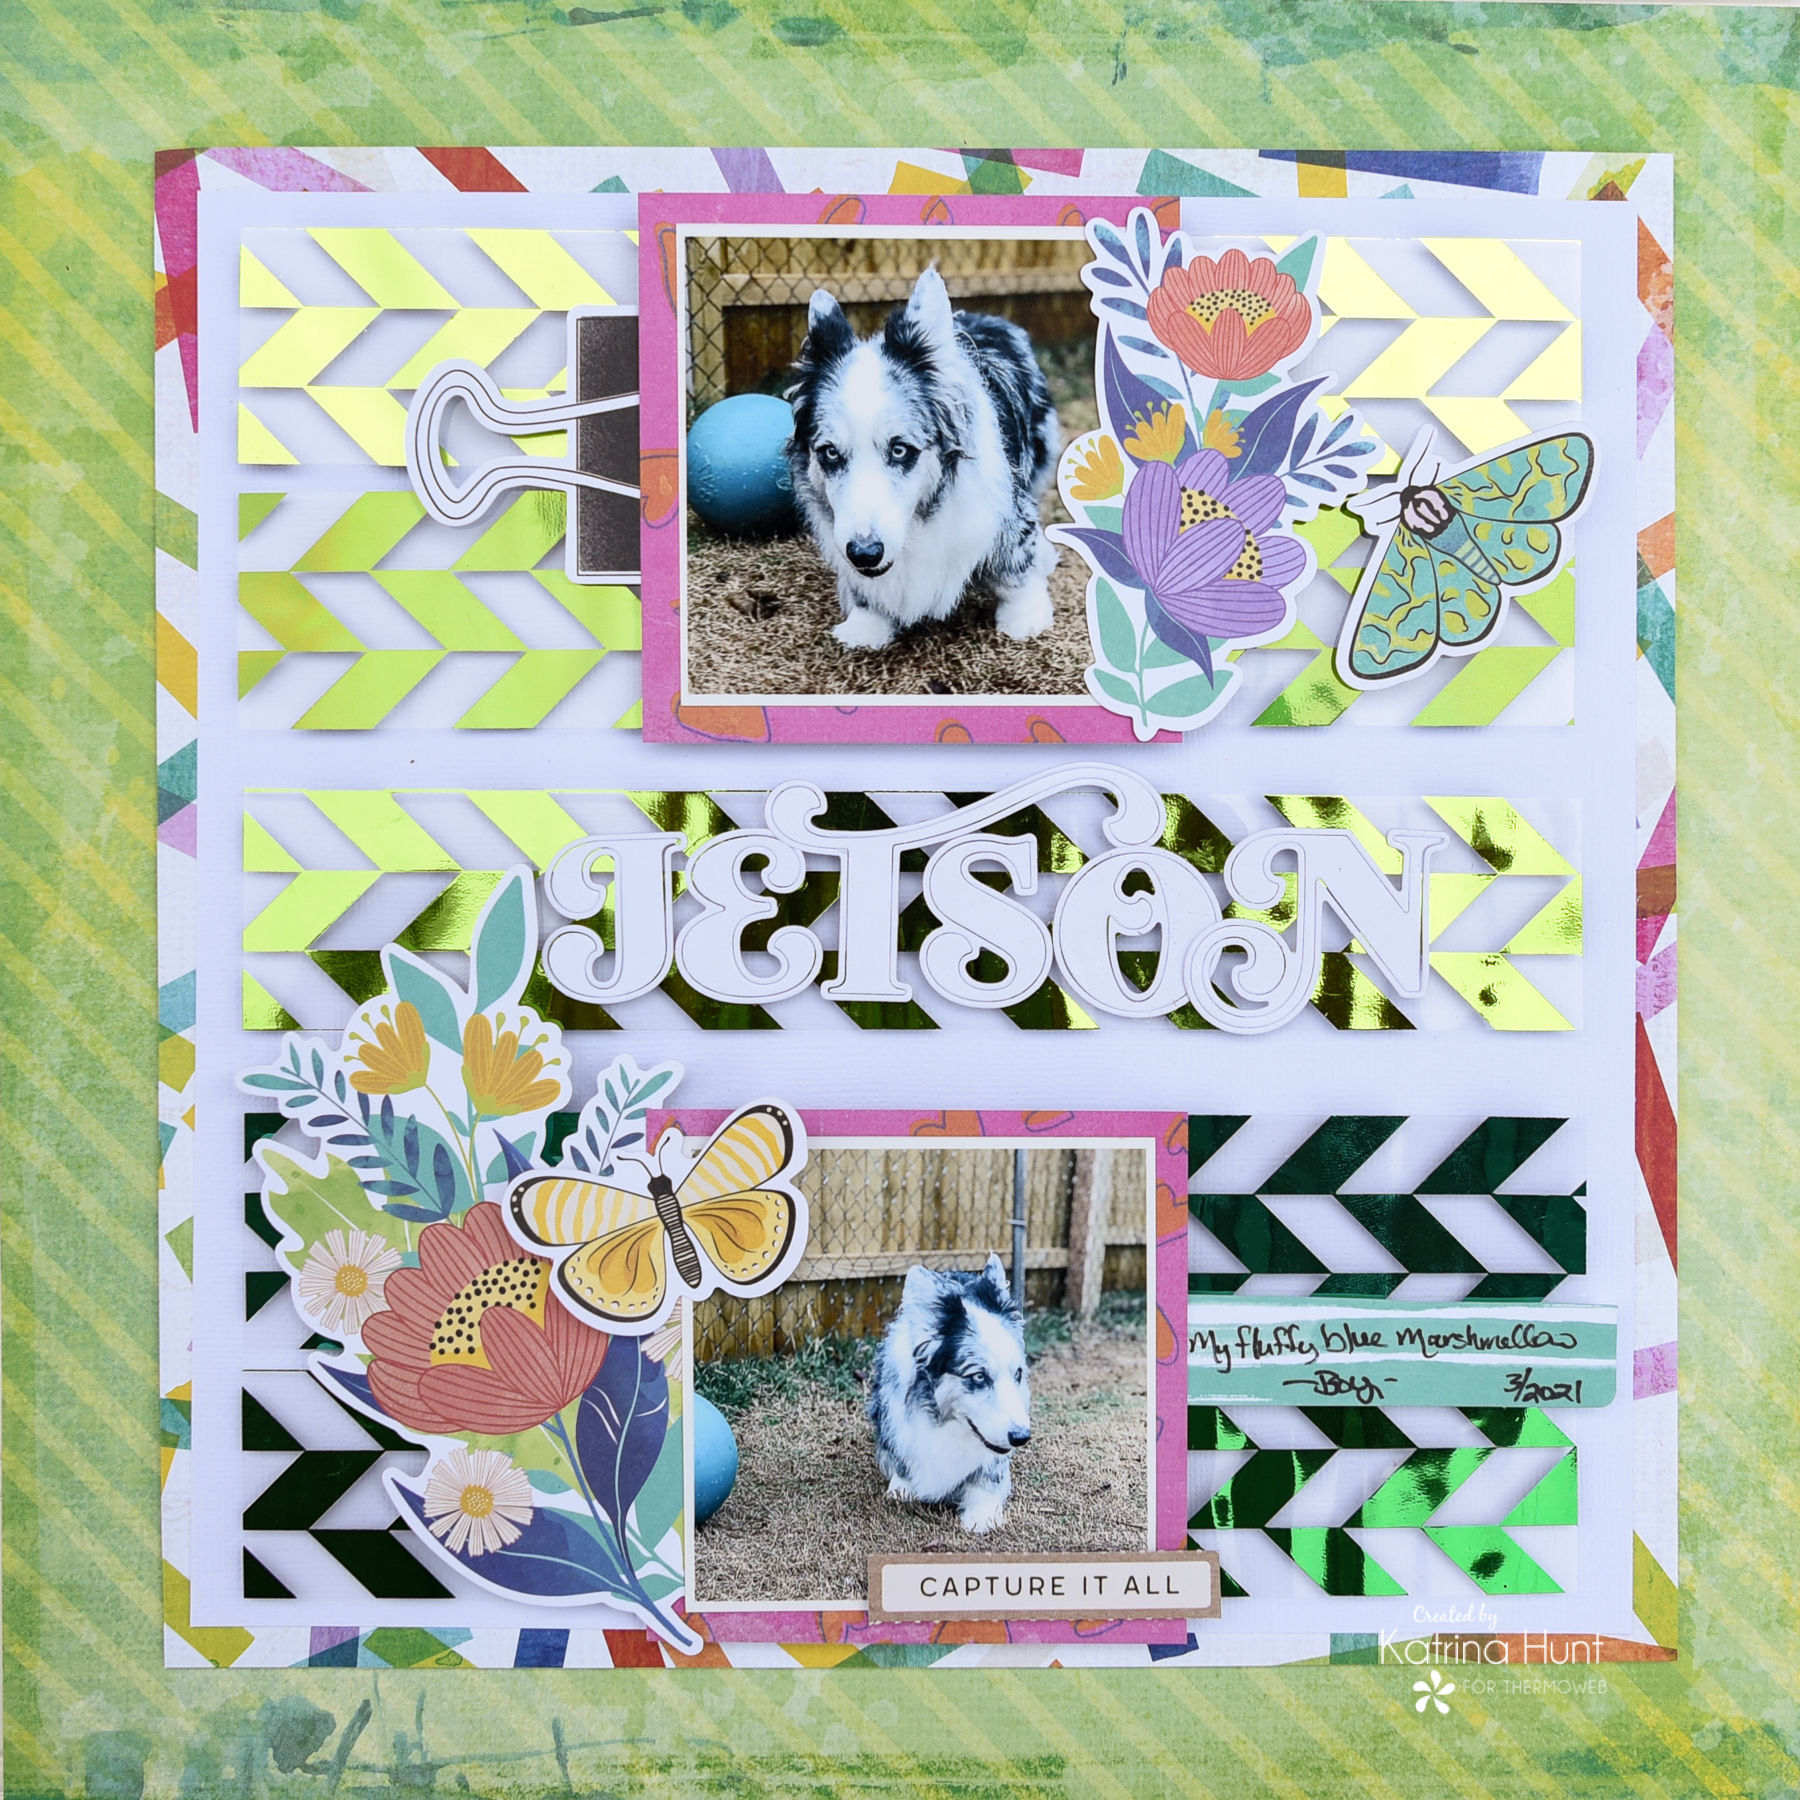
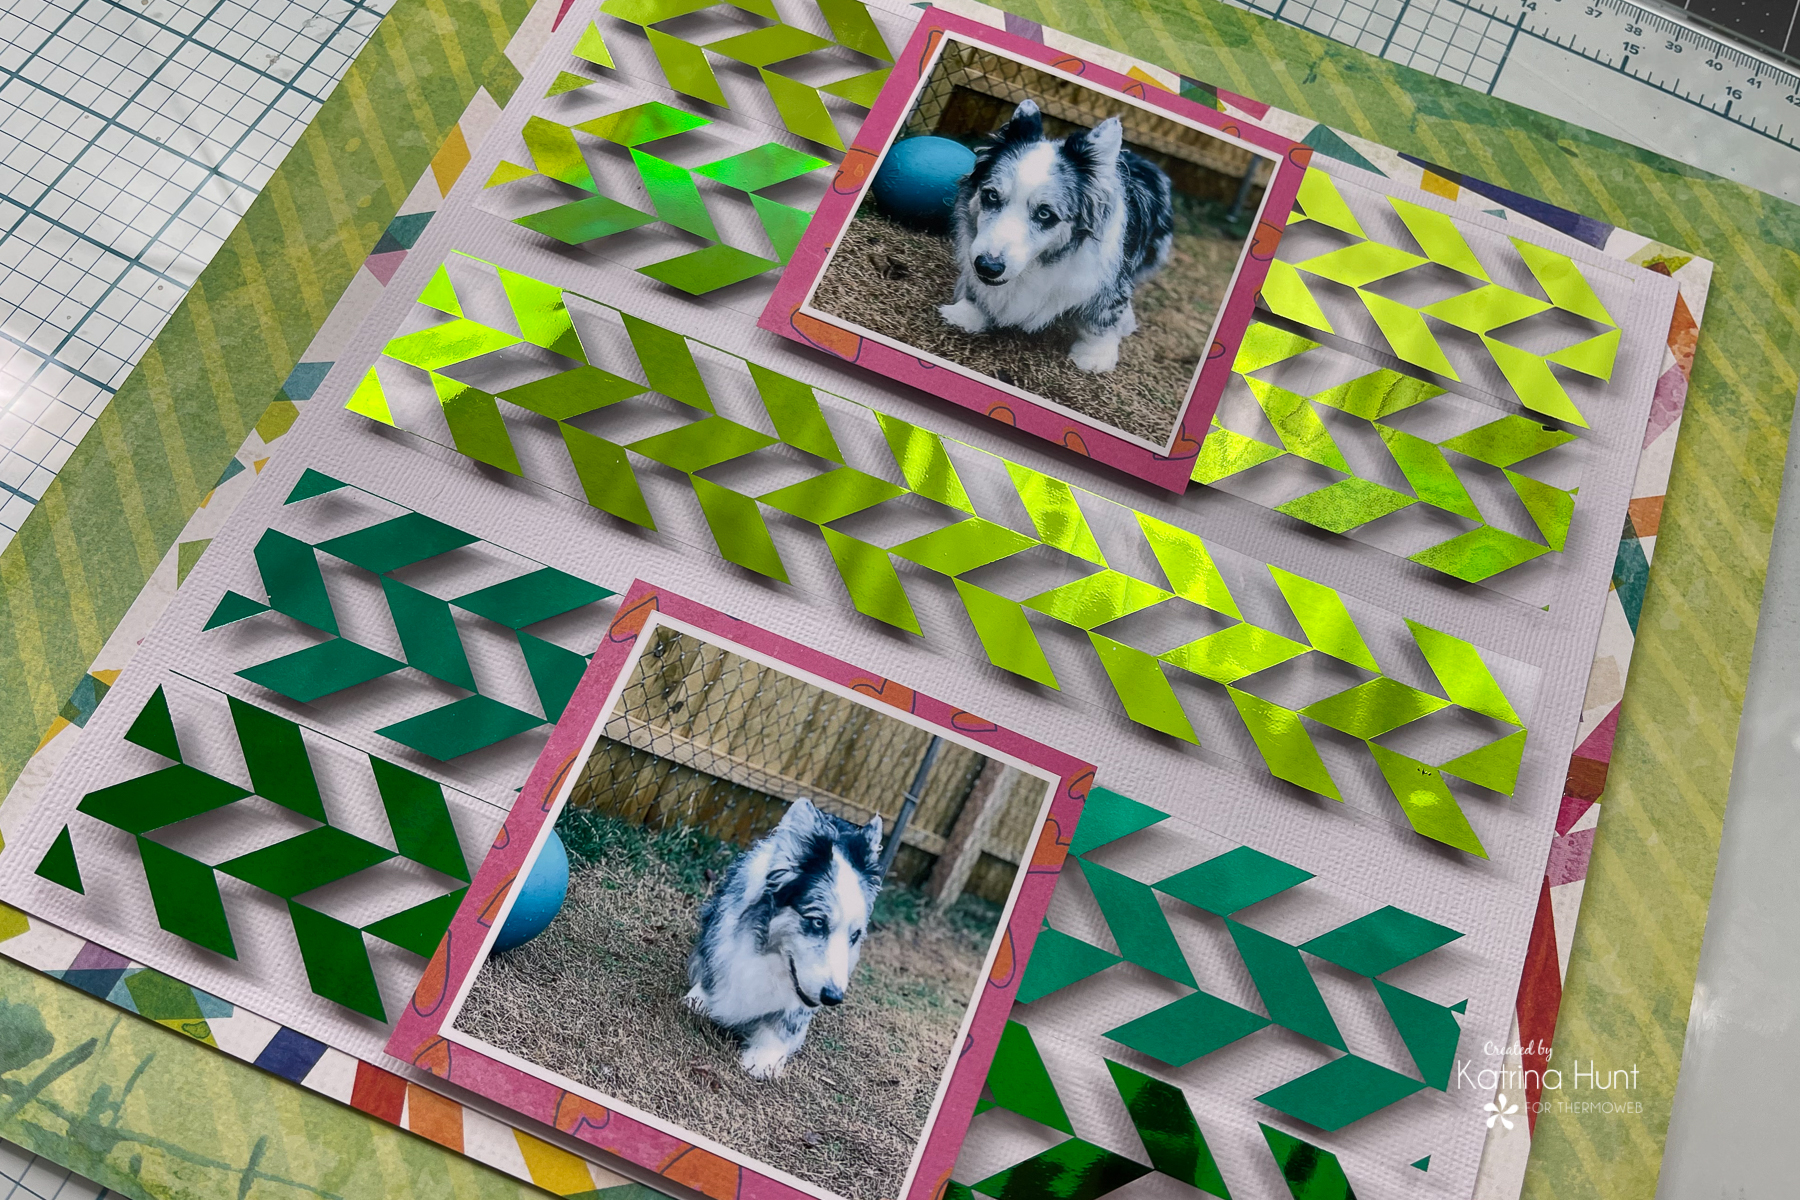
Here is my take!!!
 And here are the projects by Rebecca that inspired this layout. Can you see where the inspiration falls into play?!


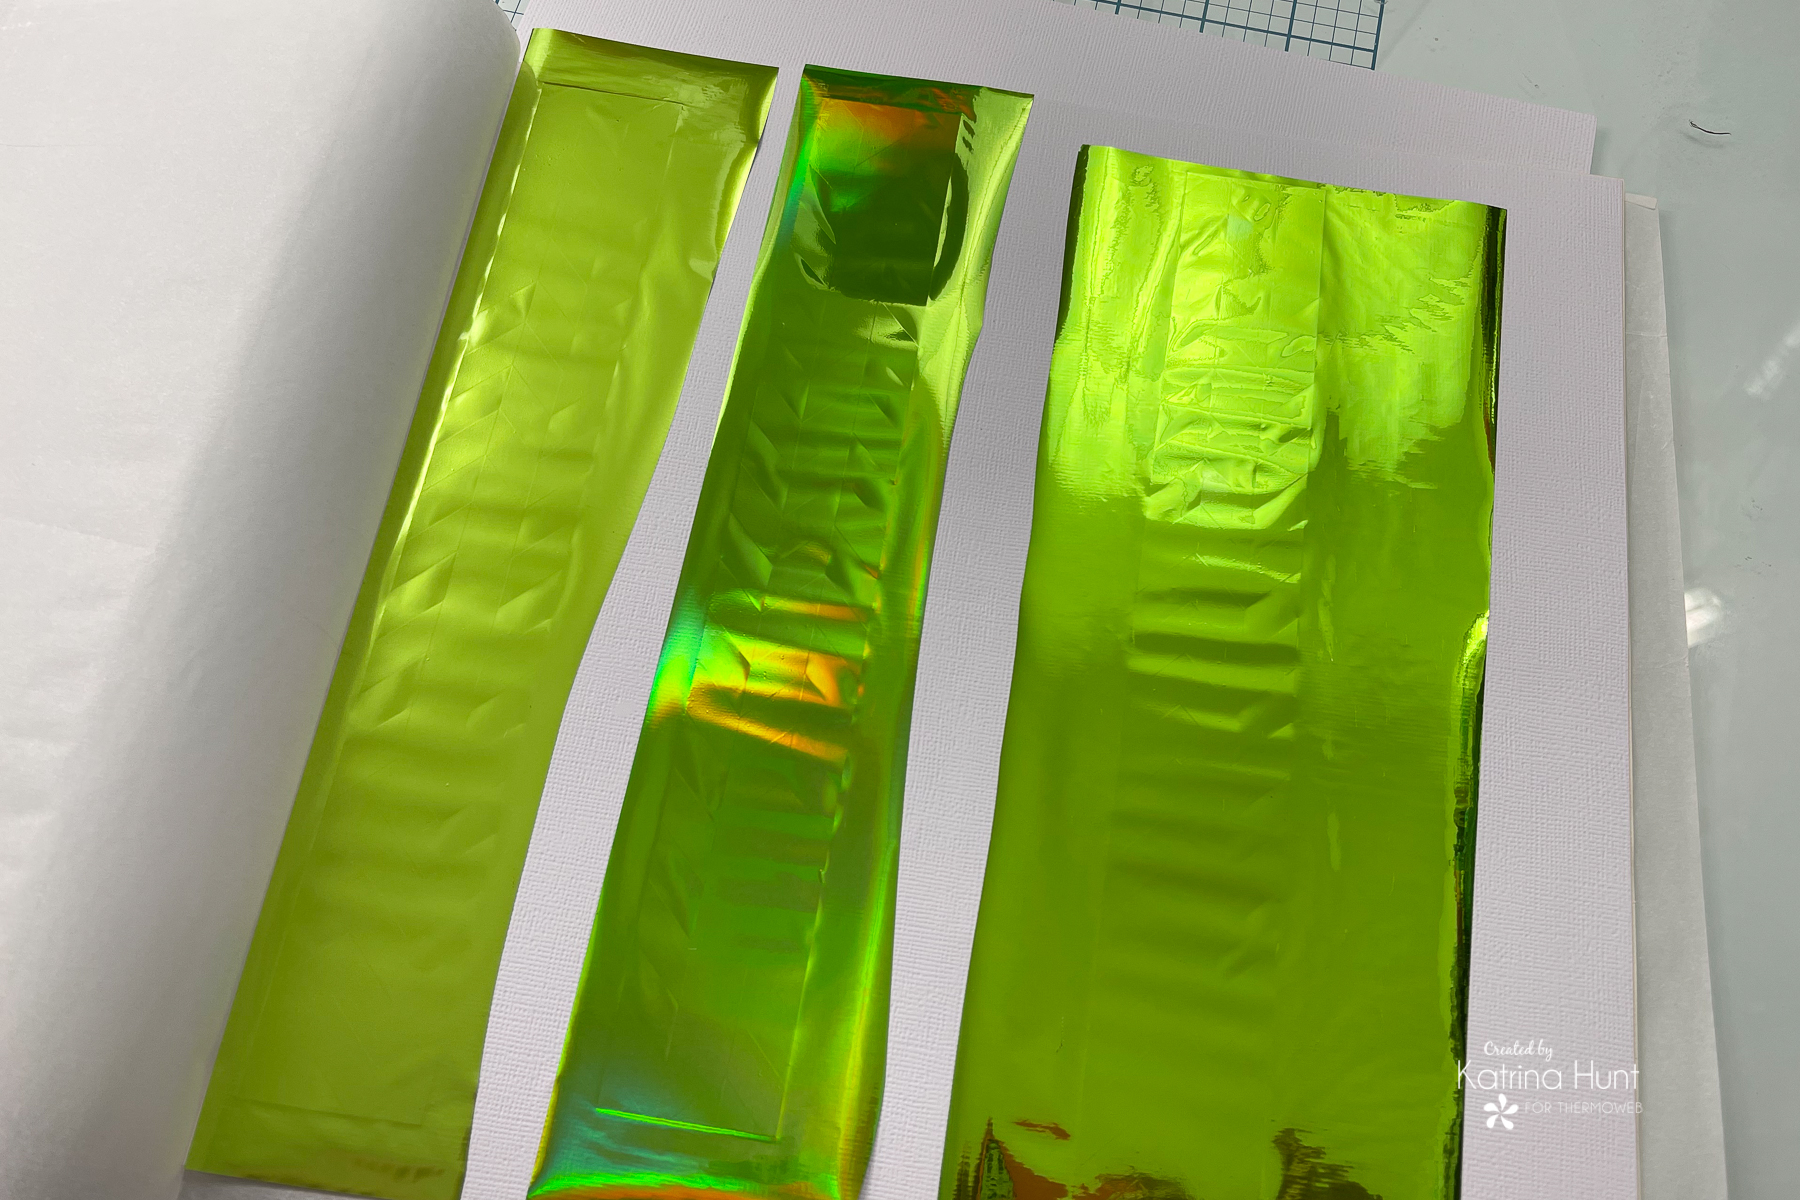
So, first up, I used the same exact clear toner sheet-Chic Chevrons, I just decided to do green foils instead of blue! I used the length of the toner sheet as a starting point since I was doing a 12×12 layout. I placed my pictures on the sheet to get an idea of how I wanted to cut the strips. 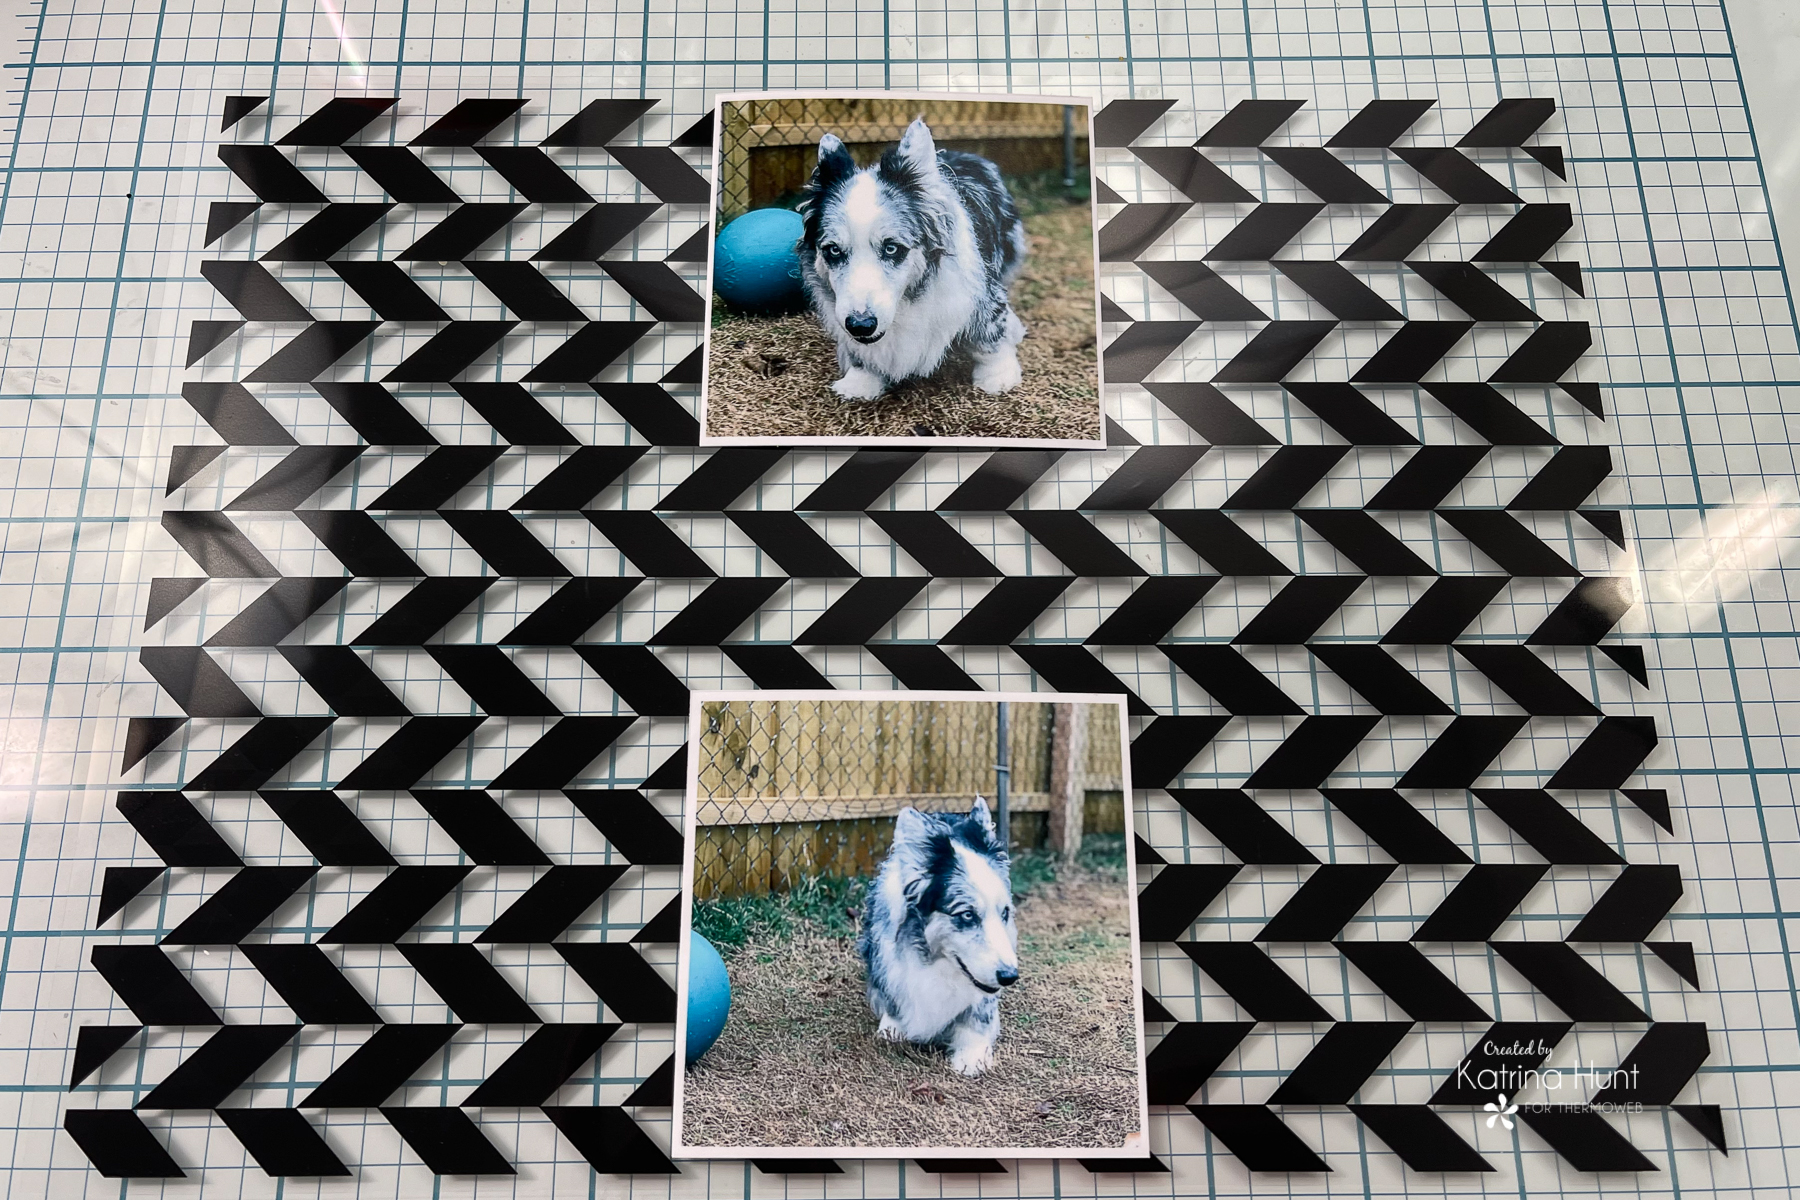
I decided three sections wide would work, especially with a little spacing between them. I also decided a white cardstock background would be best to highlight the toner sheet sections.
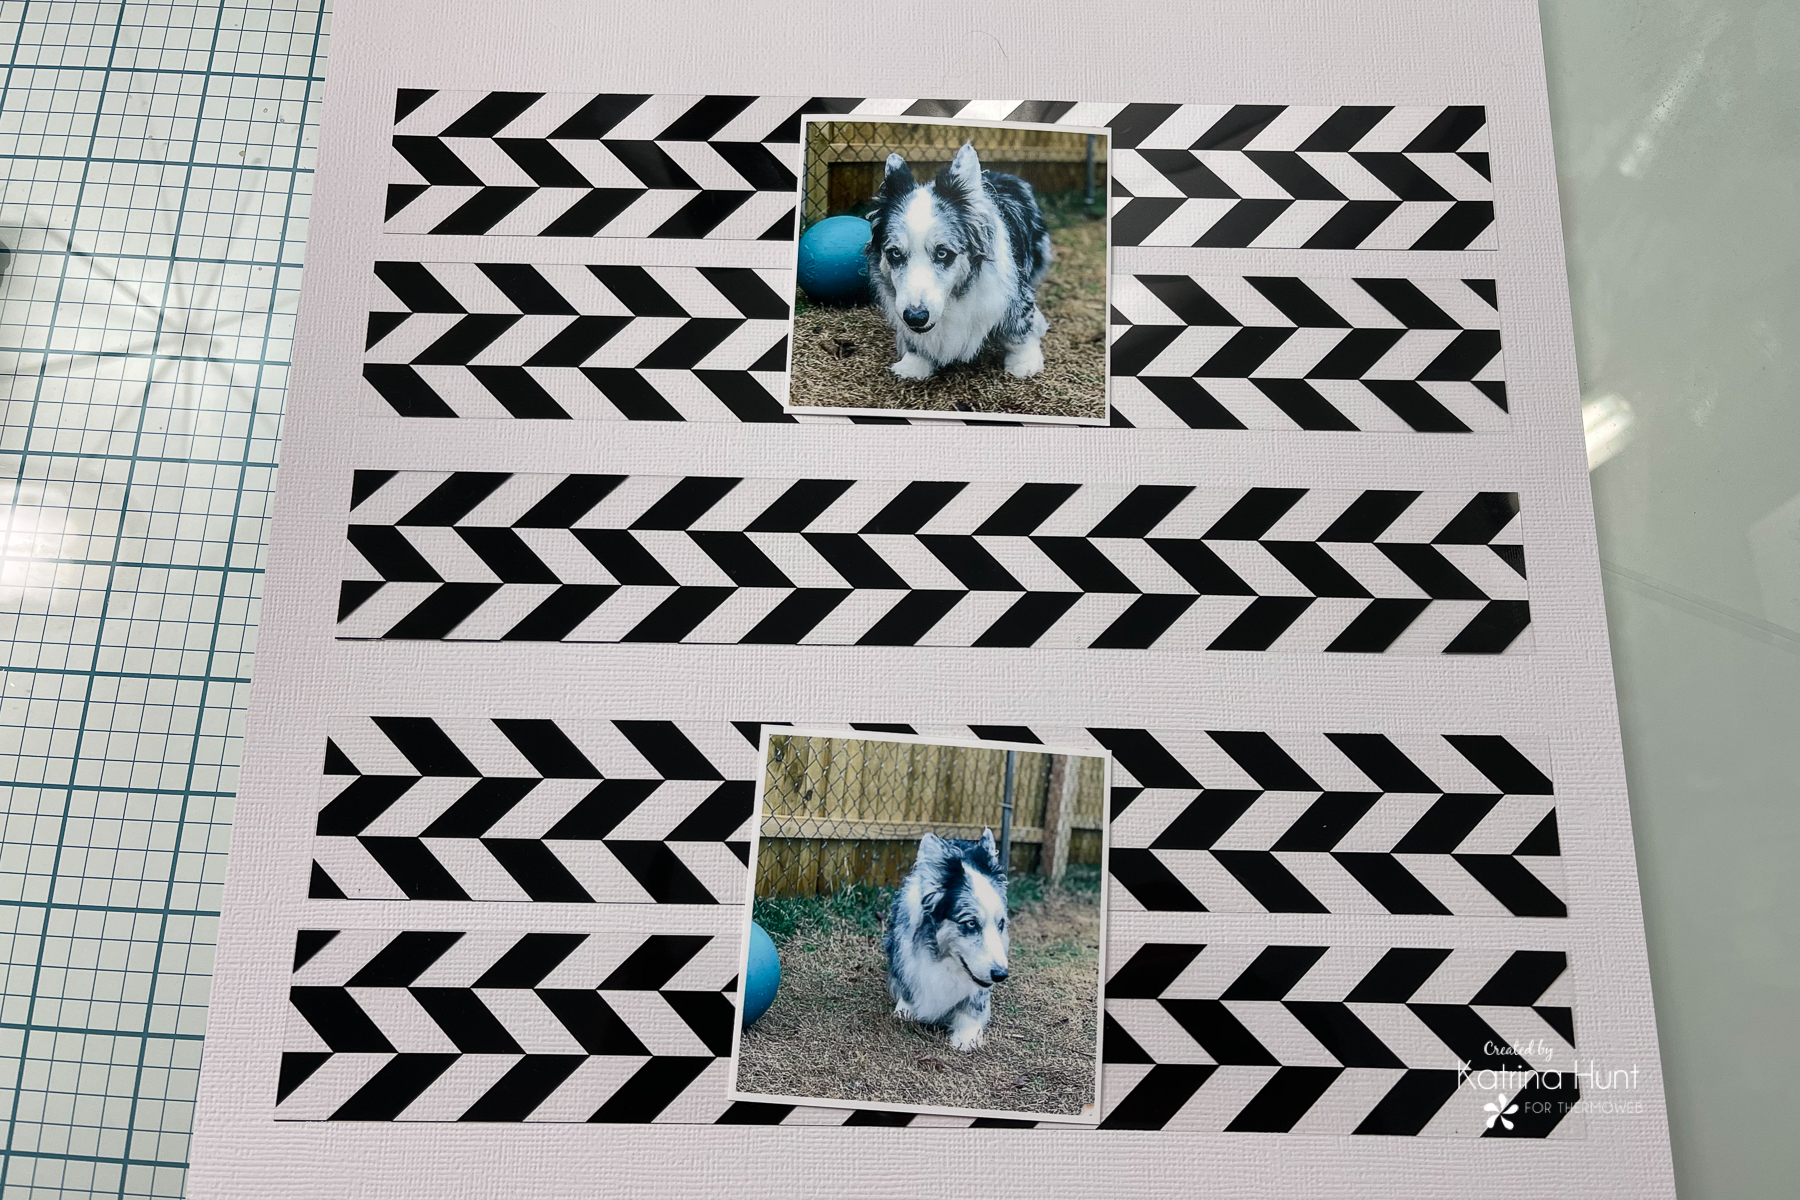
I choose the following foils and used them in this order also. Lime, Lilypad, Spring Green, Jade, and Green. I could have swapped the Jade and Green order, but decided to just go with it! I trimmed foil to fit the strips and then foiled as many as I could thru my laminator, all at once.
After foiling I started piecing the layout together using my Memory Runner XL, the NEW Foam Tape, and 3D Foam Squares.
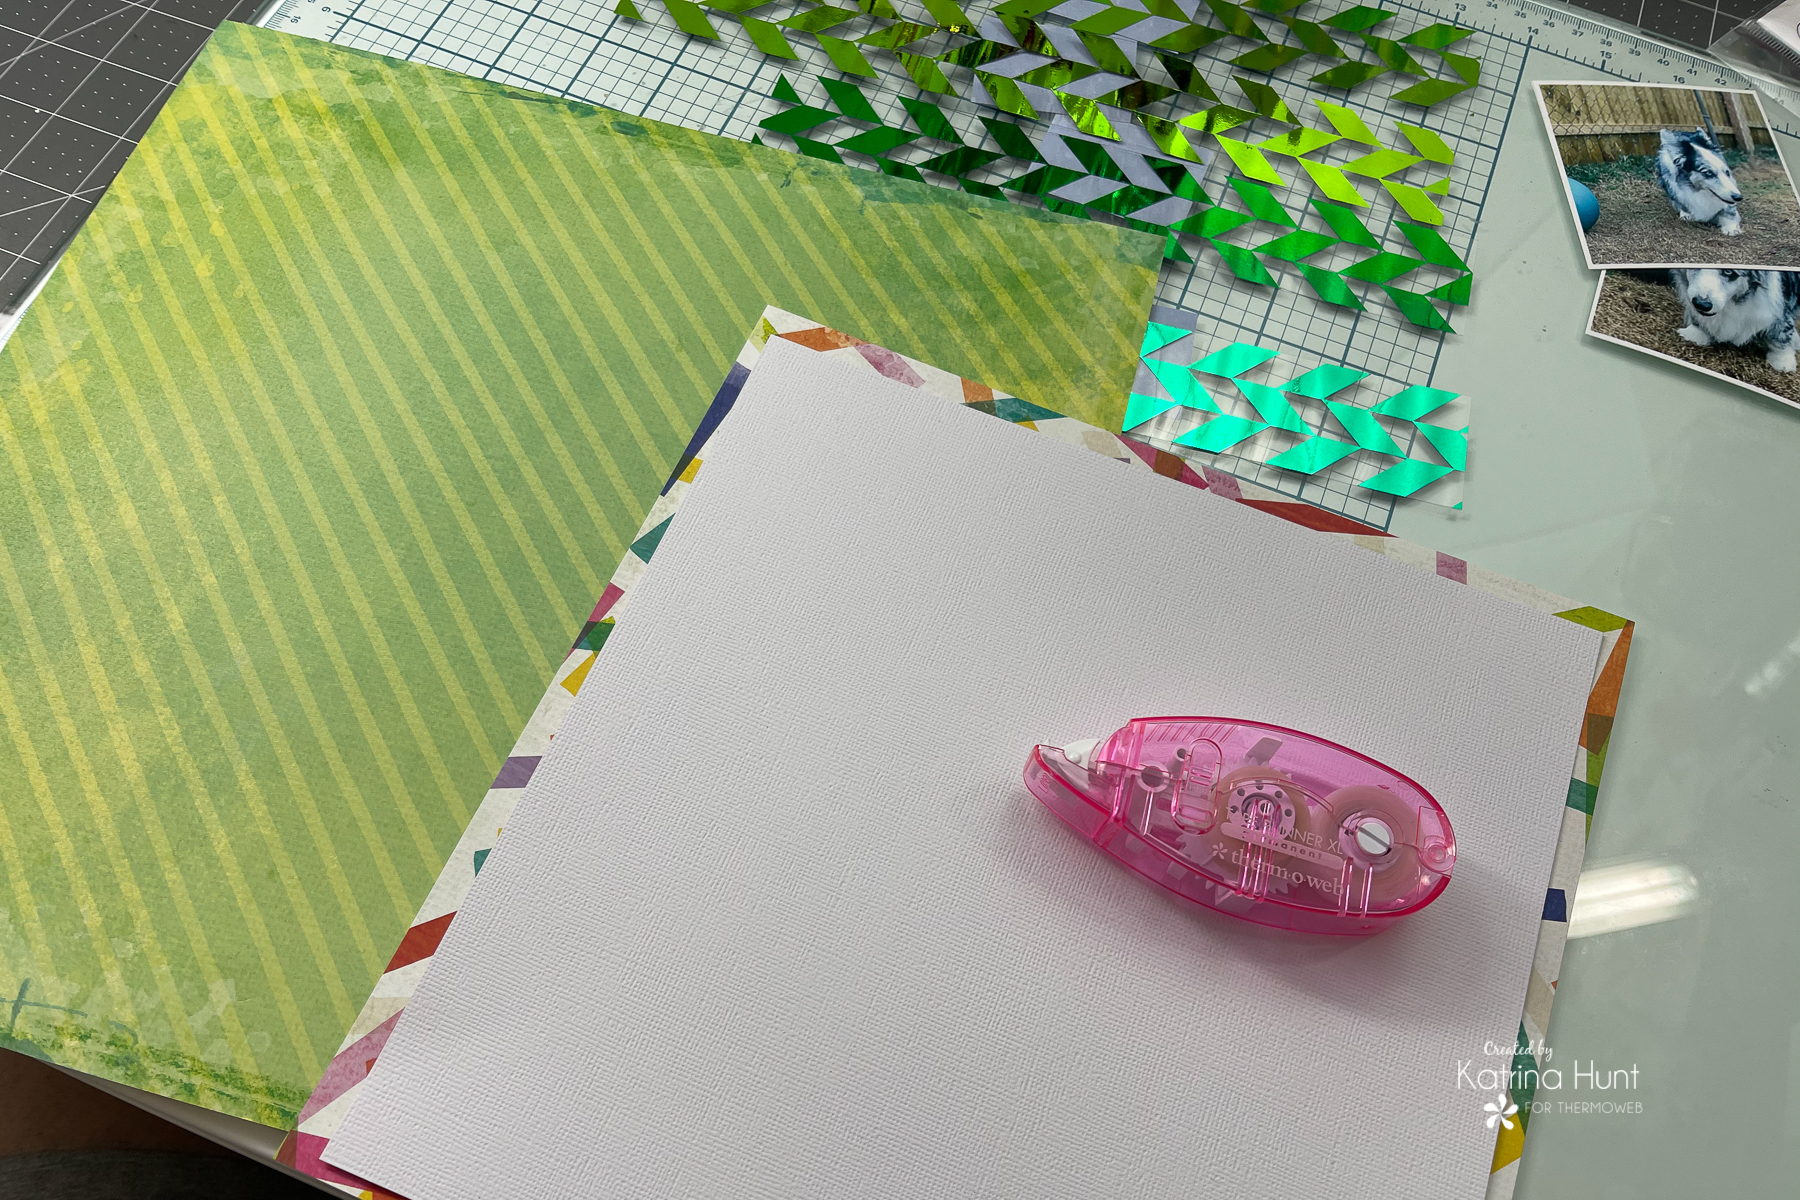
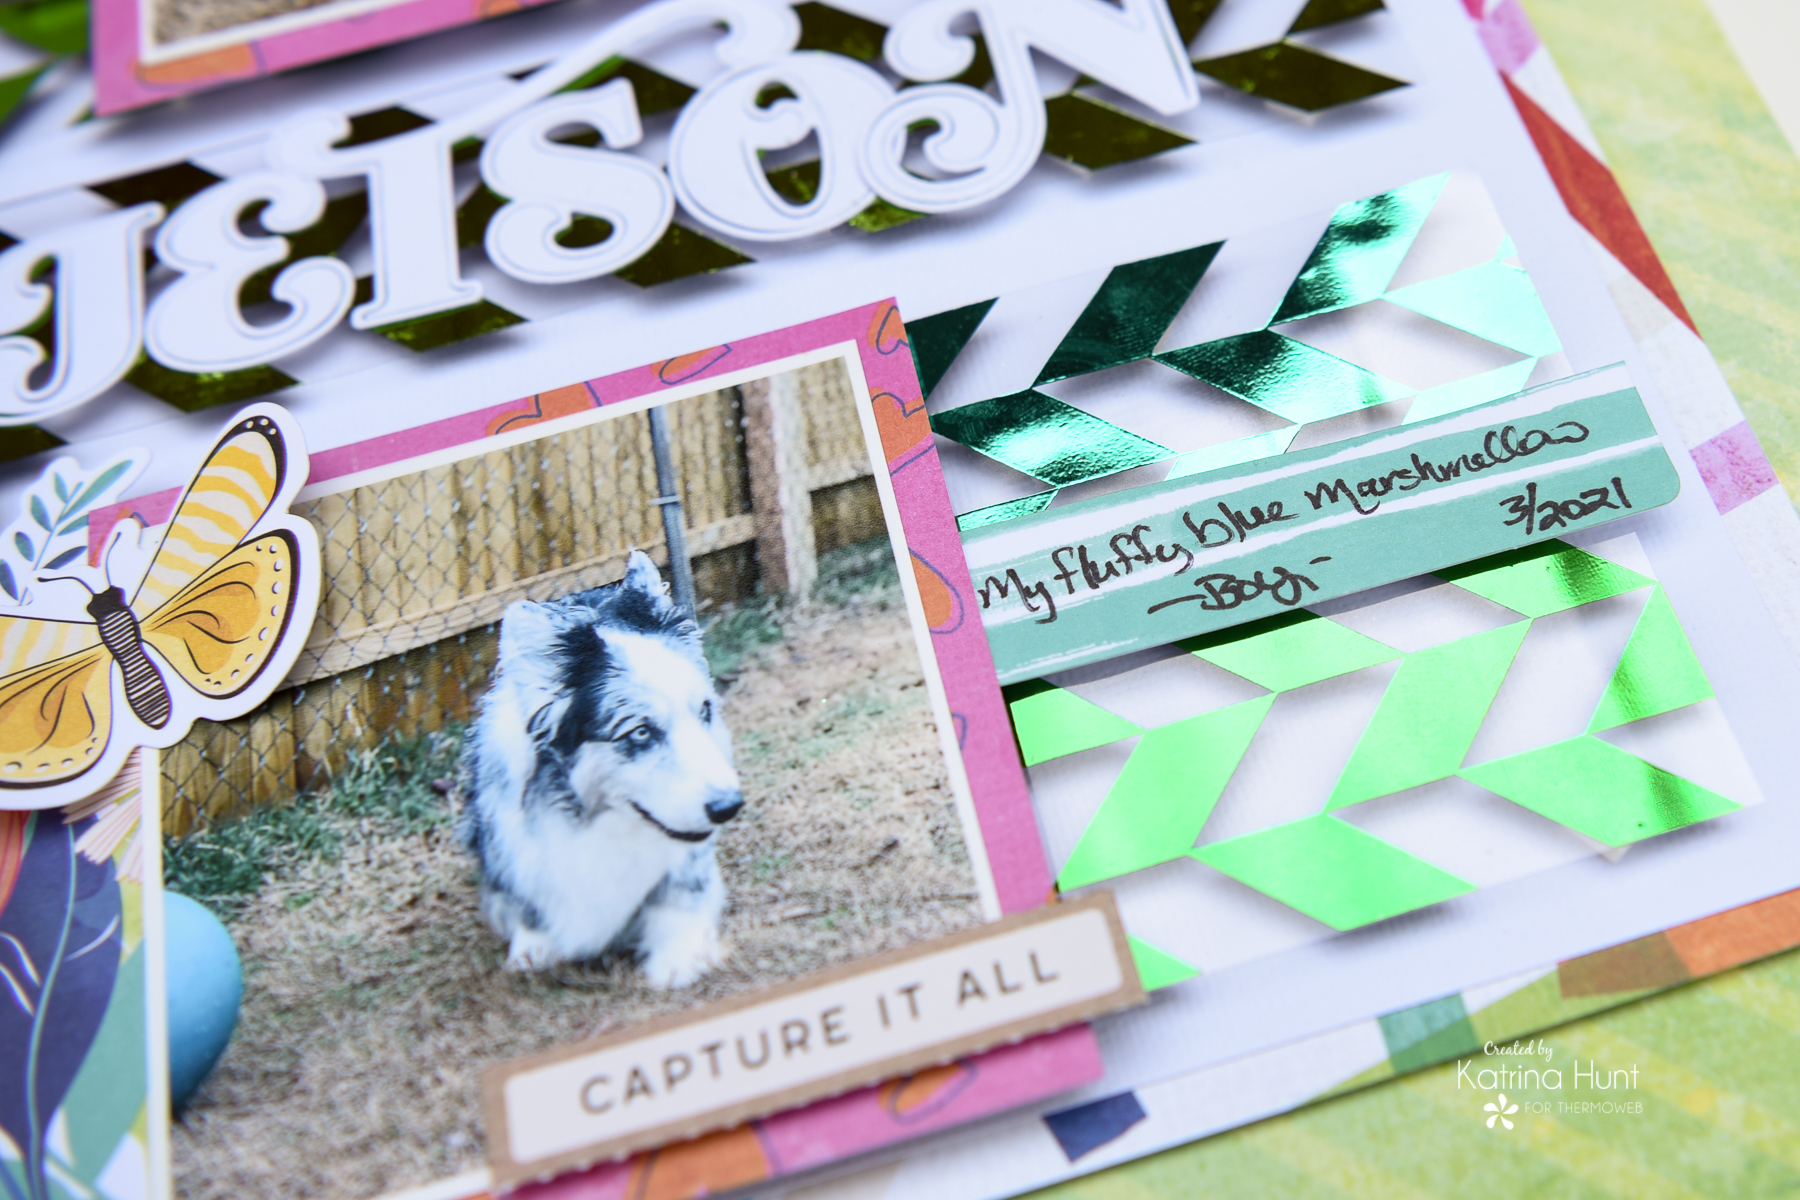
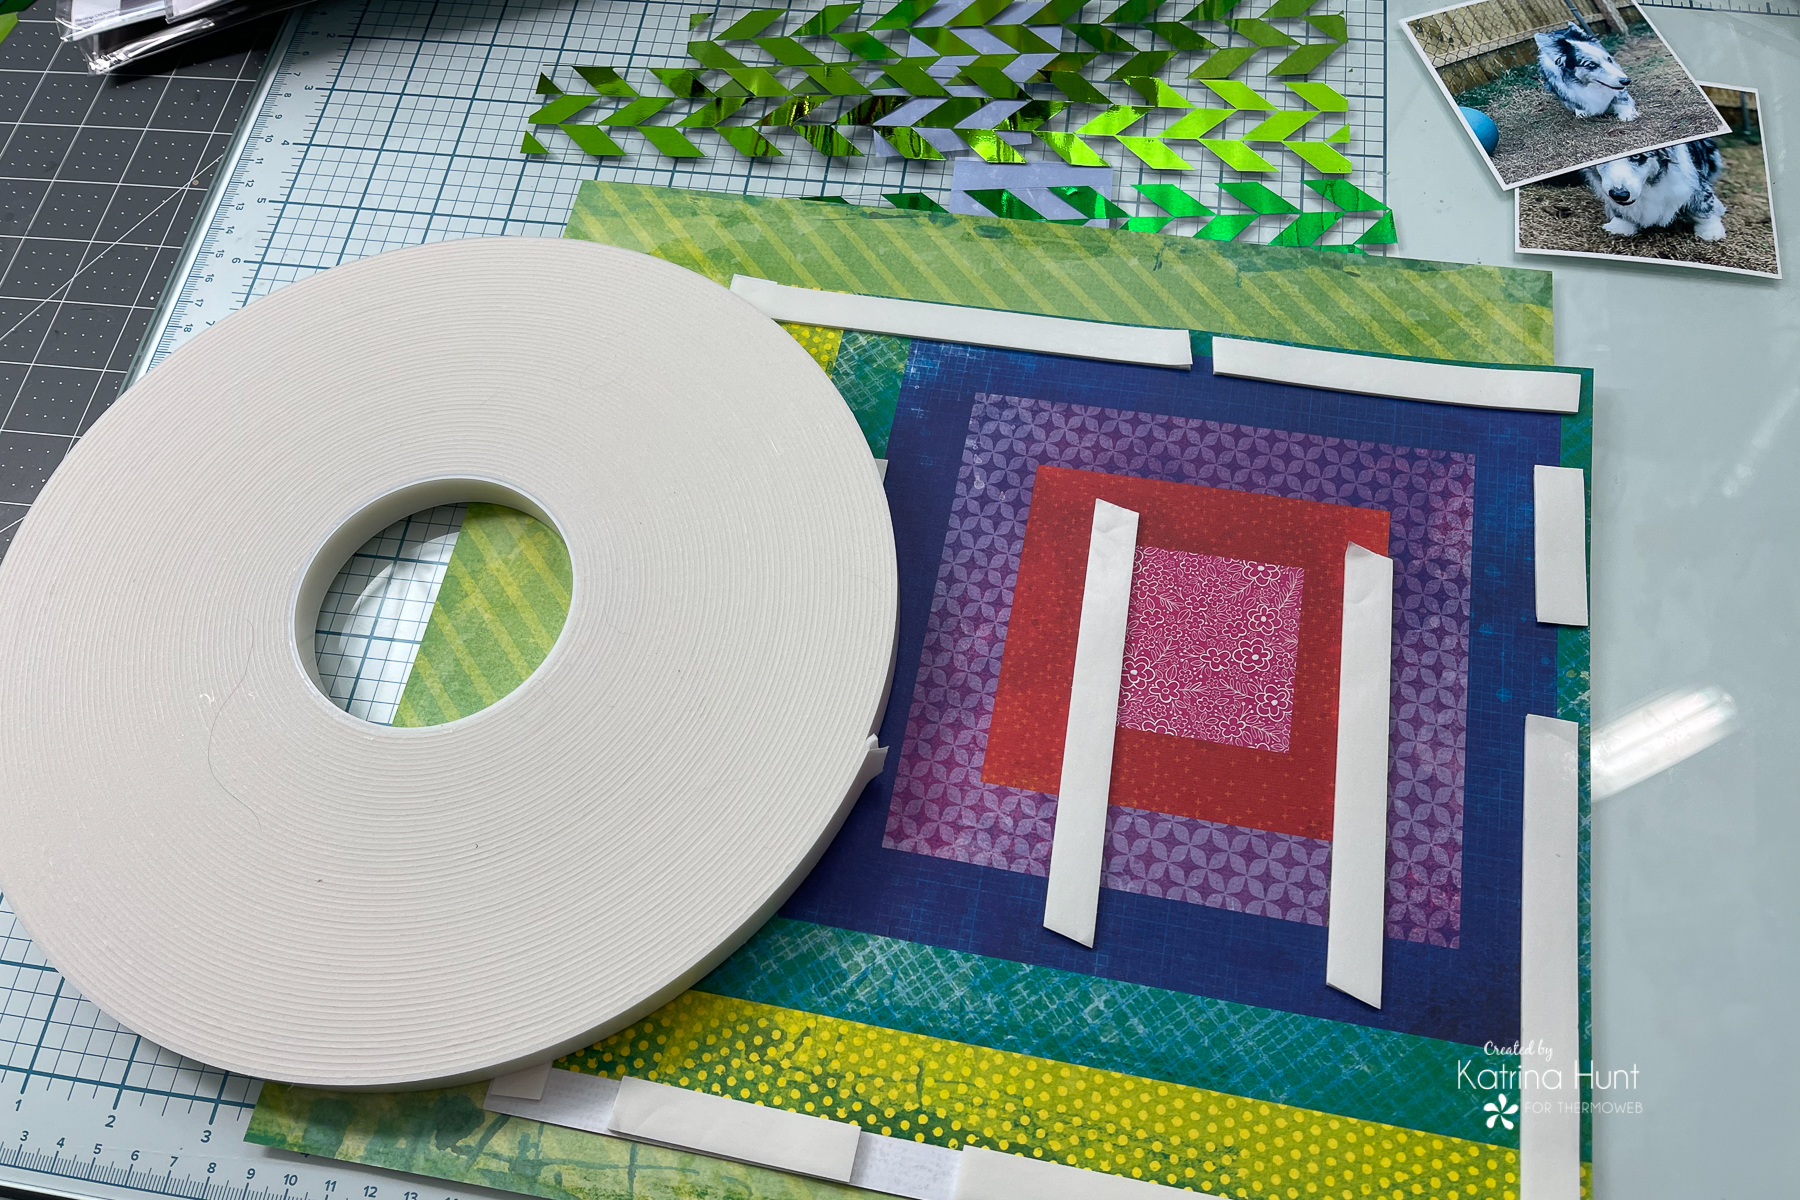
Once I had the background completed I started working with the foiled strips and the spacing I wanted. I ended up keeping the two upper and two lower strips closer together to create a bigger opening for the center section.
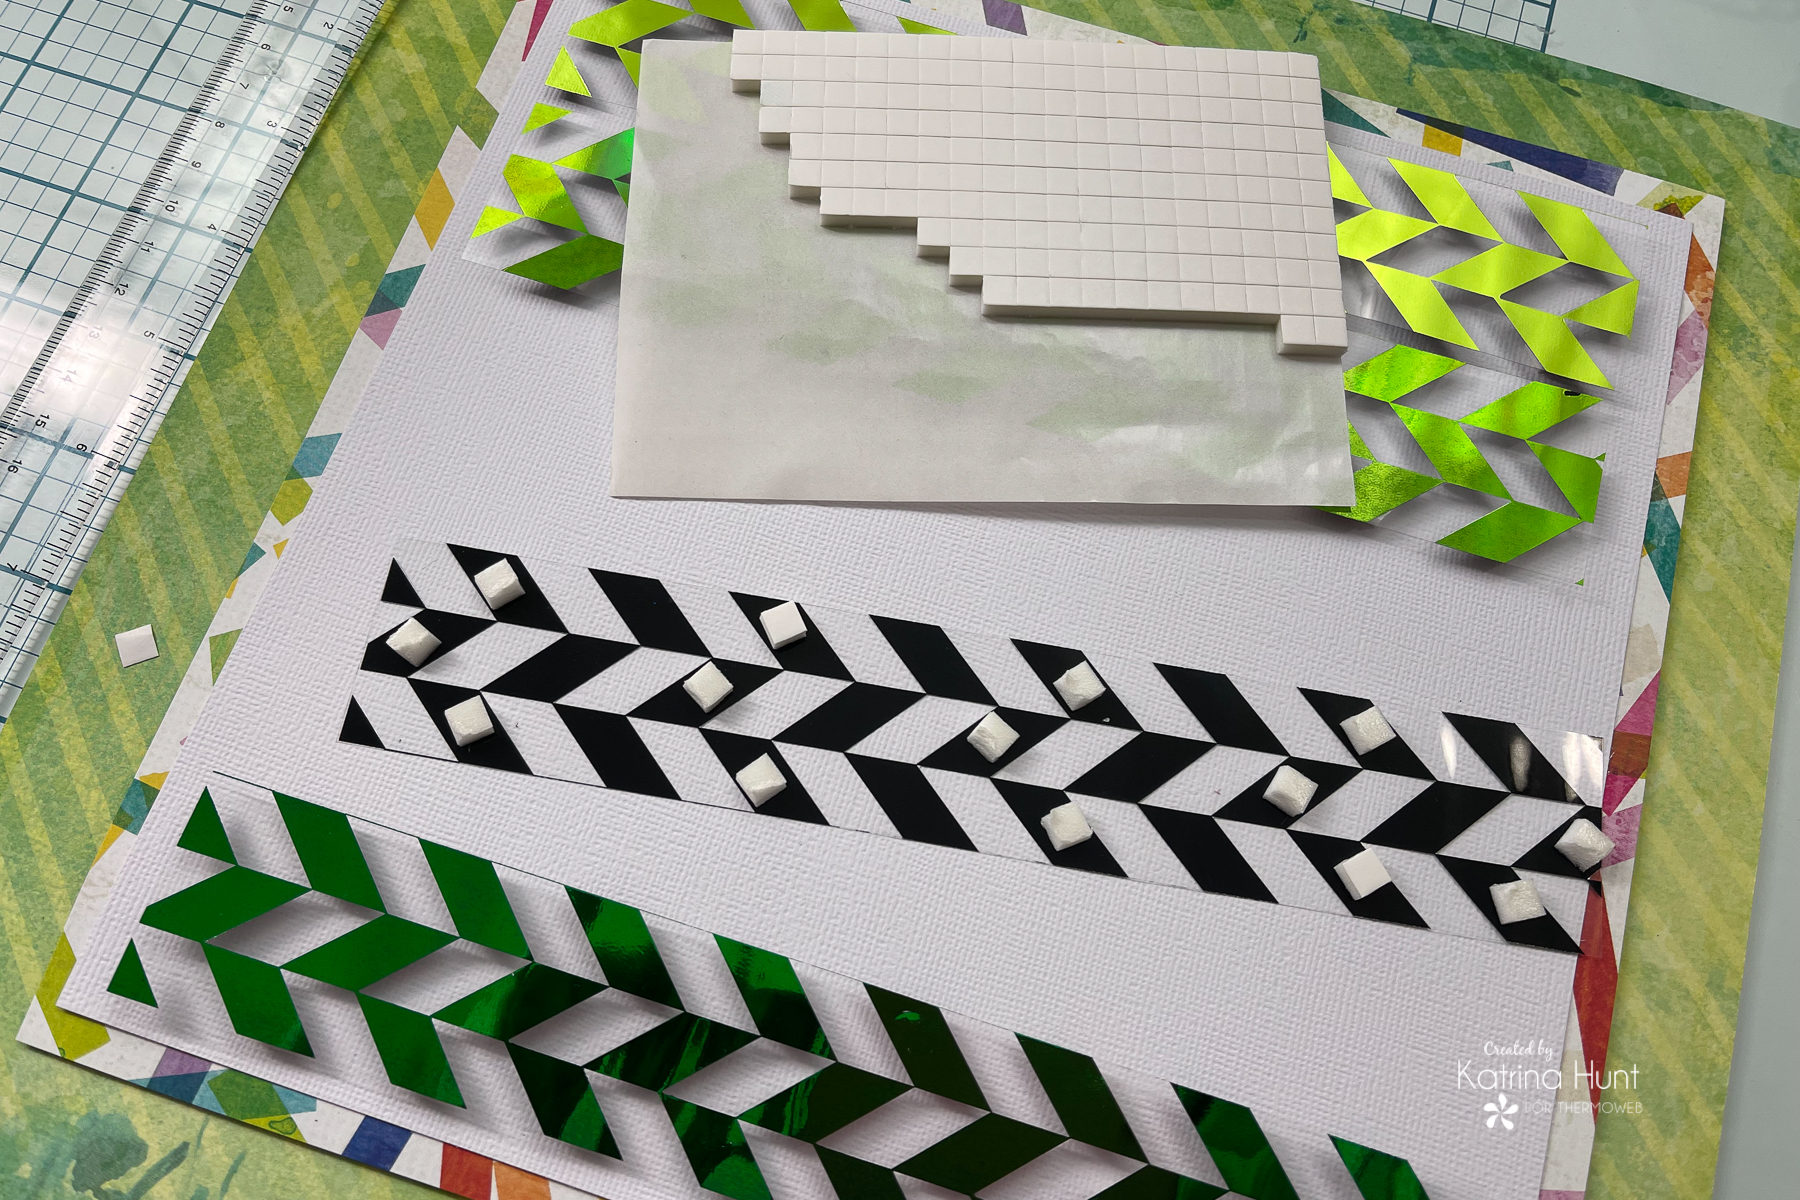
After I had the spacing figured out, I adhered the foil strips with the smaller 3D Foam Squares that come in the combo pack I was using. I used a foam square about every other space. As you can see, these fit perfectly behind the foiled areas. Once the foiled strips were down, it was time to start embellishing.
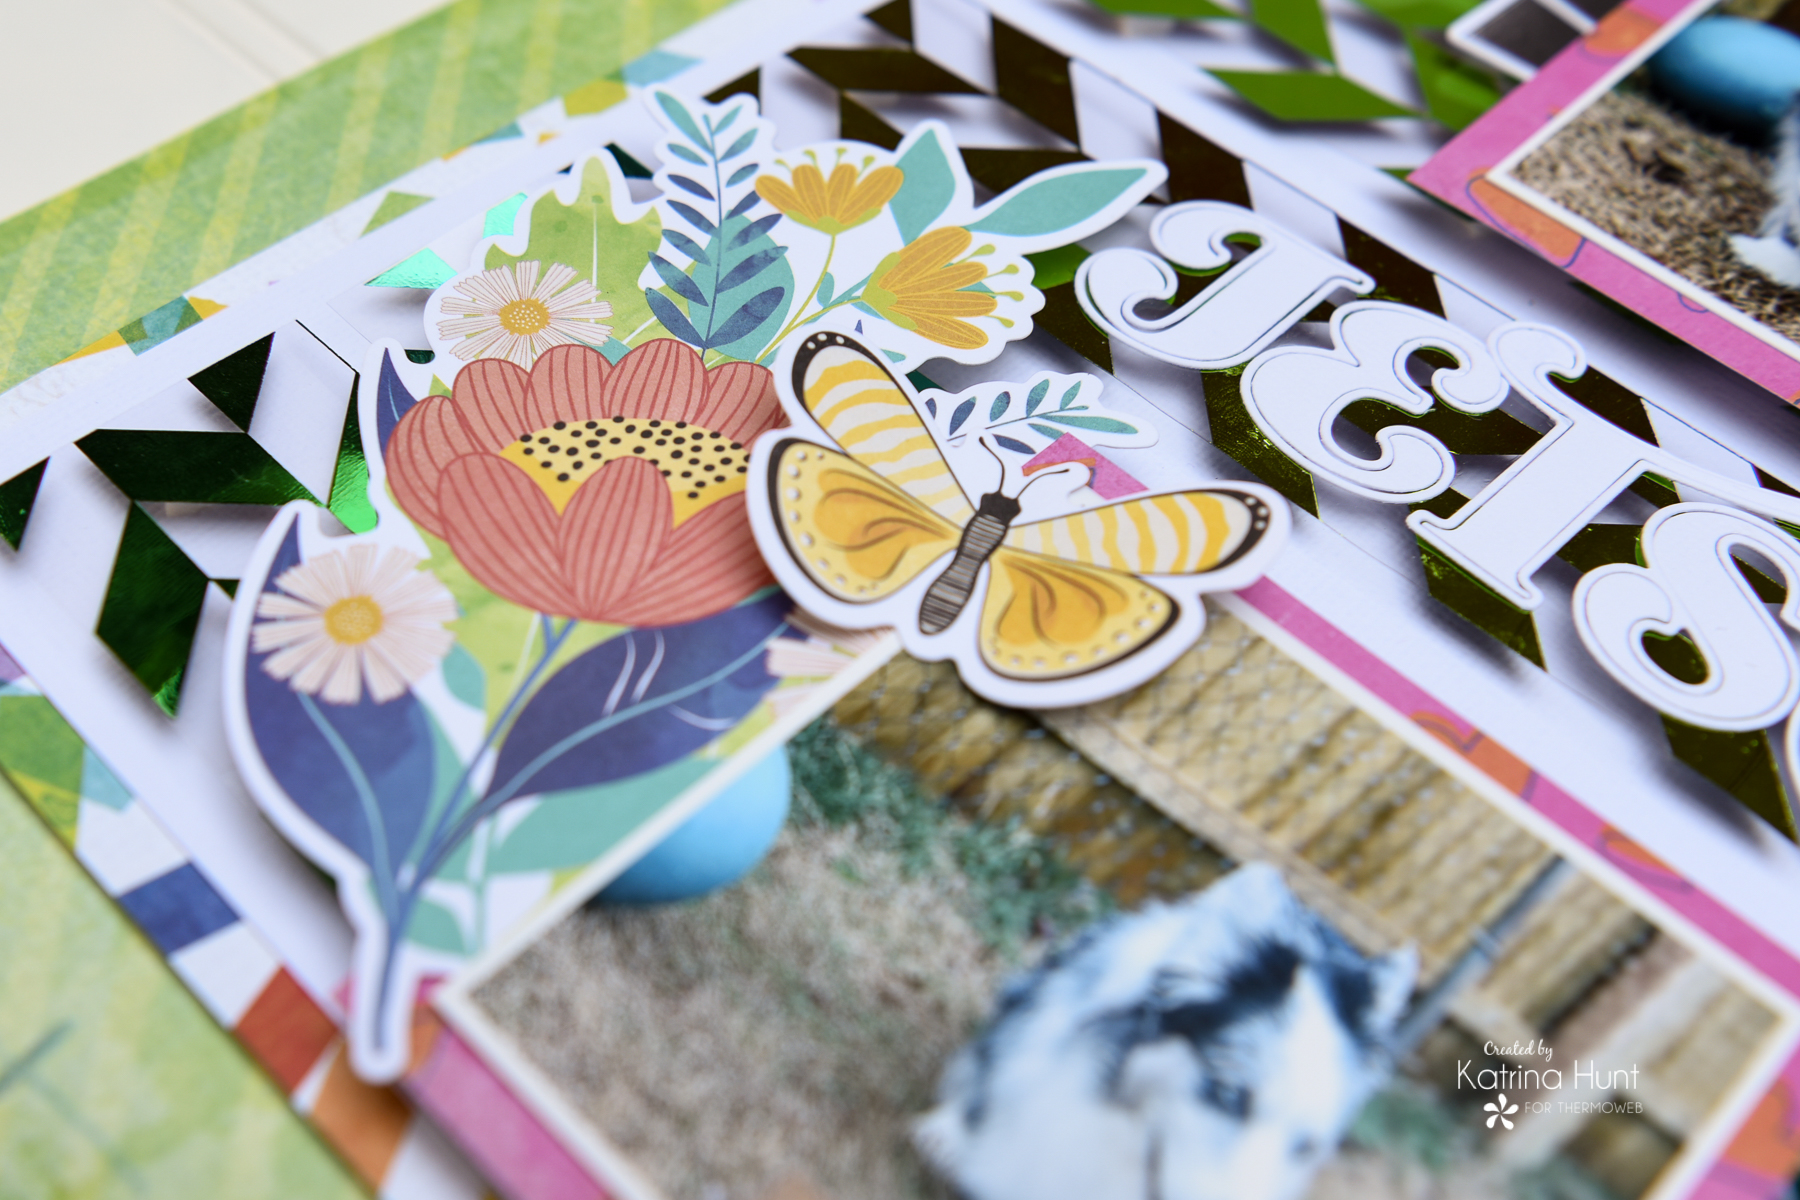
I used the NEW Ultra Bond Glue Pen to adhere the butterfly in the middle section, leaving the wings to fold up slightly. I also used the pen to adhere the letters and their outlines. This was a little tricky, but the trick was to apply the glue pen to the solid letters and then smear the glue out to the outlined die cut. After doing that then move both pieces at the same time to where you want them applied on the layout.
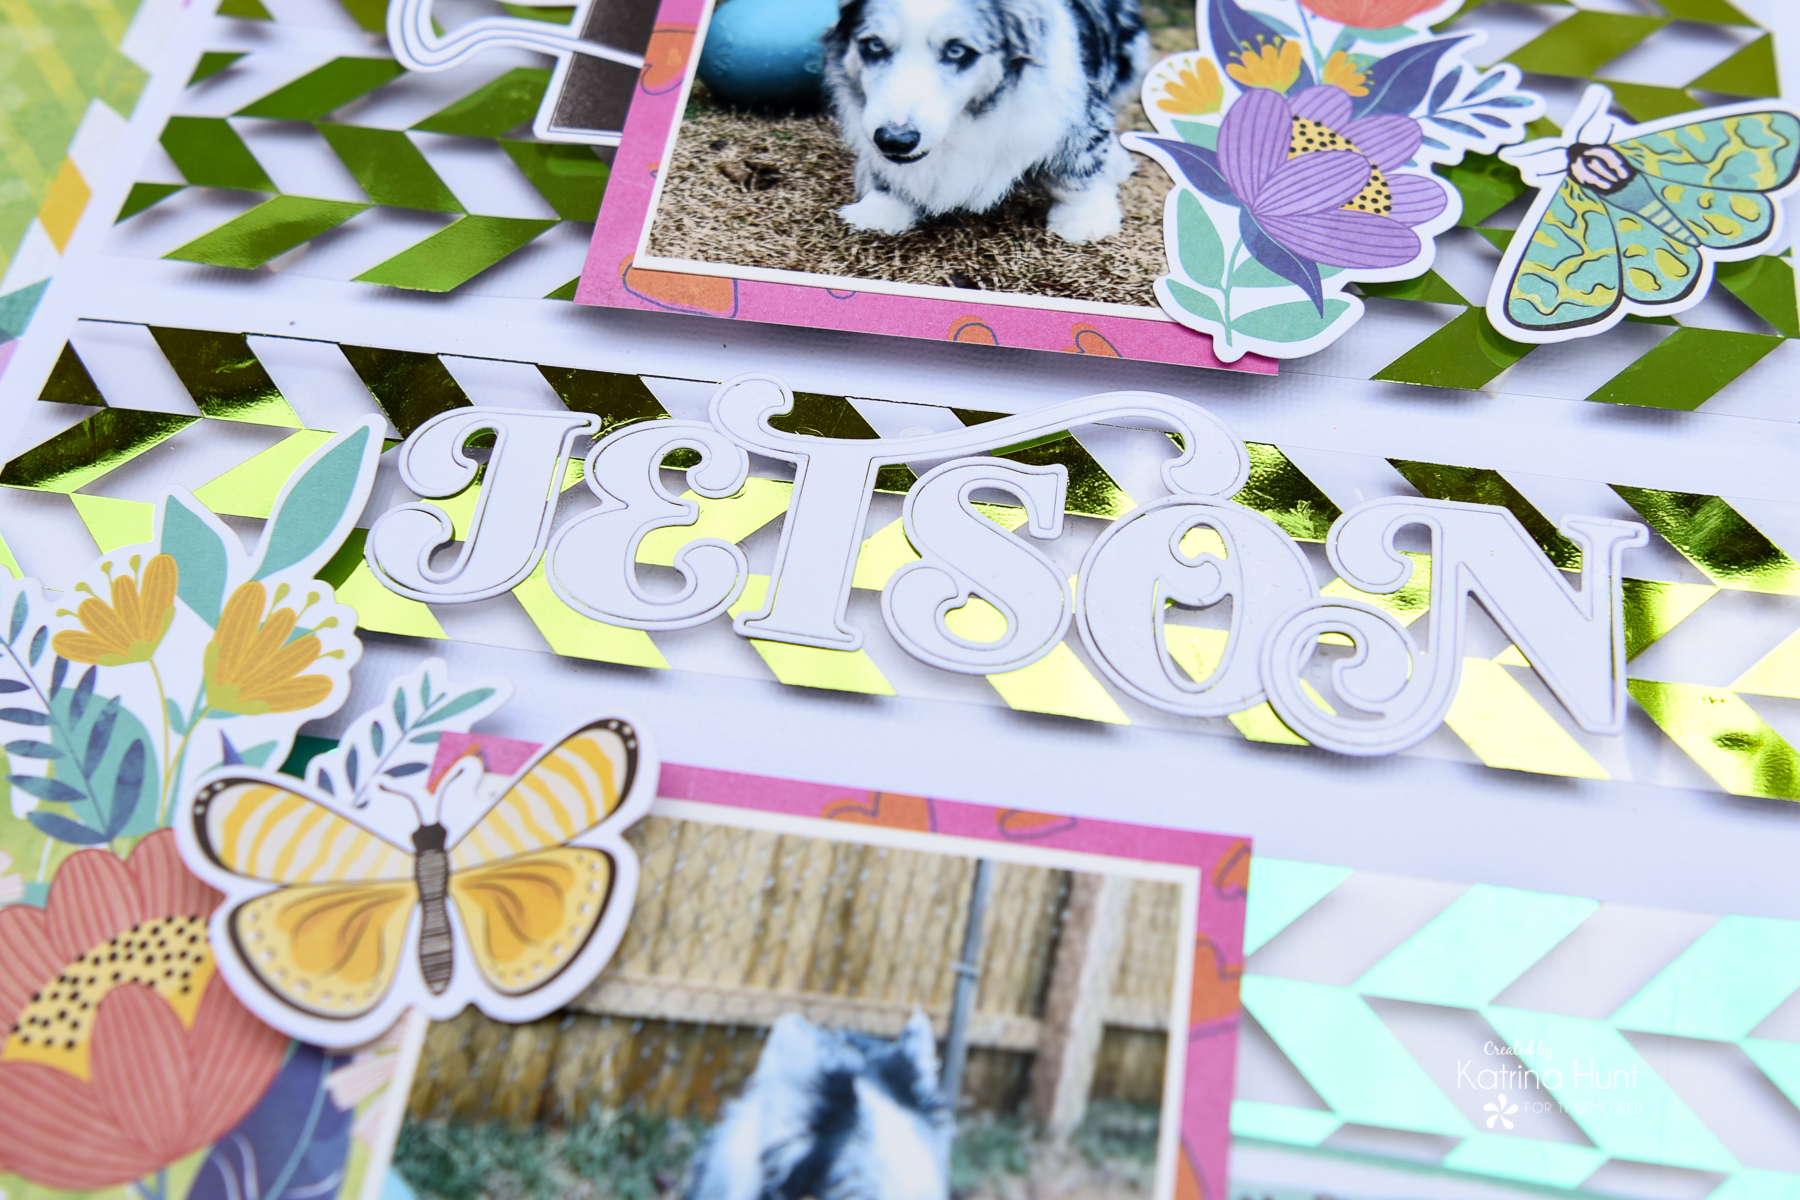
I just love how this turned out and thanks to Rebecca for her inspiration! I would have never come up with this layout on my own! Have a wonderful week!!!
This post contains affiliate links. For more information, see our disclosure HERE.
