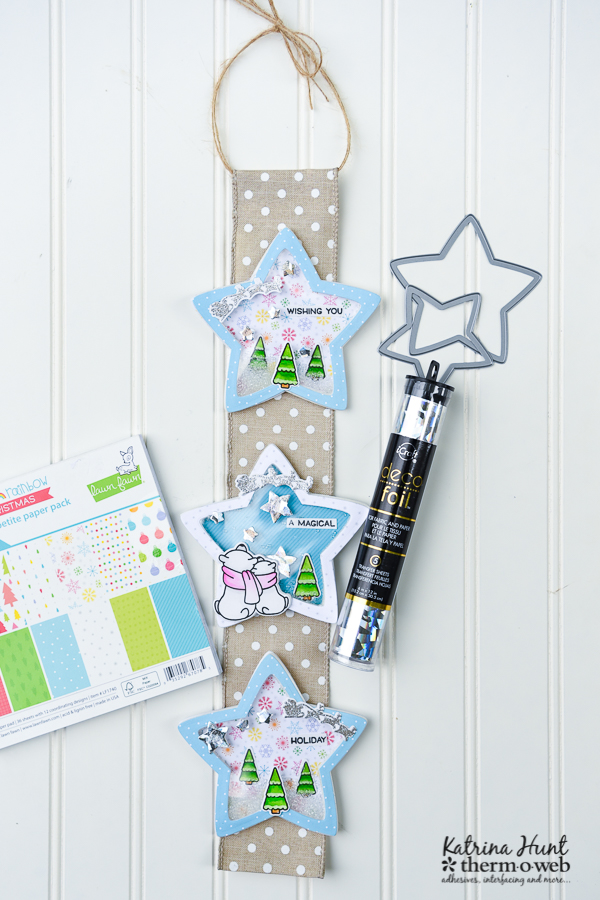
Hey Therm o Web fans! It’s Katrina from Paper, Scissors and Glue to share a fun project for our team up with Lawn Fawn this week.
Holiday Shaker Banner with Therm O Web and Lawn Fawn
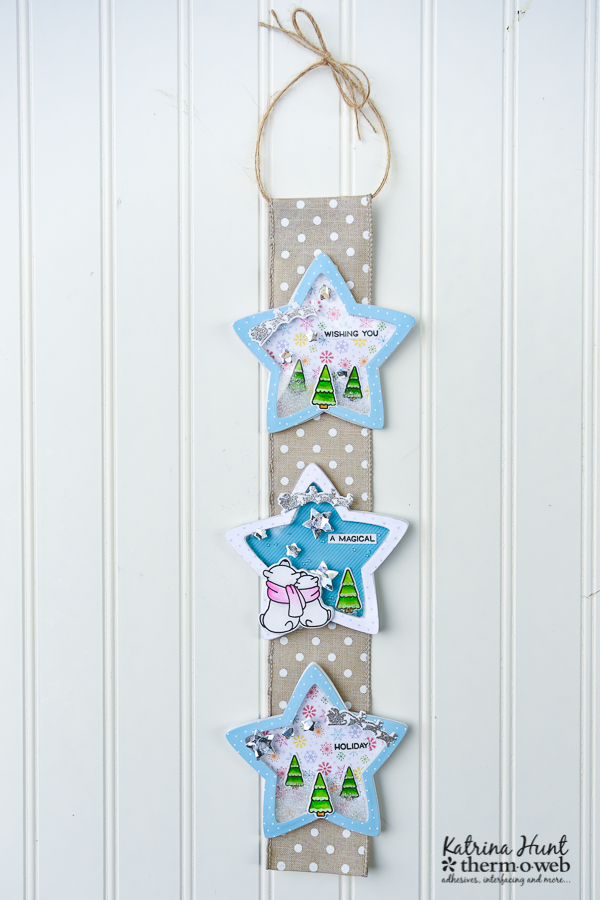
I decided on a holiday banner with a twist, make each element a shaker element. While this project does take a bit of time, but the results are worth it.
Therm O Web Supplies Used:
Therm O Web iCraft Super Tape-1/2 inch
Therm O Web Memory Runner XL
Therm O Web Deco Foil – Silver Shattered Glass
Therm O Web Deco Foil Foam Adhesive Sheets
Therm O Web Deco Foil Clear Toner Sheet-Clear
Therm O Web iCraft Purple Tape
Lawn Fawn Stamps and Dies-Winter Skies Stamps, Winter Skies Dies, Puffy Star Stackables
Other Supplies: Canson Bristol Paper; Gina K Designs Amalgam Ink; Zig Clean Color Real Brush Markers; Wow Embossing Powder; Versamark ink; Signo Uniball White Gel Pen; Misti Stamping Tool; Seed Beads, Glitter, Ribbon, Twine; Craft Foam White
Holiday Shaker Banner Instructions
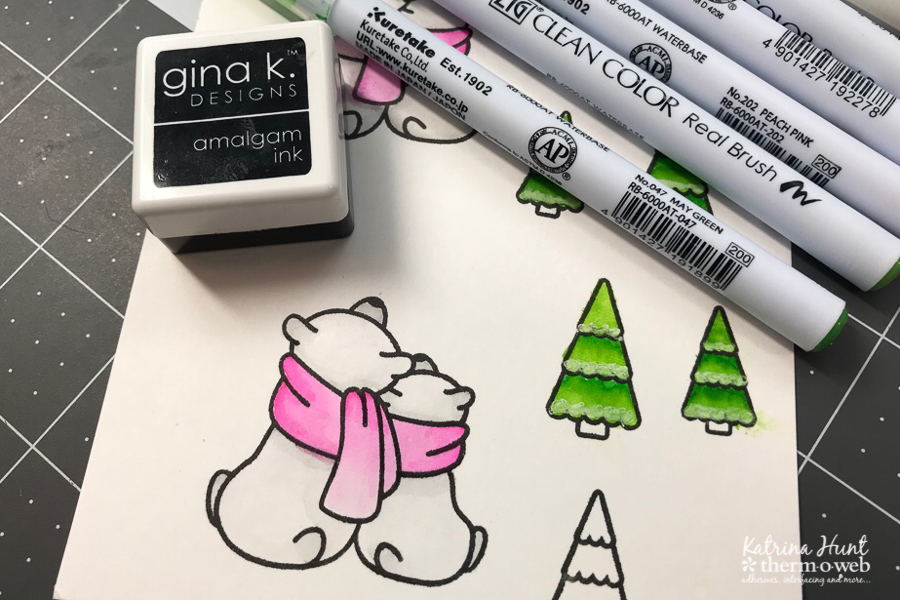
Start the project by stamping with Gina K. Amalgam ink and coloring images that you want to use for the shaker components. Stamp a few extras, in case of coloring errors and you may decide that you need more than you originally planned on.
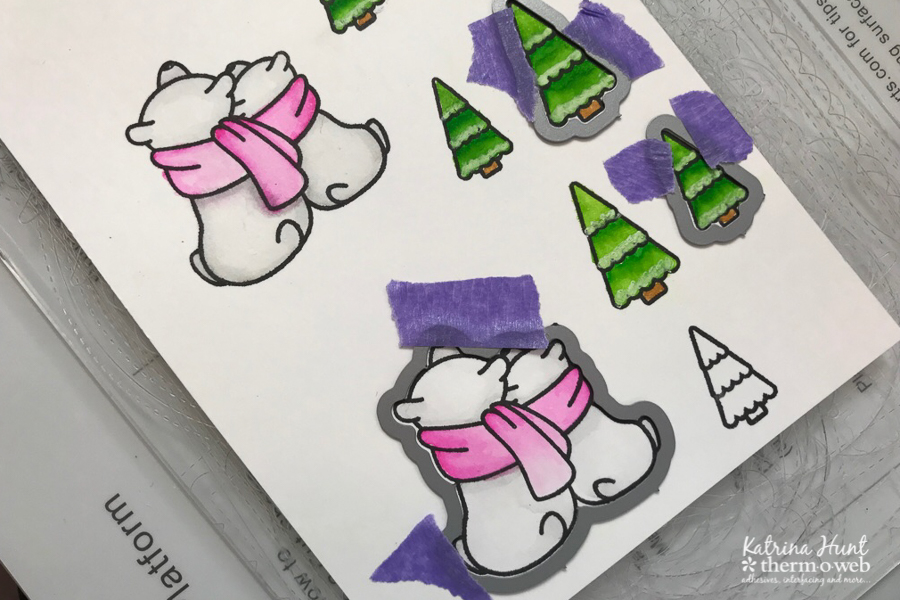
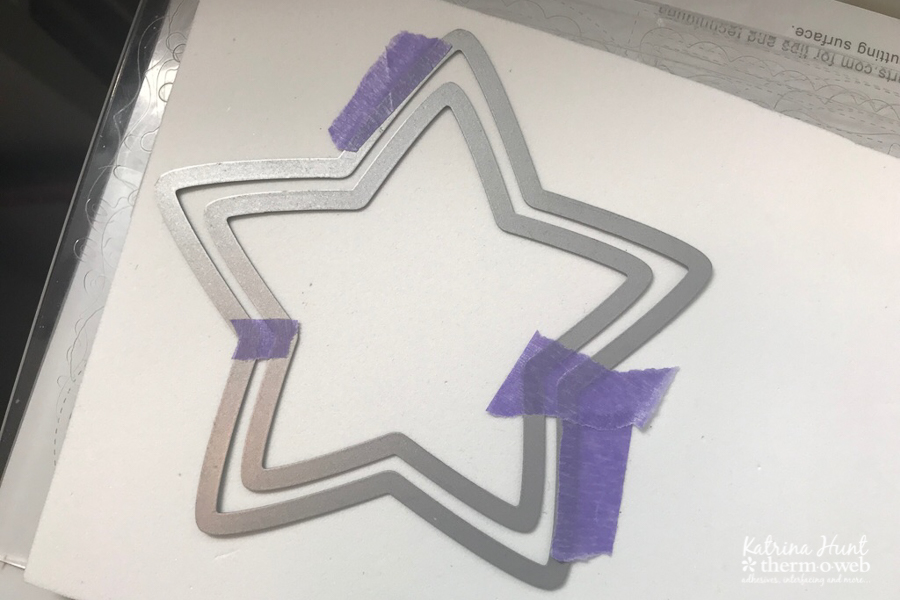
After you have colored images, hold the coordinating dies in place using the iCraft Purple tape and manually die cut all images.
Now to create shaker component you will need to cut out the following for each shaker that you want on your banner. Use the biggest star and cut one star out of pattern paper and one start out of the Clear Toner Sheets. Layer the biggest star and next size, using purple tape to hold in place. Cut out 2 of the outlines in Deco Foil Foam Adhesive, one out of white craft foam, and one out of pattern paper.
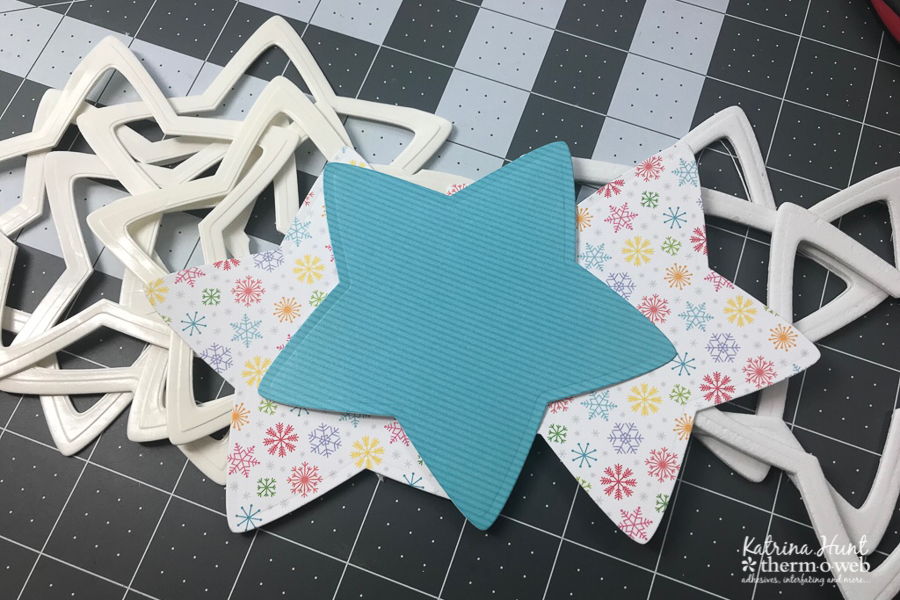
Creating Shaker Elements
On the pattern paper full star, adhere one of the Deco Foil star outlines by removing the backing from one side. Remove the backing from the front and layer your craft foam outline on to the Deco Foil foam adhesive. Apply your second Deco Foil foam adhesive star outline to the top of the craft foam, but do not remove the adhesive cover yet.
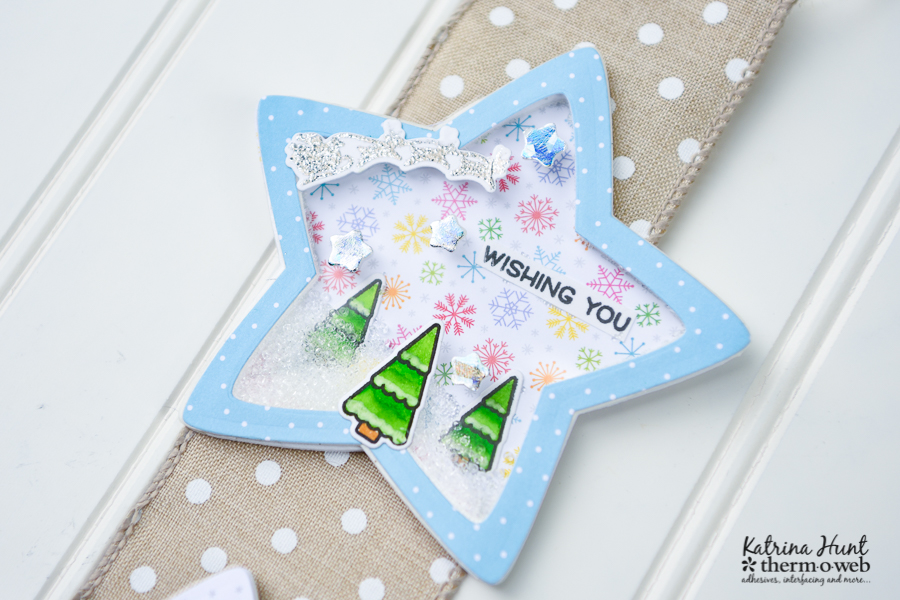
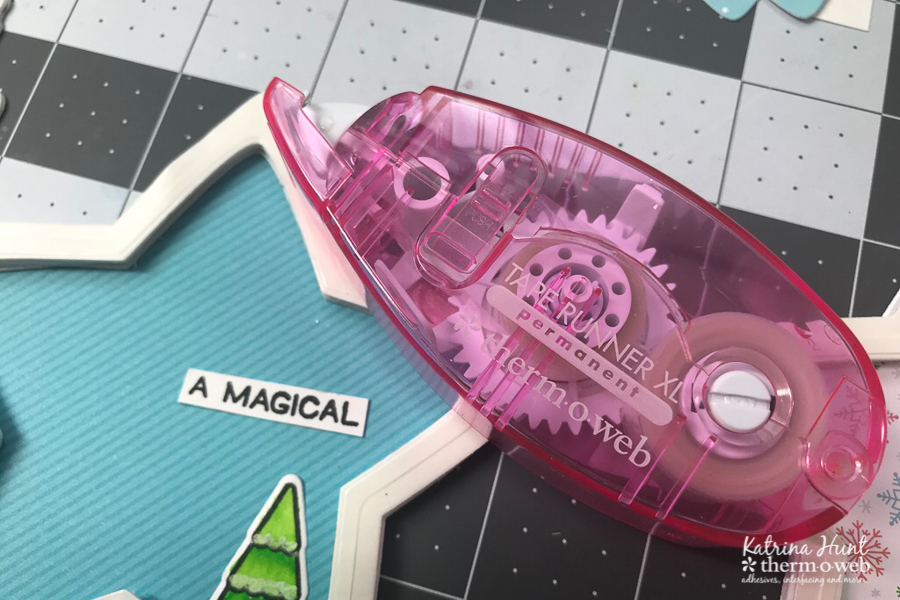
At this point, fill your inside well with the items you want for inside the shaker. Beads, glitter, sequins, anything small will work. You can also add stamped images inside. It’s best to adhere them flat, so the shaker insides do not get caught on the pieces. Use the Memory Runner XL to do this.
Now close up the shaker by removing the adhesive cover on the Deco Foil foam adhesive outline and adhering the clear full star on top. If it doesn’t match perfectly, you can just trim to fit. The point is you want the shaker bits to stay in!
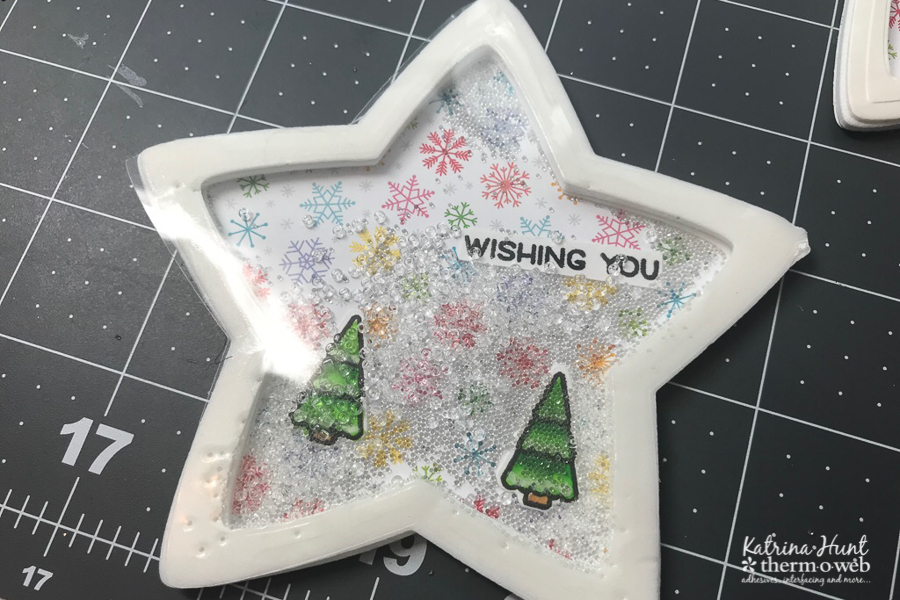
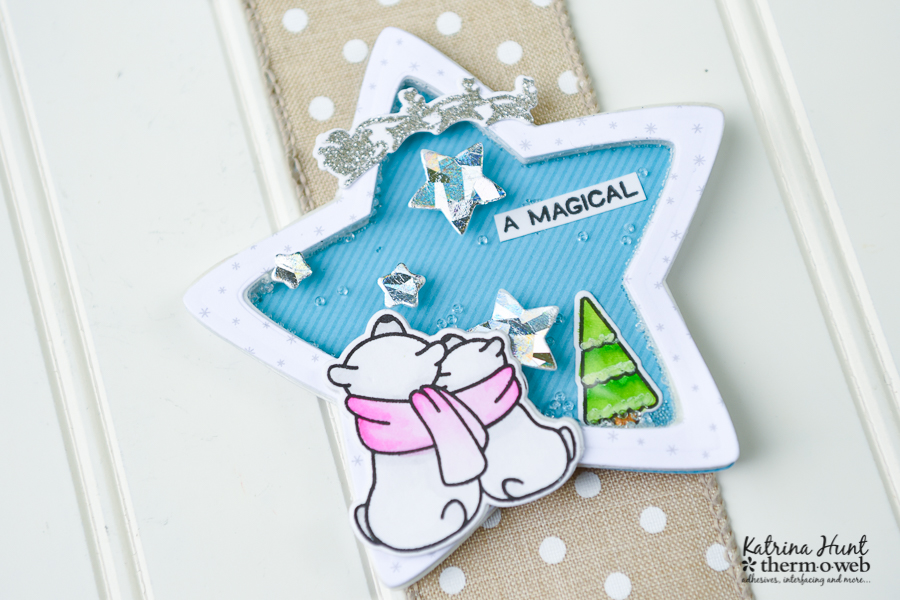
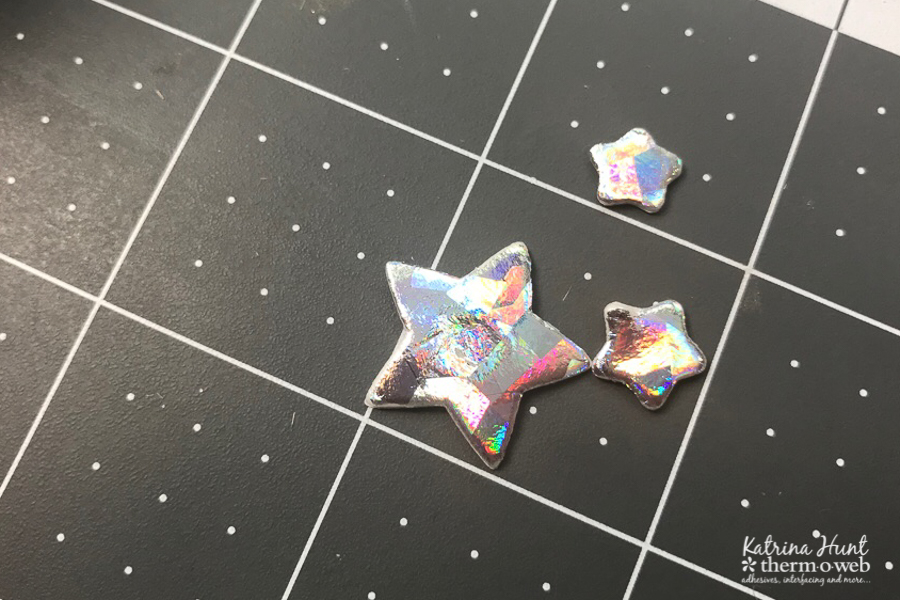
Decorate the outside of the shaker also, with the stamp and die cuts of your choosing. You can die cut some of the coordinating dies for the stamps out of Deco Foil foam adhesive and then foil them.
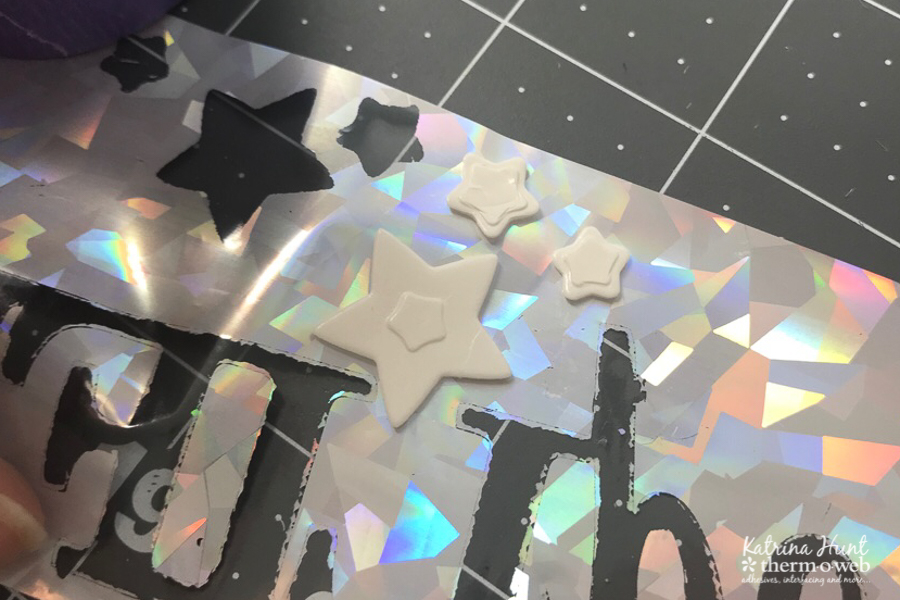
These stars had stamps that matched, but I thought the foiled stars would be fun on the outside of the shaker!
Finishing Shaker Elements
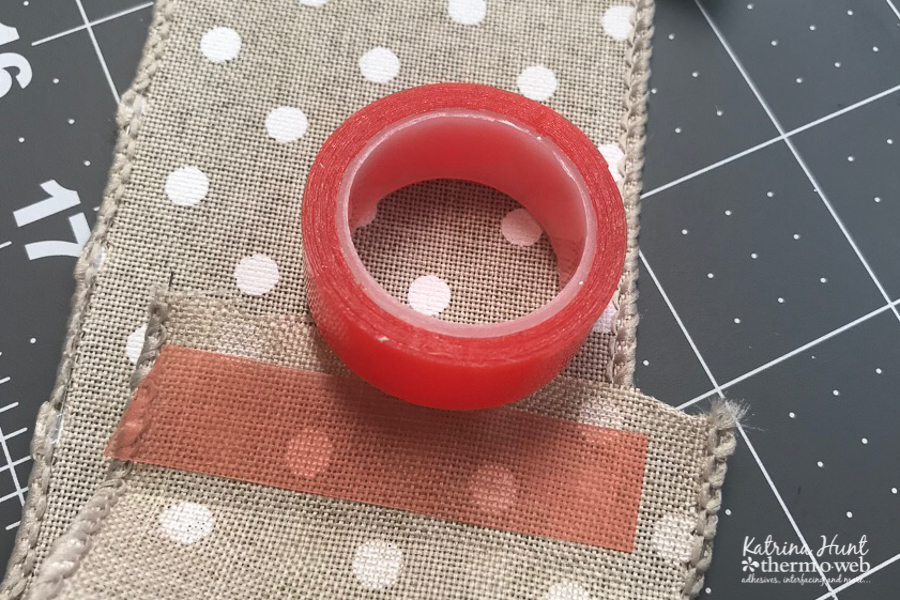
Once you have completed your shakers, then cut a length of ribbon long enough to adhere your shakers on. Create nice looking edges, plus a place to hold the hanger by using iCraft Super Tape. Fold edges neatly and adhere with Super Tape.
This would also be cute on a wooden pallet going across it, instead of placing on a ribbon. 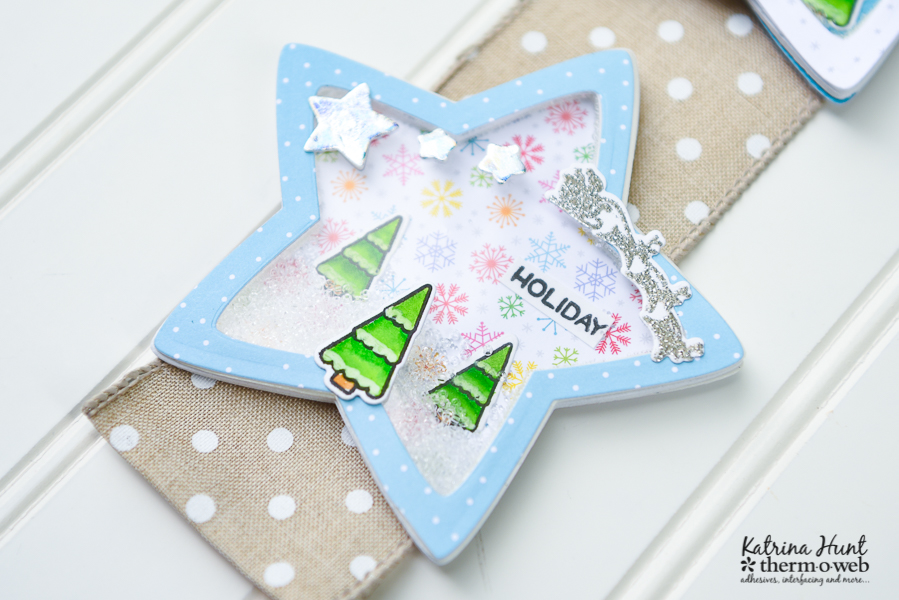 That’s all from me!! Thanks for stopping by the Therm O Web blog today and sharing in on our team up with Lawn Fawn!

Denise Bryant
September 28, 2018 at 1:39 pm (7 years ago)Adorable project! I love the shaker stars for this sweet banner! The pretty foil embellishments add a beautiful sparkle!
mjmarmo
September 28, 2018 at 1:50 pm (7 years ago)So cute!
Emma Sleppy
September 28, 2018 at 2:20 pm (7 years ago)Adorable sample and great use of all of the supplies!
Cynthia Cole
September 28, 2018 at 2:38 pm (7 years ago)Love your star shaker banner!
KathyJH
September 28, 2018 at 3:21 pm (7 years ago)Oh my goodness!! I love this banner! Great thing to make with my grandkids!
trainwithmeghan
September 28, 2018 at 4:19 pm (7 years ago)SO DARLING!
Maureen Reiss
September 28, 2018 at 7:09 pm (7 years ago)Oh WOW!!!! How ADORABLE is this!!!!!
Andrea H
September 28, 2018 at 7:51 pm (7 years ago)Love the banner idea and them tags are FAB @
Linda F
September 28, 2018 at 8:01 pm (7 years ago)Super cute shakers!
Michelle Nicholas
September 28, 2018 at 8:34 pm (7 years ago)So cute!! What a fun decoration. I’m hoping to get the Lawn Fawn Christmas tree stackables
Kirsty Vittetoe
September 28, 2018 at 10:39 pm (7 years ago)Love your fun and beautiful work!
Cindy H
September 29, 2018 at 10:50 am (7 years ago)What cute holiday deco. This banner idea is great for every season.
DUMONTIER Marjorie
September 29, 2018 at 10:59 am (7 years ago)Oh my goodness!! How cute is this shaker banner !! You’ve been so creative on that projects. Thanks for sharing such great inspiration.
Rebecca Yahrling
September 29, 2018 at 12:44 pm (7 years ago)Shakers are my favorite type of card! So fun to make! I have never seen three on a banner, though. I love that!! Great idea!
Marisela Delgado
September 29, 2018 at 4:35 pm (7 years ago)Such a great project
Marisela Delgado
September 29, 2018 at 4:36 pm (7 years ago)Great project
Carla Hundley
September 30, 2018 at 12:21 am (7 years ago)Fantastic idea!
Love the shakers
and lovely colors.
Carla from Utah
Kelly
September 30, 2018 at 7:33 am (7 years ago)This is sooooo cute!! I luv it!!
Marisela Delgado
September 30, 2018 at 5:35 pm (7 years ago)Super cute
Kate Whorlow
October 1, 2018 at 4:00 am (7 years ago)I love this! I have so many items on my Lawn Fawn wishlist it’s hard to choose, but I’m looking forward to ordering the slider die and mini box pop up die plus the new stamp set with the foxes looking up at the sky wearing scarves (forgotten what that set is called!) Because my youngest daughter and one of my nieces LOVE foxes! Kate x
Sue D
October 1, 2018 at 1:02 pm (7 years ago)Cute banner design with the star shakers.
Helen Gullett
October 4, 2018 at 9:52 am (7 years ago)LOVE those shaker stars on the banner.