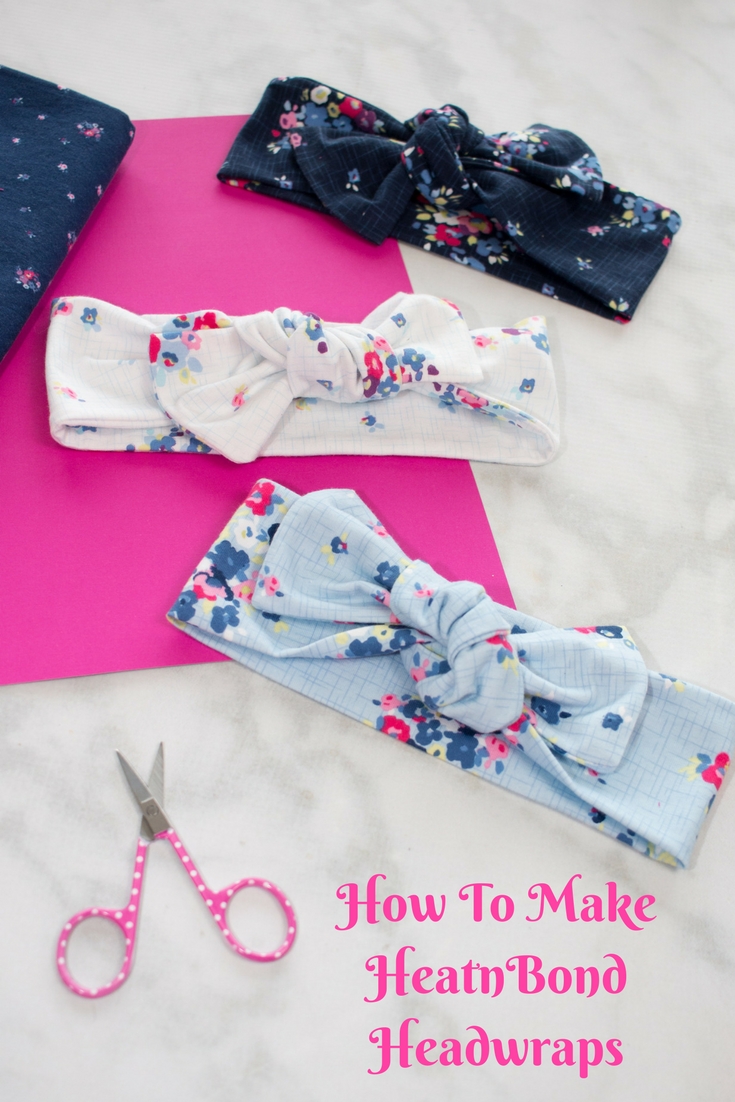
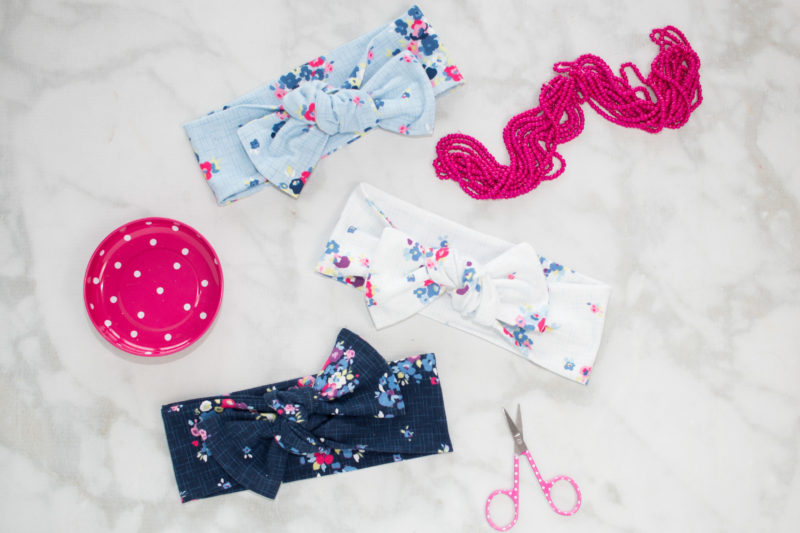
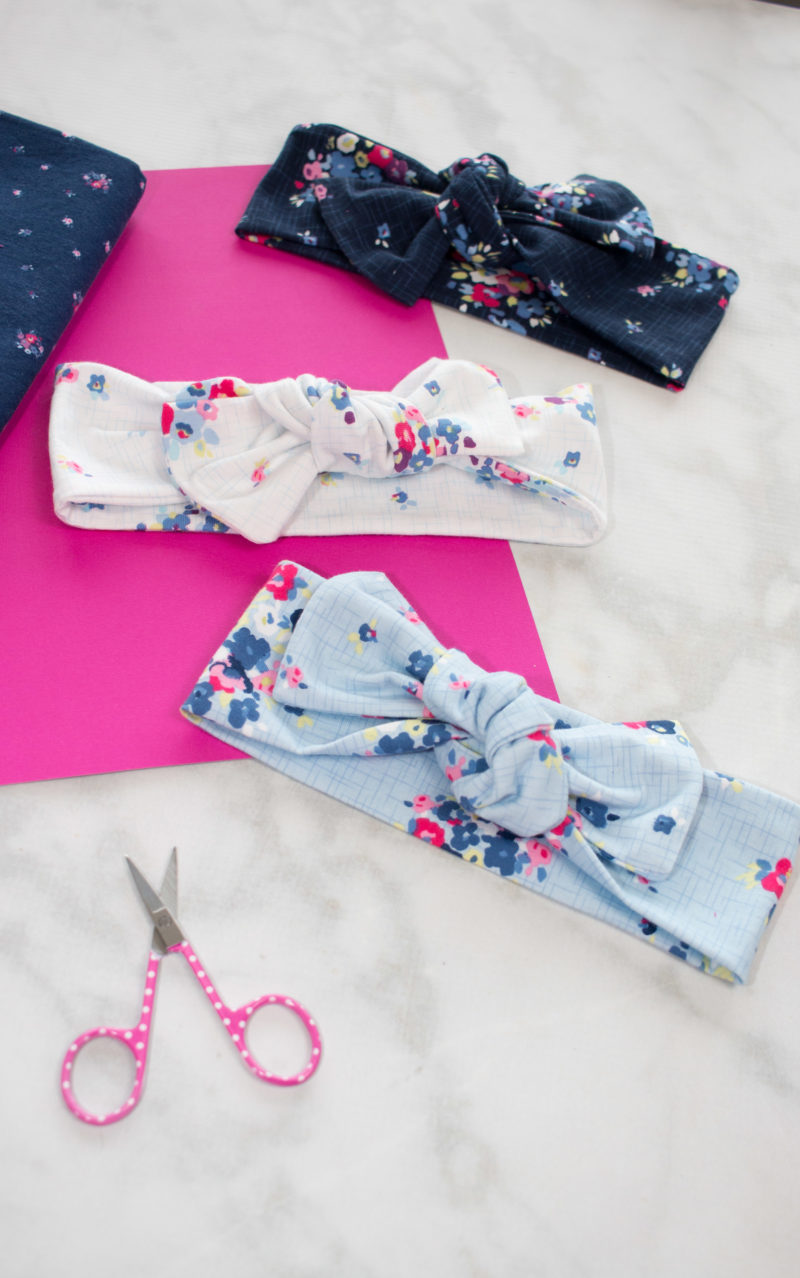
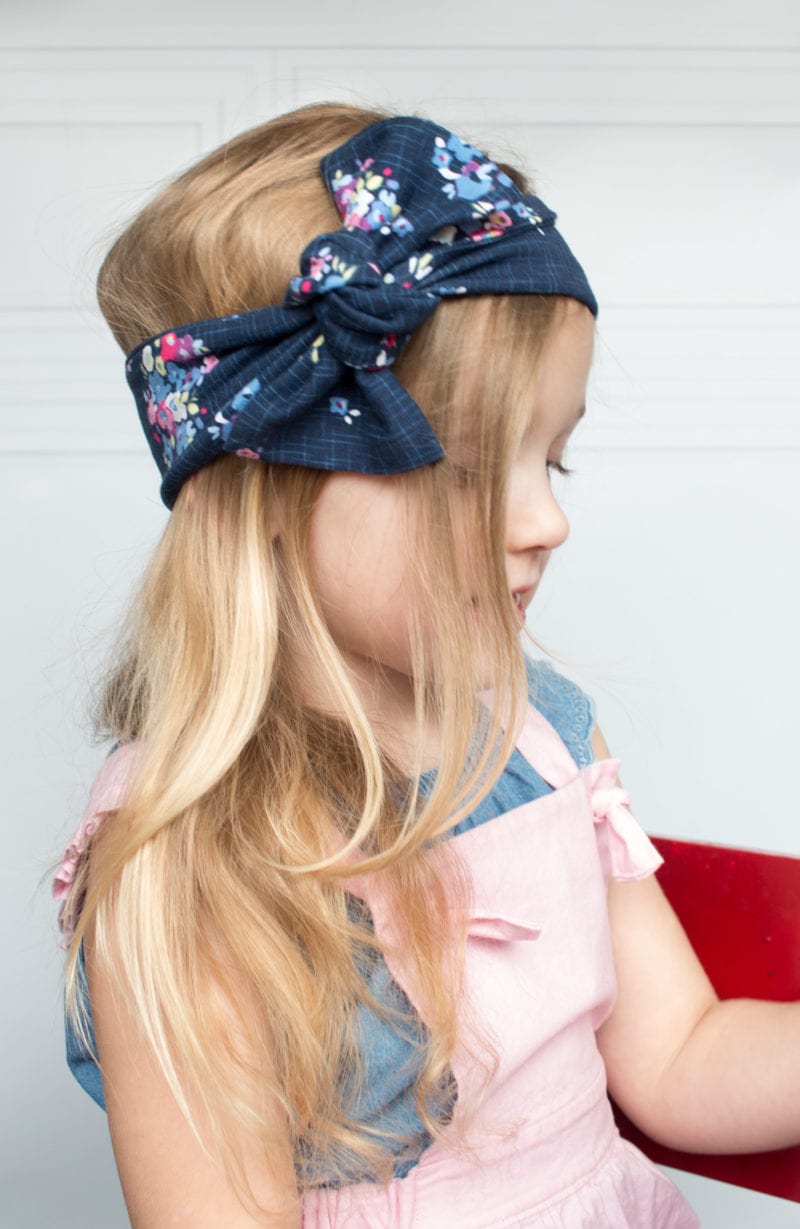
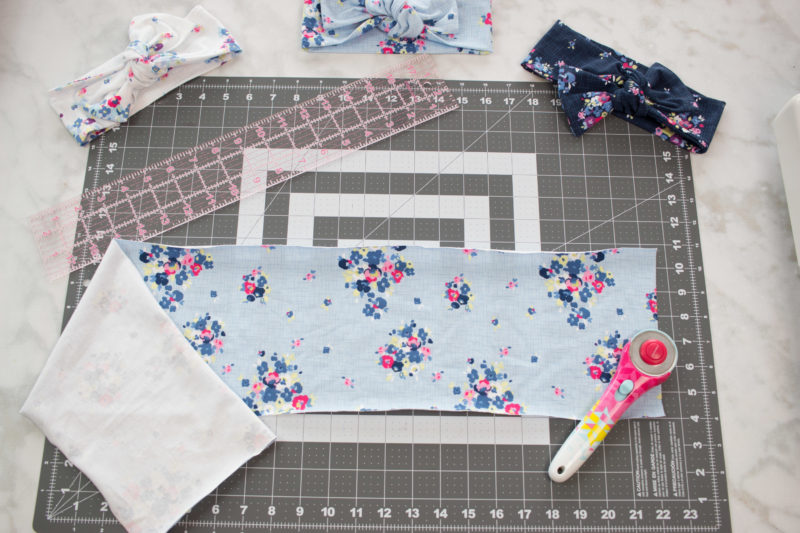
Hi, It’s Kimberly from Sweet Red Poppy and I’m so excited to share this fun Head Wrap tutorial with you today!
HeatnBond Soft Stretch Head Wrap Tutorial
I have two girls and one of my favorite activities is making bows for them! I always fall in love with the boutique style hairbows, but they tend to fall a bit outside of my budget. So I love to design my own!
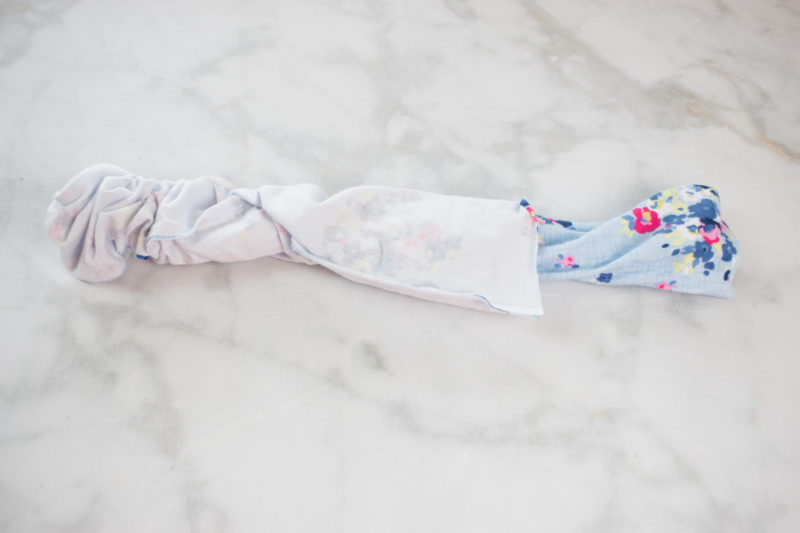
Turn the fabric right side out. Poke the corners out with a turning tool.
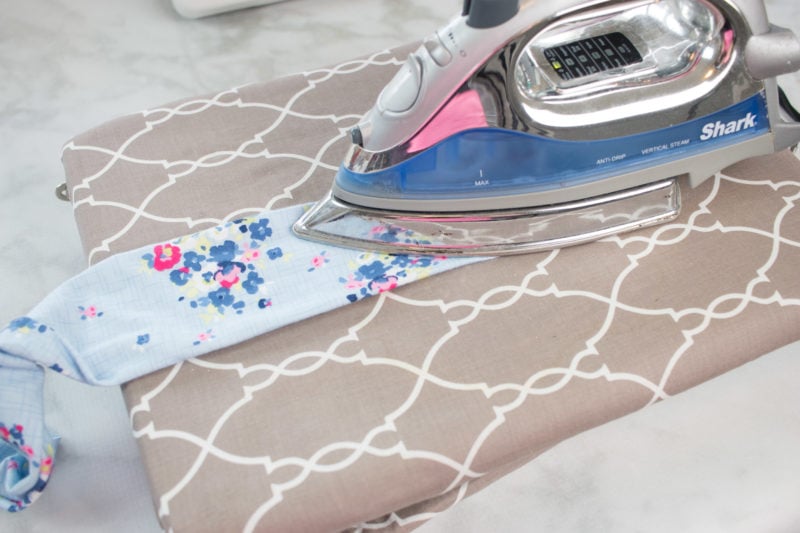
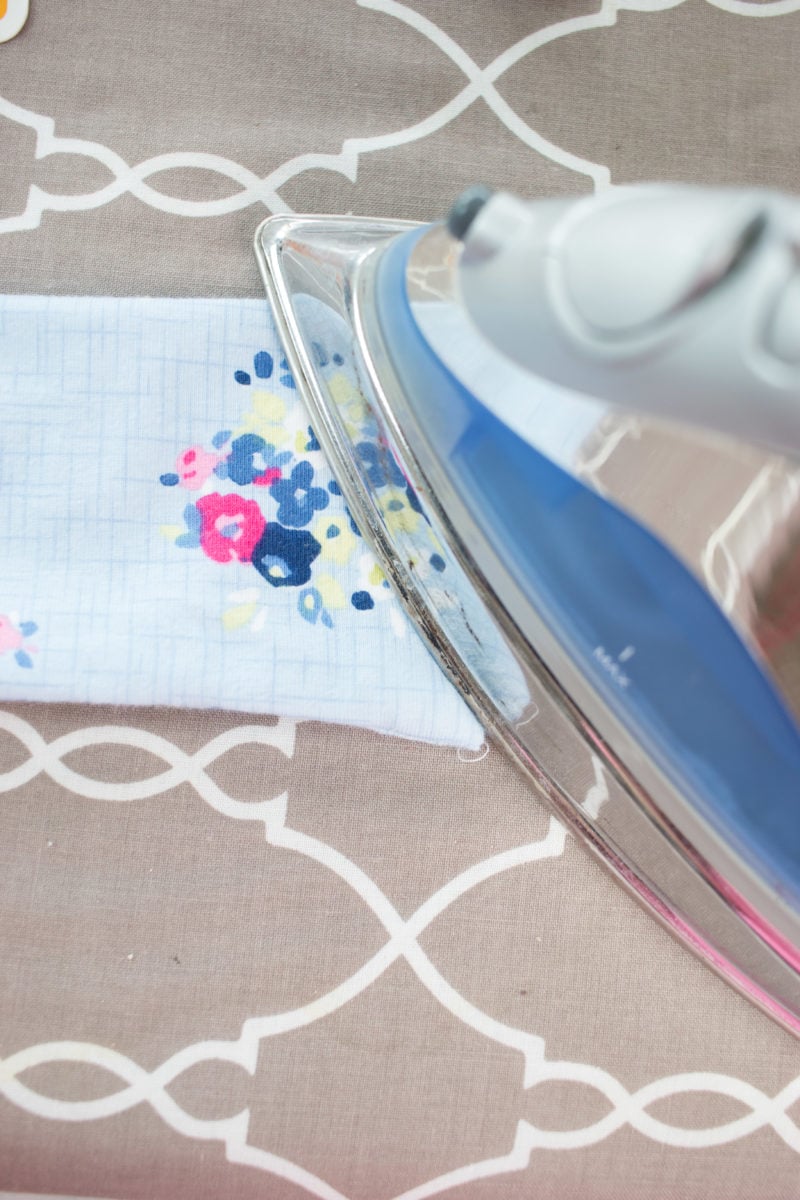
Press along the edges of the wrap.
I like to use the tips of my finger to roll the seam allowance back and forth until it comes all the way out.
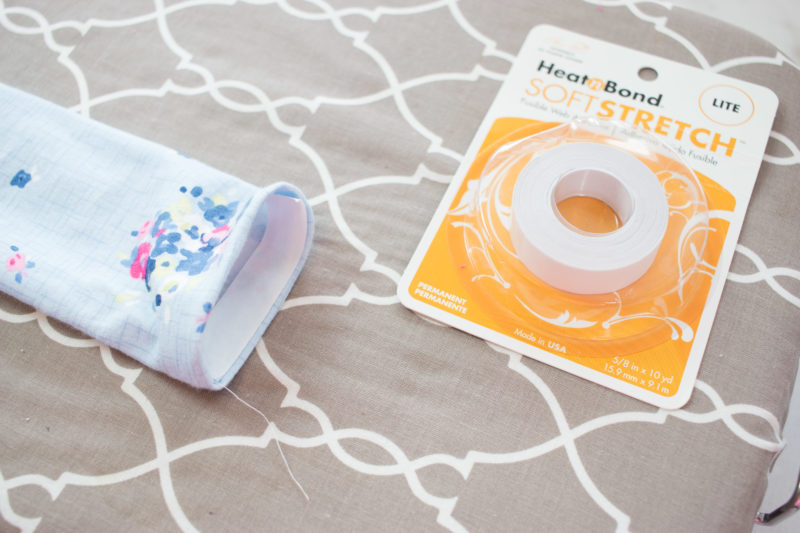
Turn under the raw edge 1/2 inch and press.
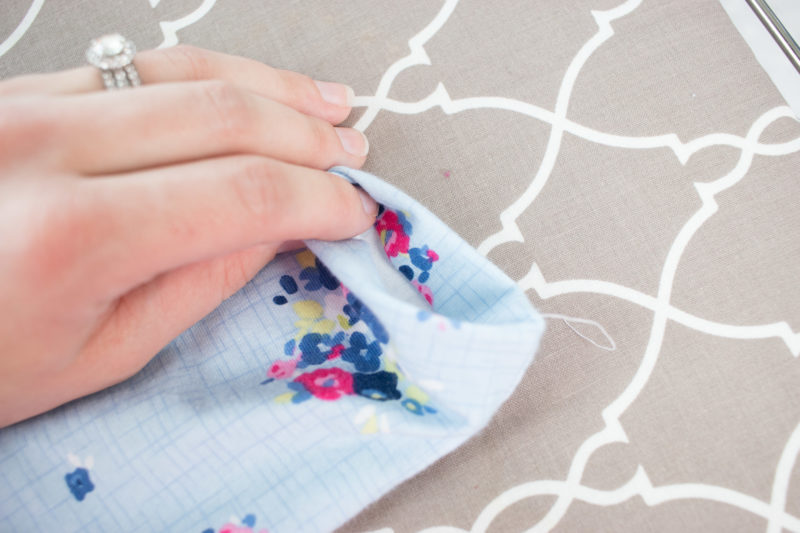
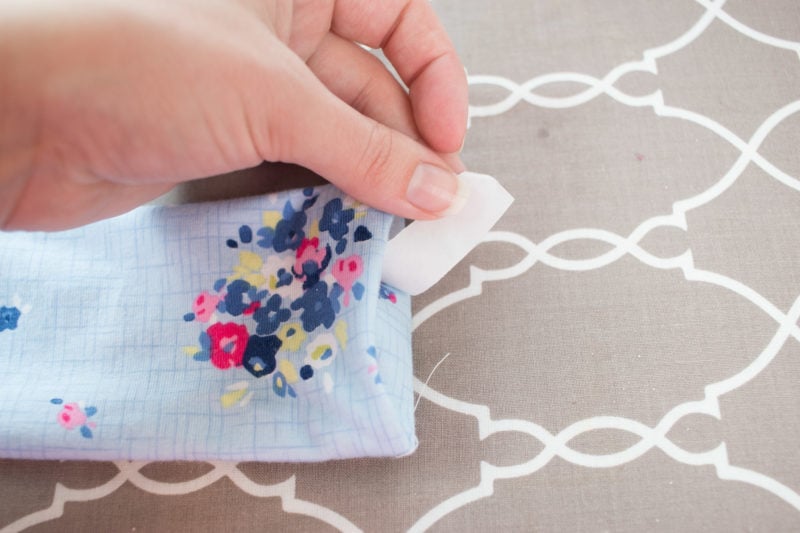
Cut a 6-inch piece of Soft Stretch Lite and place it on the inside of the wrap. Apply heat for 30 seconds and allow to cool.
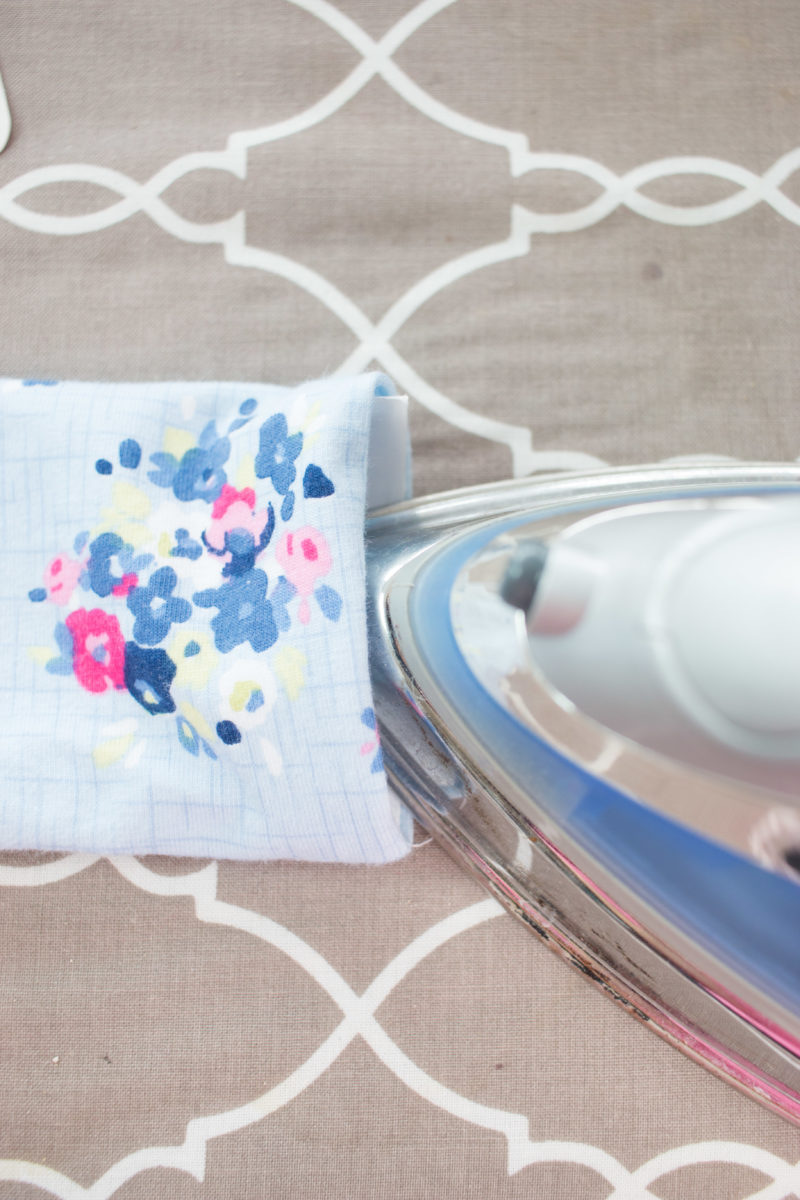
Gently peel back the liner to reveal the glue. Line up the edges of the fabric and press from the top of the wrap.
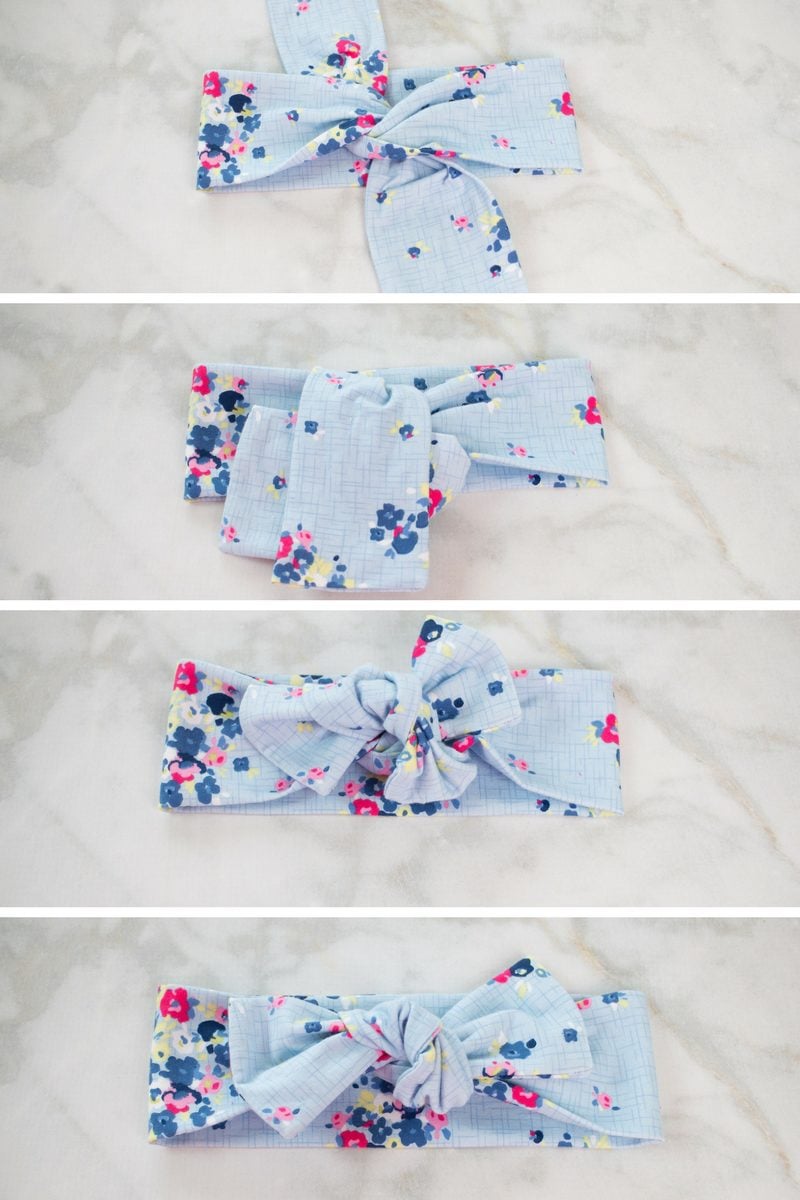
Now it’s time to tie the bow! The photos below will take you through each step of this double knot.
Now, go make a million more!! Just don’t blame me for your new addiction!
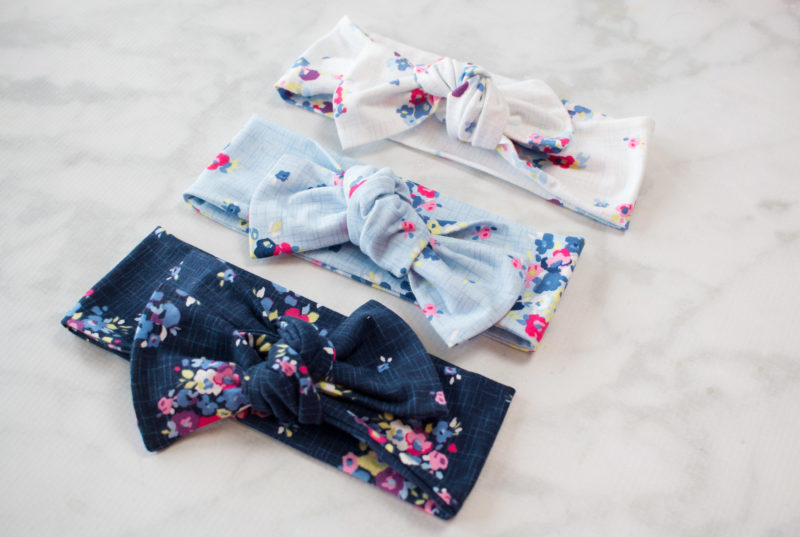
Be sure to check out my other bow tutorial featuring HeatnBond here.

