HeatnBond Felt Shamrock Pillow Tutorial
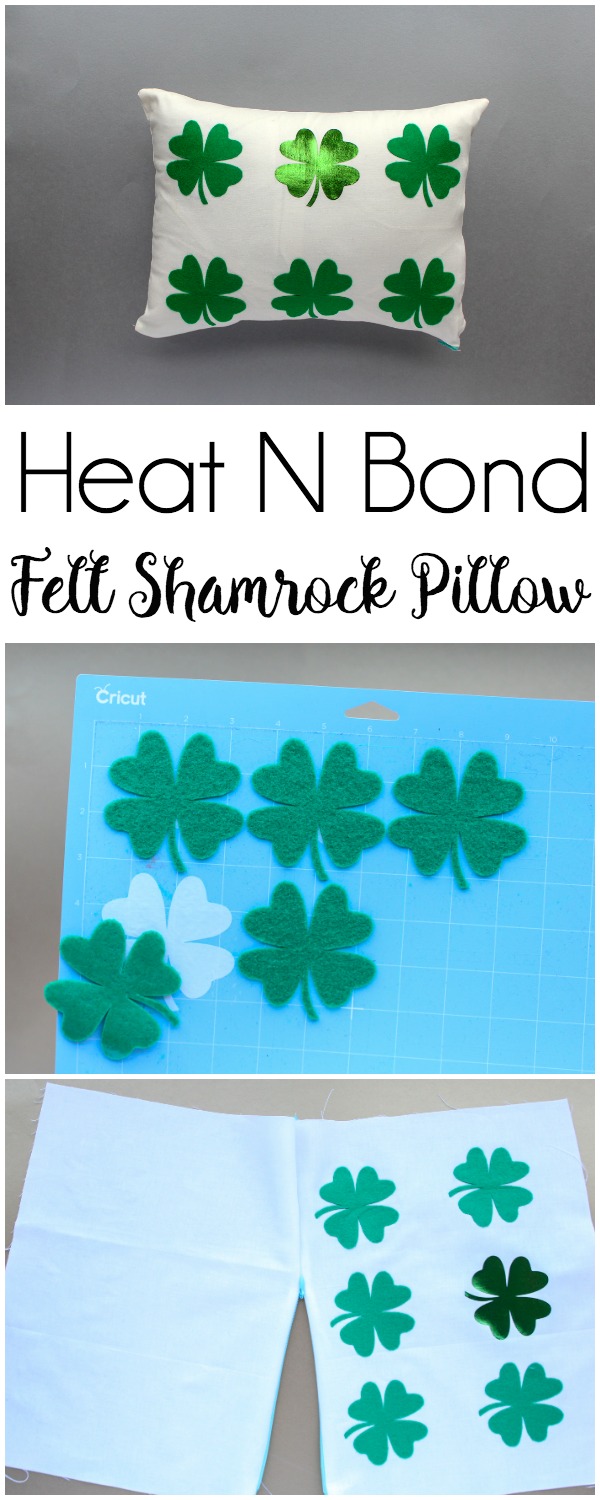
Hi! Alicia here from Sew What Alicia. I have been on a mission to master felt and I have found the BEST way to cut and adhere felt! This is a winning combination that will give you amazing results every time. Read on for my tips and tricks for using felt with Heat N Bond in this adorable shamrock pillow tutorial.
Heat N Bond Felt Shamrock Pillow Tutorial
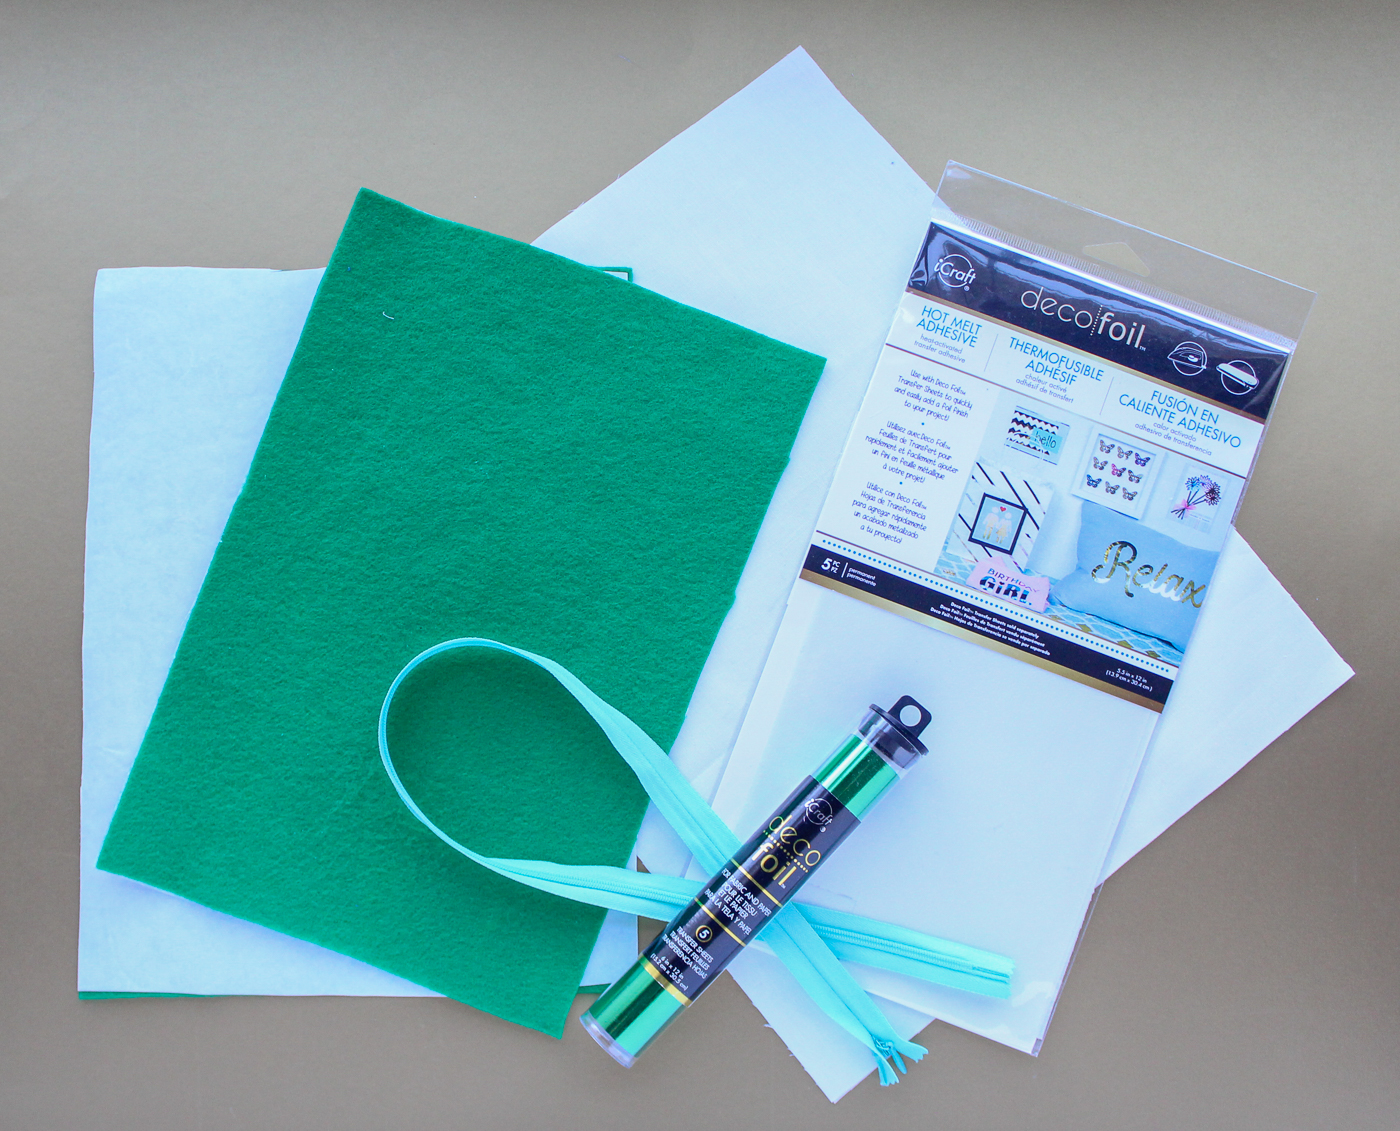
Supplies:
Cricut Maker – Check out THIS post for all the amazing ways you can use the Maker for sewing.
Cricut Light Grip Mat
Cricut Easy Press or Iron
Green Felt
Invisible Zipper
Shamrock Pillow Instructions:
Press a rectangle of HeatnBond Ultra to a rectangle of green felt, this is just craft felt from the craft store. One rectangle is big enough to complete the pillow featured in this tutorial,.
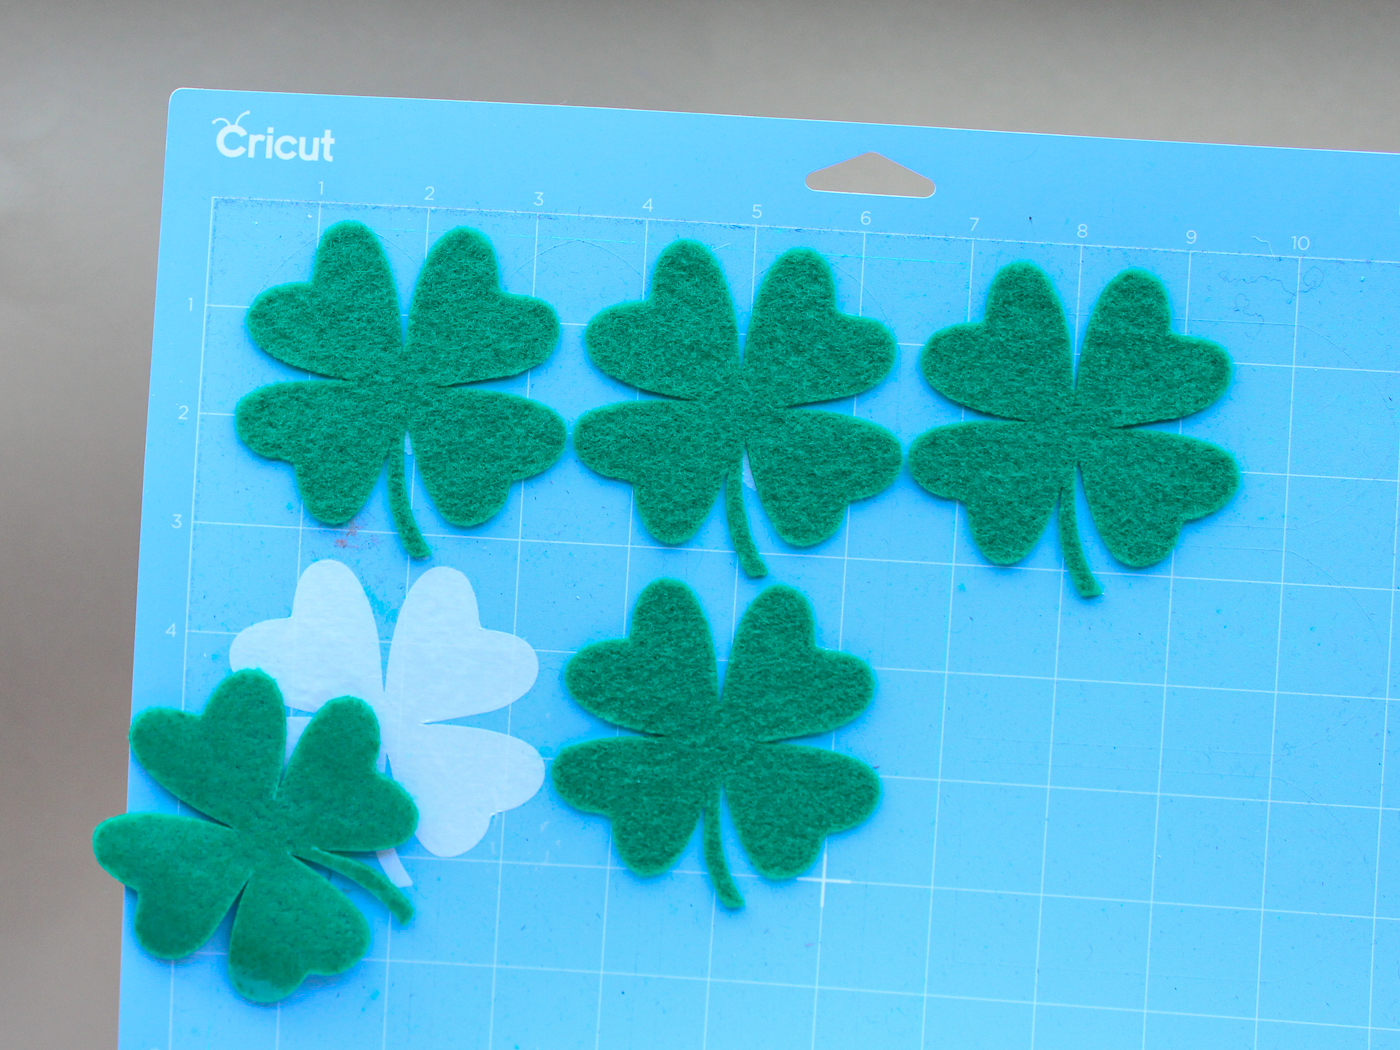
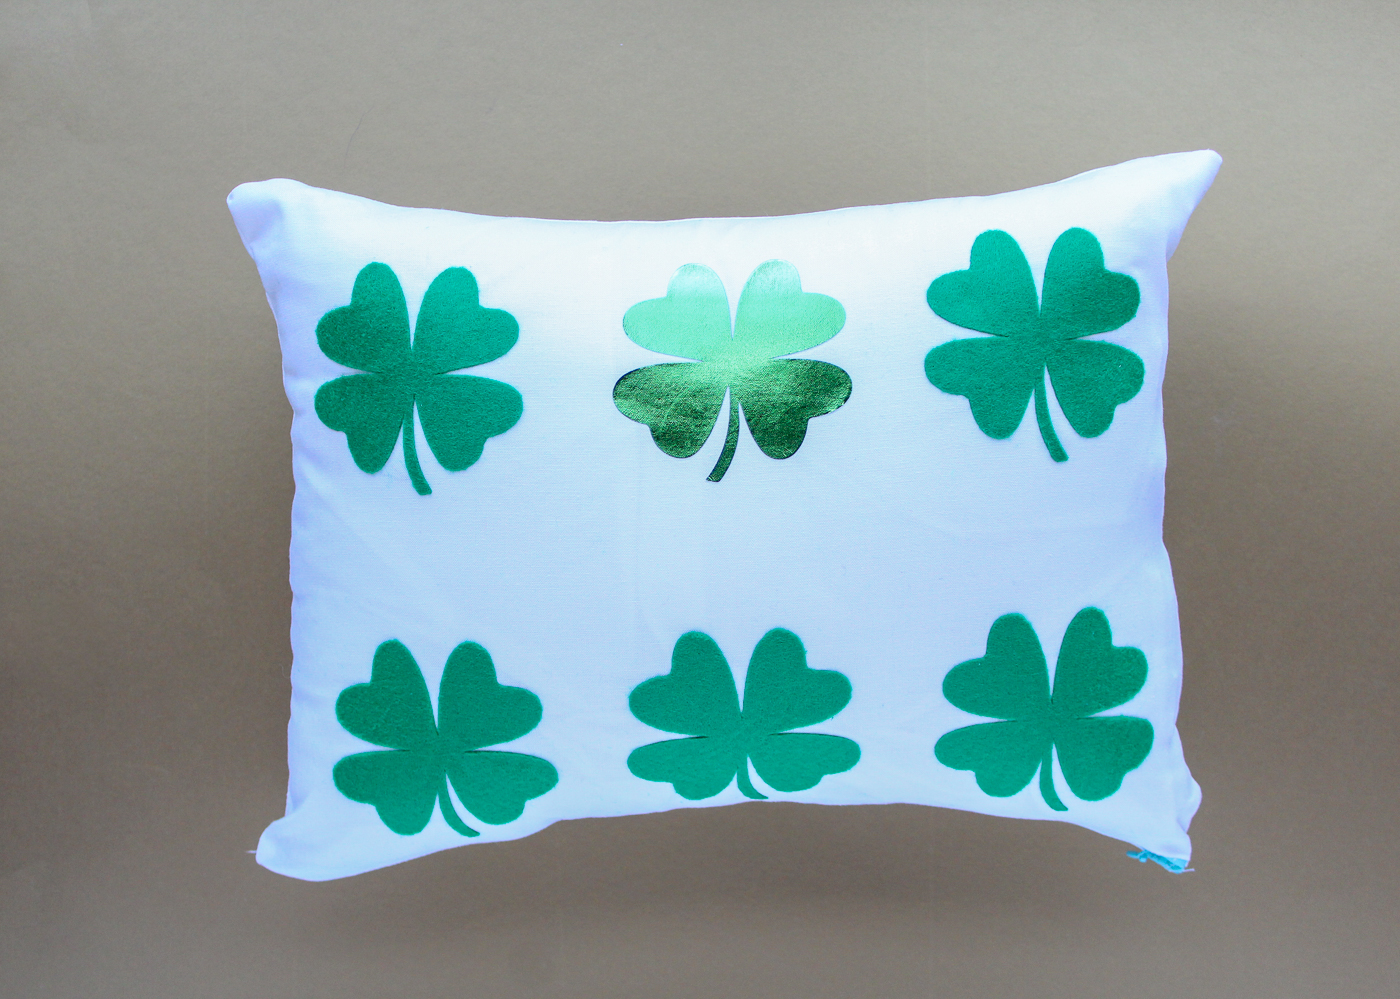
Use the light grip mat (the blue one) and place the felt right side up with the Heat N Bond facing down (leave the paper on.) Use your rotary blade on the Cricut Maker to cut the shamrock. The pillow in this tutorial has 5 felt shamrocks that are 3″ wide. If you have the spatula tool use that to peel the shamrocks from the mat.
You can also trace the PDF pattern onto the paper side of the Heat N Bond and cut these shamrocks by hand. TooltipText
Cut two rectangles of fabric that measure the same size as your pillow form. This will ensure a nice full pillow and a tight pillowcase that isn’t loose. The fabric in this tutorial measures 11″ x 14″ as does the pillow form.
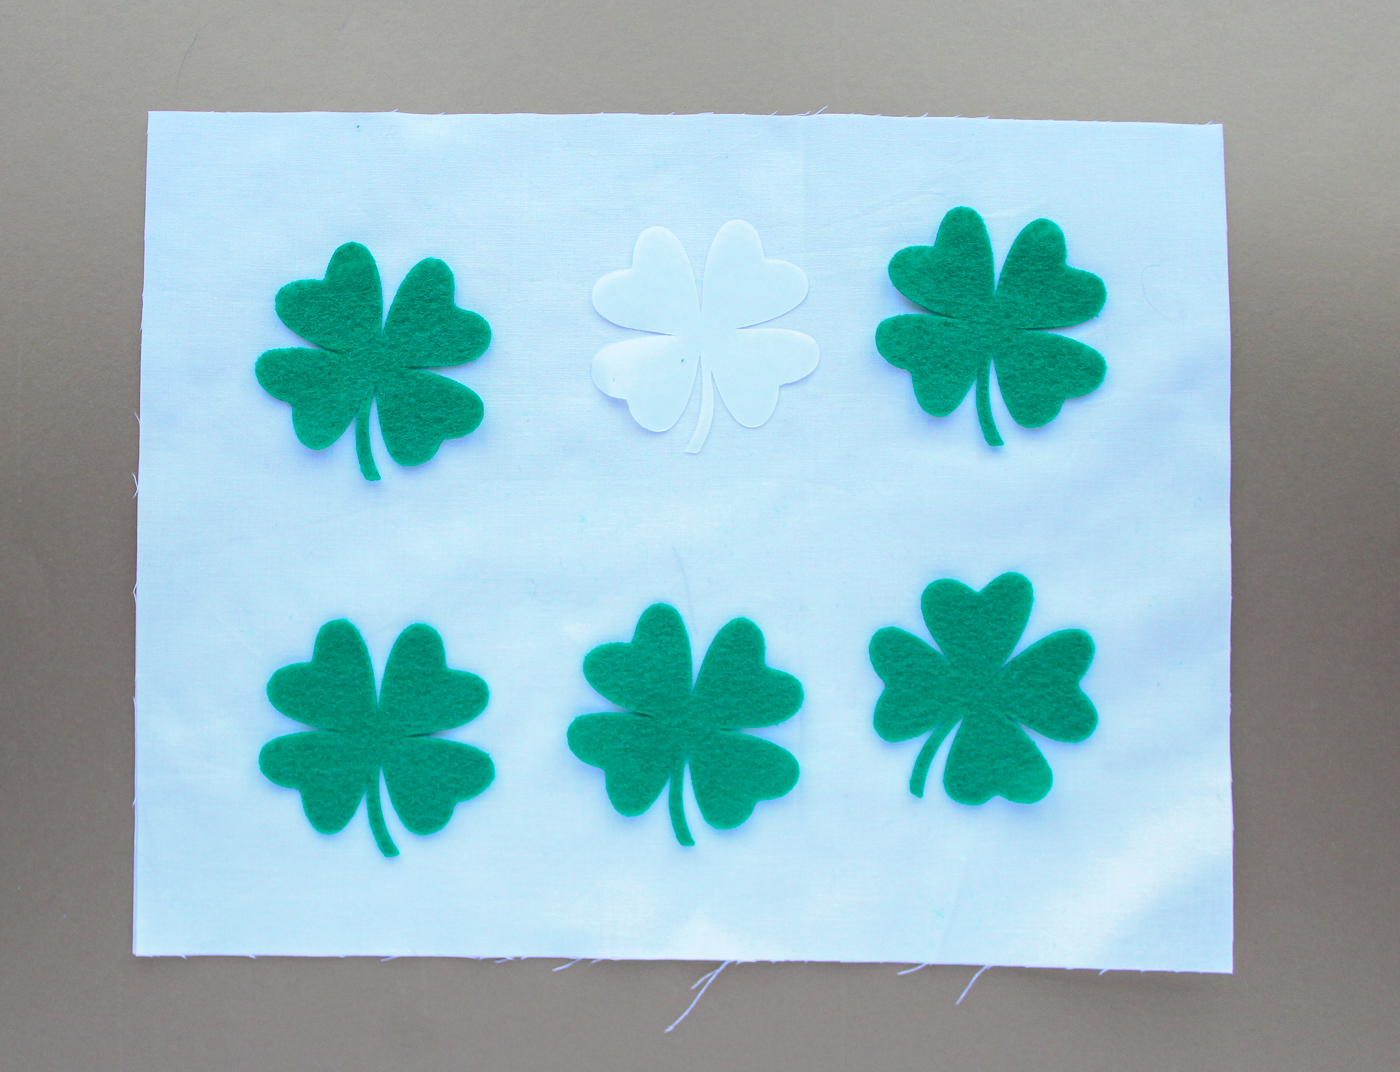
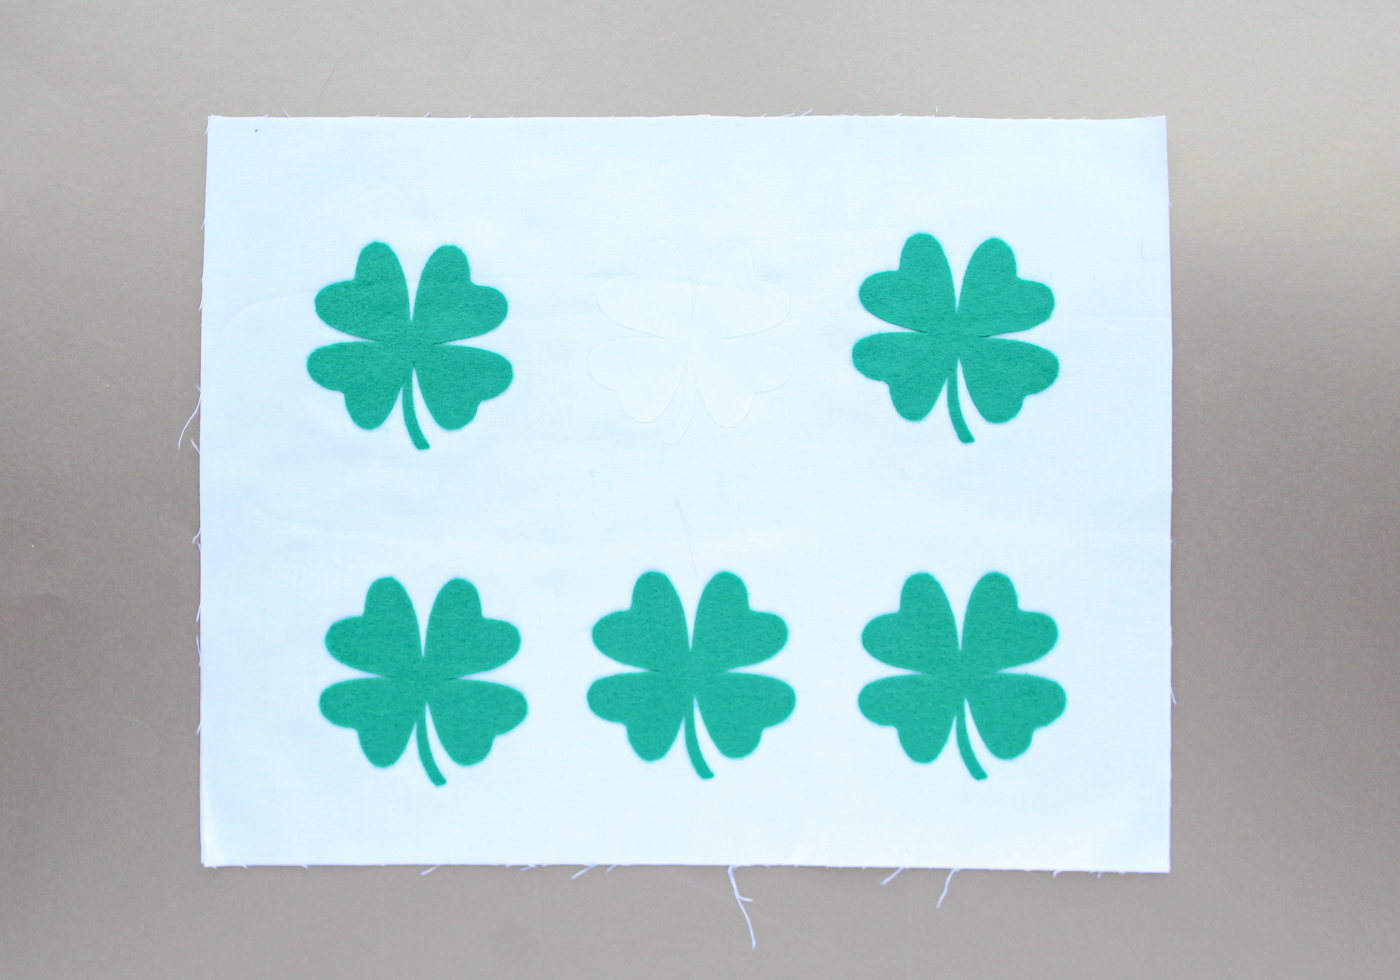
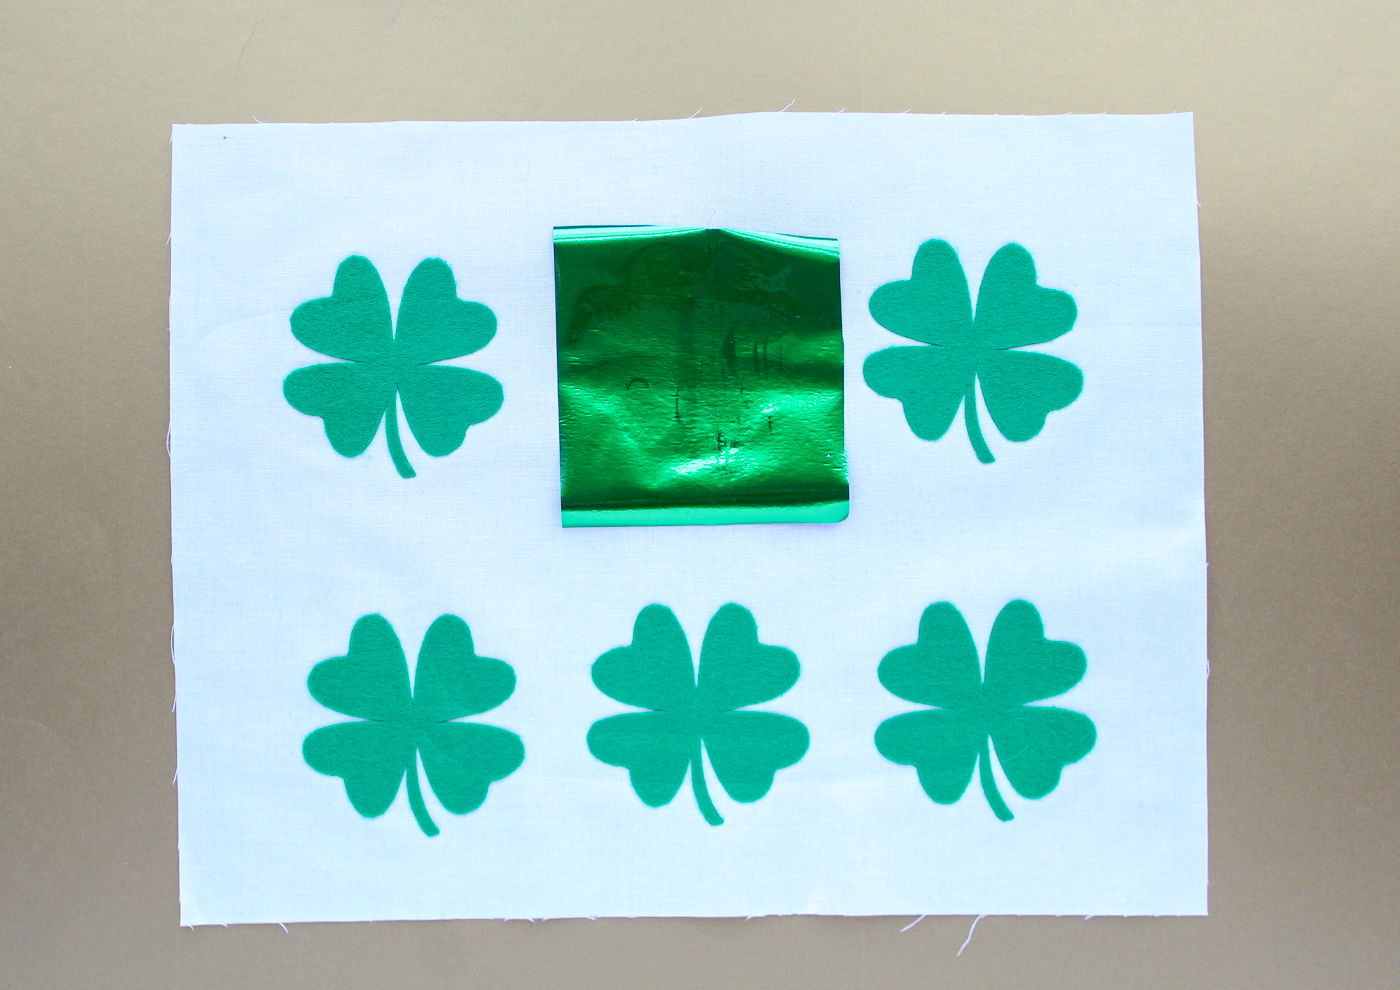
Cut one more shamrock from the Deco Foil Hot Melt Adhesive. For some visual interest try cutting this one mirrored the opposite way of the felt shamrocks. Line them all up on the fabric.
Press the felt shamrocks onto the fabric. The EasyPress works really well to adhere the HeatnBond Ultra. You could also use a heat press or iron. Now press the hot melt onto the fabric.
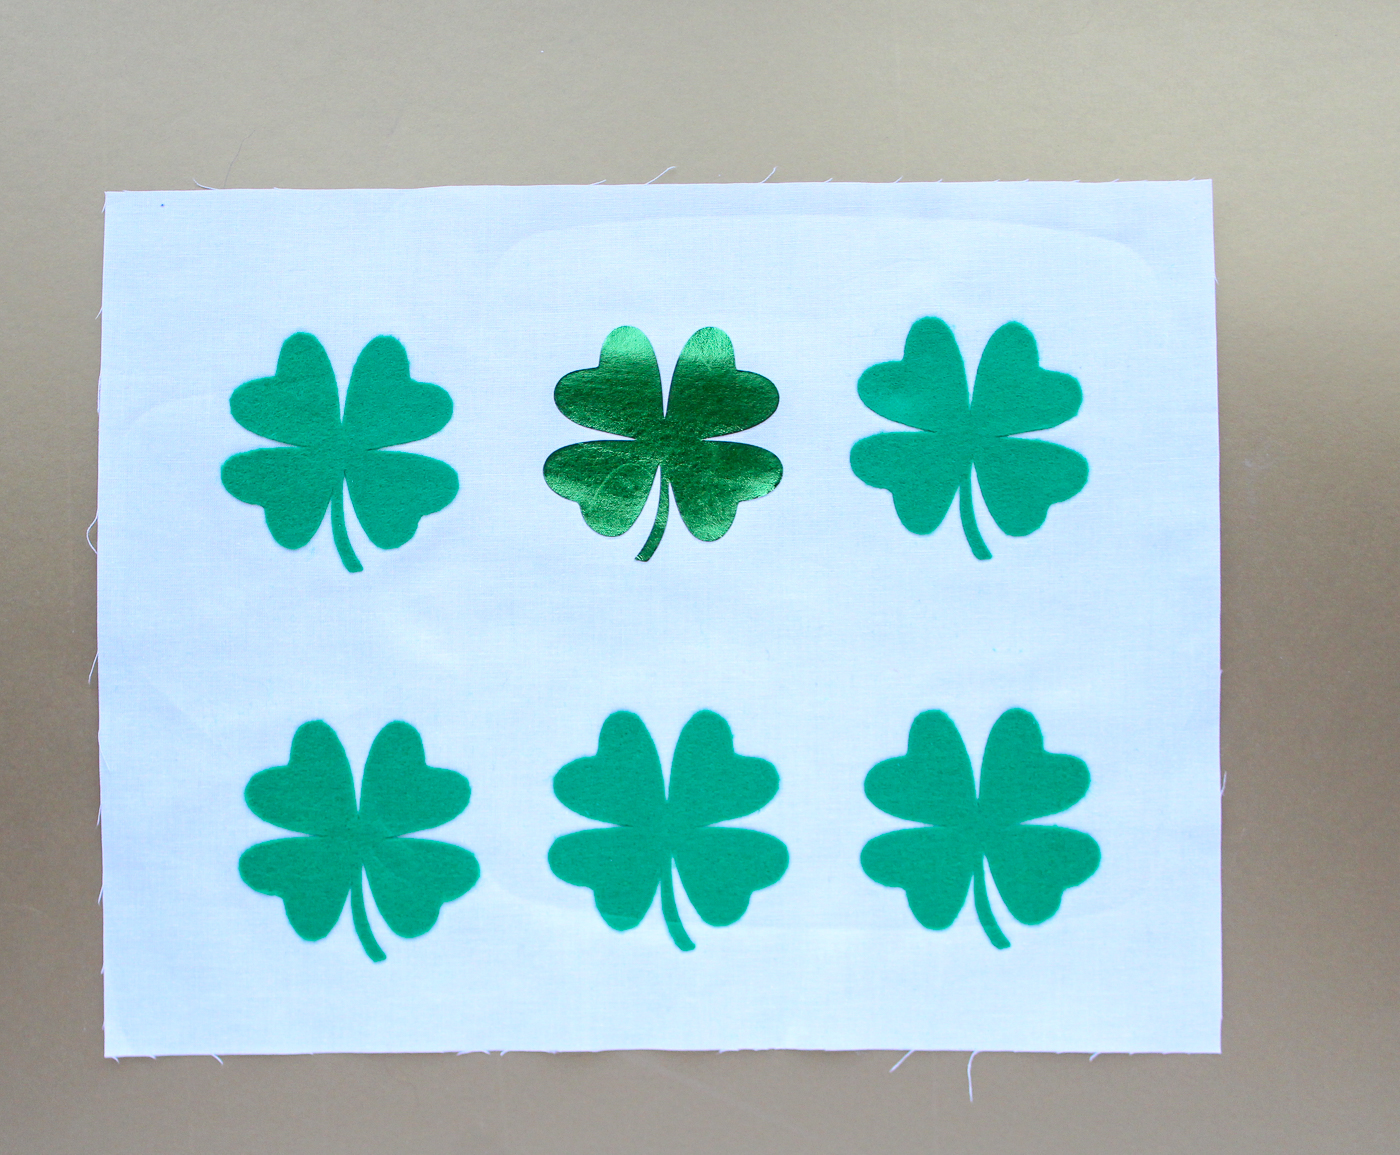
Last, attach the Deco Foil to the adhesive once you have removed the paper. Make sure and adhere everything else because you won’t be able to hit the pillow with heat again after the foil has been added.
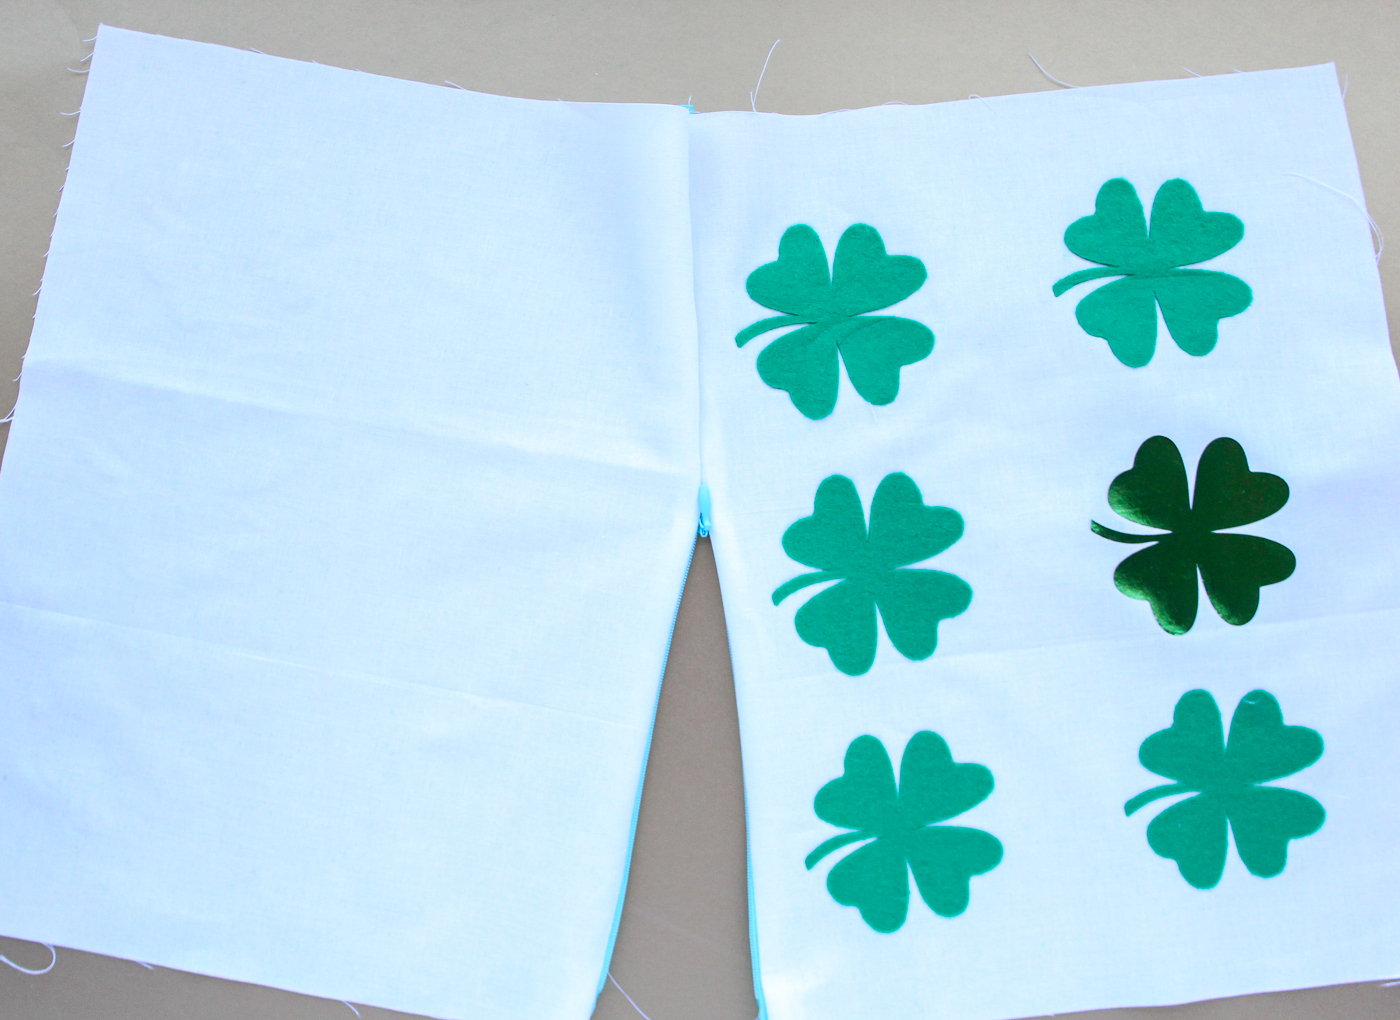
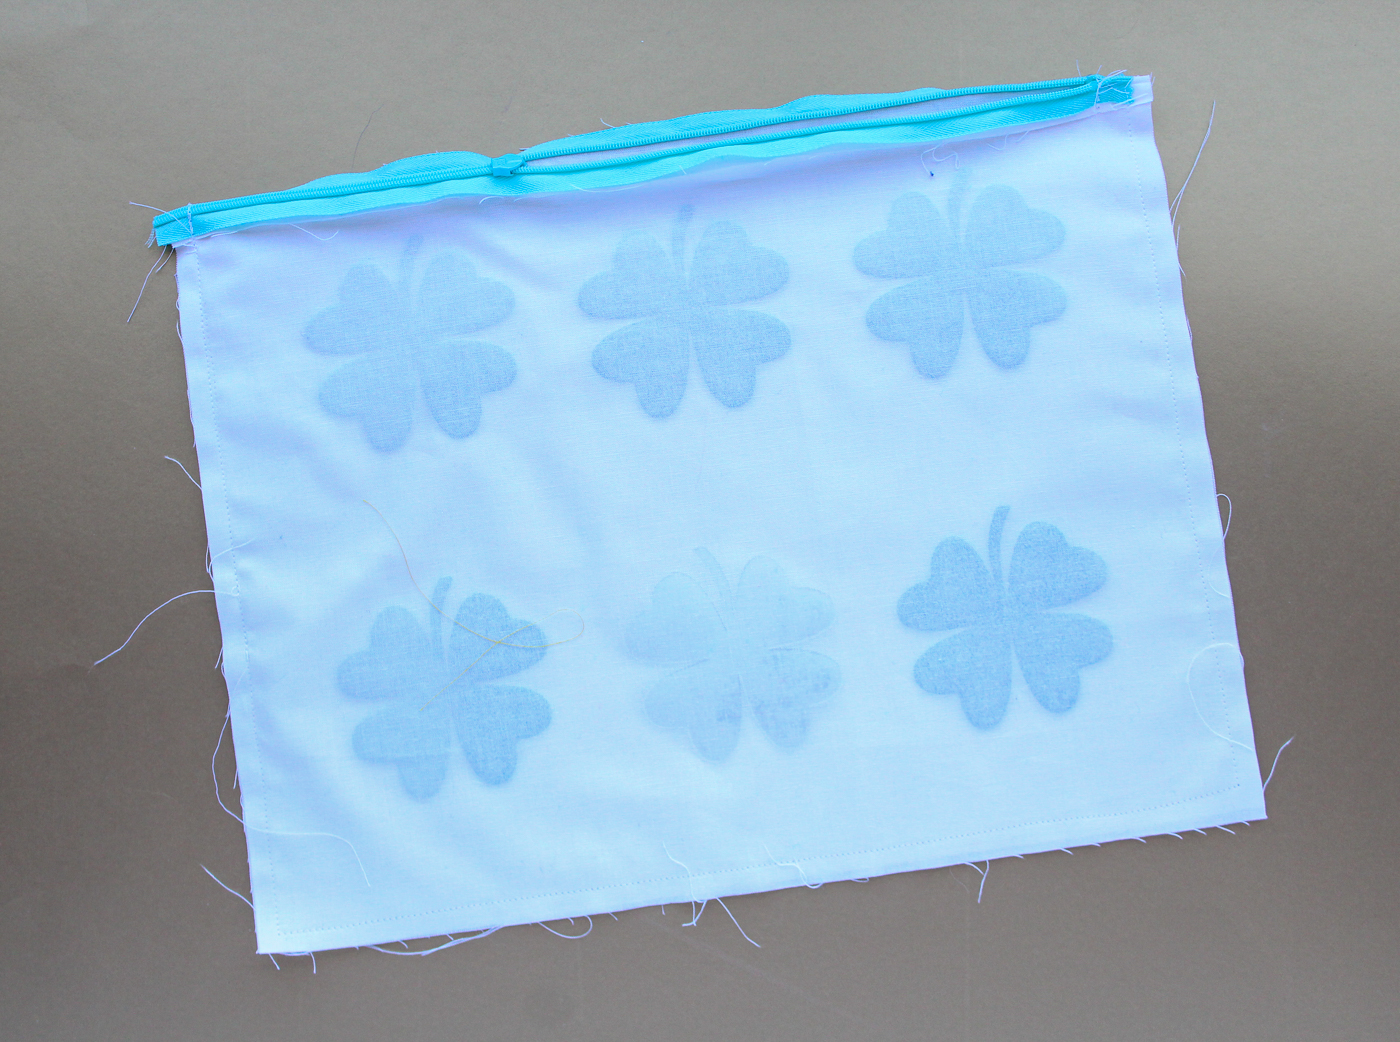
Add an invisible zipper to the bottom of the front and back of the fabric pieces.
Line the two pieces upright sides facing. Open your zipper. Sew around the remaining three sides.
Stuff the pillow form into the pillowcase you just created.
** Optional: Add some embroidered quilting lines to the felt shamrocks for even more visual interest (not pictured.)
The HeatnBond Ultra combined with the felt and the EasyPress makes for a really wonderful felt appliqué. That is it! Now you have some fun decor for the luckiest of holidays!
You might also like these Sew What Alicia projects:
How to Read a Sewing Pattern // Felt Embroidery Hoop Art // Best Cricut for Sewing

Connect with Sew What Alicia
Facebook // Pinterest // Instagram // Twitter // Youtube

Ivory
April 10, 2018 at 5:49 pm (7 years ago)I love this pillow. I still plan to make one, and have it for next year. Thank you for sharing.