 When making baby quilts, rainbow colors are the perfect color palette. Not to mention they are my favorite colorway for quilts. Carla here from Creatin’ in the Sticks and today I am happy to share my newest pattern at Thermoweb with all HeatNBond EZ Print Lite fans. If you haven’t used HeatNBond® EZ Print Lite this is the perfect project for you. Trust me, you will love it for all of your fusible applique projects. The colors of HashDOT by Michael Miller Fabrics are amazing for this rainbow quilt.
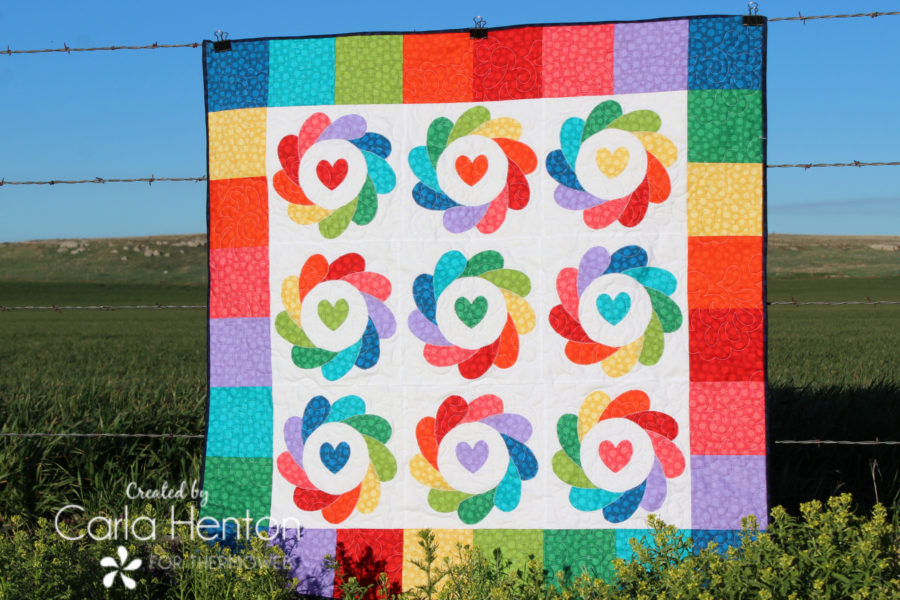
HeatNBond EZ Print Lite Feather Me a Rainbow Baby Quilt
by Carla at Creatin’ in the Sticks
finished size: 40″ x 40″
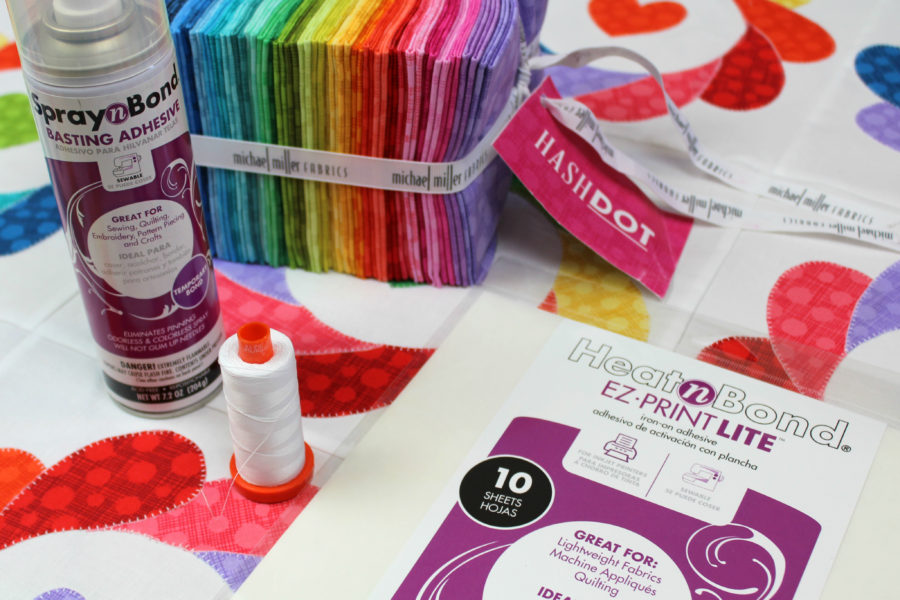
HeatNBond EZ Print Lite Feather Me a Rainbow Baby Quilt Supplies
Feather Me a Rainbow Templates by Carla at Creatin in the Sticks for Thermoweb
Thermoweb supplies:
HeatNBond® EZ Print Lite– 10 sheets
Fabric:
White – 1 yard for the background of blocks
9 assorted fat quarters: HashDOT by Michael Miller – grape, lipstick, red, orange, yellow, meadow, green, aqua, cadet
HashDOT by Michael Miller color Midnight – 2 strips: 2 1/4″ x Width of Fabric for binding
Backing fabric – 1 1/4 yard
Other supplies:
Aurifil 50 wt. thread (#2024), Ink Jet Printer, Iron (I love my Oliso), Sewing machine, Sharp scissors, rotary cutter, cutting mat, cotton batting – 43″ x 43″, and other basic sewing supplies.
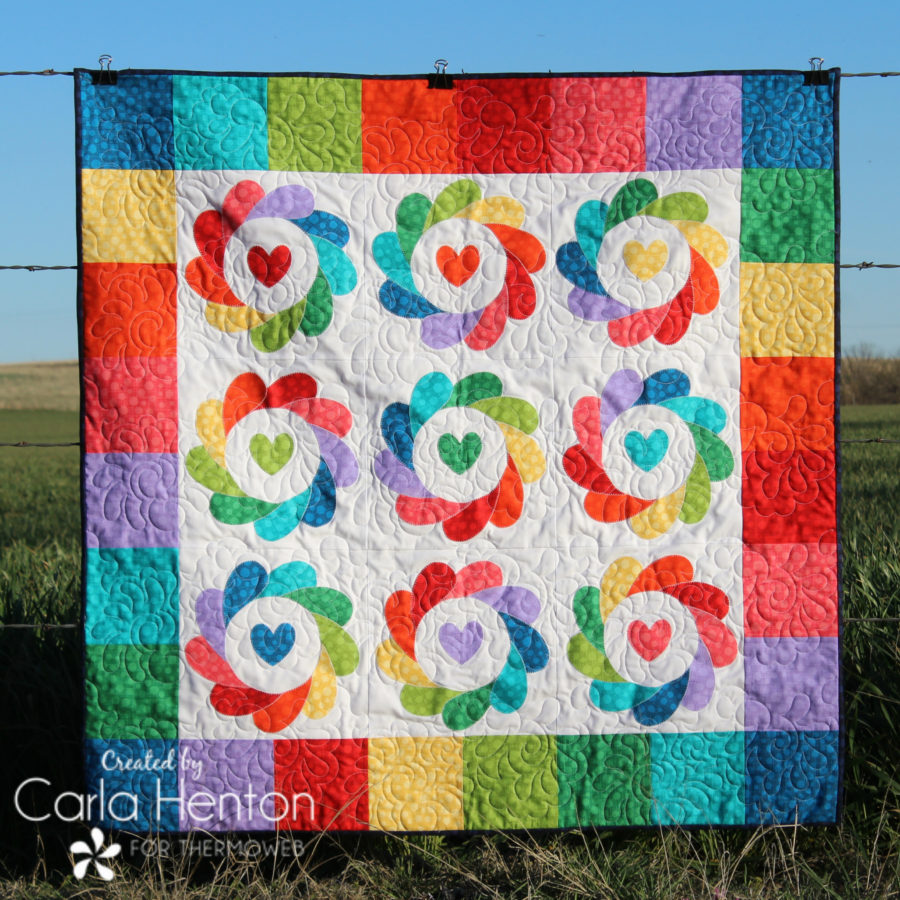
HeatNBond EZ Print Lite Feather Me a Rainbow Baby Quilt Instructions:
All seams are stitched at ¼”
Please read all instructions before beginning.
Fabric Cutting Instructions:
Background (white): cut 9 – 10½” x 10½” square
From assorted fat quarters: cut 28 squares – 5 1/2″ x 5 1/2″
Cutting Applique Instructions:
Using the HeatNBond® EZ Print Lite sheets, print the feather applique pattern pieces with your inkjet printer on 9 sheets. Follow the package instructions for printing. NO TRACING! How awesome is that? The patterns have been reversed for you.
Print the heart templates on the last sheet of HeatNBond® EZ Print Lite. Cut the hearts apart leaving about ¼” around each line of the heart.
Next, follow the instructions on the package to bond each sheet of printed feathers to each of the 9 assorted fat quarters and bond 1 heart to each fat quarter.
Cut out all applique pieces on the solid black lines. The total of pieces is 81 feathers – 9 of each of the 9 colors and 9 hearts – 1 of each of the 9 colors.
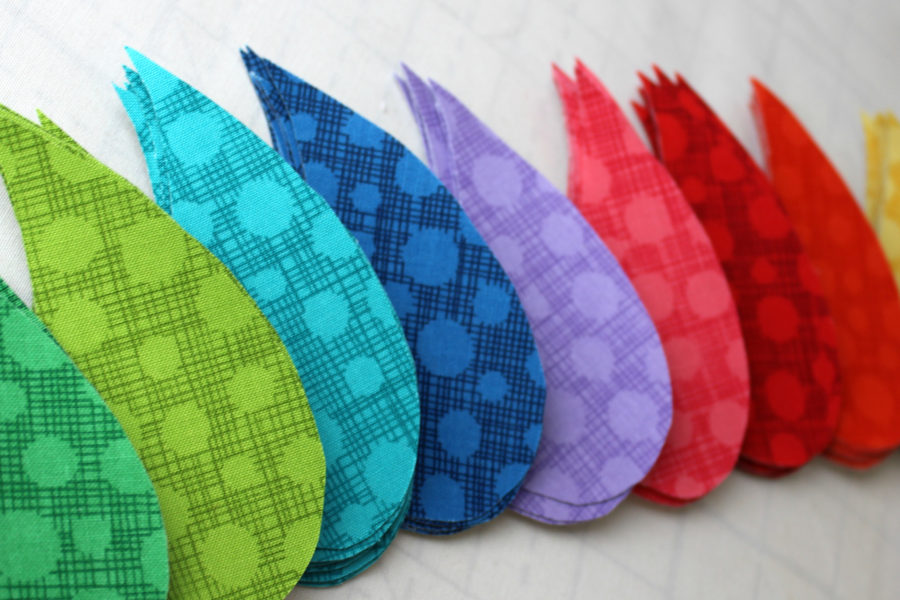
Construct the applique blocks:
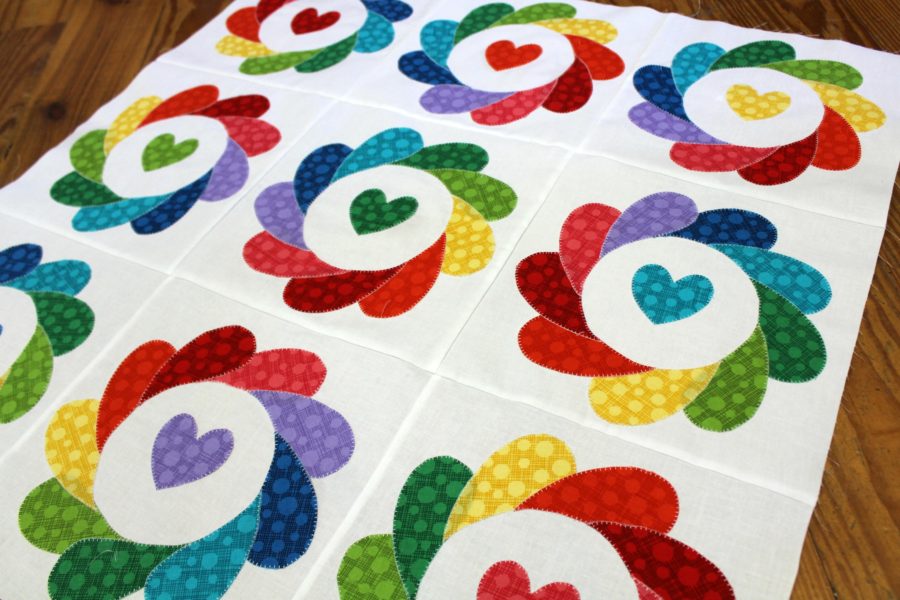
Firstly, place the paper circle included with the template patterns on an ironing surface.
Secondly, fold one of the white background squares in quarters to find the center and place the fabric over the paper circle. Now, center the white fabric over the center of the circle.
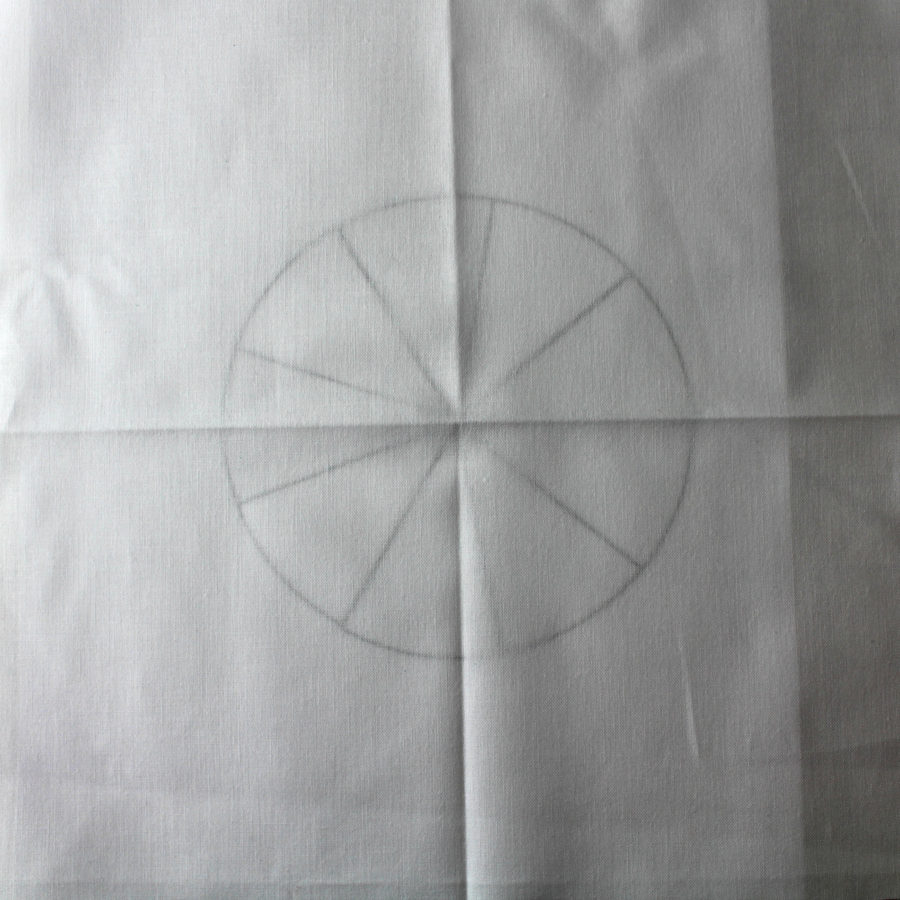
Peel off the backing paper from 9 different colored feathers and then place the appliques with the adhesive side down on the 10 ½” x 10 ½” white fabric. It is important to line up the points on the lines and the inner curve of the feather with the circle. Furthermore, the result will be a feathered circle.
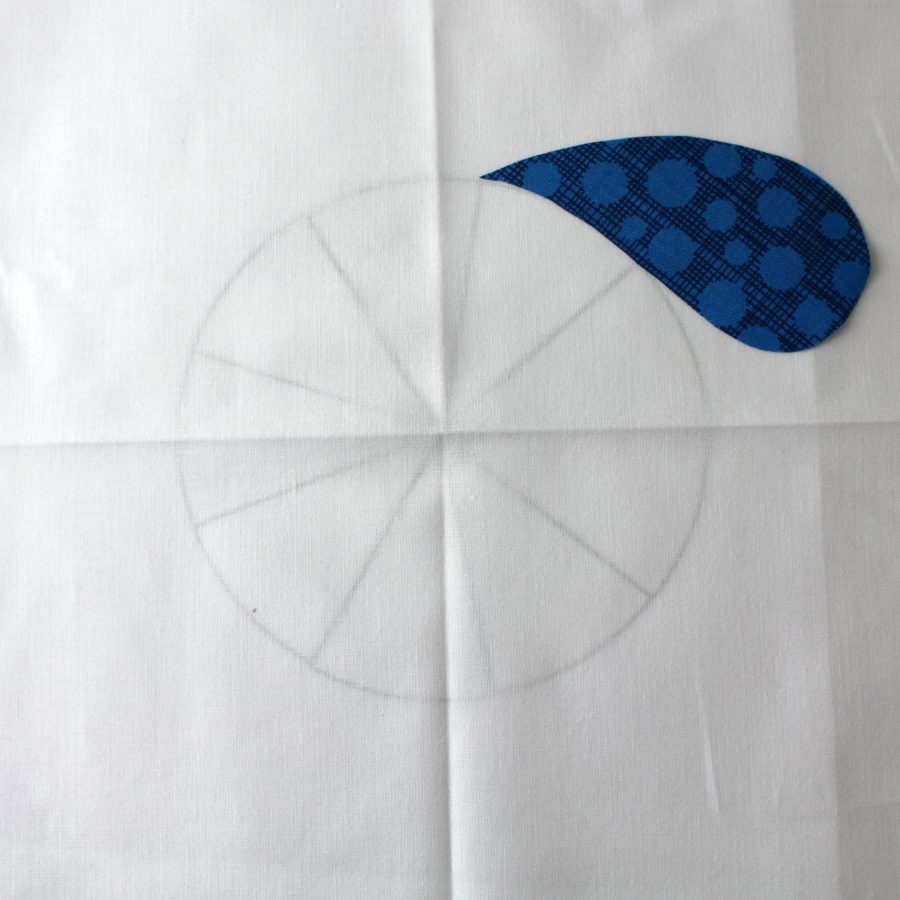
Continue placing the feathers on the circle until all 9 feathers are placed.
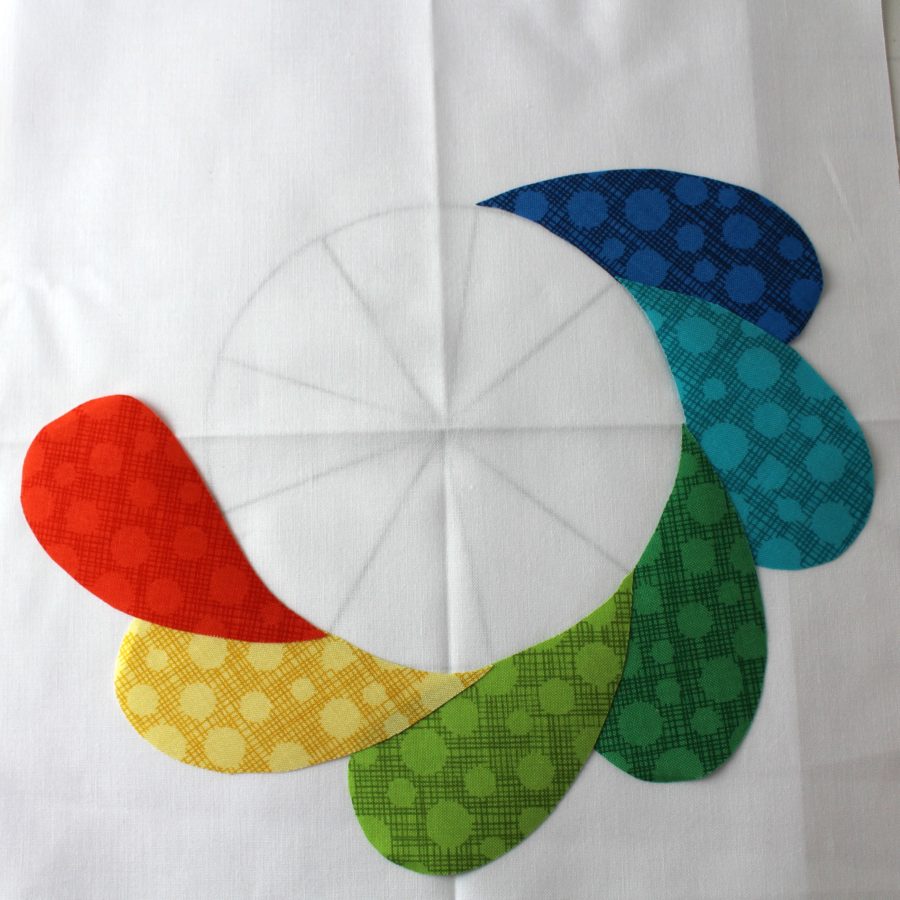
Remove the backing paper and center one of the adhesive backed hearts in the center once all the feathers have been placed around the circle.
Bond the Applique Pieces to the Background
Follow the package instructions to work in sections to press the whole applique to the background until the entire applique is fused.
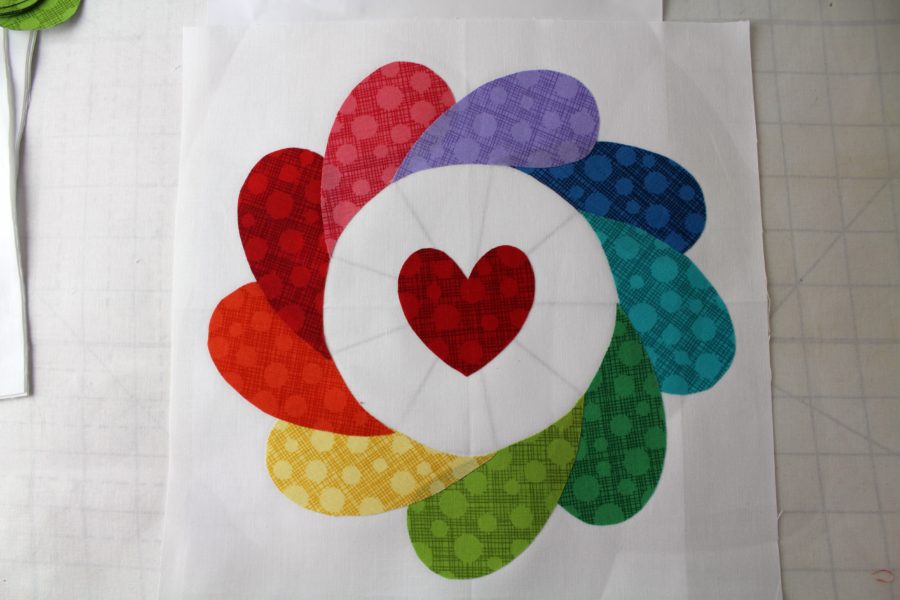
Stitch around appliques
Finally, use a straight, zigzag, or blanket stitch to stitch around each applique piece with Aurifil thread.
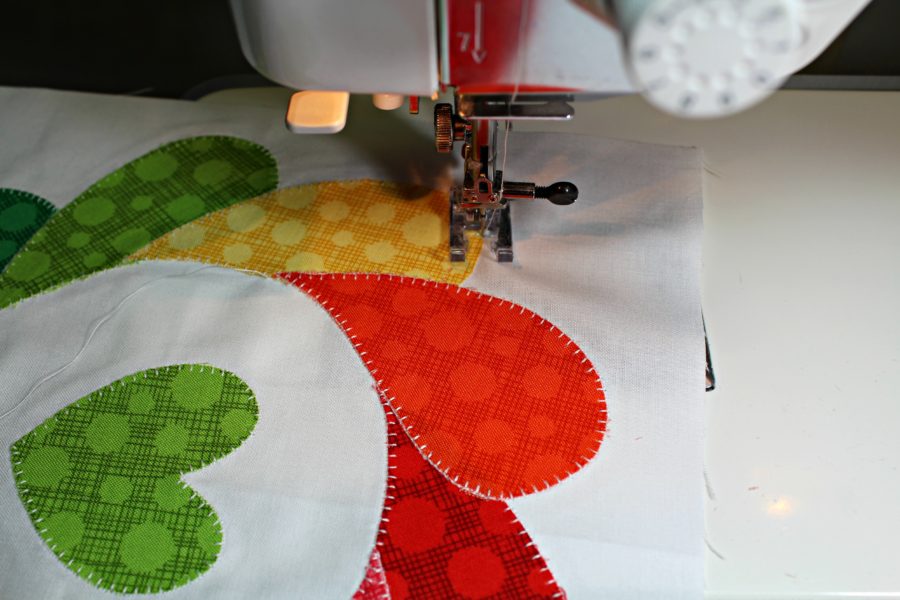
Repeat the applique block construction for a total of 9 blocks.
Create the quilt top
Firstly, stitch the applique blocks together as shown in the finished picture and press the quilt blocks.
Secondly, stitch two rows of the 5 1/2″ squares for the sides of the quilt. Each side requires 6 of the squares. Stitch the side squares together and attach to the sides of the quilt, matching all the seams. After that, stitch 2 rows of 8 squares together to form the top and bottom borders. The last step is to stitch the top and bottom borders to the quilt.
Baste the quilt
Use SpraynBond Basting Adhesive to hold the layers of fabrics and batting together without pinning. To do this, lay the backing fabric right side down followed by the batting and finally the quilt top right side up. Follow the instructions on the can to spray and smooth to remove wrinkles from each layer.
Finish
Quilt as desired with Aurifil 50 wt thread and add binding using your favorite method.
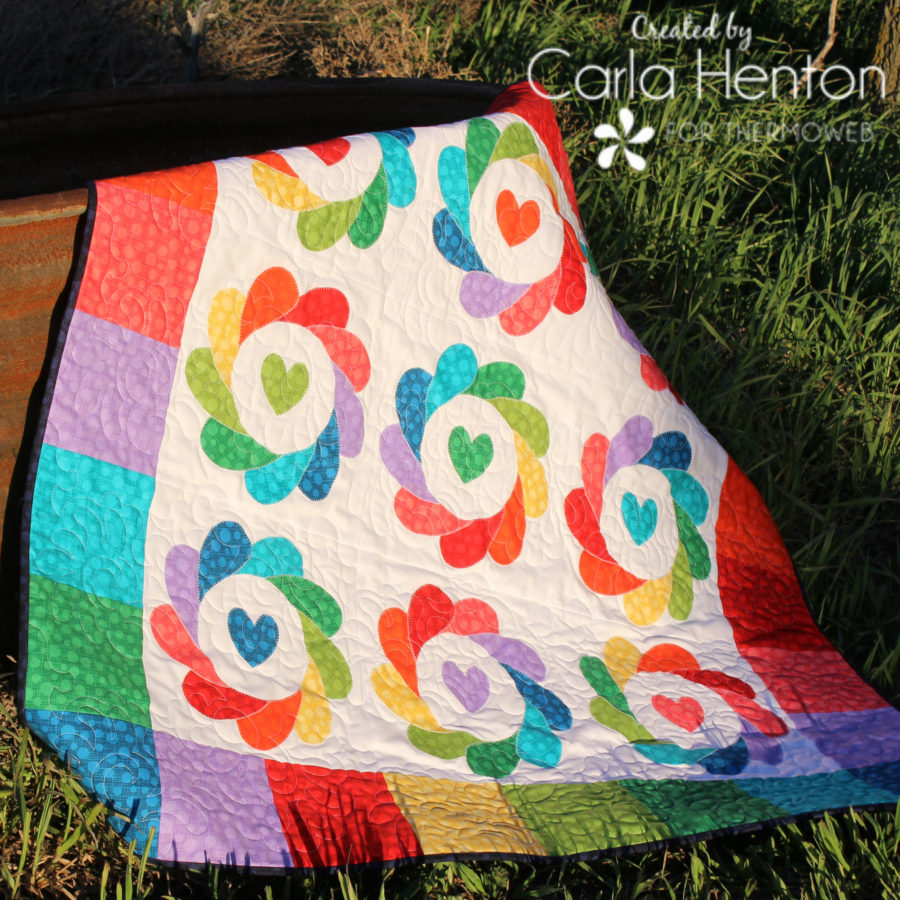
Celebrate a new baby with all the colors of the rainbow!
Carla
We hope you’re enjoying our rainbow project series!
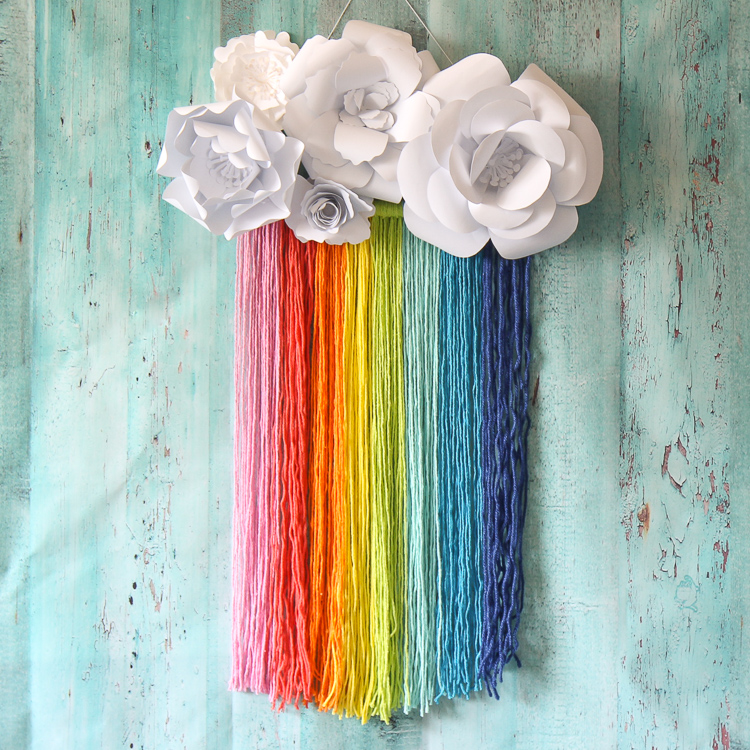
We came across this adorable idea from The Craft Patch that would be perfect to make in addition today’s sweet baby quilt!
And if you missed any of our prior projects… click below to get the details on those!
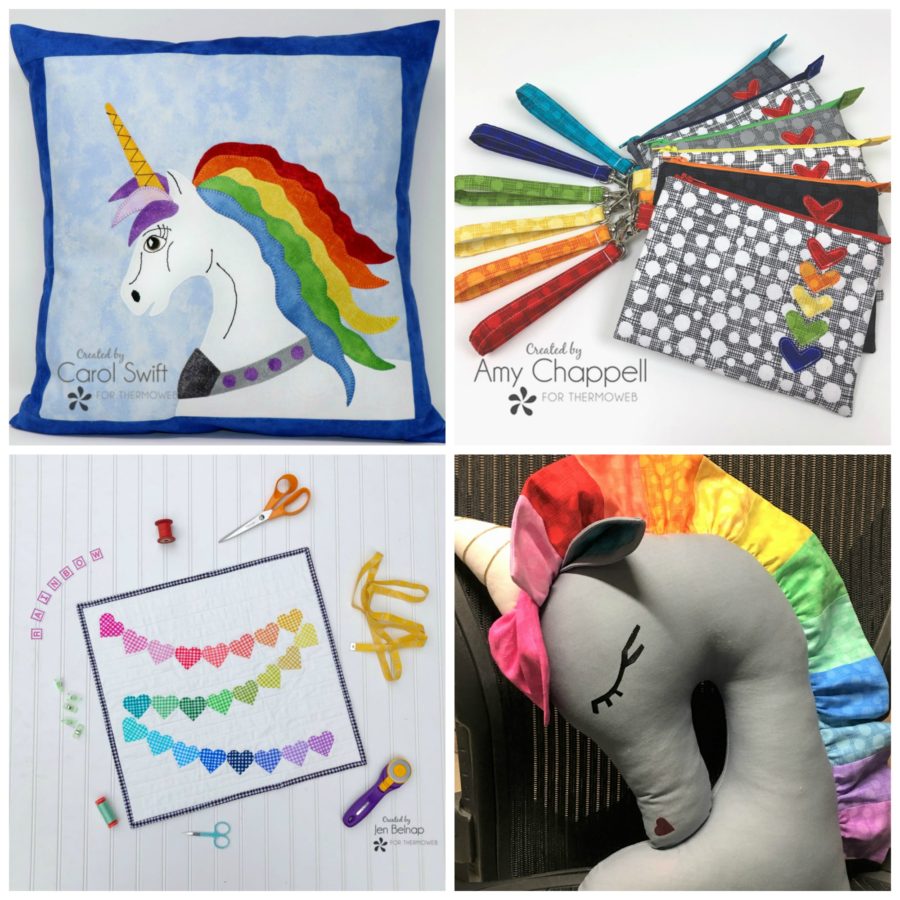
Rainbow Hearts Mini Quilt Click HERE for the project and post.
Unicorn Applique Pillow Click HERE for the project and post.
Rainbow Wristlet Zipper Pouch Click HERE for the project and post.
Unicorn Shaped Pillow Click HERE for the project and post.

Sharon Buford
April 23, 2019 at 7:03 am (6 years ago)Is there a way to download the tutorial as a pdf? Am I missing the button?
admin
April 23, 2019 at 5:31 pm (6 years ago)Hi Sharon! When you click the pattern link that opens up into a pdf for you to download. Here’s that link to it: https://app.box.com/s/7ij96xxikl3p86qhg3b4gwvsikeh8lrs